|
|

01-28-2016, 07:50 AM
|
 |
Senior Member
|
|
Join Date: Sep 2008
Location: Luling TX @ Nerd Rods
Posts: 361
Thanks: 44
Thanked 18 Times in 9 Posts
|
|
|
05-25-2017, 02:10 AM
|
|
Senior Member
|
|
Join Date: Sep 2008
Location: Luling TX @ Nerd Rods
Posts: 361
Thanks: 44
Thanked 18 Times in 9 Posts
|
|
http://gallery.nerdrods.com/Customers/CP5559C4/0001 - George W/07
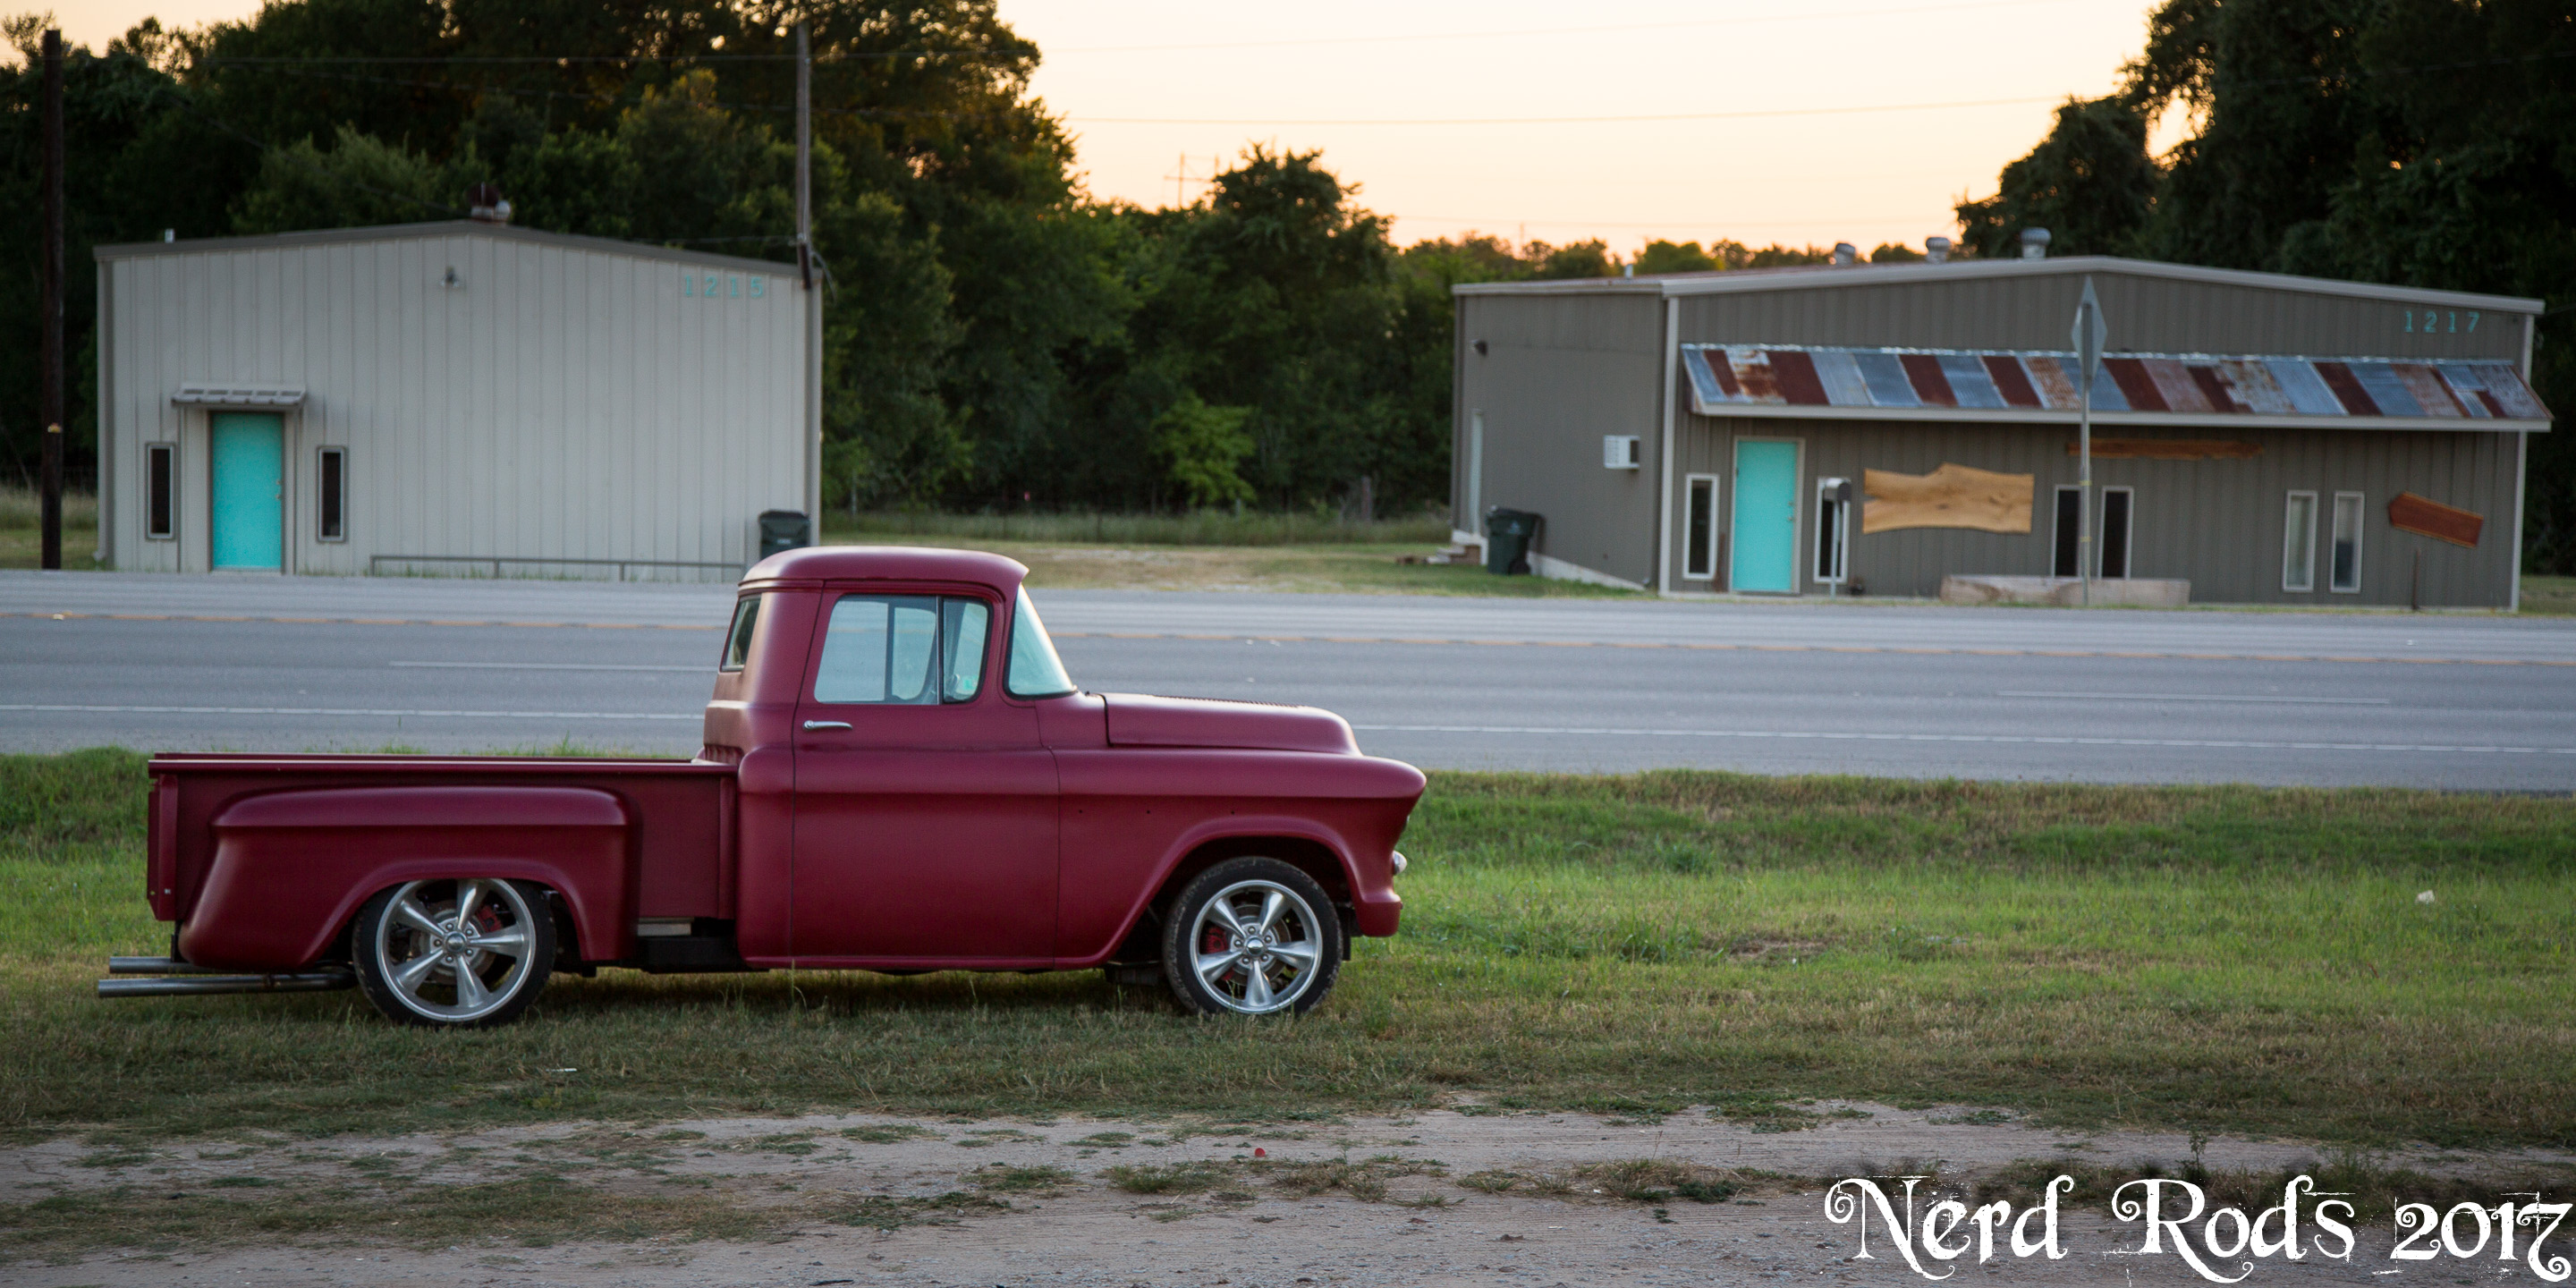
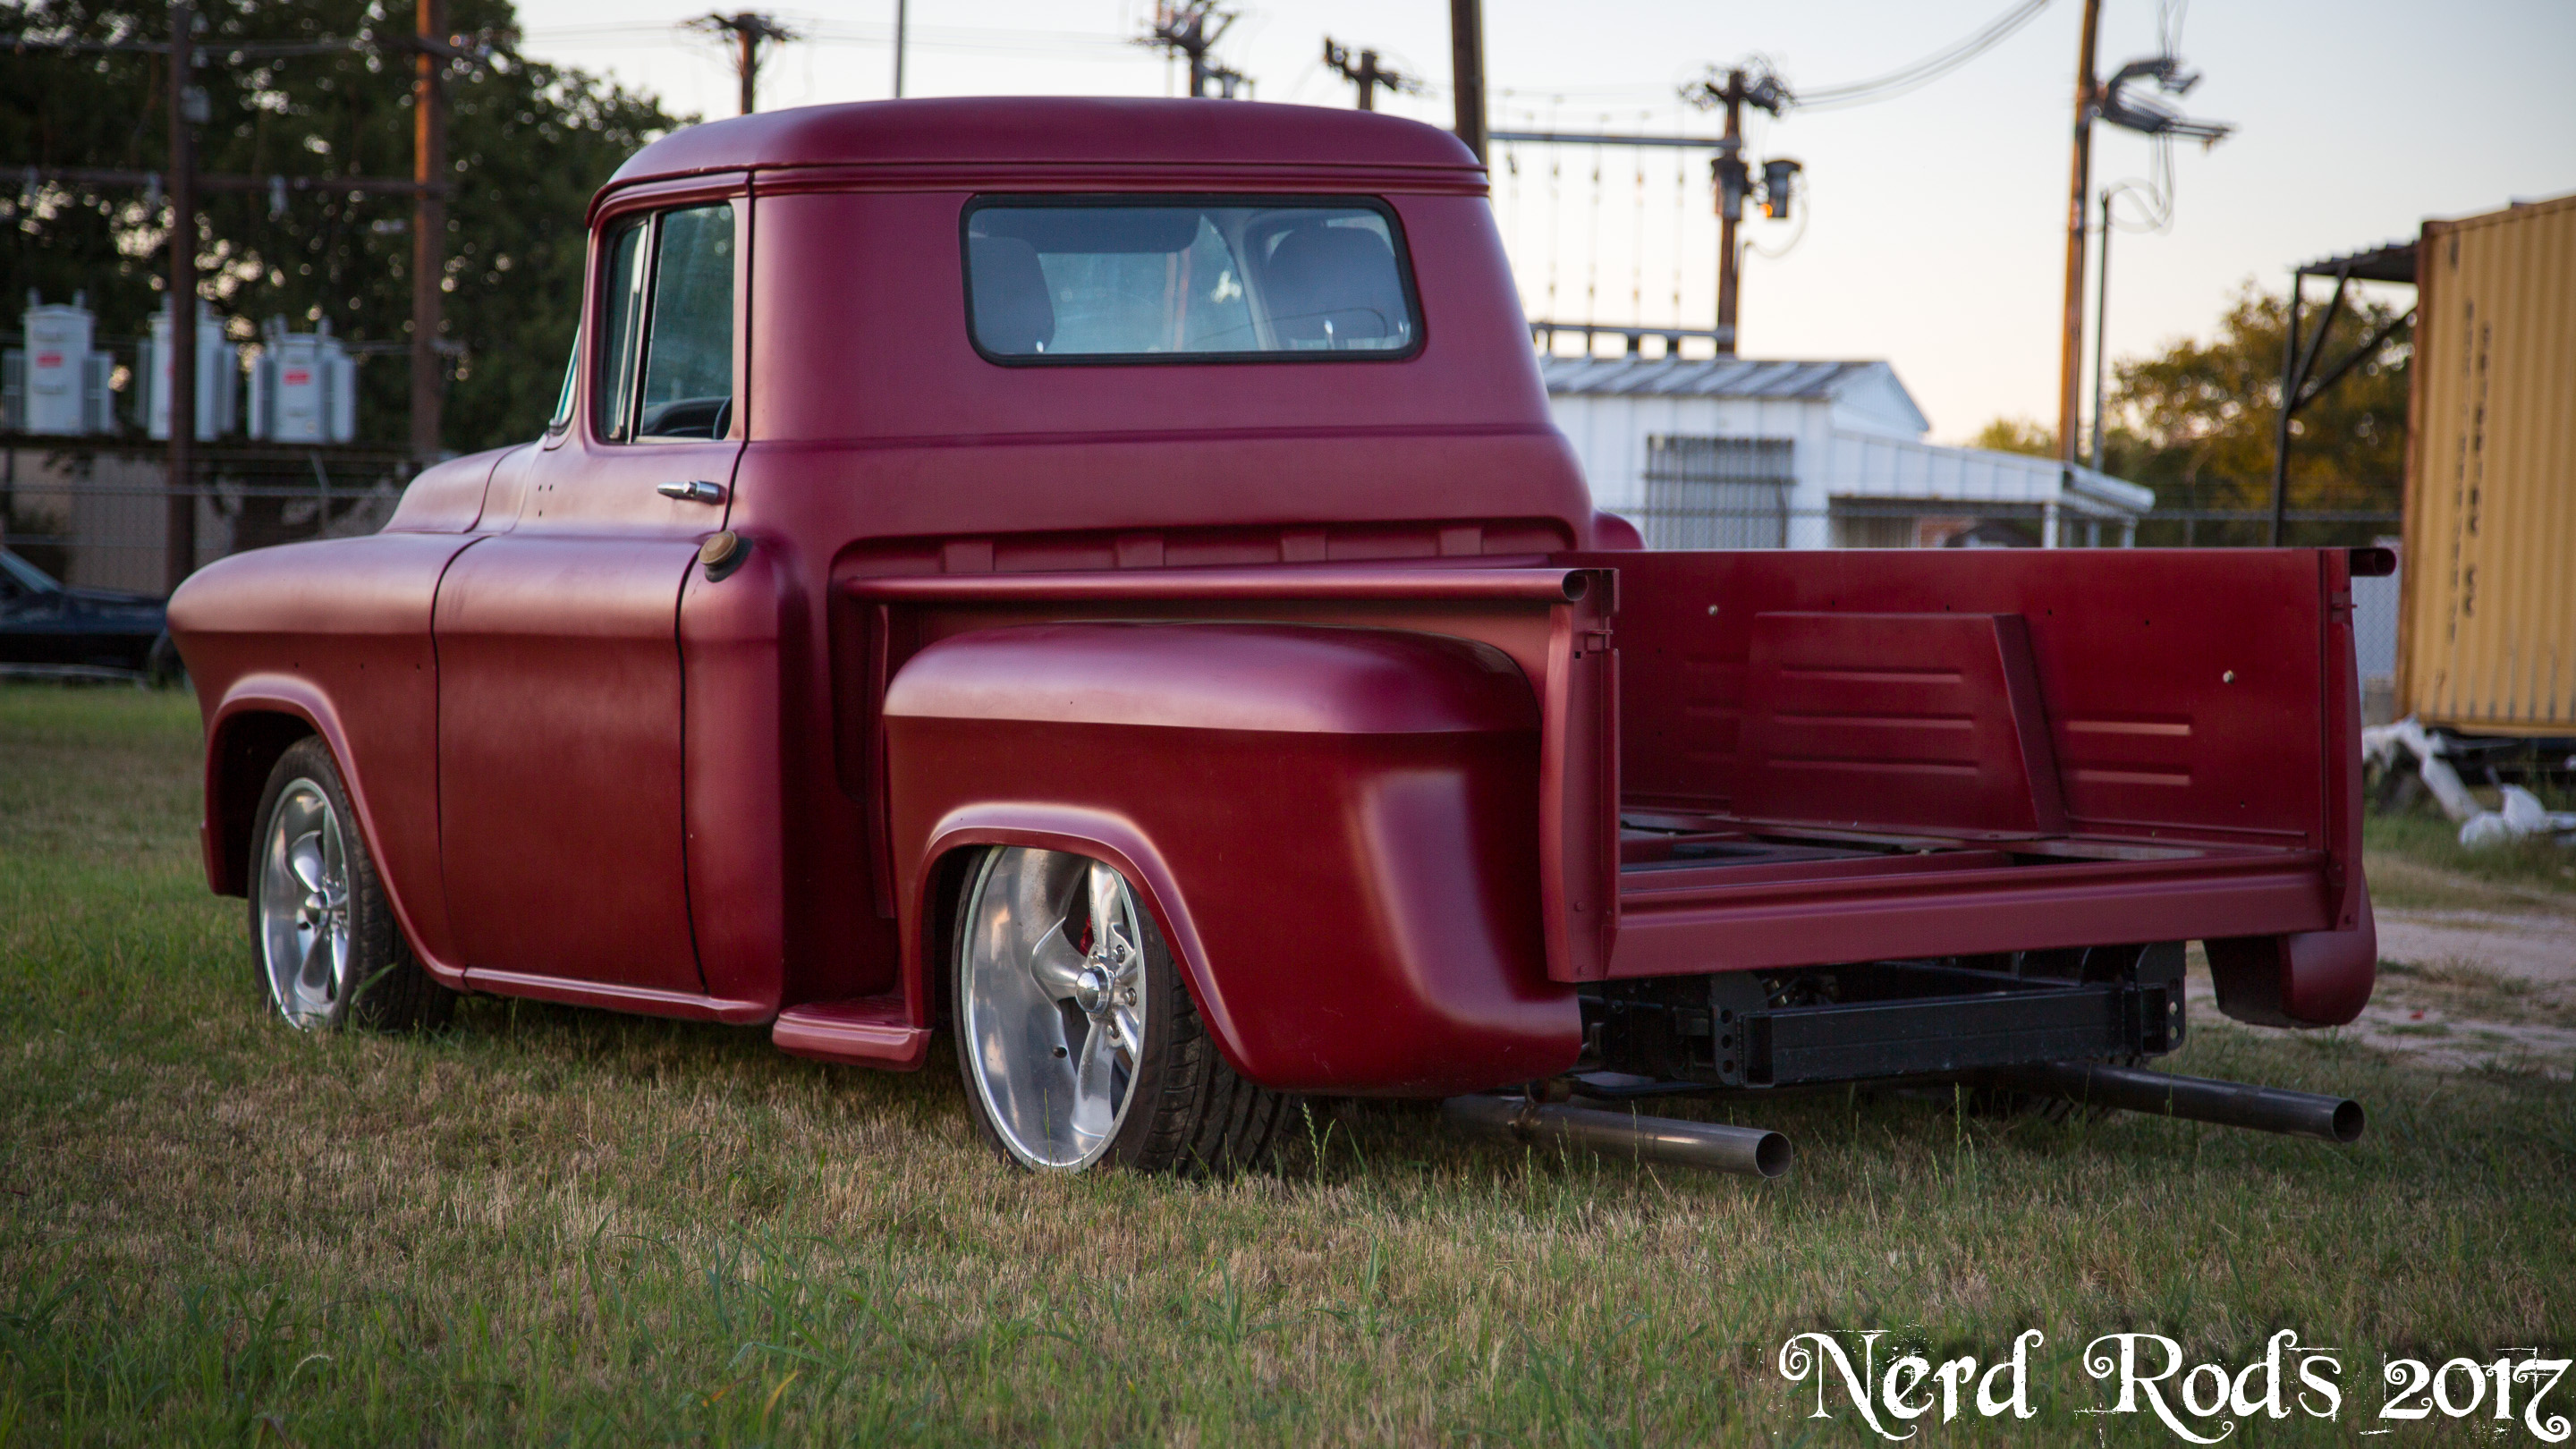
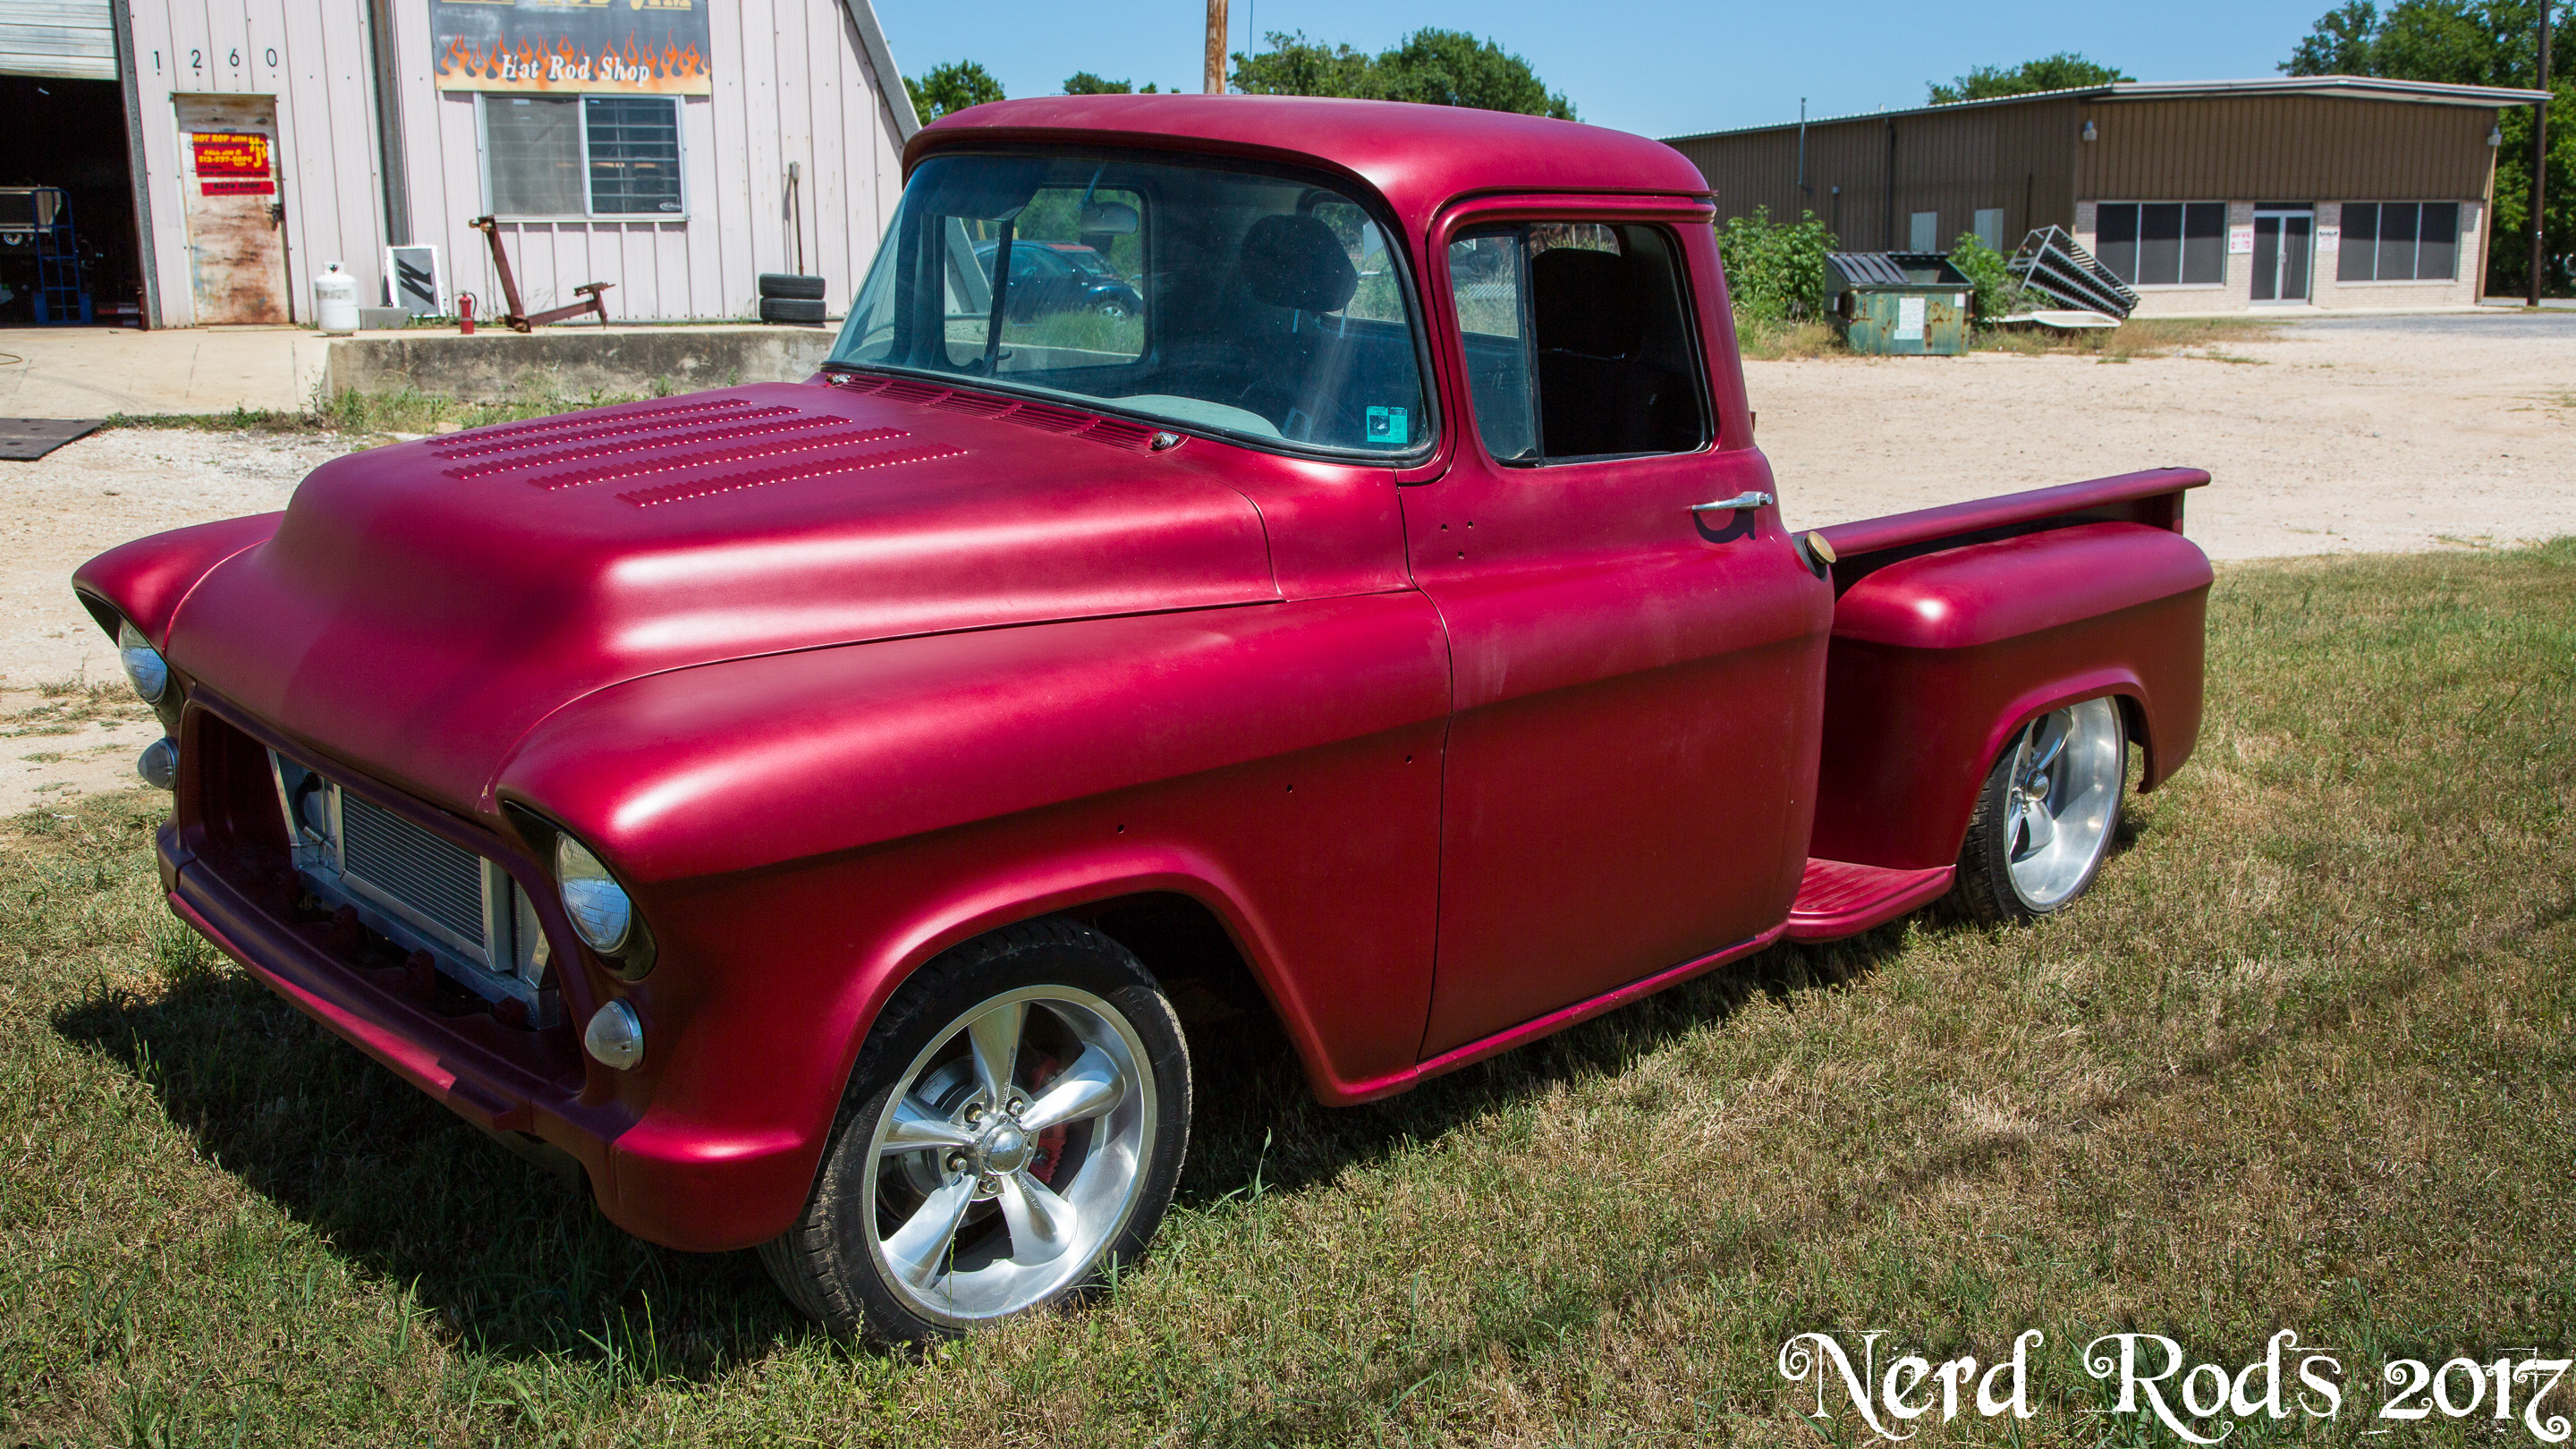
Well this has been a long time coming. Sorry for the delay. Customer had some changes, so I had to warp up the projects in front of him before I could continue on this project. Its not fair to the guys who have been waiting when the guy in the middle suddenly goes. "I want to add this"
So! Its got all the sheetmetal on there. Got some good photos outside while we were cleaning the shop the other day. This beast needs its wiring and then its time to drive it!
Gallery link at the top. Highlight photos here.
  
Later
-Russell
|
12-09-2017, 11:56 PM
|
|
Senior Member
|
|
Join Date: Sep 2008
Location: Luling TX @ Nerd Rods
Posts: 361
Thanks: 44
Thanked 18 Times in 9 Posts
|
|
Busy busy busy. We're booked out through the summer so I keep forgetting to post updates.
All the photos are here
http://gallery.nerdrods.com/Product/CP5559C4/S4.01/
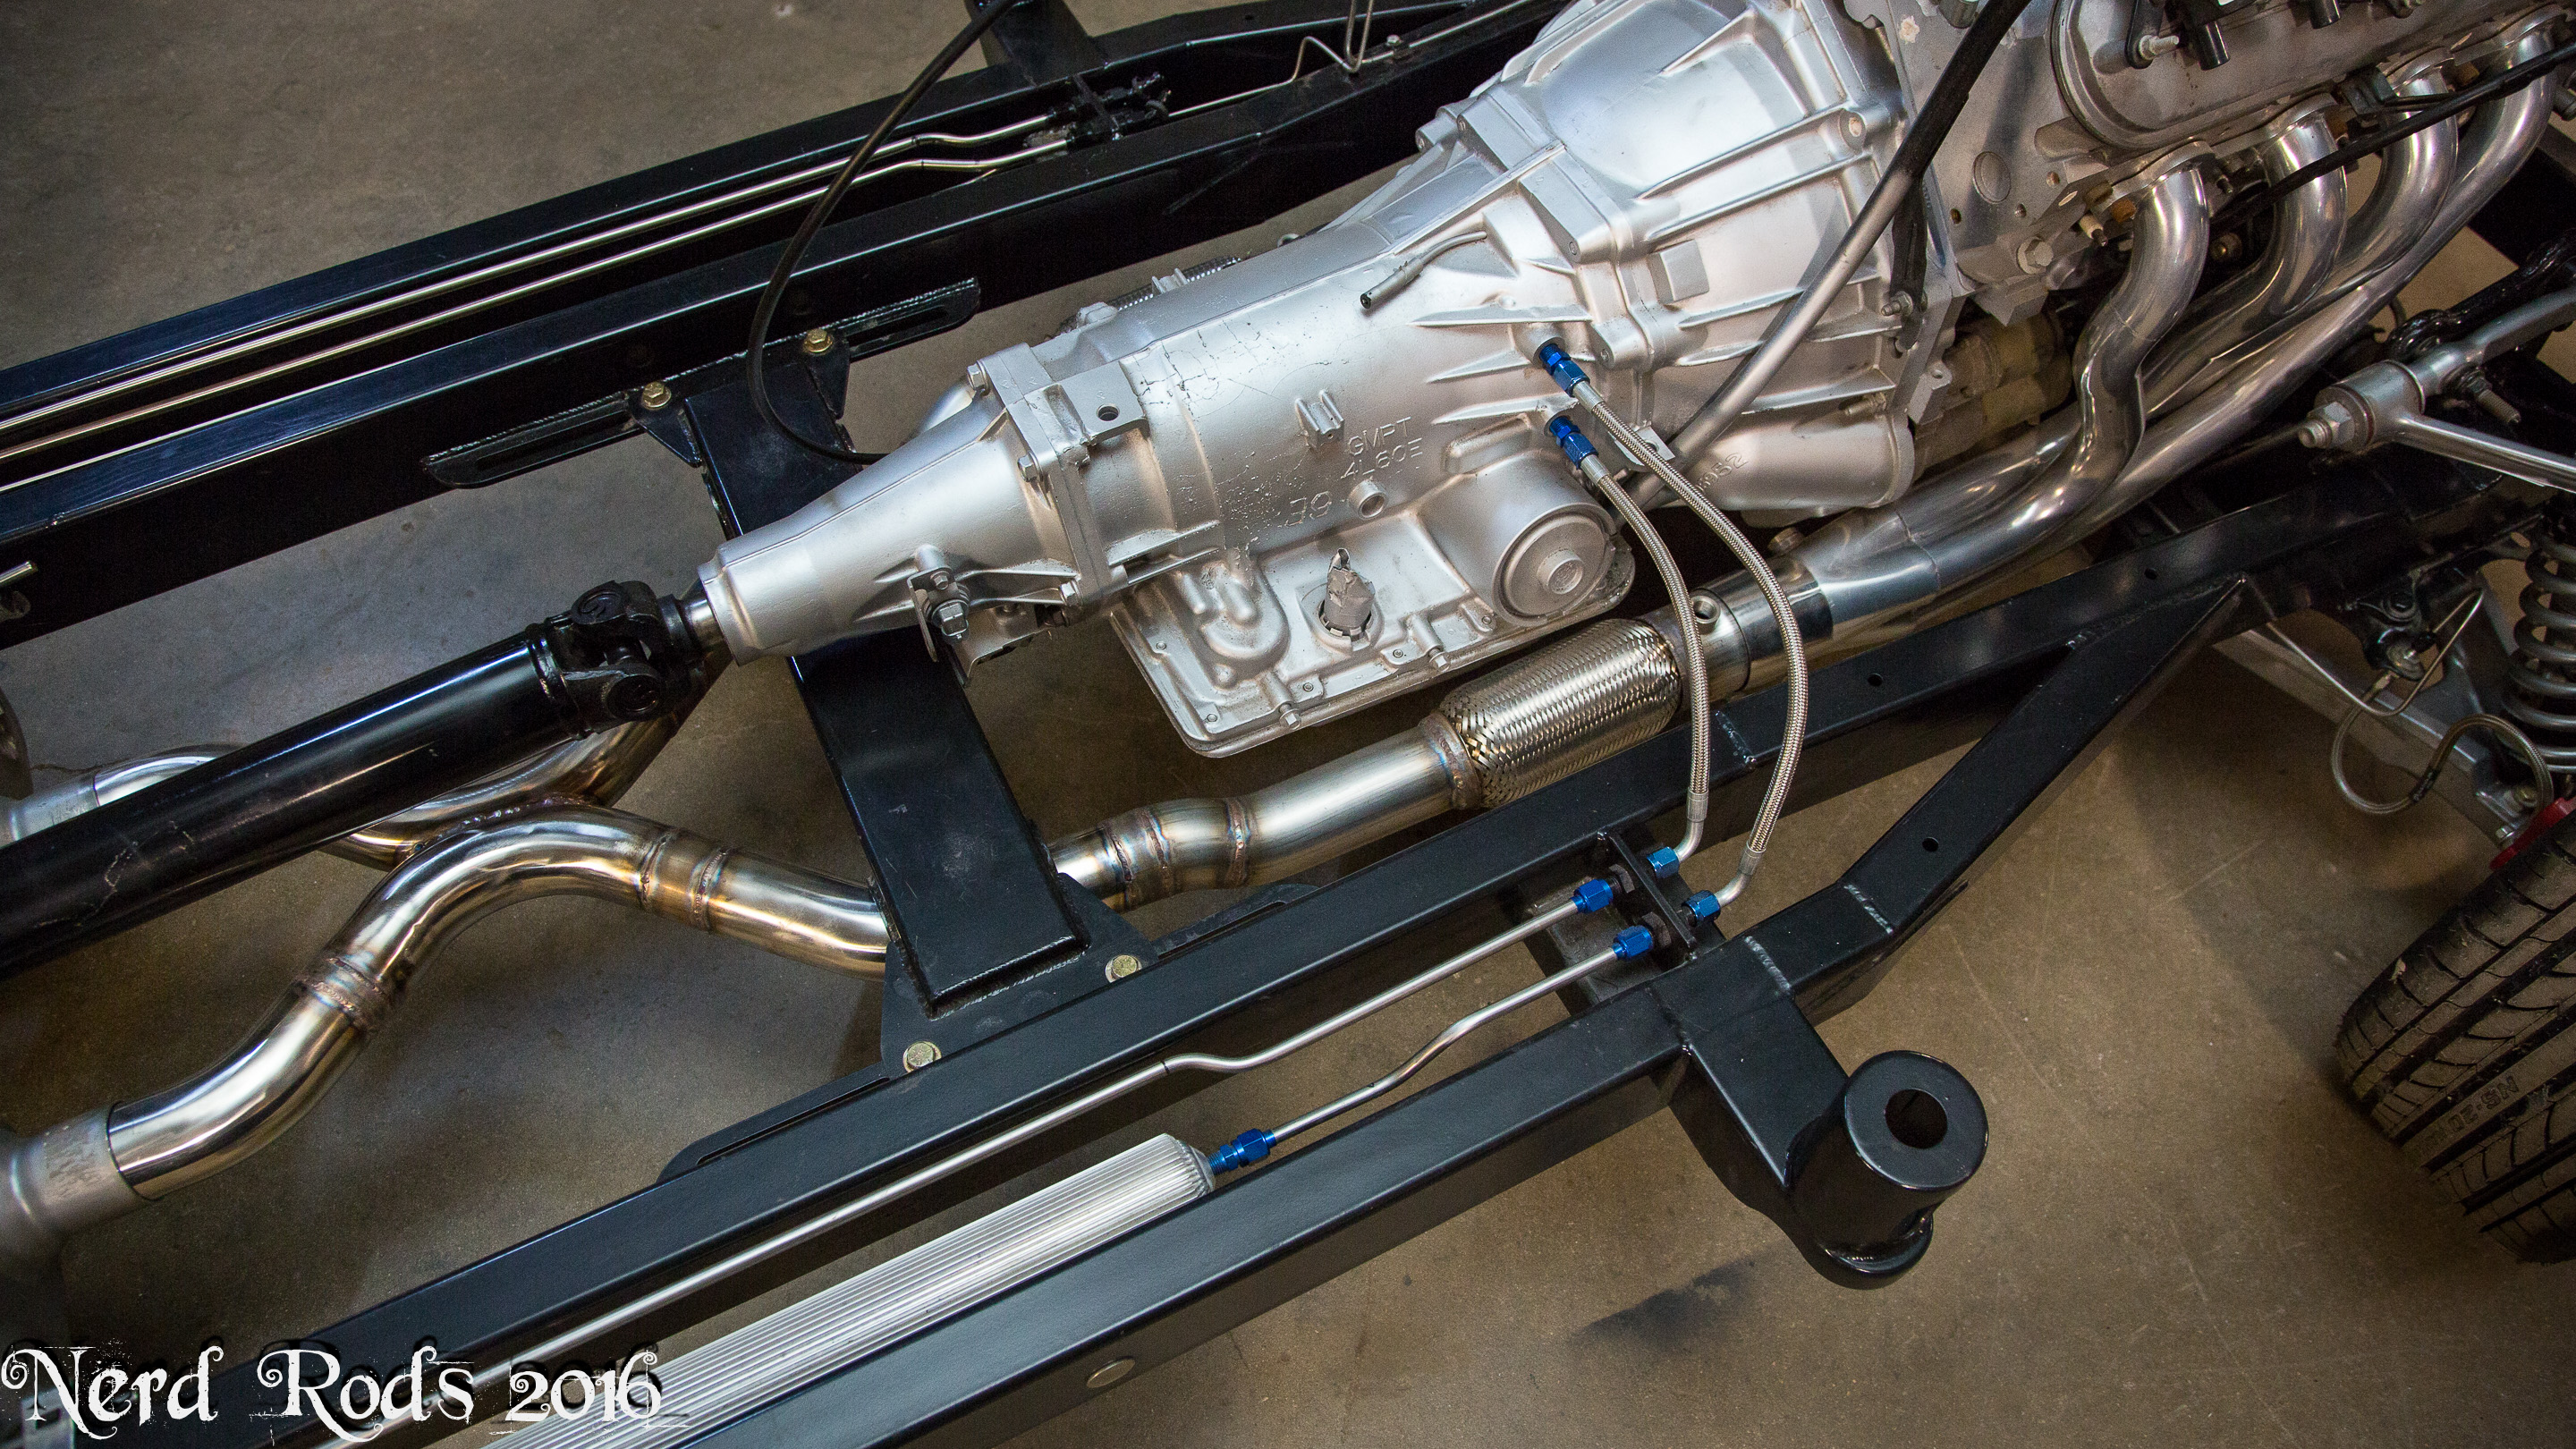
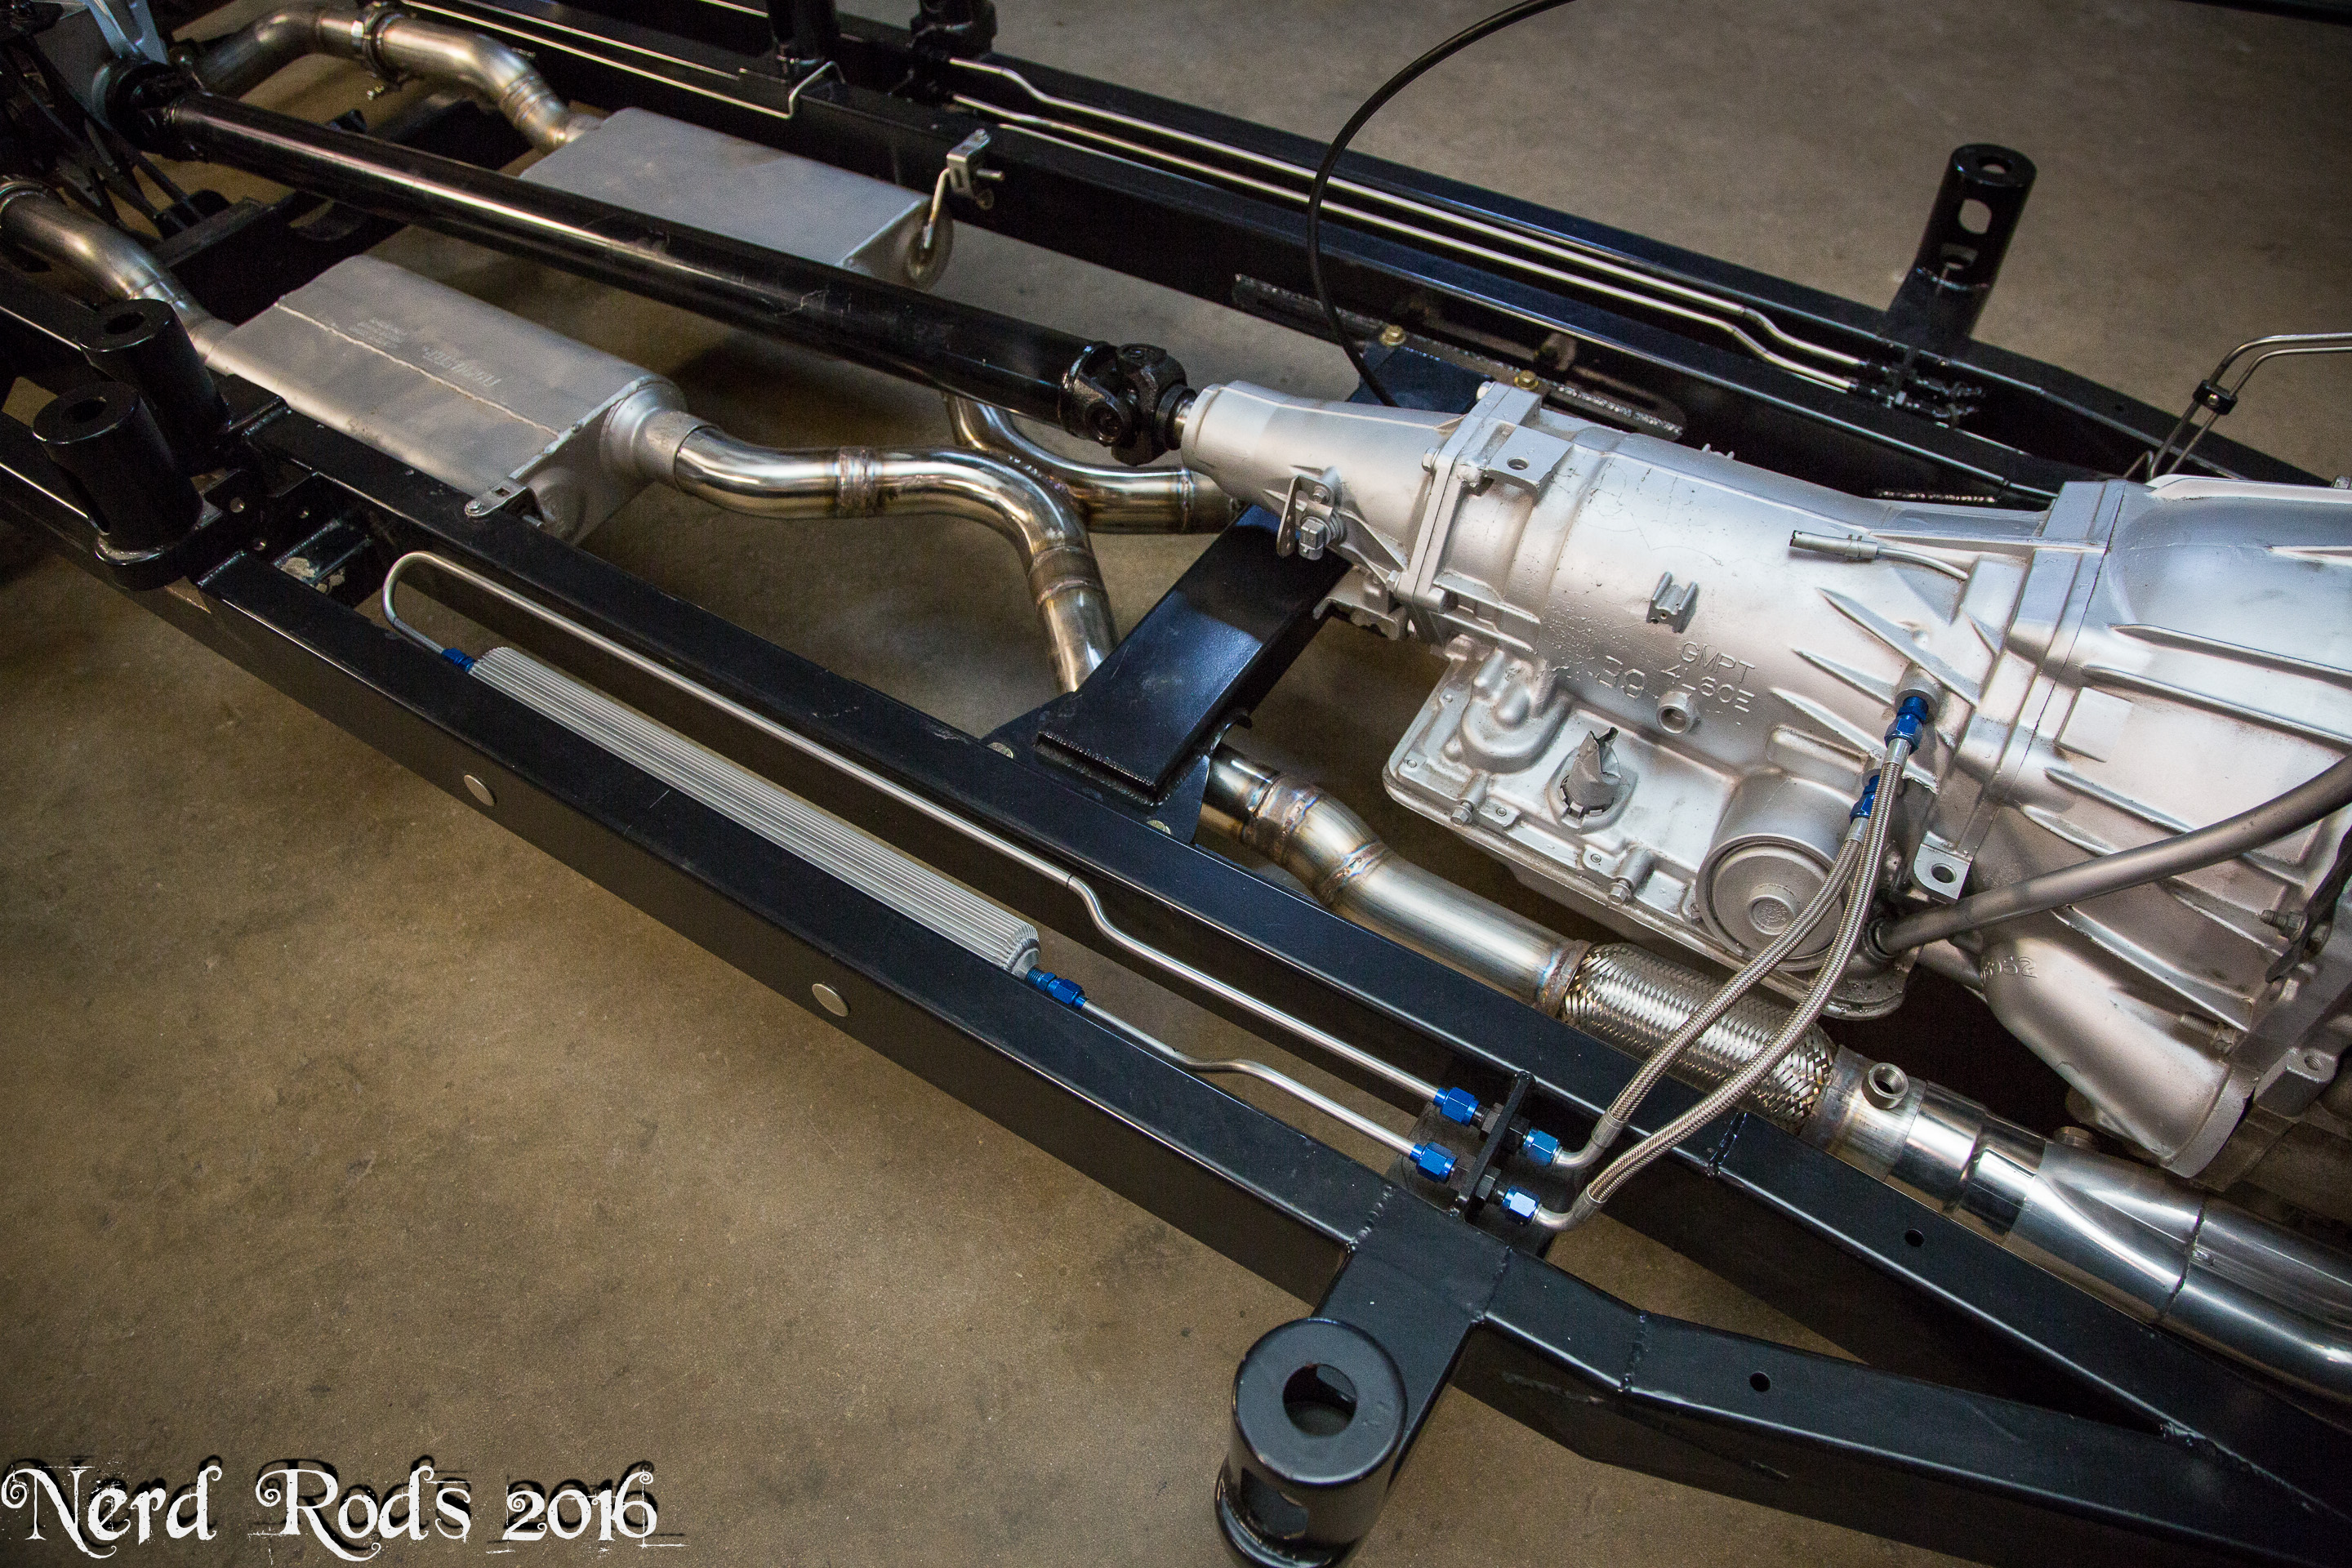
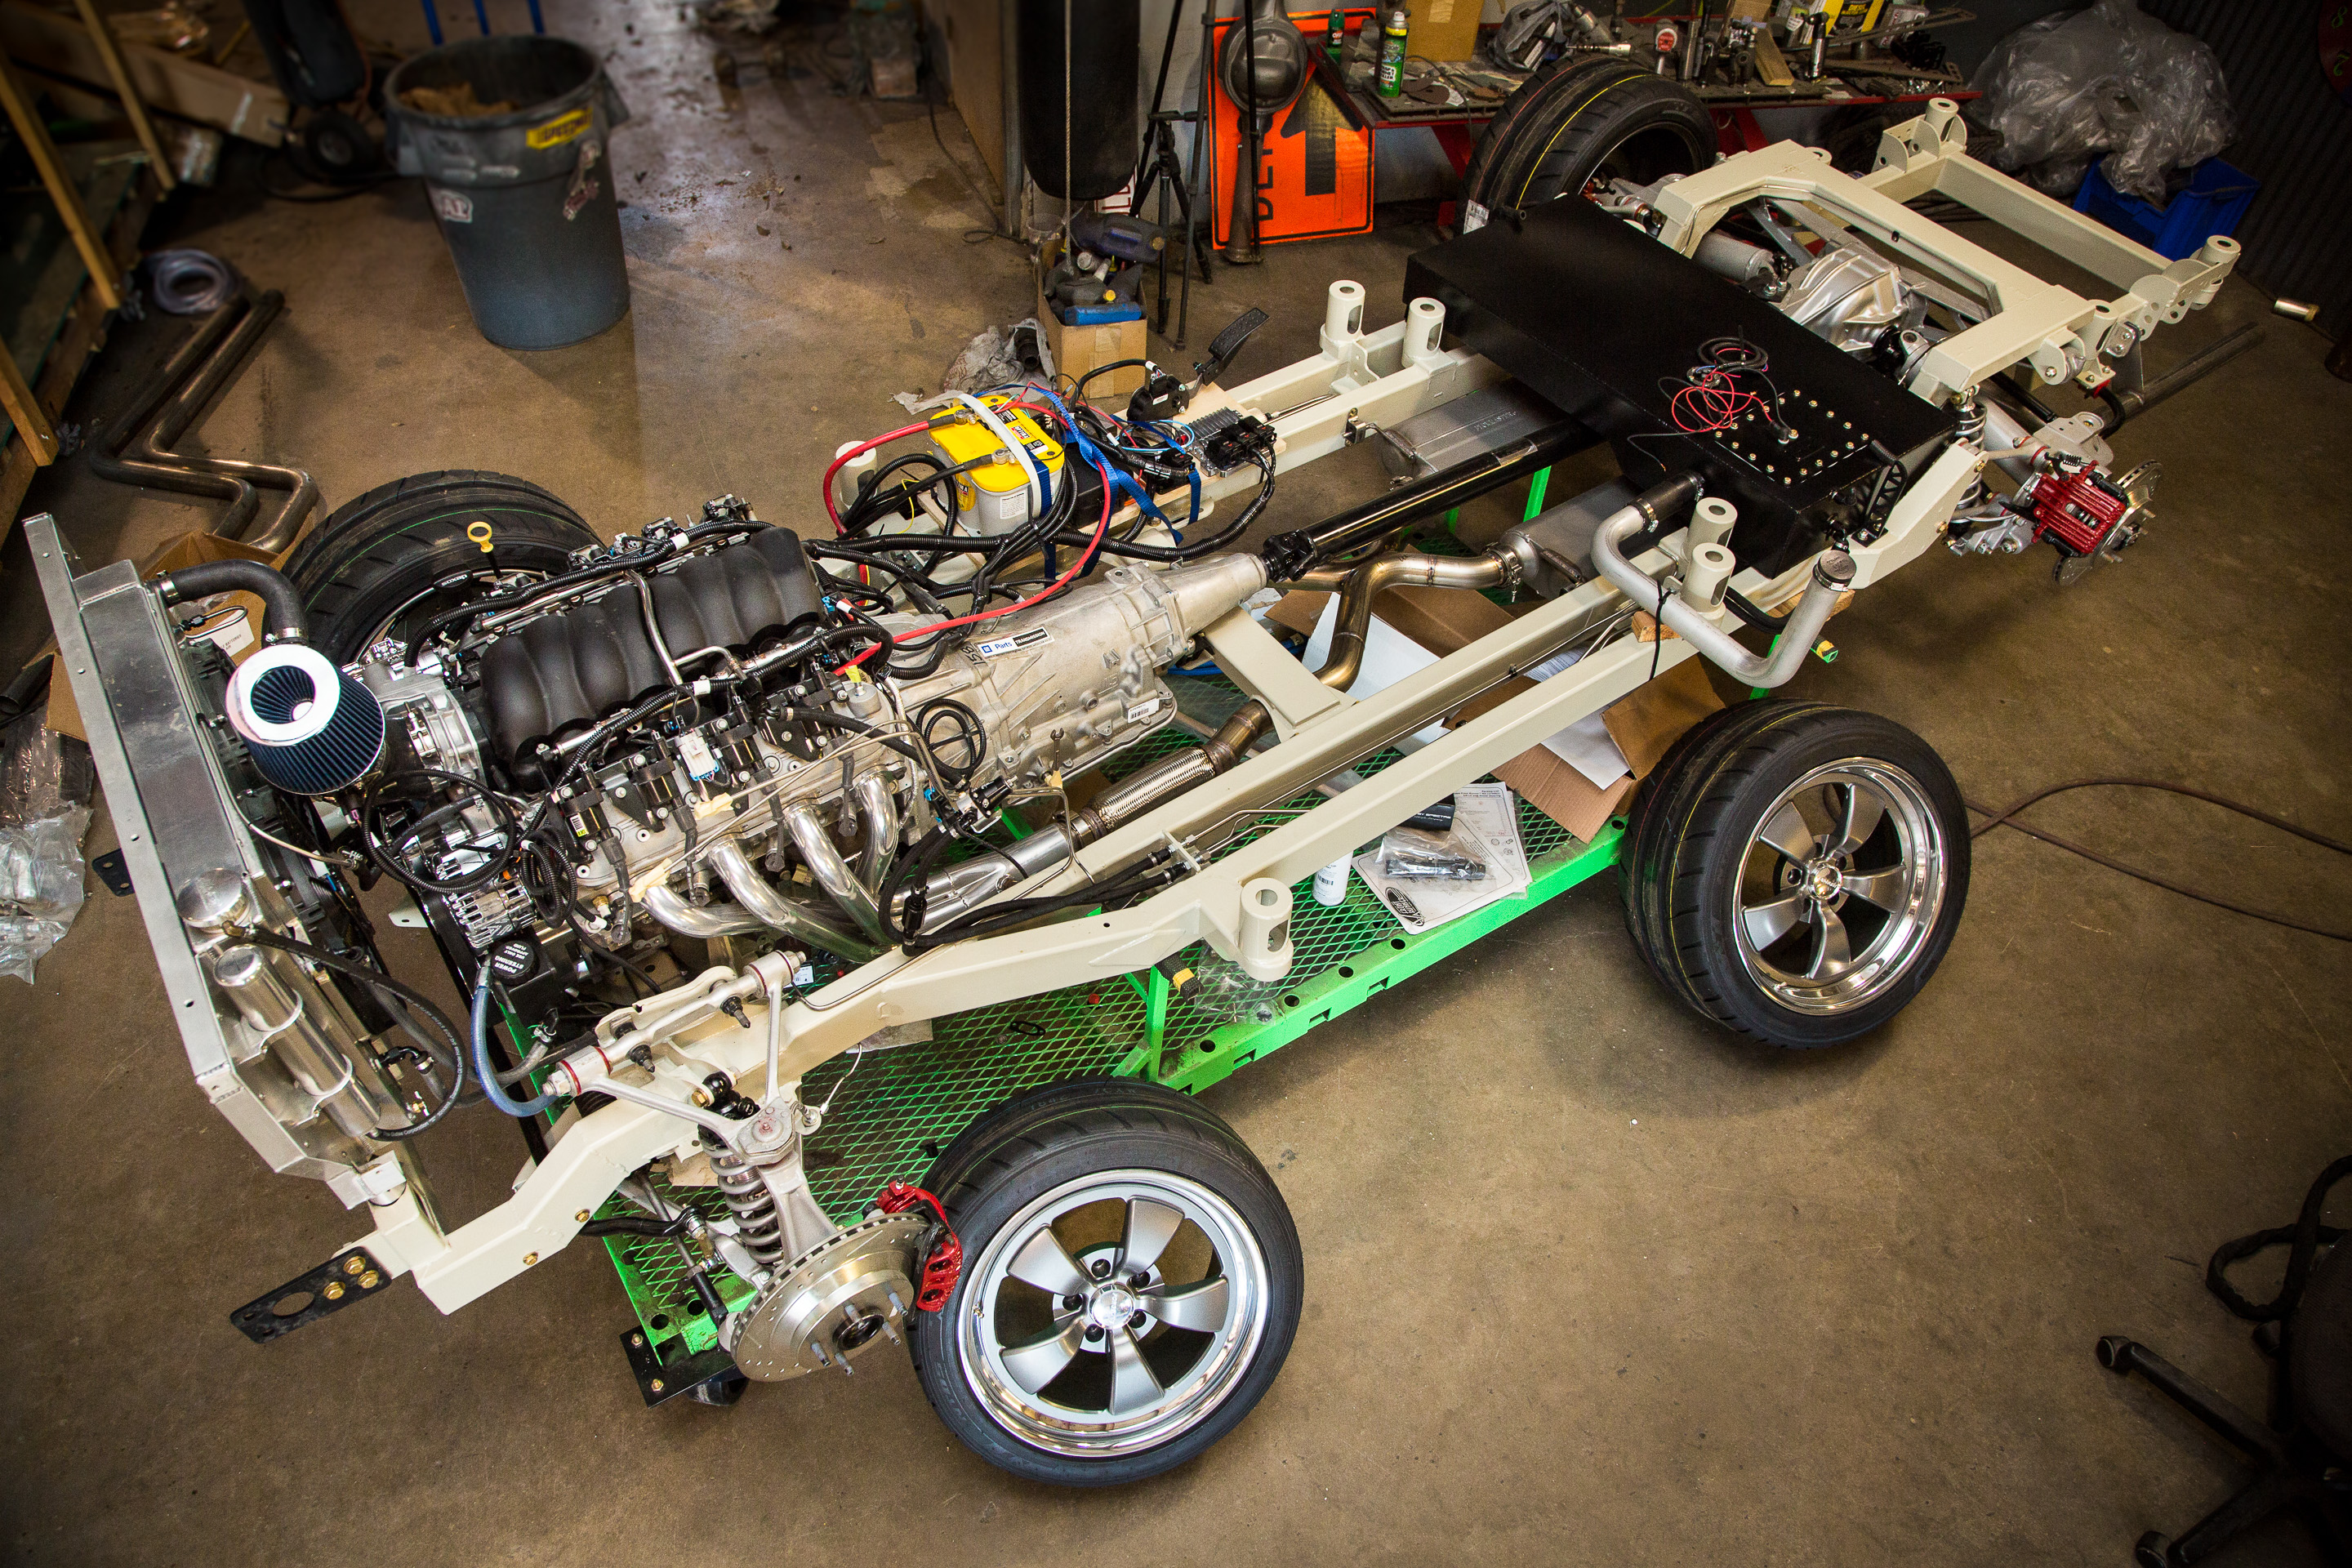
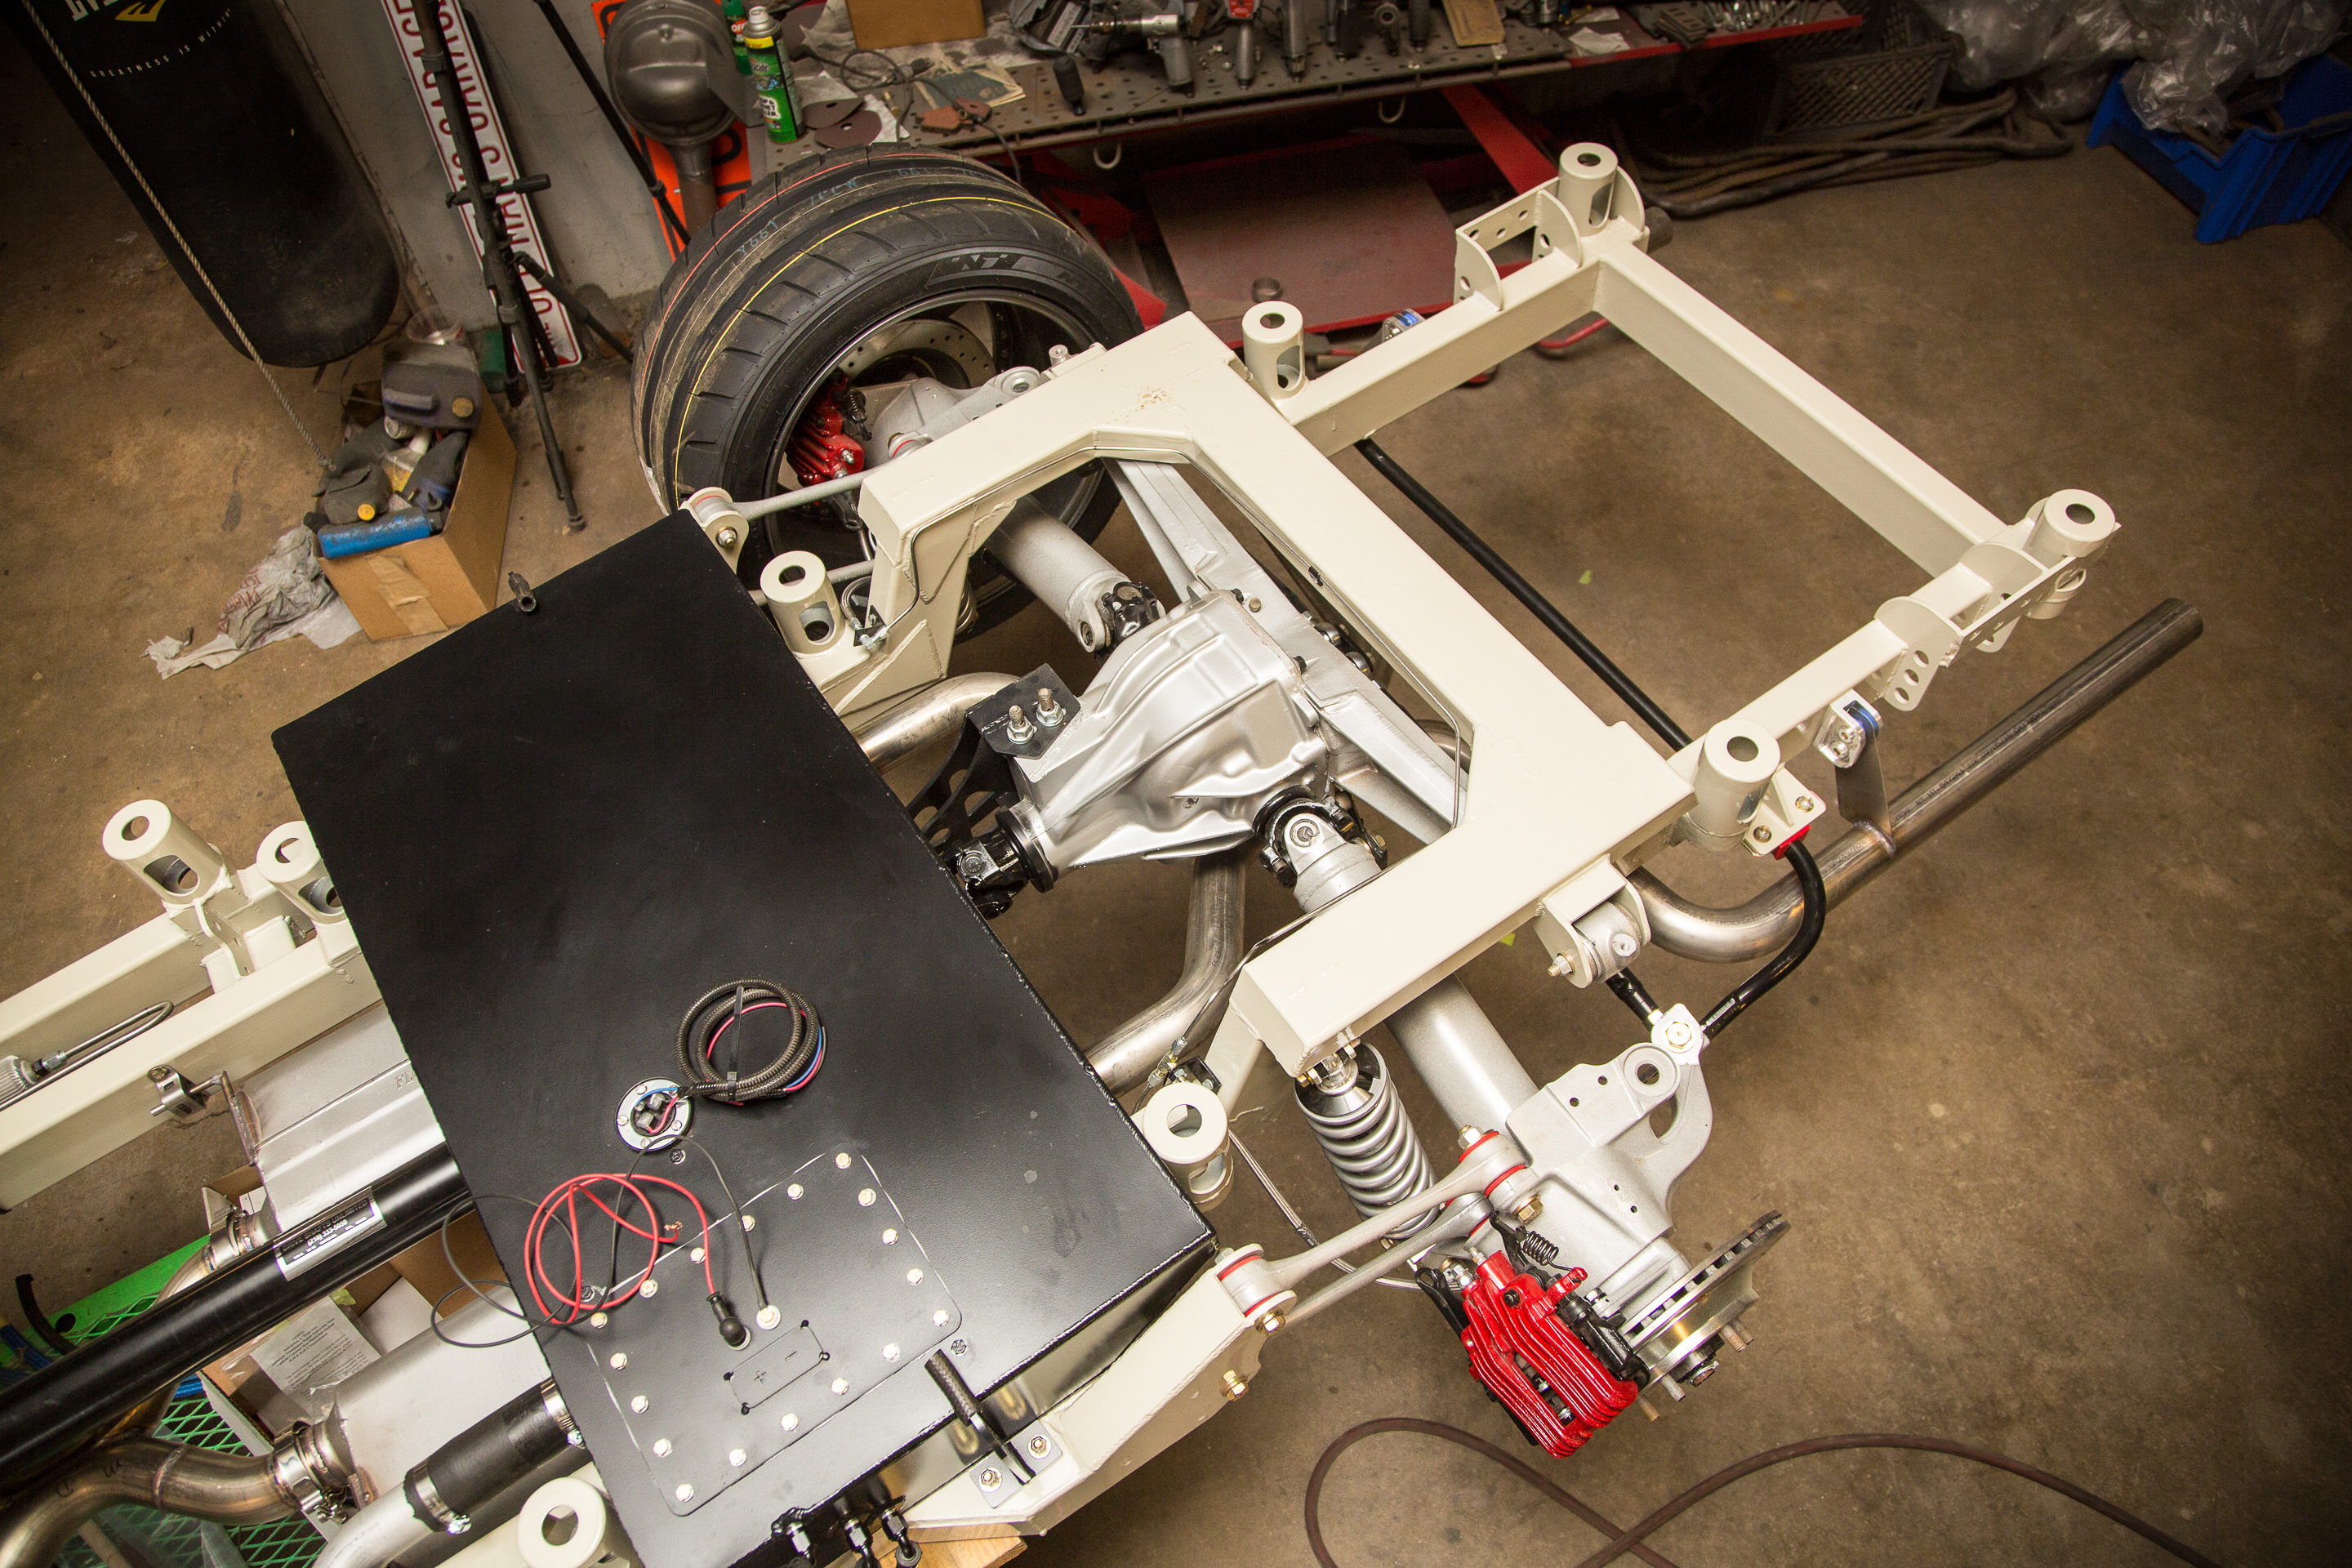
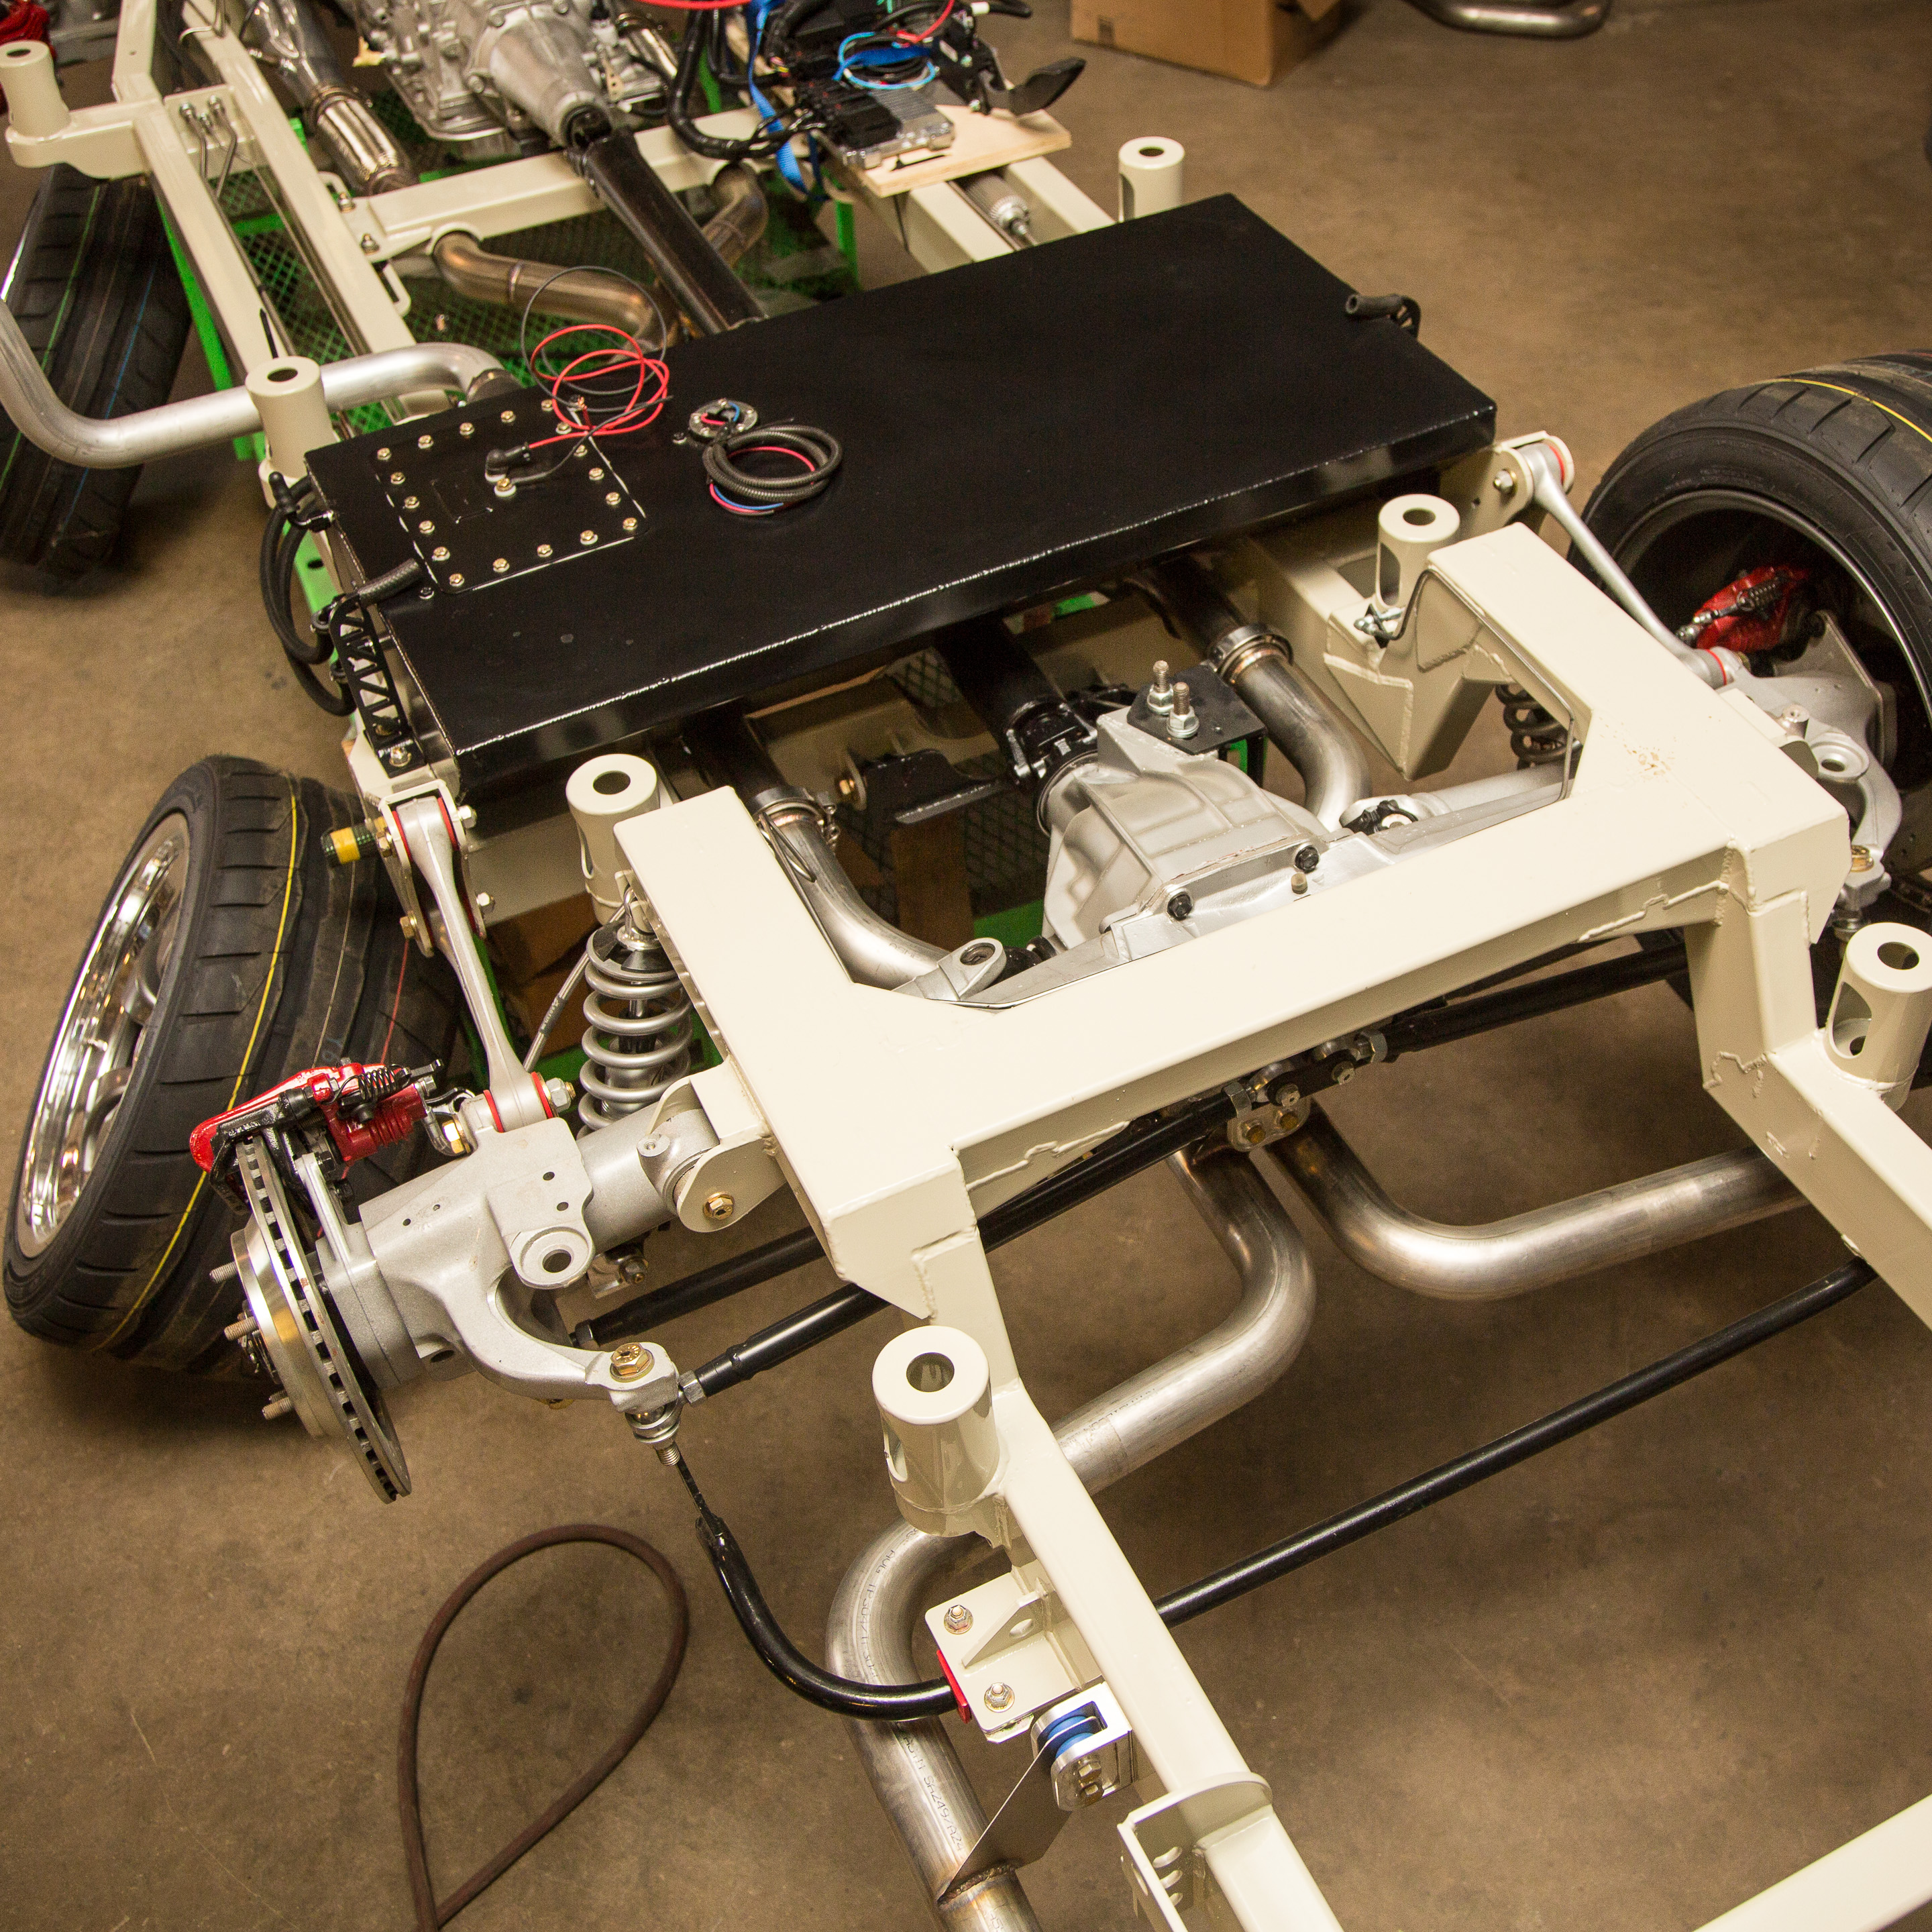
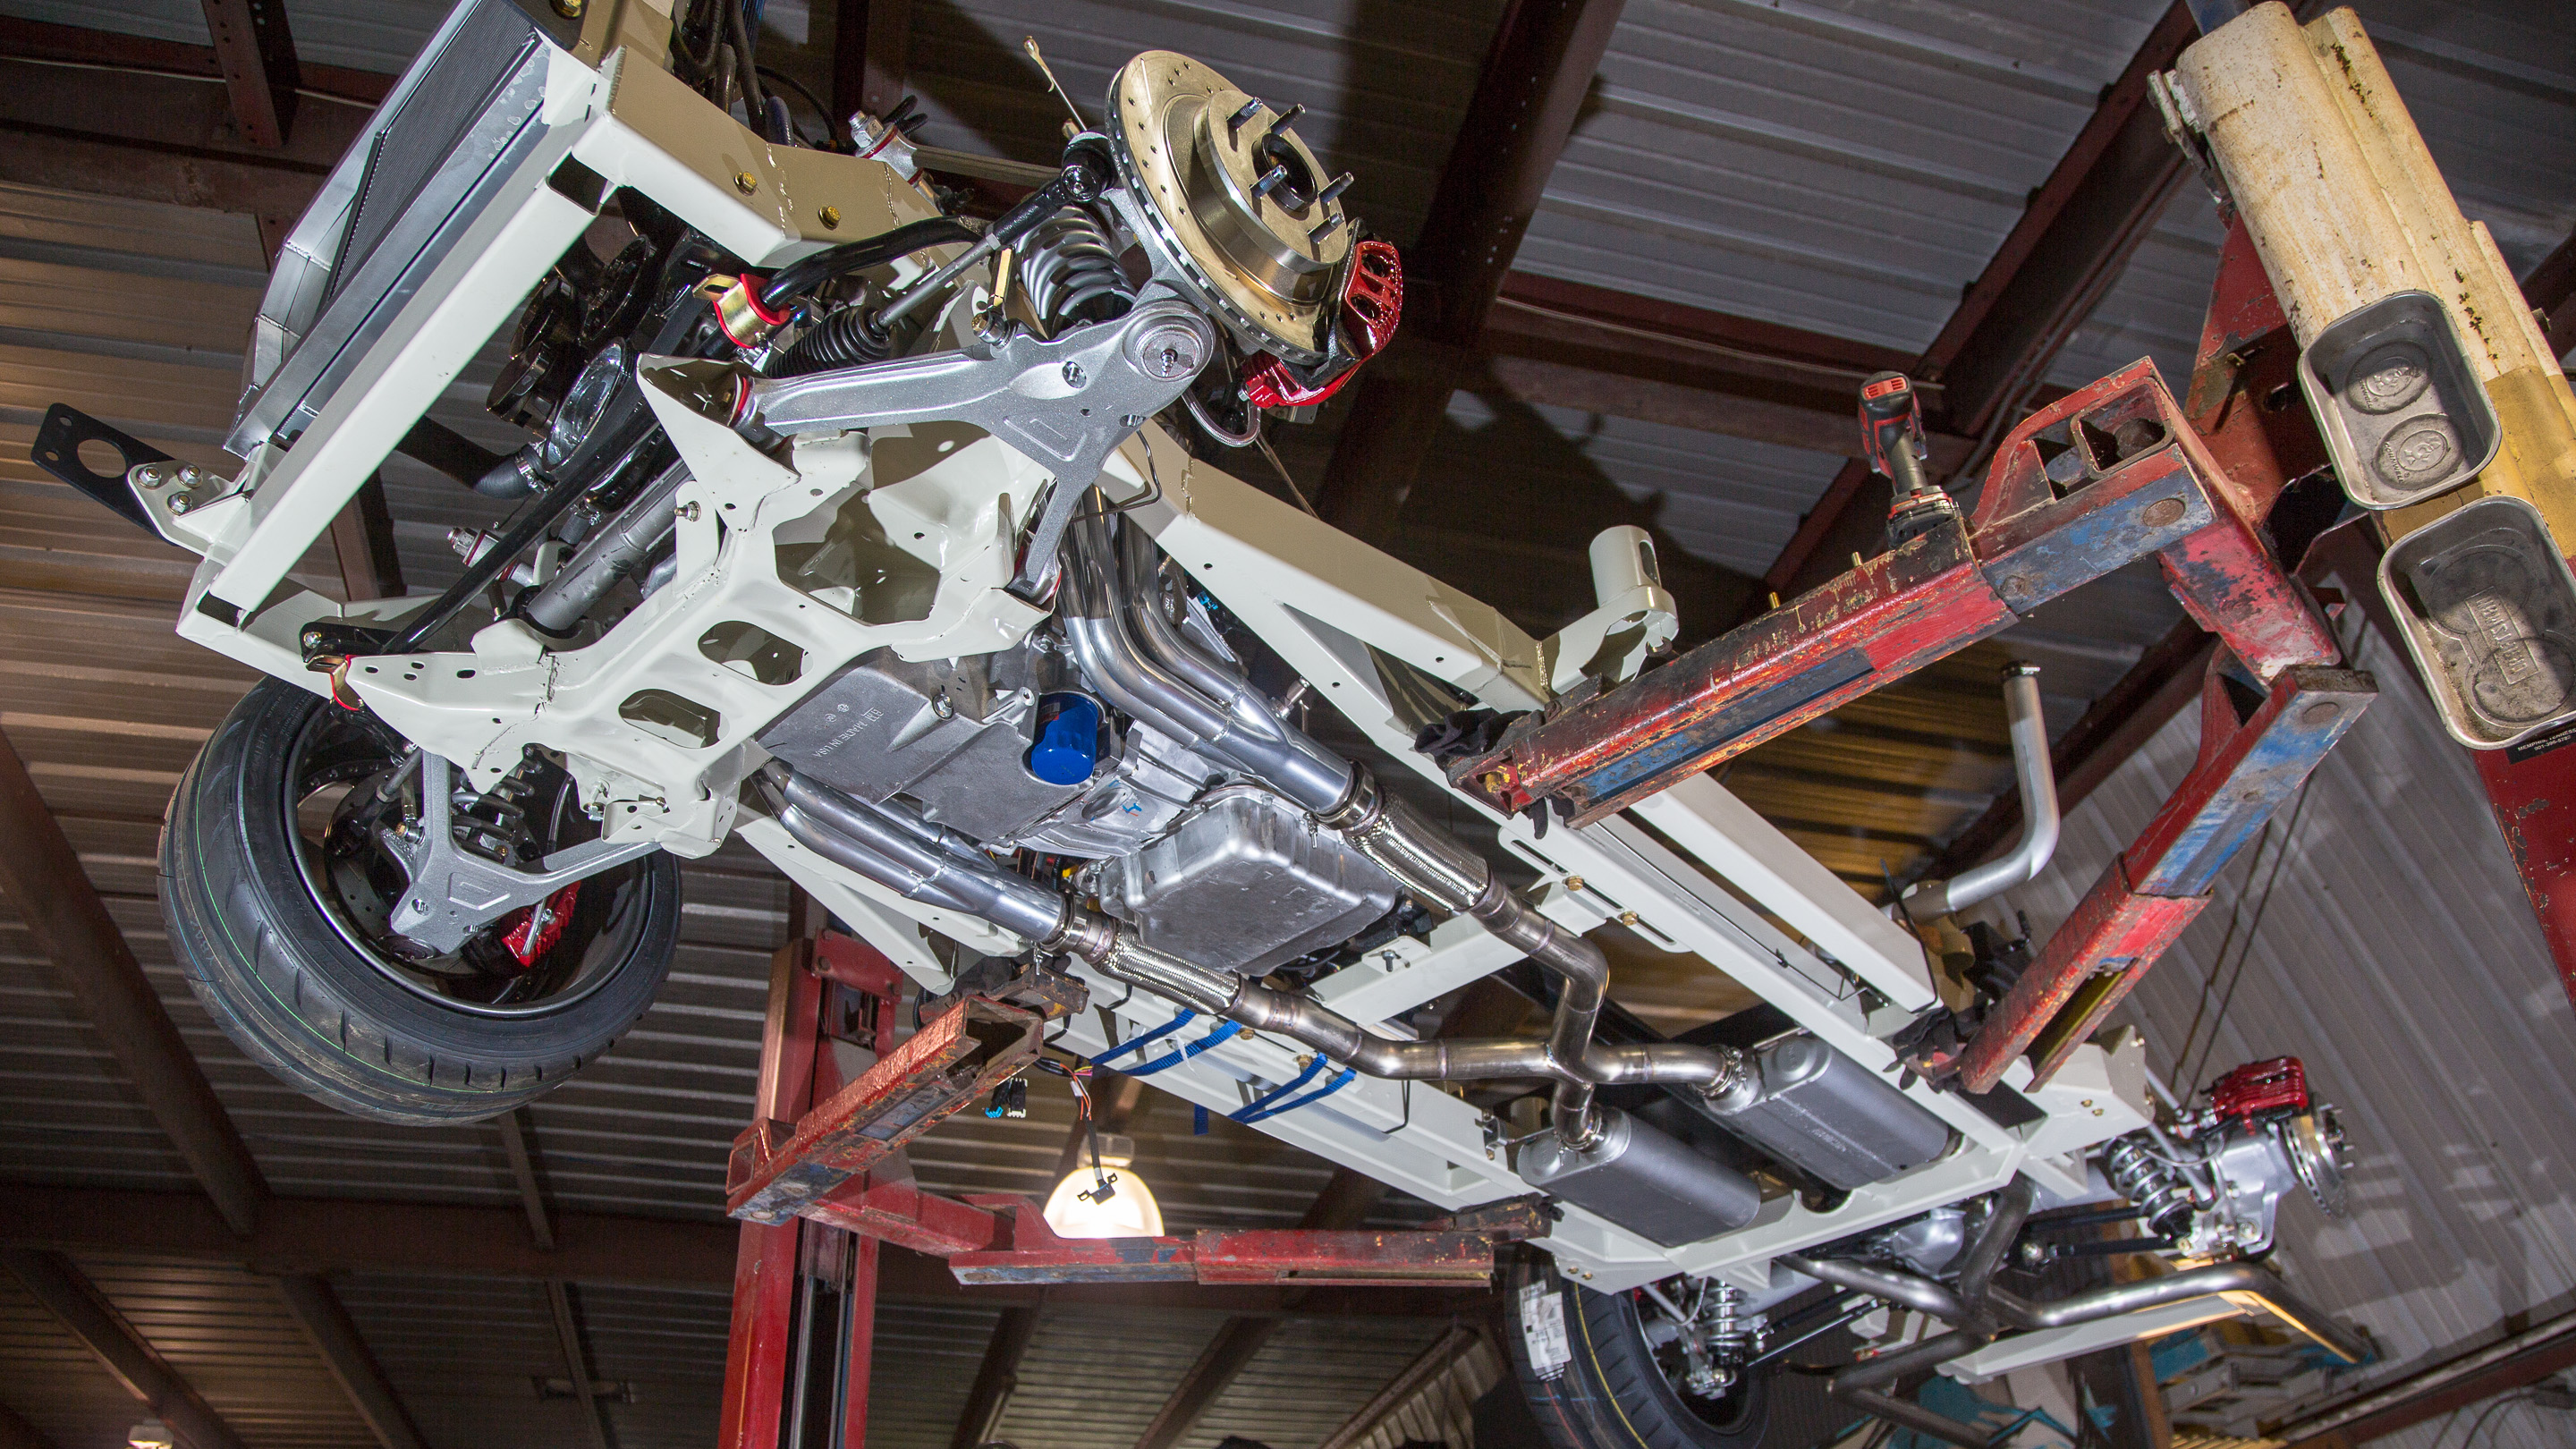
But here are a few details as well. We shipped two of these out a few weeks back and we're knee deep in a few other projects.
  
  
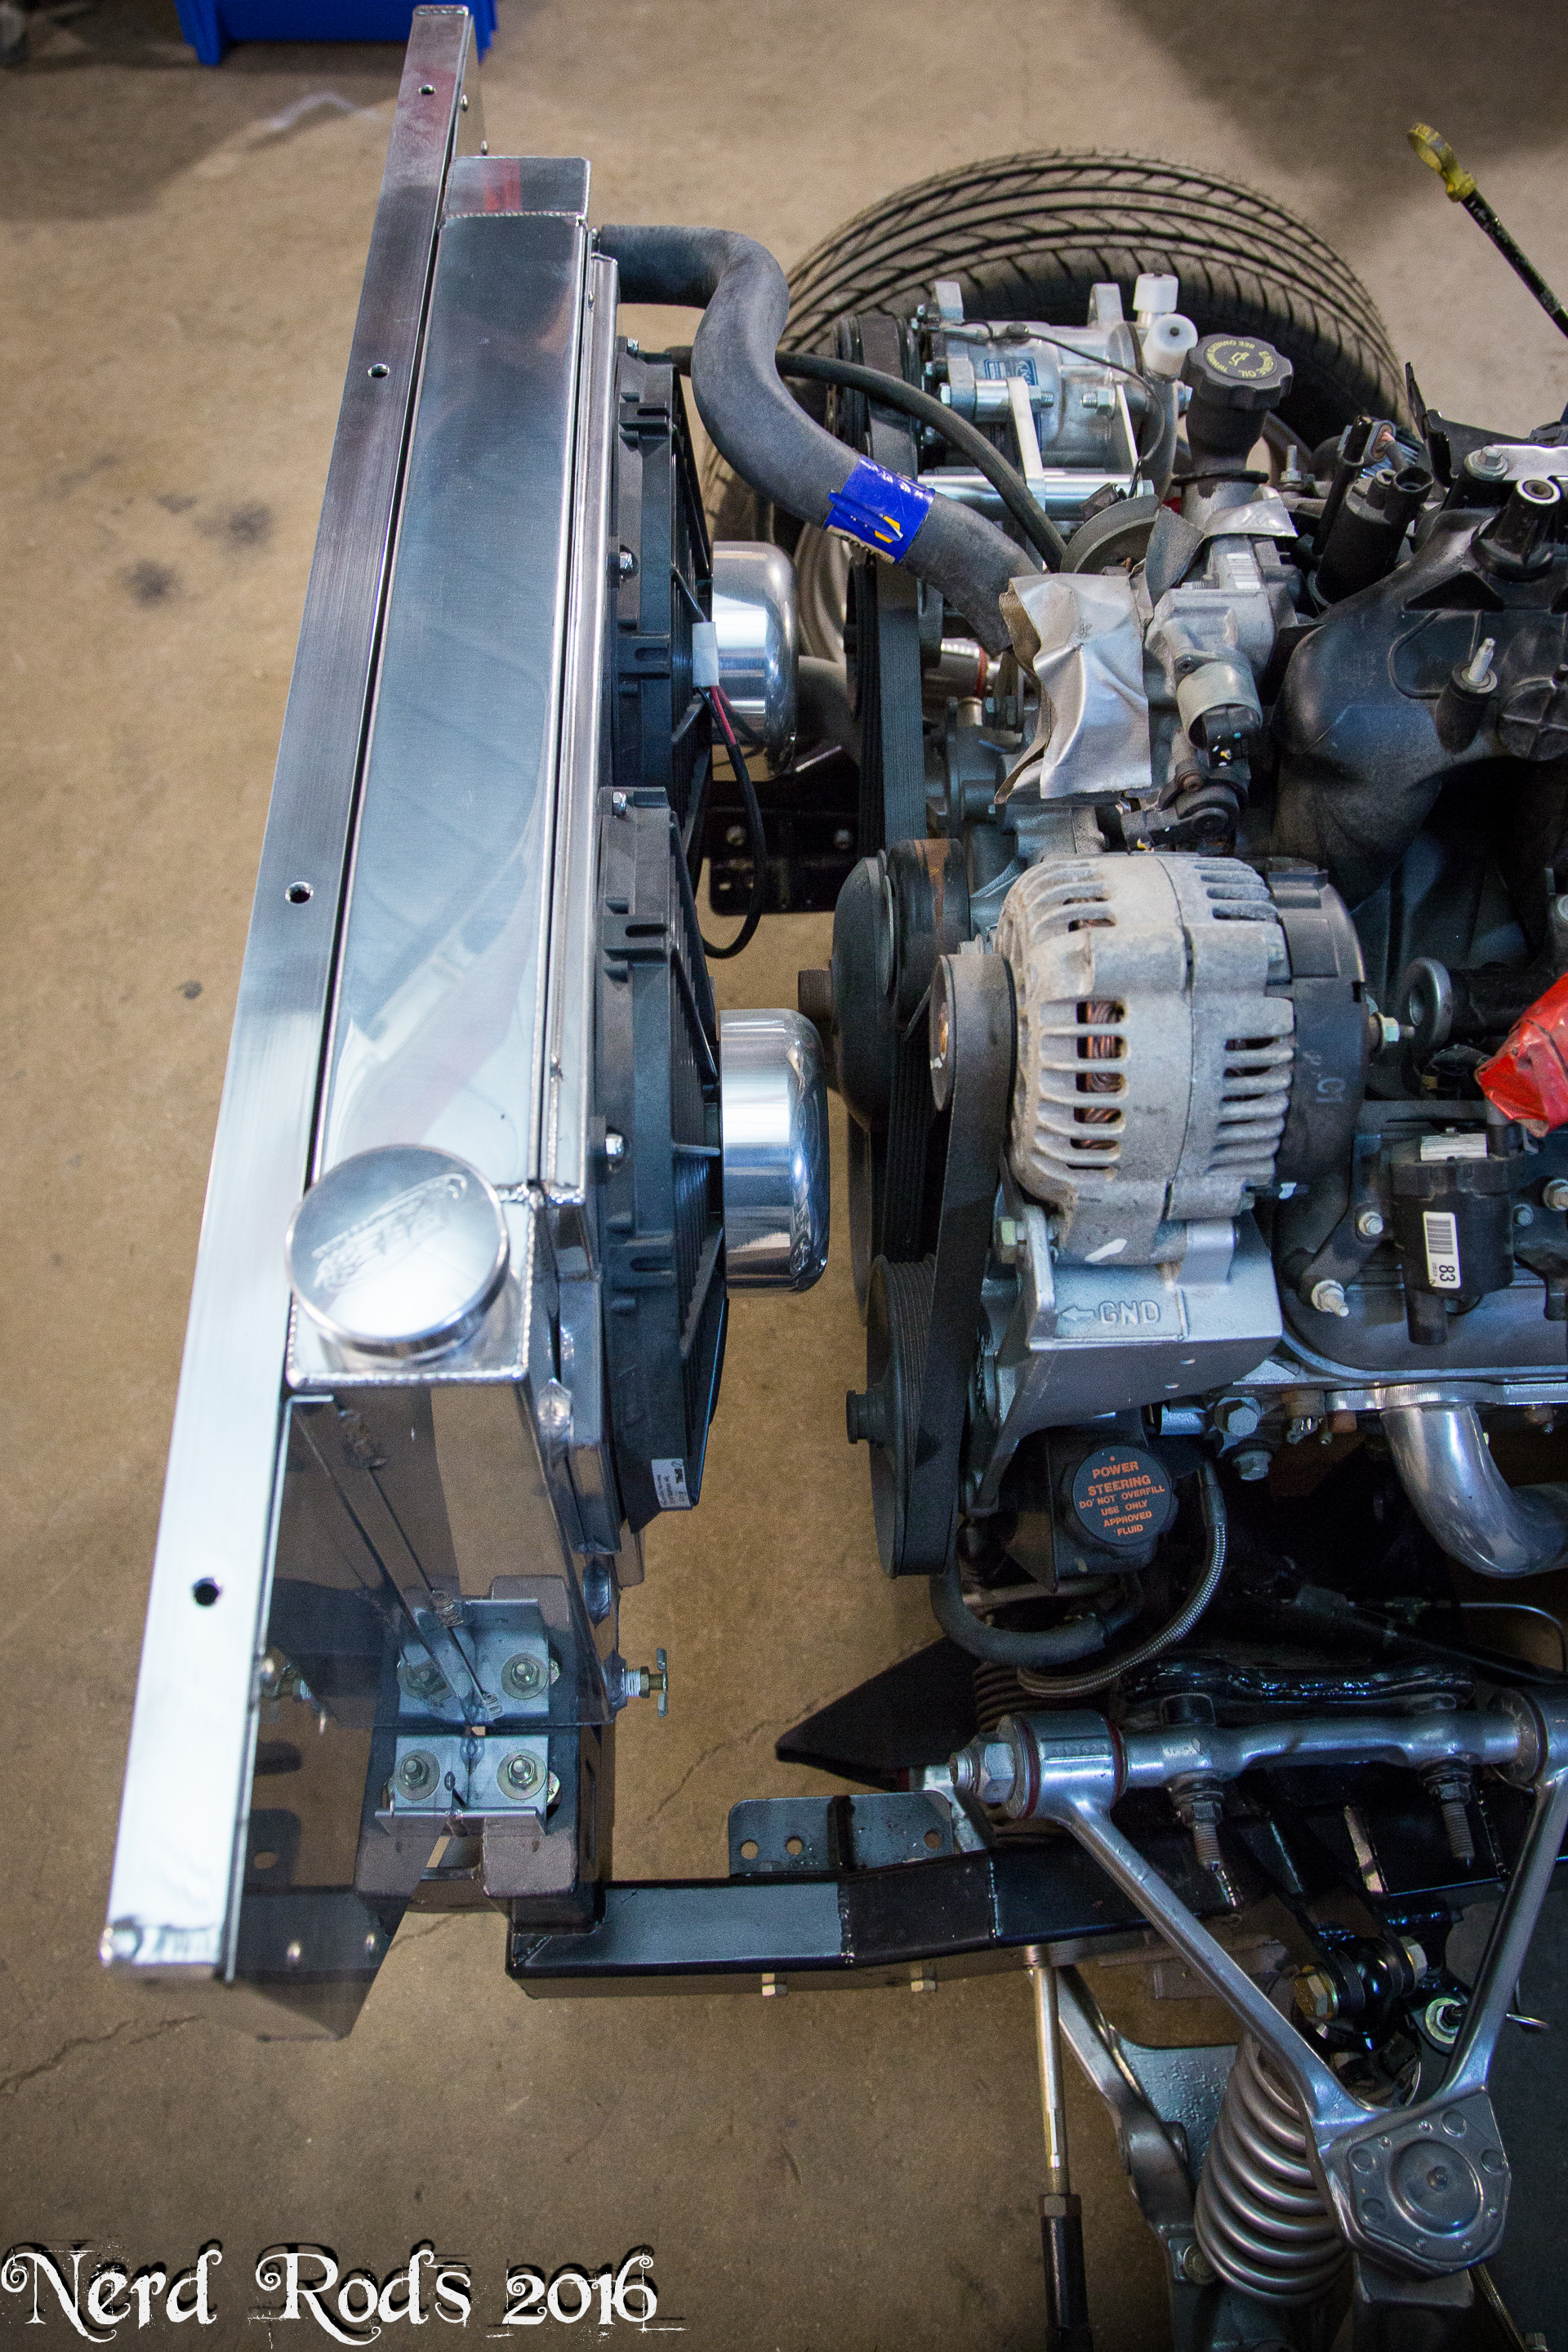
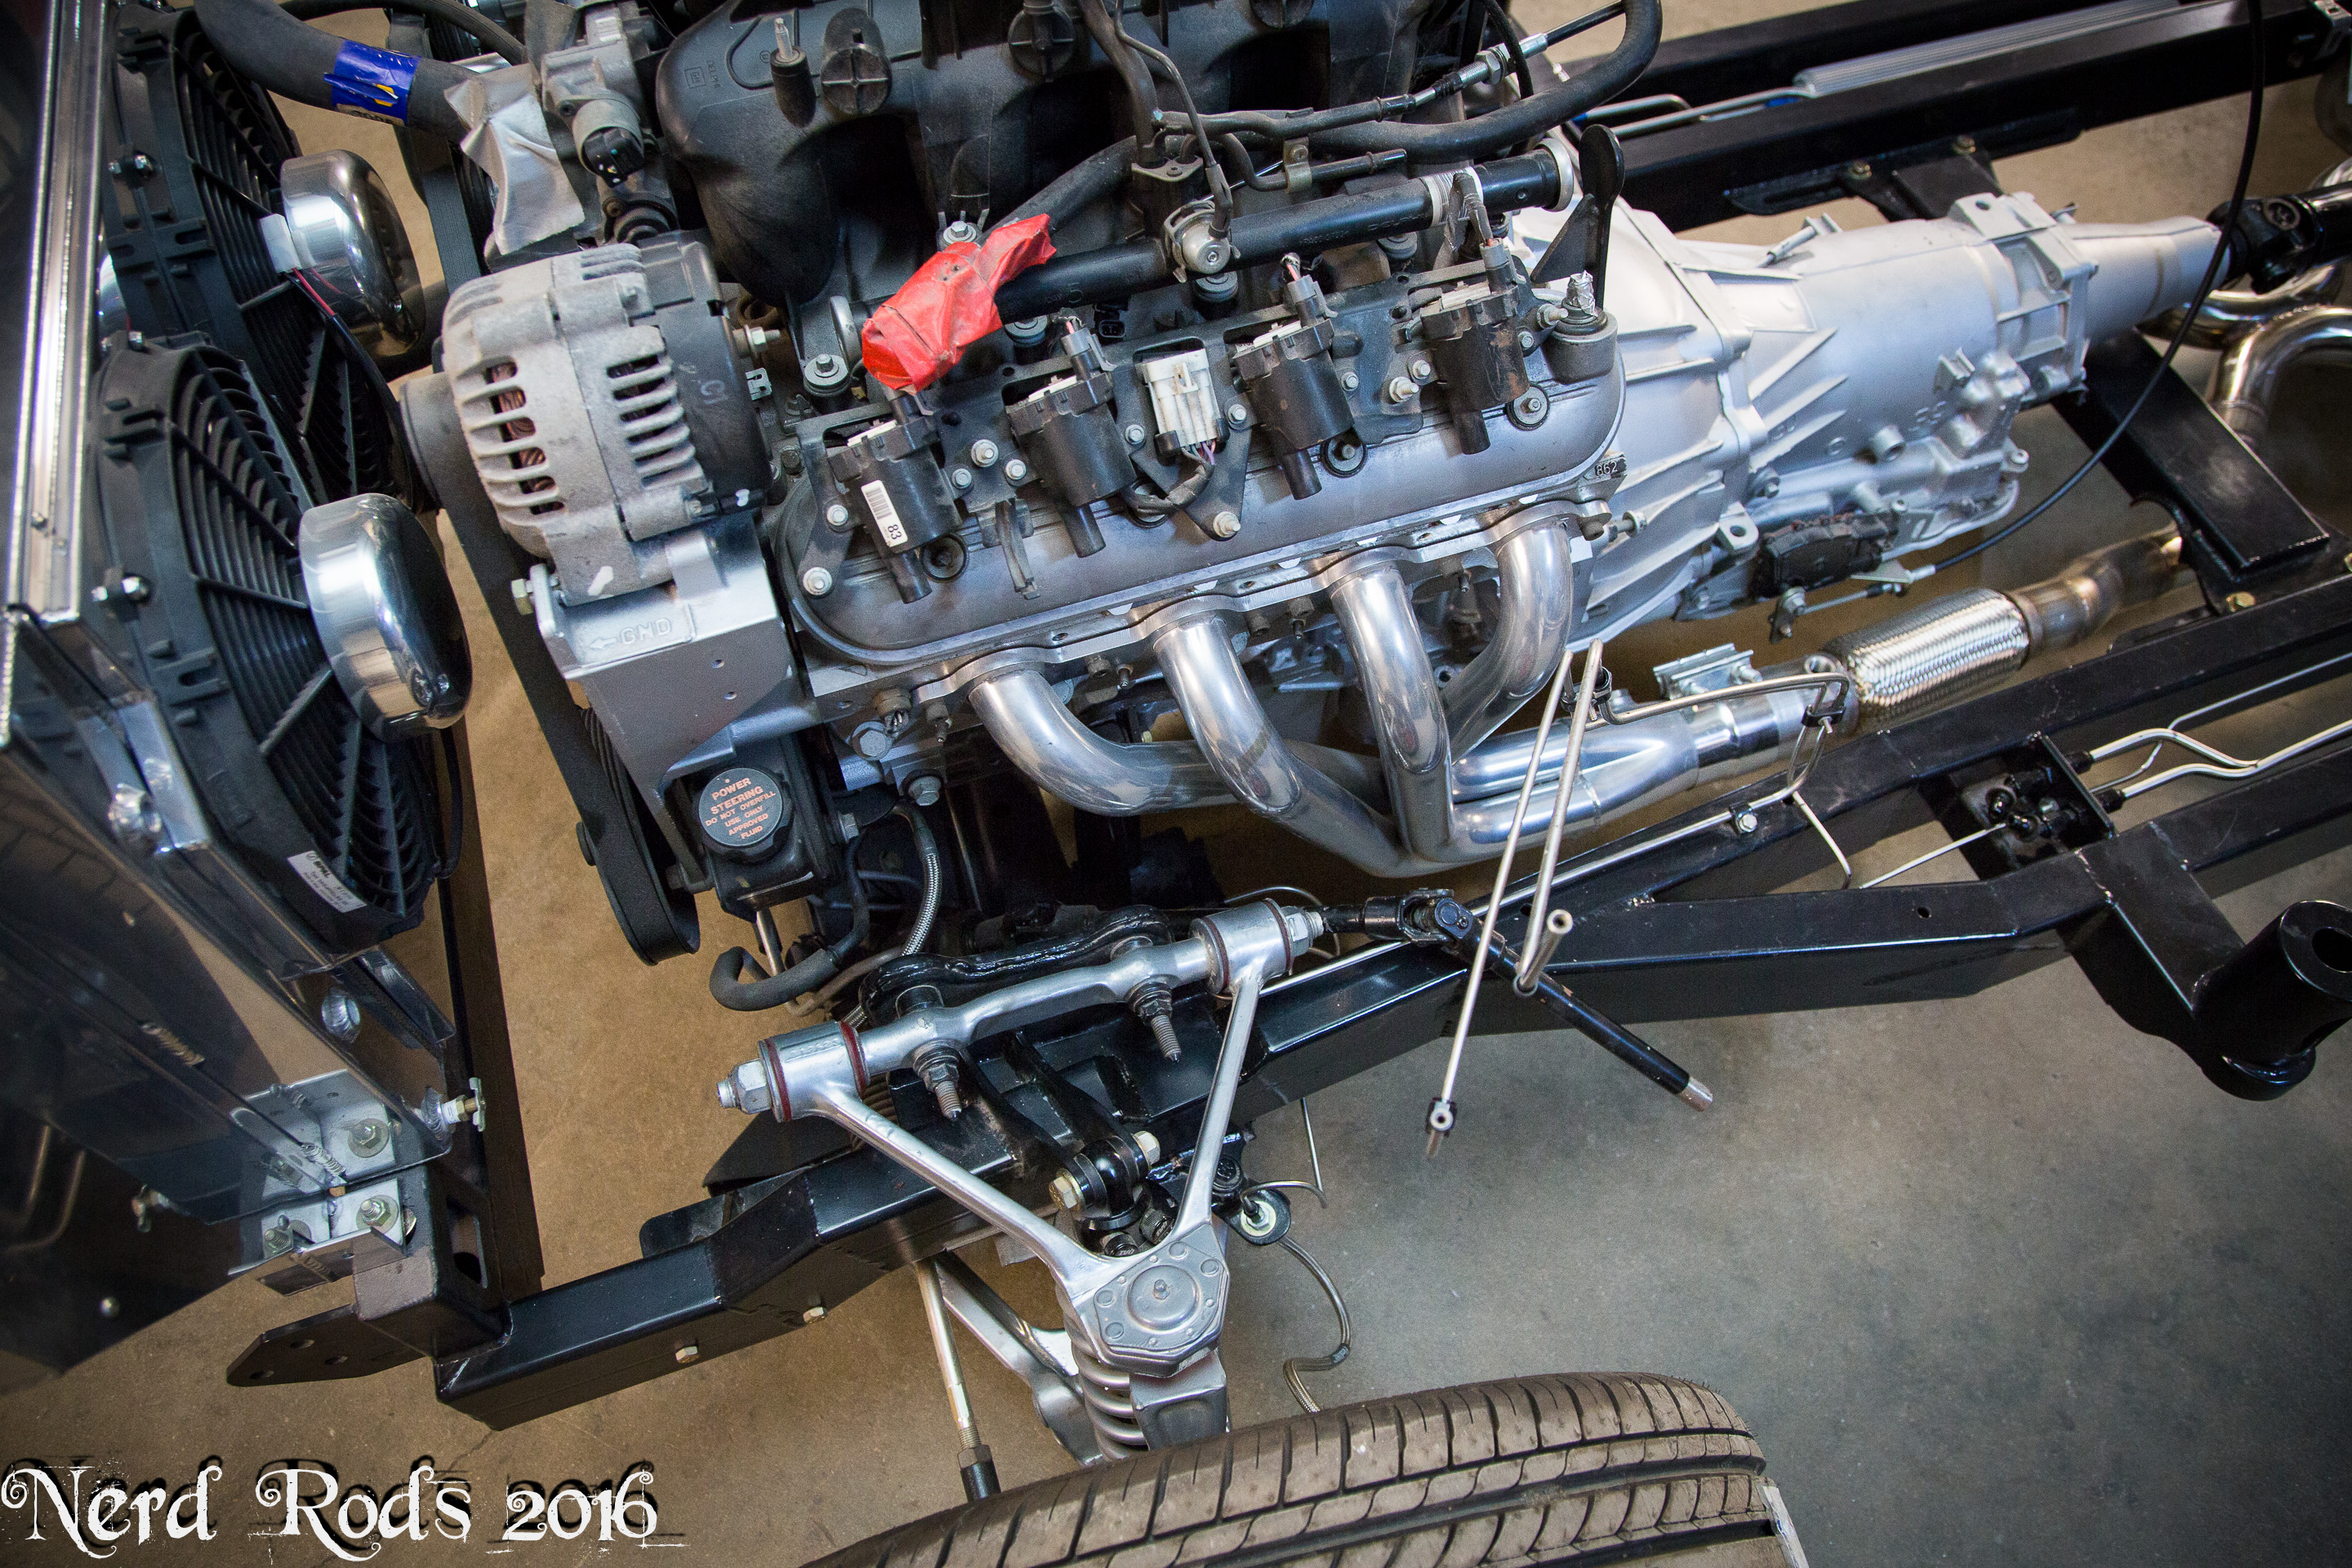
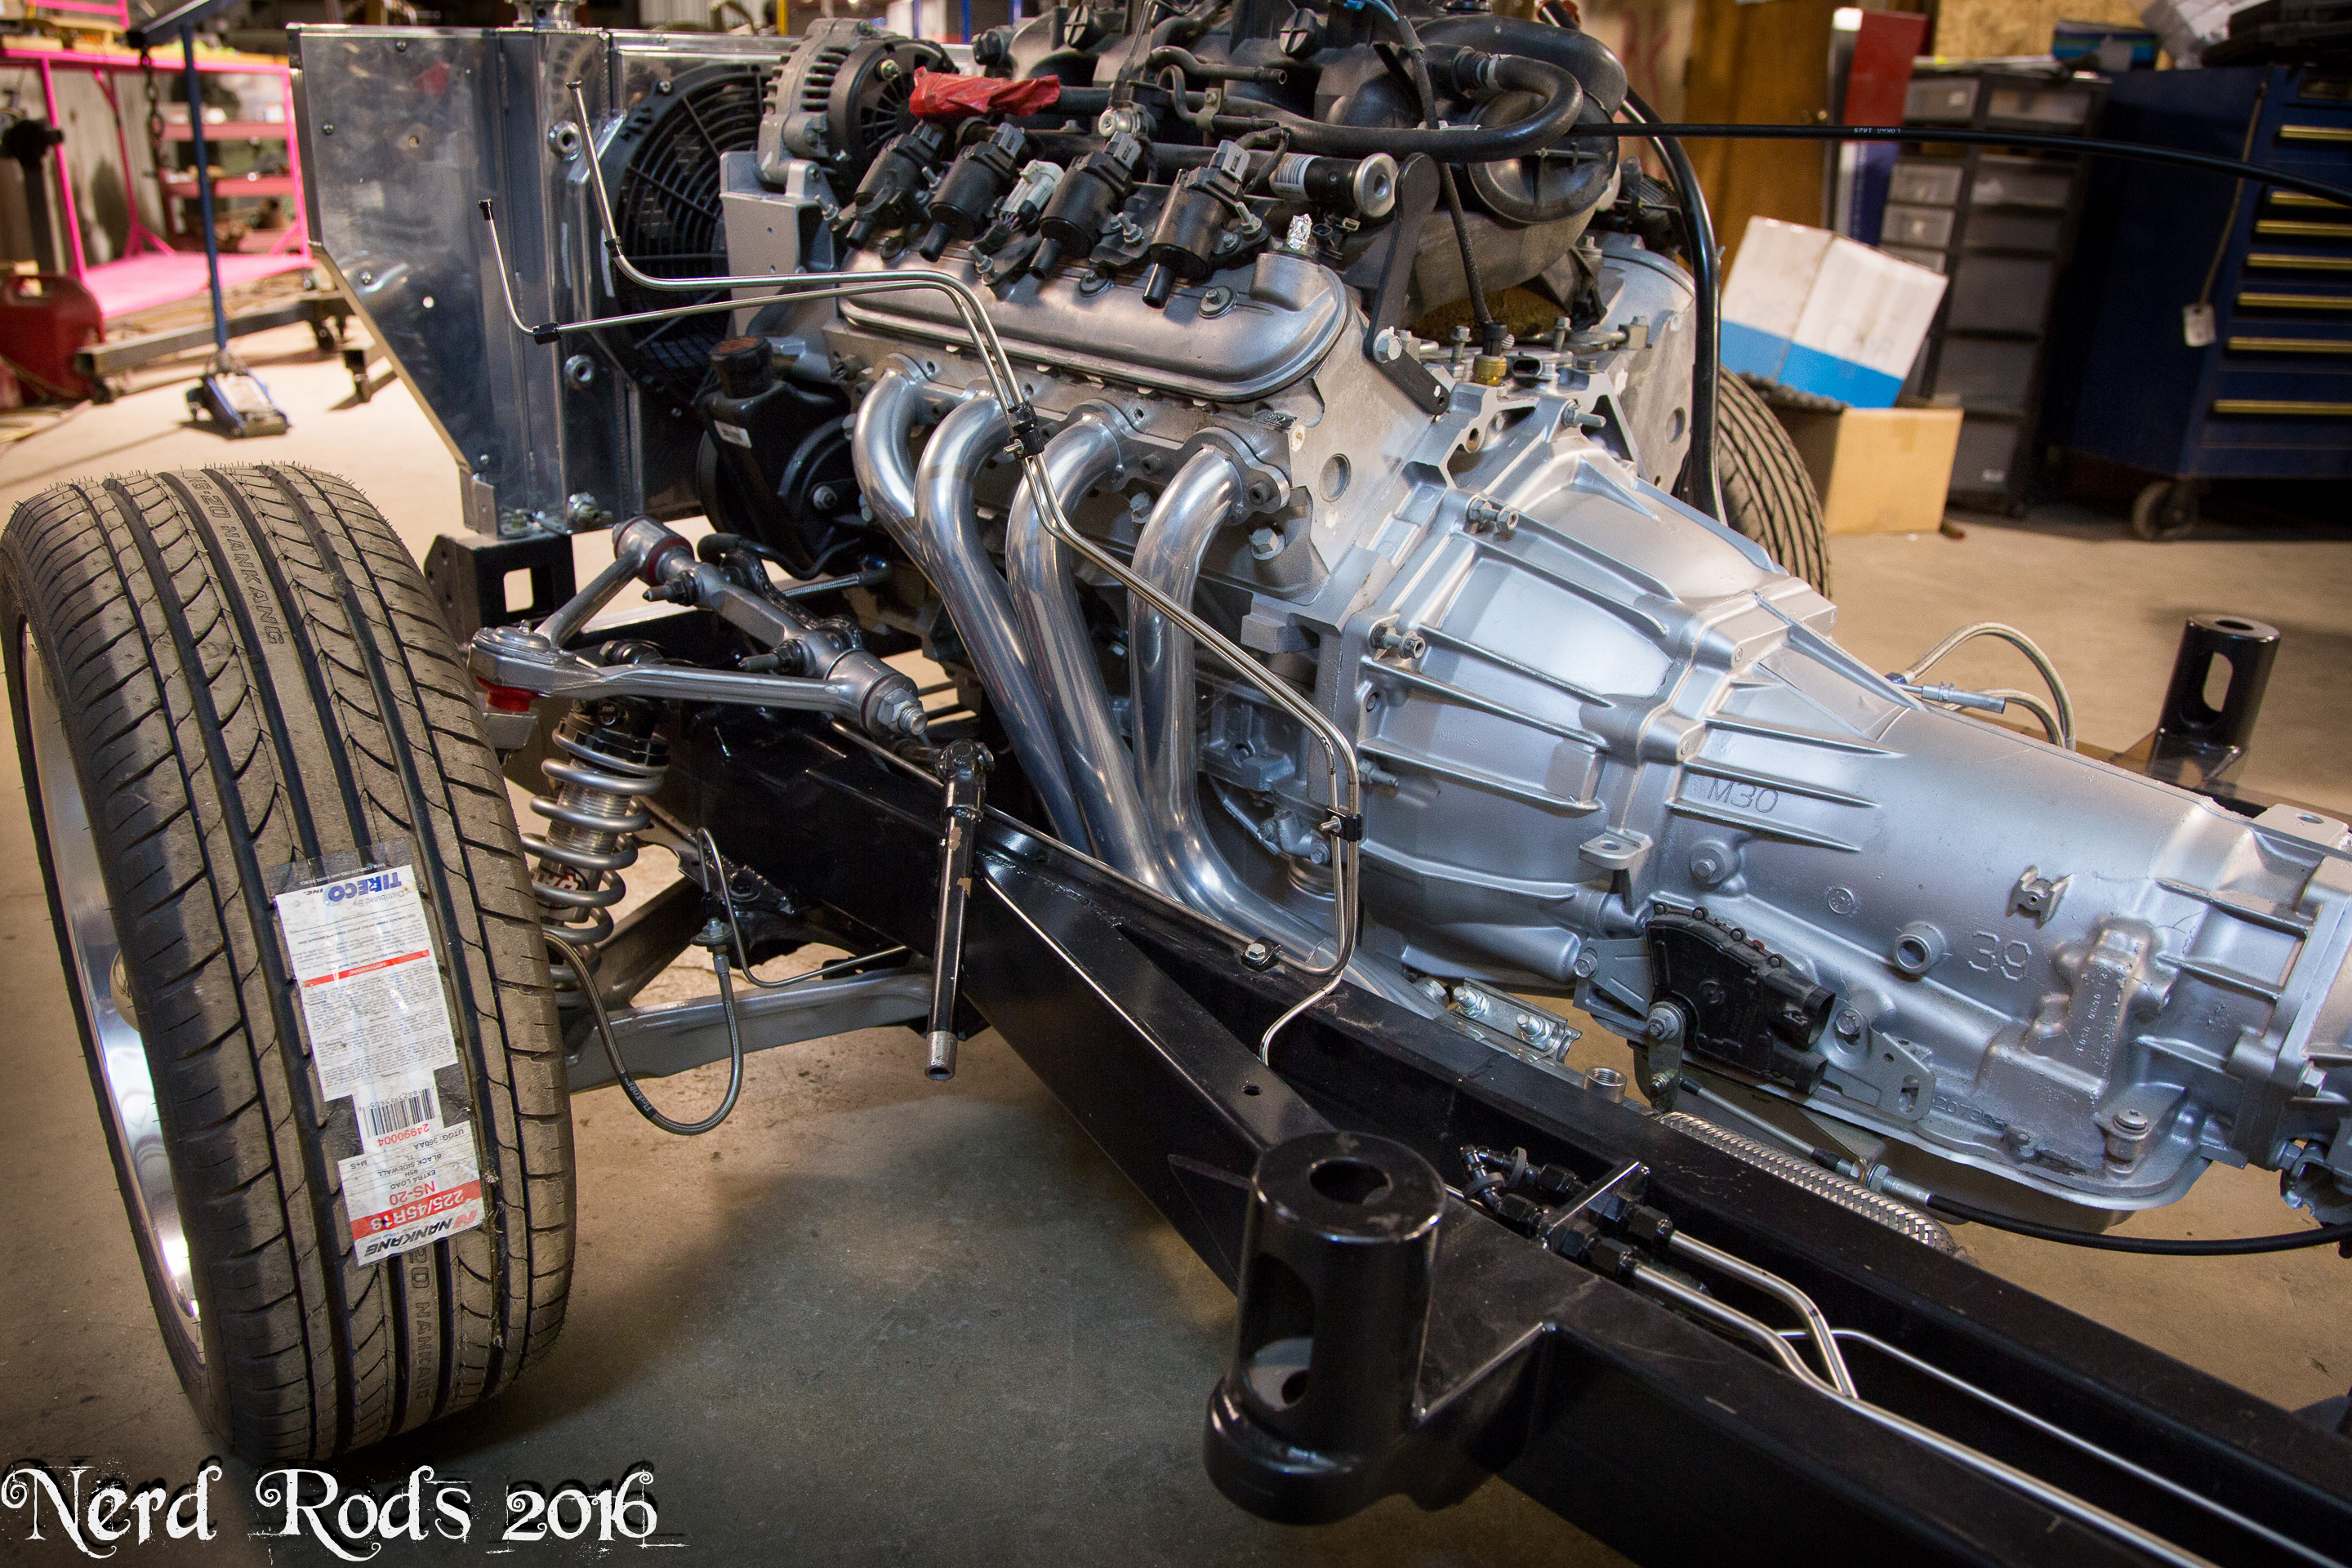
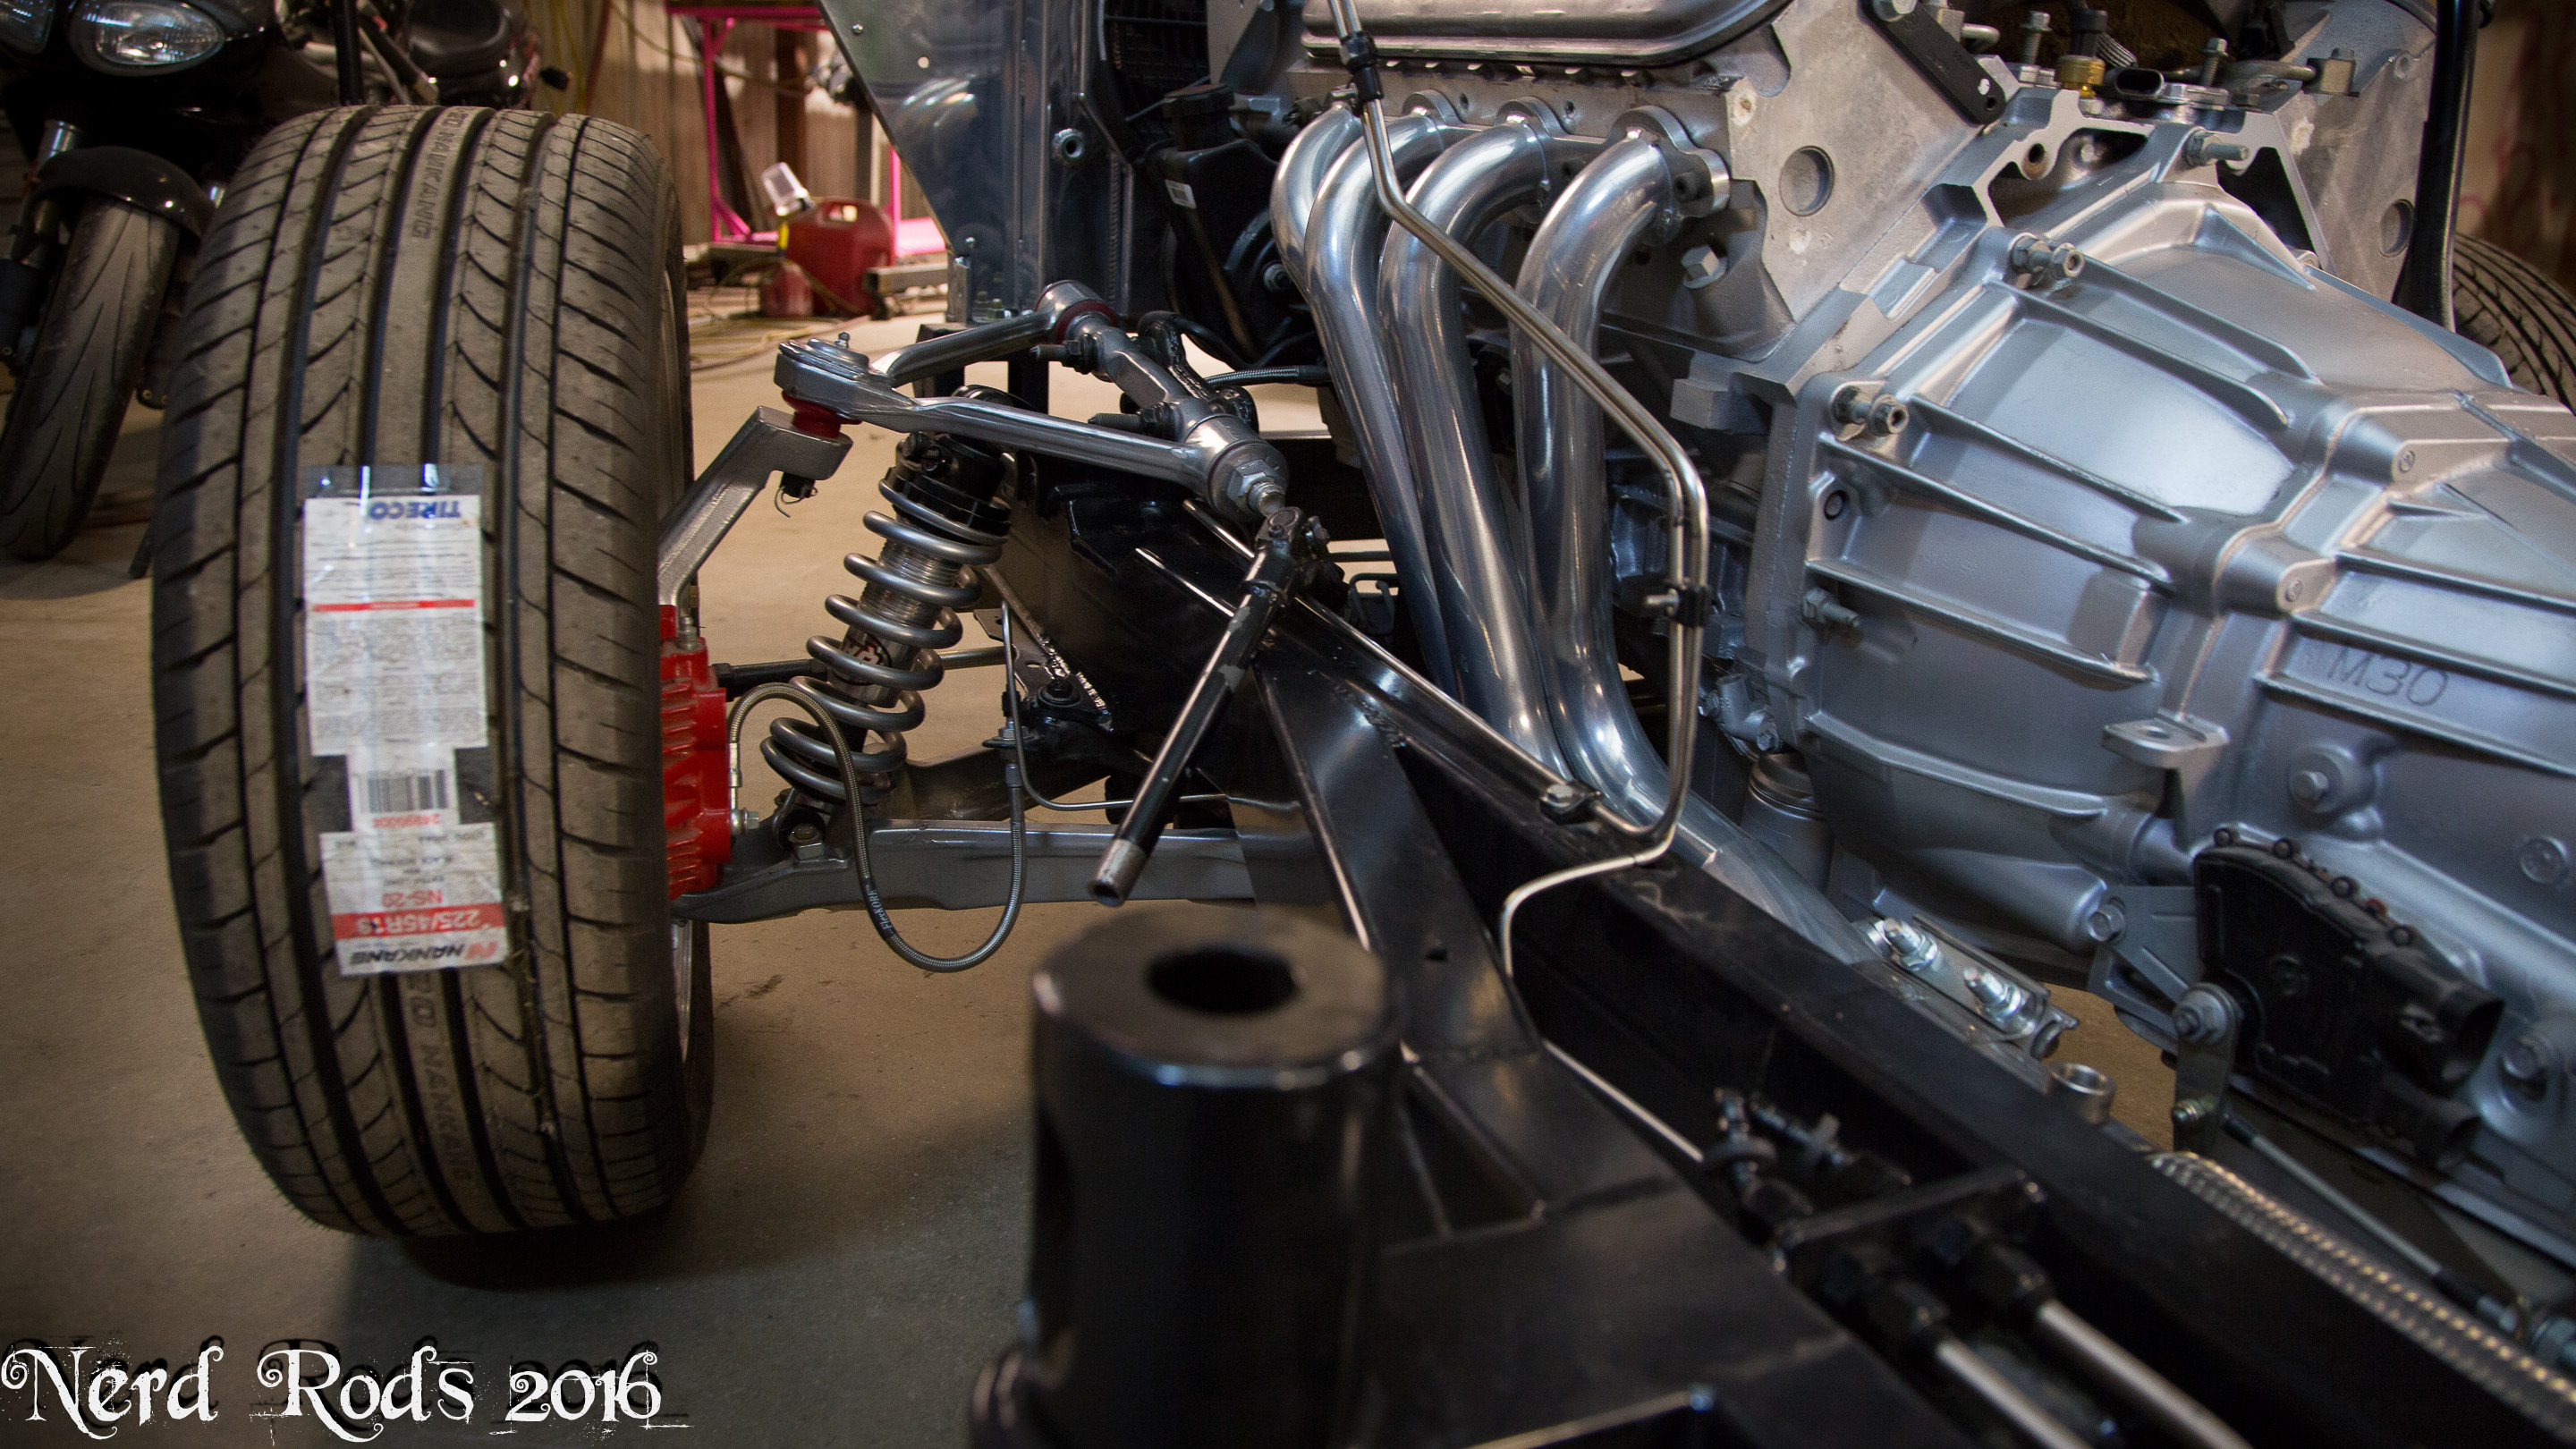
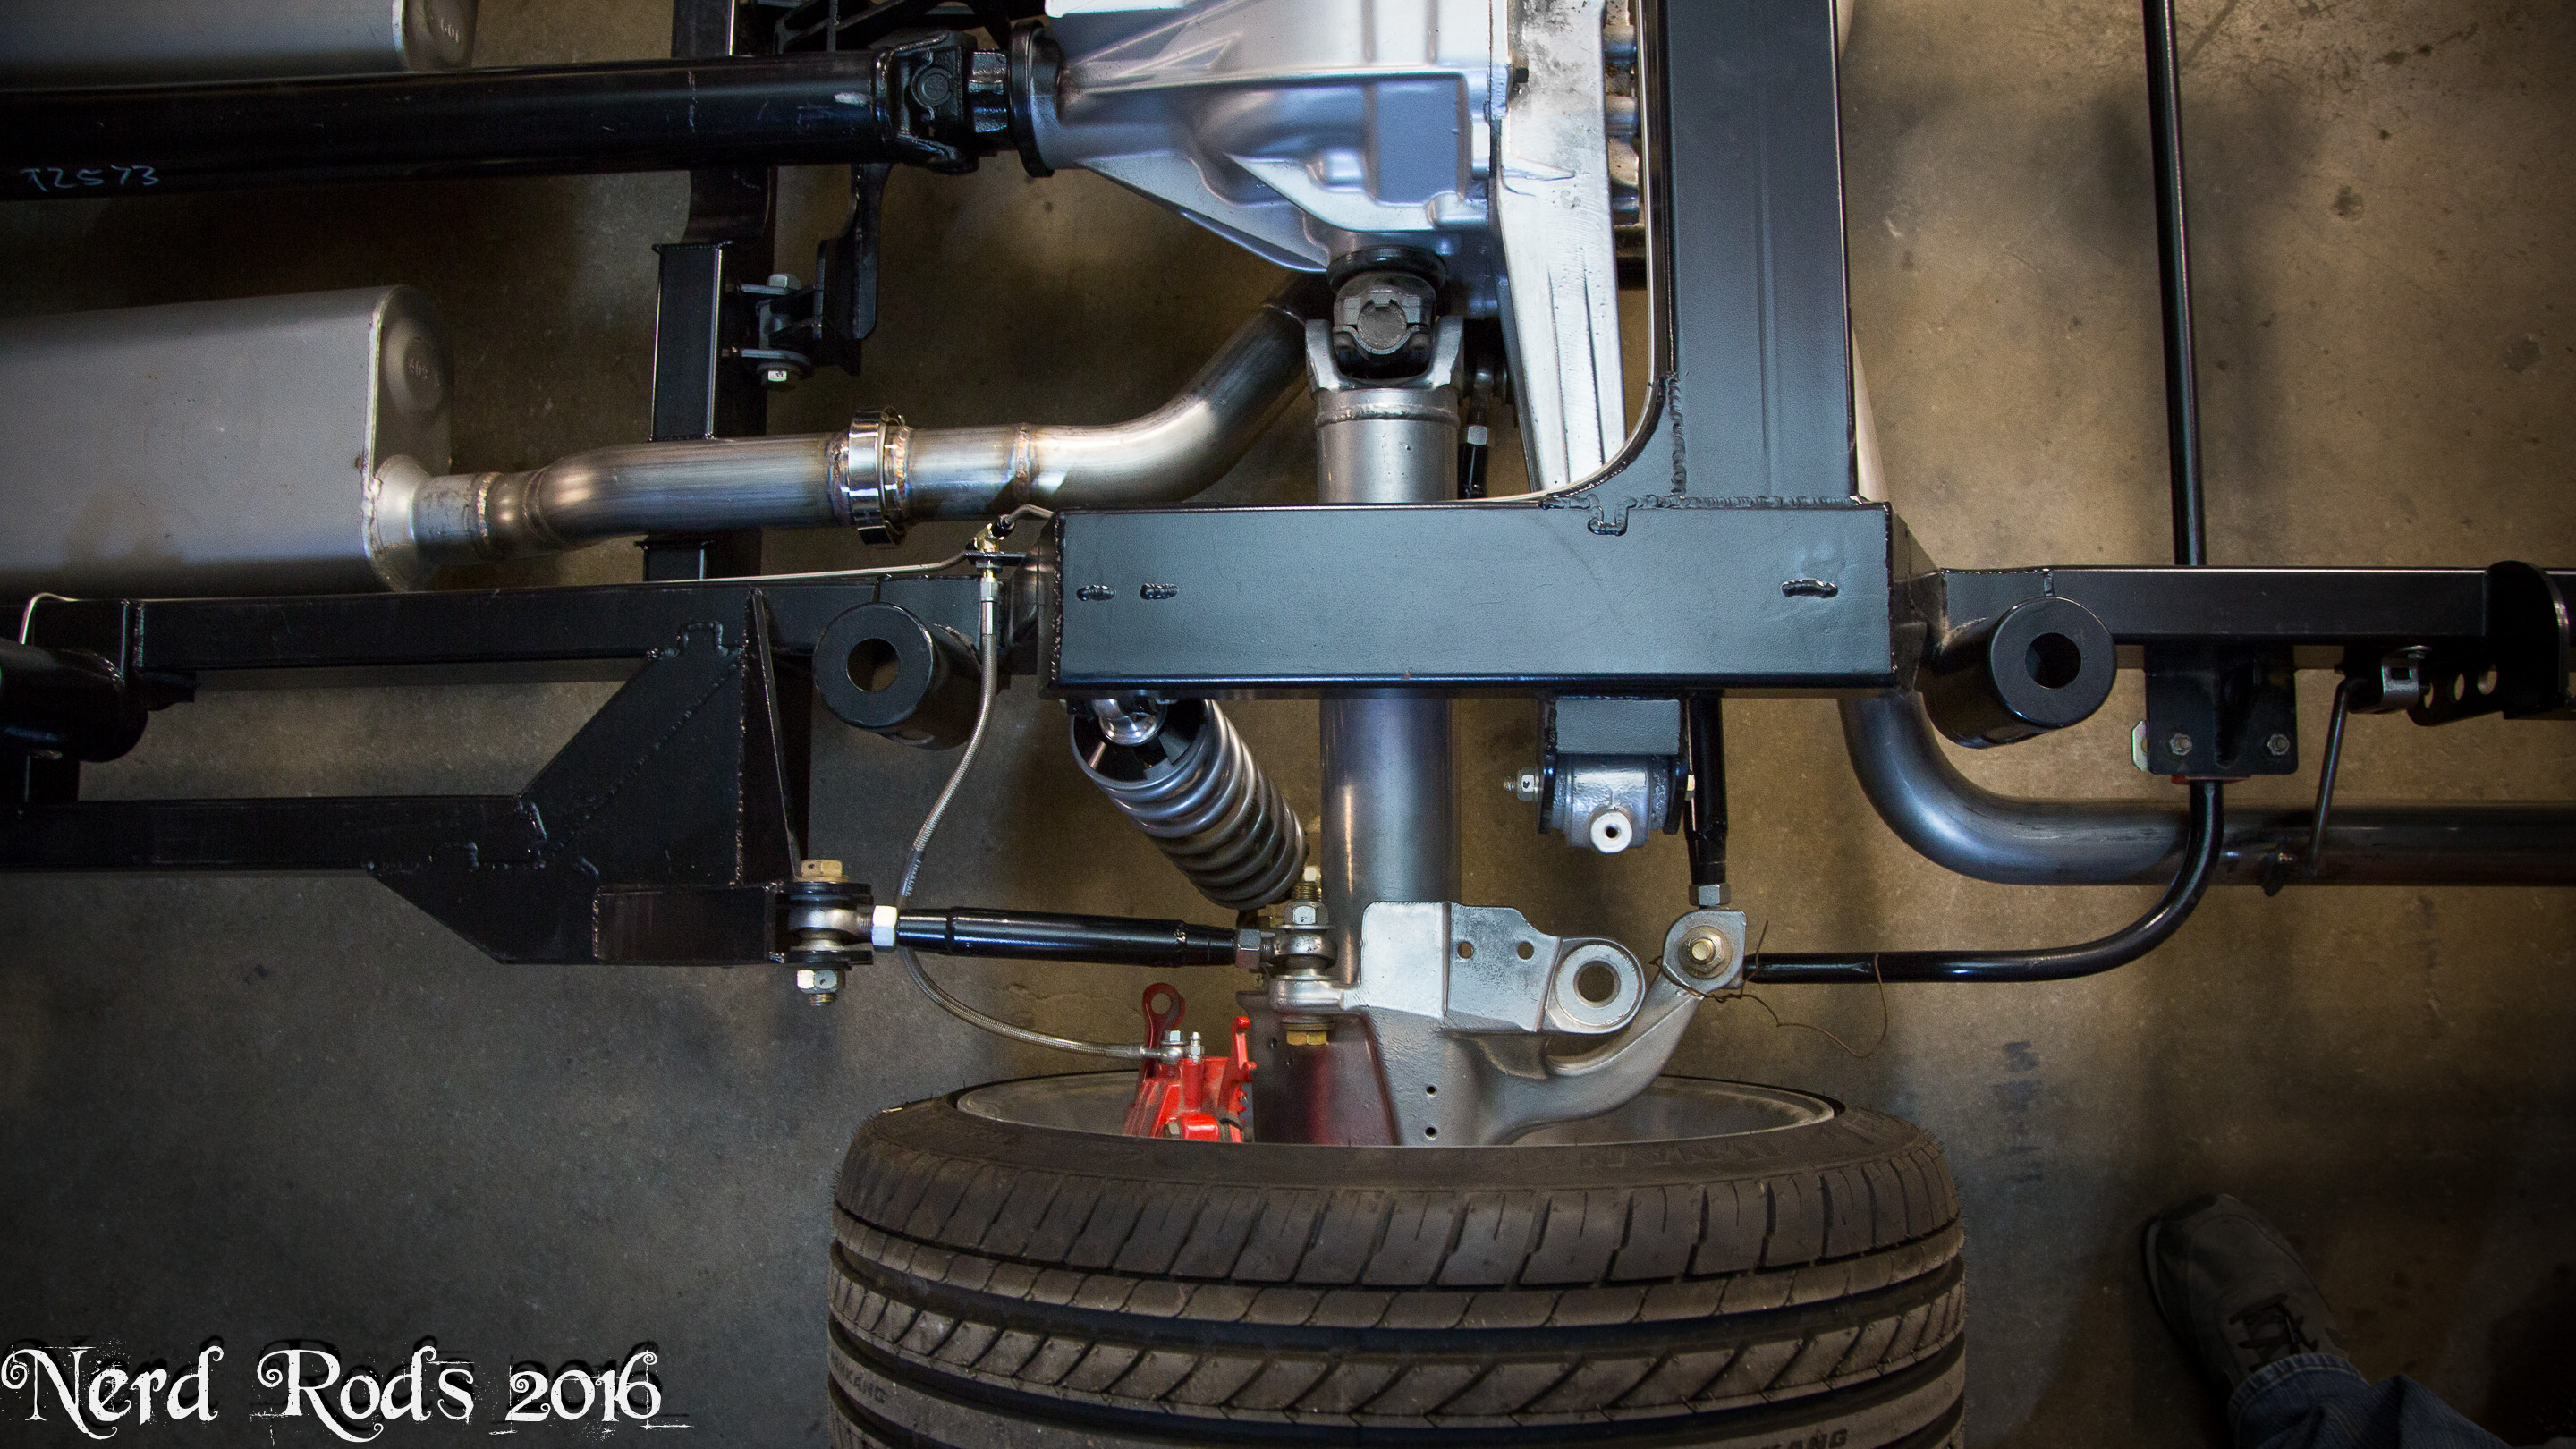
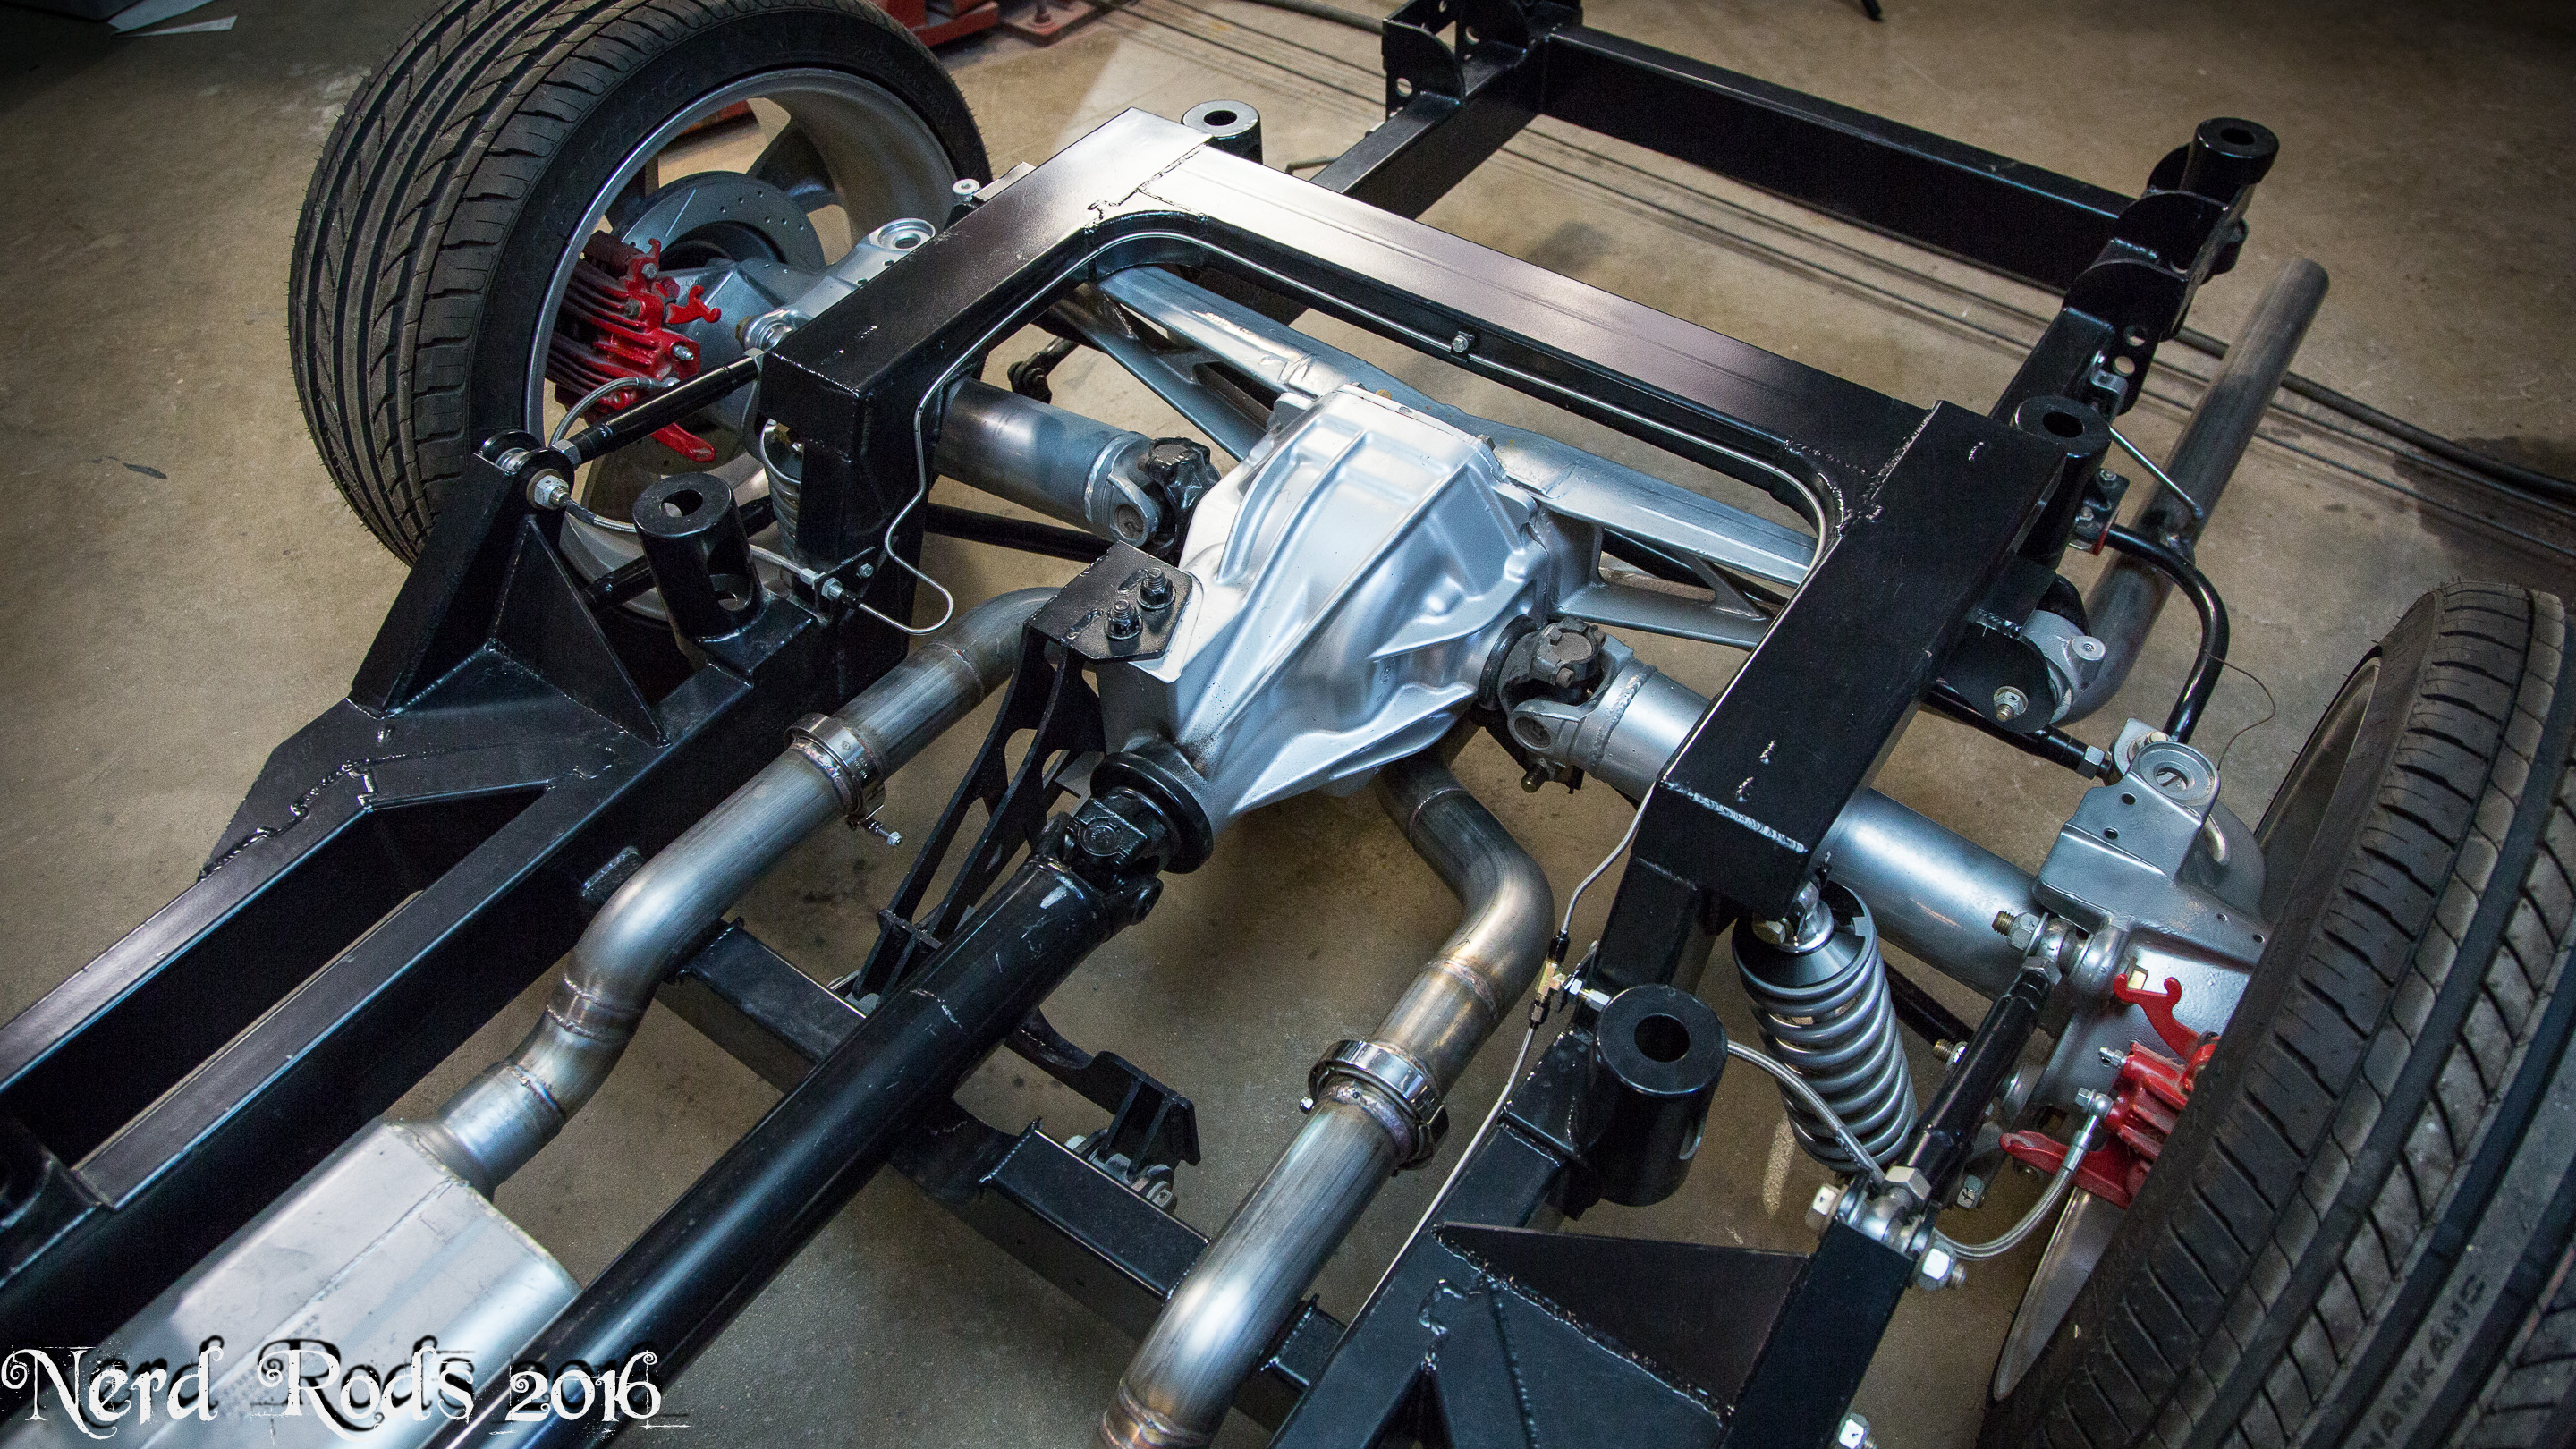
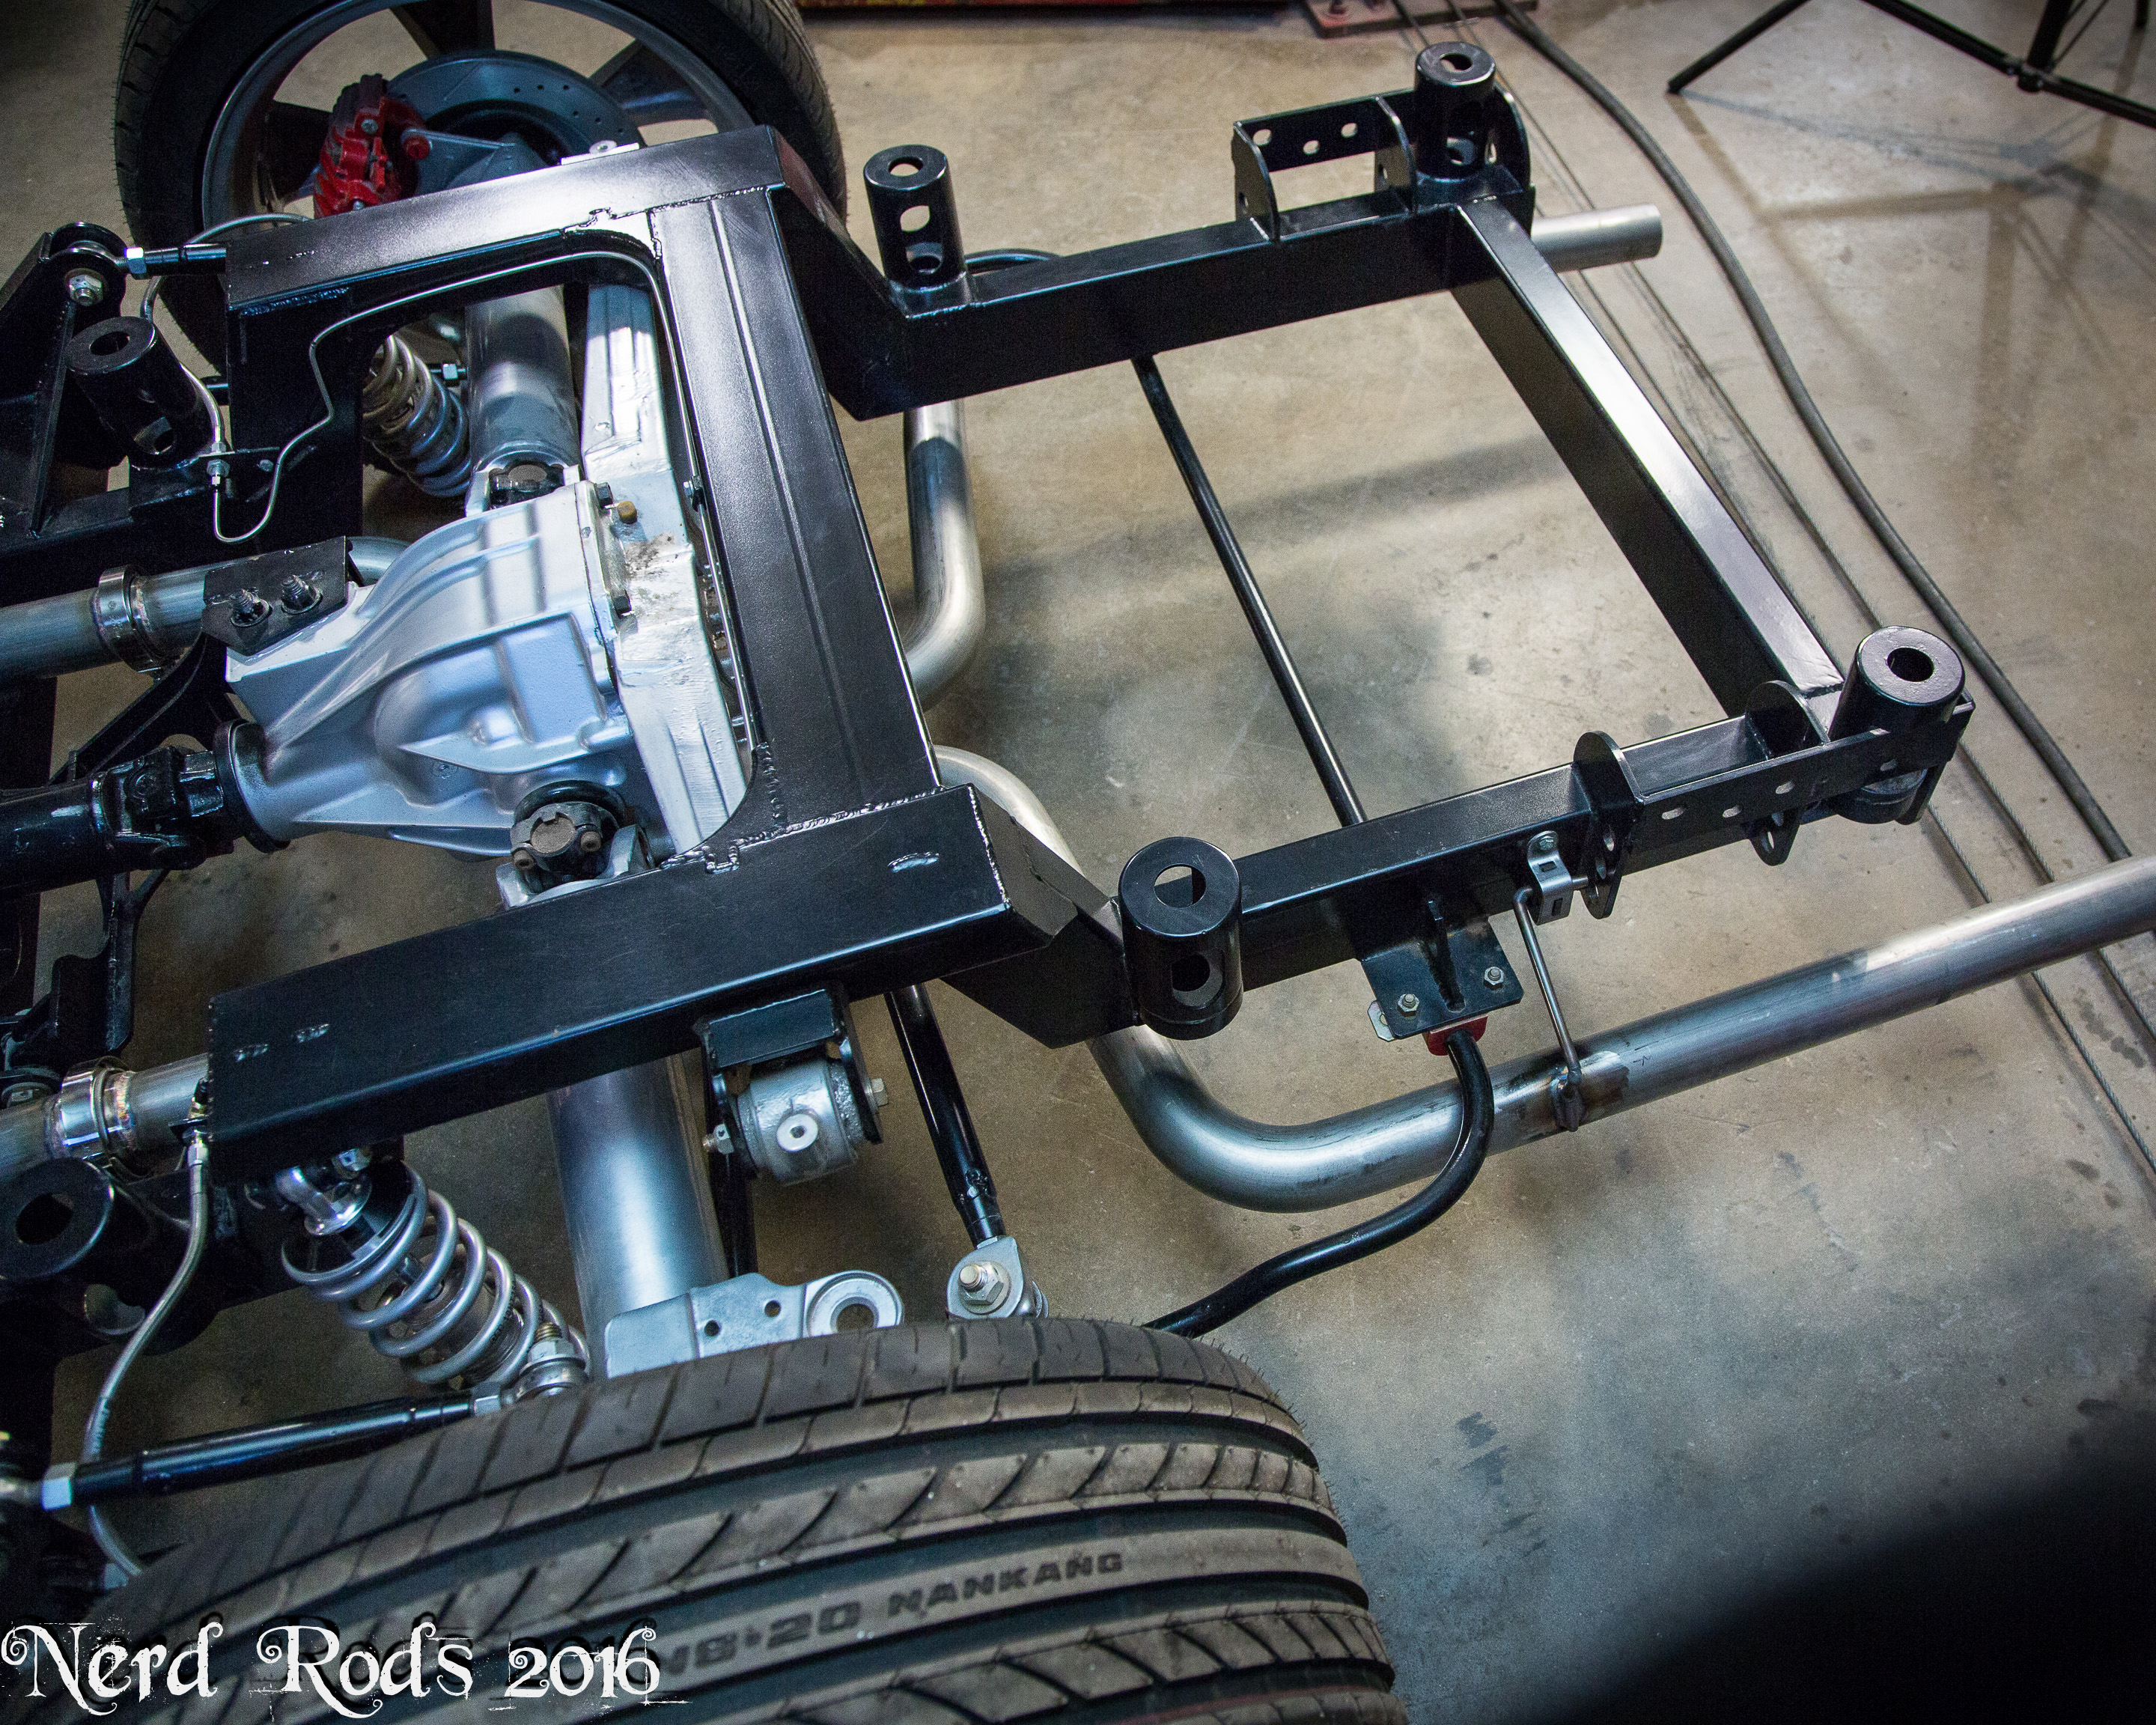
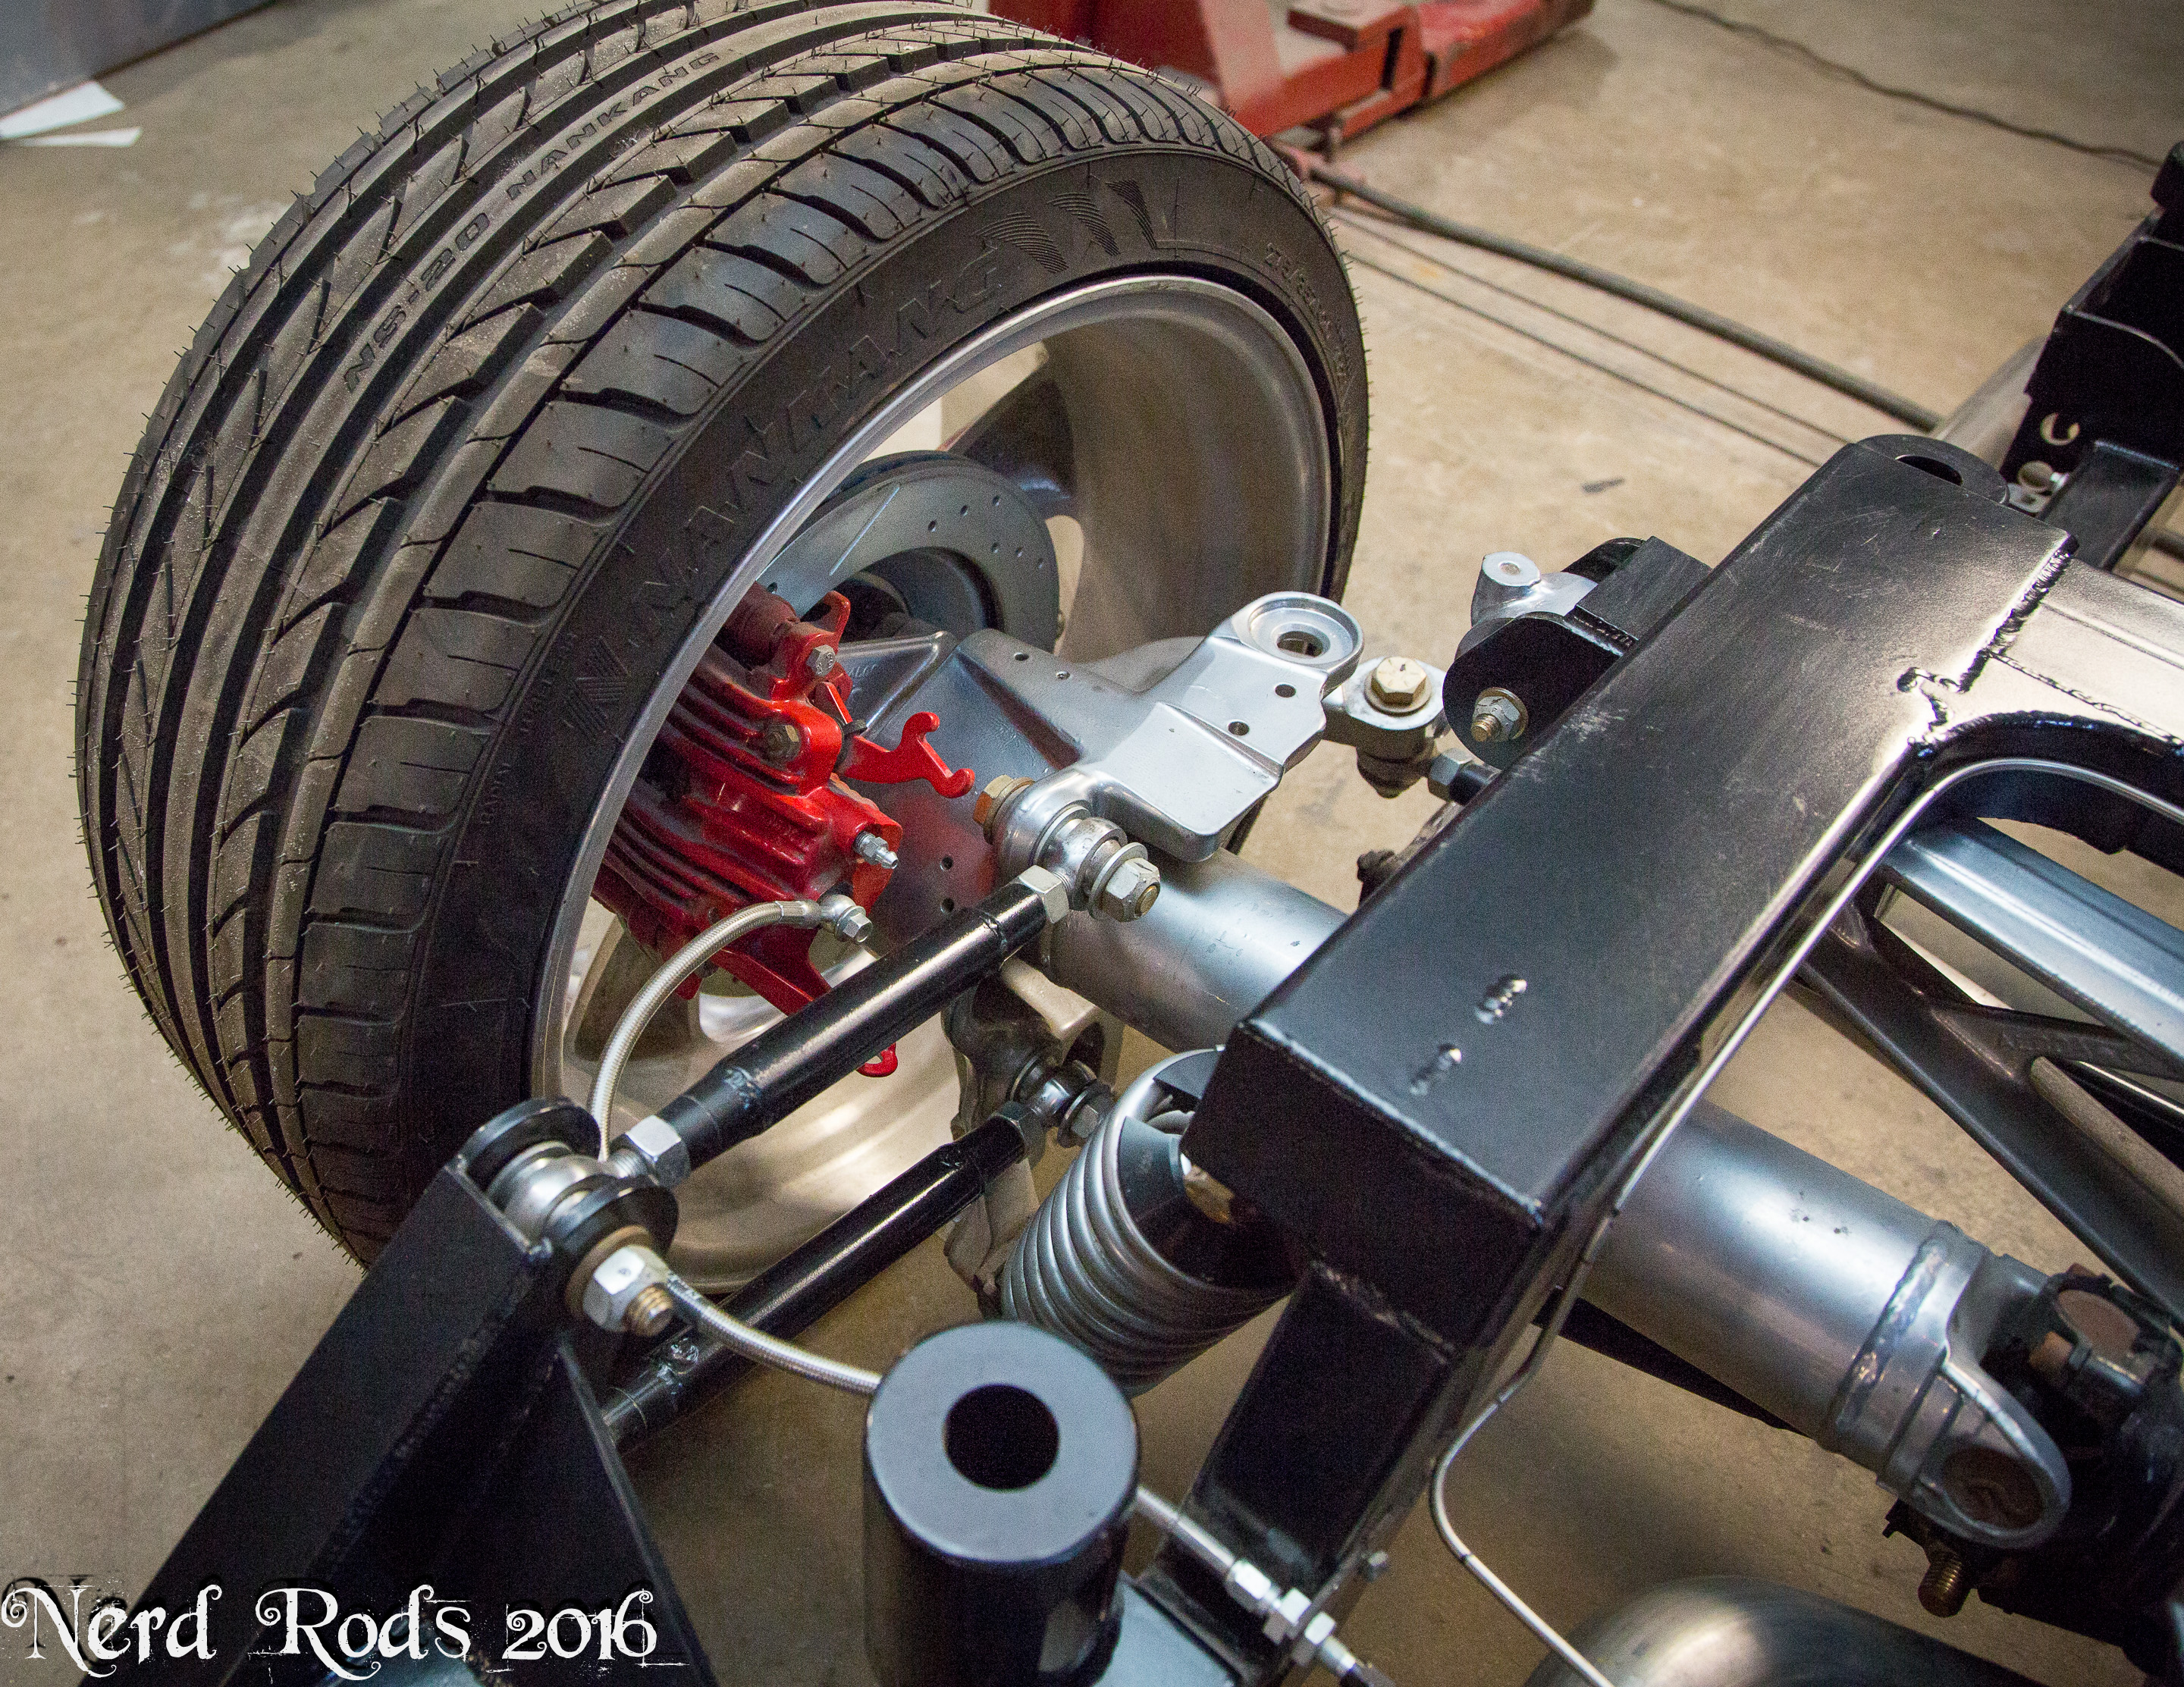
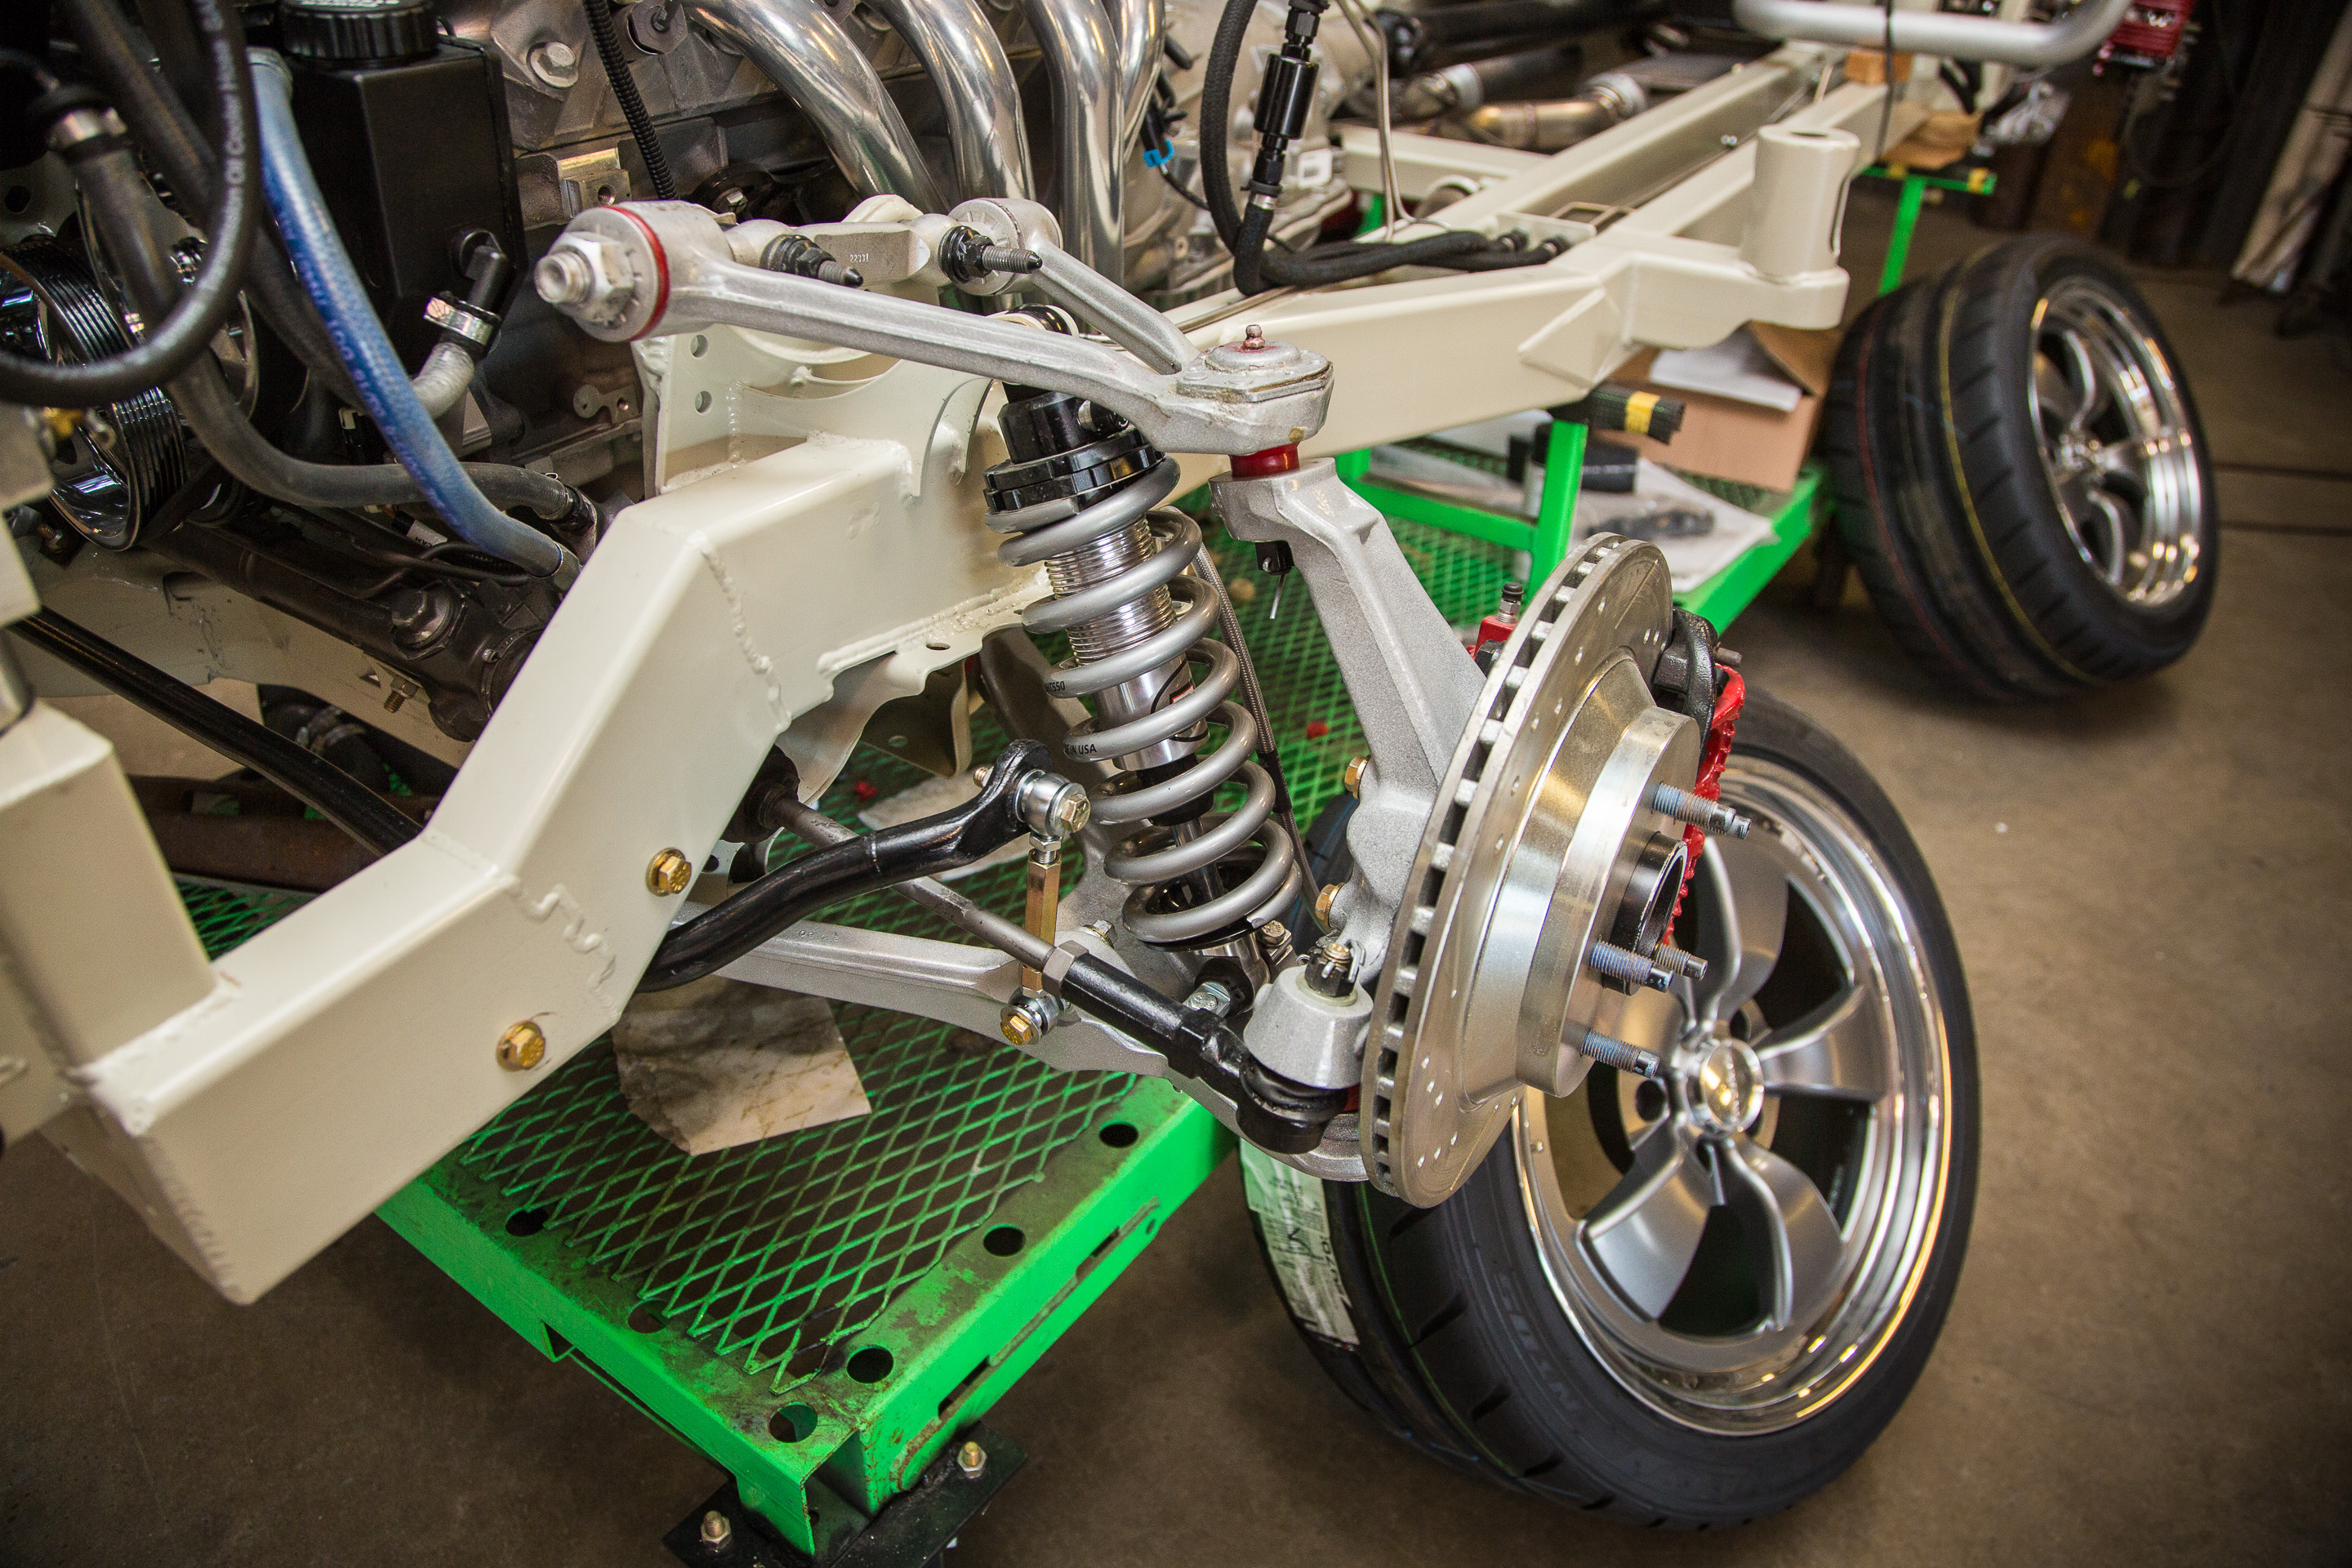
LS3 Connect and Cruise, 480 HP kit, PRC Radiator Core Support, C4 Corvette Suspension, QA1 Double Adjustable Coil Over Shocks, Front and rear swaybars, Stainless Steel 2.5" mandrel bent exhaust, Flow masters delta 50 series mufflers, and my new billet shock mounts and exhaust hangers.
Later
-Russell @ Nerd Rods
|
03-17-2018, 07:44 AM
|
|
Senior Member
|
|
Join Date: Sep 2008
Location: Luling TX @ Nerd Rods
Posts: 361
Thanks: 44
Thanked 18 Times in 9 Posts
|
|
She lives!!!
https://www.instagram.com/p/BgOMFfwF6p6/
I also took her out to eat the other day. A meal for her then a meal for me. I did figure out the filler neck and OE style fuel cap don't play well with fueling so I'm going to add a external vent check valve with a rollover protection lock on it to the system and see if that helps fueling.
One might remember me testing the tank and 90° angles of the fuel system to see if the vent and angles would flow enough to prevent back burping on the fuel and it worked so I just need a bit more venting and something to let off pressure as the mass warms up and cools off.

Also my cat thinks she's an engine.

Later
-Russell @ Nerd Rods
|
04-10-2018, 11:19 AM
|
|
Senior Member
|
|
Join Date: Sep 2008
Location: Luling TX @ Nerd Rods
Posts: 361
Thanks: 44
Thanked 18 Times in 9 Posts
|
|

Trips, sick, and design.
It's been a fun several weeks but it looks like this is going to happen sooner than later. I have a few other minor things that need to happen on Georges truck as well. Rear swaybar linkage that got more complex that I would have liked but they are correct and that's more important at the moment.


And then dumbluck today. I "assumed" that 14mm misalignment washers would be available with the 14mm rod end. And I was wrong. But as luck would have it the ½" misalignment washes I have are on the same size sphere used on the 14mm rod end. So one 14mm drill bit and a moment or two later on the lathe and we're good to go.
I also have 14mm X 1mm shims ordered for the bump steer adjustment and the 14mm X 110mm bolts ordered. I'm psyched to see if this is going to work as well as I hope it will. If not I still have the option to shorten the steering arm length for a few more degrees of steering angle at a mild sacrifice of bump steer at the extreme end of the suspension travel spectrum. Like all suspension its a compromise inside of a compromise inside of a compromise.

The goal will be both steering arm and rear sway bar linkage at the same time when all the parts are here in a week or so.
Later
-Russell @ Nerd Rods
|
04-29-2018, 07:43 AM
|
|
Senior Member
|
|
Join Date: Sep 2008
Location: Luling TX @ Nerd Rods
Posts: 361
Thanks: 44
Thanked 18 Times in 9 Posts
|
|
|
06-02-2018, 05:27 AM
|
|
Senior Member
|
|
Join Date: Sep 2008
Location: Luling TX @ Nerd Rods
Posts: 361
Thanks: 44
Thanked 18 Times in 9 Posts
|
|
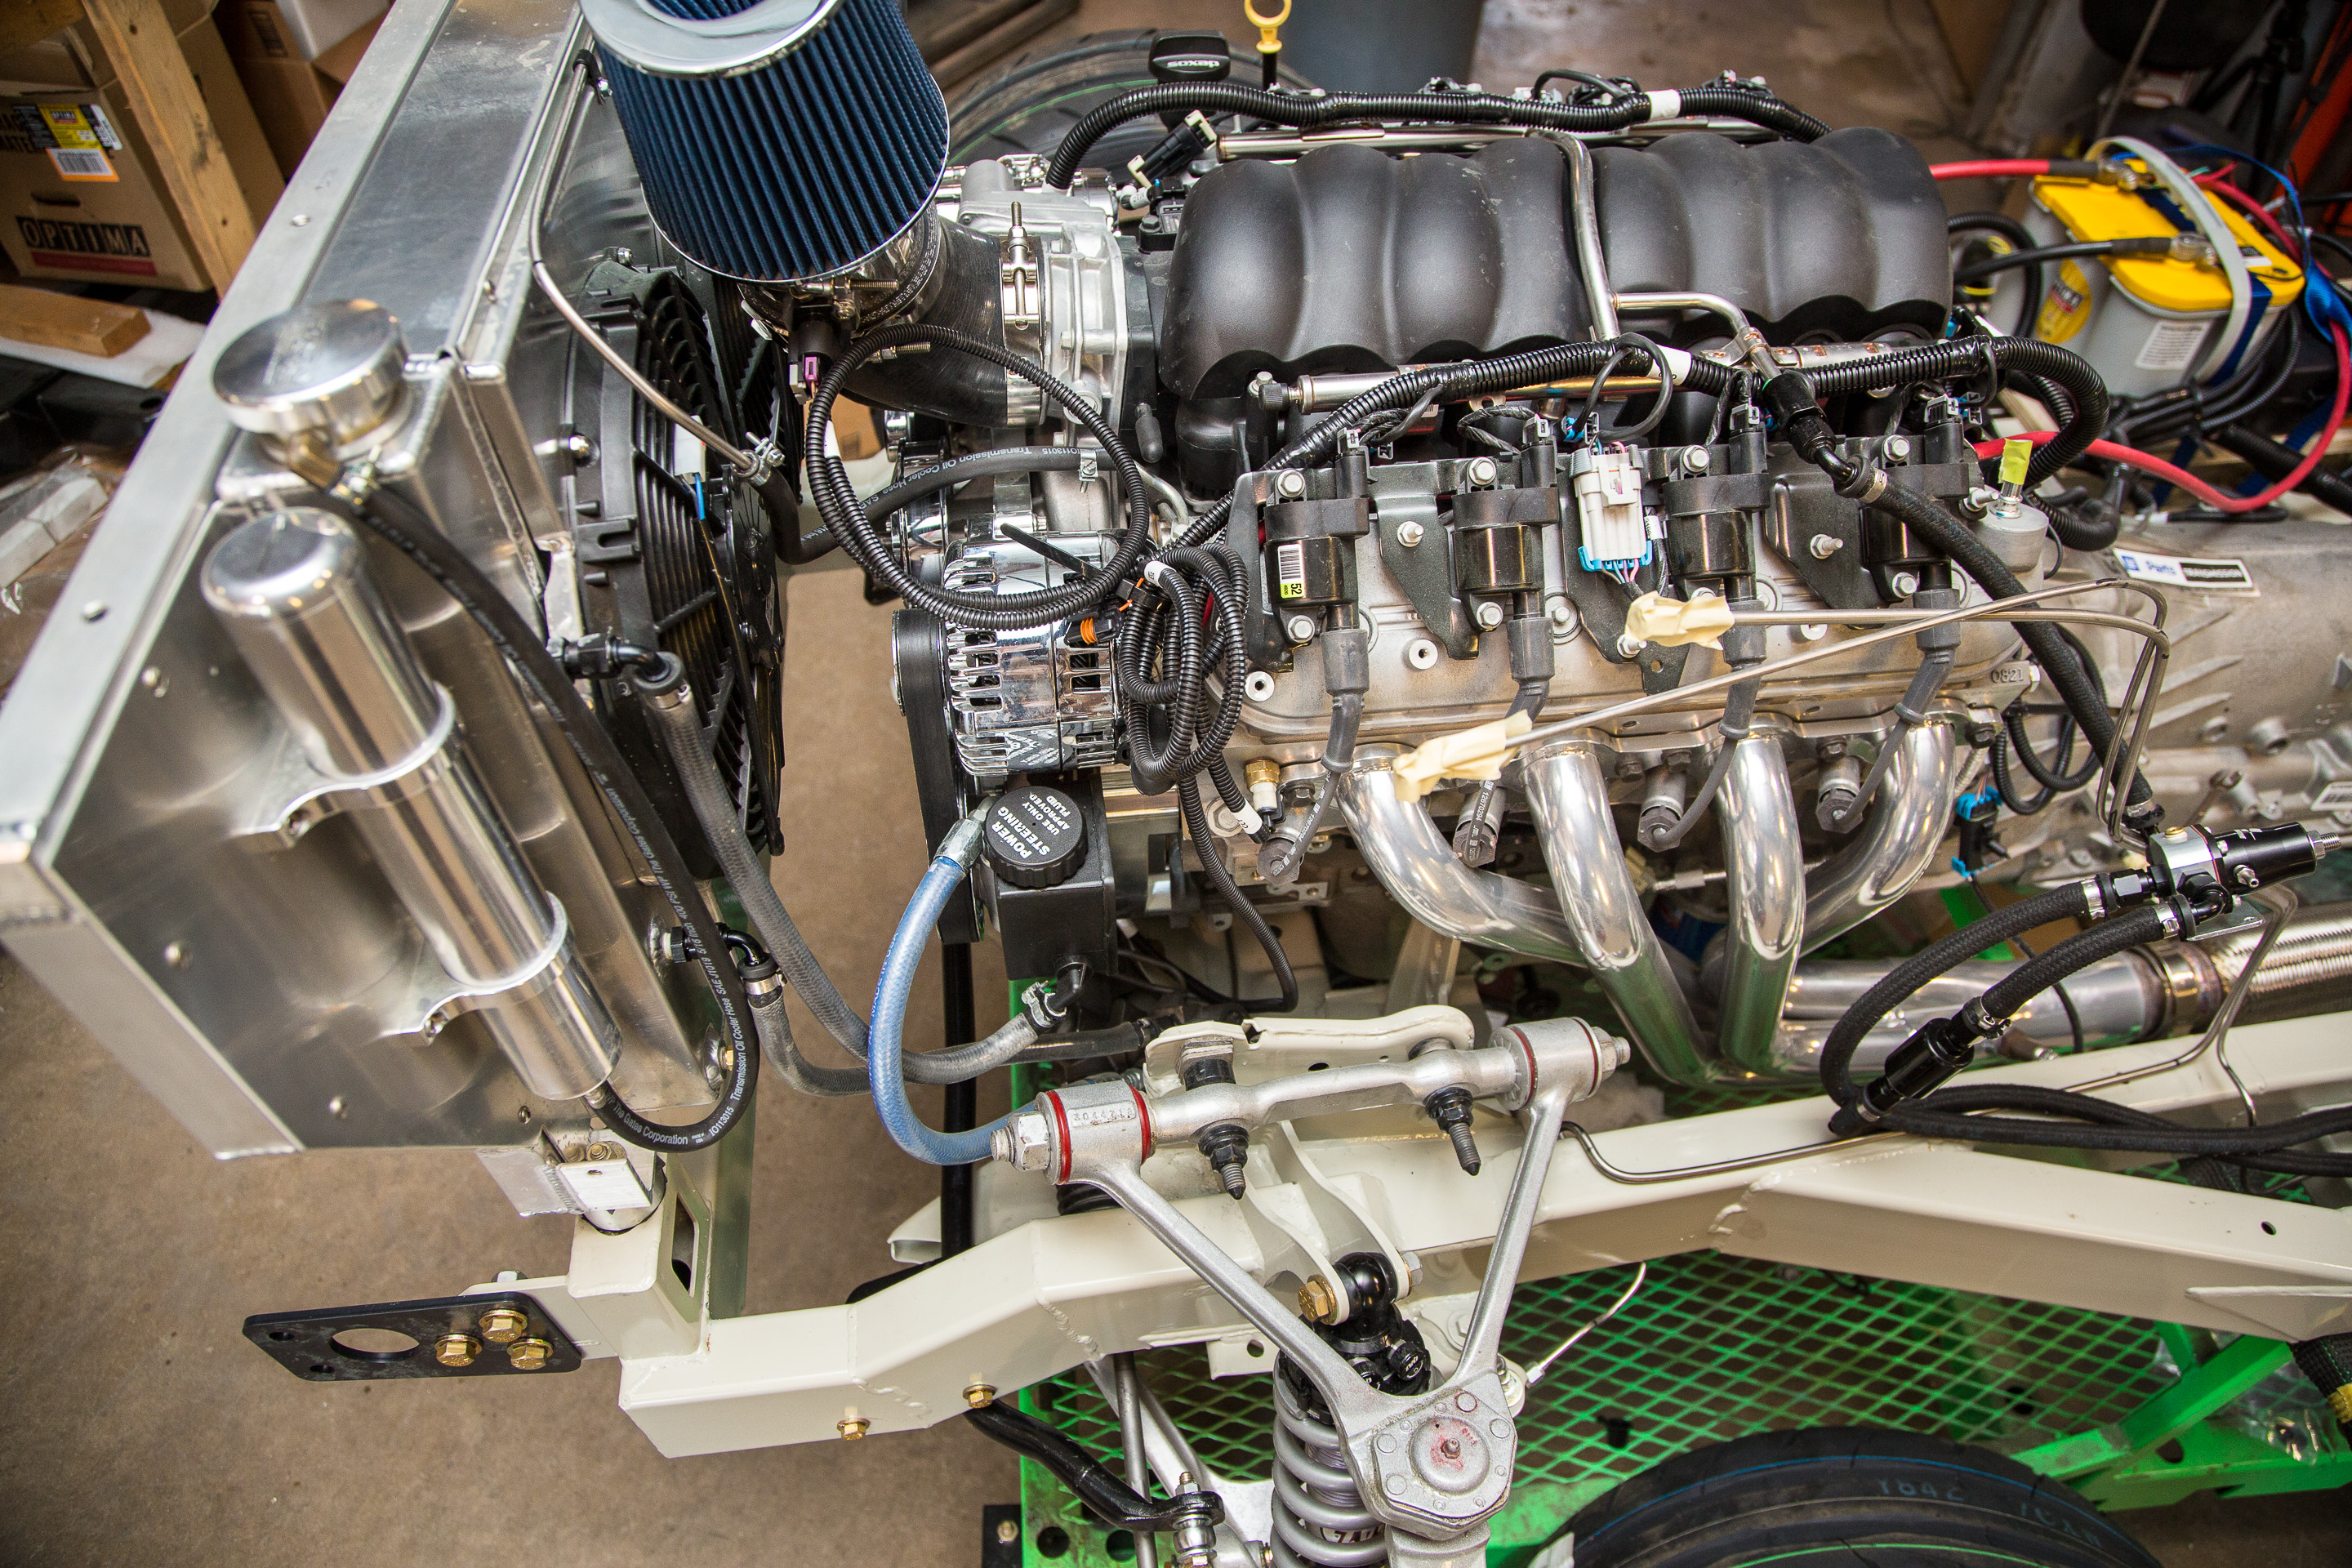
This worked out much better than the previous one. The customer is trying to get by a cheap as possible but when the intake air temps were the same as the operating temp the engine wouldn't run almost at all. So we made it a real cold air intake this time to solve that problem.
Note two, when it got up to temp the fans didn't come on. If you started with a truck engine that had a mechanical fan then the electric fan controls are disabled in the software. So that was fun to figure out. If you get no ground signal at your fan relay then you know its the tune file.
A few other things to do then its time to blow it apart and make it pretty.


So close to being done!
-Russell
|
06-06-2018, 03:46 PM
|
|
Senior Member
|
|
Join Date: Sep 2008
Location: Luling TX @ Nerd Rods
Posts: 361
Thanks: 44
Thanked 18 Times in 9 Posts
|
|

Fortunately its highly functional. It was 103°F the other day and the ITA Temp Sensor right by the TB showed 100°F driving around town while the engine was sitting at 195°F with both fans feathering off and on as necessary. So for this project that's missions accomplished.

And so it begins! 100 mile shake down complete! Taking a few things off to look for problems and then install new goodies to test and evaluate. She gets closer to going home with each little bit of work.
Custom Ackerman steering arms are going on with this round and the sway bar modifications and new linkages as well.
Later
-Russell @ Nerd Rods
|
06-06-2018, 10:15 PM
|
 |
Lateral-g Supporting Member
|
|
Join Date: Oct 2007
Location: On Lake Ontario in NY
Posts: 10,278
Thanks: 2,577
Thanked 2,254 Times in 1,369 Posts
|
|
Russell,
Very cool project. 
Good to see your updates.
__________________
The artist formerly known as cosmo mentis
Skip
|
|
The Following User Says Thank You to fleetus macmullitz For This Useful Post:
|
|
06-10-2018, 07:19 AM
|
|
Senior Member
|
|
Join Date: Sep 2008
Location: Luling TX @ Nerd Rods
Posts: 361
Thanks: 44
Thanked 18 Times in 9 Posts
|
|
Quote:
Originally Posted by Cosmo mentis

Russell,
Very cool project.
Good to see your updates. |
Thank you sir, I appreciate that.

Long story short, there wasn't enough thread engagement for me to be happy with it so the temporally fix is a cut and weld BUT THIS IS ONLY FOR ME TO TEST THE STEERING ARMS, THIS WILL NOT BE DEVILED TO THE CUSTOMER OR SOLD AS PART OF THE KIT. All caps because someone still won't read it and will want to be a hero for pointing out that this isn't a perfect execution. I trust my welds on a thread angle more than I trust 5mm thread engagement.
I also had to move the sway bar a bit to clear the new steering linkage trajectory, hints the spacer blocks on the mount.
Sorry for the delay, I'm helping a friend build his new family home so that's eating up several days a week right now plus manufacturing and production on the other chassis projects in the shop dosen't leave much time. Good thing I'm single or I'd never get to work on my projects. 
Later
-Russell
|
 Posting Rules
|
You may not post new threads
You may not post replies
You may not post attachments
You may not edit your posts
HTML code is Off
|
|
|
All times are GMT -5. The time now is 03:46 PM.
|


 Brian Hobaugh SCCA National Tour June 2014
 First Hemi 'Cuda Convertible Ever Built
 Short clips: Goodguys Pleasanton autocross and pit videos


 Linear Mode
