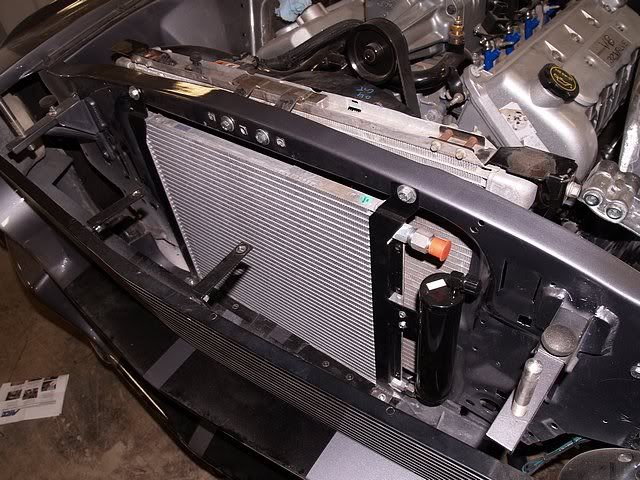
And here is what I have managed to do since i brought the car home in June. As i mentioned previously, i had to finish another ongoing build, so I did not really start working on the car again until about 6 weeks ago and it has been on and off since then.
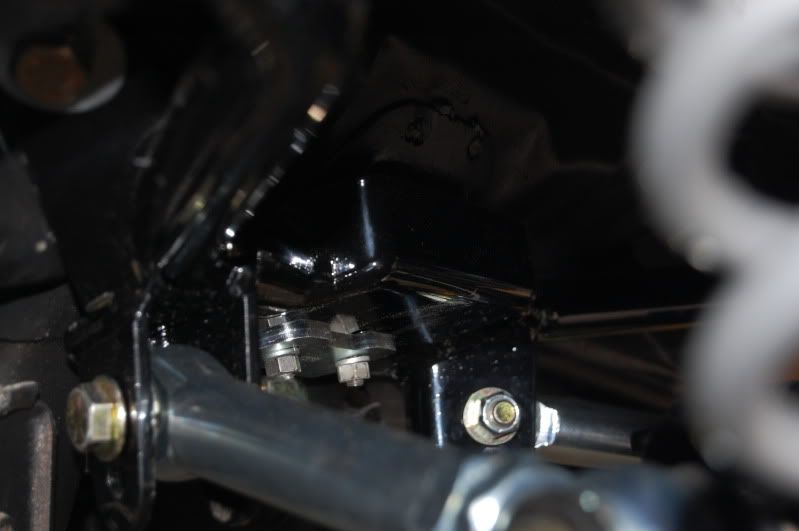
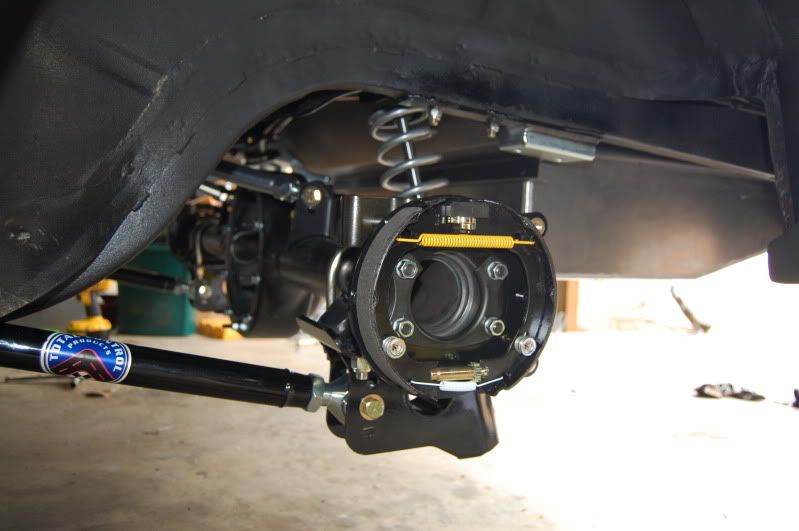
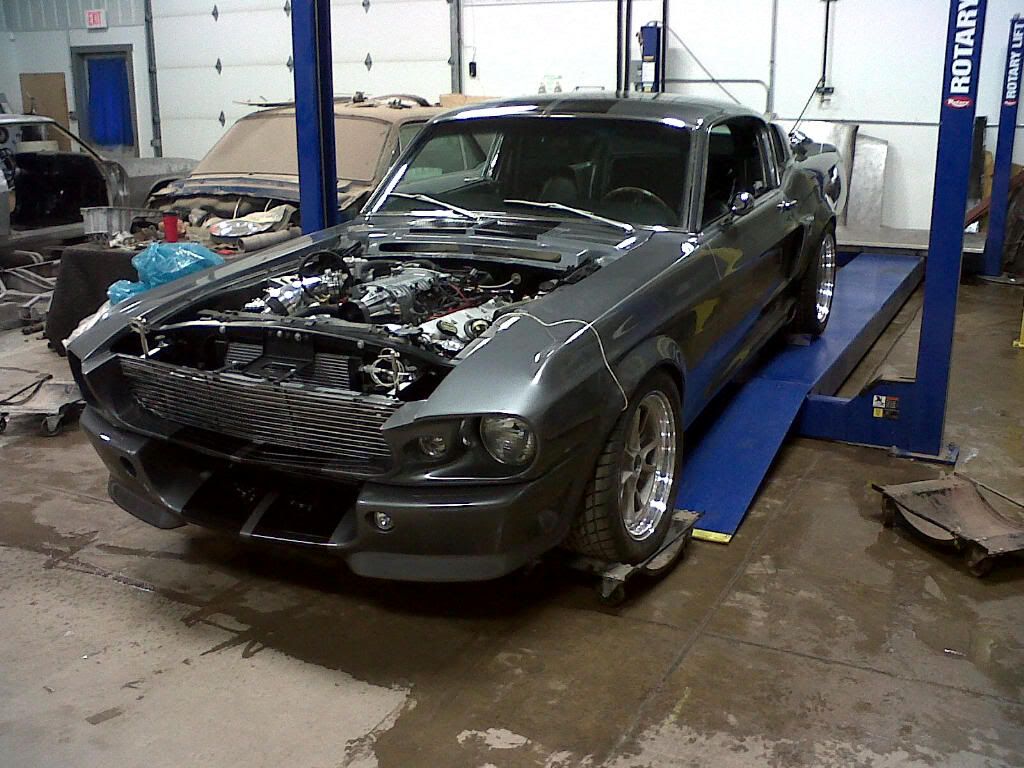
The welds were not finished on the towers, which was ok because the RRS system had to come back out to receive its new 400 lb springs anyway. The 275 pd springs that were installed are no match for the heavy 4.6L motor.
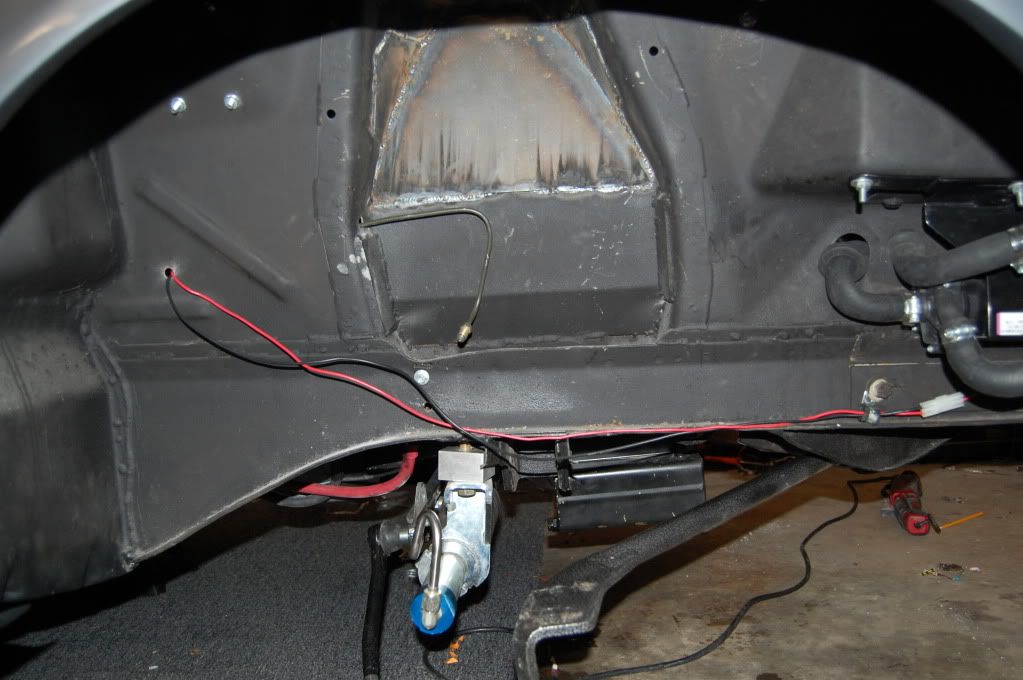
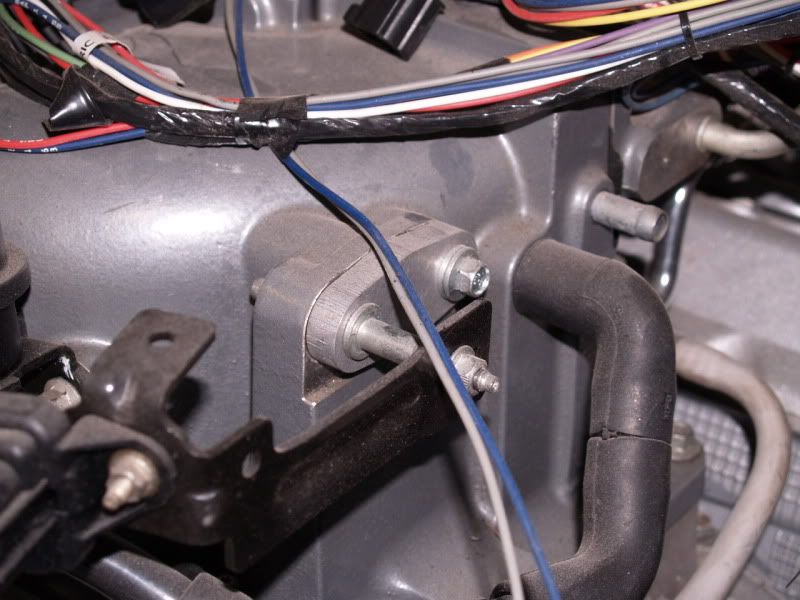
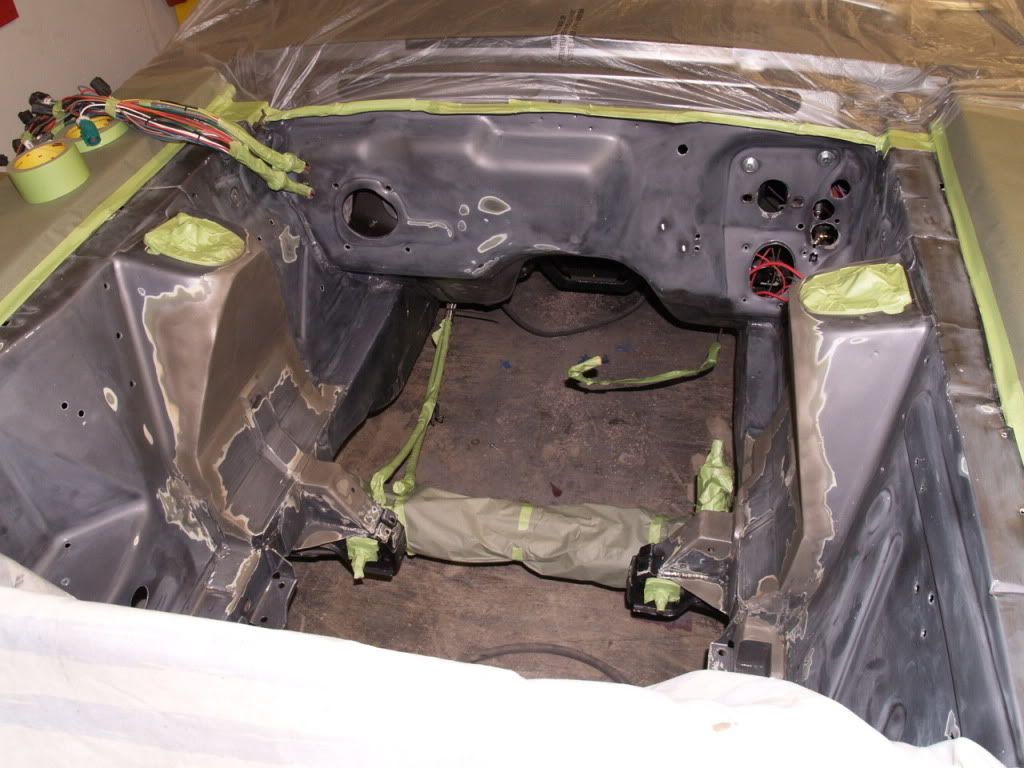
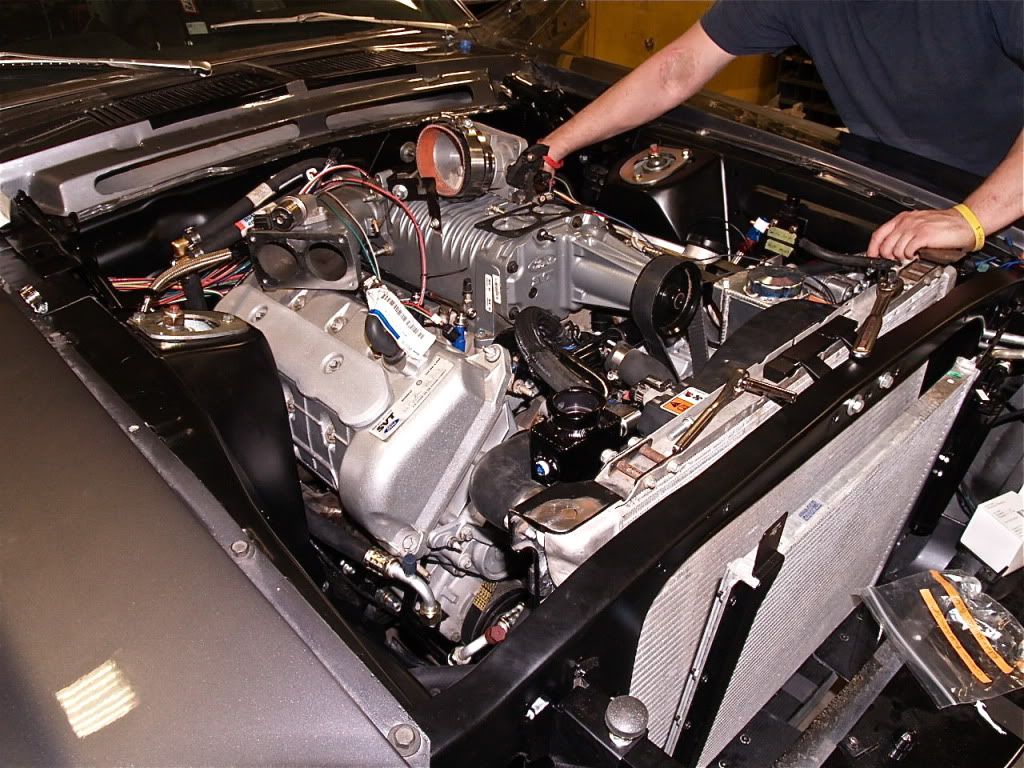
Before. Note: I did not run those wires, but i got to rework them. They fell right out of the plug that connects to the coolant pump for the supercharger. Nice!
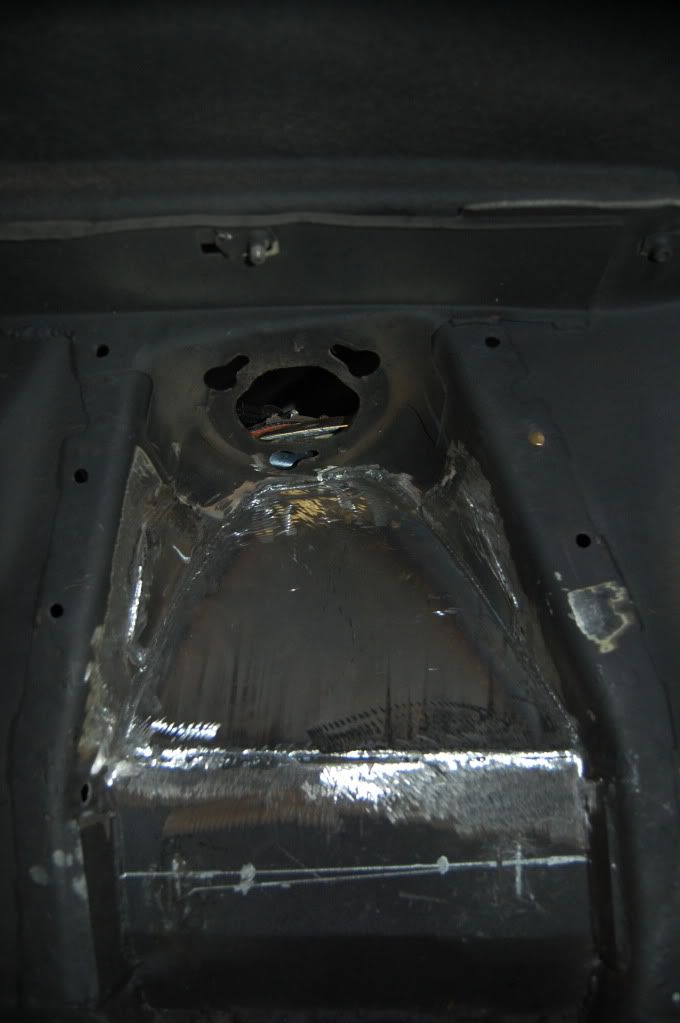
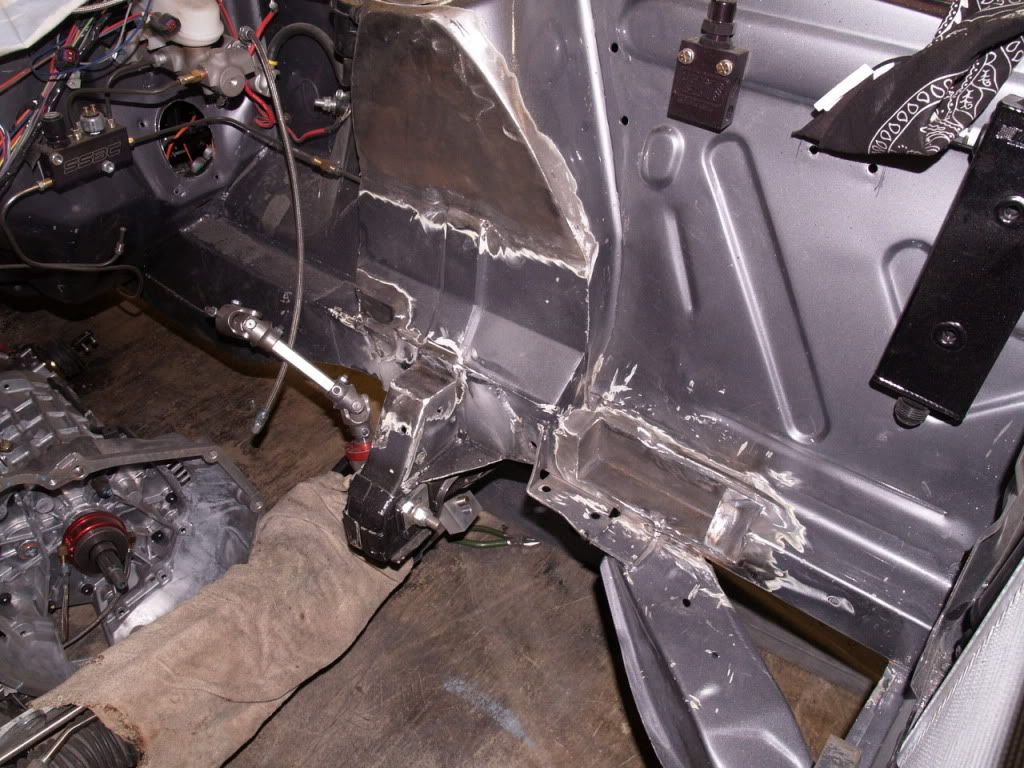
Another before

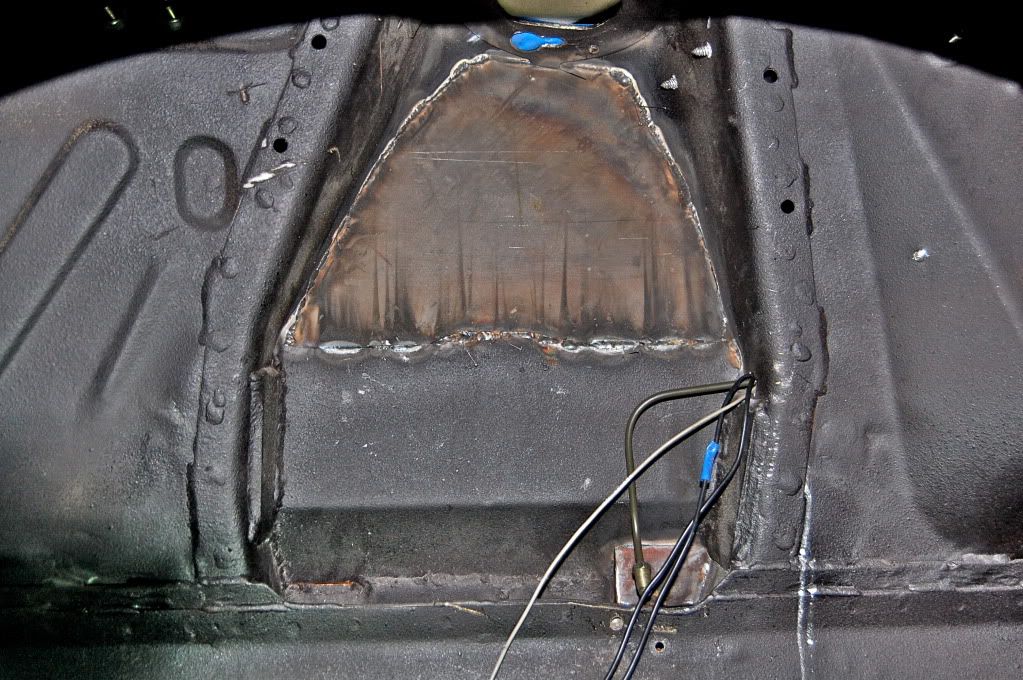
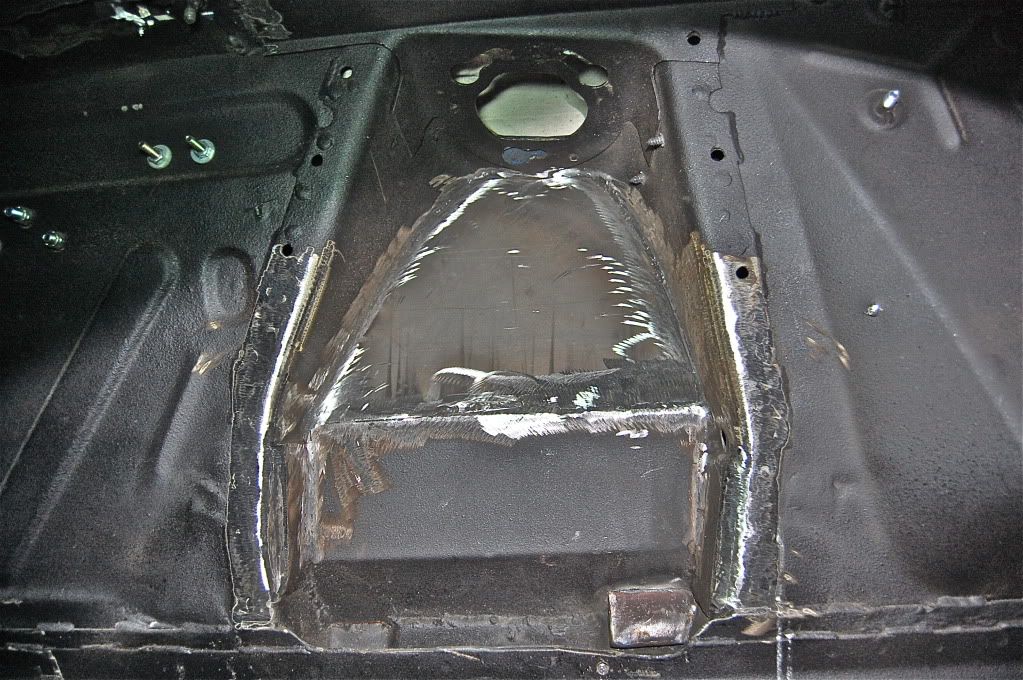
After Grinding
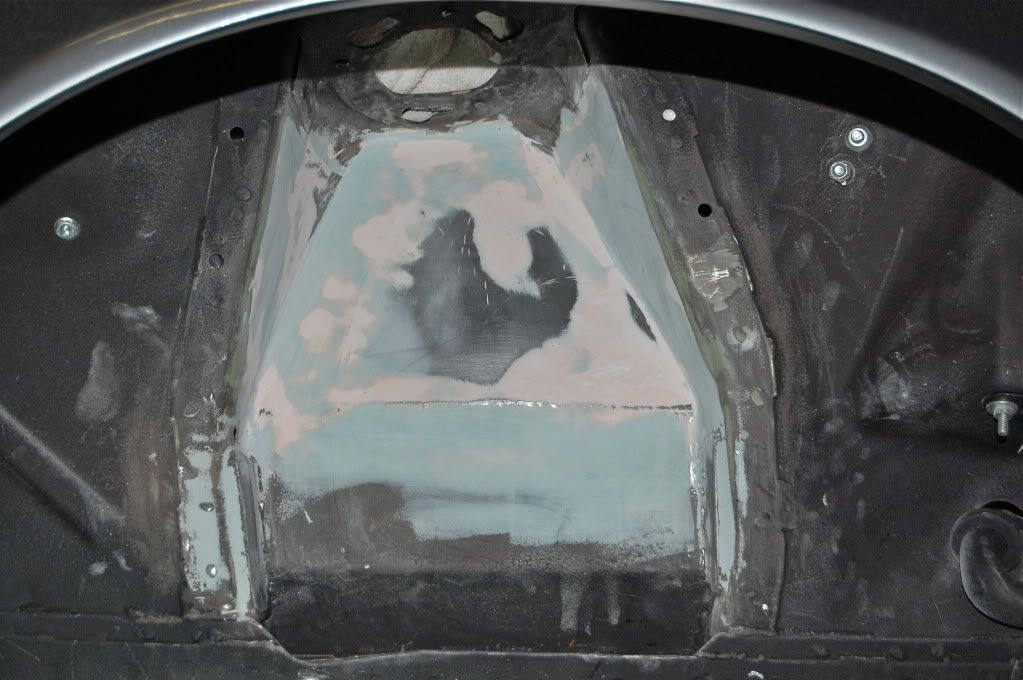
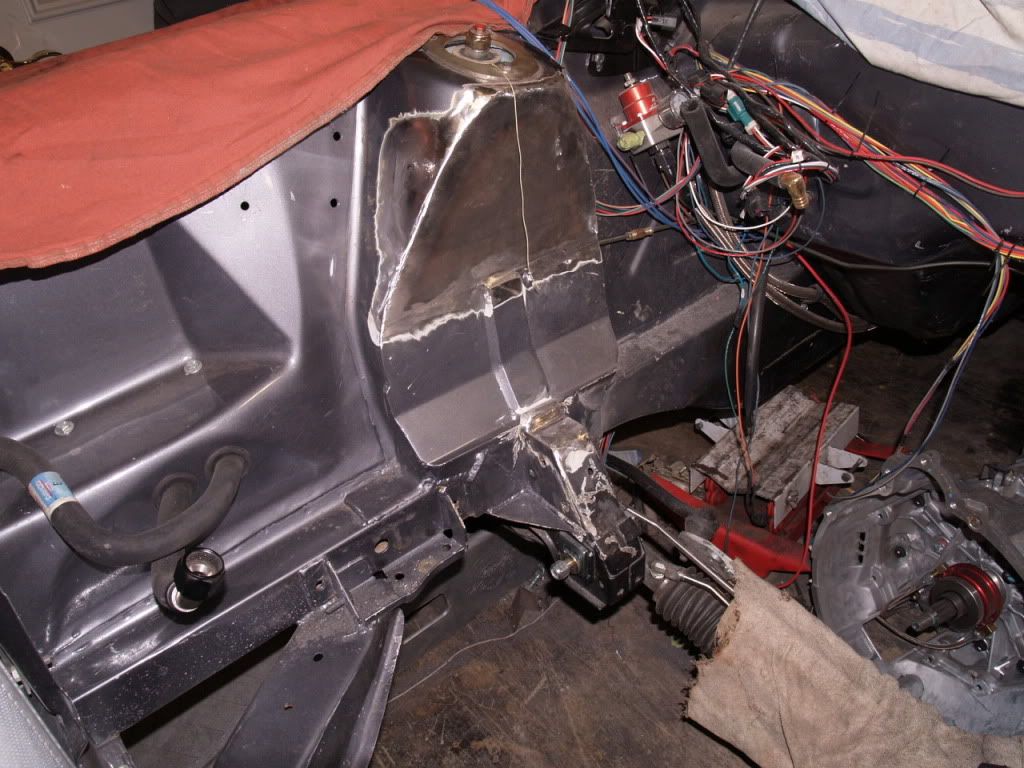
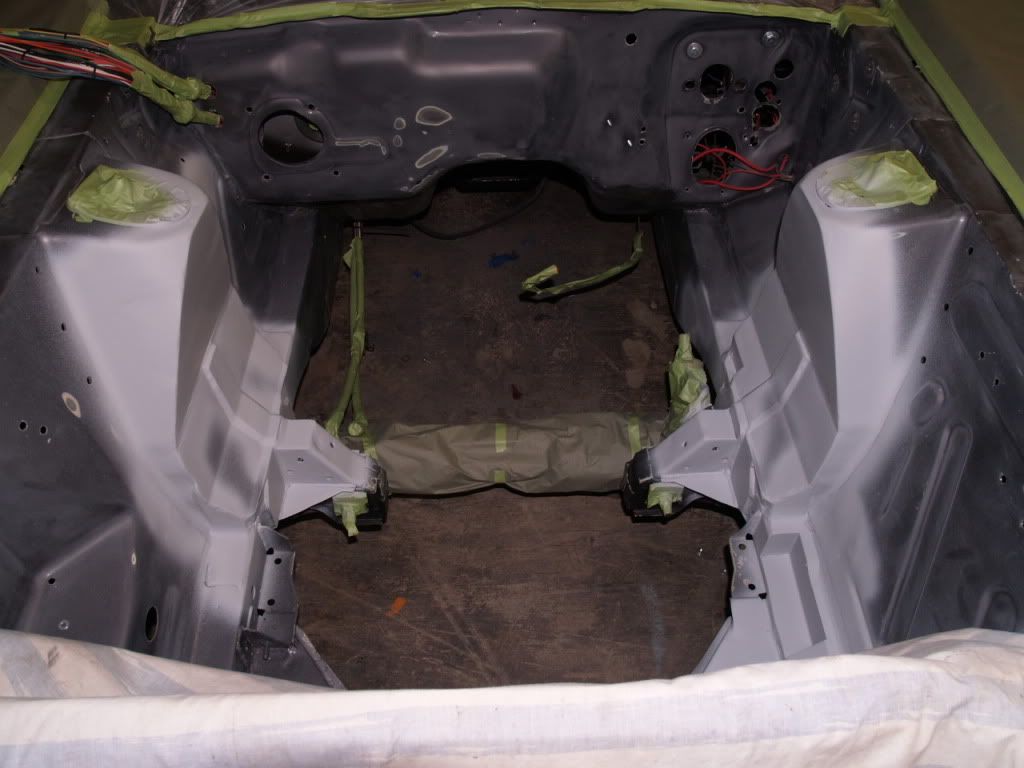
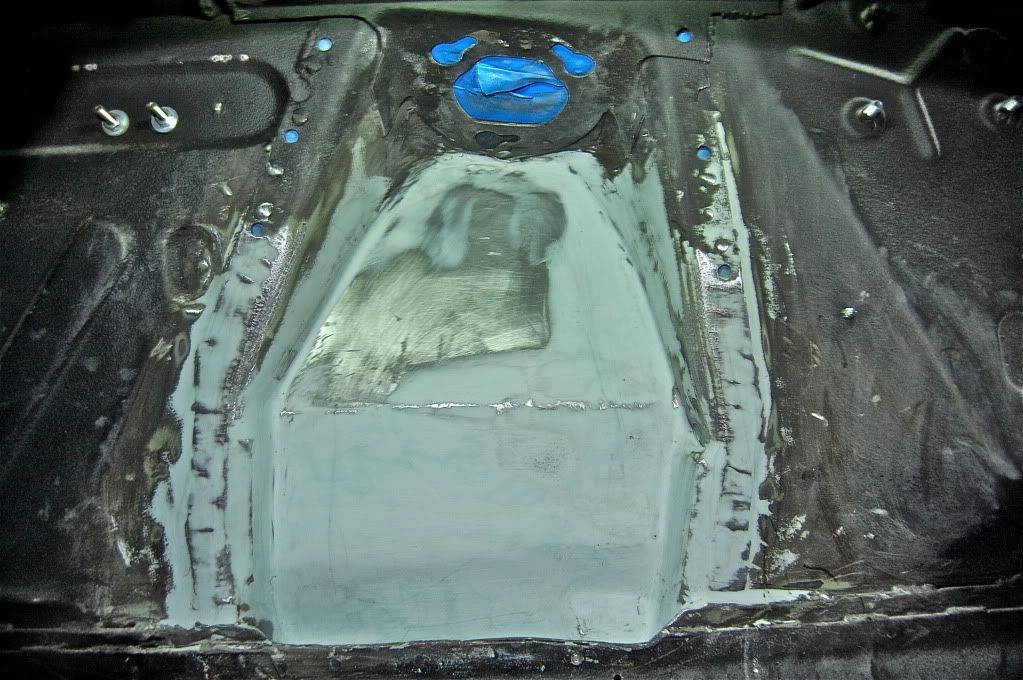
After two layers of bondo and lots of sanding. NOTE: dont ever try to use the BONDO brand they sell at your local auto parts store. I thought it would be ok for the shock towers, but the stuff was terrible. I went to the paint shop yesterday and purchased some Rage filler.
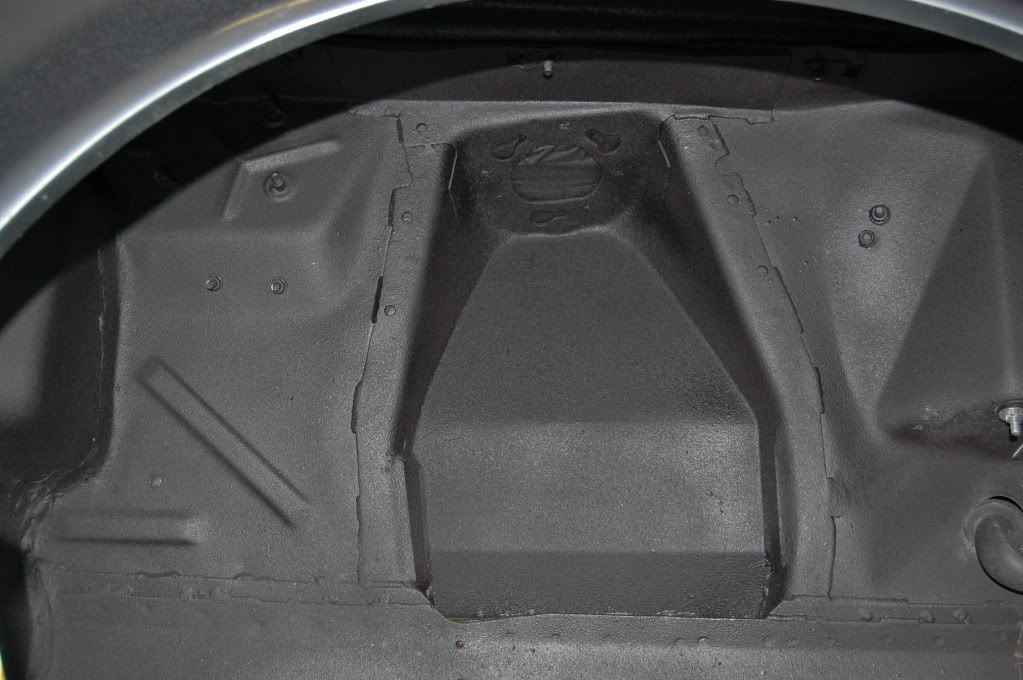
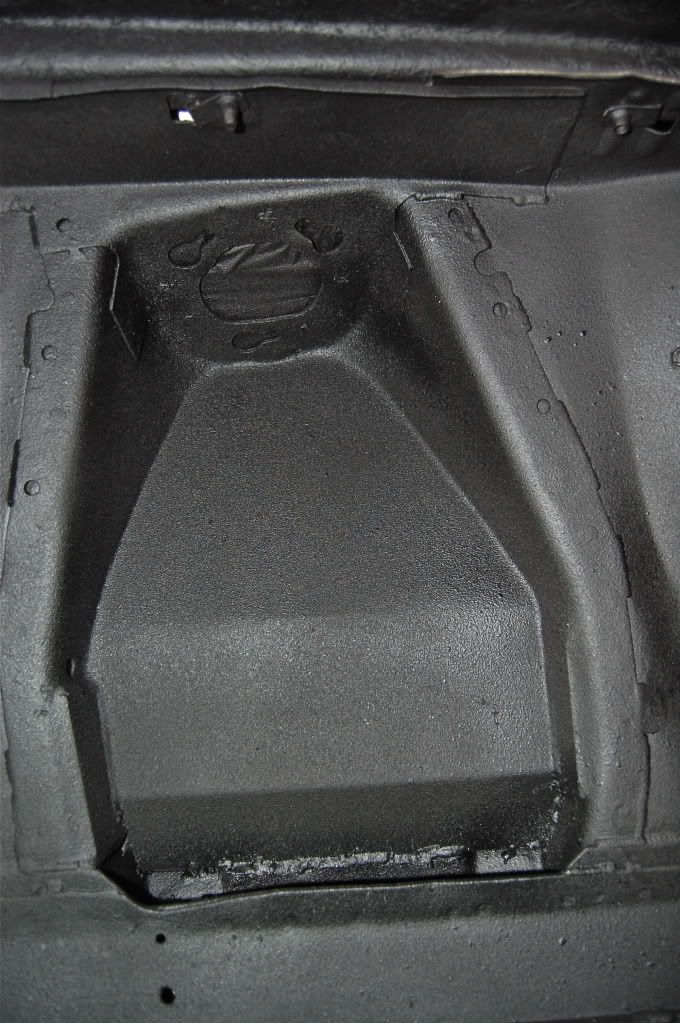
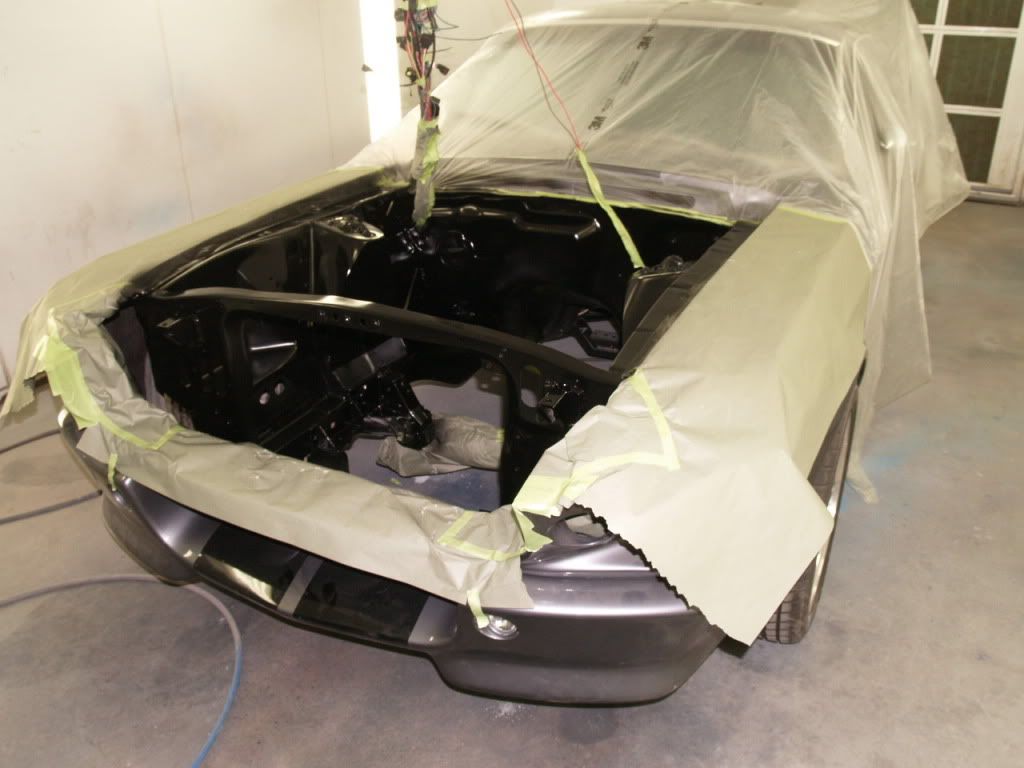
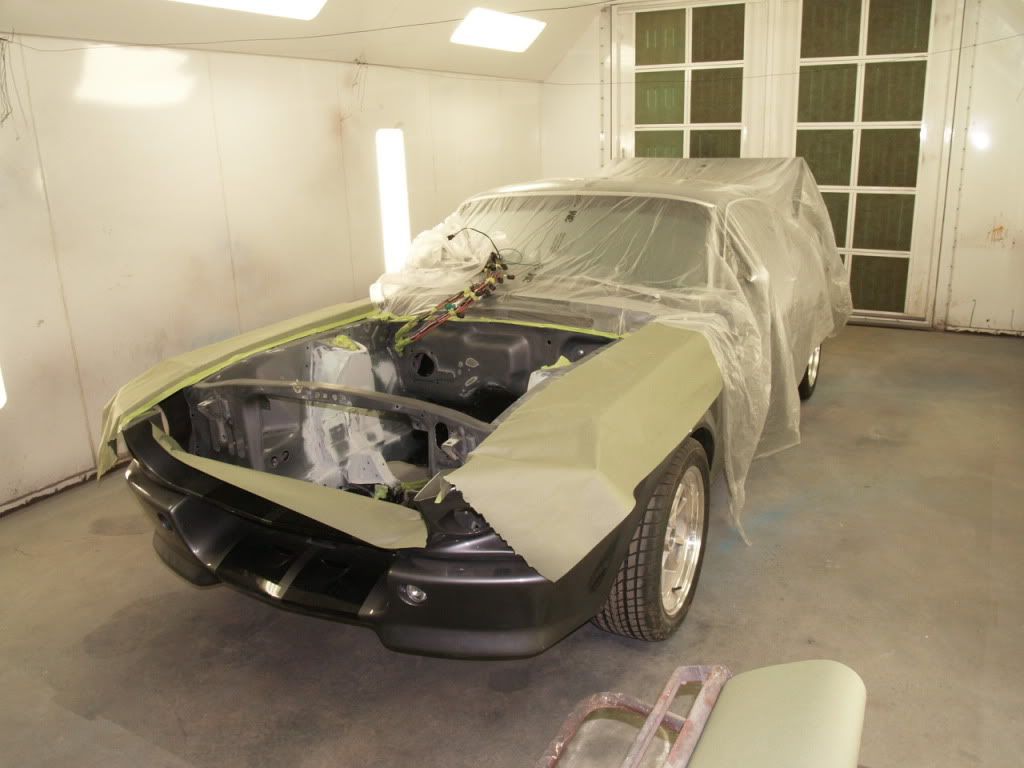
And finally, after respraying the entire wheel well aprons, and shock towers with new undercoating.


 Brian Hobaugh SCCA National Tour June 2014
 First Hemi 'Cuda Convertible Ever Built
 Short clips: Goodguys Pleasanton autocross and pit videos


 Linear Mode

