Installing Eddie Motorsports Billet Hood Hinges
When you open the hood of your ride, you want to show off your hard work. That task shouldn’t be a struggle to do – which can be quite embarrassing. Worse yet is when you need to turn a wrench under the hood and it’s fighting you or not even staying up.
The factory stamped steel hood hinges found on classics leave a lot to be desired. They stick, don’t align properly, and might not even hold the hood up properly. All problems that can cause a mountain of frustration.

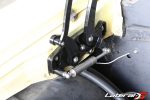
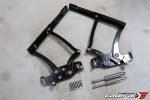
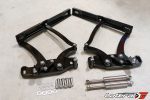
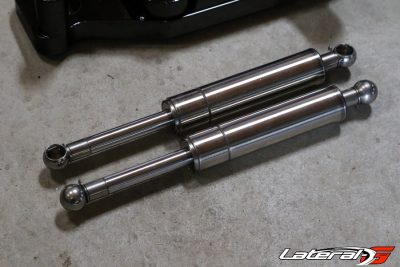
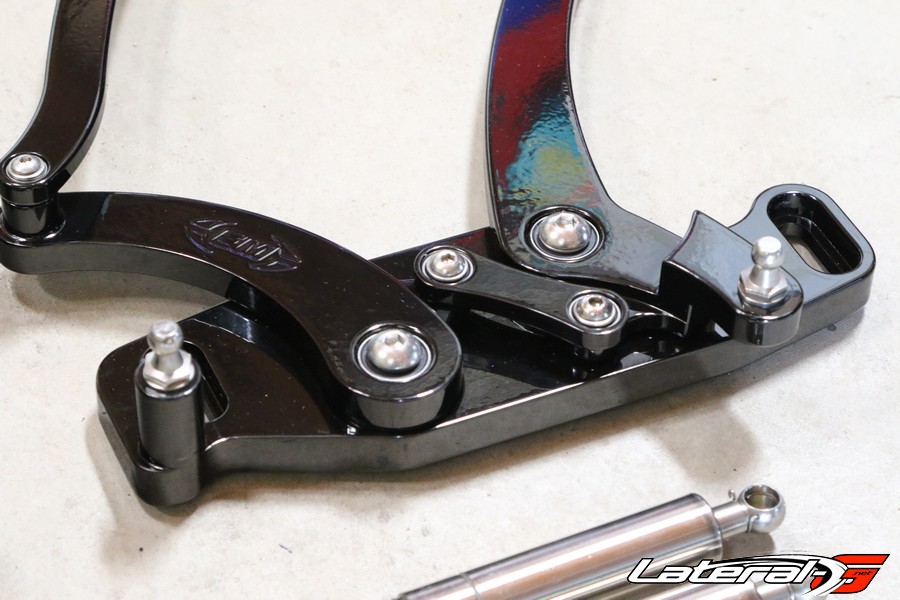
Luckily, there are alternatives out there. One is from Eddie Motorsports and their billet aluminum hood hinges. These use a gas charged shock to provide the power to keep the hood up. They also feature ball bearings at all critical pivot points. What this means is that when you open and shut your hood it’s going to be buttery smooth.
We have to admit we were a bit skeptical on these – are they more than just a pretty part? And the resounding answer is they are bad ass! We installed a set five years ago on a ’66 Chevelle and have loved every minute of it. The ease of opening and closing the hood was awesome and there is zero binding or creaking.
When the time came we wanted to upgrade our ’65 Chevelle with the same hinges. They offer several different finishes on the hinges from raw, to polished to black. We opted for the black set this time around to maintain a somewhat stock appearing hood hinge. They are 100% built in the USA in Rancho Cucamonga at Eddie Motorsport’s facility. Machined from billet aluminum they are a beautiful looking piece with the strength to back it.
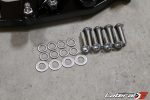
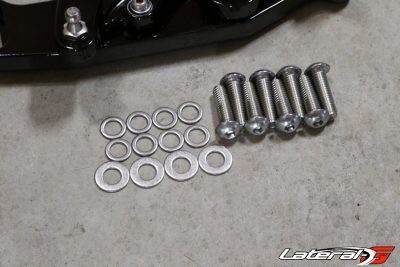
When ordering up a pair for your ride, be sure to specify what type of hood you have. This will ensure that the correct gas springs will come with your hinges. Our hood was a stock steel ’65 Chevelle hood – nothing special going on there. Everything needed for installation comes with the hinges, including new allen-head bolts for a clean professional look.
Installation As Simple As One, Two, Three
At this point we took some precautions to protect the paint before installing the hinges. We used some extra furniture blankets on the fenders and put some painters tape on the edge of the hood. Always better to be safe than sorry.

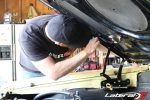
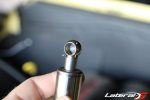
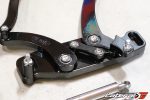
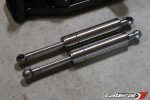
Installing the hinges is pretty easy and straight forward but does require two people. We started out by removing the hood, with a person on each side to ensure nothing got scratched. The hinges had to be prepped a bit by installing the gas shocks, which simply pop onto the ball studs on the hinges after removing the clips that hold them on.

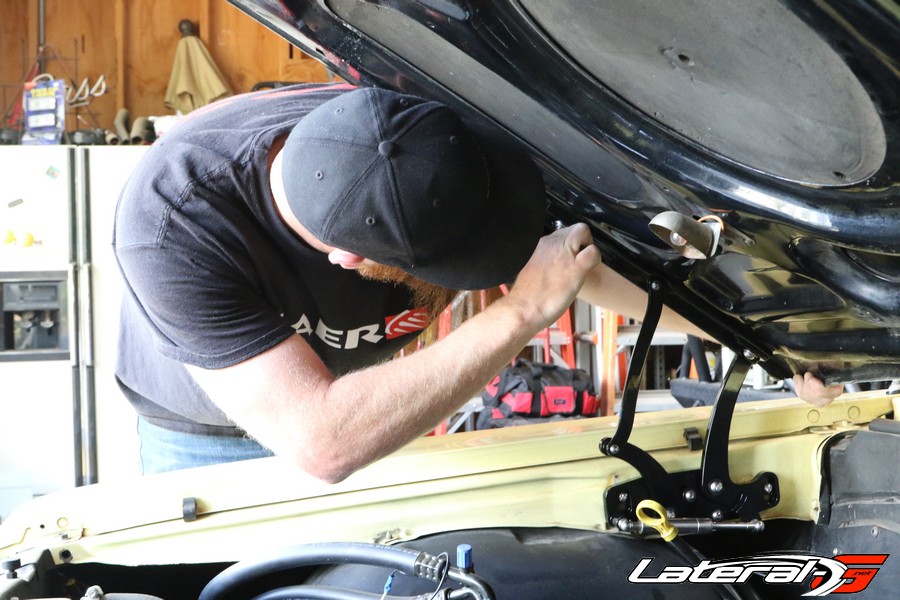
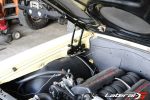
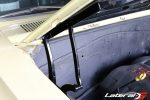
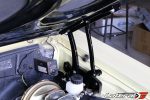
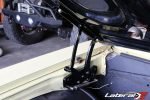
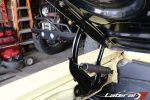
Before unbolting the hinges from the fenders, we did note their approximate location to help get the new hinges in the ballpark range. After unbolting the old hinges we then bolted the new hinges in place. With the hood back in place, we didn’t just slam the hood down and call it good. We slowly lowered the hood watching all edges for alignment. We then loosened the bolts, adjusted the hood and re-tightened them then slowly lowered the hood again. We repeated this until the hood aligned perfectly again.


Overall this was an extremely easy and quick upgrade. From the time we started the installation to the time we finished was less than an hour. A massive upgrade on looks and performance of the hood hinges was really easy and made us wish we hadn’t done it sooner!
For more information and to order your own hinges, hop on Eddie Motorsports’ page or give them a call at (888) 813-1293