The uni-body cars of yesterday had some downfalls. While they are lightweight and provide a smooth ride, they flex – a lot. We’ve heard stories where cars were drag raced and every time they made a pass down the strip, the doors shut differently. With a big enough motor and big enough tire, you could damn near twist these cars into a pretzel.
For the Chevrolet platform, this was your Camaro’s and Nova’s. On our 1967 Nova, we could feel the car flexing while going around corners and going over large bumps in the road. This not only cause the suspension geometry to change, it caused an insecure feeling when pushing the car on the track. Even when driving down the road on a lazy Sunday cruise the car had a strange feeling to the ride since the body would flex differently than the suspension.

A few years back we upgraded this Chevy II by installing tubular control arms, rack and pinion and coil overs in the front. That upgrade made the front end feel solid, but revealed the weakness with the factory rear leaf springs. We gave Chris Alston Chassisworks a call, and got set up with a complete rear four-link with coil overs and a sway bar.
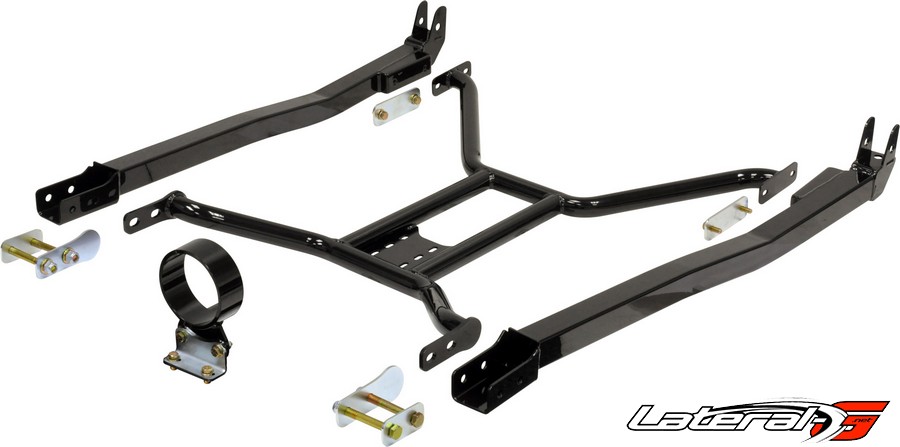
We completed that installation back in Part One, but knew that we needed to stiffen up the chassis itself to really get the most performance out of the new rear suspension. Luckily, Chris Alston Chassisworks makes a killer sub-frame connector and x-brace kit, so we ordered one up and had it waiting for us. They also make sub-frame connectors for Camaros, Mustangs and Cougars as well. For more information, check out their site or this data sheet.
With the car still on the lift from the rear four-link installation, we popped the driveshaft out the rearend and slid the driveshaft loop on then bolted the driveshaft back up. We wanted to get that part out of the way before we got ahead of ourselves.
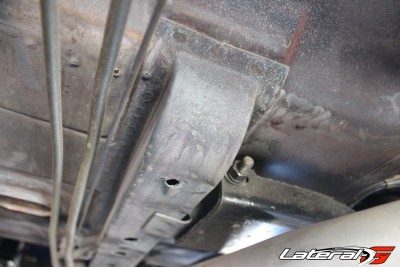
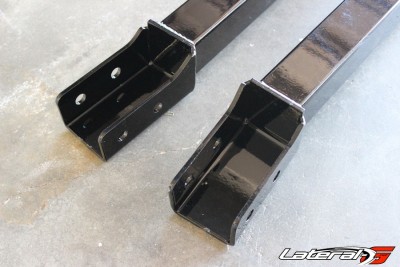
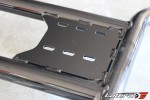
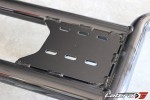
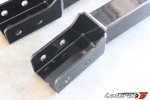
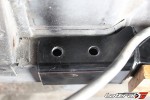
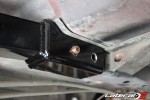
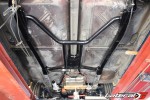
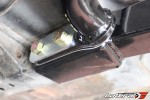
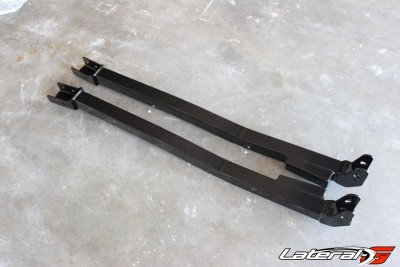
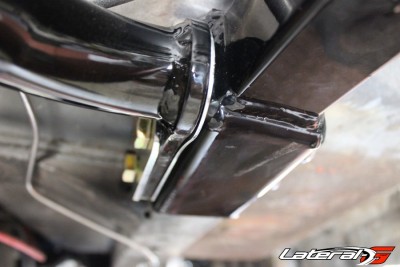
Starting on the sub-frame connectors, we slide them under the car. The rear of the sub-frame connectors slide onto the rear part of the frame, directly in front of the lower control arm brackets we welded in during Part One. The front of the sub-frame connectors have a “U” shape design that slides directly over the front frame stub, behind the transmission cross member.
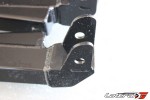
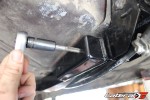
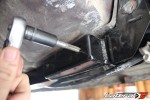
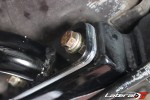
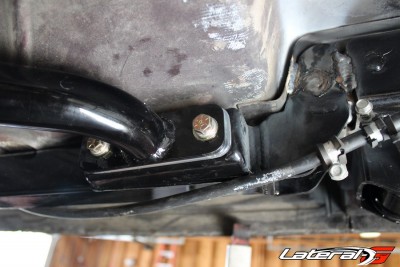
 We used a bottle jack to push these sub-frame connectors up to the body, as tight as we could get them. We welded up the rear mount, per the instructions. Since they butt up to the lower control arm brackets, we threw some extra weld between the two to make it one continuous piece. The front required drilling four holes, two on each side of frame rail to allow a 1/2″ bolt to pass through. Instead of trying to drill all the way through at once, we did the four individual holes. After getting the holes in, we welded up the front cups to the front frame stub per the instructions, which is just putting a bead of weld along the perimeter of the front cup.
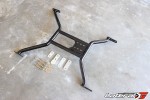
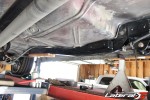
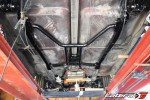
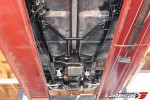
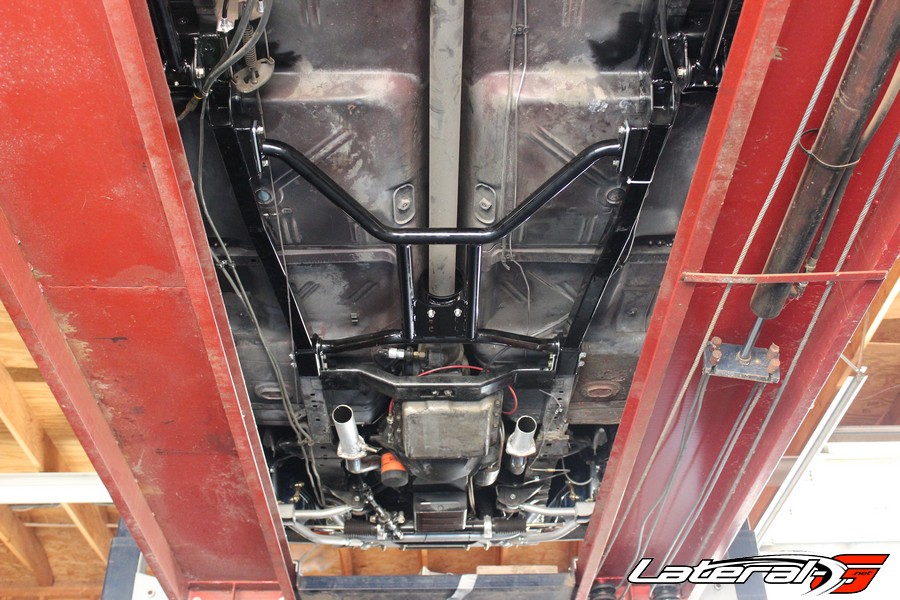
Repeating the process on the drivers side, we had the sub-frame connectors installed in just over an hour. Installing the X-brace was the next step, which is a bolt-in piece allowing for easy removal to service any items.
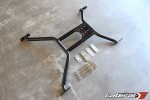
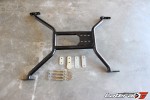
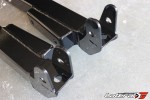
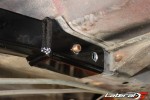
The X-brace has it’s own mounting pads and holes in the rear, which attaches it to the sides of the sub-frame connectors. Before trying to mount the X-brace, we grabbed our tap and cleaned the threads out since the sub-frame connectors are a powder-coated item. In the front, the X-brace utilizes the same bolts that the sub-frame connectors use, making for one solid piece.

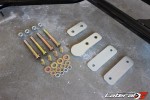
Now you’re probably thinking what if the X-brace doesn’t fit perfectly? Chris Alston thought of that as well. They provide shims to get the perfect fit all the way around. On this ’67 Nova, we ended up using a few of them in the front and in the rear as well to take up the little bit of spacing we had.


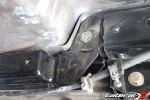
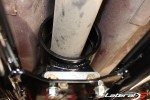
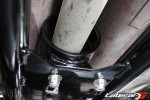
With the sub-frame connectors and X-brace installed, the last step was to install the driveshaft loop. Since we already had the loop on the driveshaft, half the installation was already complete. All we had to do was grab a small bracket and four bolts.
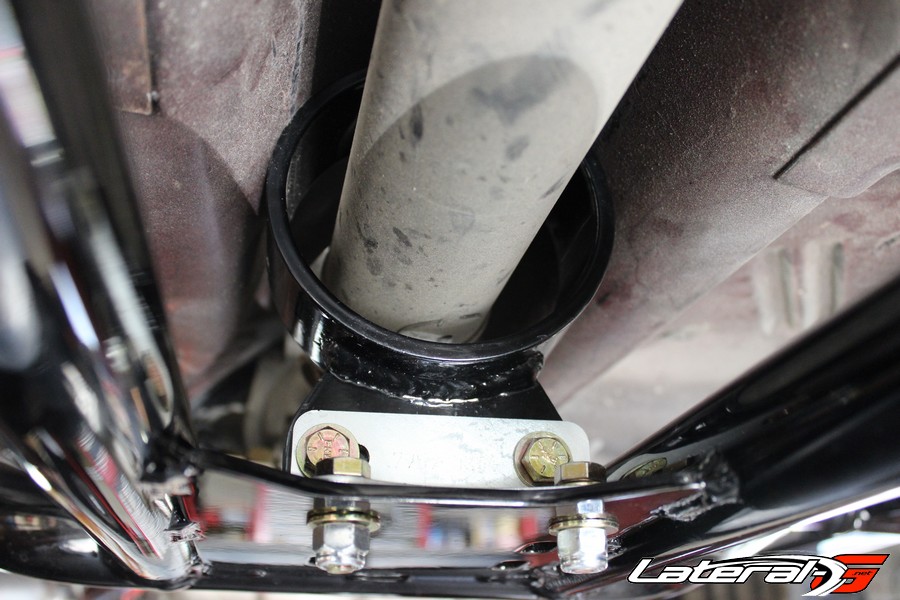
One thing to note is that the driveshaft loop does touch the floor when installed, but since this is a uni-body car, there’s no concerns there. The four-link and coil over conversion is complete, along with the sub-frame connectors we only had one thing left to do, get the exhaust back on and hit the track!
This kit is very complete and very specific to the car. The average garage mechanic can easily get this and the four link installation completed within a weekend or two, as long as they can weld or have a buddy that can. For any further questions, hop on the Chris Alston Chassisworks site or give them a call at (888) 388-0297. For additional information on the Nova, Camaro, Mustang and Cougar sub-frame connectors, click here and check out a data sheet with all the specifications.