When you’re swapping motors and transmissions in a car, there are a lot of challenges. What motor mounts to use, what headers will fit, and so forth. Sometimes those are rather easy to find swap kits for, or pieces that will work. But just like the old saying, “the devil is in the details,” we found out on an LQ4 and 4L80E swap that saying was all but too true.
One area that we were scratching our heads at was how to retain the factory column shifter. In this car, installing a floor shifter or something aftermarket was out the of the question. We had to retain the factory column shifter. Sure, we could have went to the hardware store, pulled out the welder, and wasted a whole day figuring out something custom. In our minds though, time is money. Before heading to the store, we hopped on Lokar Performance Product’s website to see what they had available.
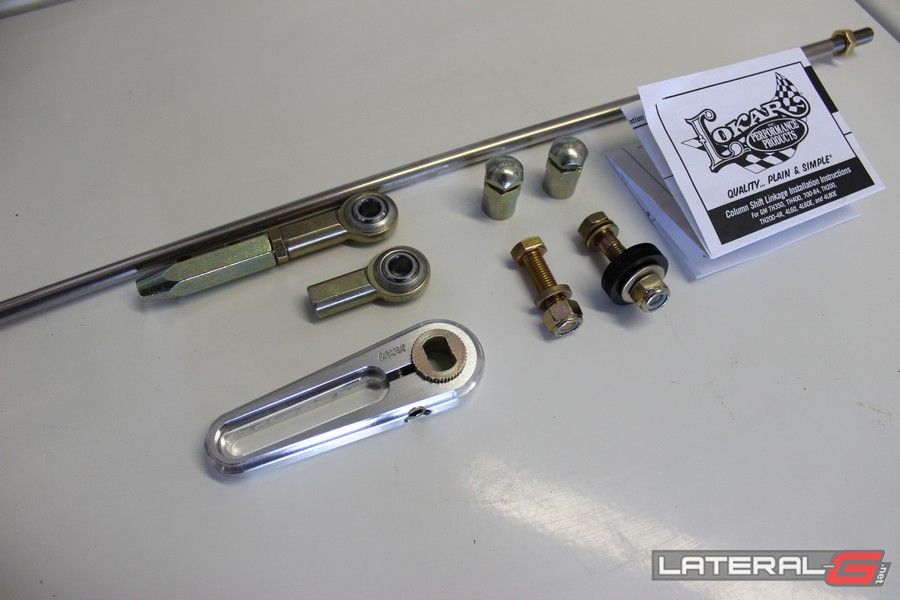
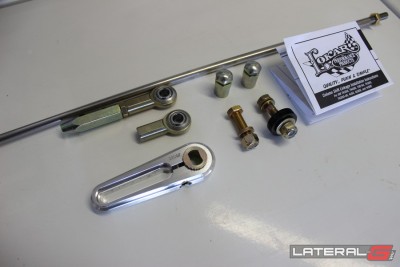
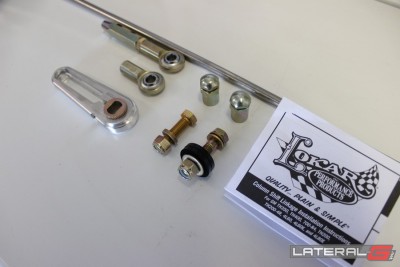
Within minutes we found a column shift linkage that would work perfectly by saving us a ton of headaches, time and money. This column shift linkage(part number ACA-1800) fits GM TH-350, TH-400, 700-R4, TH-200, 200-4R, 4L60, 4L60E and 4L80E transmissions. For Ford C-4 and C-6 transmissions, you can order up the ACA-1801, which is the same product with a different shifter arm to accommodate those transmissions.
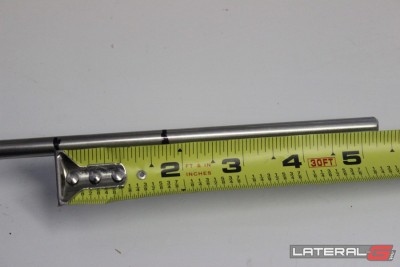
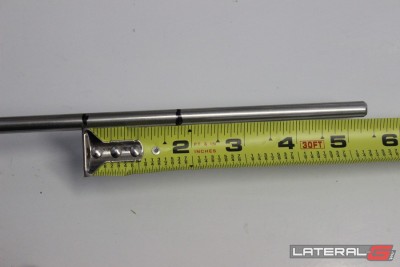
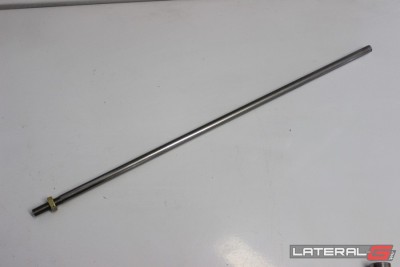
We gave a call to Lokar and spoke with Mike Waldo. “This column shifter linkage is 100% American made, something that we are very proud of,” explained Waldo. “The linkage itself is 24″ long before cutting, from eyelet-to-eyelet of the heim joints. That makes the rod itself 18″ long, but we have a 21″ rod for other applications that would make the eyelet-to-eyelet length 27″ long,” elaborated Waldo.
Getting started
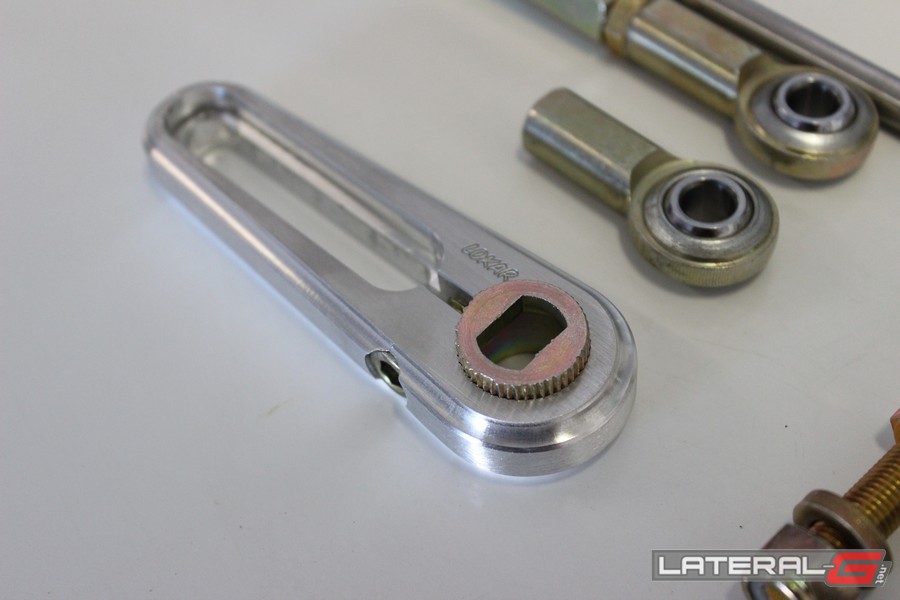
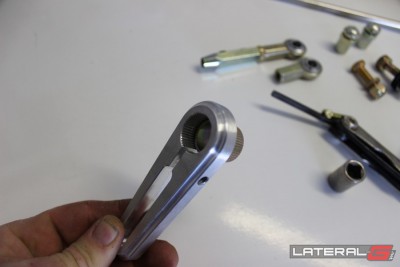
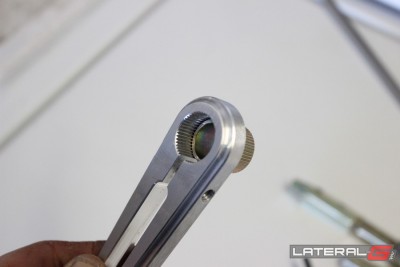
This linkage has two heim joints, one on each end. In between those is a metal rod that’s cut-to-fit. The kit comes complete with everything needed. The only tools we needed were some basic box-end wrenches, a few allen wrenches, and something to cut the rod, which in our case was a grinder with a cut off wheel.
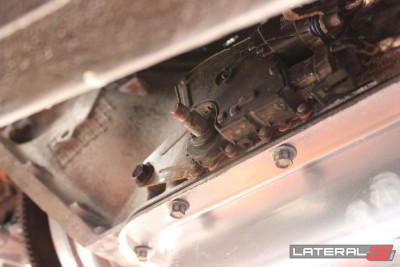
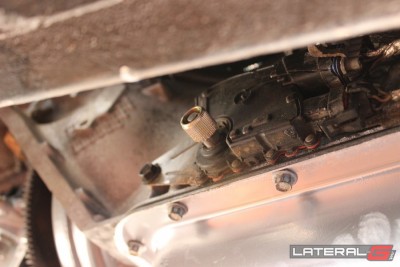
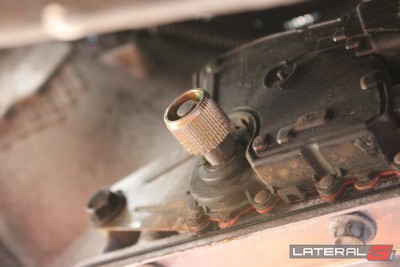
First step installing this linkage is to remove the factory arm on the transmission. Then you install Lokar’s billet arm, in the 8 o’clock position.
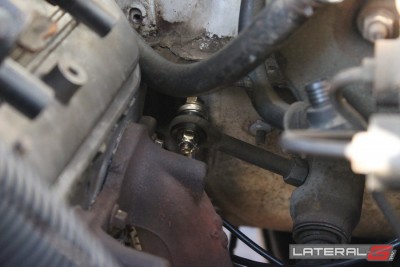
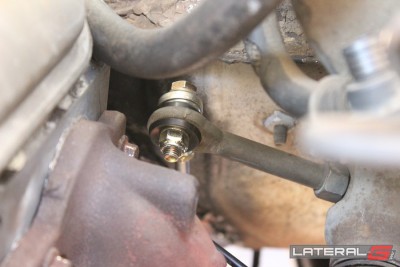
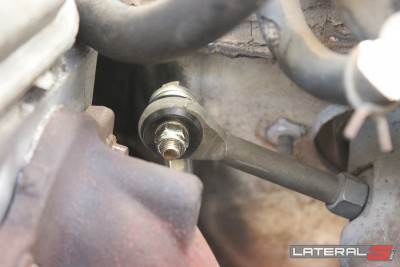
From here you install the heim joint with supplied bushings, bolt and nut onto the factory column shift arm. With the rod threaded all the way into the heim, you take the measurement of where the rod is, in the center slot of the billet arm. Per the instructions, you measure back approximately 1.5″, and cut the rod.


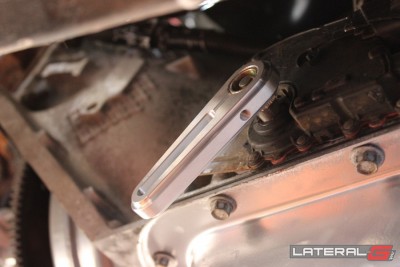
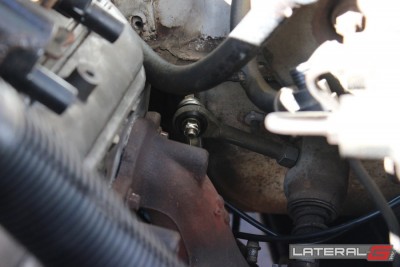
With the rod cut, we installed it into the heim joint for the transmission, and installed the whole linkage. Our first snag was that when we tried to shift all the way down into first gear, the rod hit the firewall. We popped it back off, and put a slight bend in the rod, which is OK per the instructions.

A slight bend was necessary to clear the firewall.
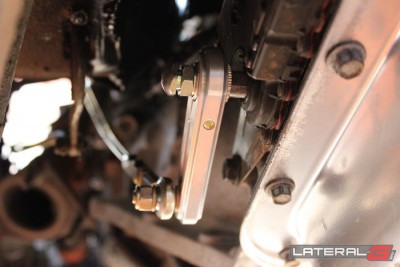
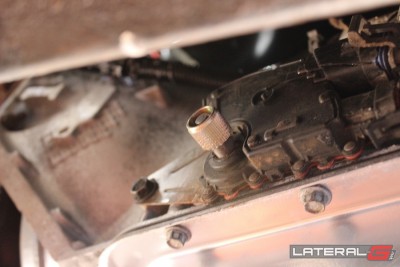
Now that we were clearing the firewall, we could get the transmission to shift all the way down to first gear, but the angle of the billet arm and heim on the transmission made it bind up and we had to force it back up into second gear. The solution was super simple. We moved the billet arm from the 8 o’clock position to about the 8:45 position. This did mean we had to measure and shorten the rod some more.
-
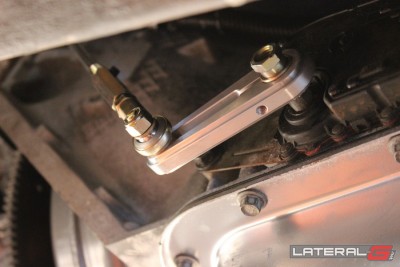
- 8:45 Position in park.
-

- 8:00 Position in park.
Once that was done, the linkage worked perfect! The arm on the column shifted smoothly from Park, to First, and back again. The whole process took about an hour, from start to finish.
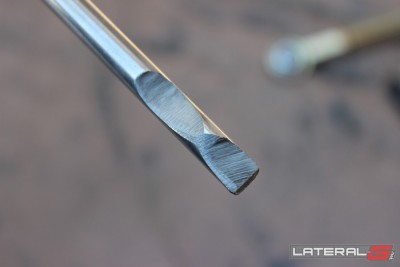
The very last step was to remove the rod again, and grind some flat spots where the set screws hold it into the heim joint. With that done, we simply tightened down all the nuts and allen screws.

This was truly one of those parts that went together as easy as the instructions made it look! We saved hours of time and frustration as well, which is huge in our book! We were also extremely impressed with the level of quality and precision that these parts were made with.

If you have any shifter, throttle, dipstick, or any other odd products you need, make sure to give Lokar a look, you won’t be disappointed. Check out the gallery below for more pictures!


-
- 8:00 Position in park.
-
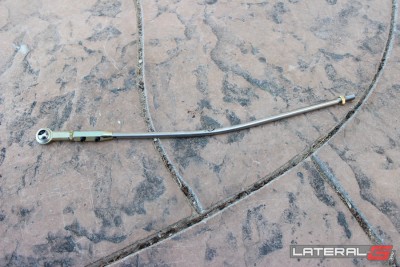
- A slight bend was necessary to clear the firewall.
-
- 8:45 Position in park.