Once in photoshop, duplicate the original layer by using the drop down menu arrow in the upper right and delete the original by clicking and dragging it to the trash can. (There may be a better way, but I still can't figure out how to unlock the "background" original layer, lol!) You'll want to do this so you can tweak the original art if needed. Then create a background color layer and drag it below the original art layer. Then create a new layer above your car and using the airbrush tool start adding highlights and bling. Here's the photshop file with only my highlights and black background layers showing.
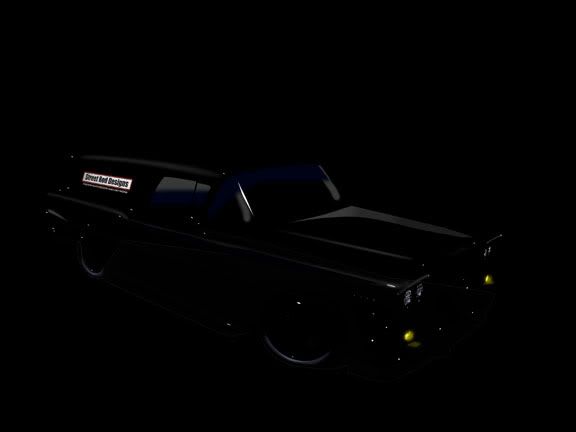
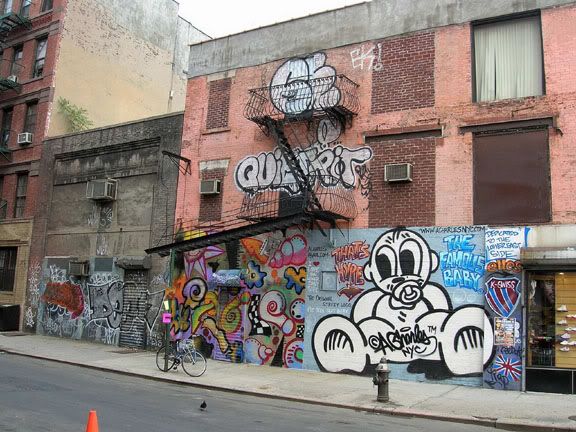
With the car art finalized start working on the background. In this case I had a cool photo of some graffiti a friend sent me a while back. I don't know who the photographer or artists were so sorry I can't give them credit.
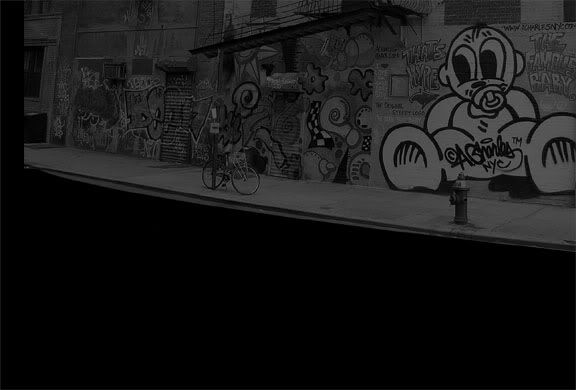
I didn't like the road so I used the pen tool to trace it, then go to paths/make a selection (the dotted open circle at the bottom of the pallete) then making sure you're on the right (grafitti photo) layer, hit delete or use the eraser tool to remove. From here I used image/adjust/hue & saturation/ and turned it black and white. Then on the layers pallete I cranked down the opacity to get the darker color as some of the black background will show through.
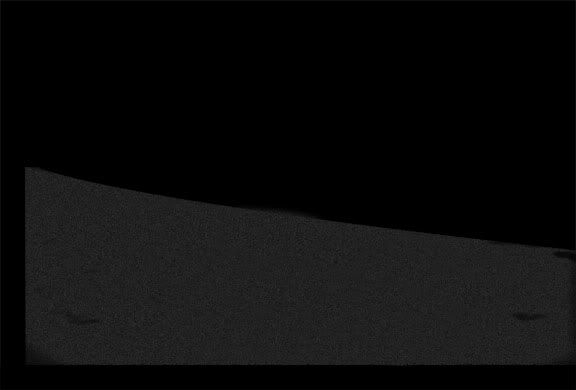
To create the road there's a way simple step. Use the pen tool and creat a shape of the road (the shape was already in my paths palete, I just clicked to select as above). With the shape selected create a new layer above the photo and under your car and go to filter/add noise. Play with the settings on the noise palette to get it where you want it. Simple as that, you've got a road. For a cool effect you can put a slight motion blur on it and then do a radial blur on your wheels and it looks like the car is moving. I used the burn tool from the tool palette to create a couple stains on the pavement.
In the upper left I added my "SRD" logo to the wall in the same fashion I tweaked the grille insert. Bring in your file and use edit/transform to get the right perspective, then because my background was black and white I went to Image /adjust/hue & saturation to make it look like it fit. Then I put a slight blur- filter, blur,gausian blur, to give it a bit of spray paint effect. Add your signature and any text like your website and you're good to go!
