....and finally, the installation of the DSE (Detroit Speed & Engineering) solid body bushings.
From DSE:
Quote:
Detroit Speed and Engineering's solid body mounts provide a simple approach to eliminating the flex that occurs between the body and subframe connection. This will improve vehicle handling response by increasing chassis stiffness. These mounts should be used when installing subframe connectors for maximum torsional rigidity.
Detroit Speed and Engineering's uniquely designed body mounts are CNC machined from billet aluminum. The mounts are then hardcoated, not bright anodized. The hardcoating process resists corrosion that can occur between steel and aluminum surfaces with regular bright anodizing. CNC machined stainless steel bevel washers are included. 17-4 stainless steel flanged body bolts are also available as an option.
Our mounts are available in either 1/2 height or stock height.
The body mount kit includes:
- 2 core support mounts with stainless steel bevel
washers
- 4 body mounts with stainless steel bevel washers
Optional stainless body bolt kit includes:
- 2 polished 17-4 stainless steel bolts and nuts for
core support mounts
- 4 polished 17-4 stainless steel bolts for body
mounts
|


I opted for the standard height units. A lot of folks go for the 1/2-height but from what I've seen the 1/2-height mounts often cause interferance problems between the transmission and tunnel and between engine and hood if you aren't using a cowl induction hood....which I am not. So full height bushings it is. I don't want the car too low anyway. Real life includes driveways, speed bumps, rough roads and trailer ramps. I'll leave the "slammed" look to the fairgrounds guys.
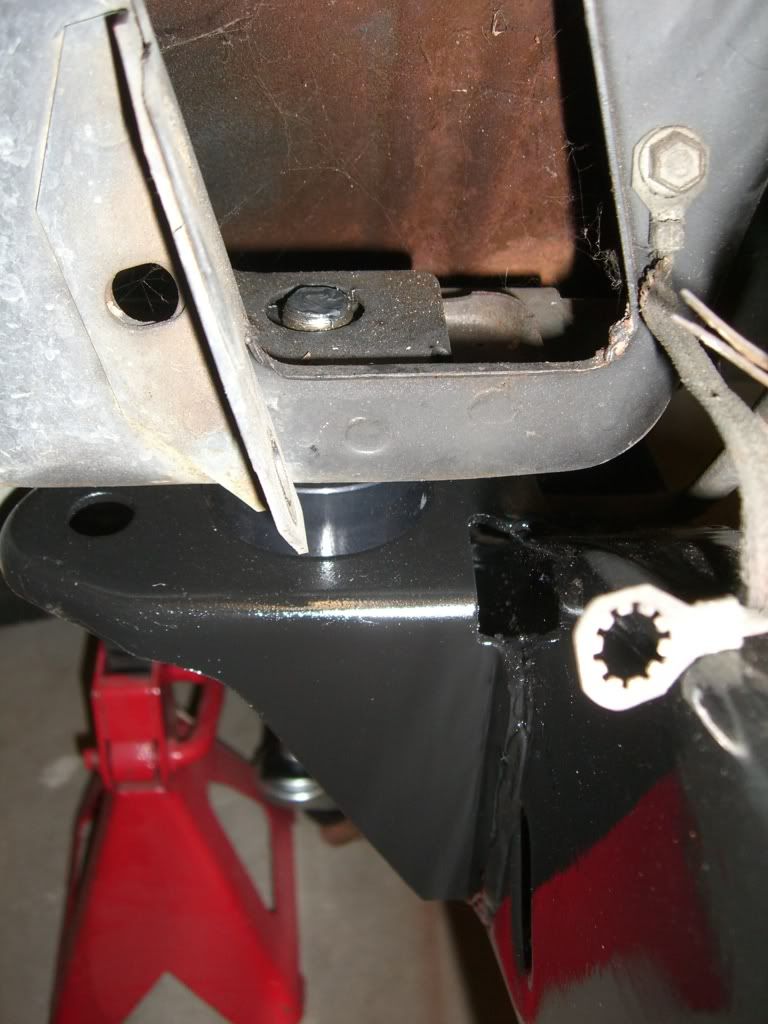
The install of these things is really dead simple and a one-man job as well provided your back/shoulders will allow you to bench press the subframe. The interlocking bushings install above through the subframe mount pads sandwiching the subframe material and providing a rigid interface between the subframe and the body tub. A bit of anti-seize on the stainless bolts is a good idea.
I installed the bushings and bolts hand tight and pulled the jack out of the way.

The next step is to align the subframe to the body tub so that the chassis is square. Also a simple task.
Start by dropping a plum-bob from the aft most mount hole for the lower control arm and make a mark on the garage floor. You can see the red marks here on bits of tape placed on the floor. Repeat this on both the left and right side of the subframe.
