Well, my uncle and I got some work done on the subframe in his shop this weekend. It should be ready to go and get sand blasted now.
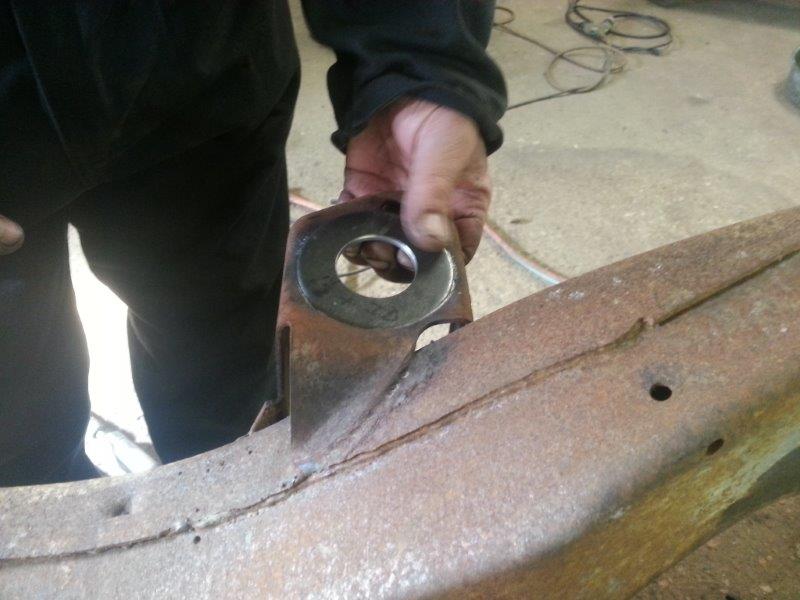
Here's our fix for the rusty middle mount holes. We special ordered washers of the right thickness and bored out the ID on a lathe to the proper dimension. Then we fitted it to a hole in the frame that my uncle cut out with a plasma cutter and smoothed out with a die grinder. For most of this, I just let him do his thing. I can weld and grind but he does it for a living so I left the professional alone!
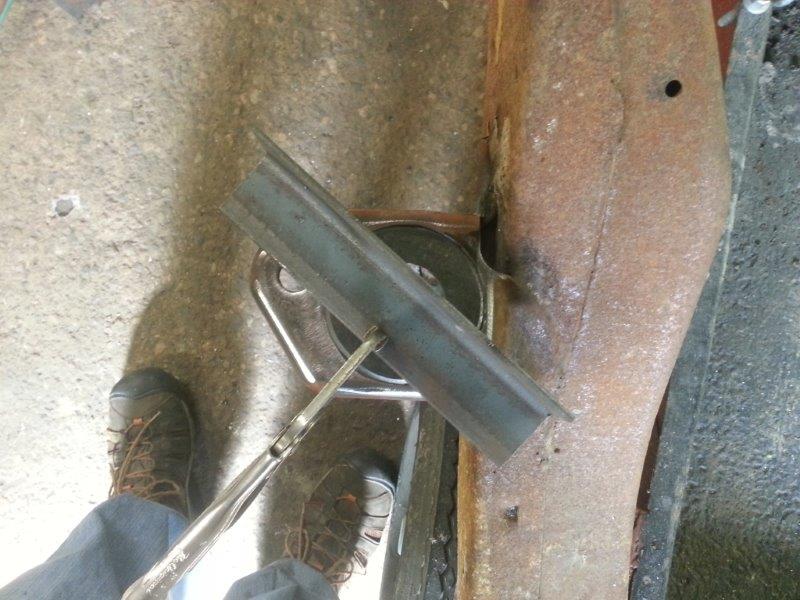
Tacked it into place and made some minor adjustments.
Finish Welded
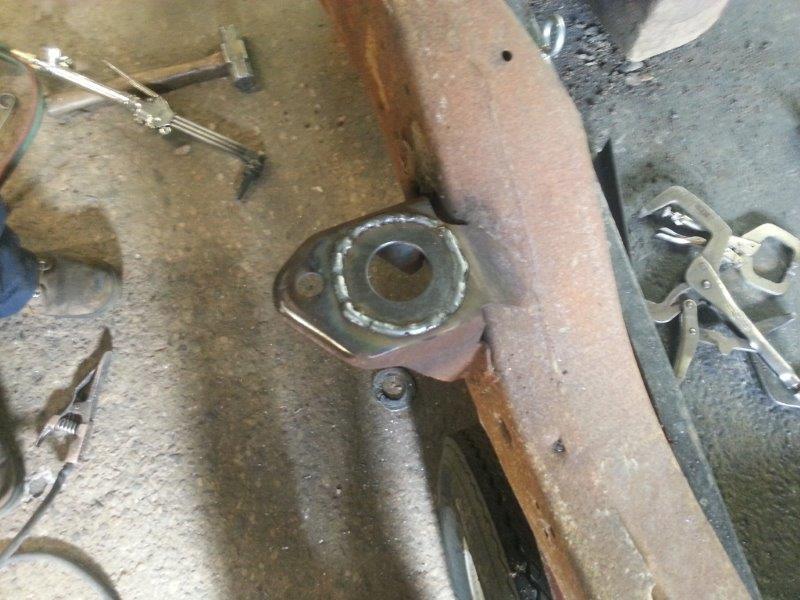
Ground the Weld and they are done

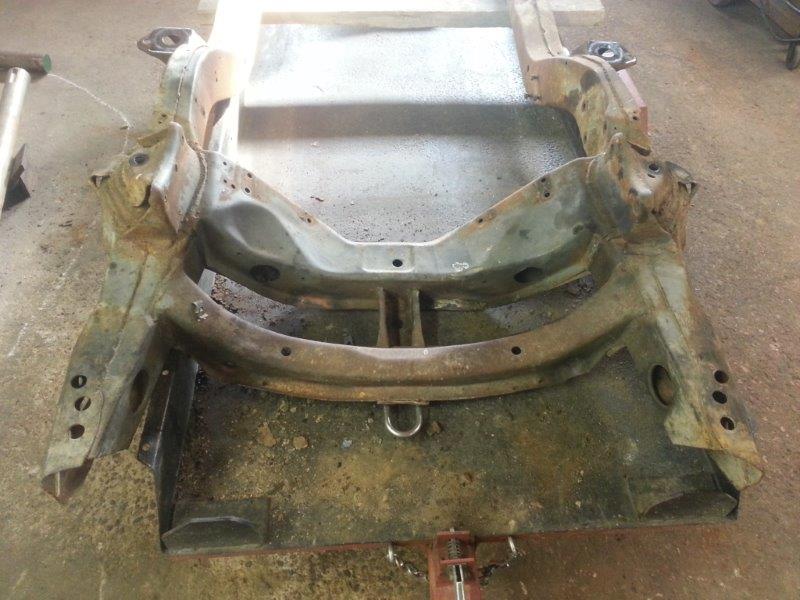
After that we heated and beat out some dents caused by people inserting tow hooks in places not designed for it. I decided to put a tow hook on the front just for that purpose in case it was ever needed.
Getting that thing apart was a big PITA. The upper control arms weren't so bad but the lowers required judicious use of a plasma cutter on the bolts. So, now I'm in search of new bolts for the lower control arms.
That's it for now. It doesn't seem like a lot but it took a whole day.