OK as the "UNIVERSE" series continues, we didn't want to have the bolts feeling like they were the only one who didnt get any love, LOL.
Just spent 20 plus hours doing every single bolt on the car.
I'm not sure how to embed this video. Maybe Jody can do it.
https://www.youtube.com/watch?v=a99tCPA87tw
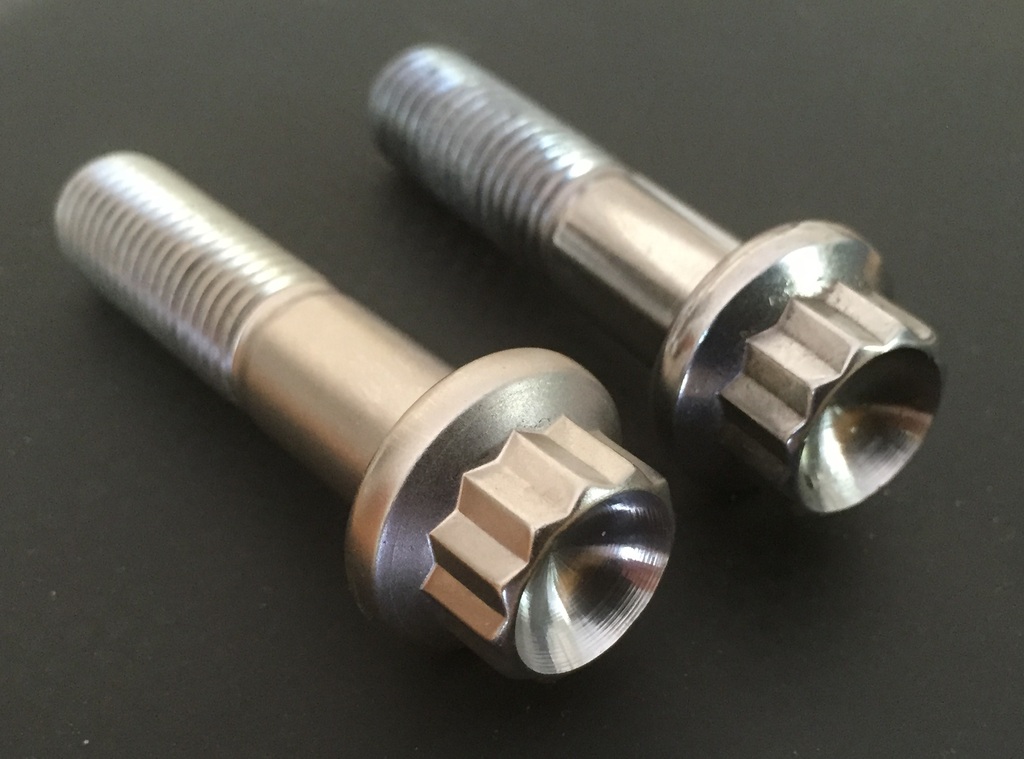
So here is the process we put them through. The bolt on the left has all the steps. First, it was sand blasted (this first step gives the nickel and satin finish). Secondly, nickel plated. Third, the head was drilled to give it a counter sunk look. By drilling the hole after nickel plating, it gives the bolt a two tone look as the hole goes back to a stainless finish. Finally the stainless hole was hand polished. Hope you followed all of that.
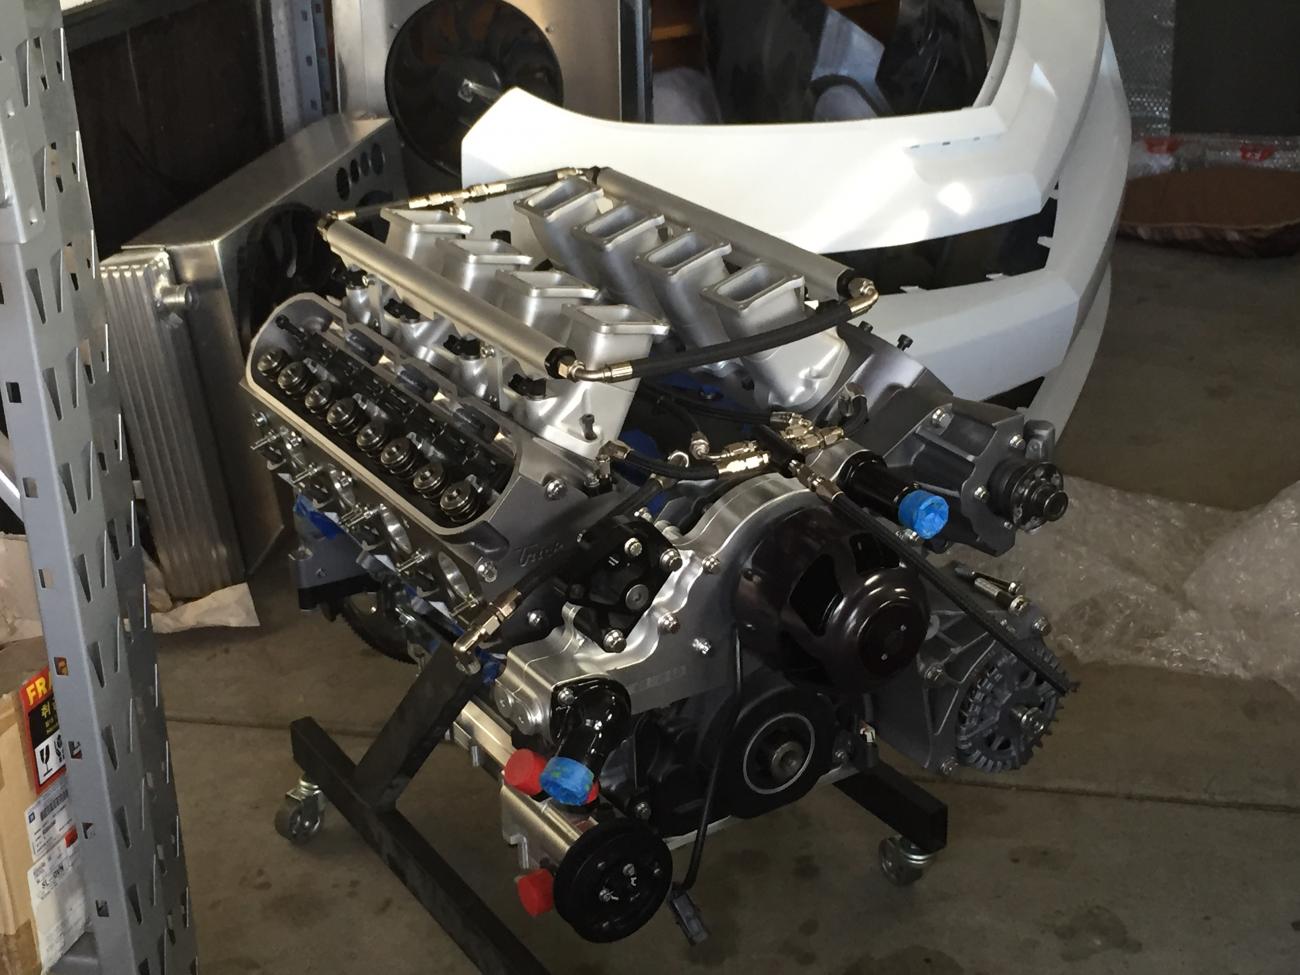
We redid the water vapor lines to include the rear ports also. The Trick Flow heads have the port open so we figure instead of plugging them, we would just do all four. The LS1 would have all for port vented from factory. Cylinder 7 would tend to run hot. The LS3 not so much, so only the front are vented. We figure,, what the heck, just extra piece of mind.
Here is what we came up with.
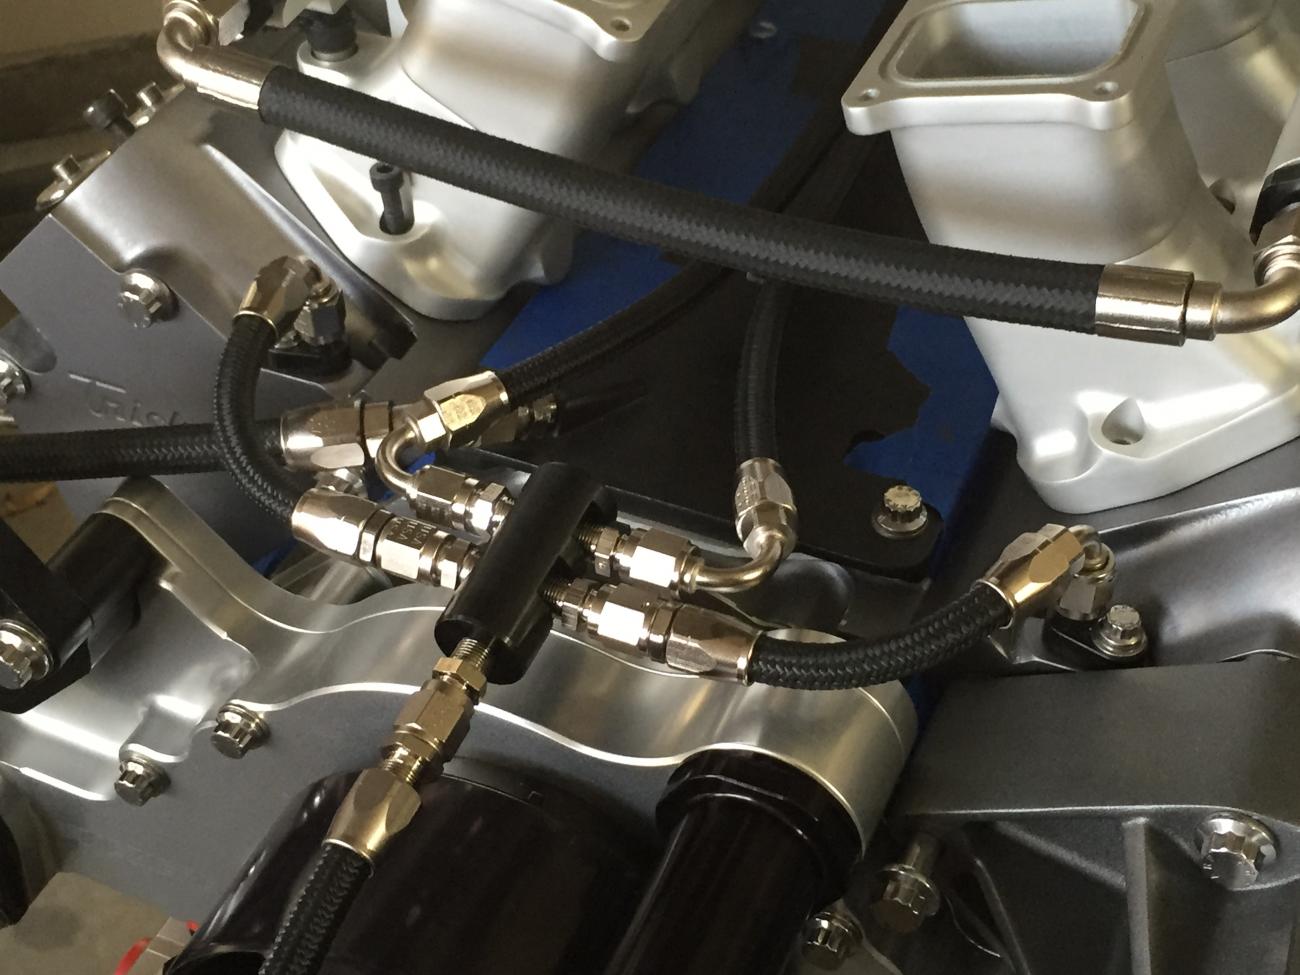
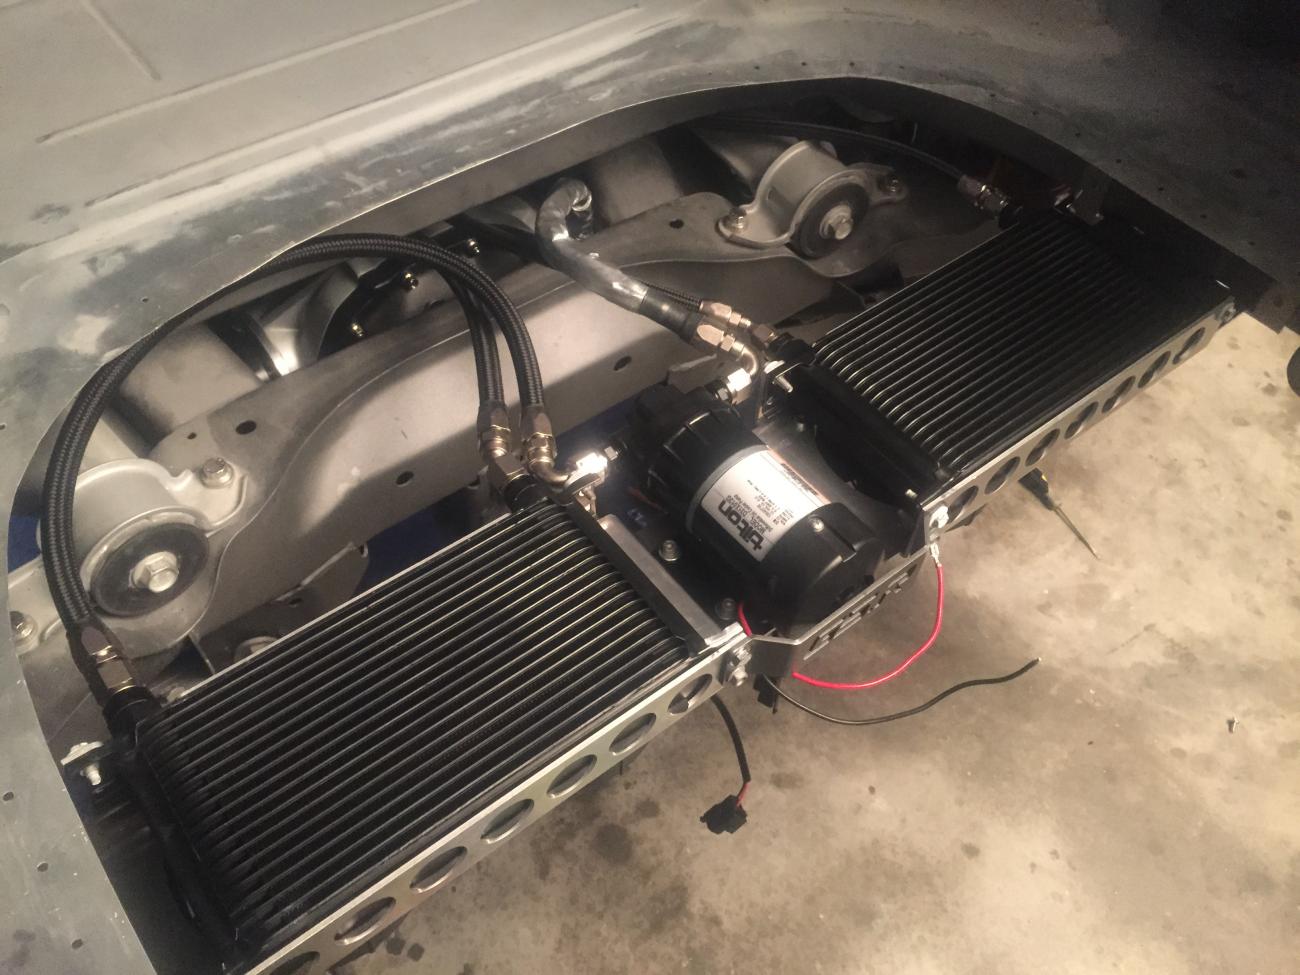
Trans and diff cooler lines almost done. Still need to adopt a i line thermostat and filter. There was a lot of head scratching to come up with the best solution on what fittings to use to make everything flow.
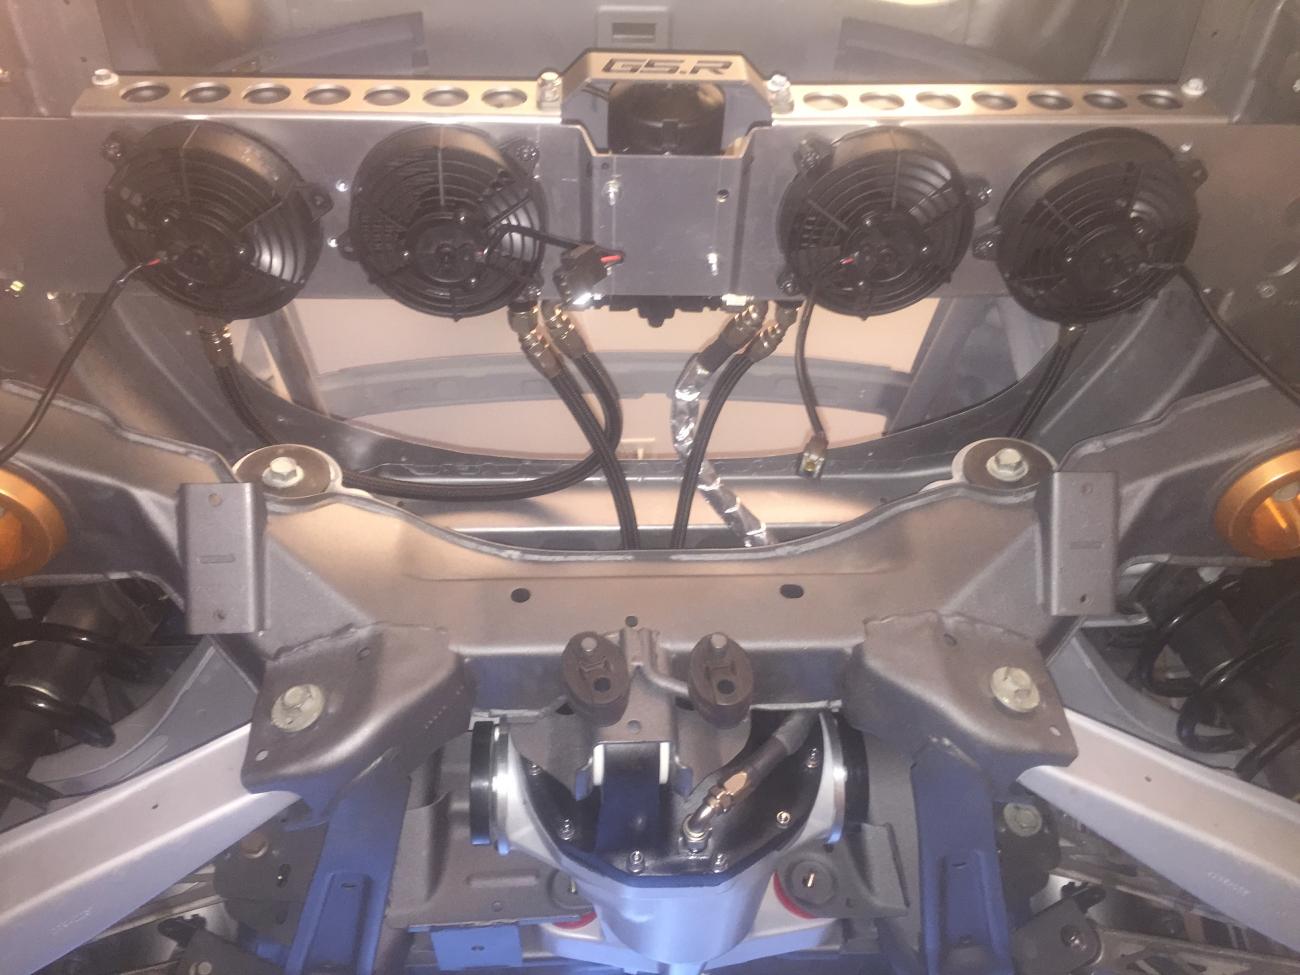
Stainless brake lines are almost done, thats on the to do for today.