Quote:
Originally Posted by RS-Chris

Time for some updates!
With the foundation of the car coming together we could turn our attention to creating the carbon pieces we needed to give this car the shape and look we wanted.
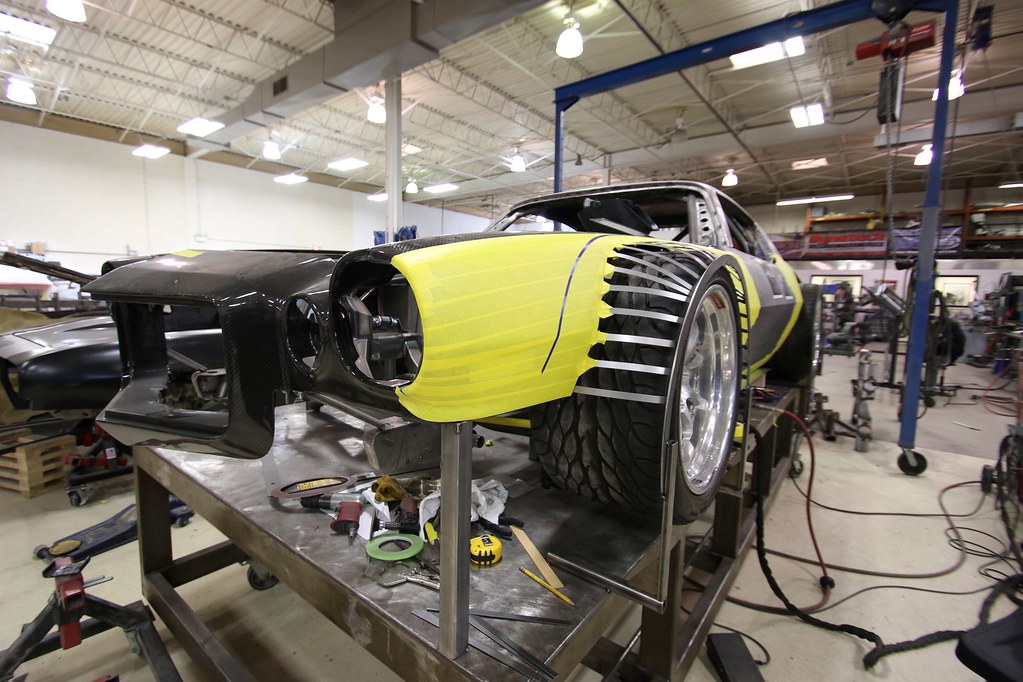
Figuring out how to do this was a process in itself. With foam being the fastest to build shape and carve, we set about creating the 'jig' to both hold the foam we poured and establish guides and limits for where we could cut and still allow clearance for the suspension articulation. In essence, it had to look as good as it worked.

 |
What is the width and thickness of the metal "fingers" you used?
Is that just tape stretched over the metal fingers or did you put some additional support in that we can't see before you put foam over the tape?
How did you apply and contain the foam? Did you build some sort of containment and then just pour the liquid foam in and wait for it expand, remove the containment, and start shaping?
If you had pictures of the containment before or during the foam application that would be great. . .
Thanks for all the pics!!! GREAT looking car and AWESOME fab work!!!