continued from above
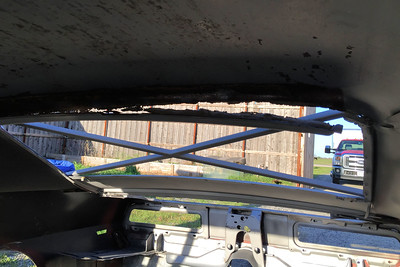
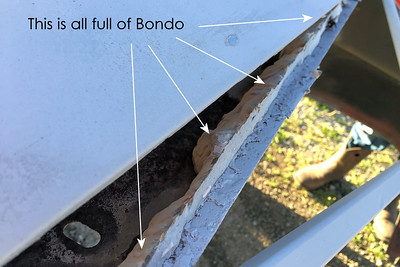
After blasting it was worse than we had feared, and both the front and rear window header sections (the structure in the roof under the outer roof skin, which helps hold the shape of the opening) were rotten. They had been slathered in big globs of body filler, which was all that was holding them together. Blasting exposed this cheap trick done by a previous shop. Heritage said the roof was toast - but they they would find a new roof panel and replace it before the next time we stopped by with the chassis.
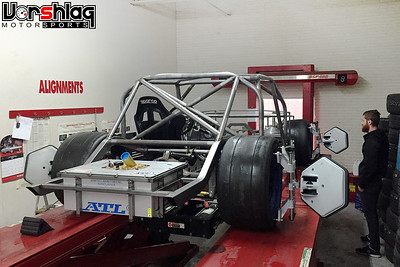
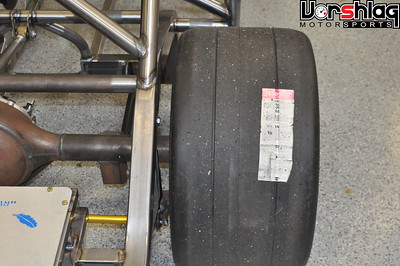
Having the rolling chassis together was handy in that it allowed us to transport it to a nearby shop who has a 4 wheel laser alignment rack - which we borrow/rent often. Alignment racks are expensive and are a "net money loser" unless you can keep it loaded up with dozens of "regular alignments" every week. We just don't have the space, manpower, or customers for that. With the rolling chassis on the rack, Ryan and Brad were able to check the gross camber & caster up front, and axle squareness out back before everything on the front suspension was burned in.
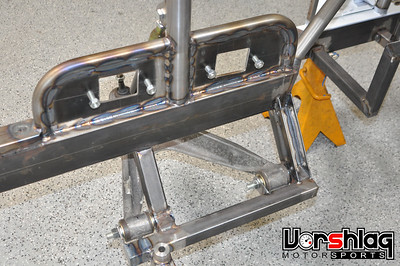
The rolling chassis came right back to Vorshlag. With the laser alignment numbers matching our digitally measured settings and calculations, Ryan then got to work and final welded the front suspension mount sections.
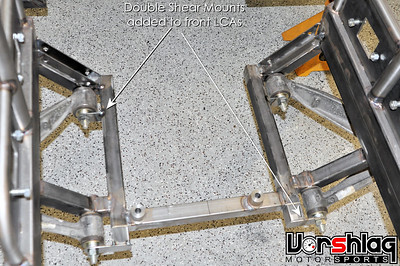
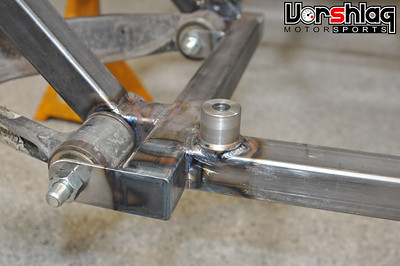
In case the caster or camber settings were way off, we could have more easily moved the front-to-back placements of the control arm mounts. Now that the numbers were proven to be where we planned, the double-shear mounting plates were added to the Lower Control Arms and final welded in place. A bolt-in rear crossmember brace will be added at a later date, to bridge the opening at the rear - making that brace removable allows for easy oil pan access with the engine still in the car.
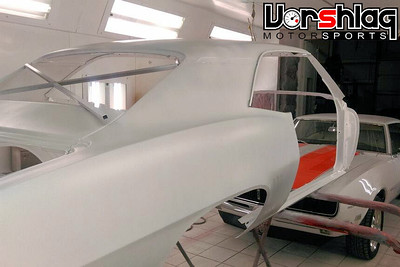

Heritage had a new OEM roof panel sourced, added tubing to the unibody to keep it square, cut out the rotten roof, and welded the new structure in place. To keep the blasted raw metal of much of the unibody from flash rusting, Heritage sprayed the entire unibody with a white sealer/primer, inside and out. The underside of the roof was sanded and smoothed, primed, blocked, then painted with the glossy base & clear finish coats in GM Arctic White - which is a pure white with no pigment.
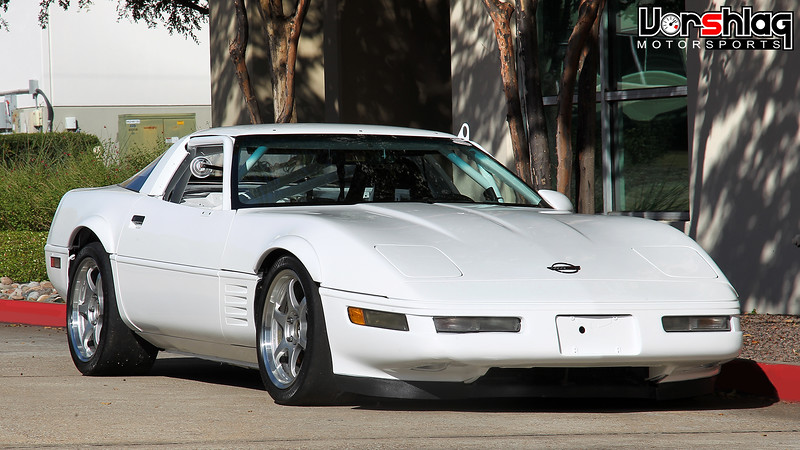
We had Heritage bodywork our
1992 Corvette race car (
which is for sale!) and paint it with
this same GM Arctic White base/clear over the summer. Like we plan to do on the 1969 Camaro, they shot our C4 inside and out with this paint, and it looks great. Its brighter than any other hue - its brighter than the sun! - well, almost.
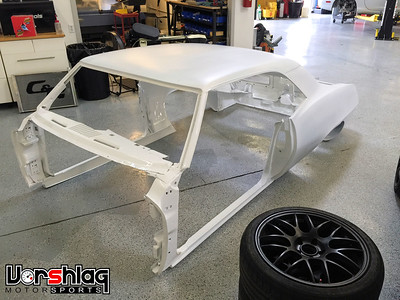
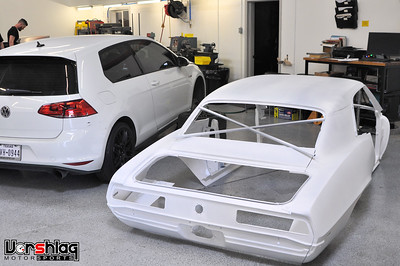
The partially painted unibody waited back at the shop while Heritage sprayed some sections of the chassis. At this point the chassis was final welded and 95% of the cage was in place, including all sections near the roof, A-pillar, or C-pillars. Basically everything except the door bars and harness bar. The harness bar will be added to the cage once the final seating position is in place and we measure the owner's shoulder heights in those seats (more on that below). The door bars in place make it tough to get into and out of the cabin, so even though those have been built they will be final welded in towards the end of the build - to make the next phases of construction easier.
continued below