Time for another update! I've been making some slow and steady progress since my last post.
The quick update - the car starts and runs! However, that revealed a few issues that I am now dealing with. The biggest issue is my hood doesn't fit with the new Holley Stealth Ram intake... more on that coming soon. Working hard to try and get some test miles on the car soon. Yet again one of my "winter" projects is now slipping into July. :doh: Gotta do it right though!
I spent a lot of time getting the new Holley wiring harness laid out where I wanted it, wrapped and hidden. Scooter did a great job walking me through the install and getting everything where it needed to go, I just needed to re-organize a couple of things to get it right where I wanted it. Perfection takes a lot of time! One new skillset I've been picking up through this process is using nice, factory-looking Weatherpak electrical connectors in my harness. For less than $100, I was able to grab a bunch of connectors and terminals off Amazon along with a decent set of crimpers. I definitely screwed up a few crimps, but I'm getting the hang of it. Super happy with the results, it looks really professional.
I didn't do a great job of taking pics so here is just a few highlights:
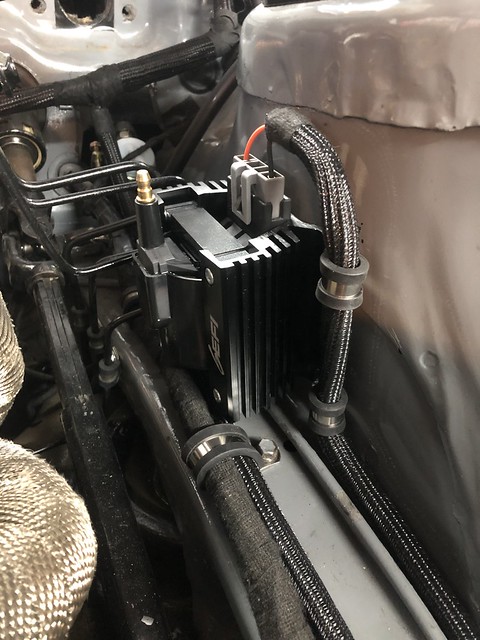
MSD coil mounted on the driver's fender well:
Adding a connector for the ignition box:


New custom made battery cables:

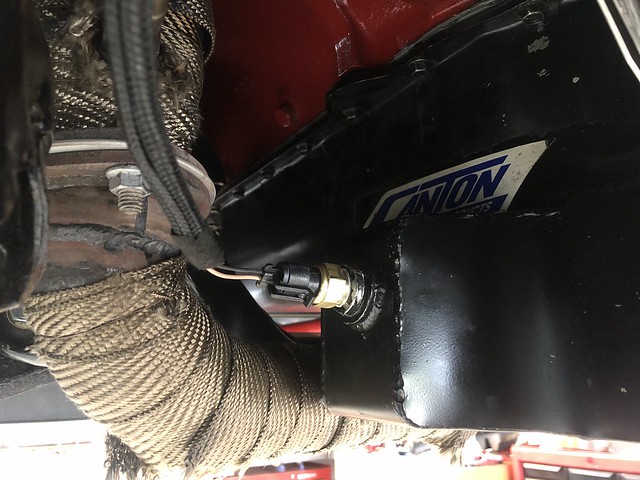
Added an oil temp sensor to the harness:
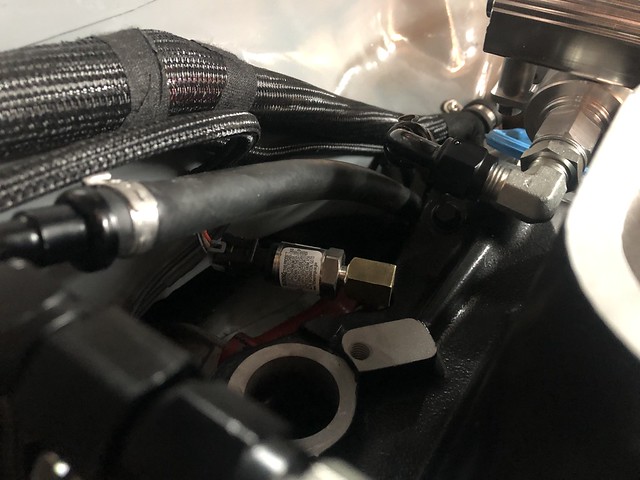
Fuel and oil pressure sensors mounted behind the intake so they're as hidden as possible:

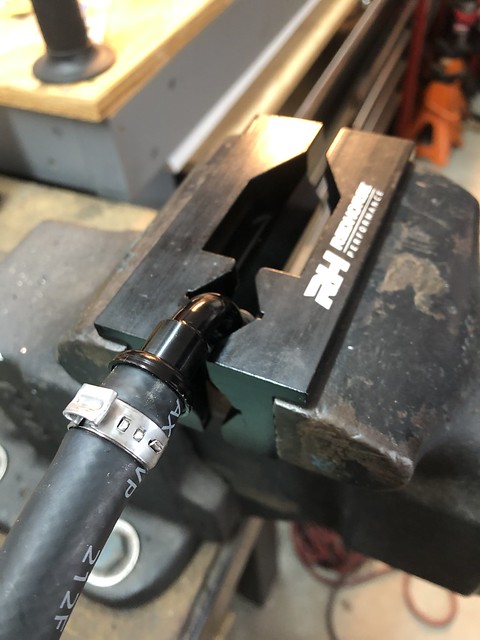
For the fuel lines, I had 2 options. The stock third gen Camaro TPI fuel rails have the fuel enter and exit at the front of the intake. For the Stealth Ram, it's at the back. I could either reuse the stock hard lines and run an adapter the a flexible line all the way to the back of the intake, or cut the hard lines and run new flexible lines to the back of the intake. I chose to go the harder (and better looking) route of making new fuel lines.
Again, I did not do a great job of taking pics, but I cut the stock hard lines underneath the driver's door and used adapters and new flexible fuel hose from RedHorse performance. You can see the lines in the pictures above of the fuel and oil pressure sensors.

Lastly for today I also upgraded the fuel pump wiring while I was at it. The stock third gen wiring harness has a small 10ga (I think?) wire providing power to the pump so my new harness has a nice big 6ga wire going back there so there shouldn't be any drop in voltage. I just had to wire up a small jumper harness to make it work:

That's all for now, lots more updates coming!