continued from above
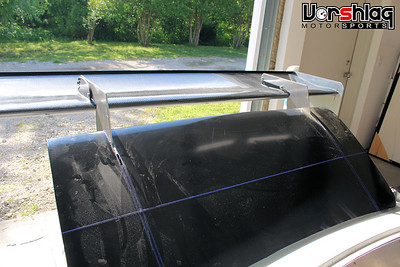
Now I was in favor of a trunk mounted wing upright with separate bracing underneath to the frame, which would allow the trunk to swing up with the wing attached, like we have done many times - see these two cars below:


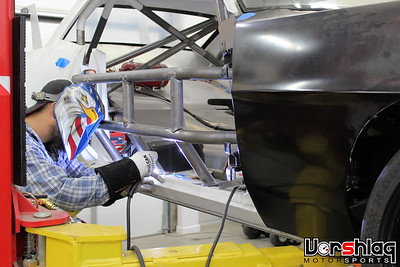
The customer didn't want to pursue that design, so now we had to make the trunk and frame-mounted uprights fit together. Many suggestions were discussed but nothing elegant came up. It was time to hack two giant slots in the trunk, and the customer was on board.
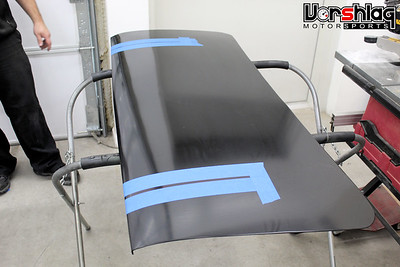
There was no rear trunk latch anymore and that part of the trunk had been cut out. The uprights were installed and so was the trunk, and it was time to mark where the slots would be...
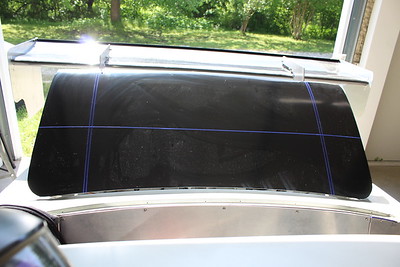
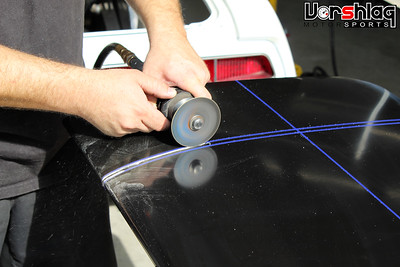
As you can see this was an iterative process, with the trunk swung down, the slots extended, and on and on. Care was taken to keep the slots as tight as possible, to prevent a giant gash from appearing once the trunk was able to be closed fully.
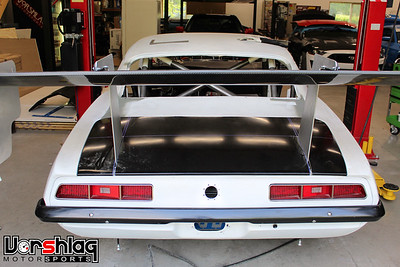
Evan did an admirable job here, sneaking up on the cut until the trunk closed. But this isn't a laser perfect set of uprights - they are very square to the centerline of the chassis but not so precise that they don't require a little margin for error. So the slots grew in width more than I had hoped, and we had some work cut out for ourselves to cover up this pair of slots - on the now weakened trunk lid, which had no latch. We solved it in 2022...
INSTALL CUSTOM BUILT MCS RR3 TRIPLES
The dampers that Jason designed arrived in mid June 2020 and they looked really good. He had ordered up some Hyperco springs for this car in 700 lb-in front and 450 lb-in rear spring rates. These were photographed then Evan got down to the install .

The remote reservoirs give additional travel and a more substantial compression curve, with both low and high speed compression adjustment.
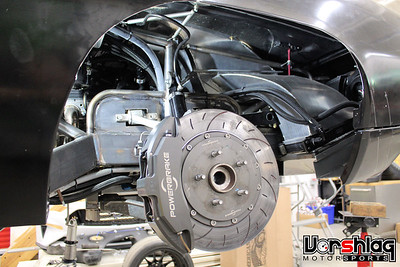

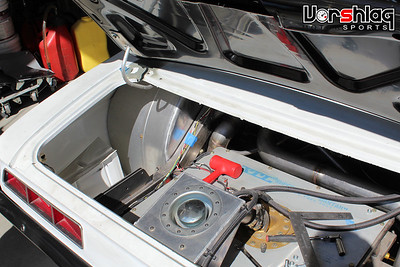
The front shocks mount at the bottom like any C6 Corvette damper, with the "T-bar" lower mount that attaches to the lower arm. The "eye" upper installed to a mount on the frame we had added before and built towards. The reservoirs are mounted under the hood - I will show more of that in a later write up.

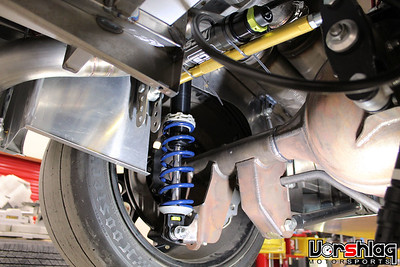
The "eye to eye" rears mount to brackets at the rear axle (bottom) and chassis (top) with bushings and bolts on the spherical ends. The reservoirs were very temporarily mounted to the Watts Link lateral arms, but the car was never driven like this. I will show those reservoir mounts in a later post as well.
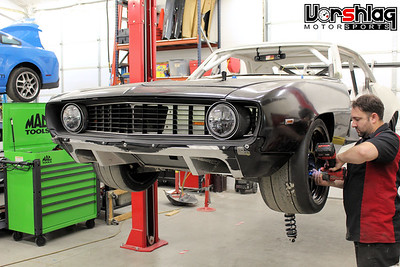

Even got the wheels back on and set ride heights, with input from engineer Jason. This was the last task he tackled on this '69 Camaro before he left to start his own business in September of 2020. We still work with Evan on projects even today and wish him the best!
WHAT'S NEXT?
I wrote for the better part of a day and only got us through June 2020, dang! We still have a lot of work to cover to catch us up to "it runs and drives and is ready for dyno!" Next time I will cover several big tasks that took both heavy fab and some engineering wizardry to complete.
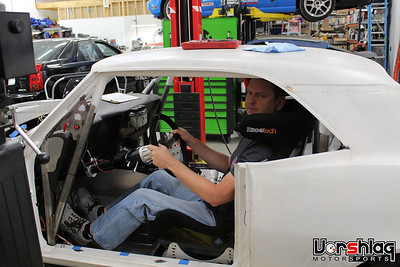
Also, the first of two Racetech front seats was also mounted - you can see that I'm sitting where the back seat would normally be! That's the driver setback that we designed in from the beginning, which allowed for so much engine setback.
Tune in next time for more on this build!