I can't tell you how excited I am to be working on the interior and yes the Christmas Tree is still up and it has not come down since 2002.
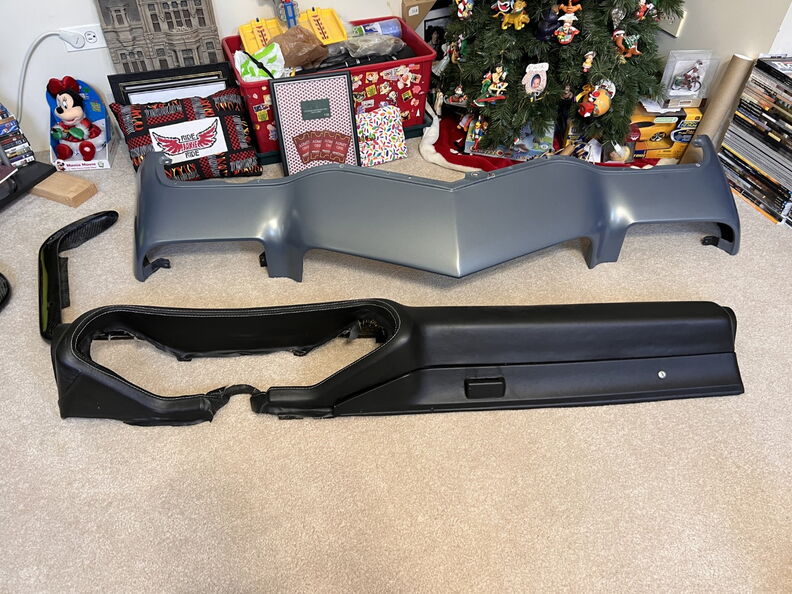
Pieces and Parts
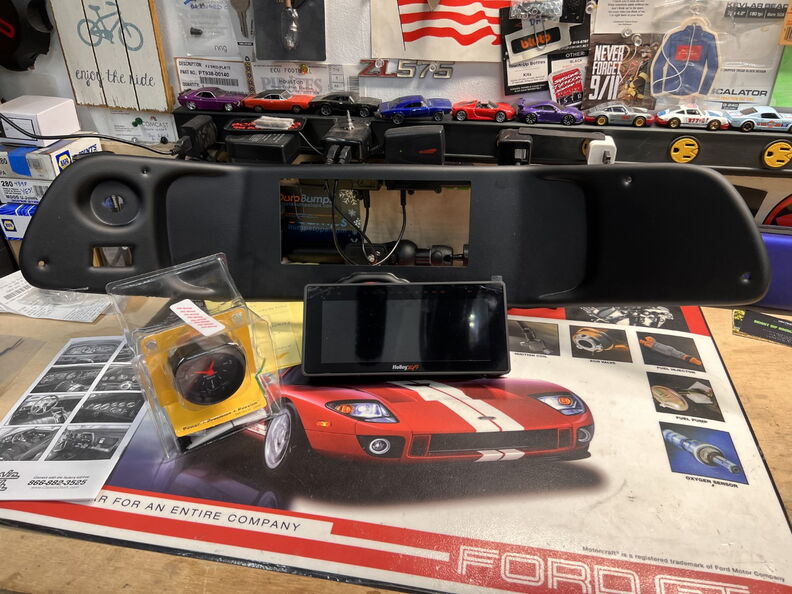
The Dash insert comes with a very nice bracket to support the Holley Dash.

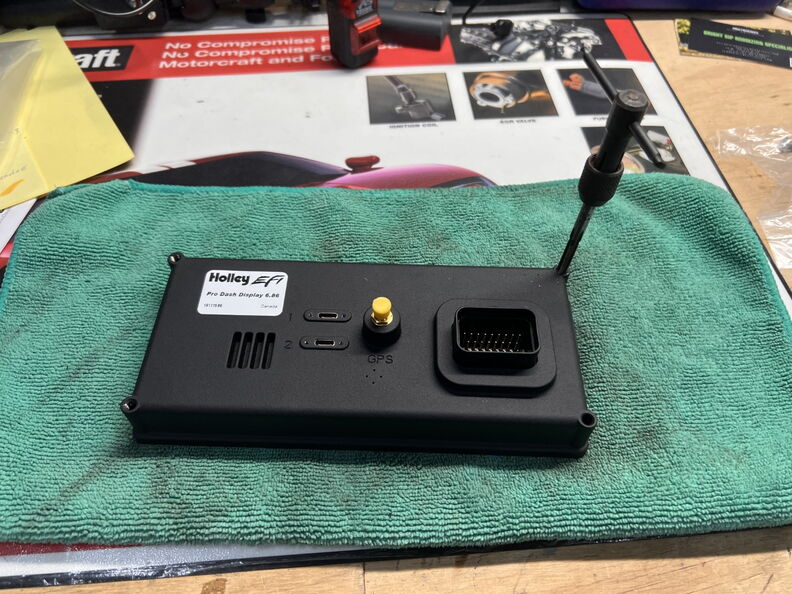
I needed to clean out the threads as the supplied hardware would not screw in.
Another quick trip to on the four Home Depots within 3 miles of my home. I purchase yet another (can't find mine)
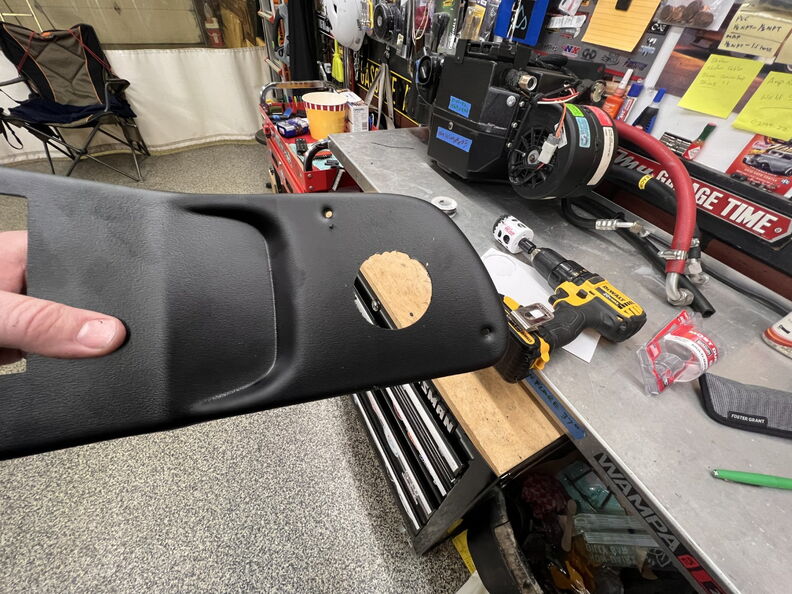
2" Hole Saw. My plan is to drill a slightly smaller hole then necessary which will allow for a tighter fit.

Cluster Installed.

You can see where I plan to install the Autometer Analog Clock.
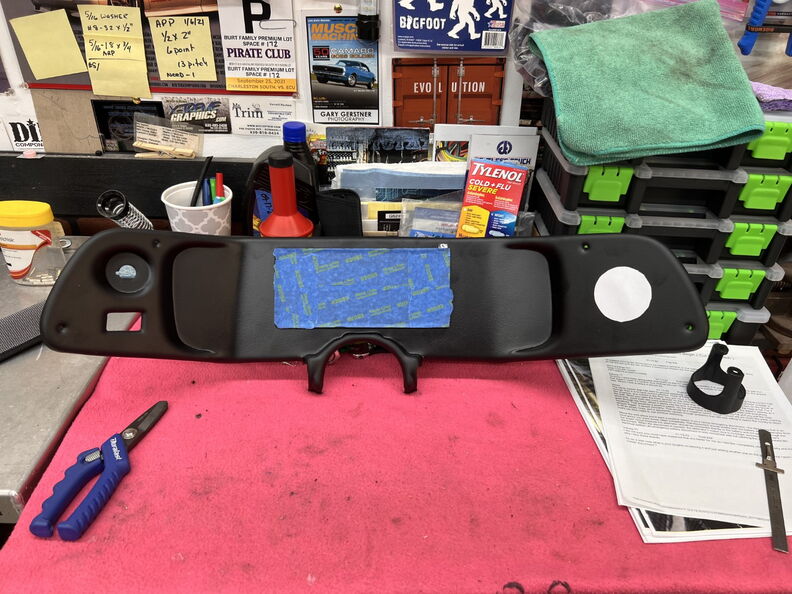
I poke a small hole in the ''Classic Dash" Surround.
Link to the surround
https://classicdash.com/product/1970...ck-dash-panel/
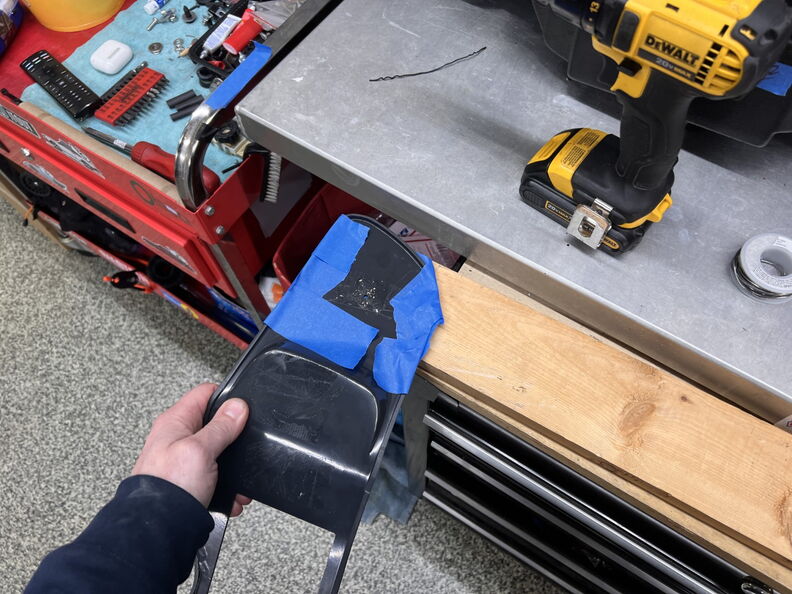
I put down multiple layers of blue tape to protect the Dash Surround.

Hole is drilled and I will clean it up with a Dremel & round sanding disk.

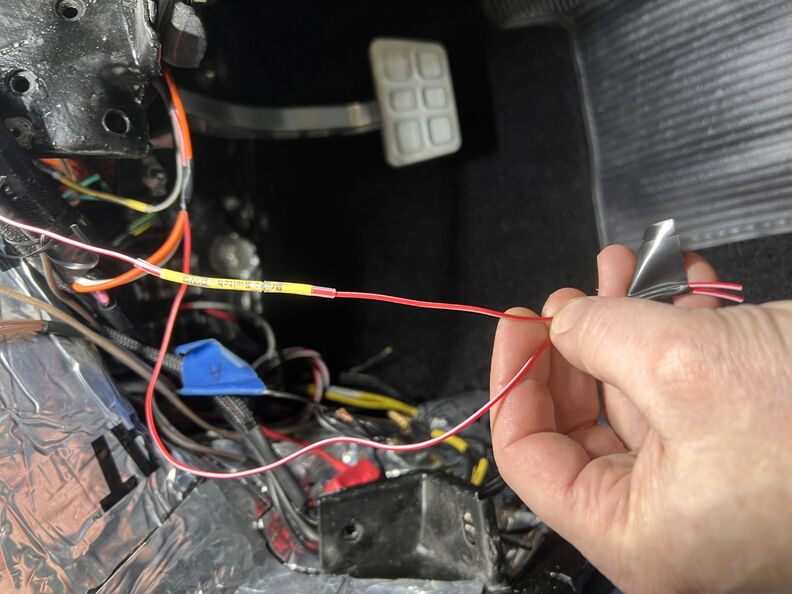
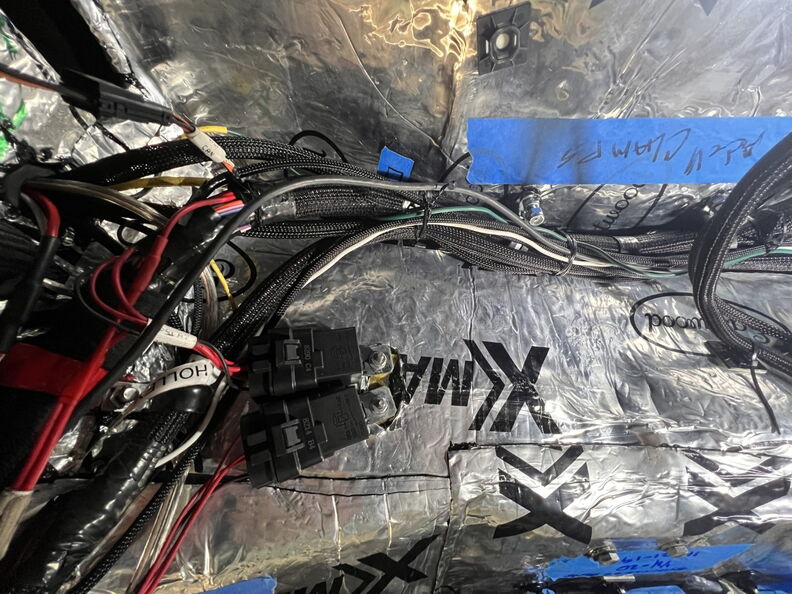
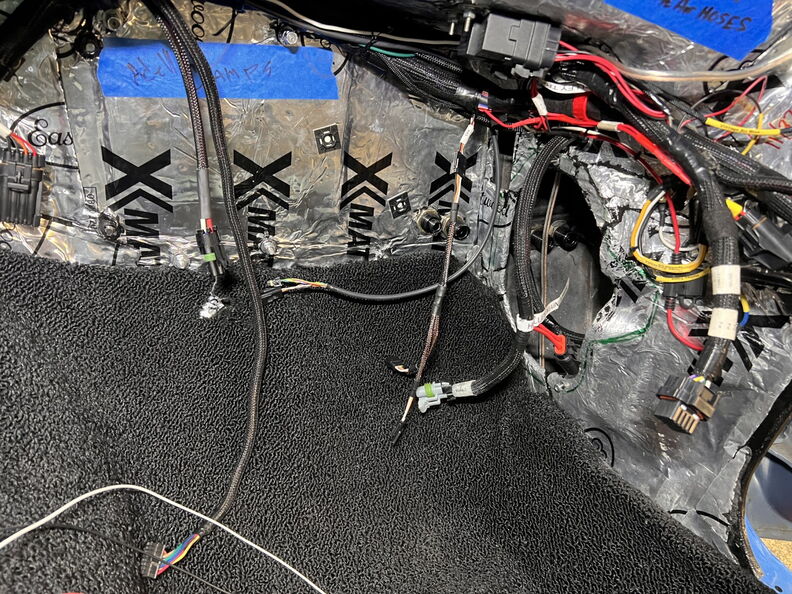
Ugh more wires...

I installed a 3/16'' heat shrink on the three loose wires.

The main harness is secured to the firewall ad all other loose wires are currently being held in by twist ties. Once the wiring
is complete some of the twist ties will be replaced with zip ties.
Wiring Notes
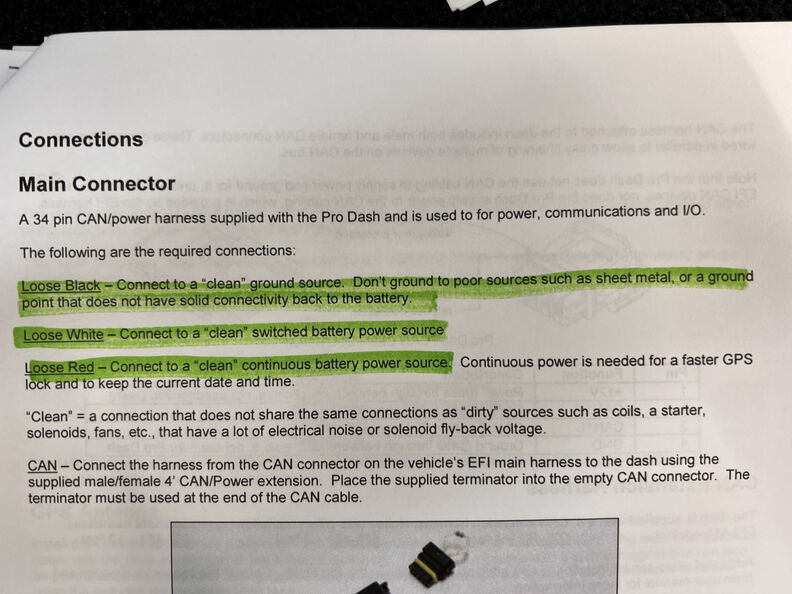
Opps I found another wire I need to connect and yes I am going to use a switch on this one.