Today I had the opportunity to go work i the garage. I decided to tackle the intake manifold assembly and final installation.
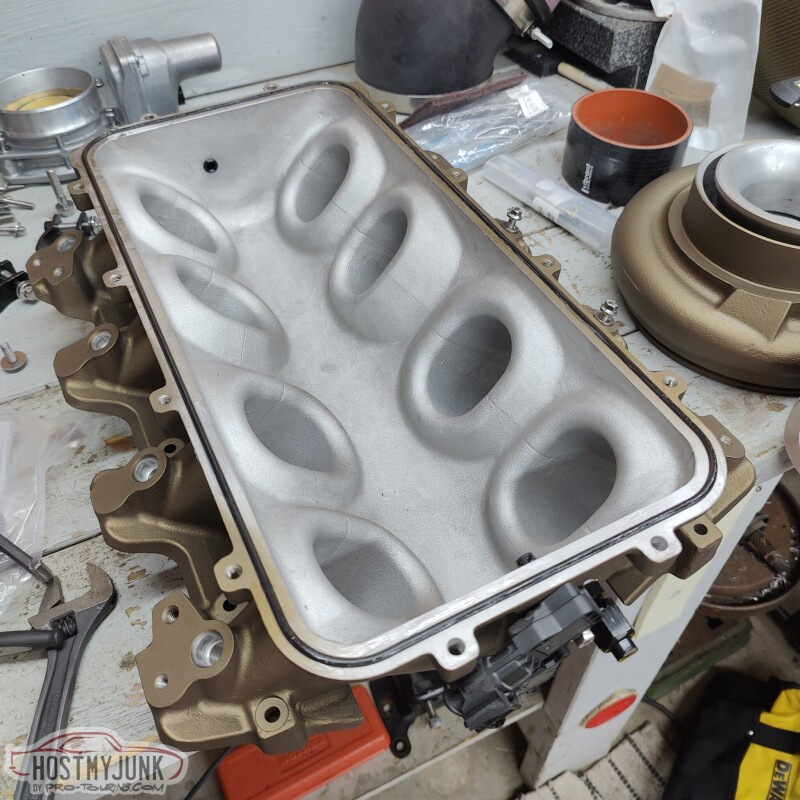
The first step was to install the o-ring that seals the base with the intercooler. It is a single viton string that gets inserted into the machined groove, the ends are butted together, trimmed flush, and the a drop of super glue is used to hold it together.
The intercooler is bolted into place.
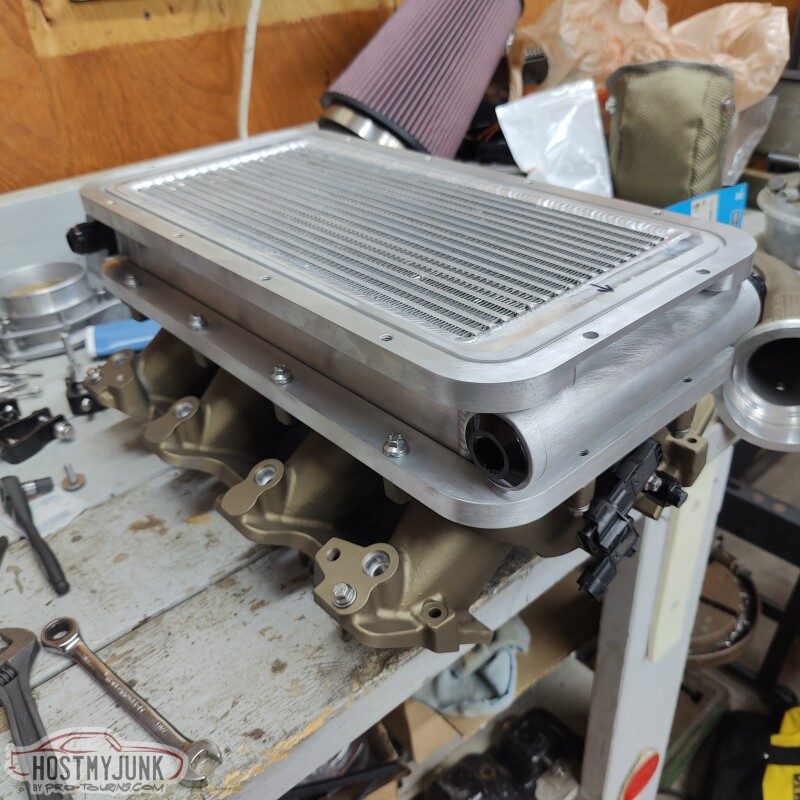
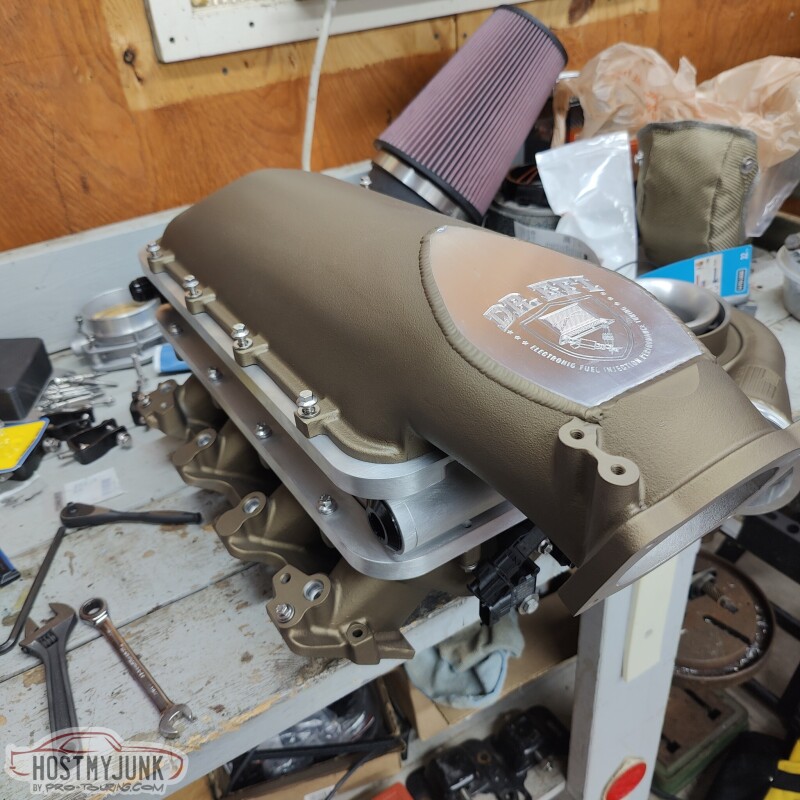
Followed by the lid.
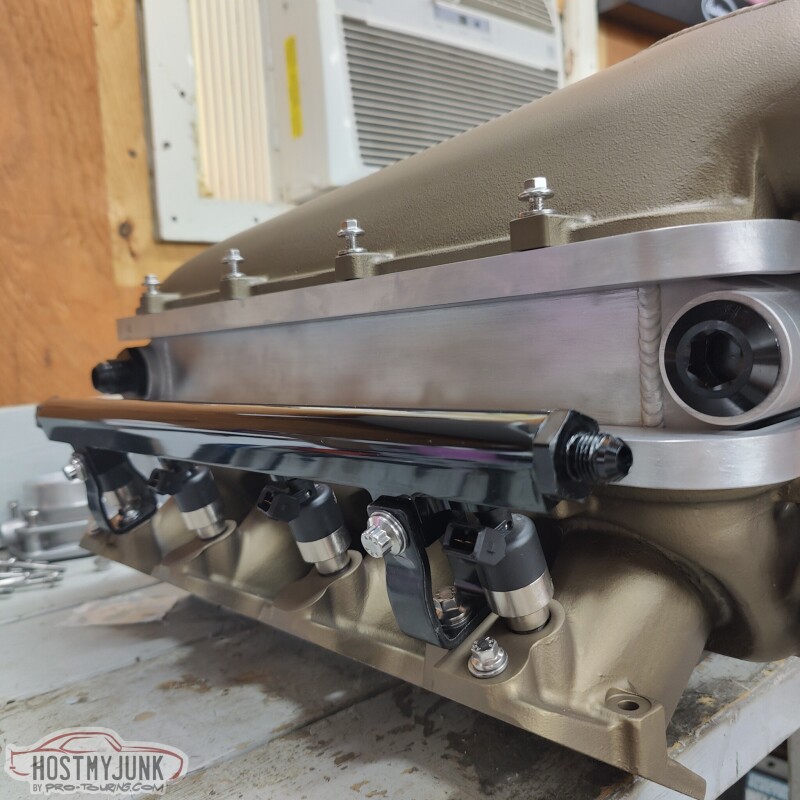
I also installed the all of the fuel injectors and rails. I used the rail brackets that came with the intake manifold, but I replaced all the hardware with ARP stainless fasters. I really like this combination of black and silver against the bronze intake manifold.
I took the masking take off the heads and cleaned everything with acetone.
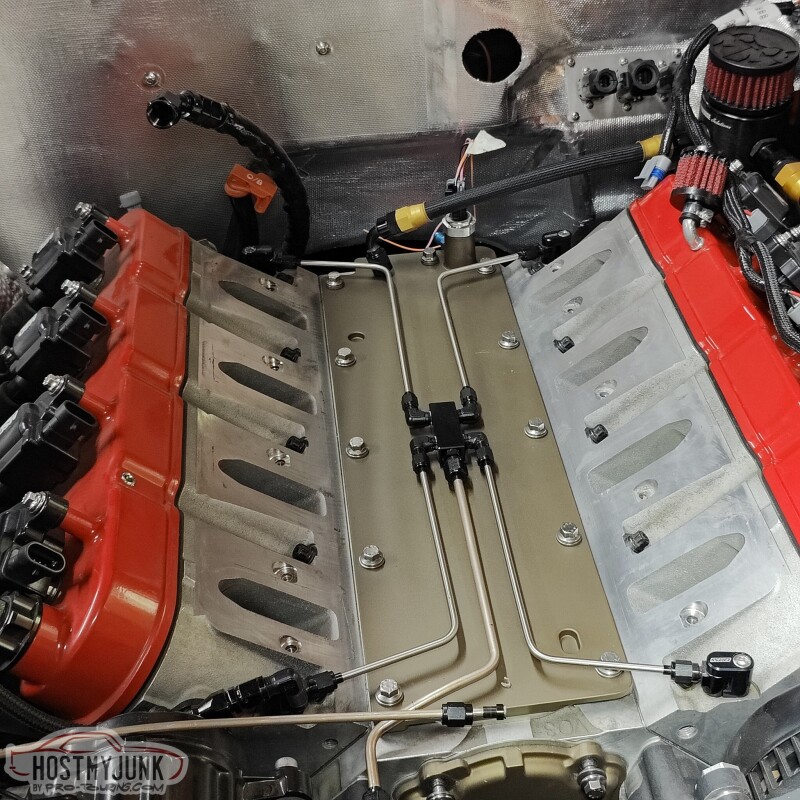
Then I installed the intake manifold assembly on the engine. The intake manifold has o-rings that seal it against the heads. I also lubricated the mating surface so the intake can easily slide around and find a happy spot as it is being torqued down.

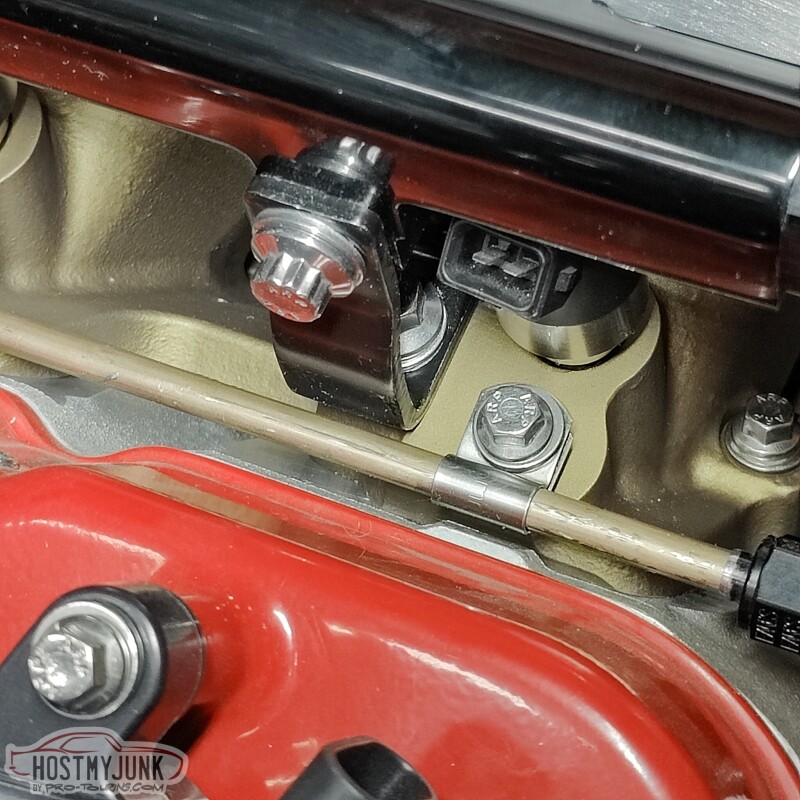
I used these stainless p-clamps for the oil feed line, again with the ARP bolts. Vic added these holes to the intake manifold months ago.
Here is a broader view that shows all the details of the stainless hardware, with black, against the bronze intake, with a pop of red on the valve covers to keep it interesting.

Slowly, but surely...
Andrew