
01-26-2026, 06:24 PM
|
 |
Lateral-g Supporting Member
|
|
Join Date: Apr 2015
Posts: 686
Thanks: 1,412
Thanked 858 Times in 349 Posts
|
|

Just some process pics here.
Needed to reattach the lower portion of the nose, hot-glued some paint sticks to anchor it in place, flat, so it can be fiberglass'd in place .
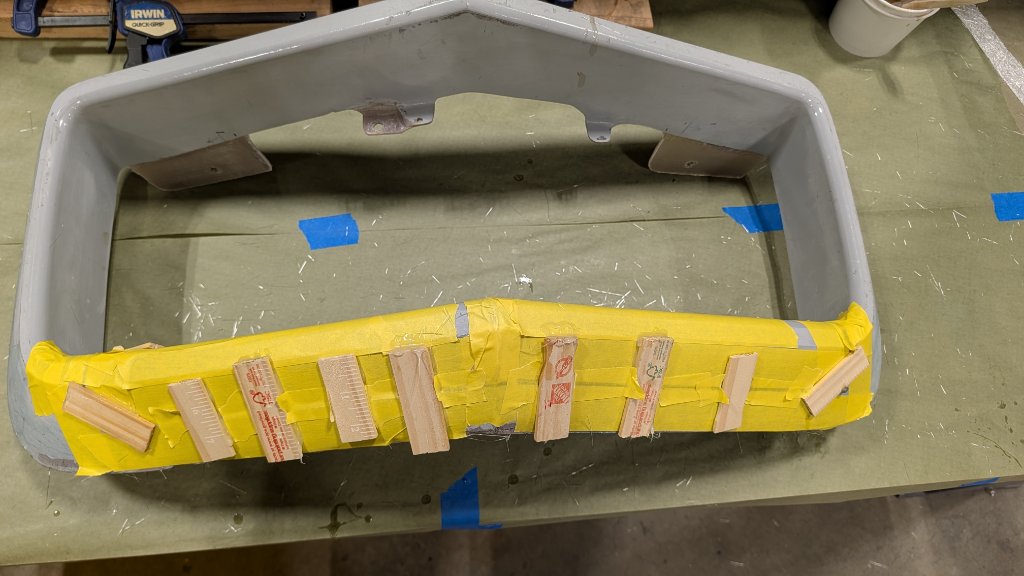
2 layers of 1 1/2oz mat laid down in the back over the cut joint.
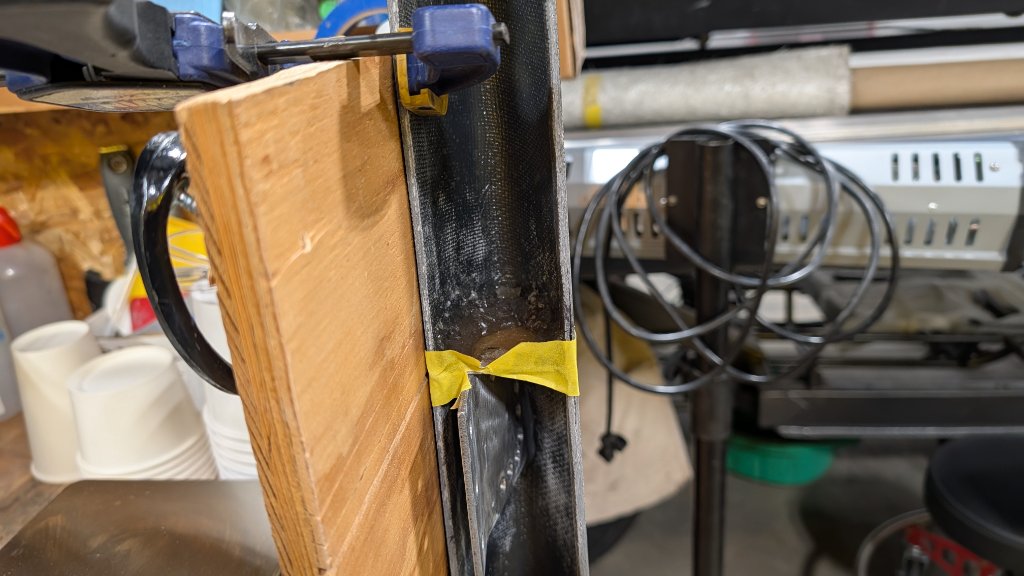
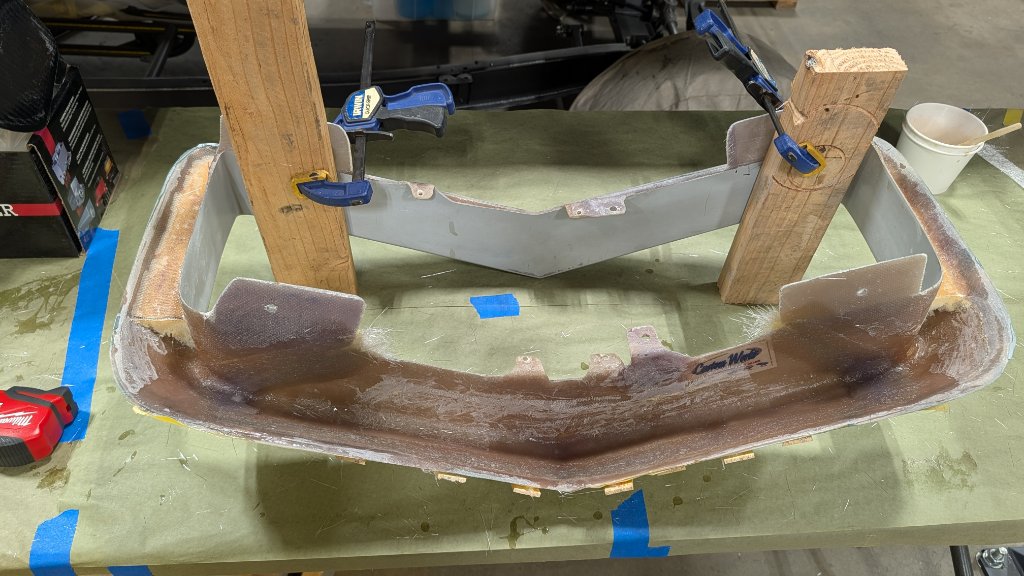 After the above cured solid, ground out the cut joint to get down to clean glass, used a round carbide burr.

Not a great pic here, but used 1/32" glass fibers + resin to create a fiberglass paste and filled that grove that was ground out. Let it cure and then sanded flat. That's all for that now until it gets to body work.
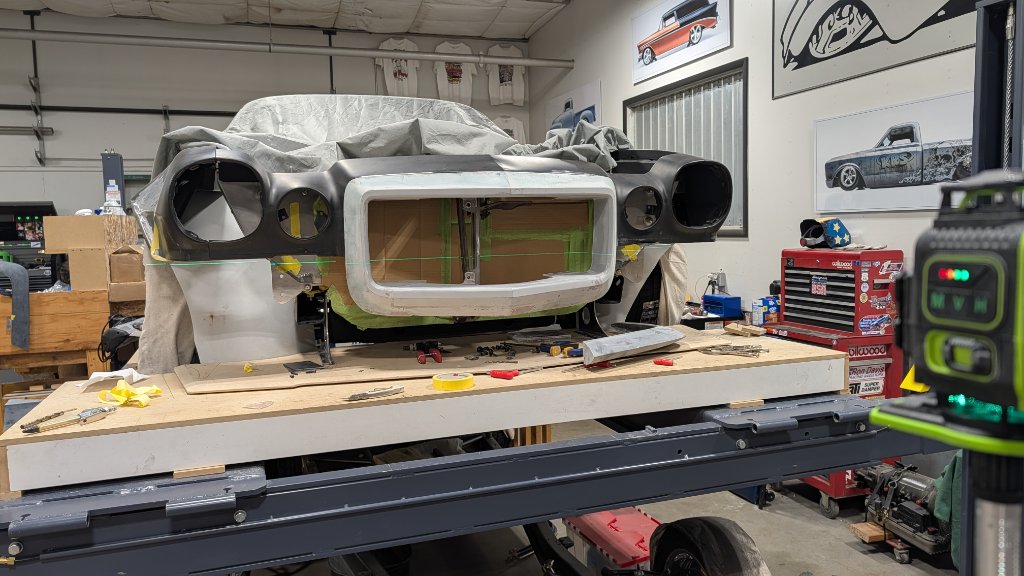
Installed and then set up a laser level to start mounting the bumperette's.
 Using a mix of some fiberglass ribs with a metal mounting bracket. Drilled some holes to create a path for the same fiberglass paste to flow through. The end result will be a combination of a chemical and mechanical (mostly) bond to anchor the metal mounting brackets. This is before the fiberglass paste, used a little hot-glue to hold the bracket in place while the glass is laid down.
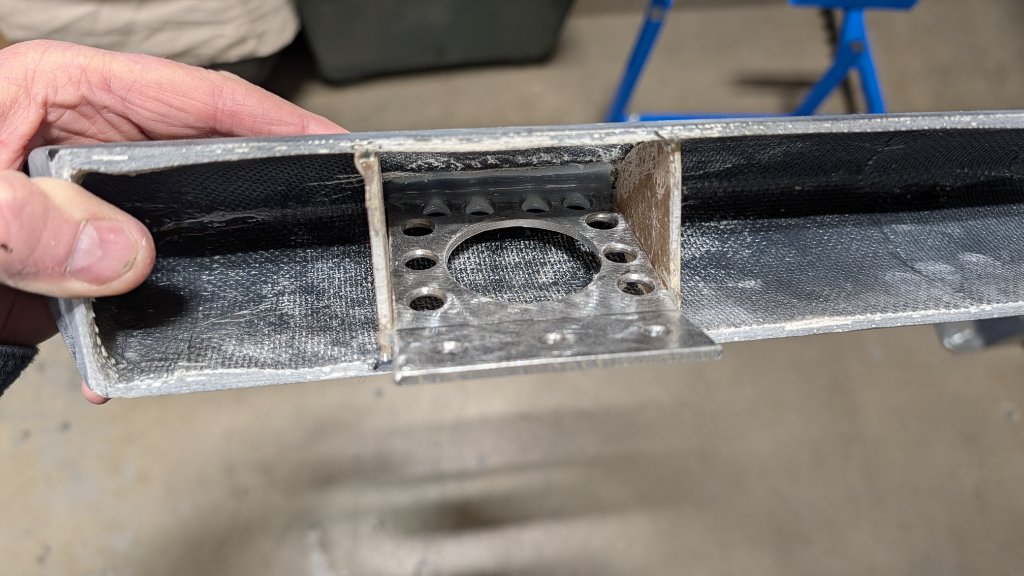 This is the first step in laying down the fiberglass paste.
|