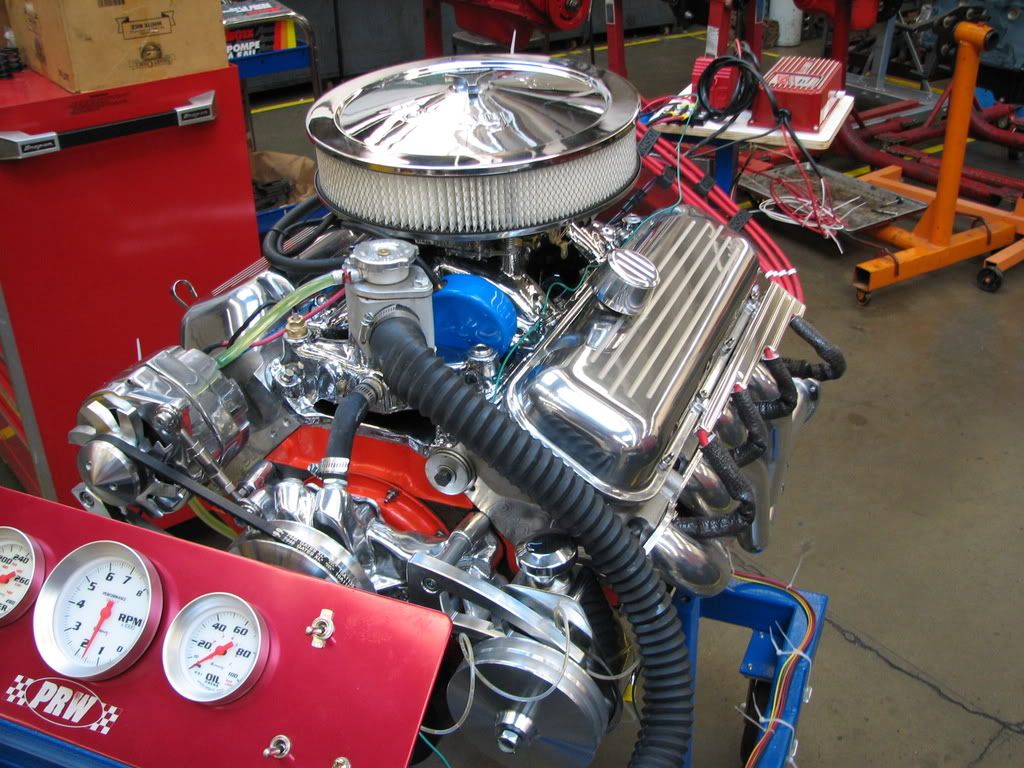
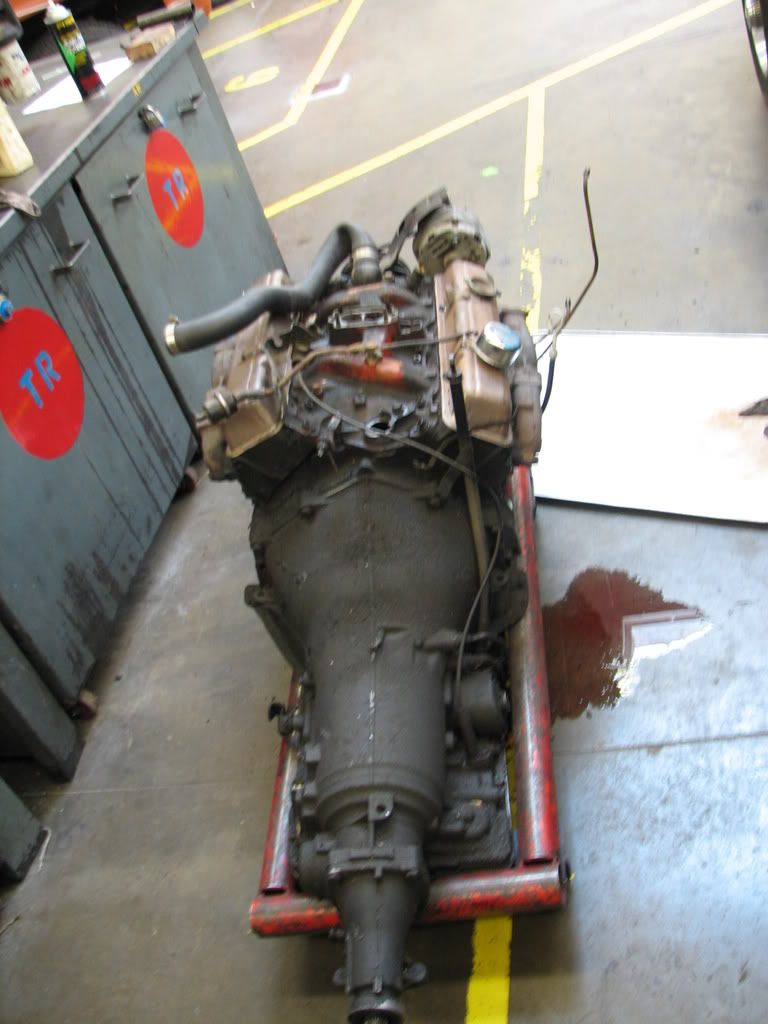
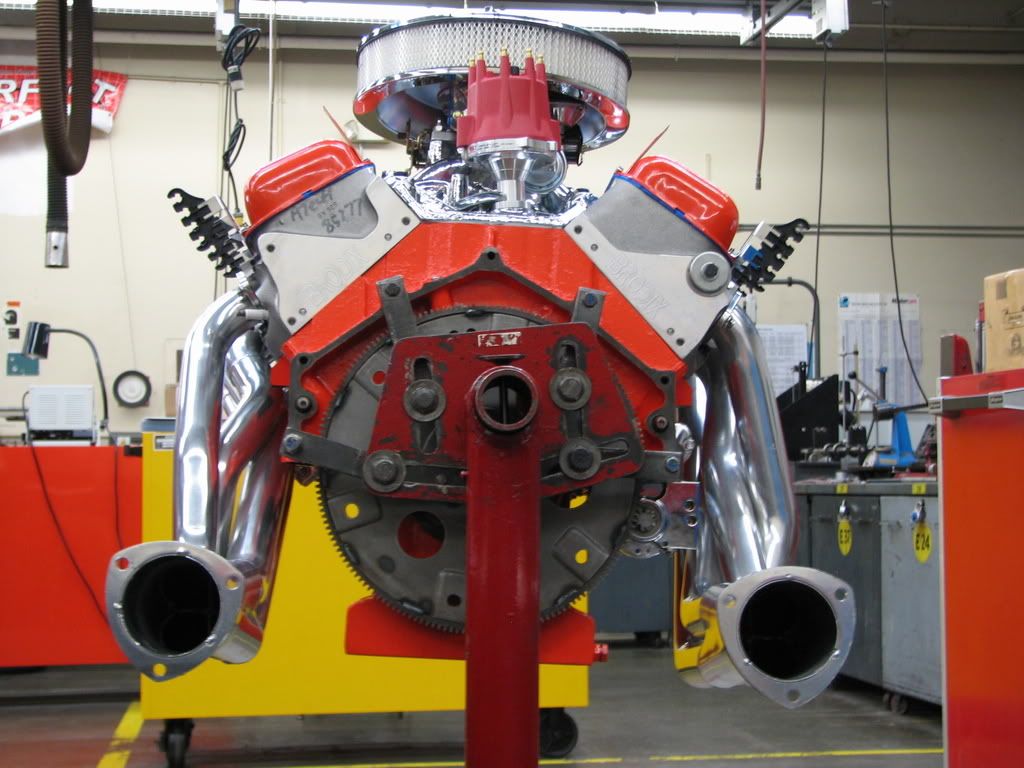
After initialing firing up the motor on an engine stand, all the problems found were fixed (bad radiator cap, leaking valve covers, spark plug wire holders that let the wires hit the headers etc)

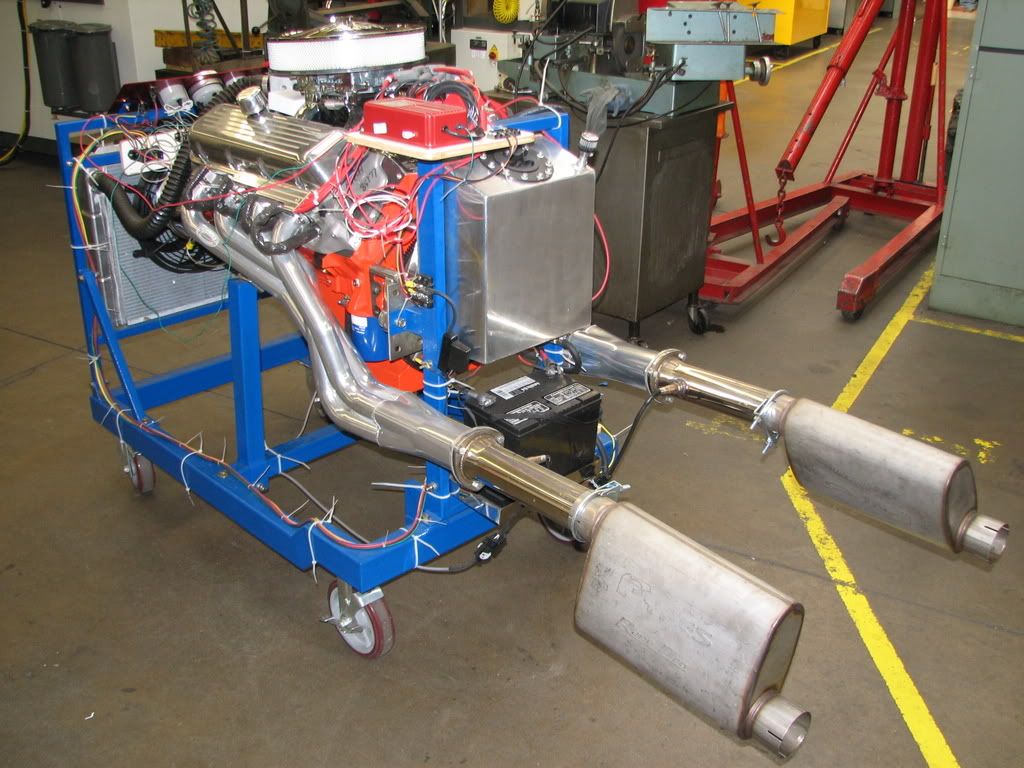
Fast Air/Fuel meter and dual wideband O2 sensors are installed, along with Pypes Race-Pro mufflers (went with their 3 stainless exhaust kit as well):
More engine buildup pics here:
http://s328.photobucket.com/albums/l...oweter/Engine/
General Stats for the engine
Engine Type
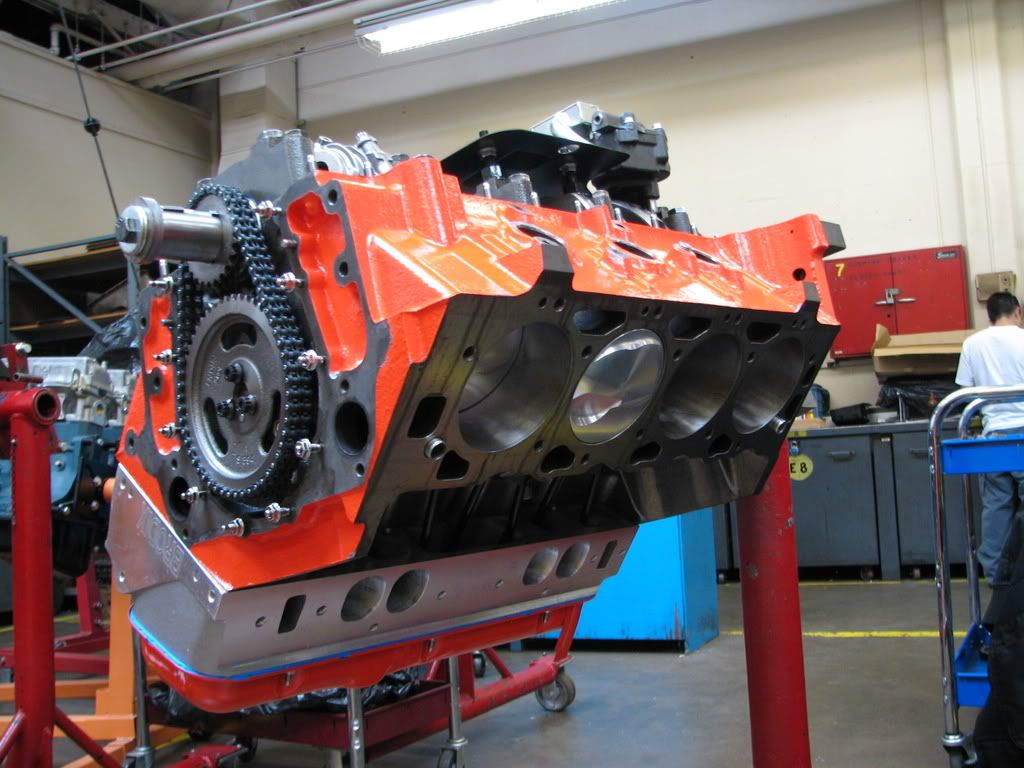
Big Block Chevy displacing 489ci / 8.0L
(4.280 bore x 4.250 stroke)
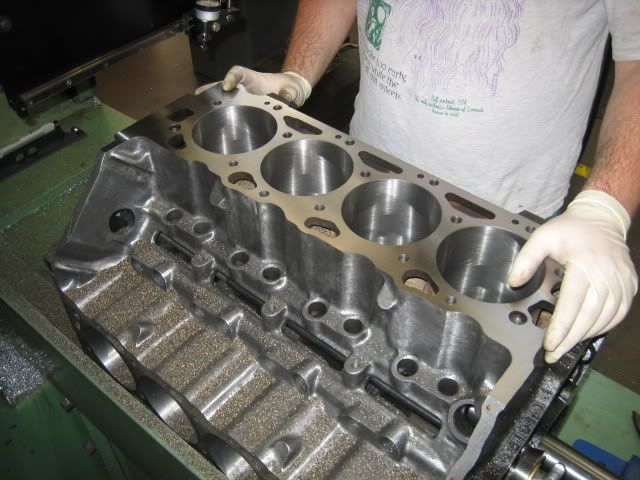
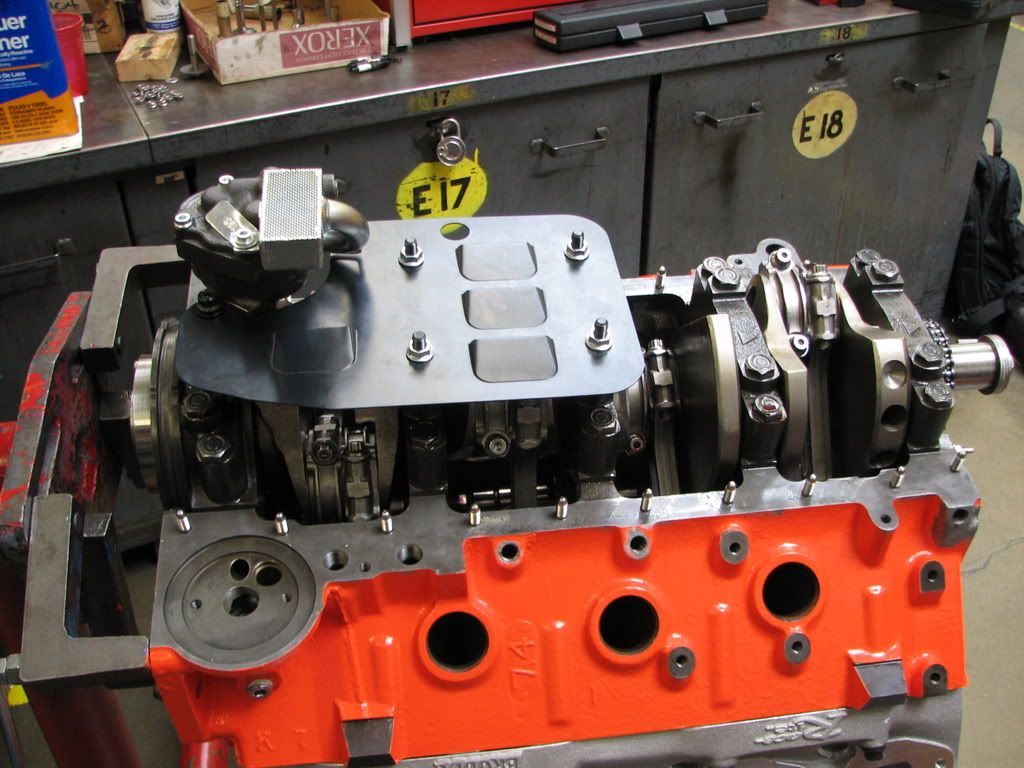
Block
454 Big Block Chevy GenV standard deck
Compression Ratio
9.8:1
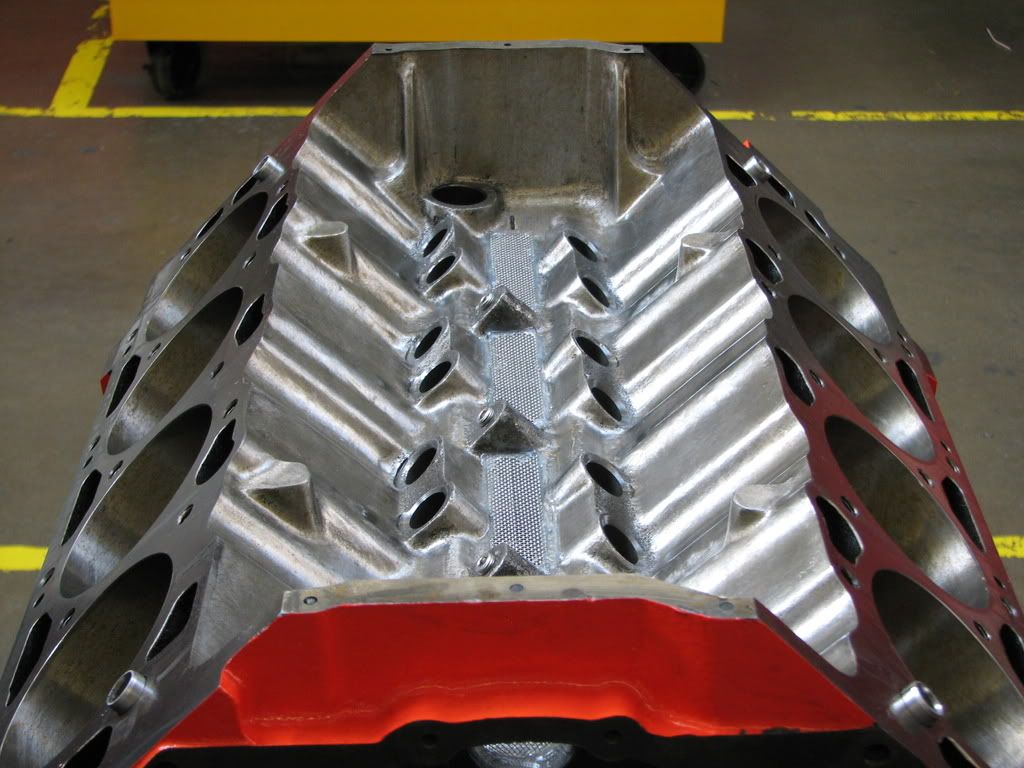
Oiling
Moroso 6 quart oil pan
Moroso high volume oil pump
Moroso windage tray
Custom machining done to top of block to increase oil return
Rotating Assembly
Eagle Rotating Assembly, Eagle cast crank, Forged SRP Pistons, Eagle I-Beam Rods, Perfect Circle Moly Rings, Clevite Tri-Armor Bearings
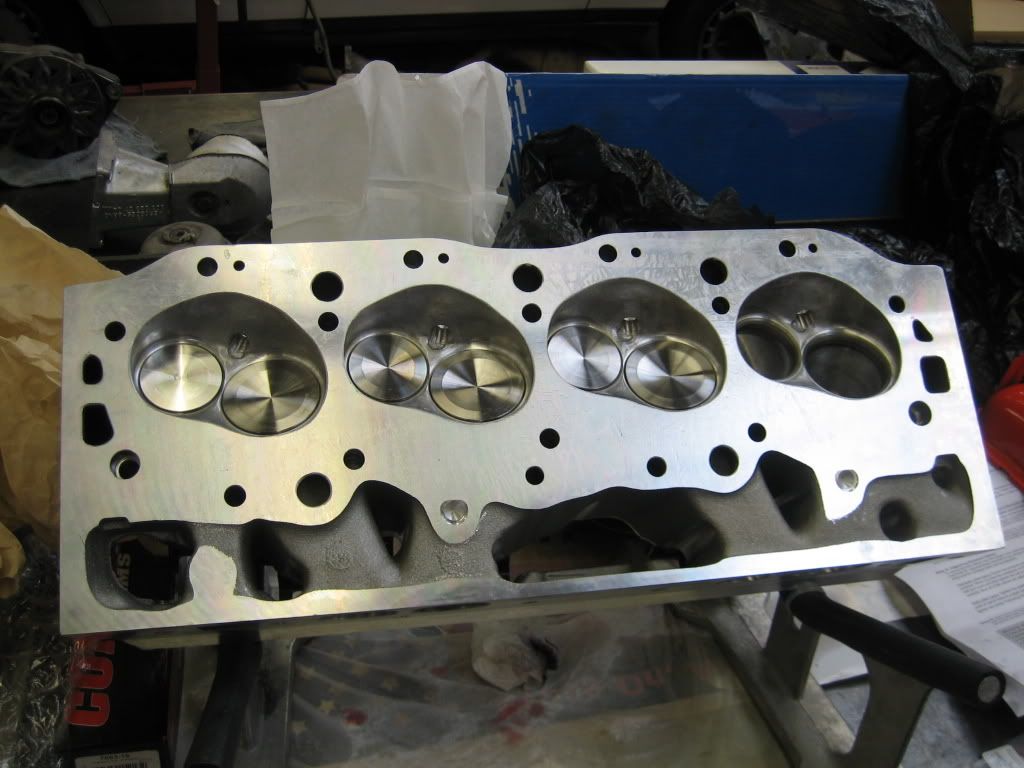
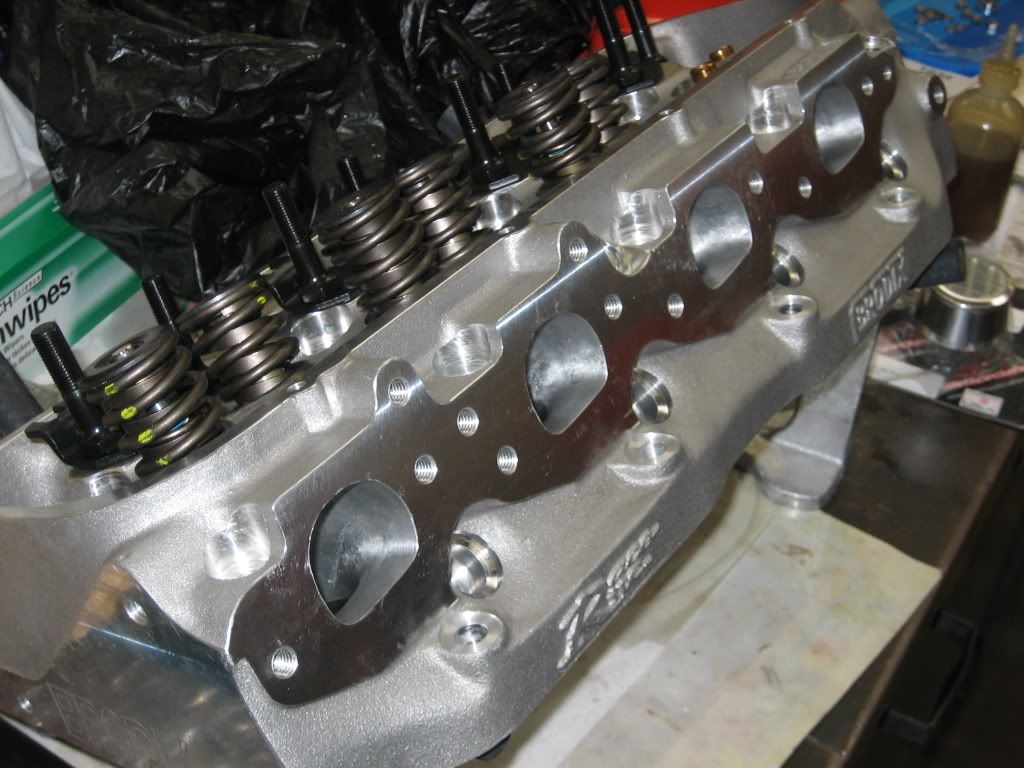
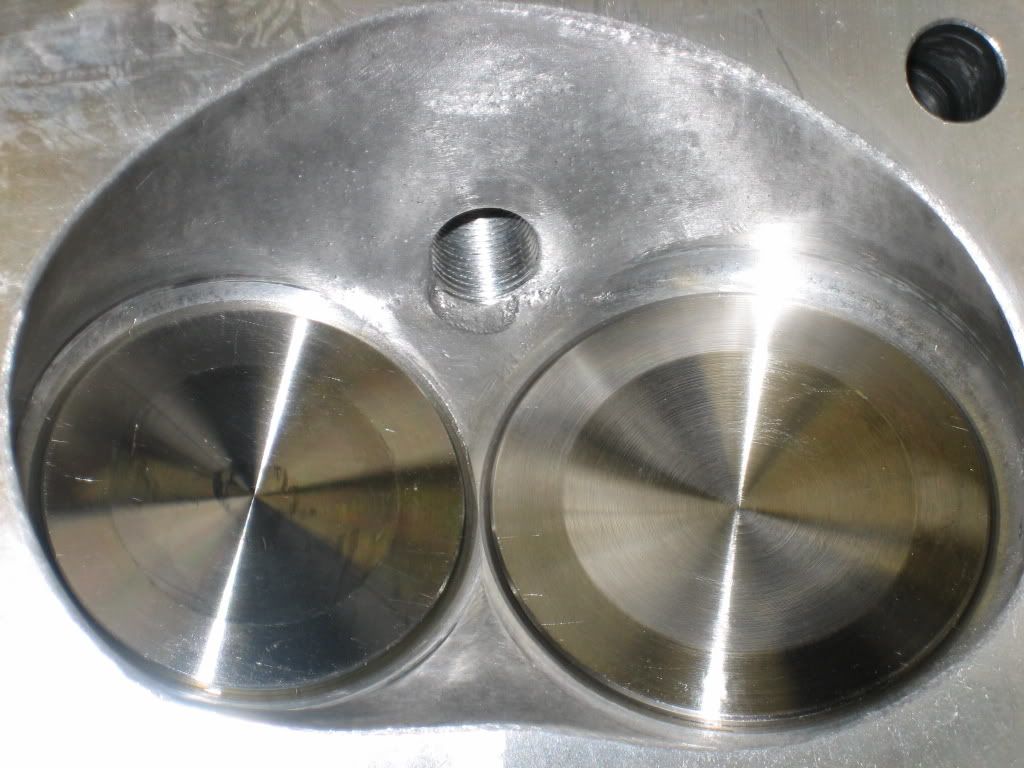
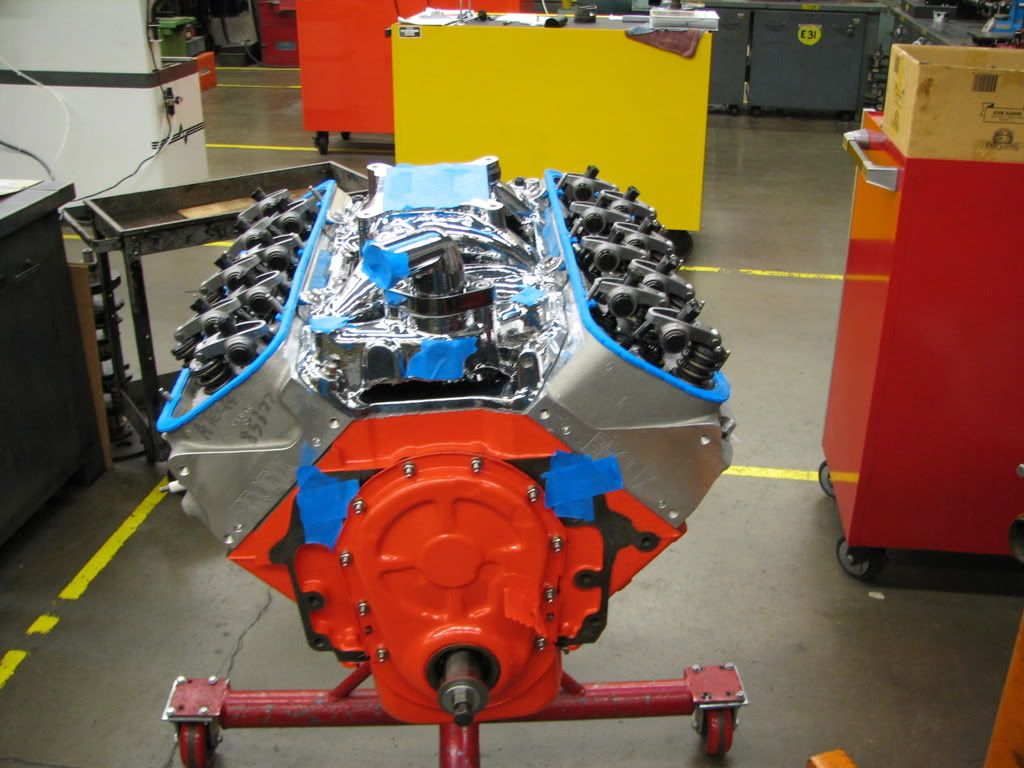
Cylinder Heads
Brodix Race-Rite Oval Port 270cc intake runner, 119cc Combustion chambers. Race valve job, Mini-ported, chambers matched and polished.
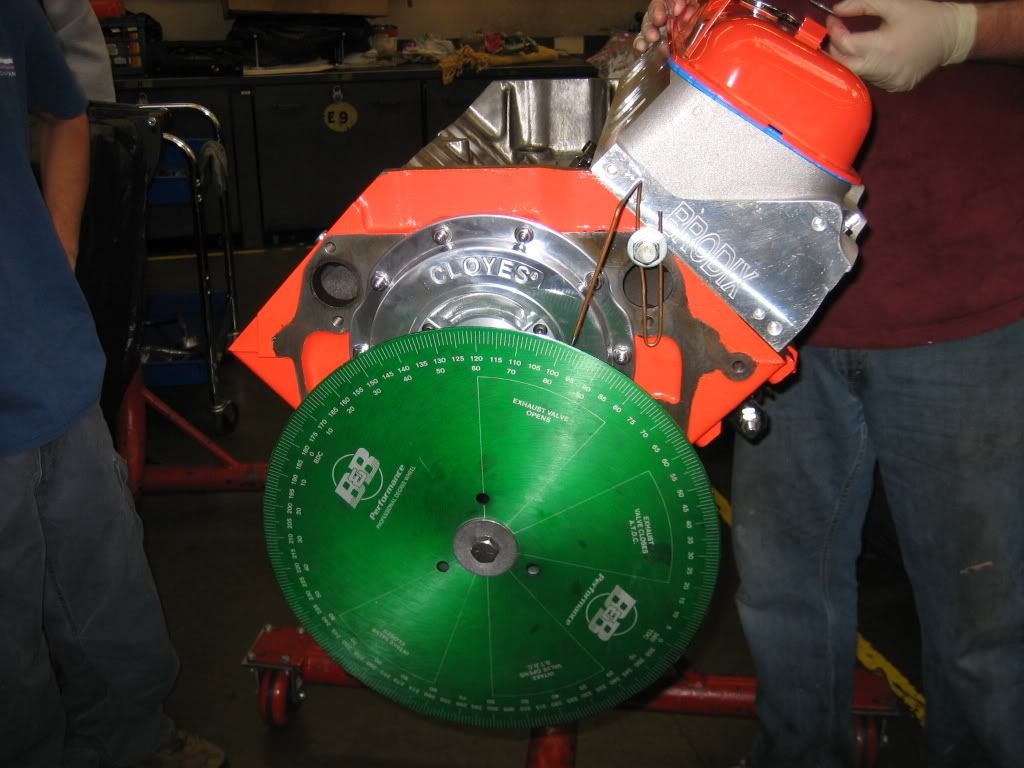
Camshaft
Comp Cams "Thumpr" roller cam 227/241 @.050 547/530 lift 107deg lobe separation. Roller timing chain
Valvetrain
2.250 inch intake / 1.880 exhaust valves
5/16" Comp Cams magnum push rods
dual valve springs
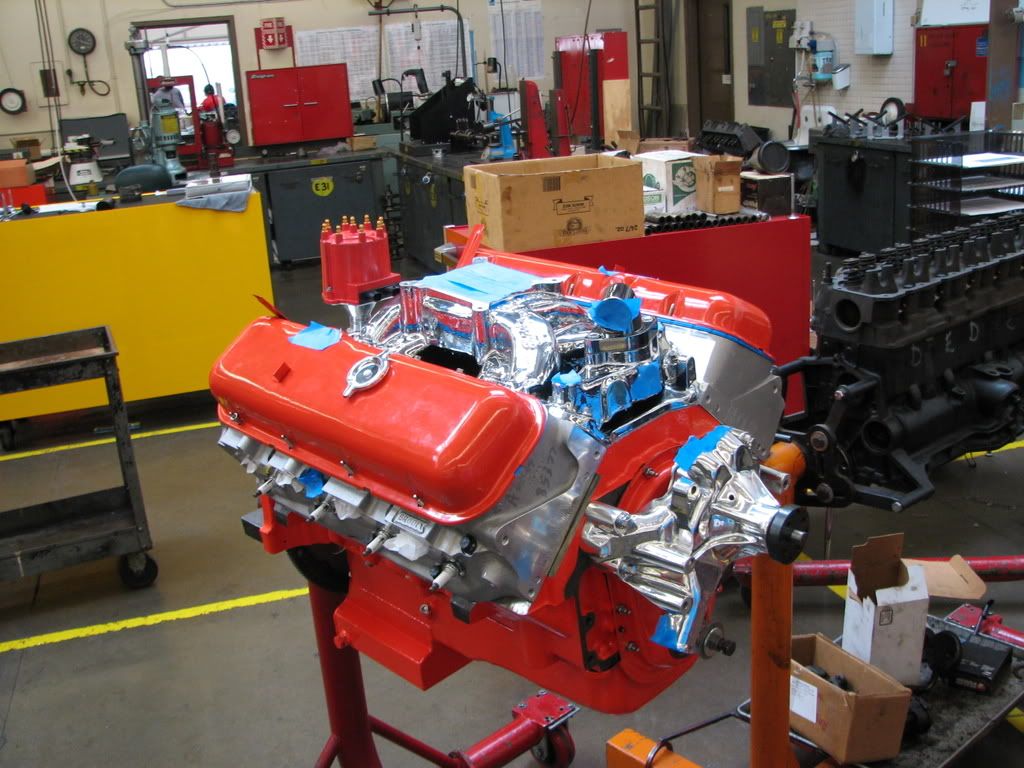
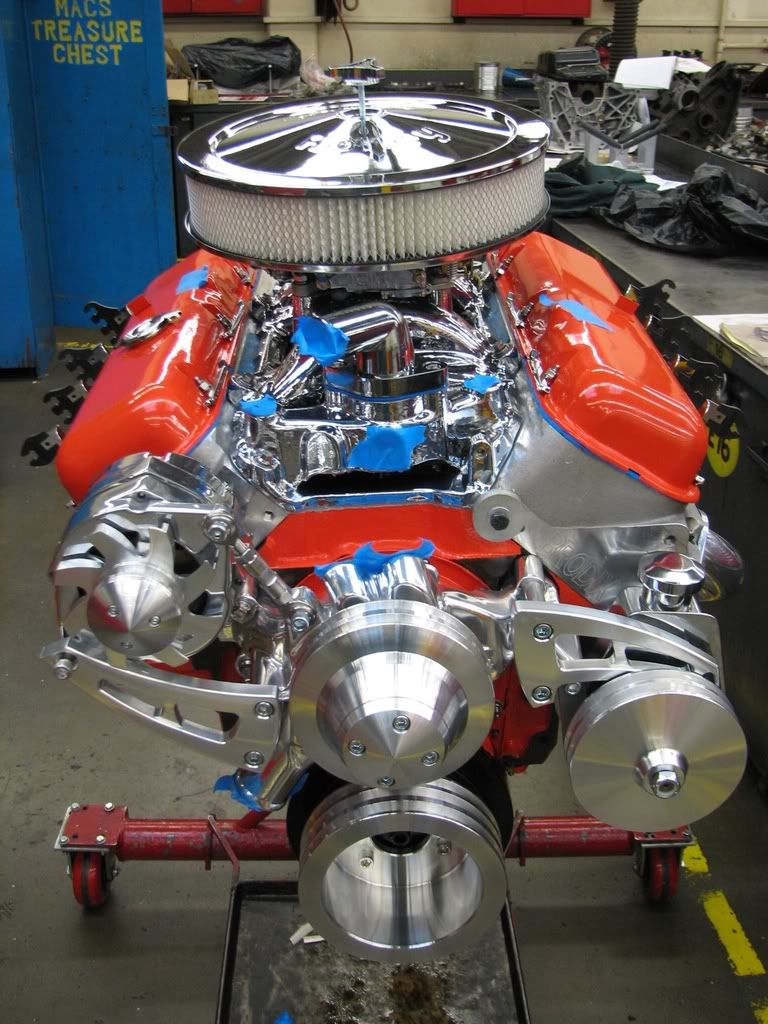
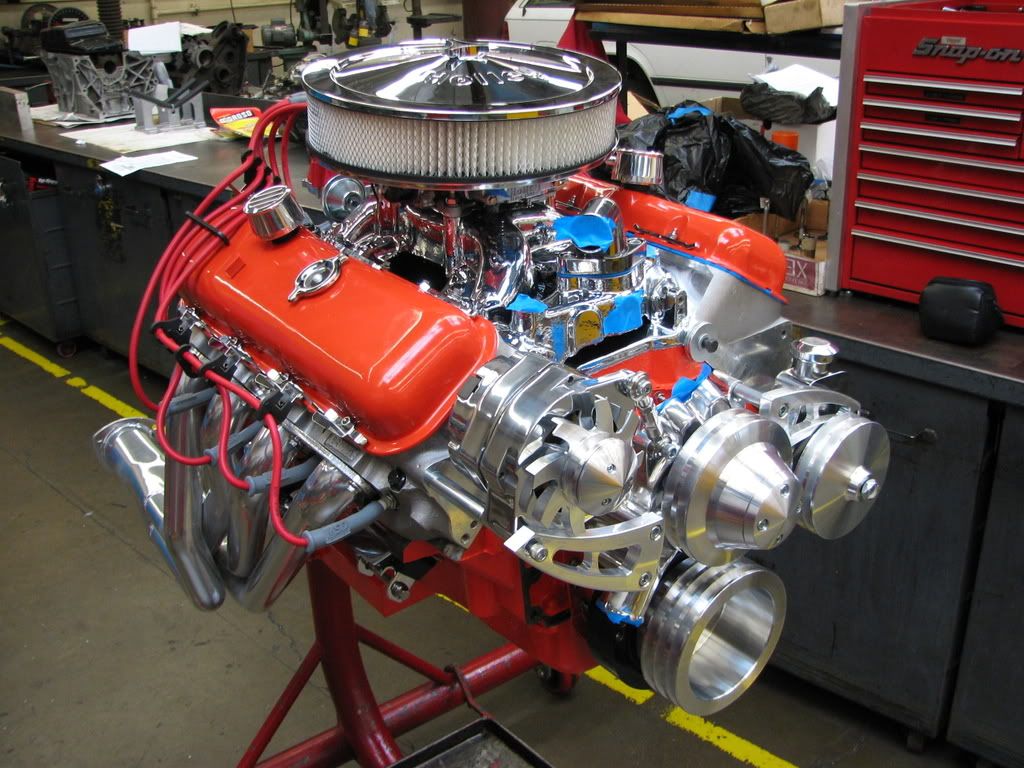
Induction
Edelbrock RPM Air Gap manifold, Holly Street Avenger 770cfm, Aeromotive Street Rod electric fuel pump
Ignition
MSD 6AL box and Distributor with MSD 8.8 spark plug wires
Exhaust
Hooker ceramic coated headers 2 in primaries, 3.5 in collector. Pypes 3" stainless exhaust system with Race-pro mufflers
Fastners
ARP
Gaskets
Fel-Pro
Cooling
Ron Davis Double pass radiator with integrated coolant recovery tank, dual 13" spal fans and controller, Stewart Components Stage 2 high flow water pump, Robert Shaw thermostat, Earl's transmission cooler.
Misc
Tilton Super Starter, March Performance V-Belt system. Billet Specialties Valve covers, wire holders and breathers. Moroso battery relocation kit. Por-15 engine paint.
Should be about 600hp and 600ft-lbs of torque at peak at the flywheel and about 500ft-lbs off idle!
Special thanks to my school and instructor(s) for teaching me and letting me work on my car in the shop.
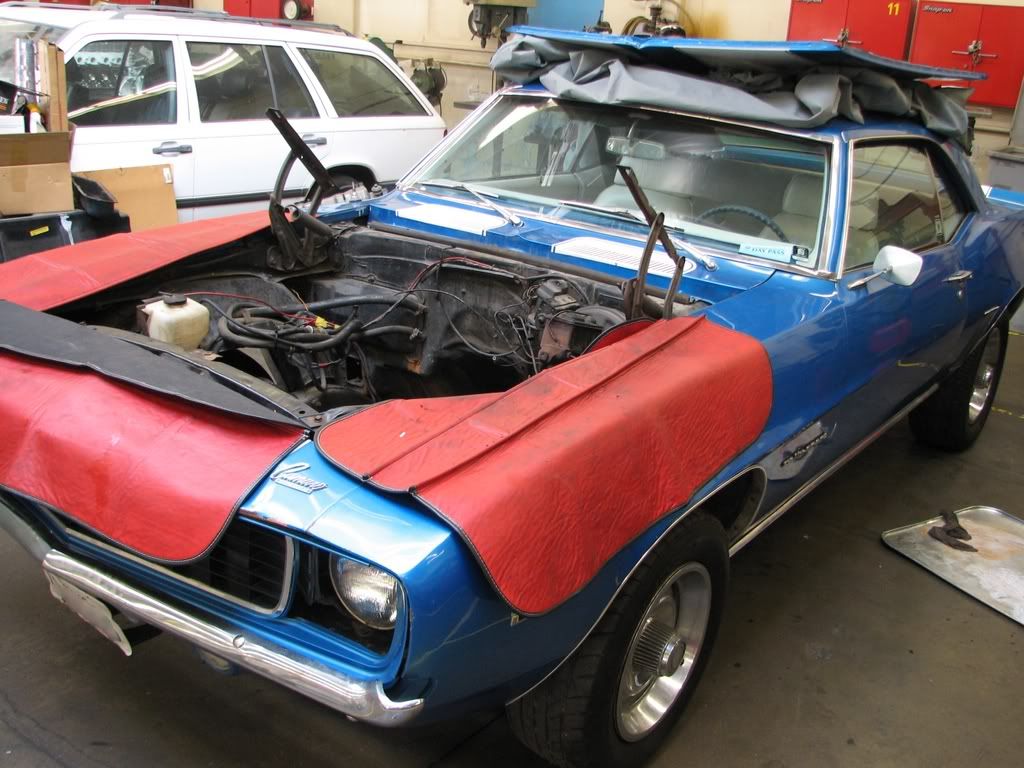
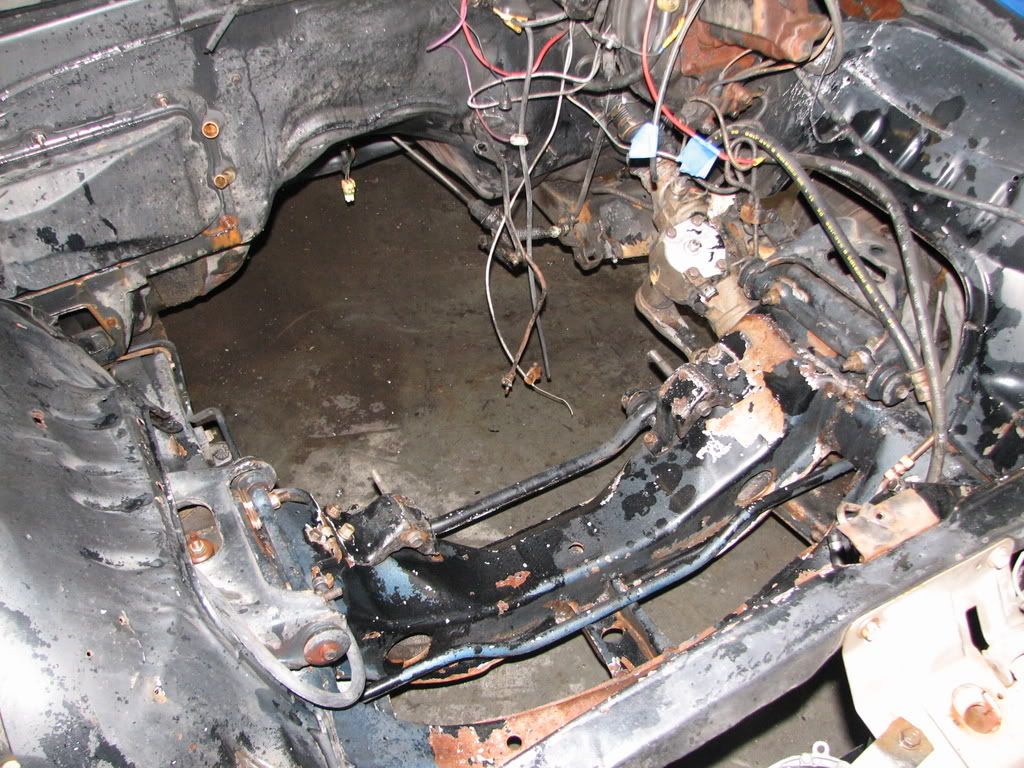
Ready to put in the car now. But wait all the brakes and suspension stuff will be easier to work on while the motor is out


 Brian Hobaugh SCCA National Tour June 2014
 First Hemi 'Cuda Convertible Ever Built
 Short clips: Goodguys Pleasanton autocross and pit videos


 Linear Mode

