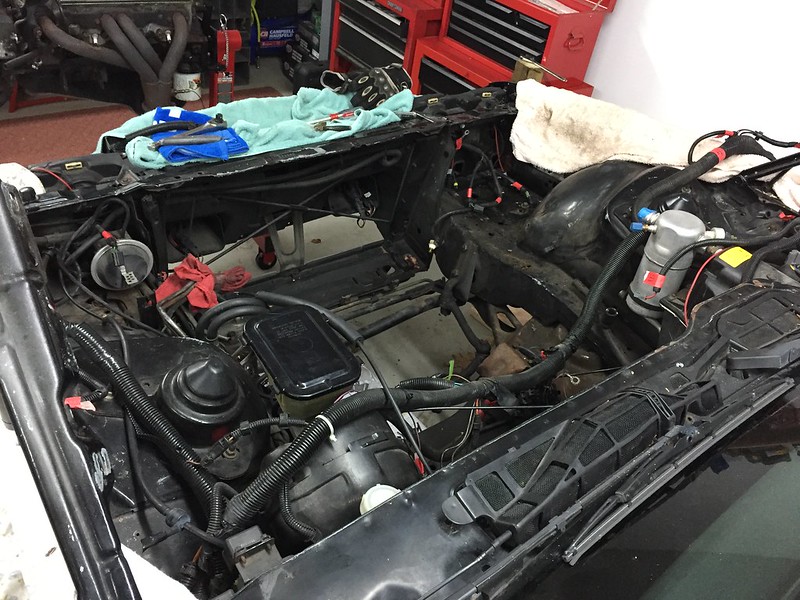
I was able to make a ton of progress this weekend on the car. I was able to get the entire steering system out of the engine bay and then dropped the K-member. Here are a few pics:
Steering components out of the car:
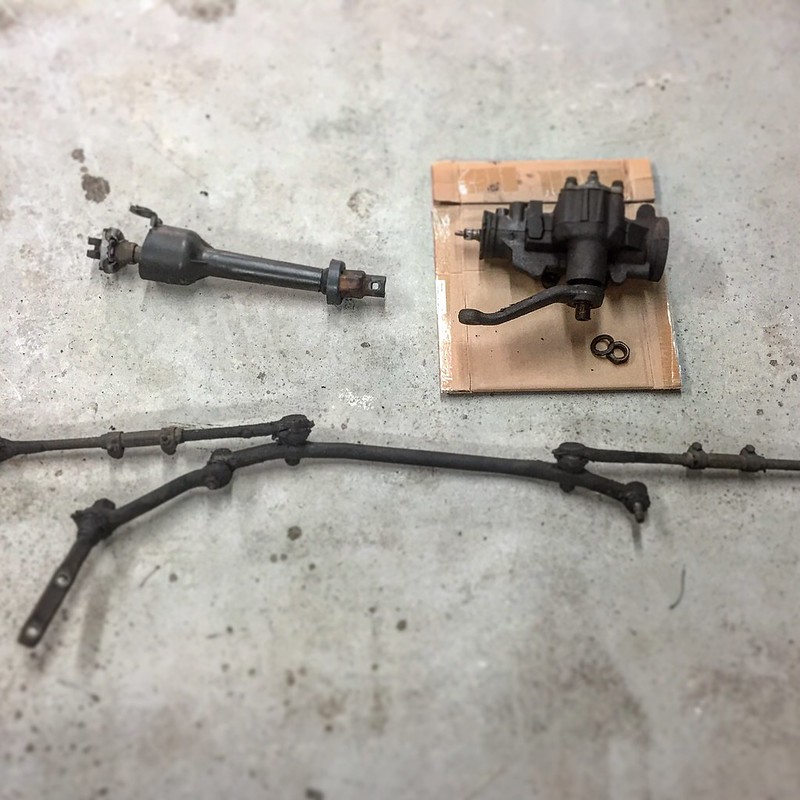
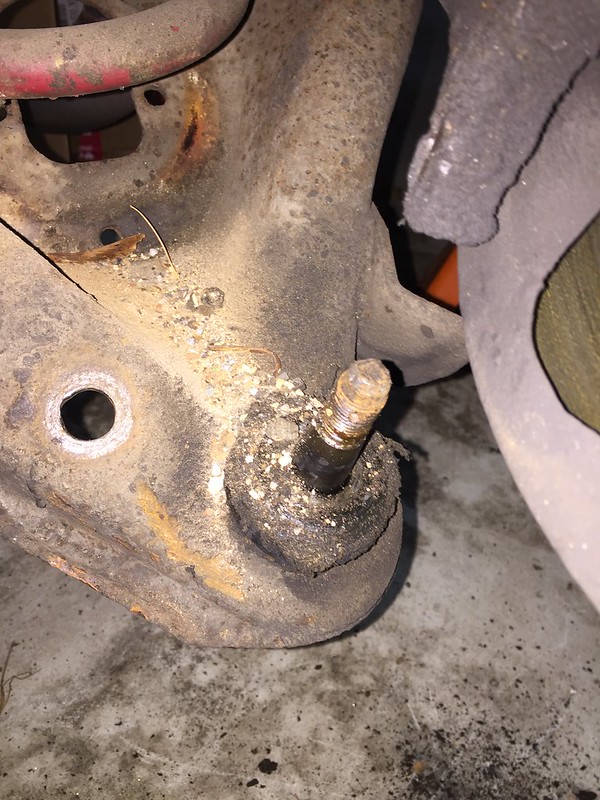
I'm still working on getting the Pitman off of the steering box. My puller wasn't working even when I hit it with the impact gun so I'll have to check out some alternate methods. I will be sending the box out to be rebuilt as it has quite a bit of slop in it.
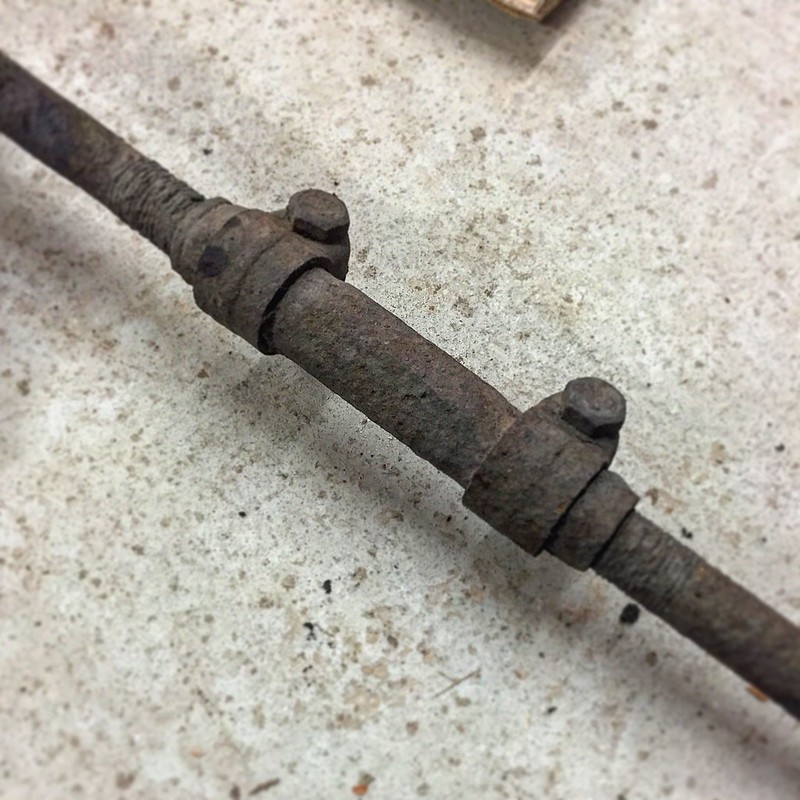
The rest of the steering linkage is definitely going to get replaced... it was looking pretty nasty. I don't think that tie rod has been adjusted in the last 30 years!
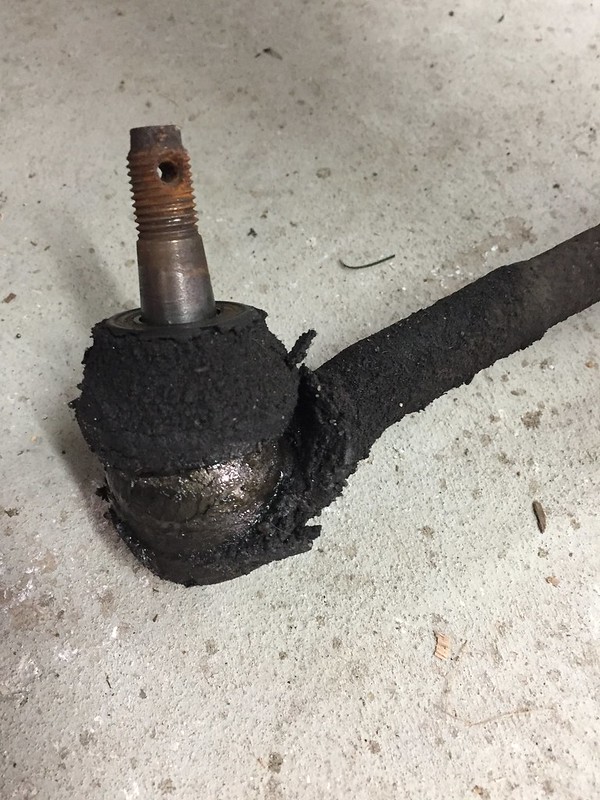
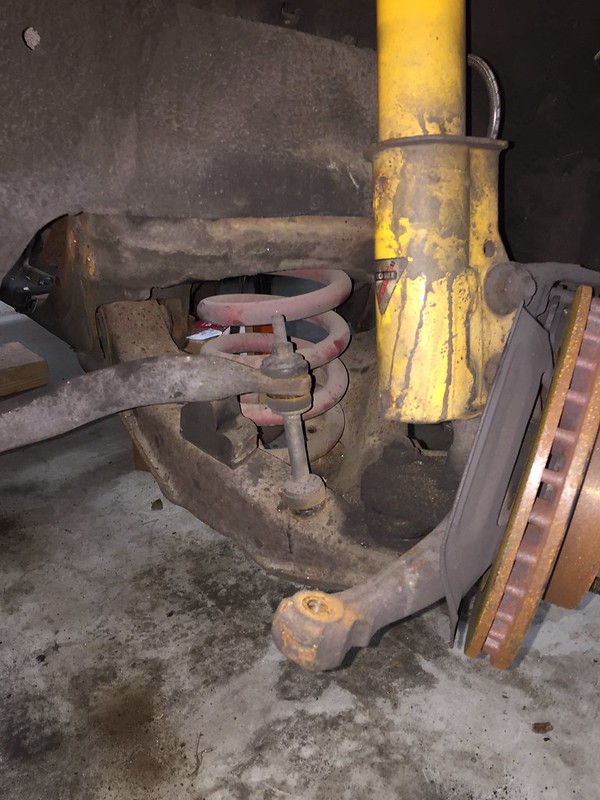
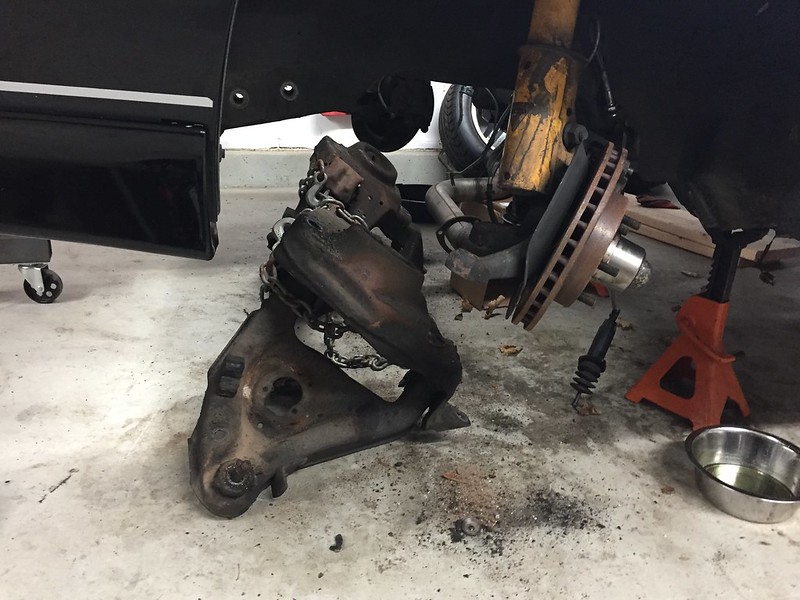
I then moved on to the K-member. First I popped the lower ball joints... I was able to get them loose with a few good whacks with the hammer. Again, found a ton of crud and dirt built up on the lower control arms. I think the front end might lose 20lbs in dirt alone!
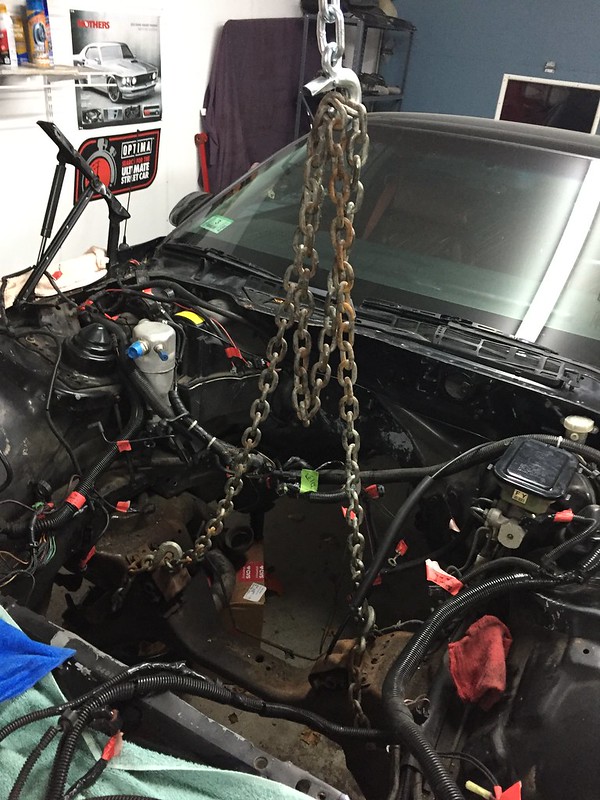
Next, I put 2 jack stands under the K-member and took out the 6 bolts holding it up. In order to get it out from under the car though, I ended up using a chain to hook it up to my engine crane and lifted it just a bit to get it off of the jack stands so I could remove them.
Then, I lowered it down to the floor, removed the chains and dragged it out the side of the car.
Here it is outside the car with the springs and the sway bar:
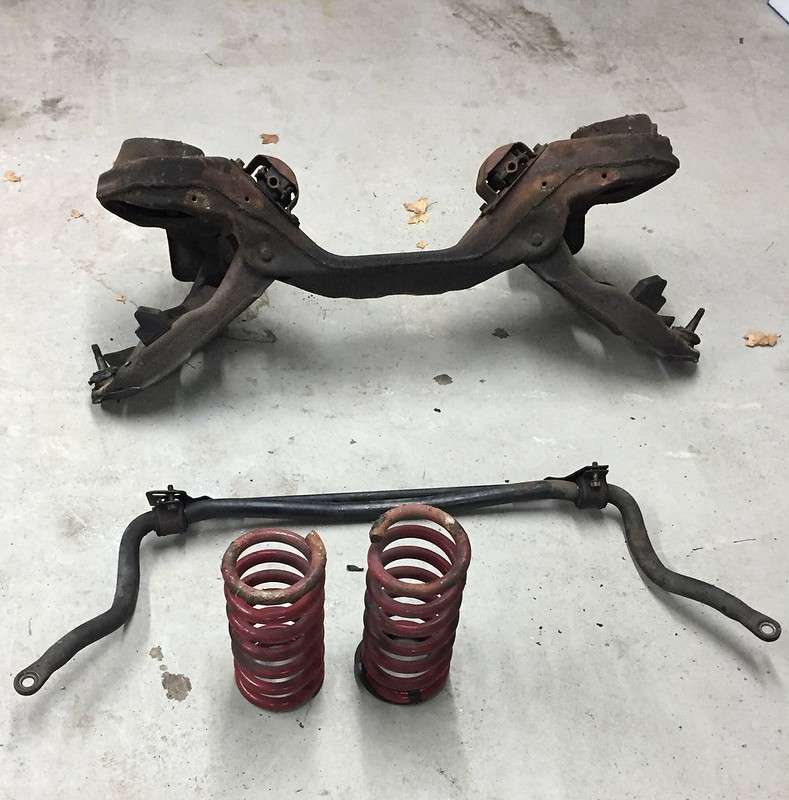
I'm torn on how to proceed with the K-member. I'm on a budget, so my original plan was to clean it up and paint it. I was going to add some new bushings and ball joints to the control arms and re-use those as well. However, those tubular K-members and control arms sure are sweet! I'll have to do a bit of research here.
Next up is getting the brake booster out and keep labeling and removing the wiring harness. Little by little!


 Brian Hobaugh SCCA National Tour June 2014
 First Hemi 'Cuda Convertible Ever Built
 Short clips: Goodguys Pleasanton autocross and pit videos


 Linear Mode

