Here's a basic tutorial on how I did my 58 Sedan Delivery for the November art show. Hopefully it'll help some of you guys starting out with using the programs. I used Adobe Illustrator CS2 and Photoshop 6, however everything I did you should be able to duplicate in just about any version. The forum only allows 5 photos per thread so this will be spread to more than one thread.
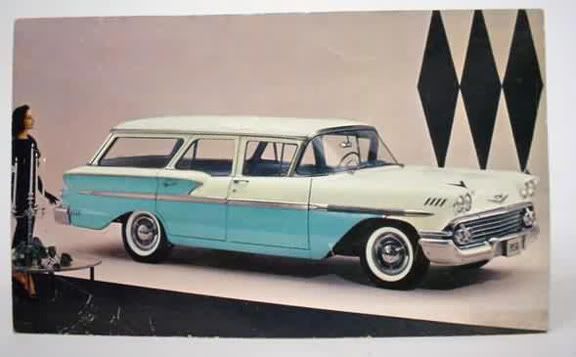
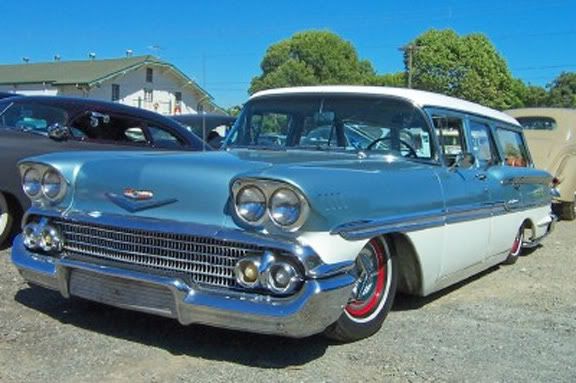
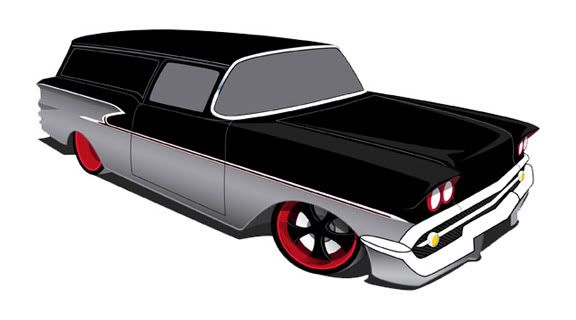
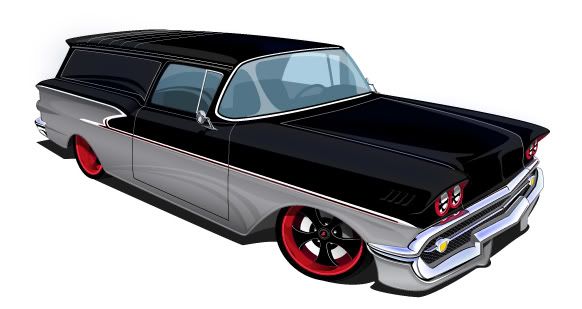
1. First, do your research on the web, finding several views of the car you've picked out. Then do a sketch of the car large enough to see some detail and scan it into the computer. If you don't have a scanner, you can always place a photo on a layer in Illustrator, select the photo, crank down the opacity a bit on the transparency pallete (window/transparency on menu bar) and lock the layer (window/layers). Sometimes when I have very little time to do a project I use this method, but I prefer to use a sketch because it enables you to put your personality into it or you can put a twist on perspective for a little more flair or maybe some body mods like chopping the roof, etc. Once you've got something to work with, create a new layer (layer pallete drop down arrow in the upper right/ new Layer) to use as your art board. Here is some of my inspiration...
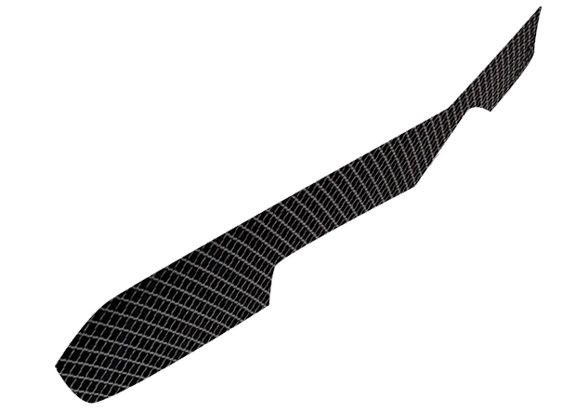
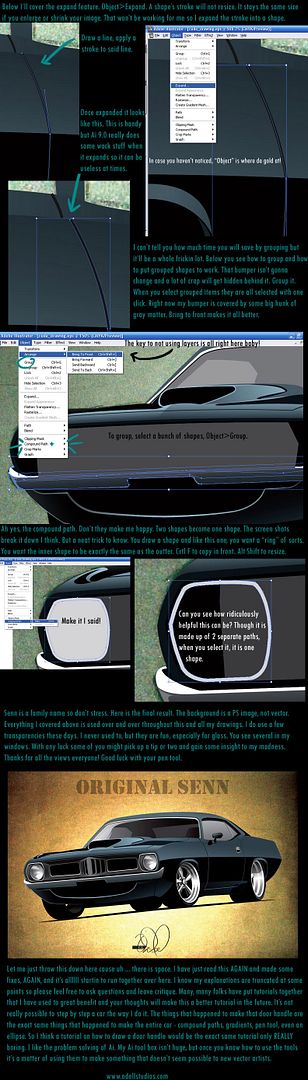
2. Use the pen tool to trace the sketch, starting by creating the shapes that will hold the majority of the color for the car. In this case I had a gray shape for the bottom half and a black shape for the top. This gives you a basic outline for the whole car. The pen tool has it's own palette that if you click and hold on the little arrow to the bottom right the pallete will pop up. If you go over to the arrow on the right of the mini pallete you can "tear off" the pallette and have it next to your art so you don't have to keep going back and forth to the tool bar to change pen tools. I usually use a bright green or pink thin stroke with no fill to draw with. These colors show up well above your background art and no fill makes it easy to get all your lines in. I occasionally fill them with color as I go along to make sure it looks right, then delete the fill and go back to creating lines. Here is a shot of the finished "wire frame".

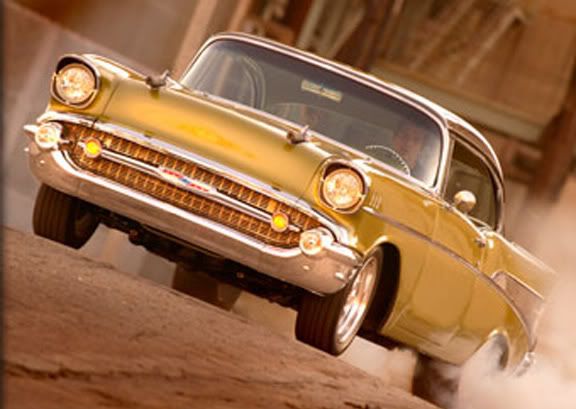
2. Sometimes you can use a little photoshop to speed up the process and/or get a cool look that would be difficult to create in Illustrator. In this case I didn't want to create a grille from scratch, so I chose a subject photo from the web, a late model Ford p/u, and tweaked the photo on photoshop to get the angle, stretch, and color I wanted. Read below to see how to do this with photoshop. Then I brought it into Illustrator and cropped it so it would fit behind the bumper without protruding past the line art. To do this, select the photo, and make sure it's embeded (window/links/menu drop down arrow on upper right/embed image). Then trace the basic grille opening on your car with the pen tool and make sure it is placed above the photo. (The hot keys for moving things front to back are Ctrl (or apple) +] for move above or Ctrl+[ to move below. Holding shift+Ctrl+[ or ] will send the object to the bottom or the top accordingly. ) Select the line shape and the photo by holding shift and clicking on both, then go to object/clipping mask/ make, or use the hot key Ctrl+7. This is what it looks like after it's clipped.
Select it and place over the opening, then use Ctrl+[ to place it in the shape order you want it, in my case behind the bumper. See wire frame photo above.
Continued below...


 Brian Hobaugh SCCA National Tour June 2014
 First Hemi 'Cuda Convertible Ever Built
 Short clips: Goodguys Pleasanton autocross and pit videos


 Linear Mode

