...

Go Back   Lateral-g Forums > Lateral-G Open Discussions > Project Updates
User Name
Password


Reply
 
Thread Tools Display Modes
  #181  
Old 03-21-2020, 09:16 AM
RT_66_Pro_Touring RT_66_Pro_Touring is offline
Member
 
Join Date: Oct 2016
Location: Oklahoma
Posts: 51
Thanks: 3
Thanked 7 Times in 7 Posts
Default

Quote:
Originally Posted by garage_engineer View Post
The real test will come once I get out on the road but for now I'm pretty confident I've done my homework and will be OK. I'll post up the mods I did in the back next.
Fantastic update! I told you that you were MUCH better at updates than me

What are you planning to do about the fender liners? Delete them entirely? Cut and modify?

I really appreciate the specifics of you brakes and wheel offset. I'm planning on exactly the same and it's nice to see the results in detail. The thing I have decided is whether I'm going 275 on 10.5" or 315 like you did. Cutting the battery box at this point isn't appealing.
Reply With Quote
  #182  
Old 03-23-2020, 09:25 AM
garage_engineer's Avatar
garage_engineer garage_engineer is offline
Senior Member
 
Join Date: Jun 2015
Location: Mass
Posts: 144
Thanks: 10
Thanked 40 Times in 26 Posts
Default

Quote:
Originally Posted by RT_66_Pro_Touring View Post
Fantastic update! I told you that you were MUCH better at updates than me

What are you planning to do about the fender liners? Delete them entirely? Cut and modify?

I really appreciate the specifics of you brakes and wheel offset. I'm planning on exactly the same and it's nice to see the results in detail. The thing I have decided is whether I'm going 275 on 10.5" or 315 like you did. Cutting the battery box at this point isn't appealing.
Great question on the fender liners, I forgot to mention that in my post. With rolling the fenders, you lose the mounting points for the liners. However, if you see in my pictures I marked where i needed to roll with green tape so I didn't go too far and only rolled what I needed to. This left the mounting tabs still in place in the front and back of the wheel wells. I will be trimming the liners into 2 pieces to cover those areas. On the passenger side, it's definitely critical to keep at least the back of the liner in place as the bulkhead for the engine wiring harness is right behind the tire.

I'll post up some pics once I get them mounted!

Regarding the 275 vs 315 question - not sure how much trimming you will save yourself but you will definitely save money! Depending on how long these 315s last and how many track days I get to, I may switch over to 275 myself. I doubt I am a good enough driver to even tell the difference.
Reply With Quote
  #183  
Old 04-25-2020, 09:06 PM
RT_66_Pro_Touring RT_66_Pro_Touring is offline
Member
 
Join Date: Oct 2016
Location: Oklahoma
Posts: 51
Thanks: 3
Thanked 7 Times in 7 Posts
Default

Any progress to share??
Reply With Quote
  #184  
Old 05-10-2020, 10:06 PM
garage_engineer's Avatar
garage_engineer garage_engineer is offline
Senior Member
 
Join Date: Jun 2015
Location: Mass
Posts: 144
Thanks: 10
Thanked 40 Times in 26 Posts
Default

Alright I'm back since my last post. Sorry for the delay but I have making a bunch of good progress on the car so I need to catch up on my posts. The good news I was able to get the car started! The bad news is I immediately had clutch issues:

Right after I got the car started, my clutch pedal was very stiff. It was so stiff actually that I snapped the rod going from the clutch master cylinder to the pedal. I was not happy when this happened! As with most cars the car is pretty much built around the master cylinder so I wasn't looking forward to taking everything apart that I had just put together. The show must go on though so I took off the brake master cylinder, the booster and everything else that needed to come off to get at the master cylinder. One positive though is I took the opportunity to upgrade a Tilton adjustable master cylinder. This helps a lot on these third gen cars retrofitted with LT1 T56s, as the stock 4th gen hydraulics bolt right up, but leads to clutch engagement really high in the pedal travel. I really didn't like this feeling and it made it hard to shift quickly, so this should be a nice upgrade.

Tilton adjustable master cylinder kit from Hawks Motorsports:


Bleeding the master cylinder before installing in the car:


One thing I did to make the installation 1000% easier was replace the bolts that come with the kit with studs. I struggled for a LONG time trying to line up the master cylinder in the engine bay and then thread the 2 bolts in from under the dash... talk about a frustrating experience! The studs made this so much easier because I could place the master cylinder in place with the studs through the firewall and then go underneath the dash and thread on the nuts. Worked liked a charm! I also needed to grind down the bolt holding the master cylinder to the bracket as it sat a bit proud on the mounting surface preventing the bracket from sitting flush on the firewall. You can see the grinding marks in the picture here:


Once I got the clutch master cylinder back installed, I devastated to still find a rock hard pedal. This meant something was wrong with the actual clutch. So, out came the transmission. What I found was my throw out bearing seized to my clutch disk and the throwout bearing was actually cracked:


It turns out I had my clutch disk in backwards, so instead of having clearance between the disk and the throwout bearing (which is what should happen), the disk was interfering with the bearing and eventually seized itself on there shortly after I started the engine..

The problem wasn't that I installed it incorrectly, but the sticker saying "FW SIDE" was on the wrong side of the disk! I found this out by comparing my old clutch disk to my now useless one:


So, I ended up getting a new disk and a new throwout bearing and, this time installing everything correctly, it should be working OK now. Just a pain in the rear to have to go so far backwards on the project! Now I can get back on my regular to-do list.

Last edited by garage_engineer; 05-10-2020 at 10:09 PM.
Reply With Quote
  #185  
Old 05-11-2020, 08:46 PM
WSSix WSSix is offline
Lateral-g Supporting Member
 
Join Date: Nov 2008
Location: Dunwoody, GA
Posts: 6,298
Thanks: 664
Thanked 581 Times in 471 Posts
Default

Ouch! Sorry you ran into these troubles. Glad you were able to get it sorted though.
__________________
Trey

Current rides: 2000 BMW 540i/6 and 86 C10.

Former ride: 1979 Trans Am WS6: LT1/T56, Kore 3 C5/6 brakes, BMW 18in rims
Reply With Quote
  #186  
Old 05-12-2020, 12:05 PM
SSLance's Avatar
SSLance SSLance is offline
Senior Member
 
Join Date: Oct 2013
Location: Peoria, AZ
Posts: 2,668
Thanks: 72
Thanked 337 Times in 211 Posts
Default

That is messed up about the disc being labeled wrong. My Mcleod Street Extreme has a label that says "engine side". This is something that I'll always pay attention to now though...thanks for posting.

Hopefully it'll be smooth sailing for a while once again. You are in the home stretch now!!
__________________
Lance
1985 Monte Carlo SS Street Car
Reply With Quote
  #187  
Old 05-13-2020, 09:26 PM
garage_engineer's Avatar
garage_engineer garage_engineer is offline
Senior Member
 
Join Date: Jun 2015
Location: Mass
Posts: 144
Thanks: 10
Thanked 40 Times in 26 Posts
Default

Catching up on some more updates:

Next up was cleaning up the spaghetti mess that was my brake lines. I am running a Wilwood proportioning valve, which requires different threads than the stock third gen lines. My plan was to re-bend the stock lines to mate up with the proportioning valve and then use an adapter to convert from a metric to a standard flare:


I was able to get them reasonably organized, but in the end they were just too stiff and too long for what I needed. I ended up kinking one which was the nail in the coffin for these stock lines. And so began the rabbit hole of bending up custom brake lines... little did I know this would be one of the most challenging parts of this whole project!

I bought some standard steel brake line from my local auto parts store and a couple of different bending tools:


I first made some templates using an old metal clothes hanger and then tried to match it as close as I could in the real brake lines. This took me many tries to get right, but once I got used to the bending tools I got the hang of it. The lines definitely are not perfect but they seal up OK and will get the job done:


I bled the whole system using ATE TYP 200 high temp DOT4 brake fluid. I've been using this for a while and really like it... I've never boiled and it's pretty cheap!


Next I made some custom spark plug wires using a kit from MSD:


Lastly for tonight, I finally got my fresh set of front Koni shocks delivered so I could button up my front suspension. I paired those with some new caster/camber plates from UMI and a new set of bolts from Spohn. I've been trying to be good about using new bolts in critical areas wherever I can, like the strut bolts, control arms, etc. For those new to this thread, my control arms also have Delrin bushings and QA1 tall ball joints installed and my brakes are C6 Z51 13.4" rotors I installed using a kit from bigbrakeupgrade.com. I also upgraded to larger 1LE front bearings. There are certainly a lot of nicer parts out there like tubular control arms and expensive struts but I think my set up is a pretty good compromise of budget and performance. As I get better as a driver I can always upgrade later!


That's it for tonight, more updates soon. Getting close!

Last edited by garage_engineer; 05-14-2020 at 07:46 AM.
Reply With Quote
  #188  
Old 05-13-2020, 10:57 PM
SSLance's Avatar
SSLance SSLance is offline
Senior Member
 
Join Date: Oct 2013
Location: Peoria, AZ
Posts: 2,668
Thanks: 72
Thanked 337 Times in 211 Posts
Default

Get out and drive that thing already!!

__________________
Lance
1985 Monte Carlo SS Street Car
Reply With Quote
  #189  
Old 06-04-2020, 10:13 PM
garage_engineer's Avatar
garage_engineer garage_engineer is offline
Senior Member
 
Join Date: Jun 2015
Location: Mass
Posts: 144
Thanks: 10
Thanked 40 Times in 26 Posts
Default

OK I need to catch up on some updates! Last time I checked in I had a running engine but a TON of little loose ends to tie up.

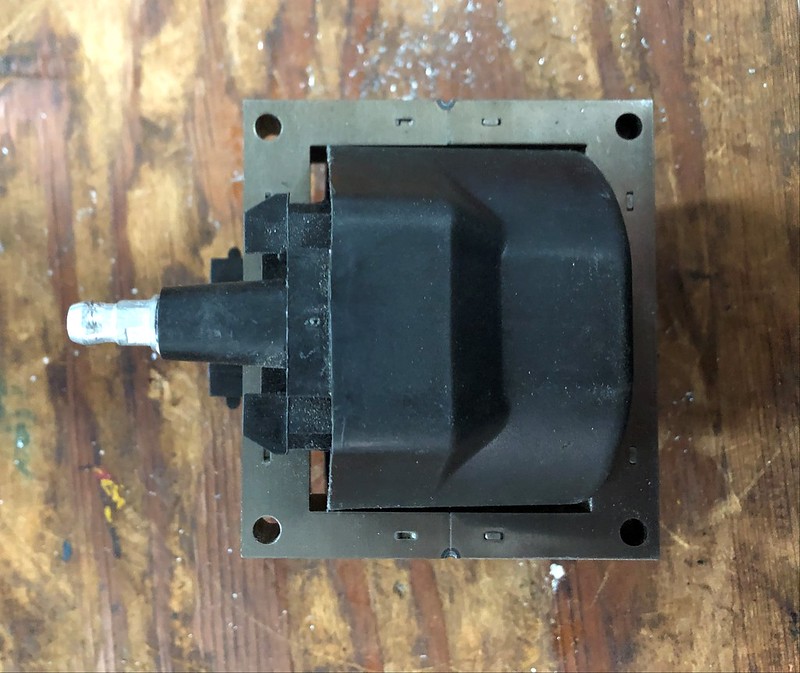
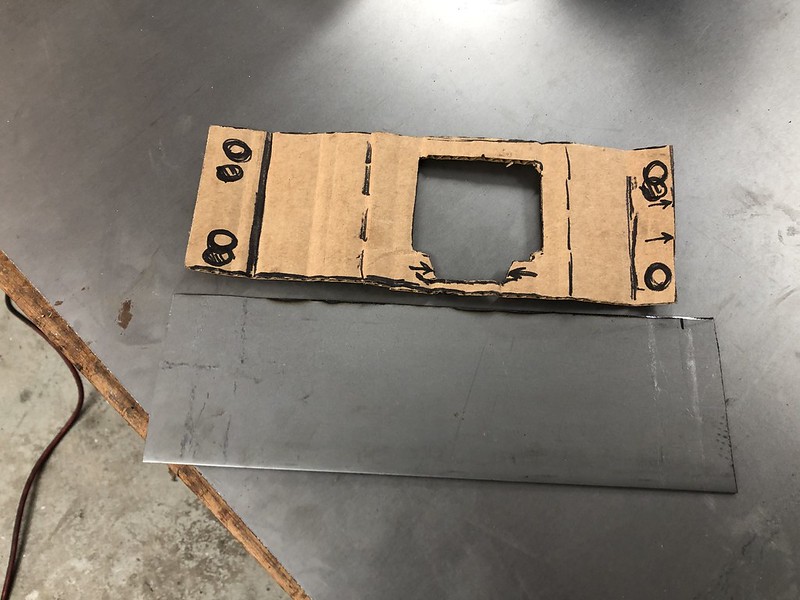
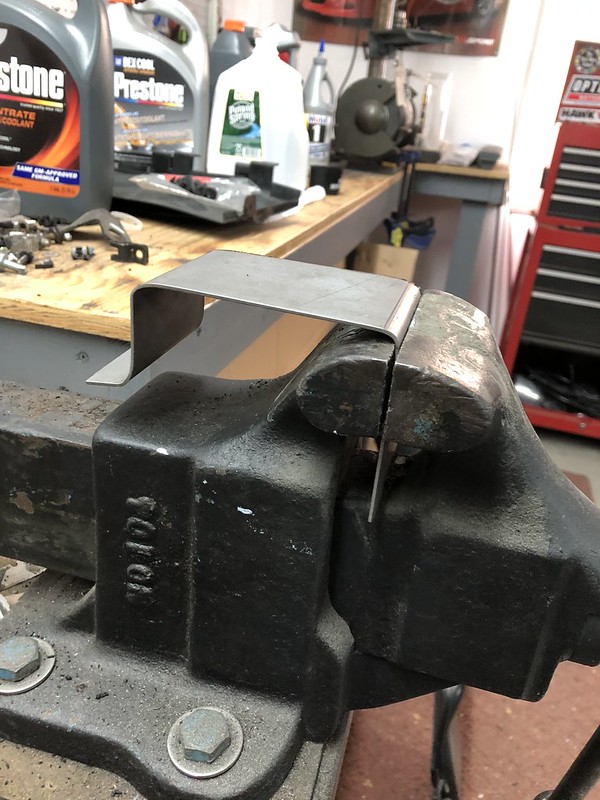
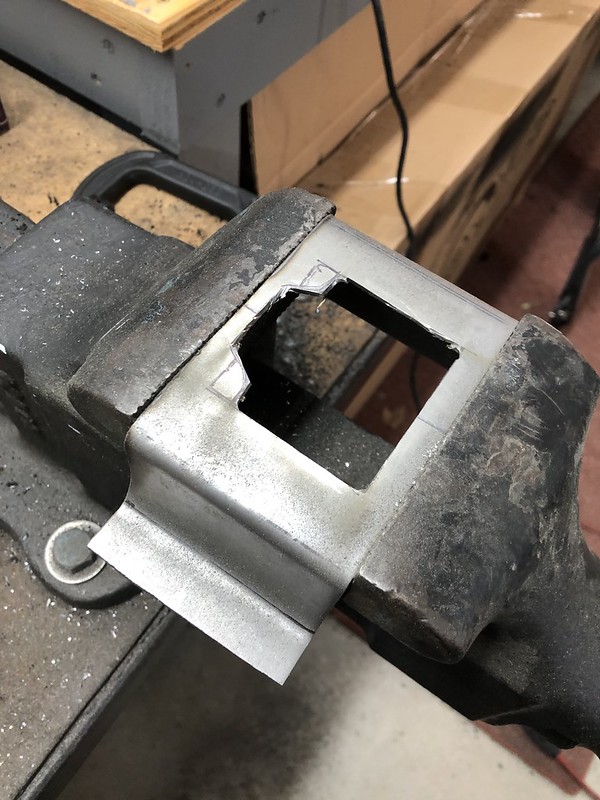
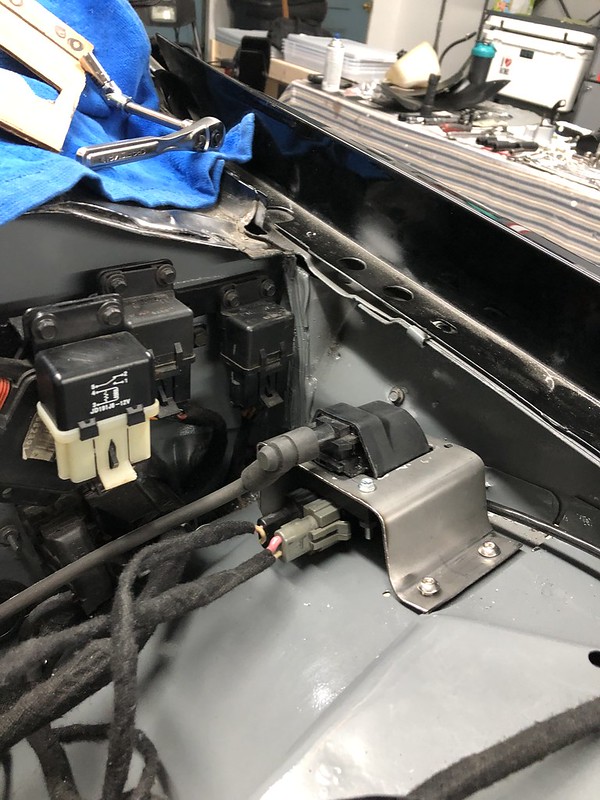
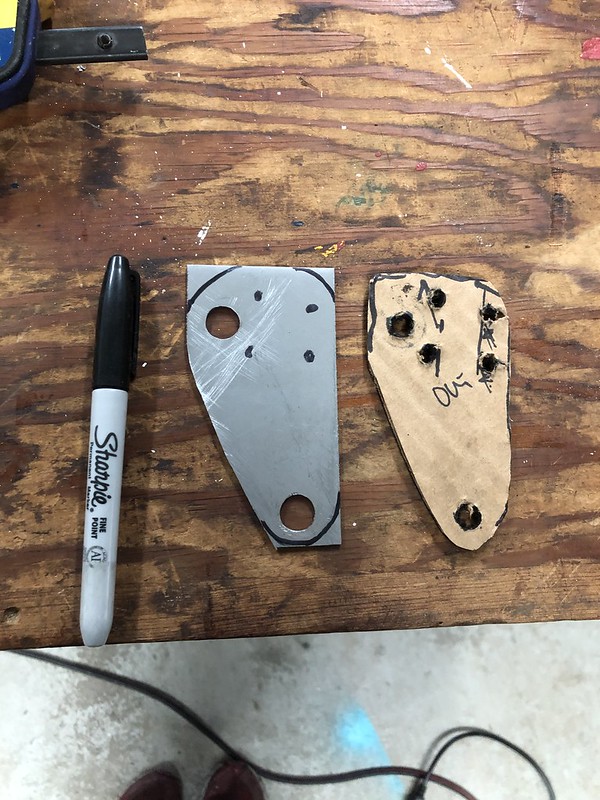
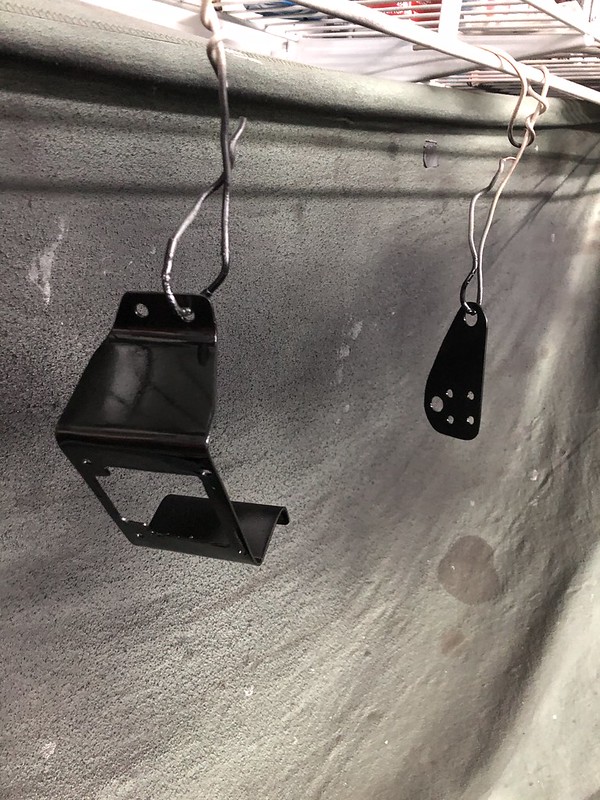
I used my very limited fabrication skills to whip up some brackets for both my ignition coil and my heater diverter valve. For the coil, it's a very awkward and relatively heavy piece so it was tough to find a good spot for it. Like I've been trying to do with most things on this car, I wanted to keep it looking neat under the hood but not so neat that I can't access or work on things when I need to. So, I found a spot on the backside of the driver's side fenderwell and made a little bracket to hold the coil there. It took me a couple tries to get it right and it's definitely not perfect but I think it'll work.

Here is the coil:


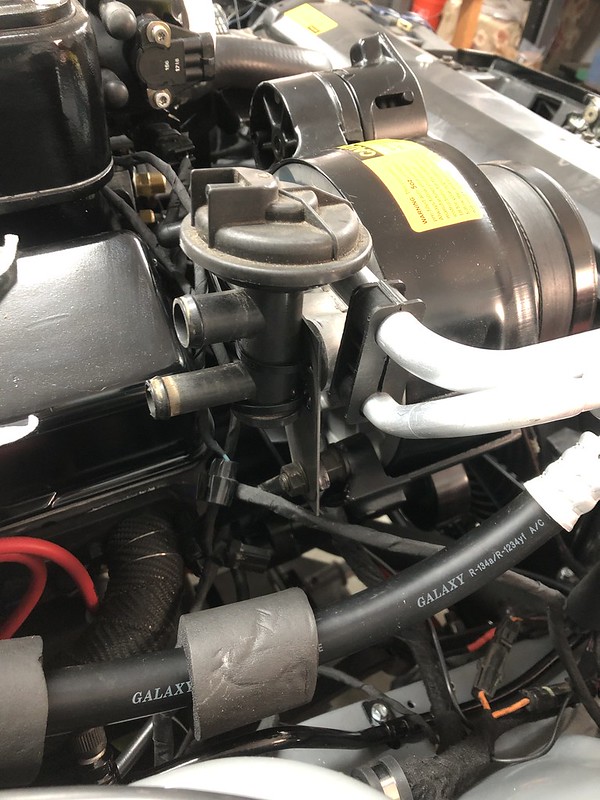
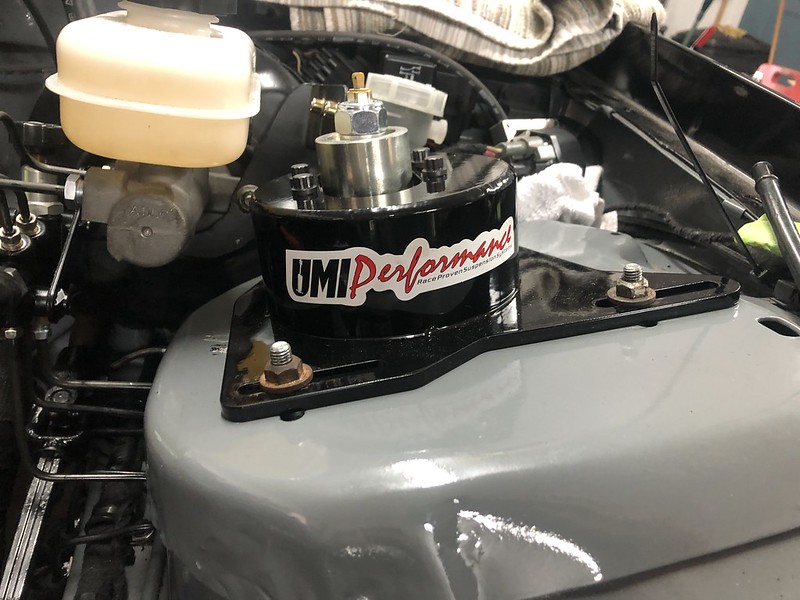
The other very awkward thing I needed to make a bracket for was this heater control valve. Decided to mount it to the back of the AC compressor bracket. I'm not super happy with it and the fact that I had to use zip ties, but should hold up for now:


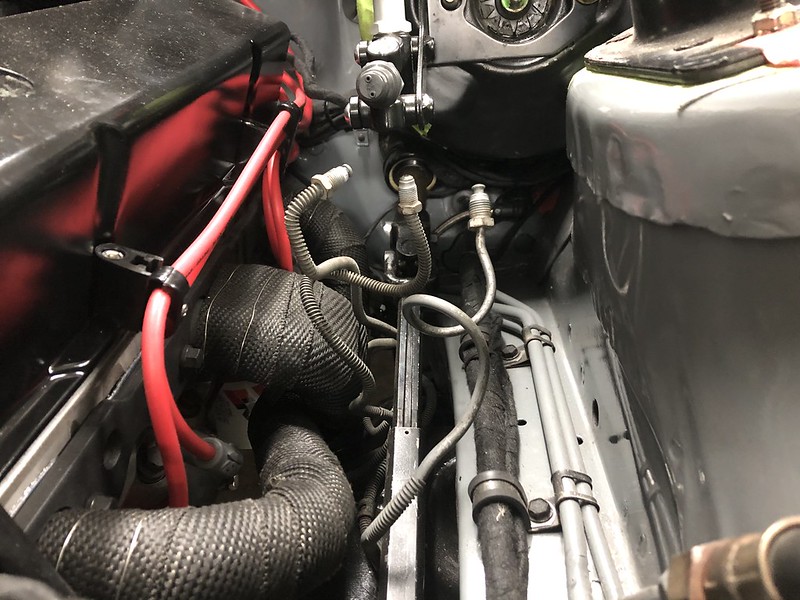
For my fan wiring, I wanted to keep the stock strategy of having one fan come on with the AC and the high temp switch while the other comes on with the low temp switch. Having installed a 180* thermostat I used 195* low temp fan switch. The problem is that on the front of my intake, I now had to have the temperature sender for the computer, the temperature for the gauge, the fan switch and also have a way to attach a heater hose to the diverter valve I showed in my last post. There are only 3 outlets on the front of the intake, so you do the math! I ended up using 2 of the ports for the computer and gauge senders, and then some plumbing tubing I picked up at Home Depot (I know, I know... not ideal!) to combine the fan switch and heater outlet. After I painted it black I don't think it looks too bad:


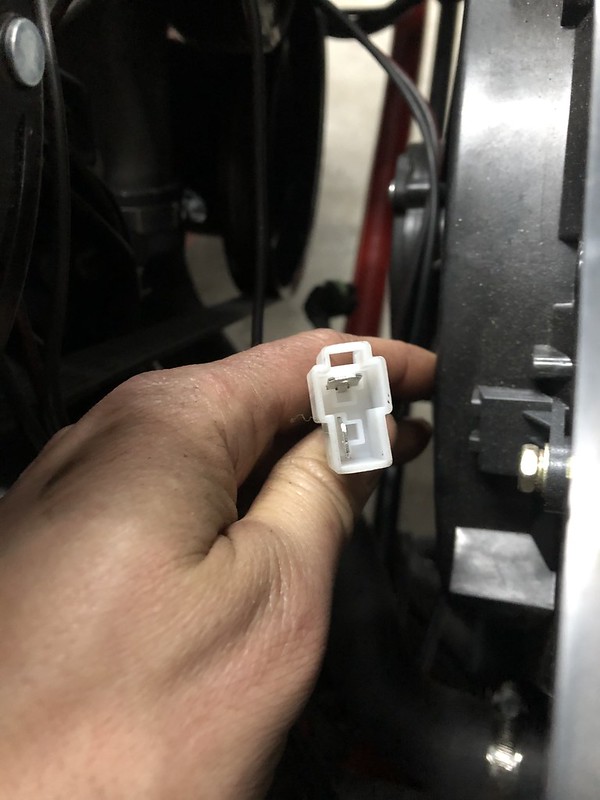
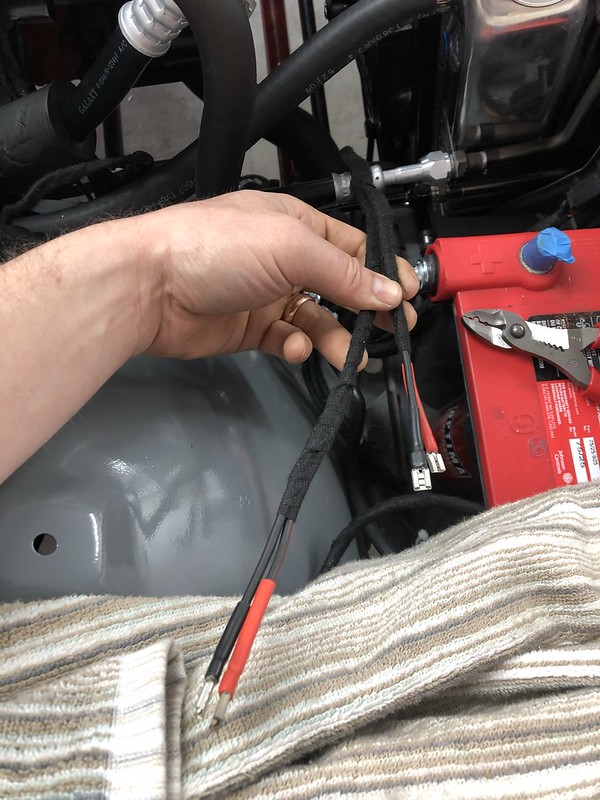
The radiator I am using comes from Cold Case and I picked up the matching shroud and dual fan setup. So far it looks like a nice piece, the only issue is the connectors on the fans. They look like the universal fan connectors you can get online but one of the pins is a bit offset, which forces you to by their matching fan wiring kit. I didn't want to do this, so for now I wired up some female terminal connectors that are working for the time being. The proper permanent solution will be cutting the connectors off of the fans and soldering if some different 2-pin connectors. I mounted my fan relays to the side of the radiator core support near the battery but can't find a picture!


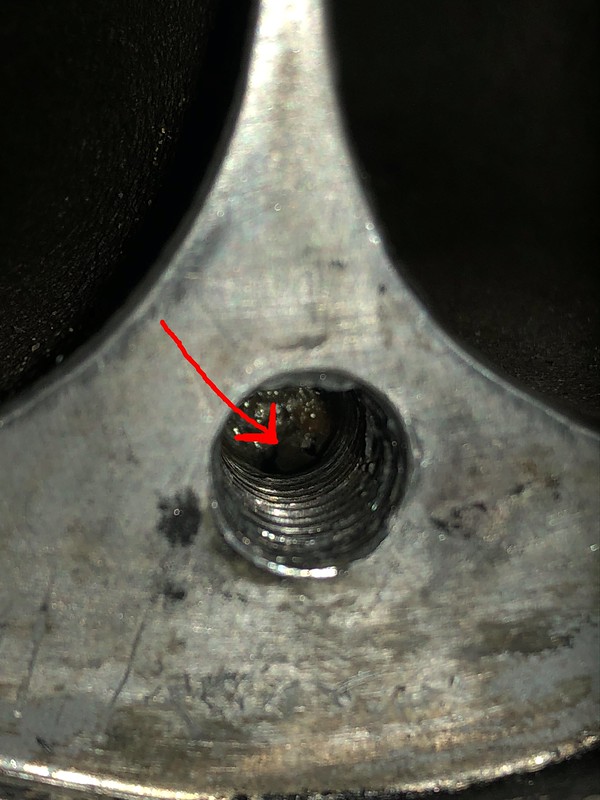
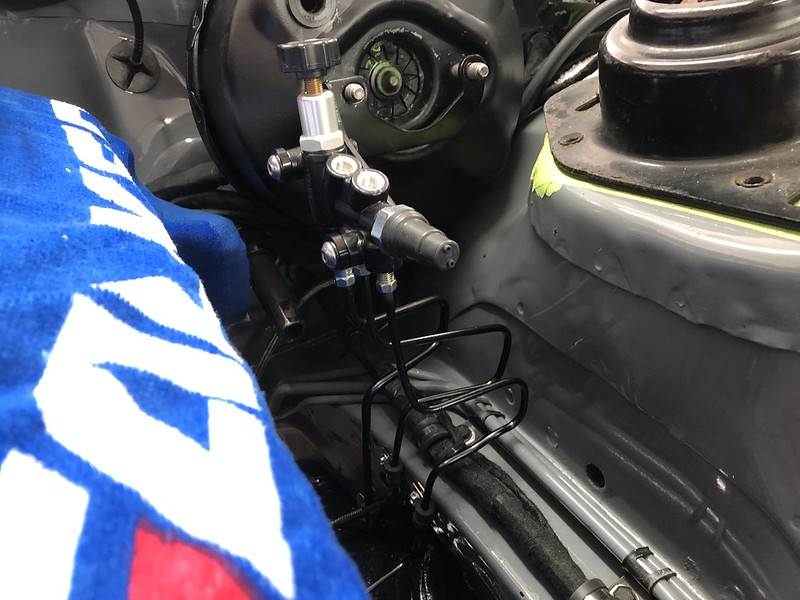
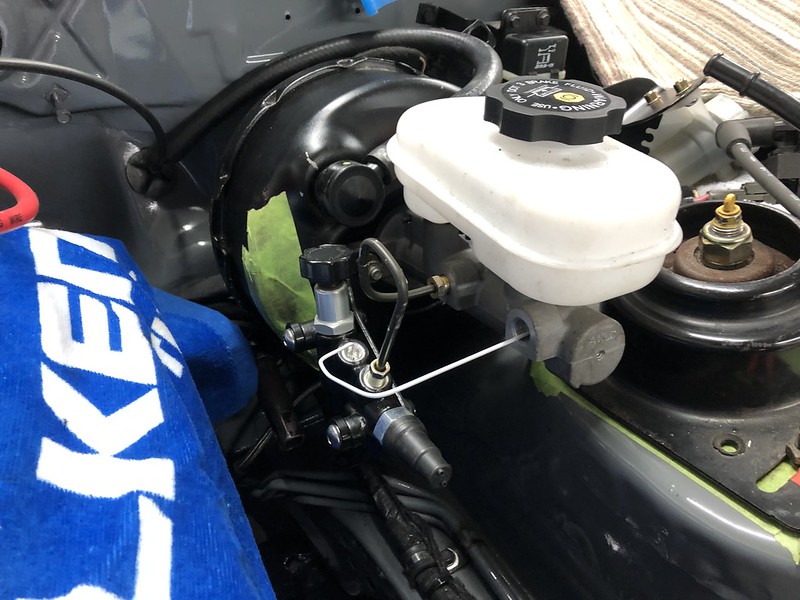
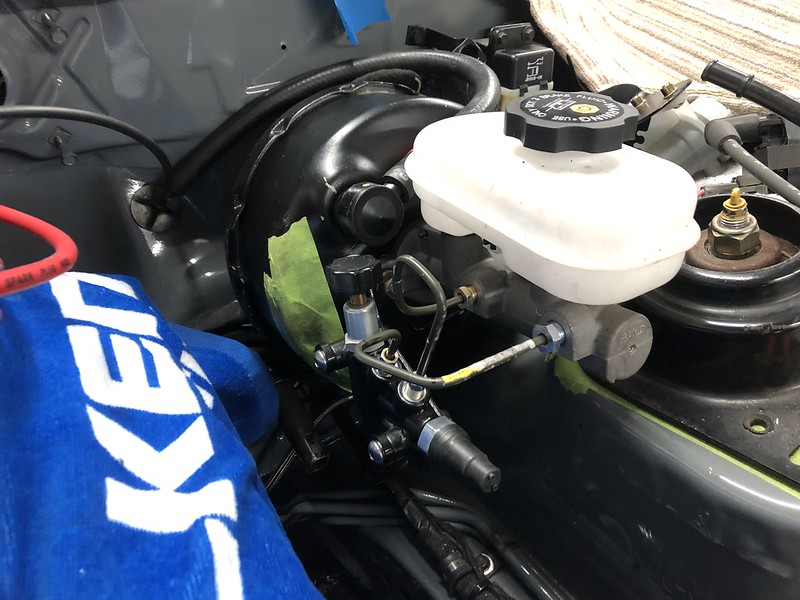
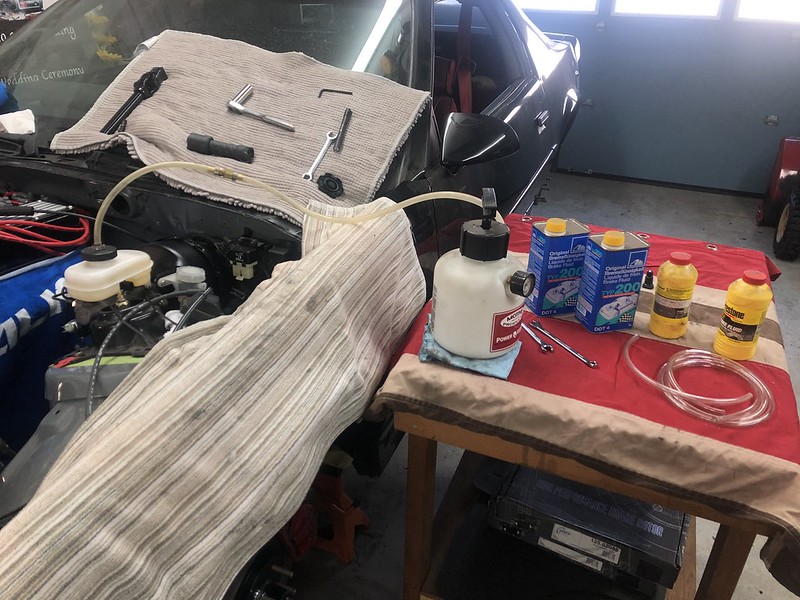
My next little issue was a coolant leak coming from the back of my intake manifold that I could not figure out for the longest time. It turns out, one of the bolt holes for the TPI runners was leaking coolant. Now, this bolt hole is not supposed to thread into a coolant passage but it looks like at one point someone used too long of a bolt and cracked a hole in the bottom of the bolt hole. So after figuring that out, I put some thread sealant on the bolt threads, re-assembled the intake and thought I was good. Unfortunately though it didn't work... and I wasn't happy! I started the car back up and was greeted with a big puddle of coolant on the garage floor. Taking apart a Super Ram takes some time! The second time, I cleaned the threads out as good as I could with a tap, filled the bottom of the hole with a bit of grey RTV and then added a bit more grey RTV on the threads. This time, instead of installing the whole intake manifold, I rented a coolant system pressure checker so if it was going to leak, at least I wouldn't waste a day putting the intake back together. Luckily, the system held pressure over night and seems to be doing ok so far.


Reply With Quote
The Following User Says Thank You to garage_engineer For This Useful Post:
Goosesdad (06-05-2020)
  #190  
Old 06-29-2020, 09:25 PM
garage_engineer's Avatar
garage_engineer garage_engineer is offline
Senior Member
 
Join Date: Jun 2015
Location: Mass
Posts: 144
Thanks: 10
Thanked 40 Times in 26 Posts
Default

More updates! Sorry for the lack of posts but I've been using every minute I have to work on the car and get it ready for the UMI autocross at the end of the month.

The fix for my coolant leak seems to be holding up so that's good news. I've had the car running and up to temperature a couple of times and no sings of a leak yet. On to the next thing!

Next I started working on my exhaust system. My thought process for the exhaust was to re-use my old system, which was Hooker shorty headers, a y-pipe under the engine and then a single pipe back to a muffler with 2 tips. As I went to mock up the system, I ran into a big issue though.... the Summit road racing oil pan I had installed did not leave enough room between the front of the pan and the crossmember for my y-pipe. 
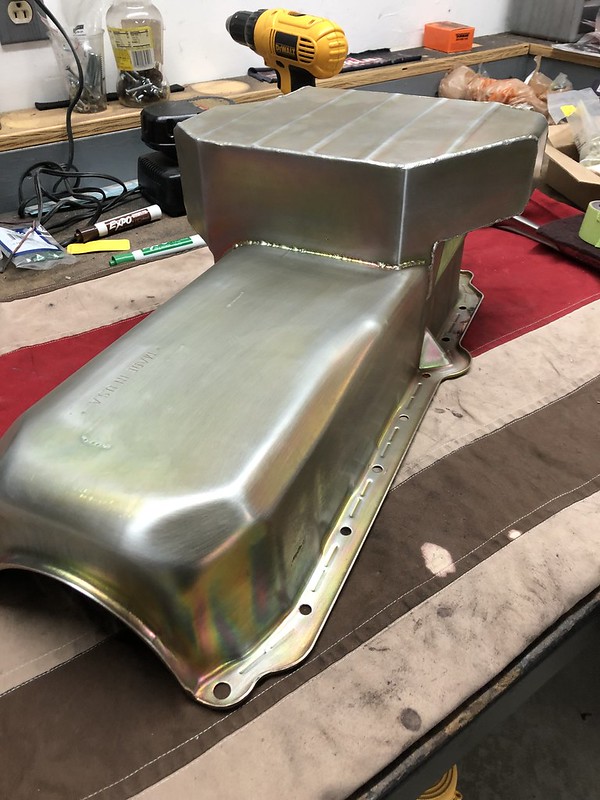
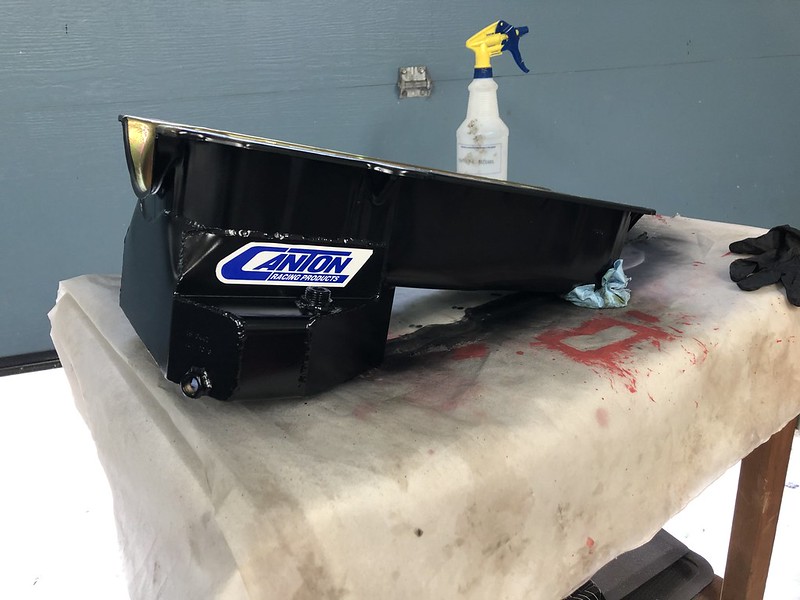
This was completely my fault, as I didn't think of this when I bought the pan. Lessons you learn when going through your first big car project.
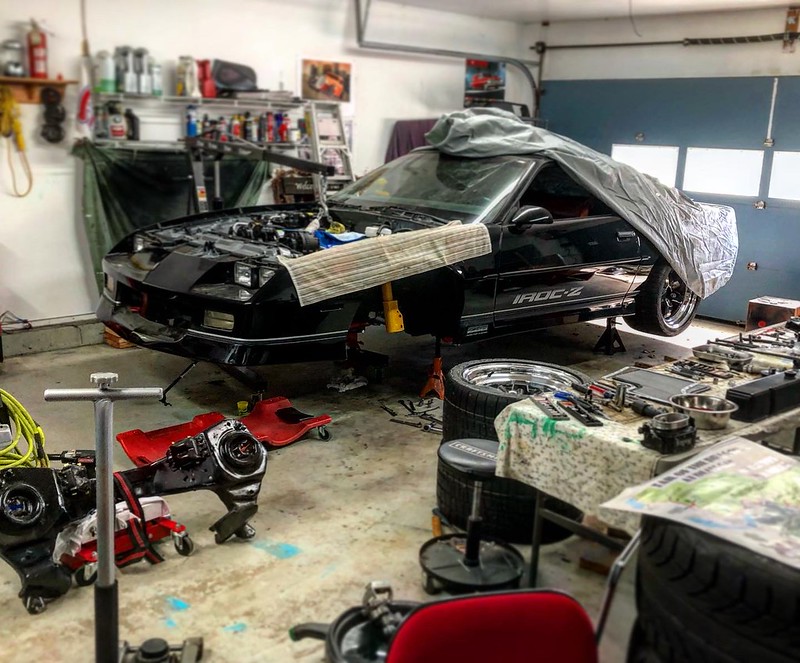
So I figured I had 2 options... I could scrap the y-pipe and have a custom dual exhaust fabbed up for me OR I could install a new oil pan that would allow my y-pipe to fit. I took a look at doing the true dual exhaust and thought it would be very tricky with the transmission crossmember I have (Spohn I believe). Not an impossible job, but I could see it leading down a long road of custom fabrication, new trans crossmember and whatever else. So I decided to swap out my oil pan. In the end, I'm happy with this decision as it let me keep a nice clean exhaust system with good grand clearance and what should be plenty of flow for my little 350.

If you've ever swapped an oil pan on a third gen however, it's a big job! I dropped my k-member and pretty much had the whole car apart for what seems like the 10th time!

To replace my Summit pan, I went with the Canton road racing pan made specifically for third gen Camaros. It's a really nice piece, with trap doors to keep the oil in the sump and kick outs on the side to get more capacity as opposed to the kick out on the front on the Summit. I needed to grab a new oil pump and pickup to go with the pan as well. It came in a zinc finish, so of course I had to paint it black to match the rest of the parts on the car!


After I got the car back together I tied up a few more loose ends and it was off for an exhaust system and an alignment:

Reply With Quote
The Following 2 Users Say Thank You to garage_engineer For This Useful Post:
camcojb (06-30-2020), Roscoe03 (06-30-2020)
Reply


Posting Rules
You may not post new threads
You may not post replies
You may not post attachments
You may not edit your posts

BB code is On
Smilies are On
[IMG] code is On
HTML code is Off

Forum Jump


All times are GMT -5. The time now is 01:37 PM.


Powered by vBulletin® Version 3.8.11
Copyright ©2000 - 2024, vBulletin Solutions Inc.
Copyright Lateral-g.net