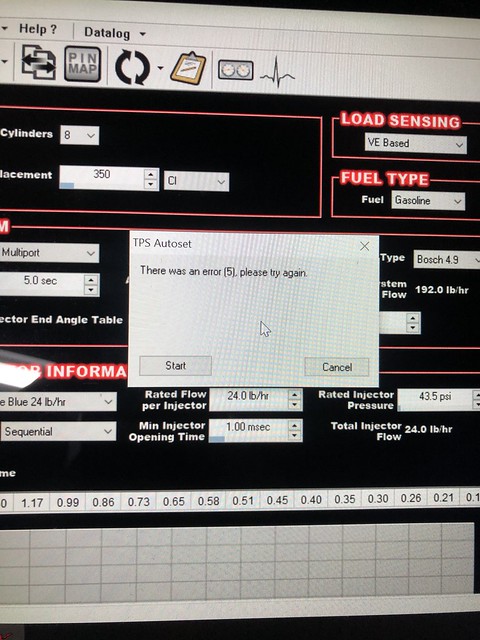
As I got ready to fire it up for the first time with the new Holley ECU, I plugged in my laptop and starting going through the setup procedure. It's a pretty straightforward process of answering some questions about your engine (size, firing order, injector type, etc). I ran into an issue on the step where you set your throttle position sensor. This needs to be completed succesfully before you can start the car. I kept getting an error:
I started digging a bit deeper into the issue and noticed my TPS sensor was not getting the required 5V... not good! This set off a 2-week debugging session trying to figure out why I wasn't getting 5 volts to sensor. Here's the quick version of how I figured out the issue:
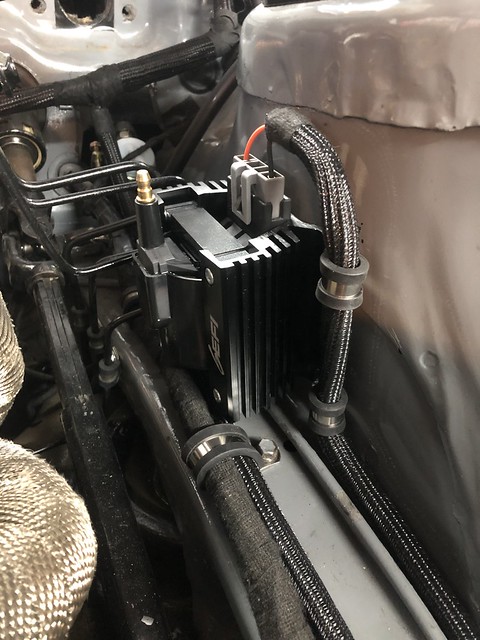
1. I started at the ECU and back-probed the terminals that supply power and ground to the sensor to verify I had 5V there. All looked good:

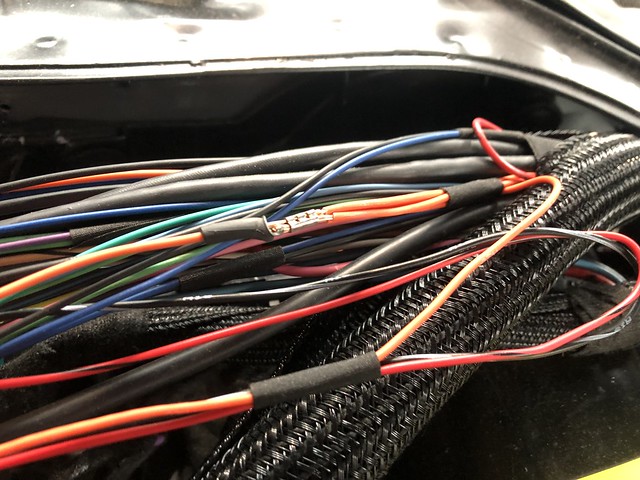
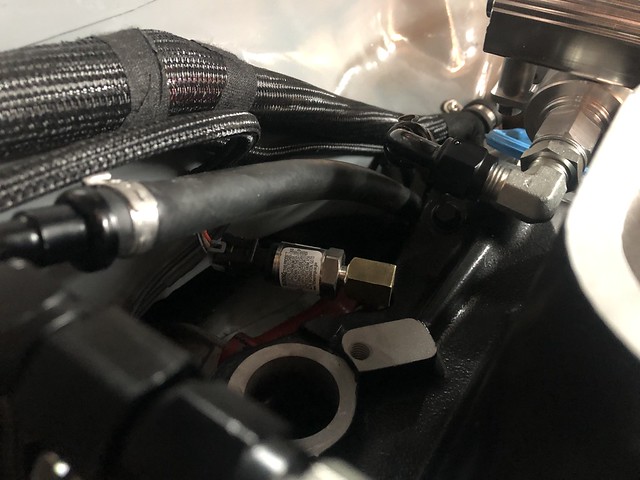
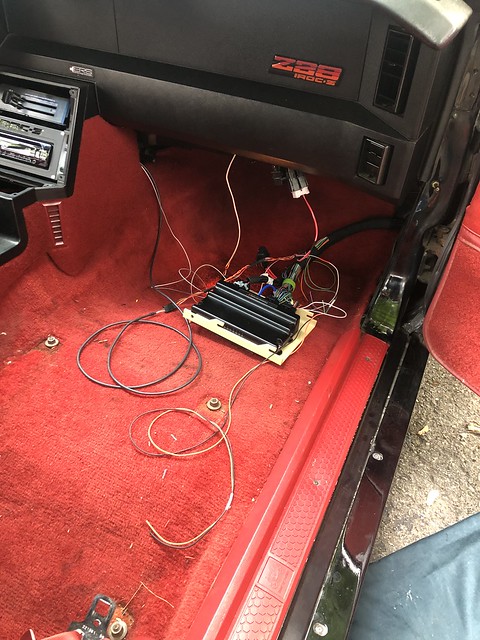
2. Next, I pulled the wrap off the harness and found the junction where the power wire splits to supply 5V to all of the sensors on the engine. (The orange wire in the picture below.) Again, I could probe this and get 5 volts.
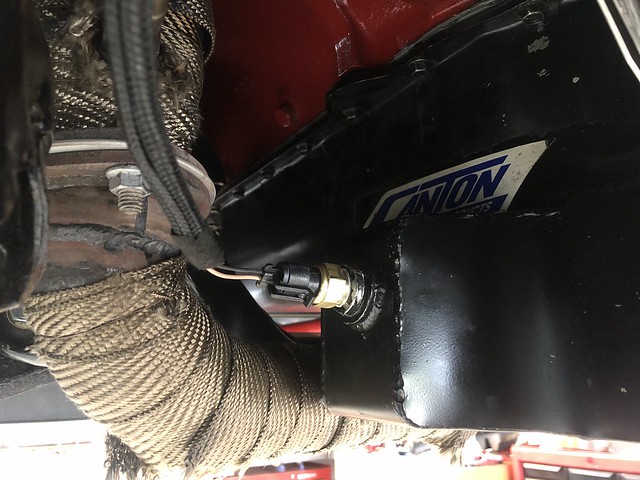
3. At this point I had all of the sensors unplugged from some other checks I had been doing. What I did next was start plugging in each sensor that gets power from this junction 1 by 1 and monitoring the voltage. With the just the TPS plugged in I was getting 5V now... hmmm. I then plugged in the fuel pressure sensor and the voltage dropped by 1.5V. Plugging the oil pressure sensor dropped it by another 1.5V!
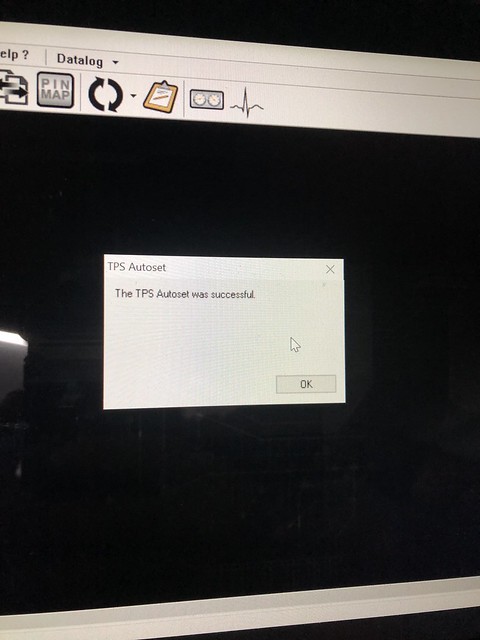
4. Looking a little bit closer at the harness, it turned out that the power and ground and those 2 sensors was reversed, causing the big voltage drop on the whole sensor 5V circuit. Popping the terminals out of the connectors and putting them back in the proper place got me the right voltage to the TPS and let me calibrate it correctly:
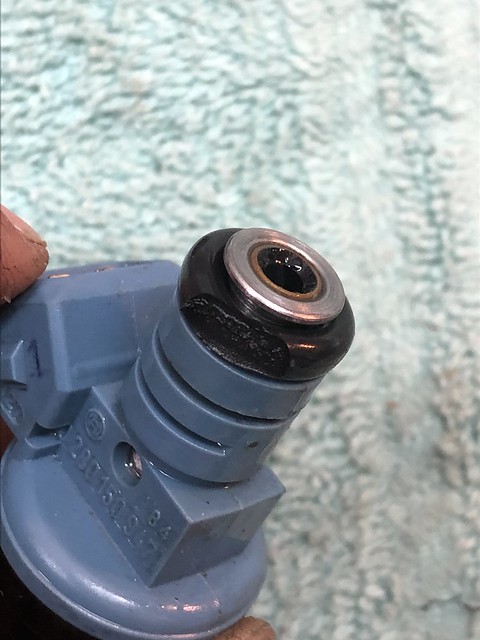
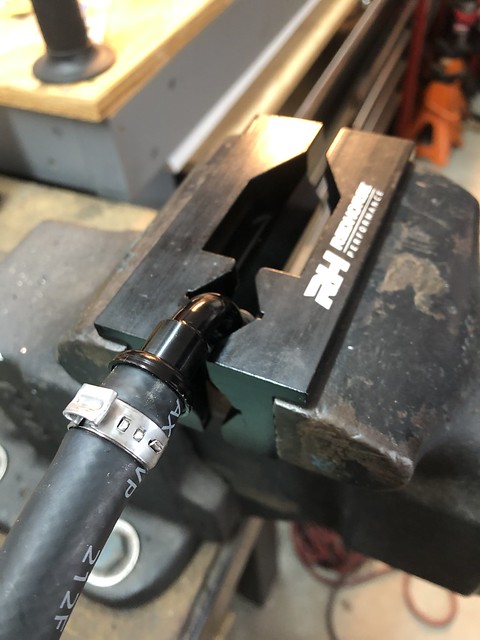
Once the TPS is set, you can cycle the key and the fuel pump comes on to get the engine ready to start. I found a big fuel leak from the fuel rail and was able to trace it down to a damaged o-ring on one of my injectors. Other than having to take apart the whole fuel system that one was an easy fix!
FINALLY after all that I was able to try and start the car for real. And as luck would have it, it fired right up on the first try! The engine ran smooth and sounded good! I was pumped to hit this big milestone!!
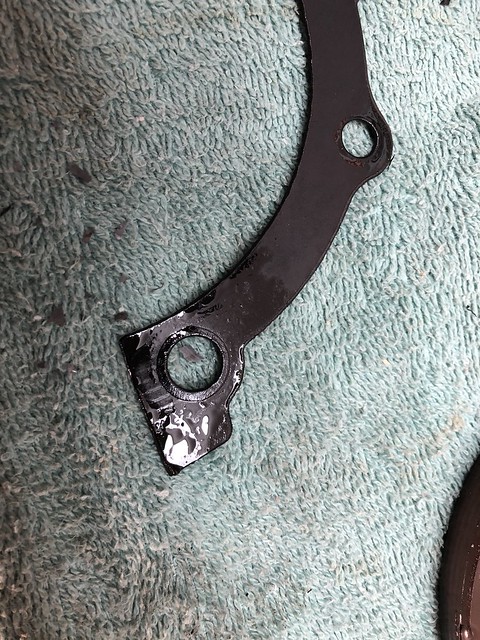
I didn't let it run too far, because I noticed it was idling high and the IAC was reading at 100% (meaning it was fully closed and trying to reduce the idle speed.) No problem, I just need to turn down the idle screw on the throttle body and then let the system learn from there. Well, that turned out to not be so easy as the idle adjustment screw on the throttle body has seized and snapped in half when I went to turn it!


I am now trying to repair this screw, and I luckily have a backup throttle body I can try.
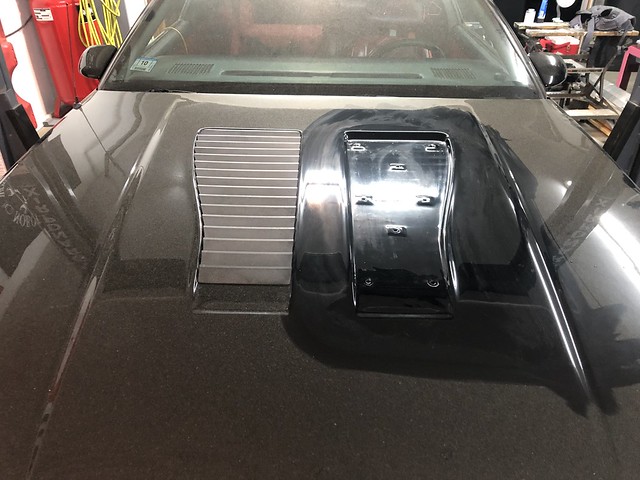
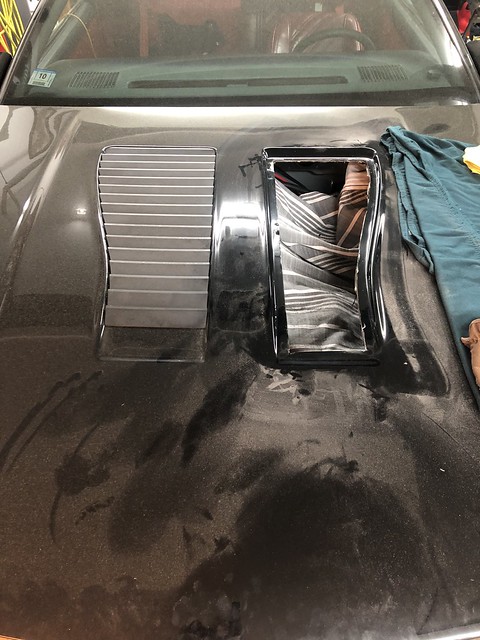
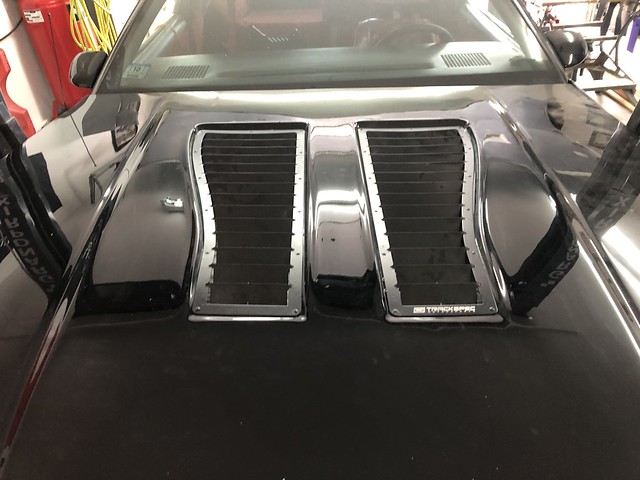
My other big issue is my hood won't close!
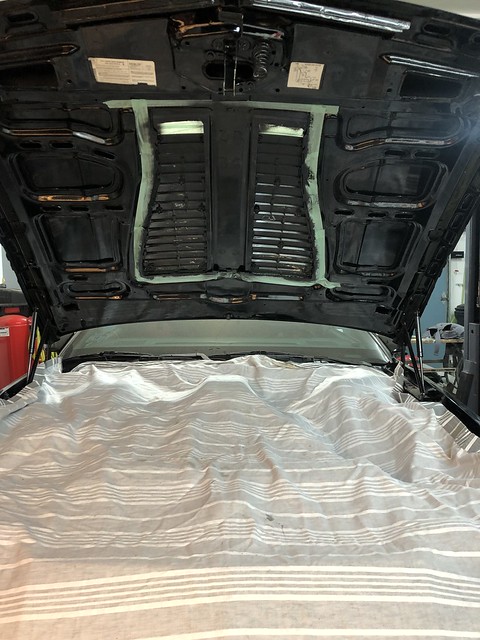
This one is totally my fault... I should have checked this earlier in the process so I could have made some adjustments before getting the car running and then having to take it all apart again. I did research on installing a Stealth Ram into 3rd gen Camaros and some fit great, while others needed some work to fit. I tried trimming back the inner hood structure, but it didn't quite get me the clearance I needed. So, my options were:
1. Lower the motor - I have brand new poly engine mounts which tend to raise the engine a bit over stock (especially if your old mounts are rubber and sagging). I considered going to rubber mounts, or even solid ones if they dropped the engine a bit, but decided to try a simpler solution below first rather than tearing the whole front end apart.
2. Space the k-member down from the body using some spacers - With my focus on handling with this car, I decided to stay away from this one, even though it was relatively simple. With the strut front suspension on these cars, any spacing of the k-member will affect alignment and that's not something I wanted to get into.
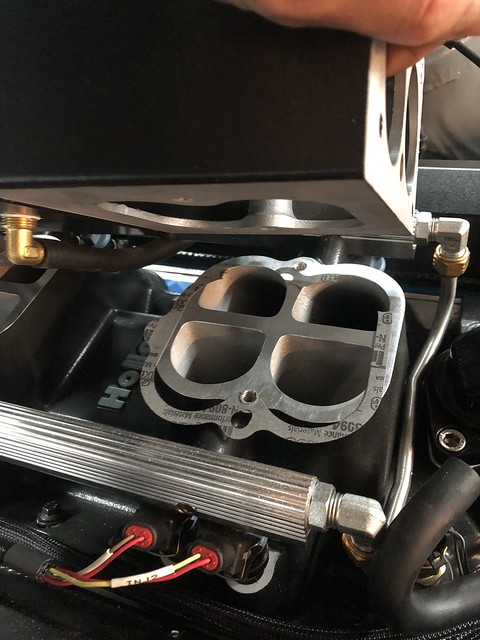
3. Modify the intake - This is the option I am pursuing right now. Yes, it sucks to have to take apart a nice running engine right after you finally got it together but in the long run I think this is the easiest solution. The Stealth Ram fortunately has some areas where material can be removed and I'm hoping there's enough there to solve my problem.
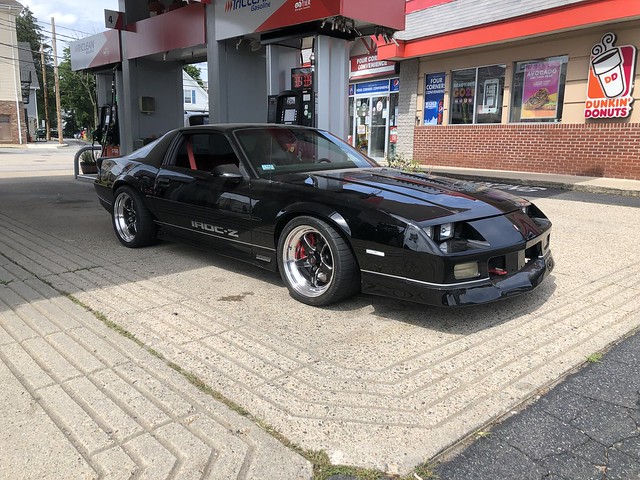
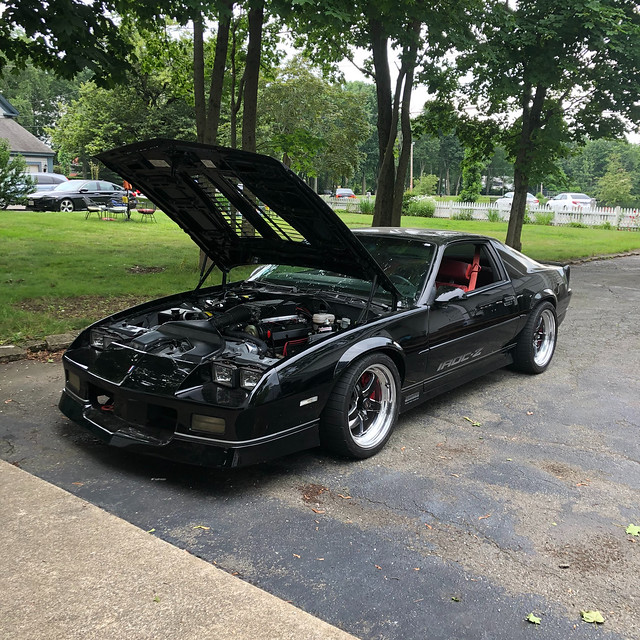
My next update will hopefully be a success story with a hood that closes and perhaps a test drive! Here's a quick teaser pic:


 Brian Hobaugh SCCA National Tour June 2014
 First Hemi 'Cuda Convertible Ever Built
 Short clips: Goodguys Pleasanton autocross and pit videos


 Linear Mode

