Hit a big milestone this week! My engine bay is finally painted and I'm ready to start putting some parts back on the car! What a long process that was... I spent a ton of hours cleaning, prepping, cleaning again, masking off all the areas that I didn't want to paint, cleaning again, getting my new HVLP gun set up, cleaning up one last time and finally laying down the primer, color and clear coats. I think it came out great and I'm pumped with the results!
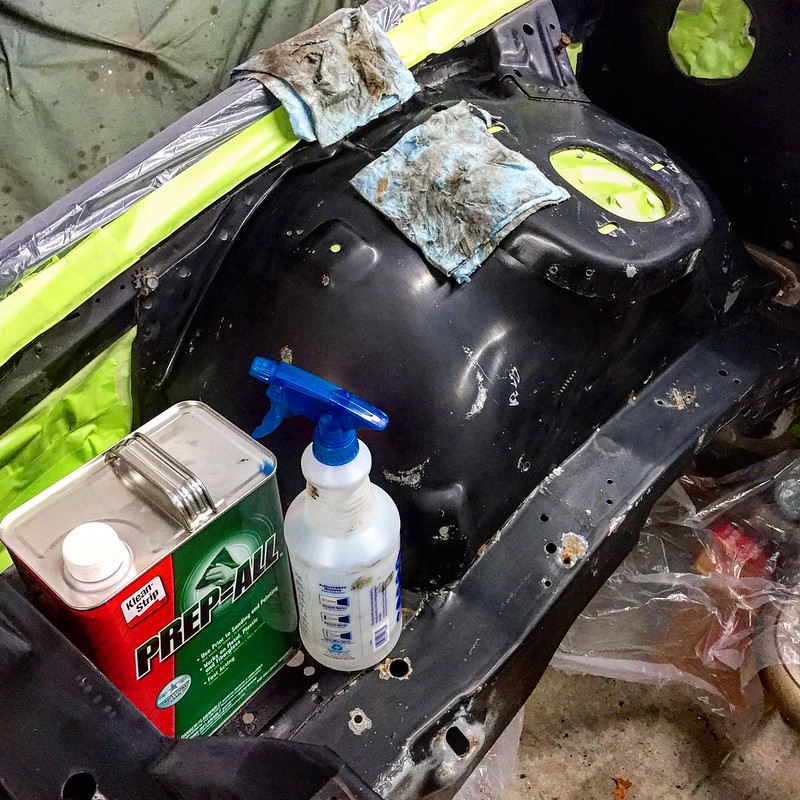
For the prep, I first degreased the whole engine bay and then scuffed it with a red ScothBrite pad. I then used Prep-All solvent and some blue shop rags and I kept cleaning and cleaning until the wipes did not show any more dirt. I followed that up with some isopropyl alcohol as a final prep step.
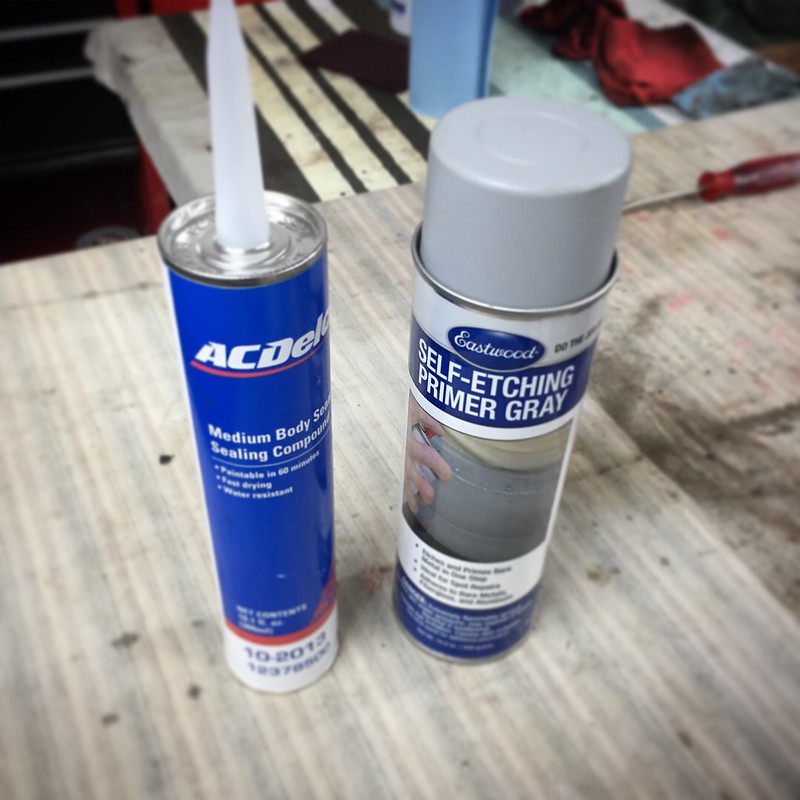
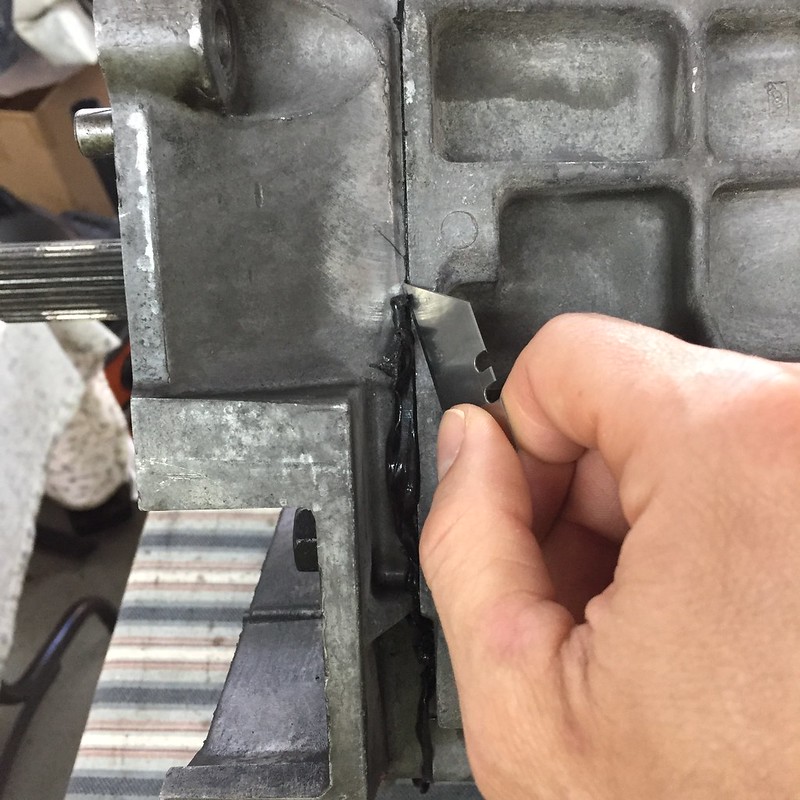
I applied some new seam sealer around the edges of the engine bay where the factory stuff had gotten dried out. This stuff is super tacky and I made the mistake of not using gloves... won't do that again! Then I hit any bare metal areas with some self-etching primer:

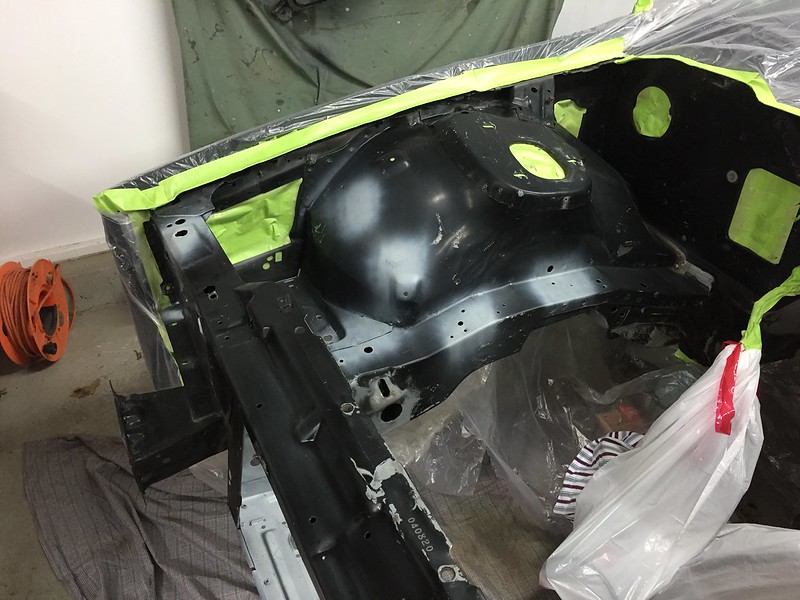
Then came the fun part. I had never used an HVLP gun before so this was all new to me. Luckily I had some good guidance from a friend at a local body shop who helped make sure I had all the right equipment and supplies I needed. I used Eastwood Urethane primer and laid on 2 coats and let it dry overnight:


2 days later, I sanded to surface with 600 grit and began the cleaning process again. The color was MUCH thinner than the primer and was way easier to work with in terms of mixing it and cleaning my gun afterwards. I put on one coat of color as it covered really well:

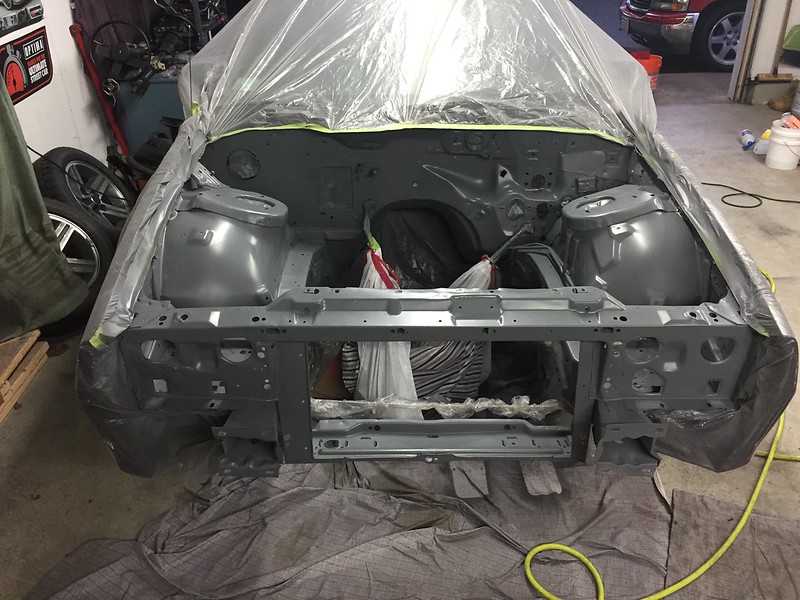
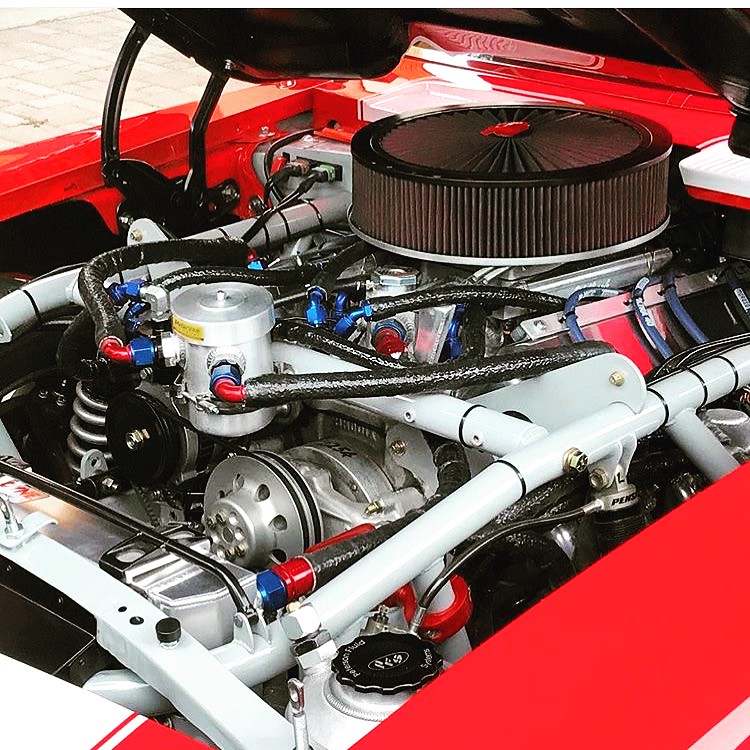
The color I chose for the engine bay was Audi Nardo Grey. I was inspired to choose a pretty basic, contrasting color for the engine bay based on some inspiration from the Big Red Camaro. The lighter engine color is used in race cars to easier spot leaks, and I think it just looks plain cool and really "purposeful", which is the theme I am going with for this car. I think the grey will look good against the grey and silver stripes down the side of the car as well. Here is the Big Red Camaro engine bay:
After the color, I quickly cleaned out my gun and got the clear ready. Again I went with Eastwood and one of their less-expensive clearcoats. I put on 2 light coats followed by one medium coat with 10mins in between each coat. It turned pretty good...not perfect, but OK for an engine bay and pretty good for my first time:

I haven't decided if I am going to wet sand the paint yet and seal it with some sort of ceramic coating, but either way I'm very excited as I feel like I have hit a major milestone in the project! Parts can start going back on now!


 Brian Hobaugh SCCA National Tour June 2014
 First Hemi 'Cuda Convertible Ever Built
 Short clips: Goodguys Pleasanton autocross and pit videos


 Linear Mode

