...

Go Back   Lateral-g Forums > Lateral-G Open Discussions > Project Updates
User Name
Password


Reply
 
Thread Tools Display Modes
  #221  
Old 02-09-2024, 12:36 AM
SuperBuickGuy SuperBuickGuy is offline
Senior Member
 
Join Date: Aug 2021
Location: Puget Sound Washington
Posts: 221
Thanks: 12
Thanked 188 Times in 117 Posts
Default

last night, issues

and now fixed

new issue.... making the old upper hose work

cut the offending angle off

then weld back on

and fit

still have to put a bleed valve on top but close

moved the temp sensor from the front to the top

I swear I should put a zipper to take the hood off...

another view
Reply With Quote
The Following 3 Users Say Thank You to SuperBuickGuy For This Useful Post:
camcojb (02-09-2024), fleetus macmullitz (02-19-2024), Roscoe03 (02-15-2024)
  #222  
Old 02-11-2024, 11:41 PM
SuperBuickGuy SuperBuickGuy is offline
Senior Member
 
Join Date: Aug 2021
Location: Puget Sound Washington
Posts: 221
Thanks: 12
Thanked 188 Times in 117 Posts
Default

time to finish up the cooling system


plumb the tank


first, paint the mount


then the layout


Thursday, the stainless upper hose was in progress. Needed a bleeder as this is the highest point


because the metal is only 16 ga, I put a plug in the top then tapped it for the bleeder


finished here


you know, I could have finished this all pretty, but f*** that - gotta give the haters something to hate on


then a solid aluminum tube for the lower hose


once mounted

time to connect the AN side


on unfinished tasks.... painted the lower valence


we end on my favorite task... wiring... it was comforting to read that my plan will void the warranty


this isn't the void part... but I can't imagine putting the controller on the bumper support is a recommended procedure


grounding done (now we're voiding)

​​​​​​​

and the cooling system is holding fluid just fine...
Reply With Quote
The Following 2 Users Say Thank You to SuperBuickGuy For This Useful Post:
89 RS (03-17-2024), fleetus macmullitz (02-19-2024)
  #223  
Old 02-12-2024, 12:02 AM
SuperBuickGuy SuperBuickGuy is offline
Senior Member
 
Join Date: Aug 2021
Location: Puget Sound Washington
Posts: 221
Thanks: 12
Thanked 188 Times in 117 Posts
Default

List to finish this round

1) finish fan system - that includes a switch to power the fan and the water pump while I'm sitting between rounds
2) attach the side pipes
3) wrap the sidepipes
4) make it so the gas tank can't slide in its straps (yeah, really)
5) tow hooks
6) reinstall interior
7) build air cleaner
8) tune....
9) build rear cover/defuser
10) install front spoiler


*eventually build an exhaust system that's side pipe but actually doesn't kill power and is tunable
*put dual adjustable coilovers
Reply With Quote
  #224  
Old 02-12-2024, 11:24 PM
SuperBuickGuy SuperBuickGuy is offline
Senior Member
 
Join Date: Aug 2021
Location: Puget Sound Washington
Posts: 221
Thanks: 12
Thanked 188 Times in 117 Posts
Default

lower valence installed

this removed. I don't need it. Called Derale today, we talked about what I was doing and cleared up a misconception..... that they are computer controlled motors. They're not in this case, it's a 2 speed motor thus I can control it with my Holley computer. Key here, if you're copying, is you MUST start the fan on low speed then double the speed by adding power to the high side of the motor.

and wired

With substantially tuning, it's drivable now
but
I still need an air cleaner

hmm

probably this

all i have to do now is build it
​​​​​​​
Reply With Quote
The Following User Says Thank You to SuperBuickGuy For This Useful Post:
fleetus macmullitz (02-19-2024)
  #225  
Old 02-14-2024, 10:30 PM
SuperBuickGuy SuperBuickGuy is offline
Senior Member
 
Join Date: Aug 2021
Location: Puget Sound Washington
Posts: 221
Thanks: 12
Thanked 188 Times in 117 Posts
Default

first... trim the tray to make more sense then do a first piece

then a top piece

next side panels


other side.... keep in mind the motor is off-centered from GM so steering and brakes can be in the engine compartment... not as noticeable until you do something like this

finished product.... well, finished CAD


tomorrow, make this out of aluminum
Reply With Quote
The Following 3 Users Say Thank You to SuperBuickGuy For This Useful Post:
camcojb (02-14-2024), fleetus macmullitz (02-19-2024), Roscoe03 (02-15-2024)
  #226  
Old 02-19-2024, 12:30 AM
SuperBuickGuy SuperBuickGuy is offline
Senior Member
 
Join Date: Aug 2021
Location: Puget Sound Washington
Posts: 221
Thanks: 12
Thanked 188 Times in 117 Posts
Default

time for a test fit


someone mentioned I don't know how to weld aluminum.... this wasn't me, it was magick

then weld in the stand

then install the hood

some say I don't learn - I say, see the hood and I'm checking clearance before I build the top piece? yeah, lurnin'

and it clears... woo and hoo!

time to cut out the top pieces

then time to temper the metal


soot

and then I question why I didn't pick up 5152 or 3003 aluminum on Friday...


I'm going to try to bend this around but I give it about a 30% chance
Reply With Quote
The Following User Says Thank You to SuperBuickGuy For This Useful Post:
Roscoe03 (02-27-2024)
  #227  
Old 02-19-2024, 11:20 PM
SuperBuickGuy SuperBuickGuy is offline
Senior Member
 
Join Date: Aug 2021
Location: Puget Sound Washington
Posts: 221
Thanks: 12
Thanked 188 Times in 117 Posts
Default

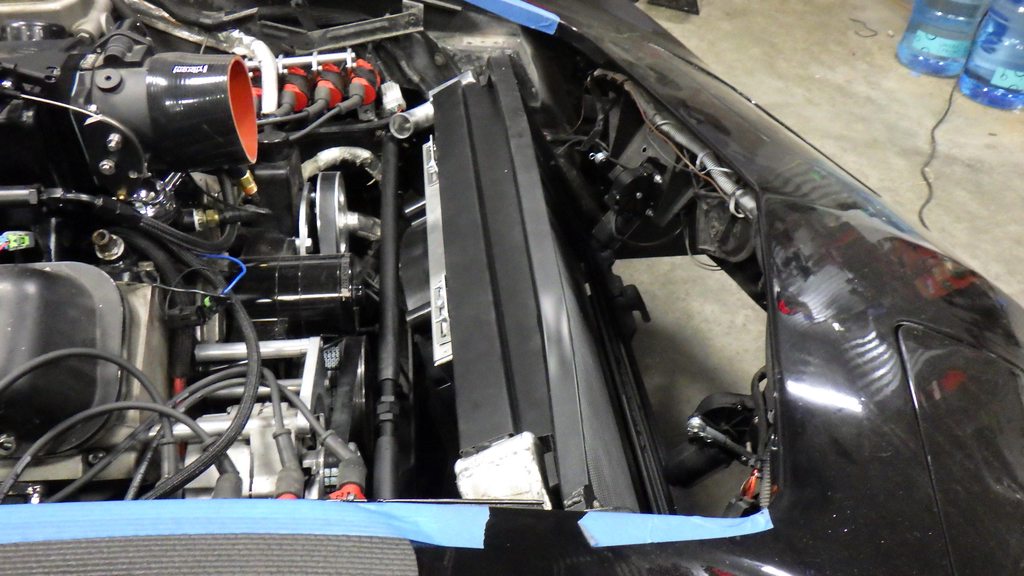
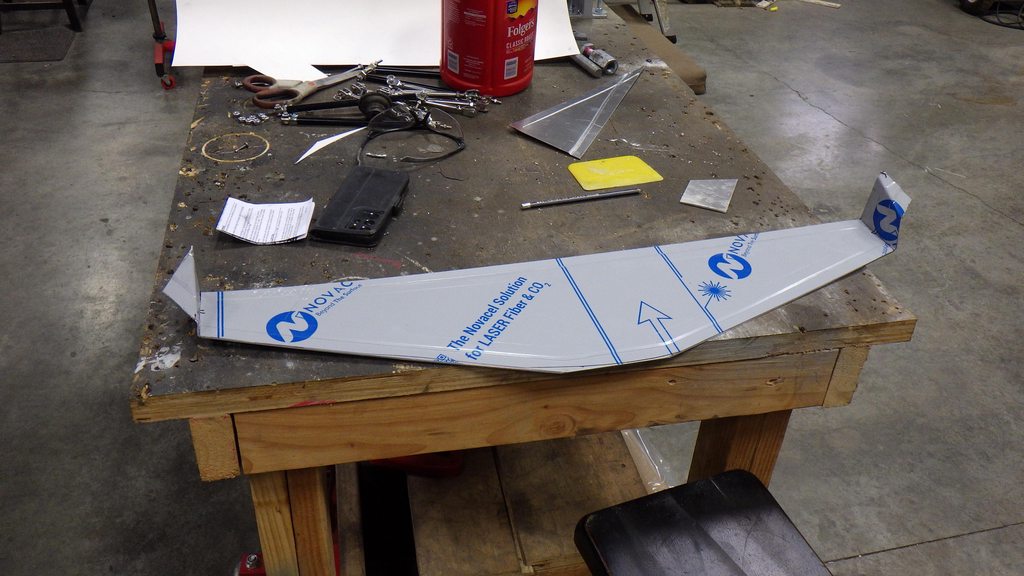
onward back to metal manipulation

key here is that this is hour 8 but only hour 2 of actual work.

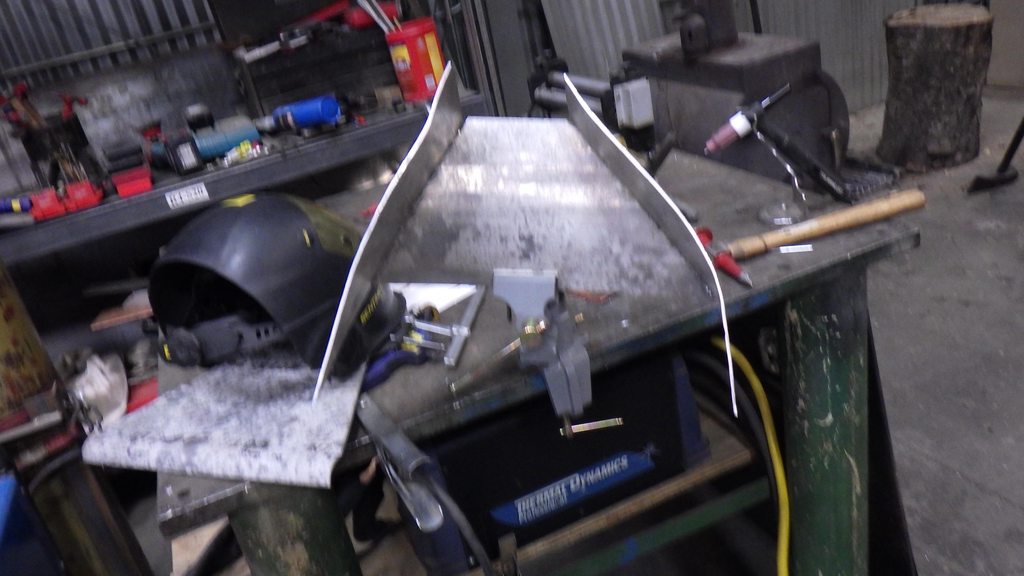
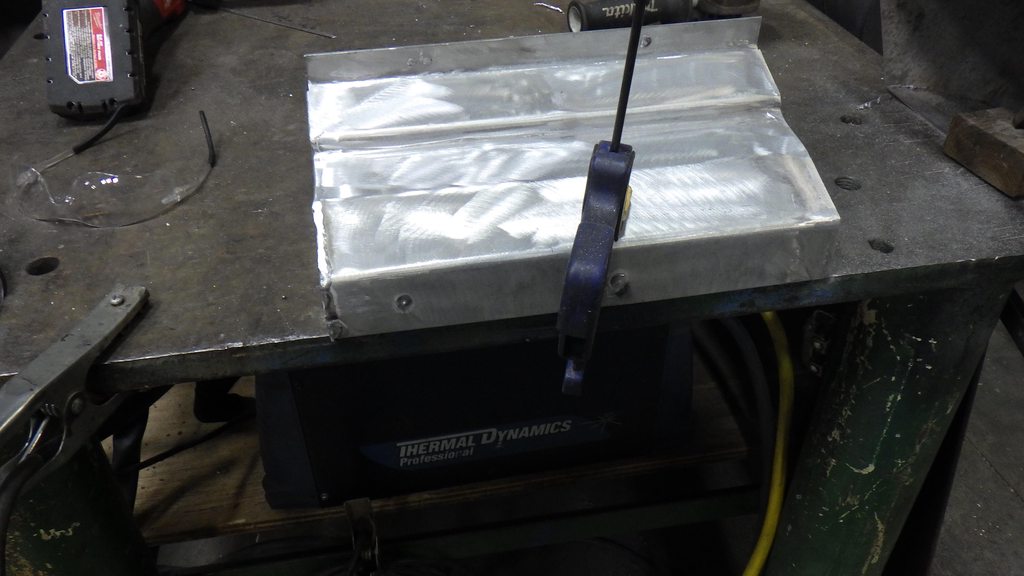
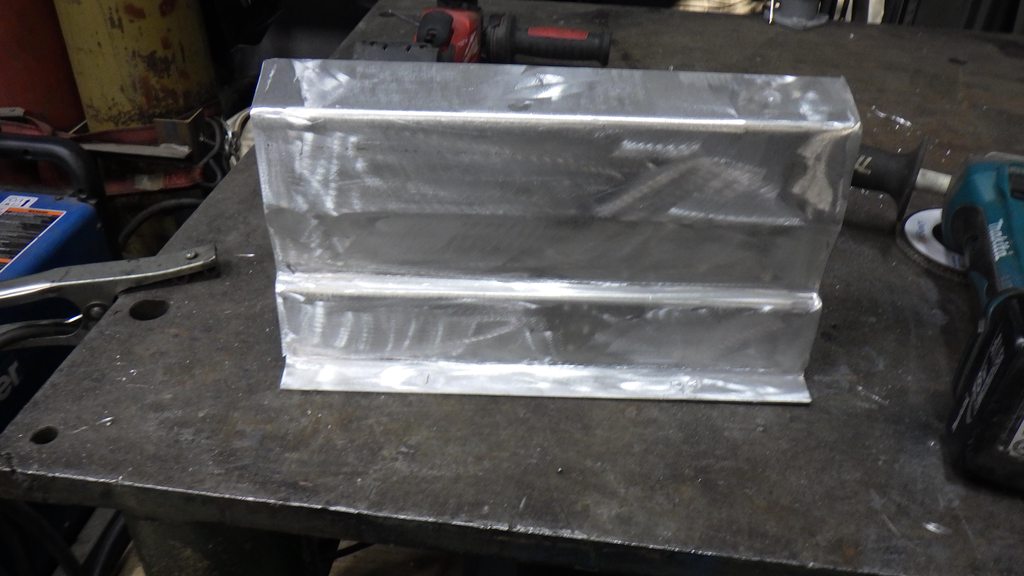
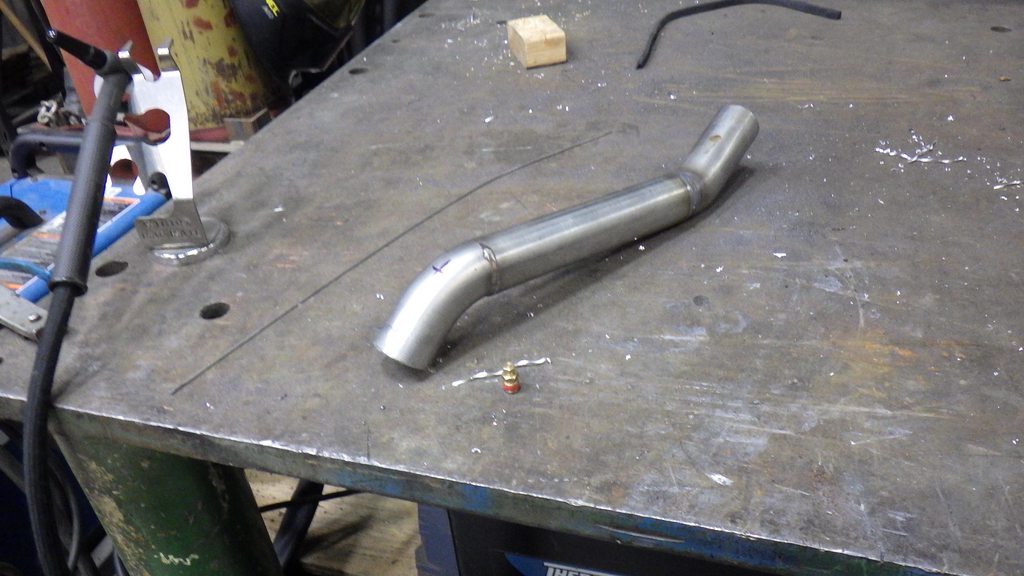
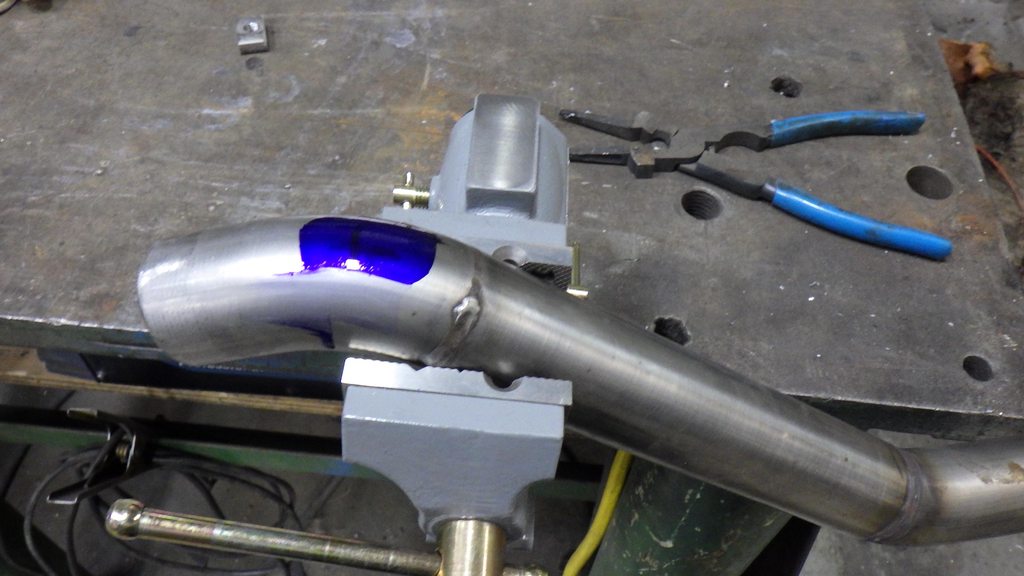
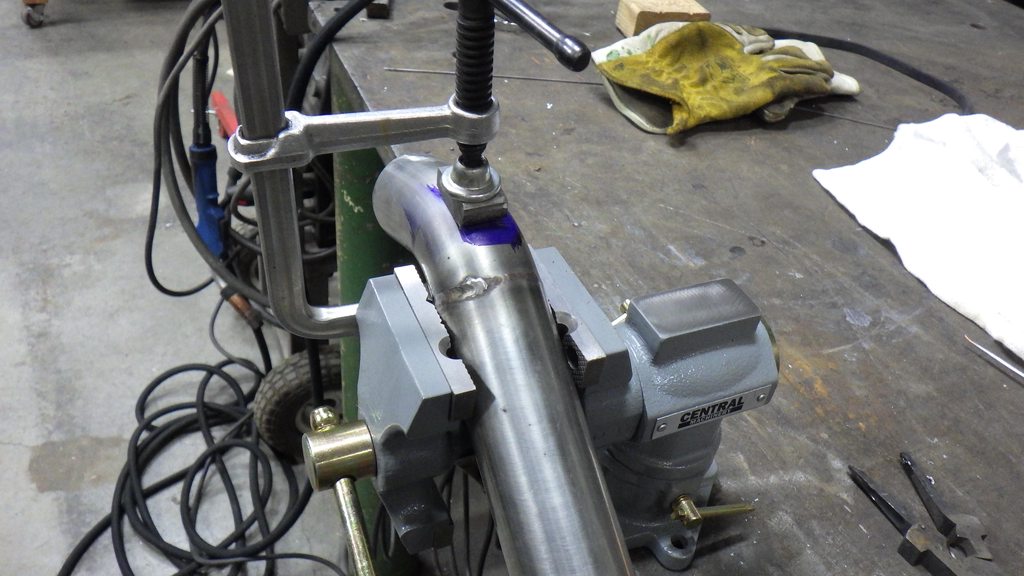
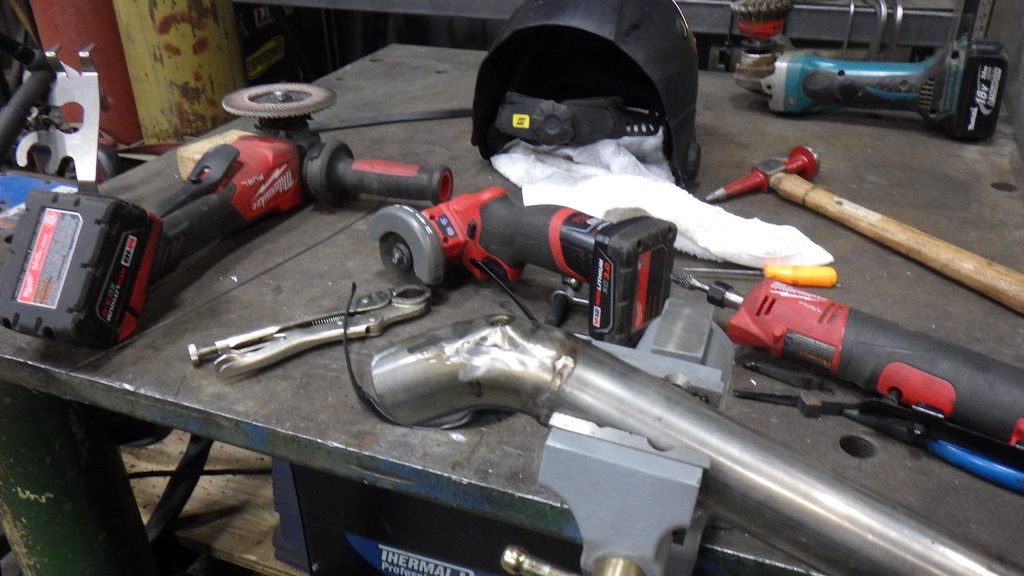
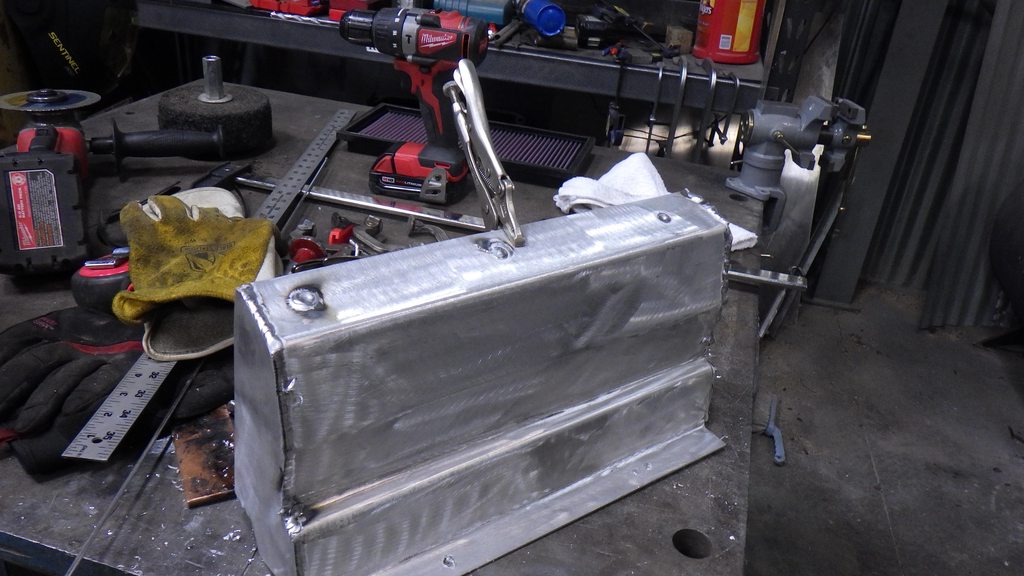
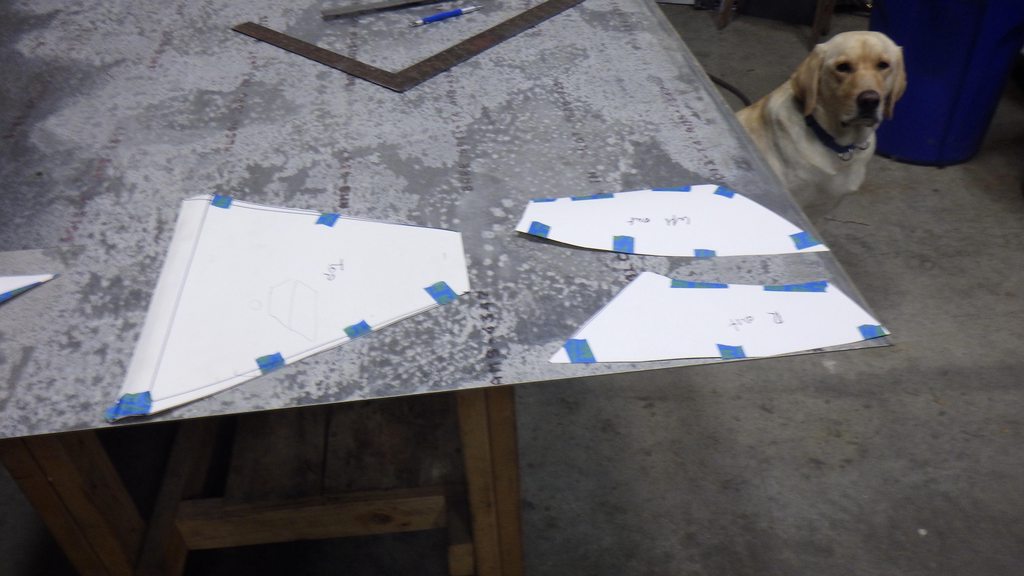
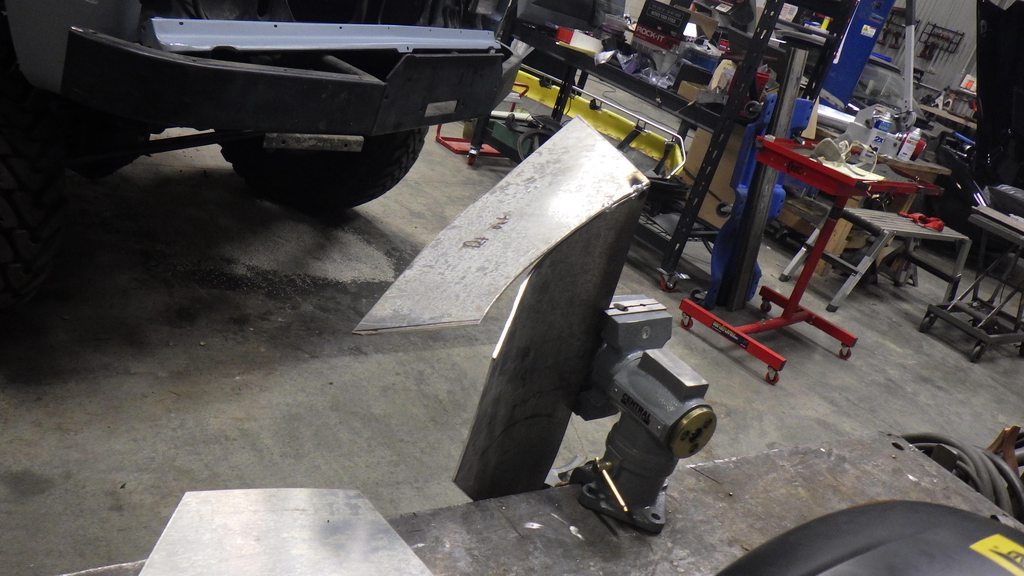
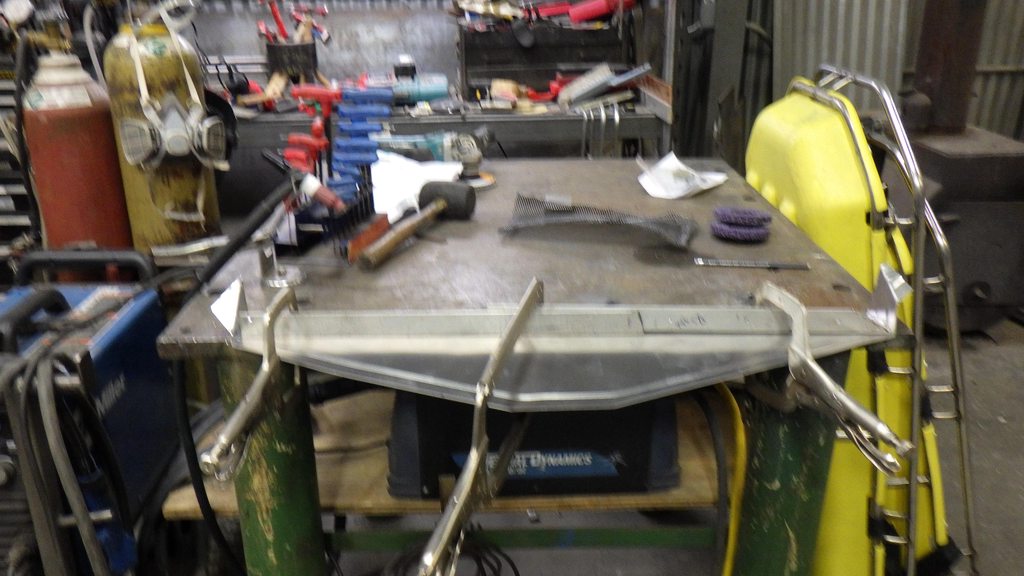
you shall bend to my will

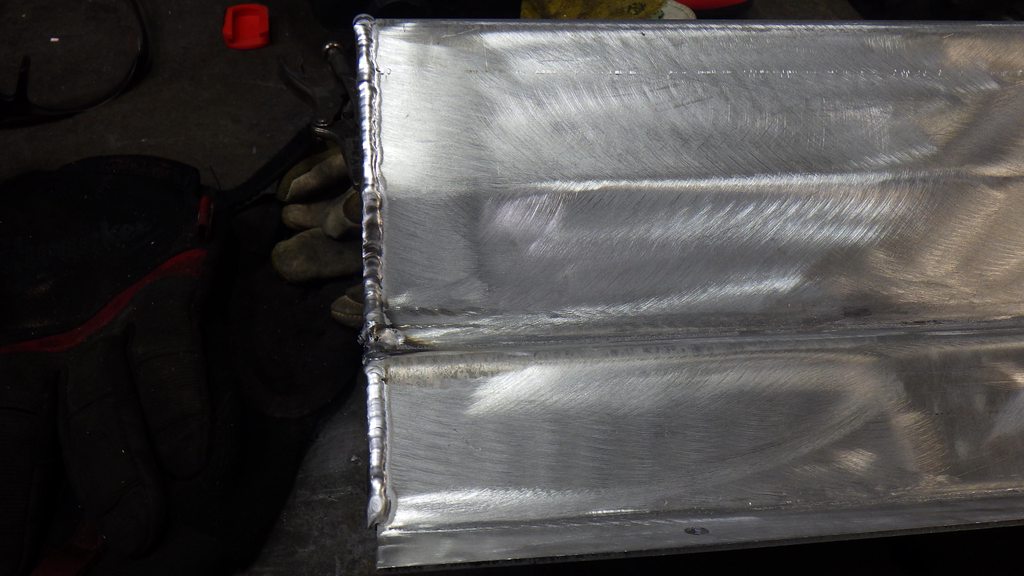
the hardest part was, of course, clamping. With aluminum, adding filler is almost mandatory - so you need at least 3 hands

and unlike steel, there is little memory to the metal, so you can distort it then tap it right back into shape

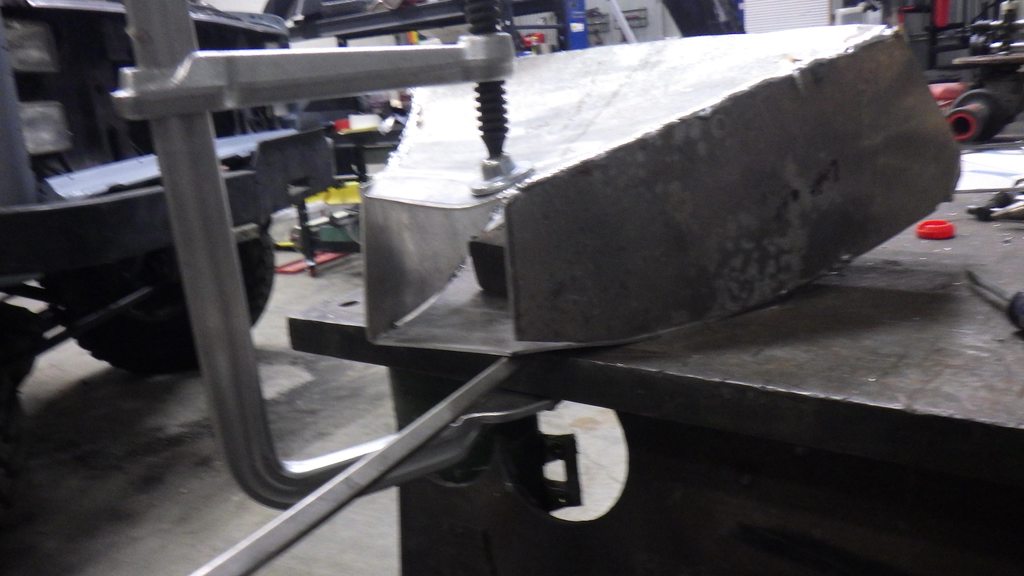
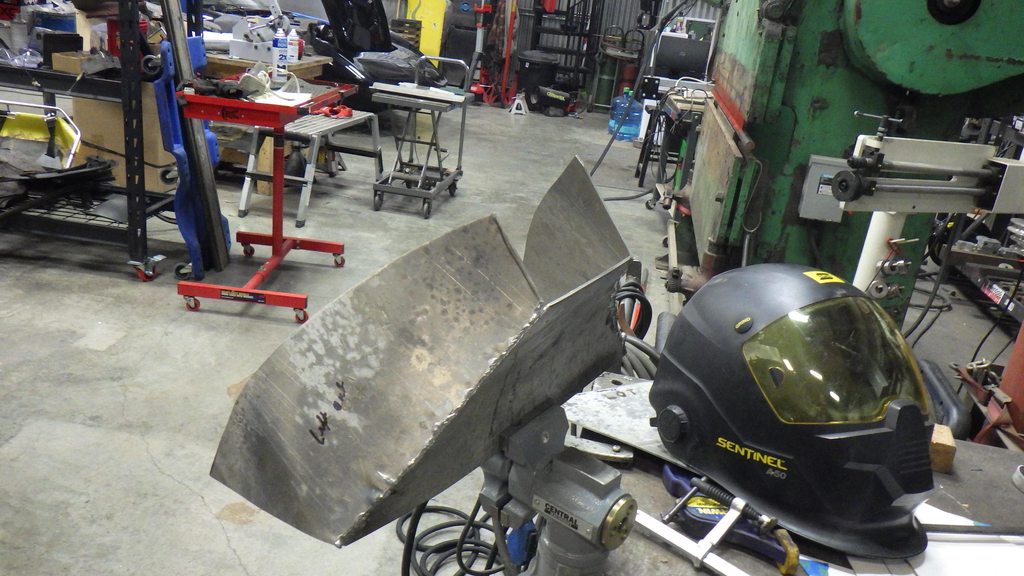
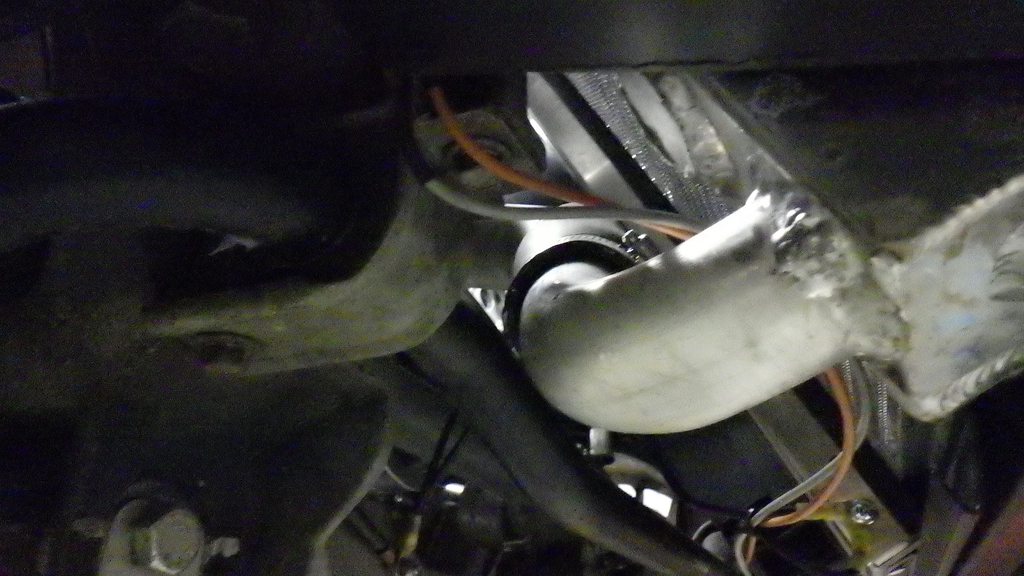
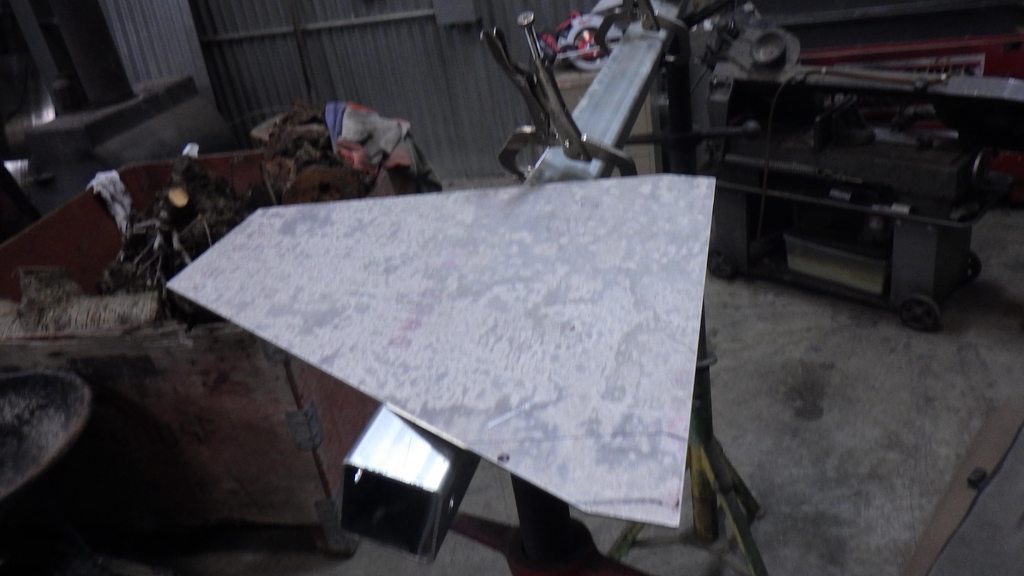
but lord knows there were some ugly welds to get it to stick together
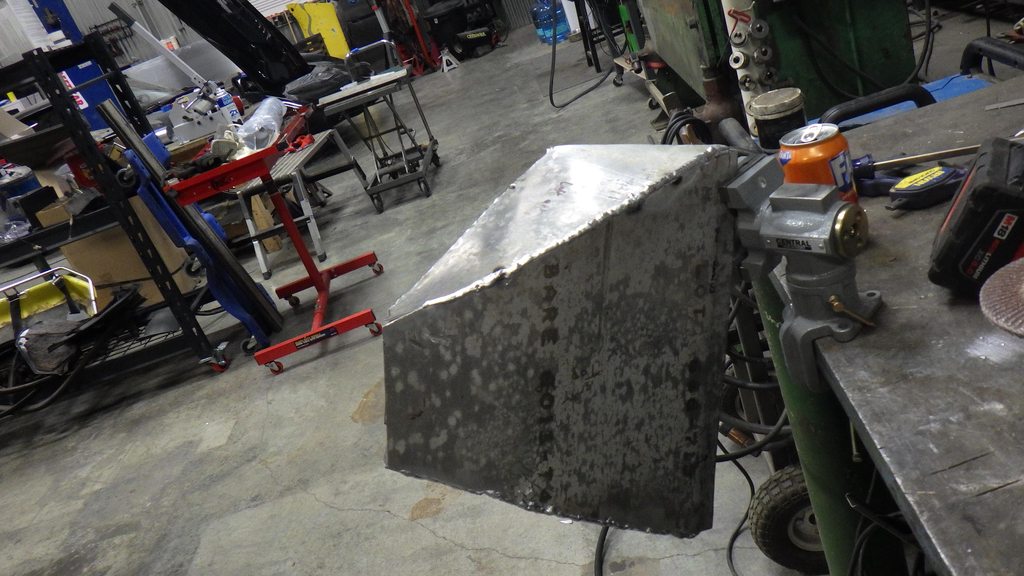
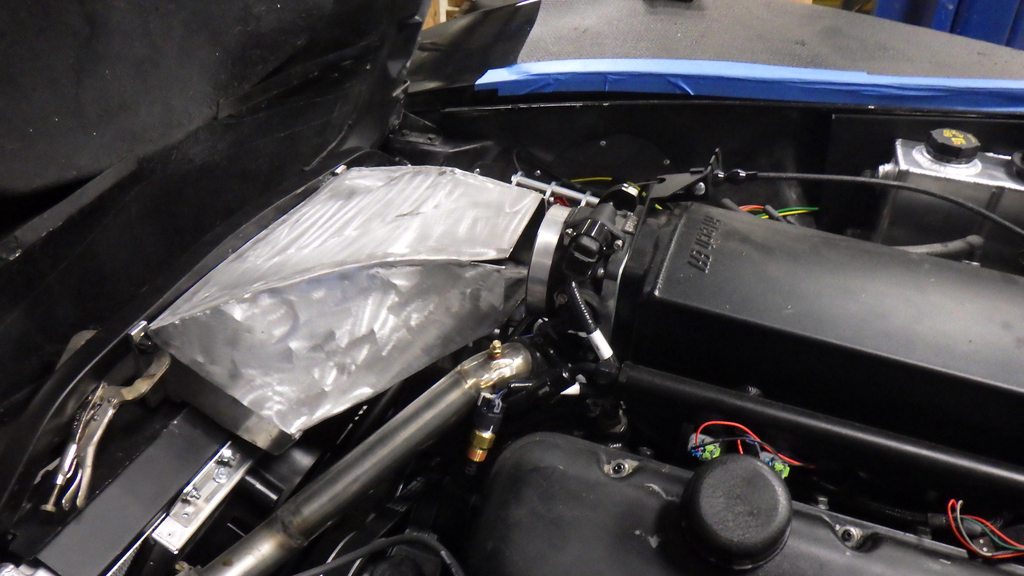
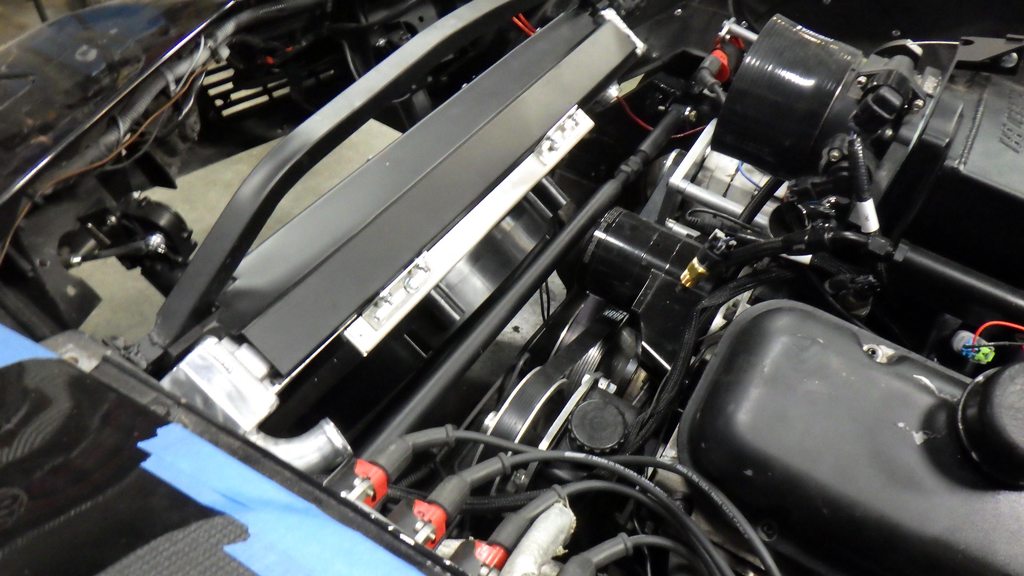
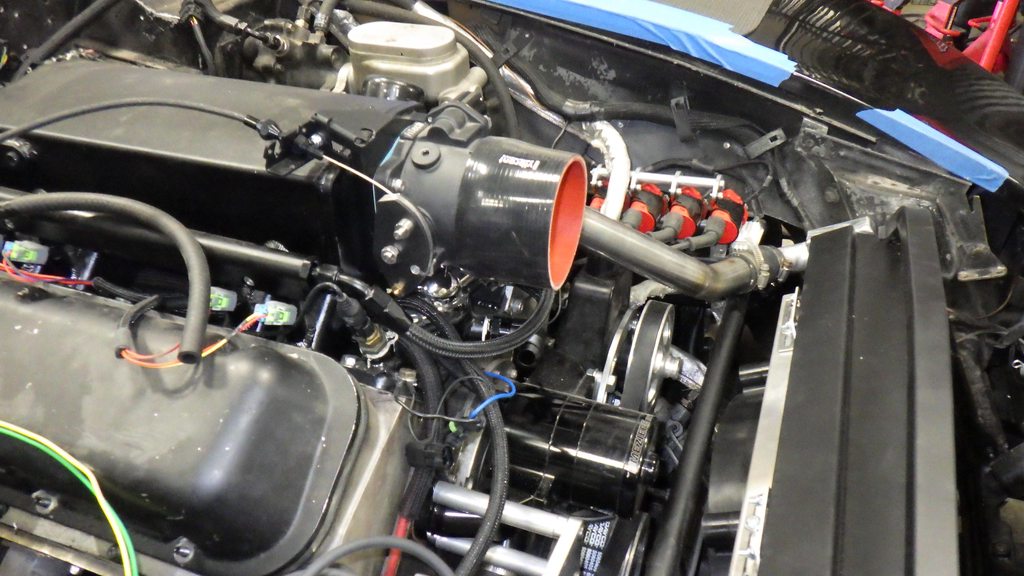
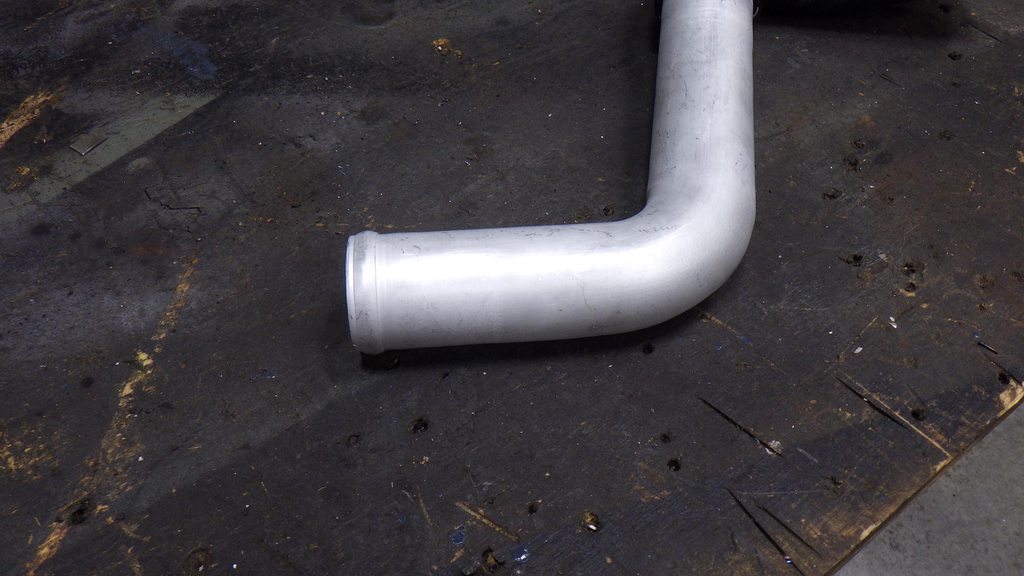
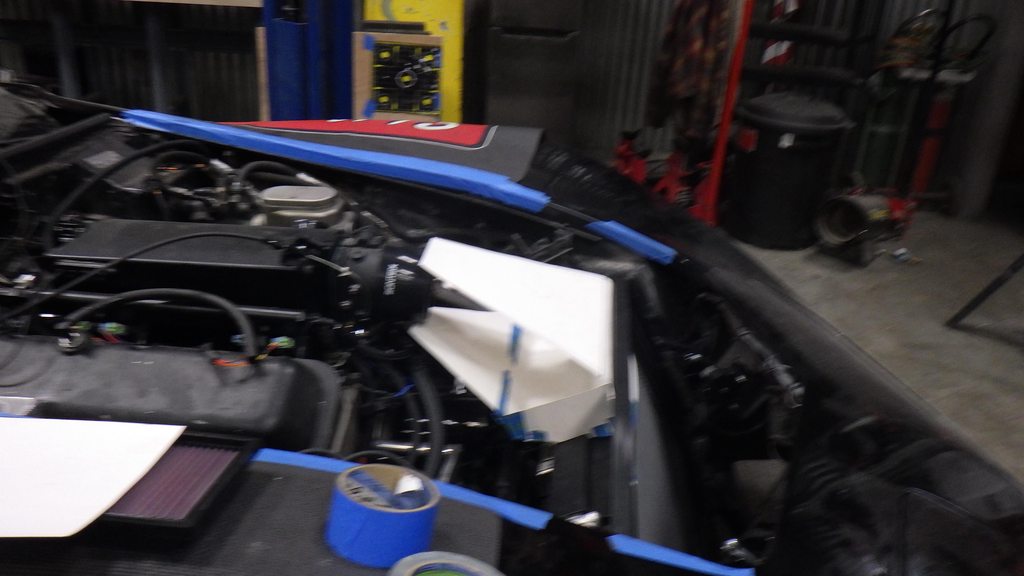
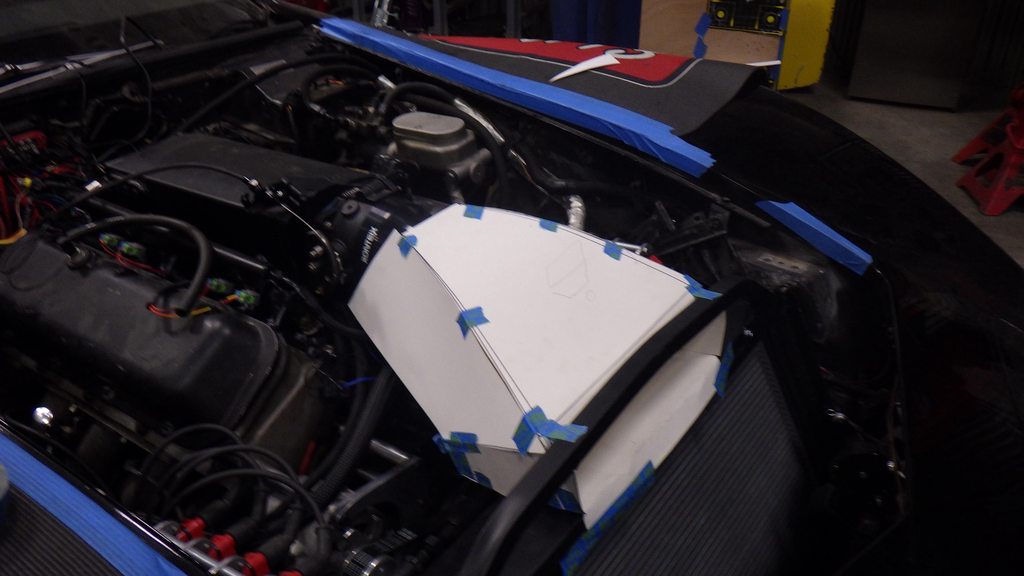
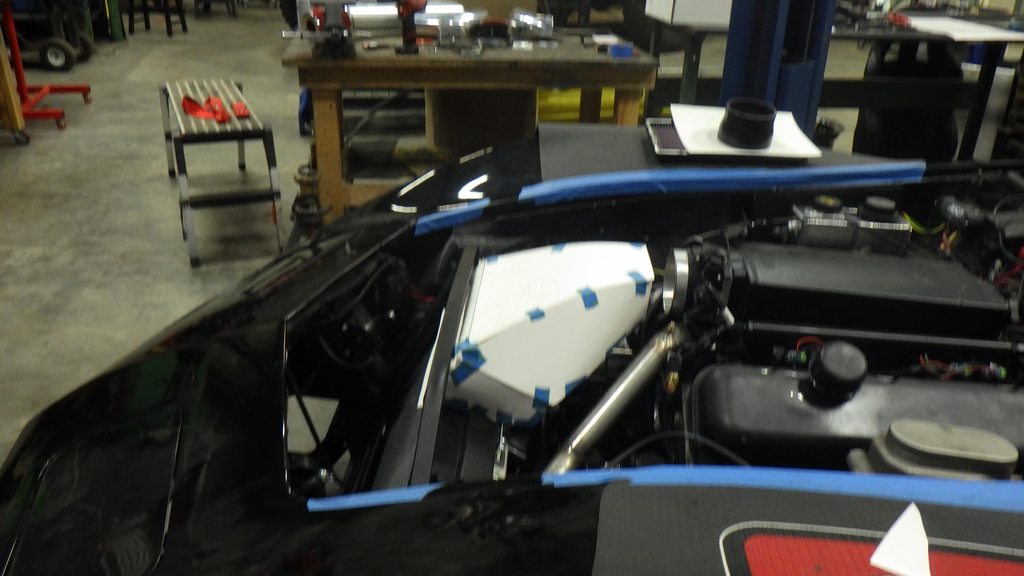
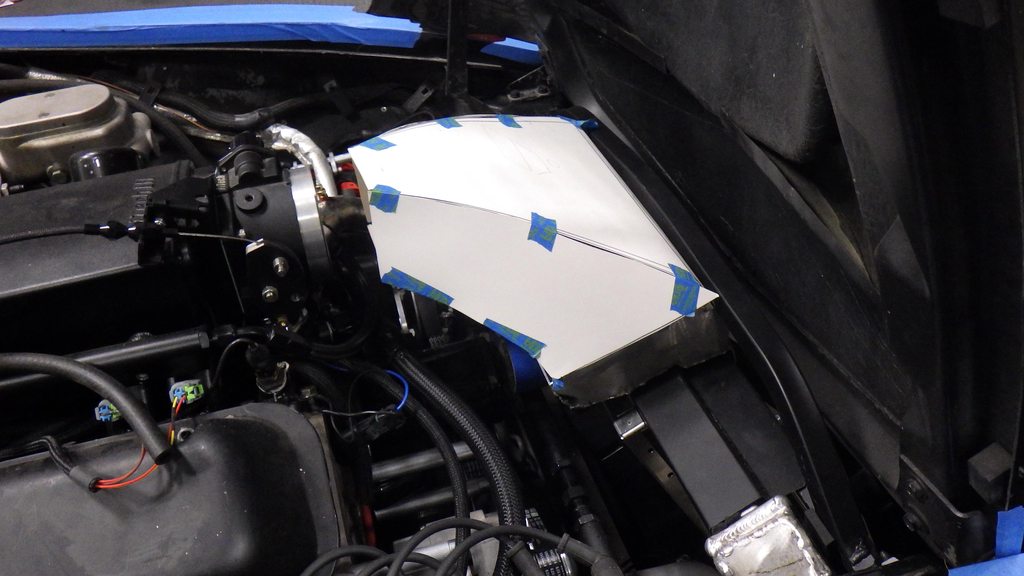
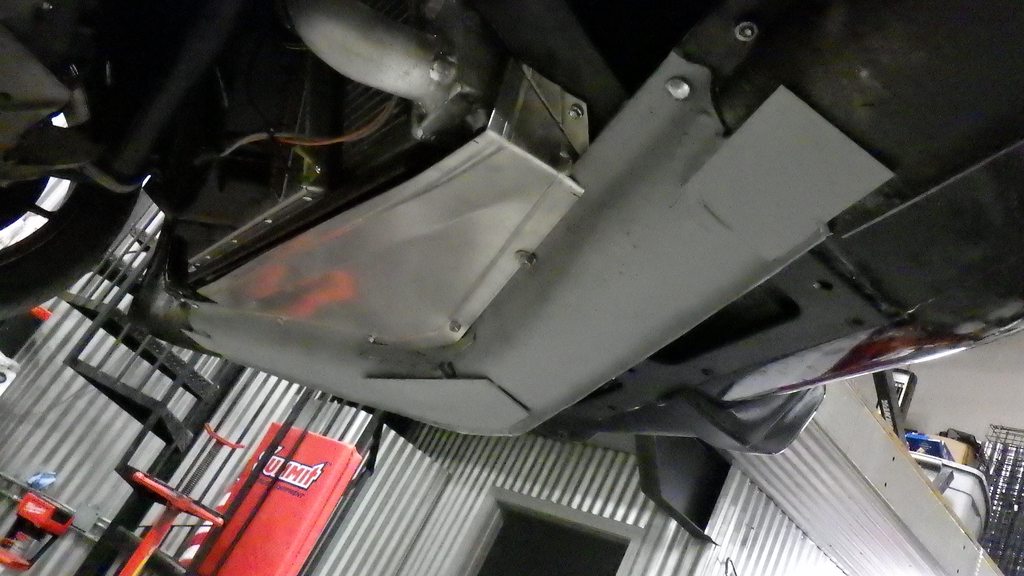
first fit

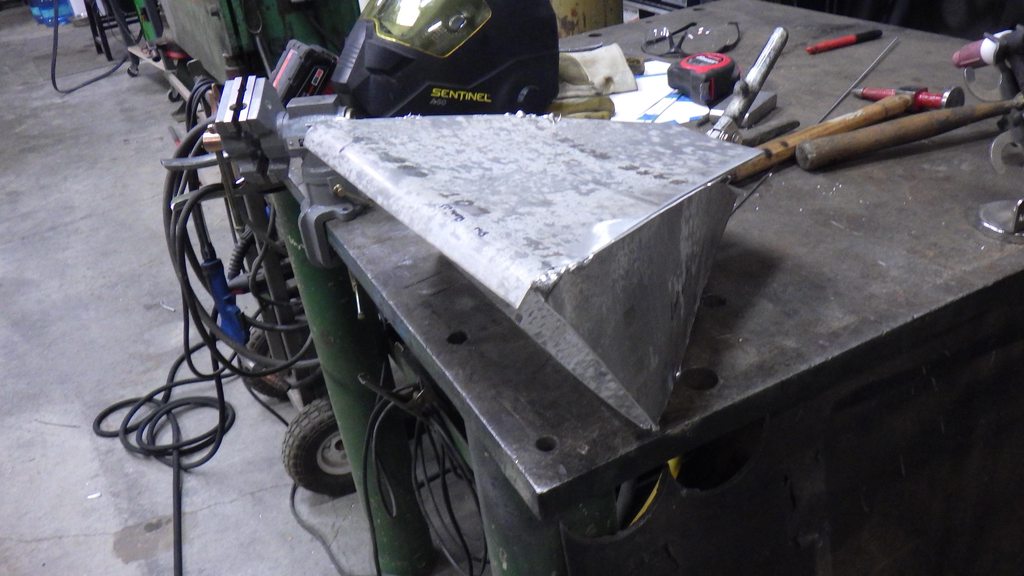
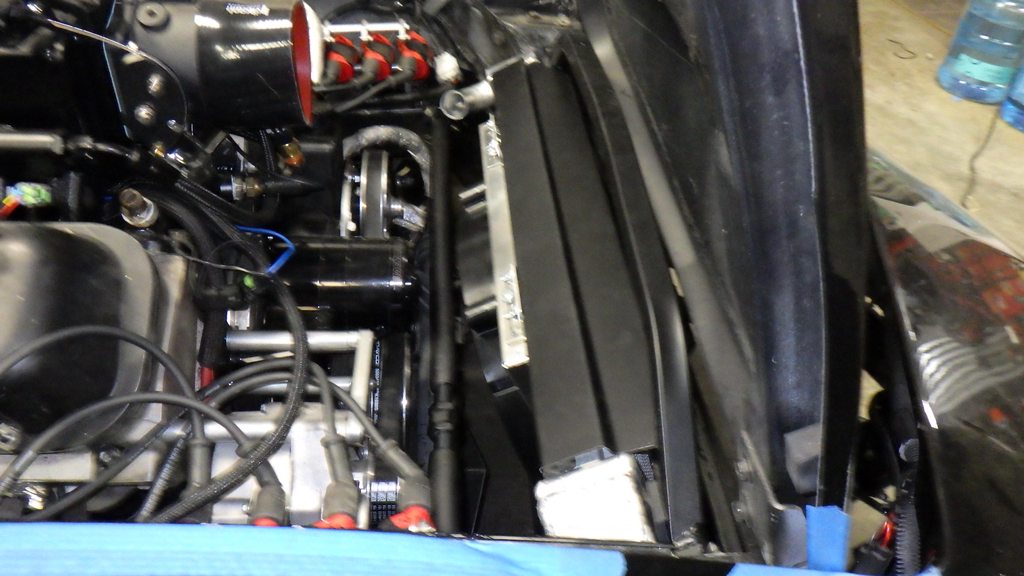
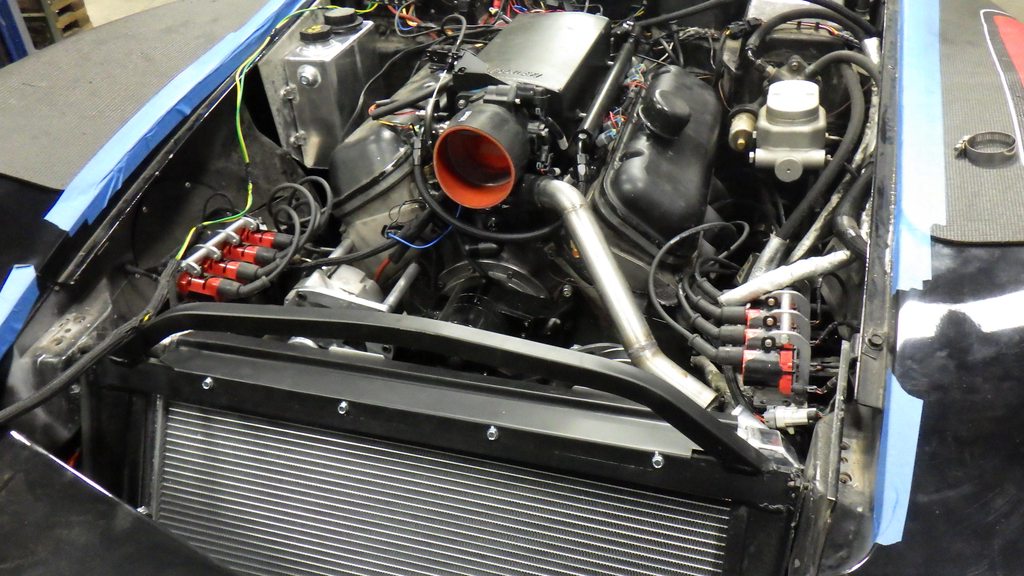
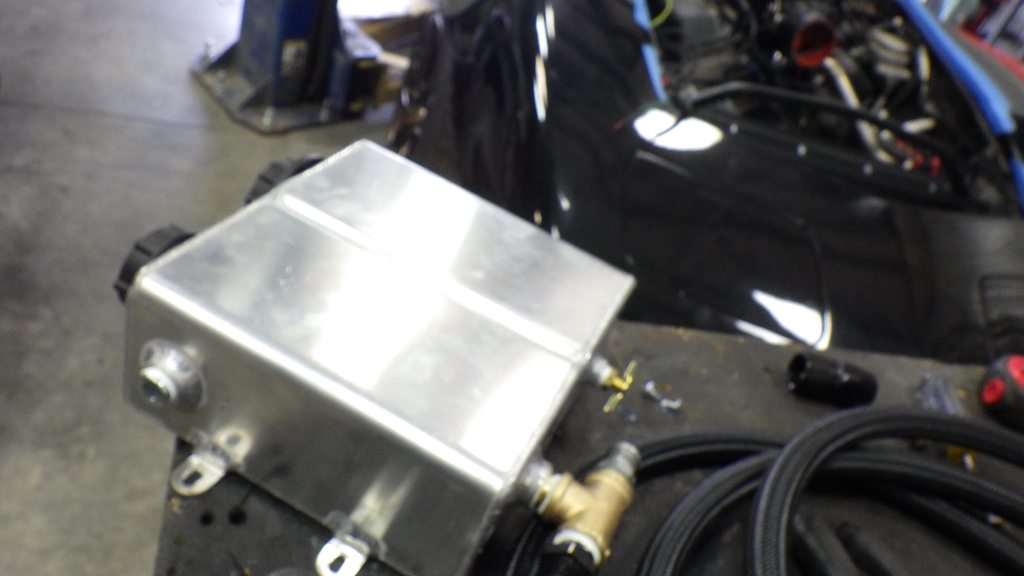
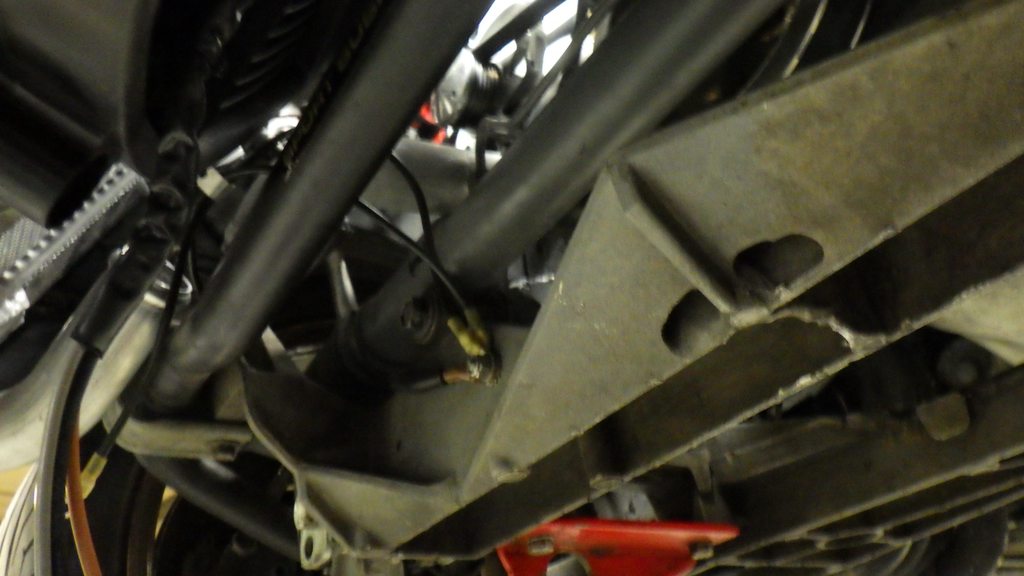
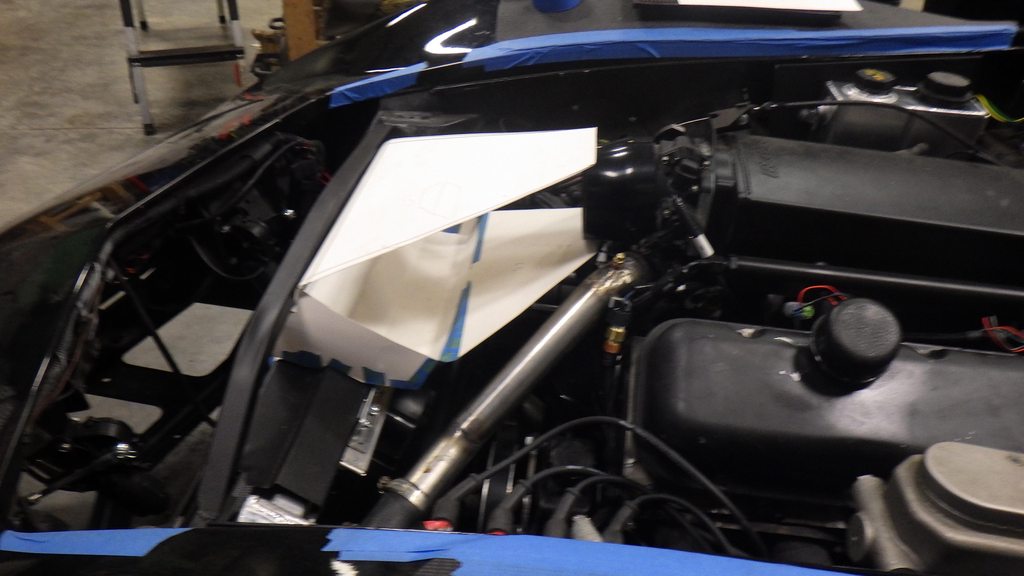
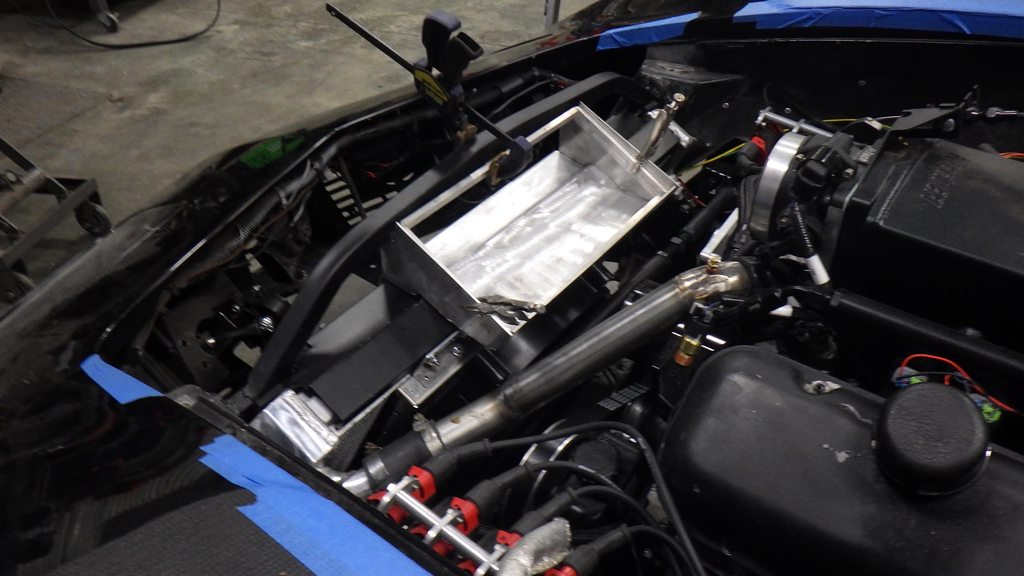
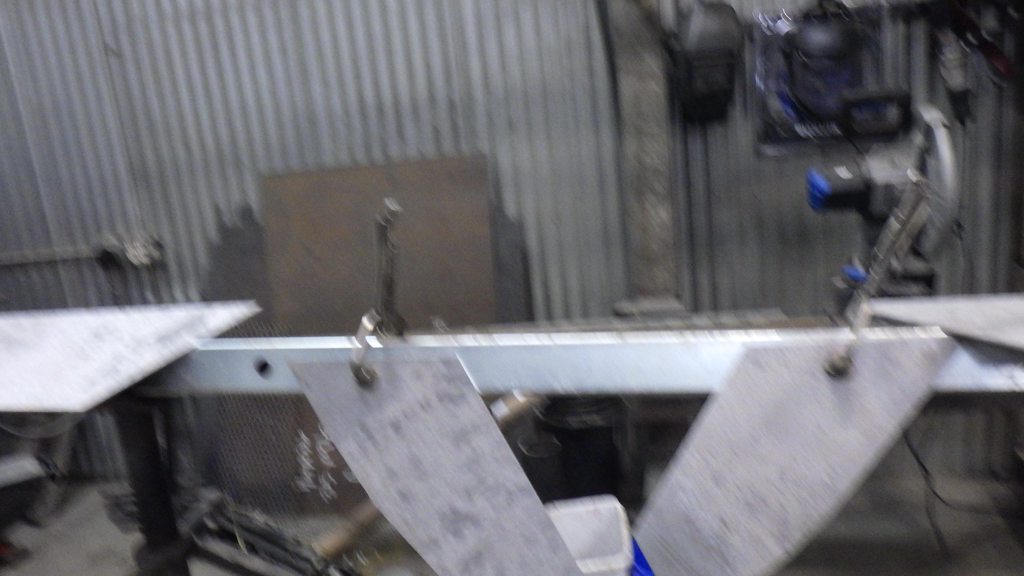
then I needed to work on the pan portion and add flanges

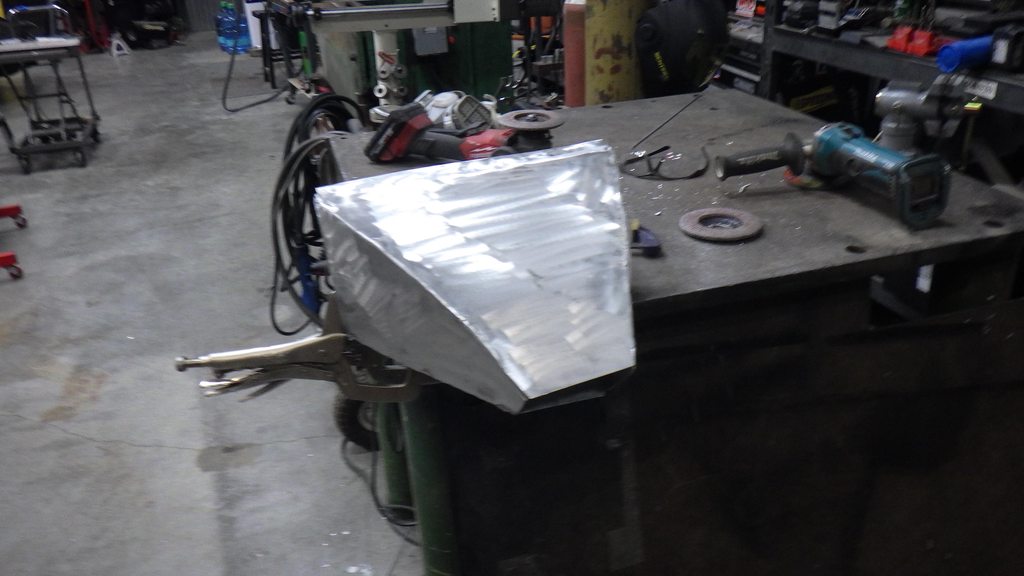
and finish the bottom side
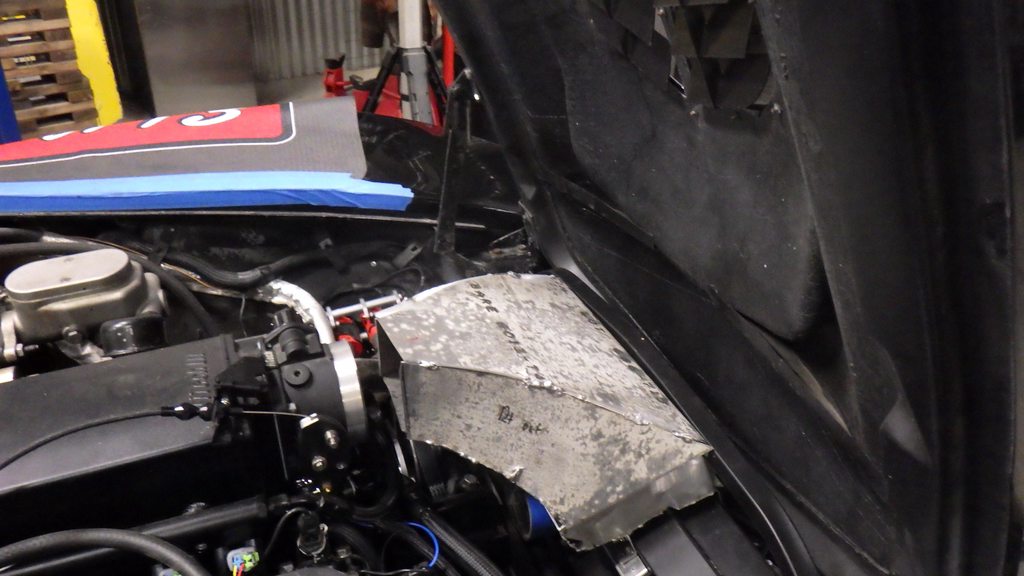
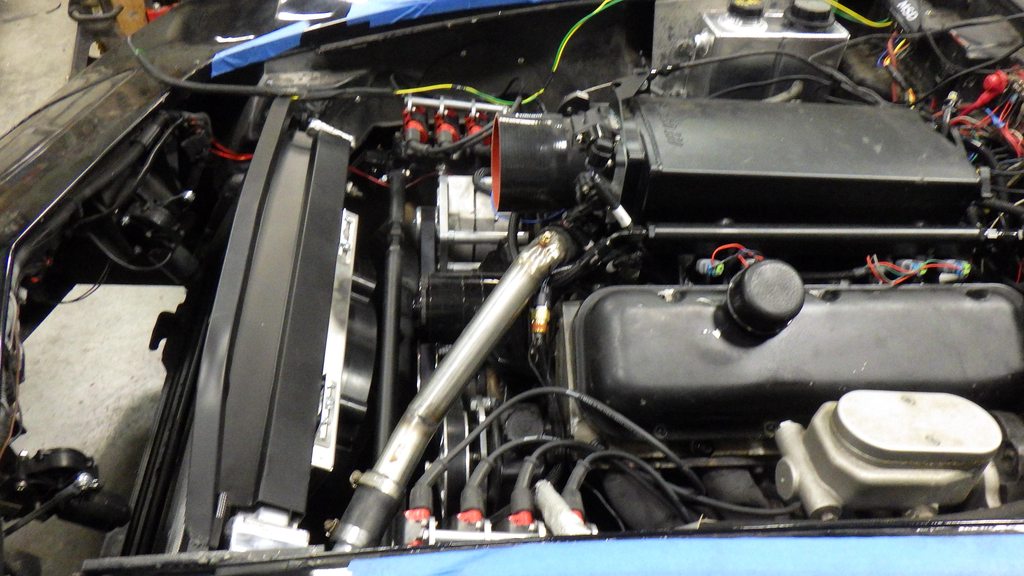
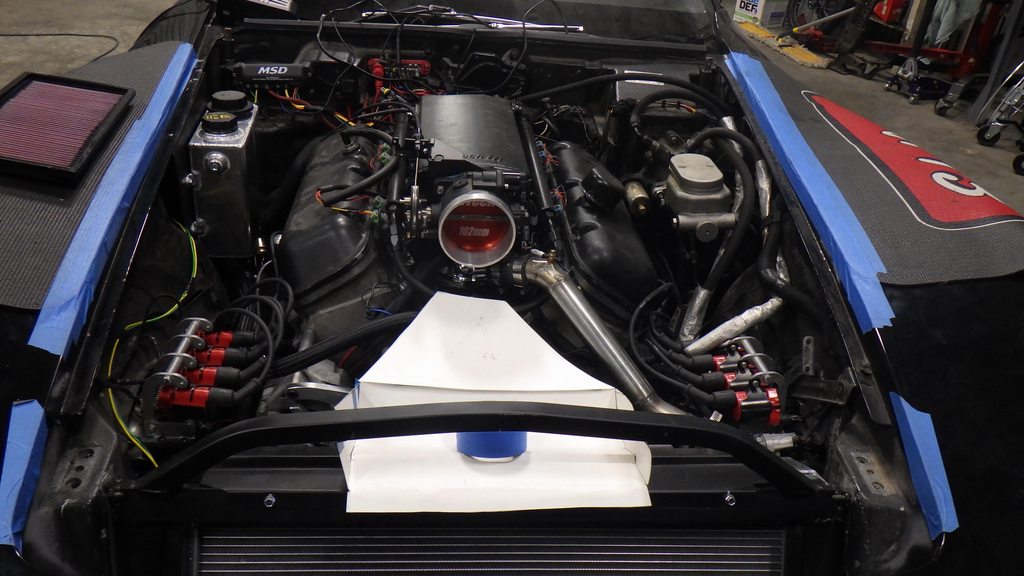
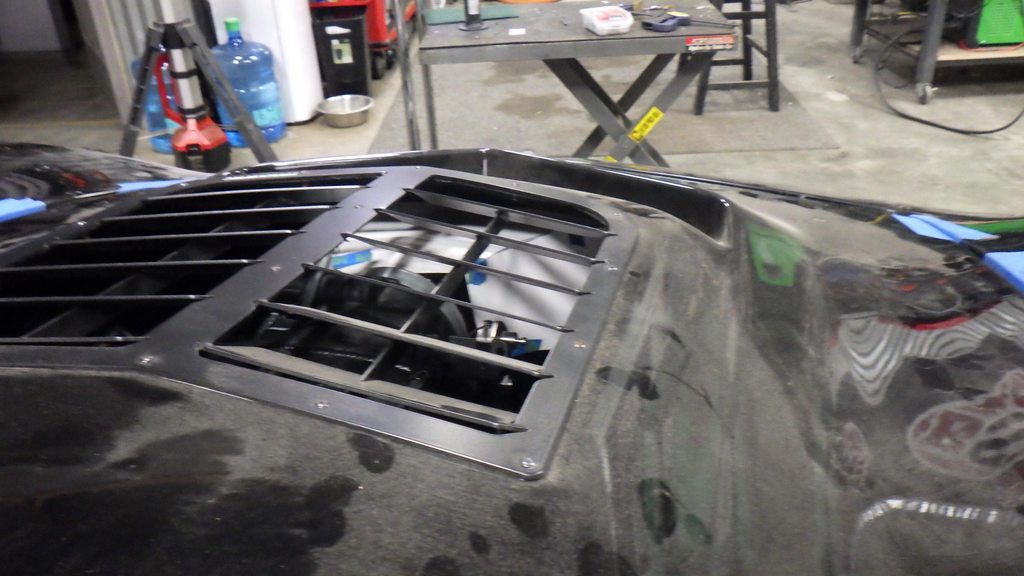
it seems it worked

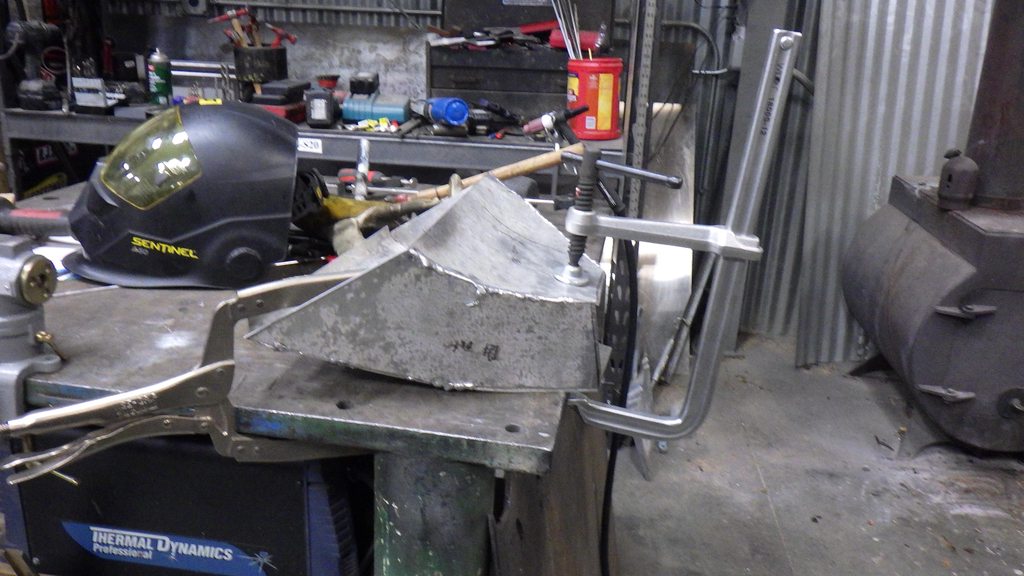
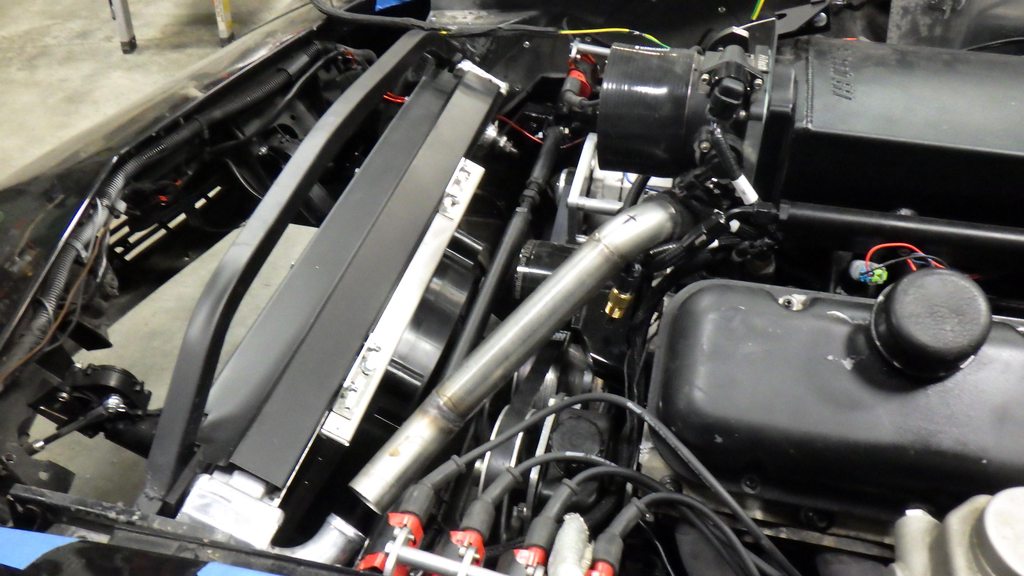
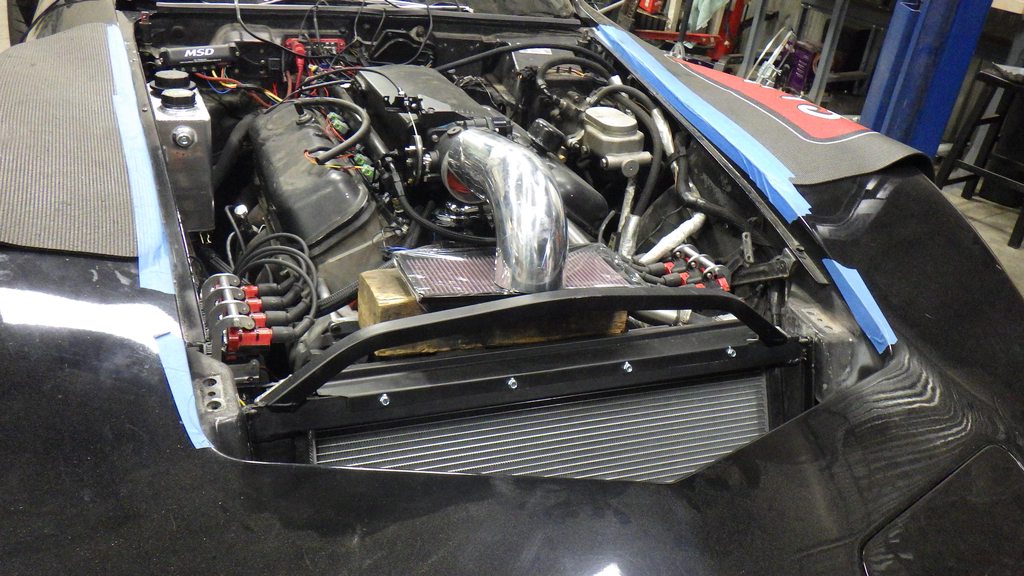
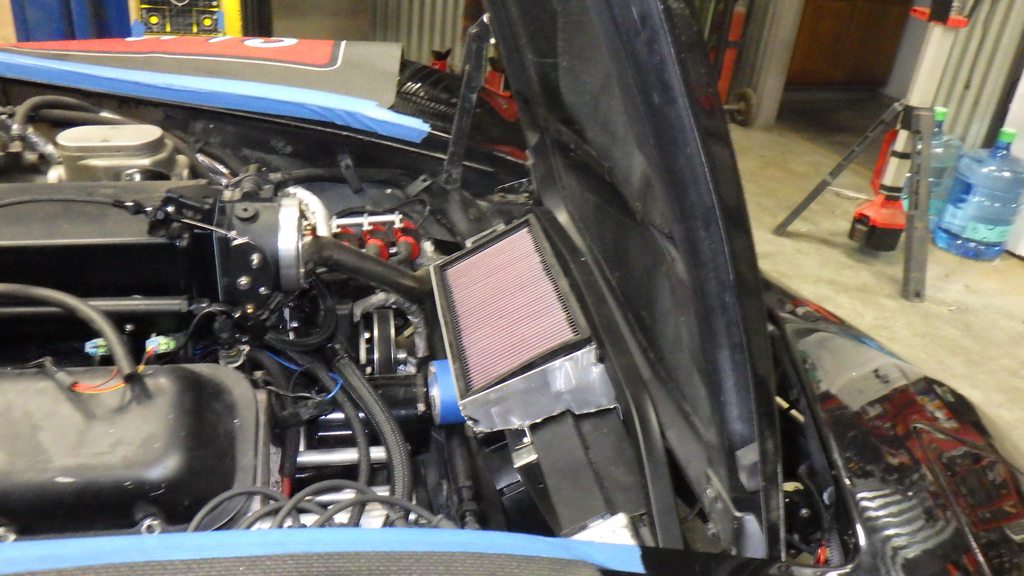
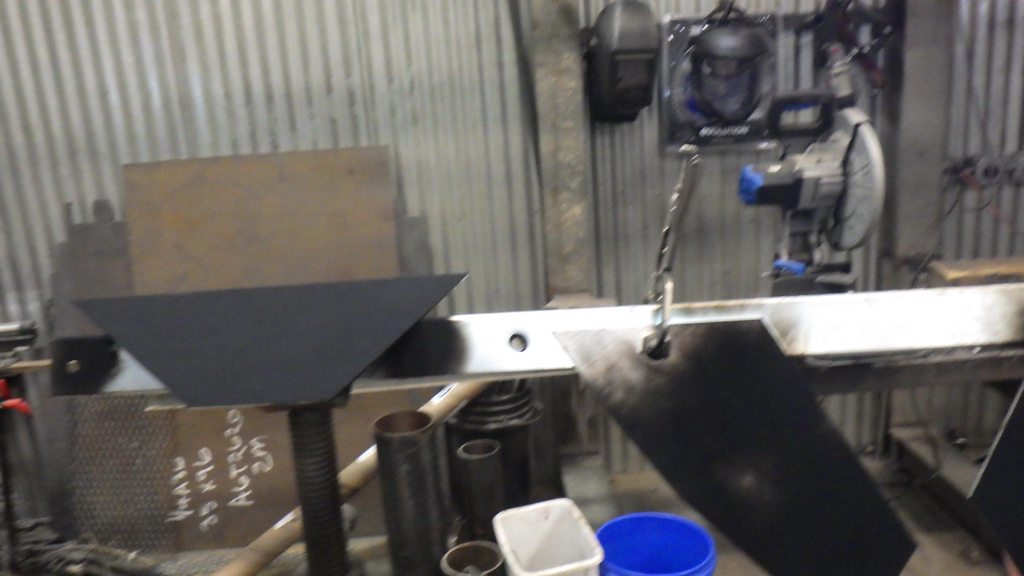
well, would you look at that

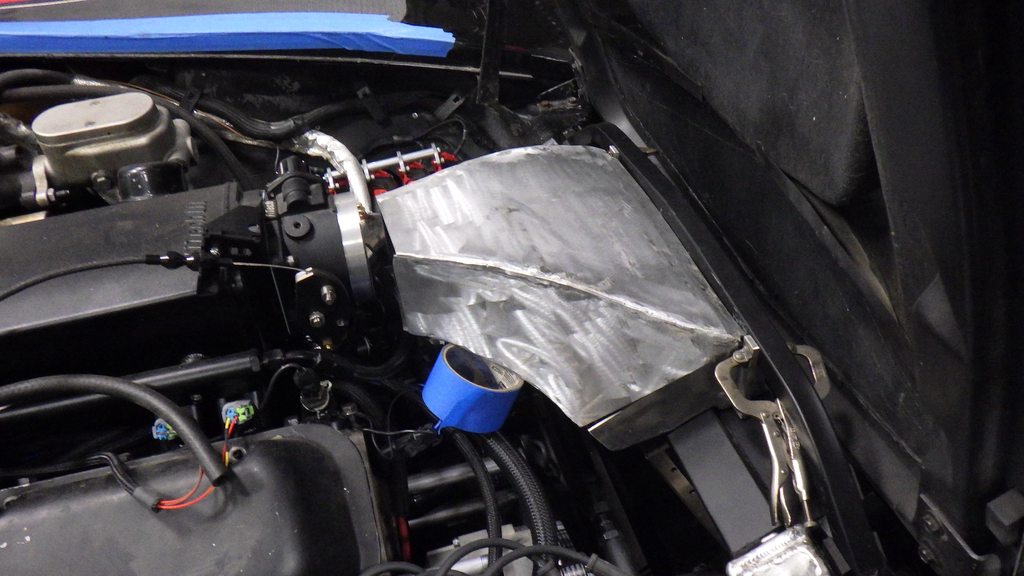
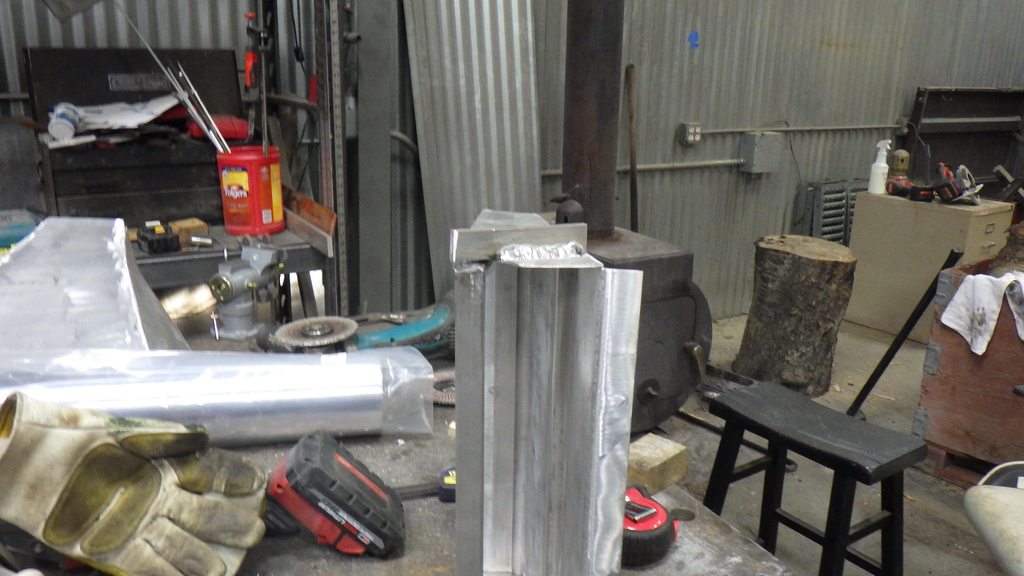
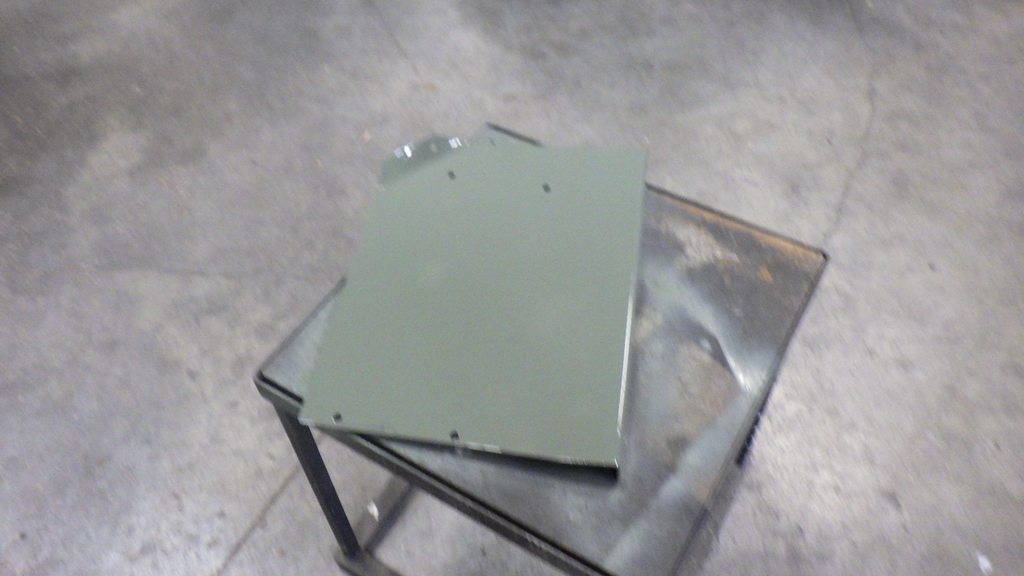
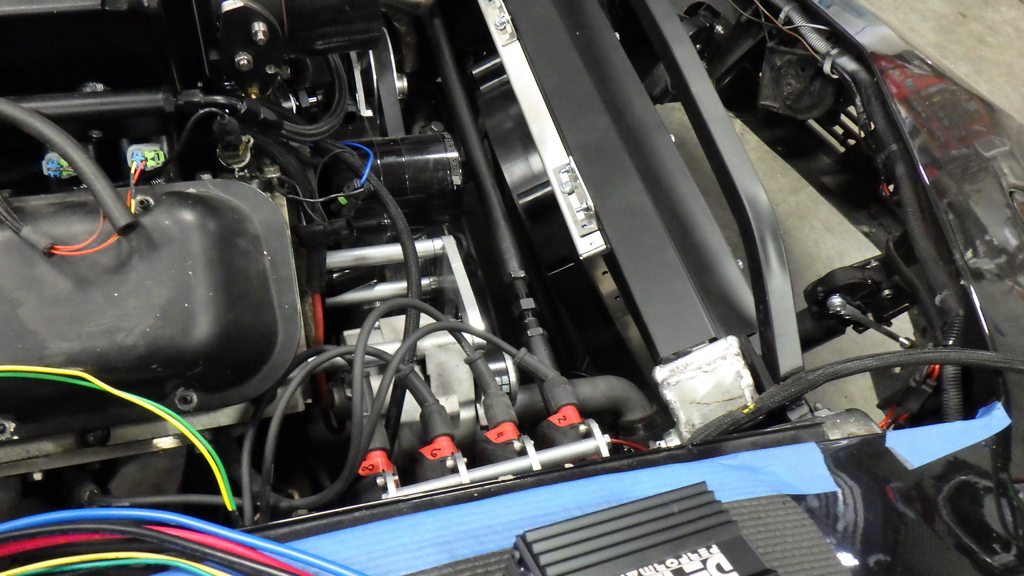
but still, there is quite a bit more work, need to go square to round though I've found that preliminary-finish can help the process

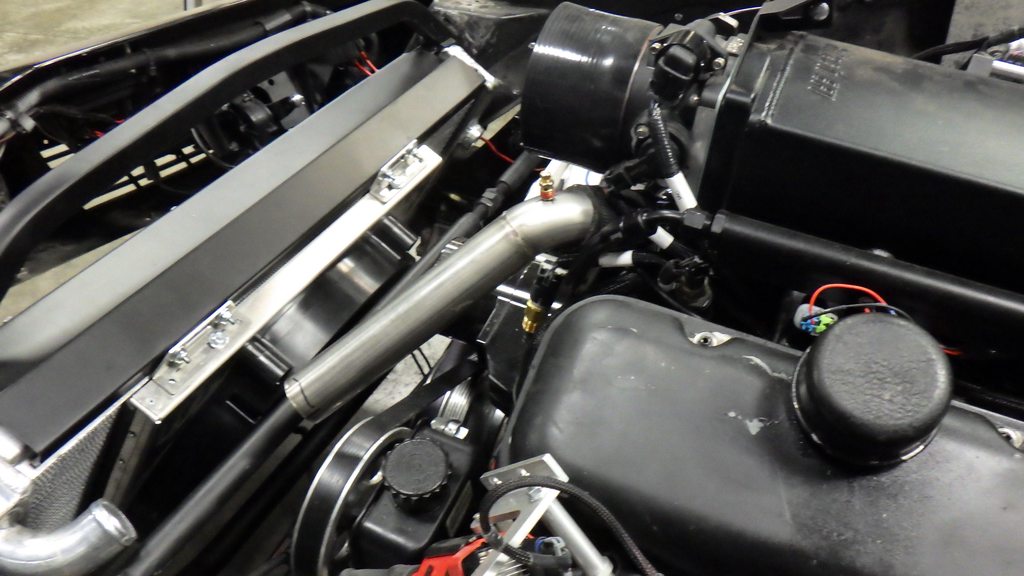
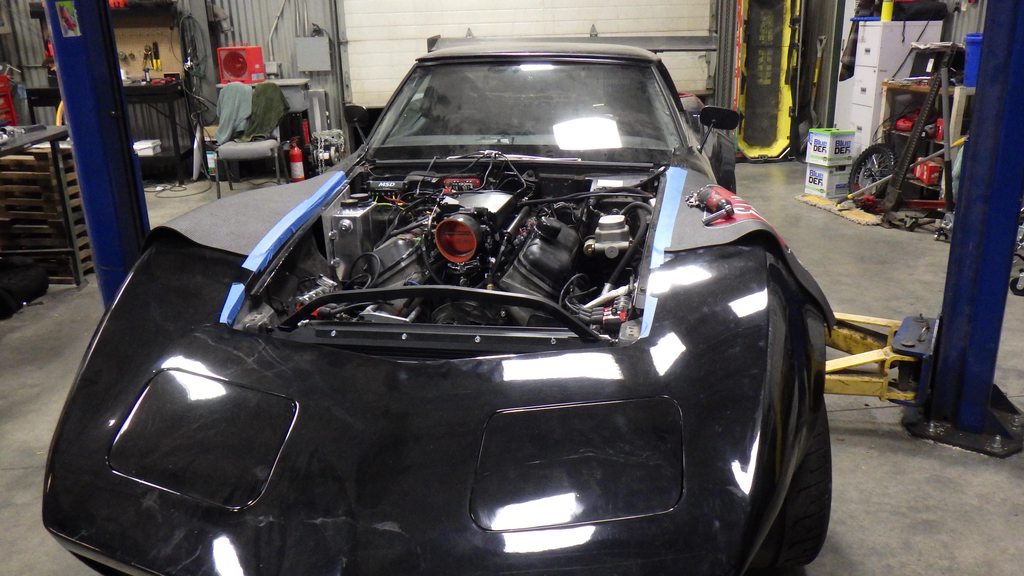
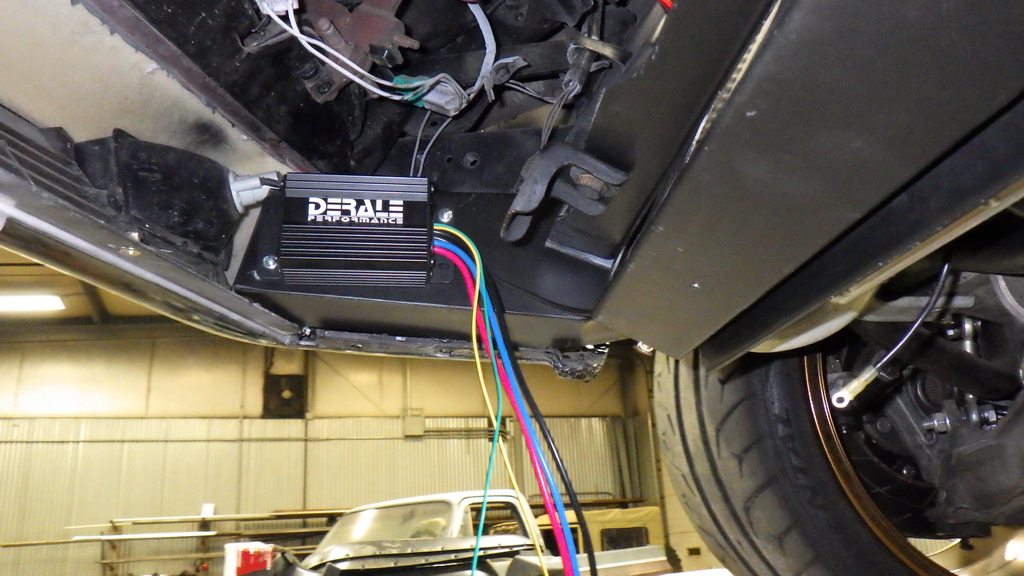
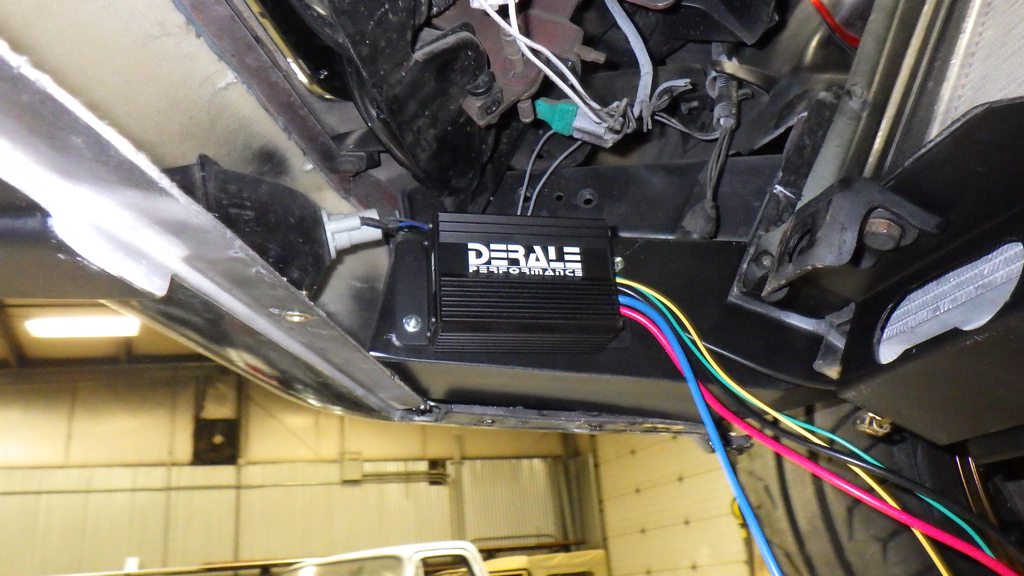
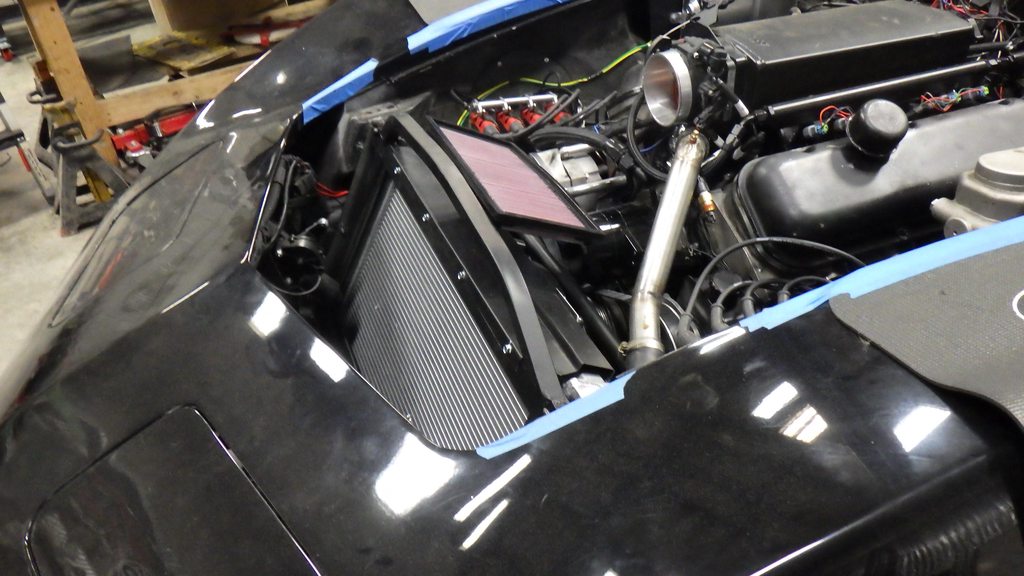
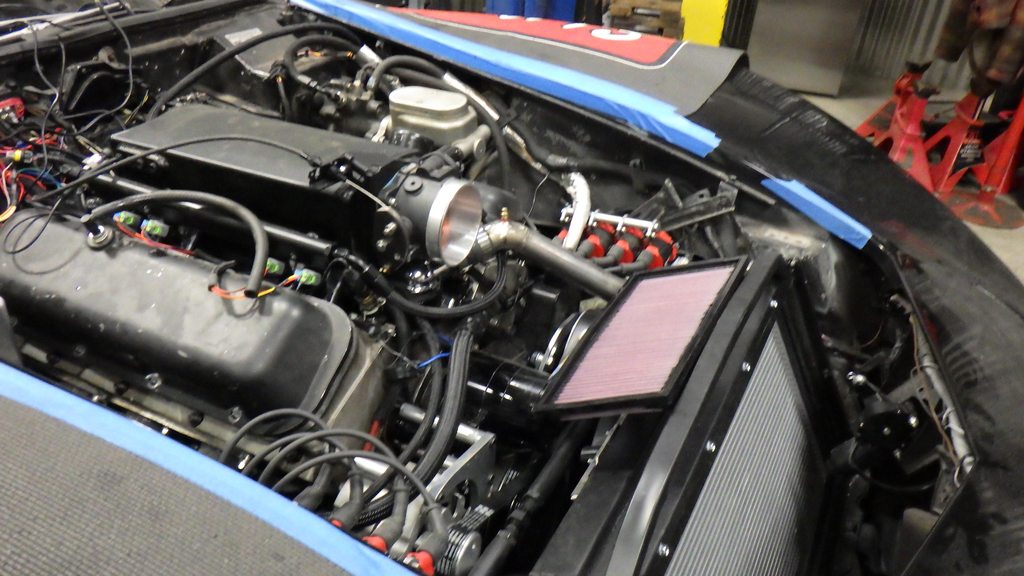
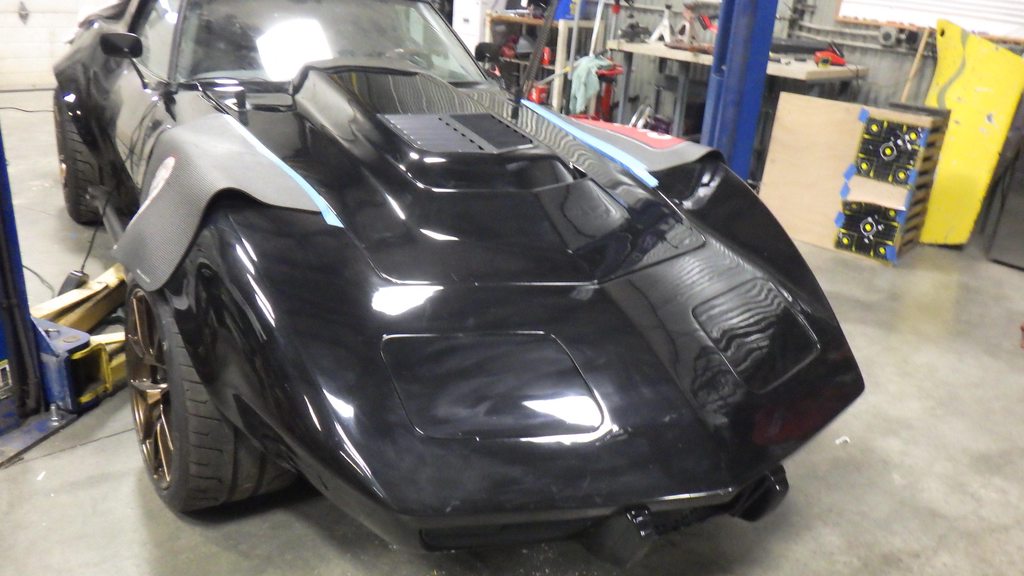
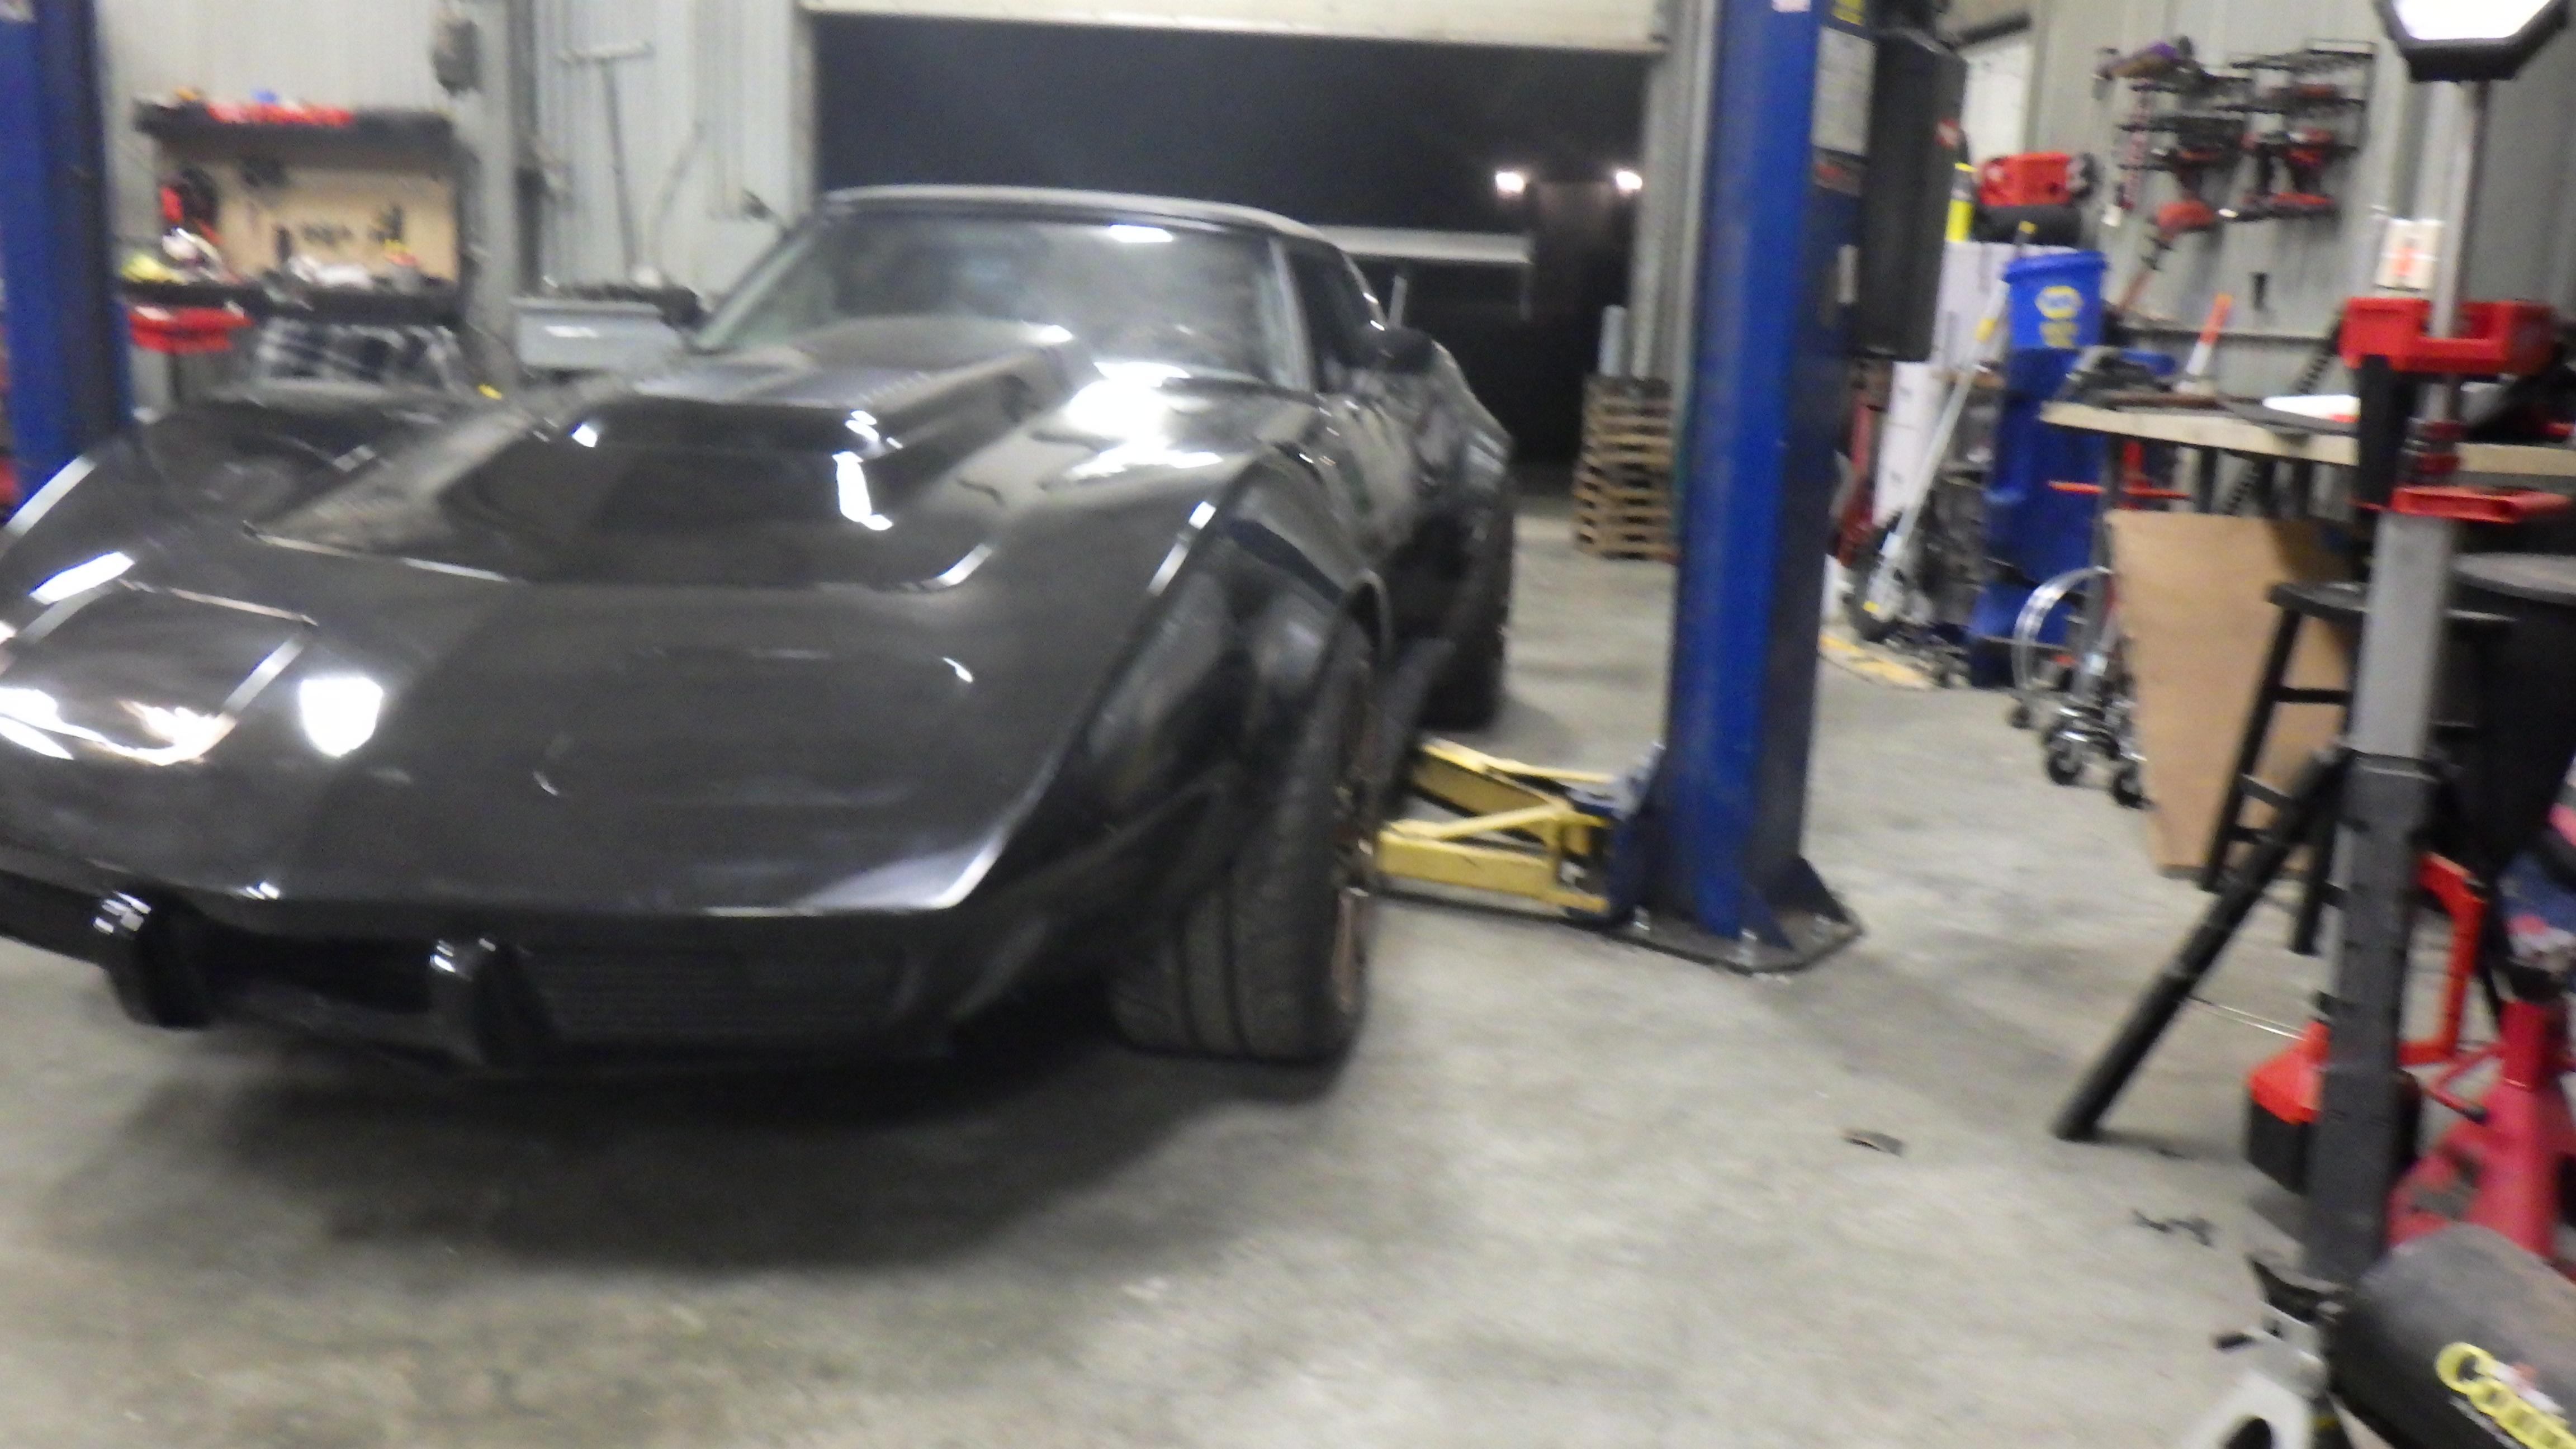
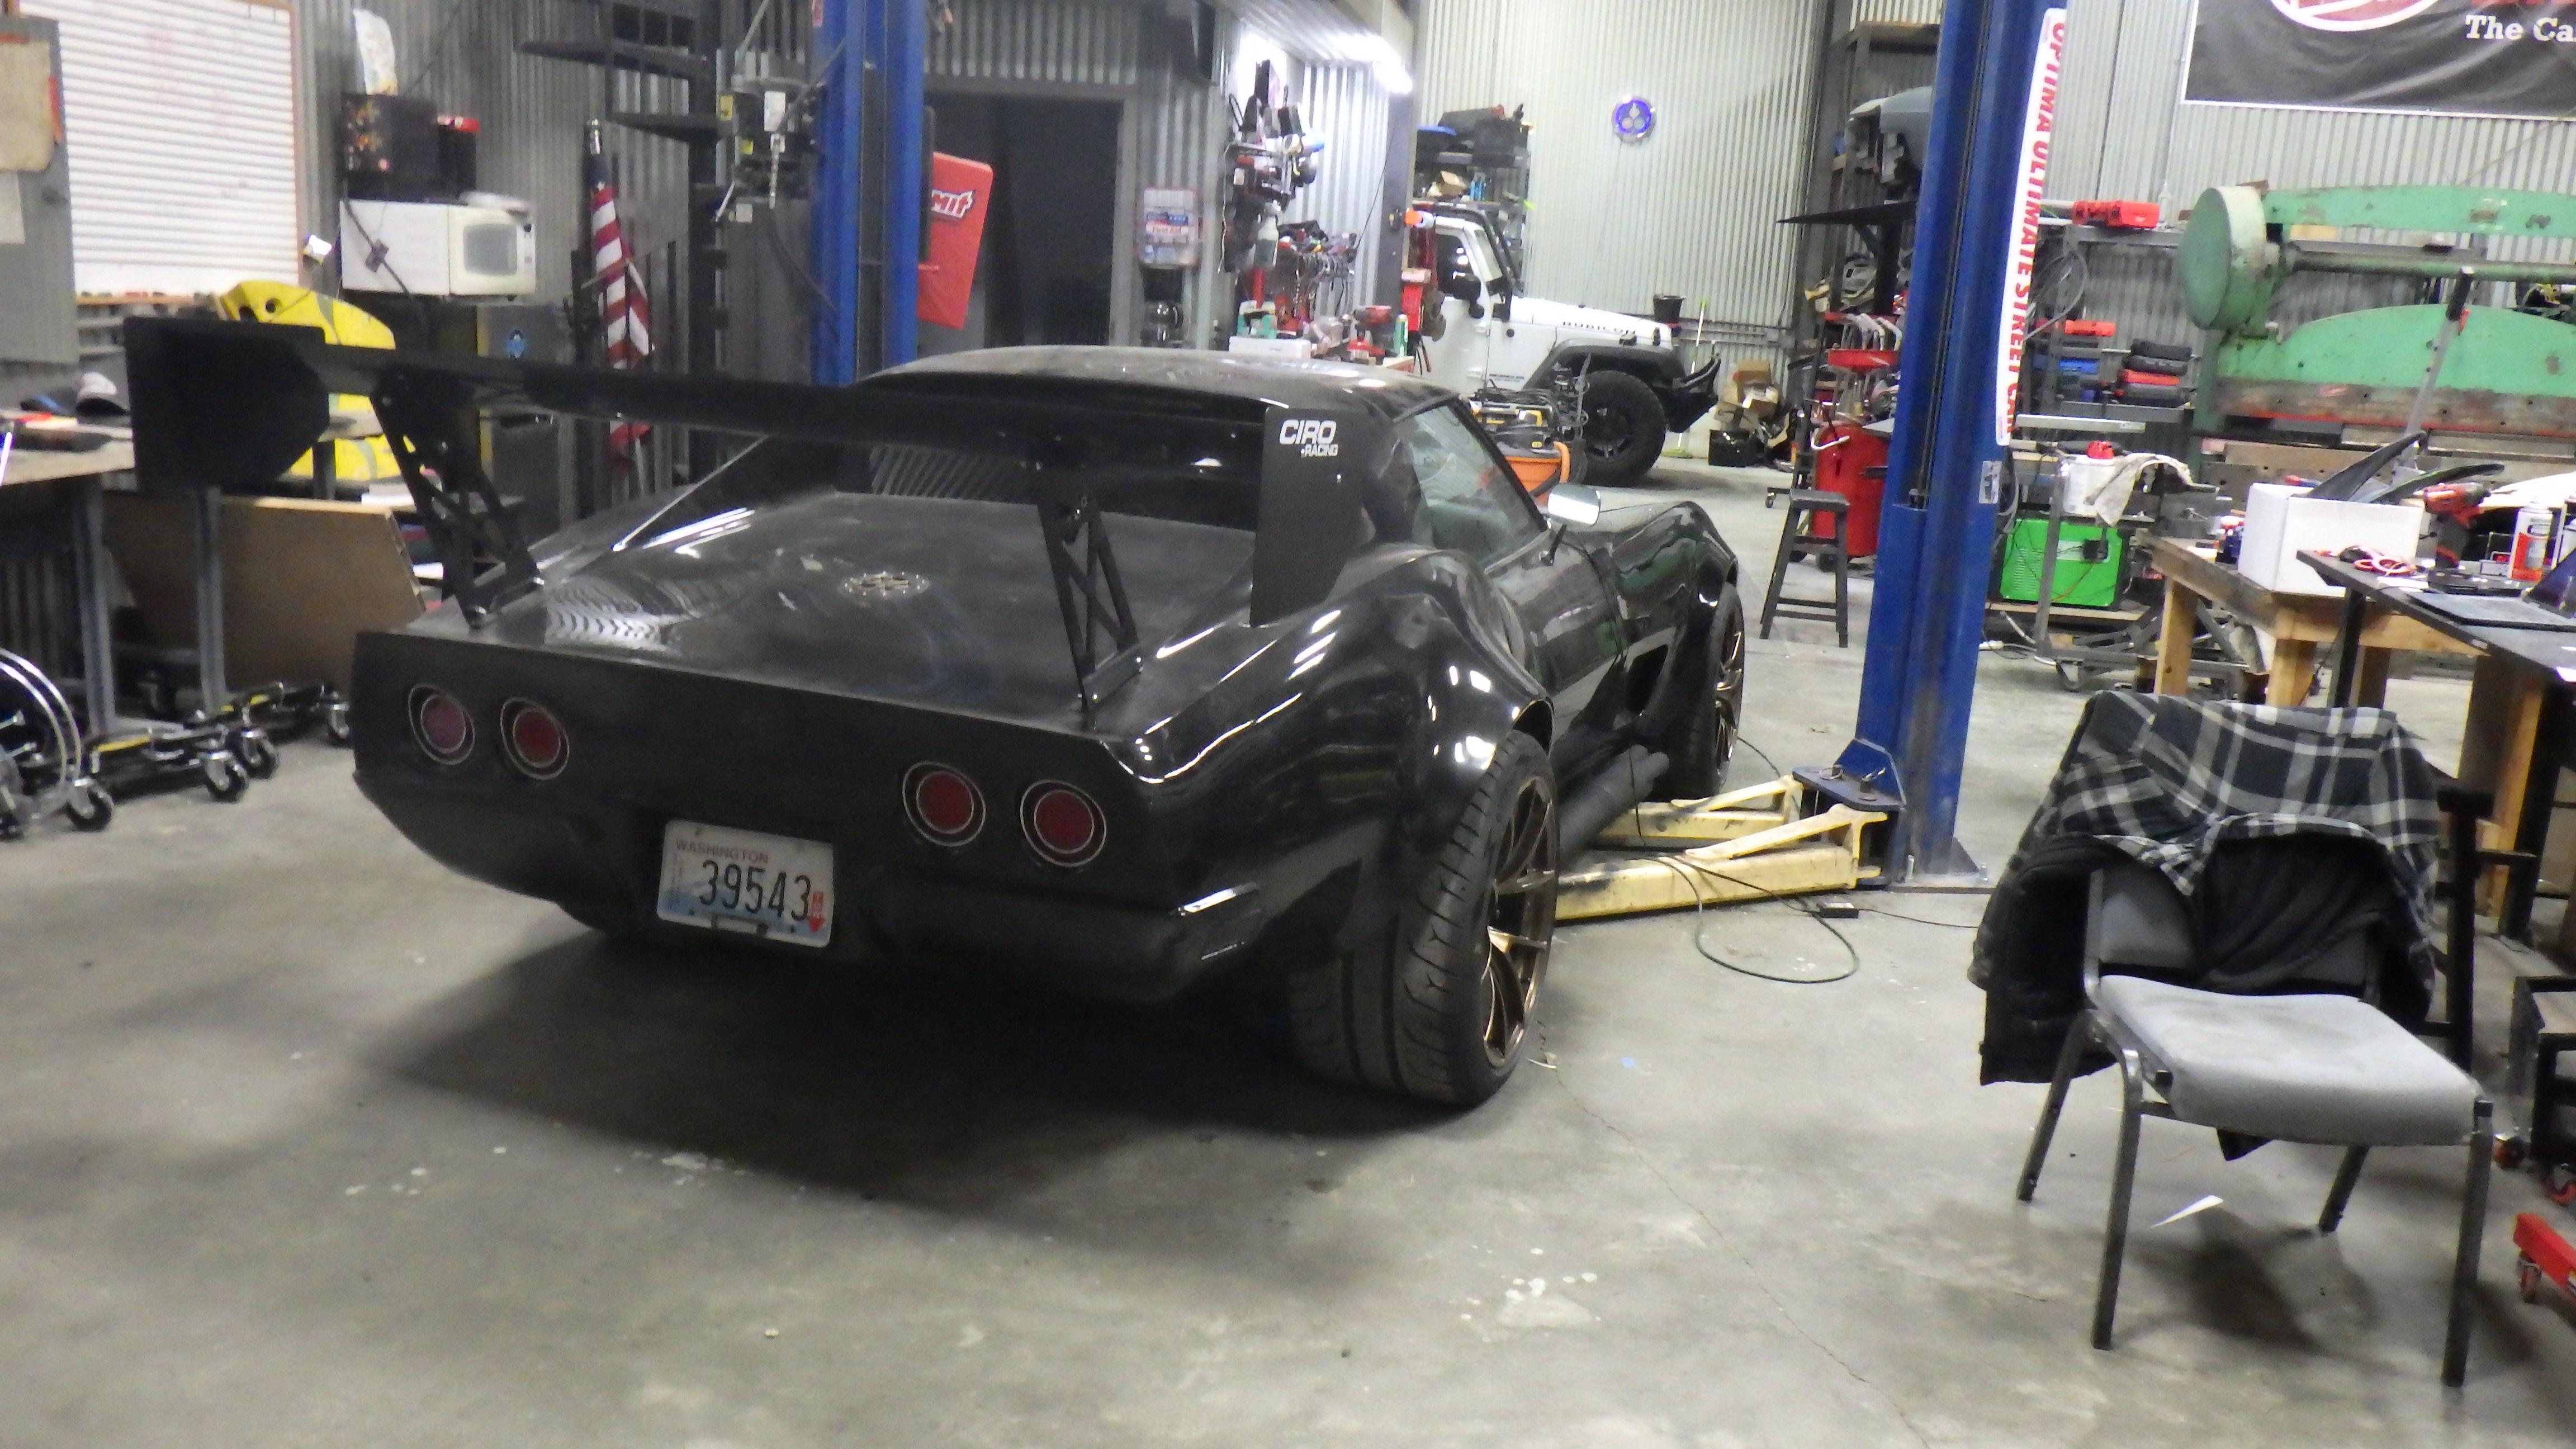
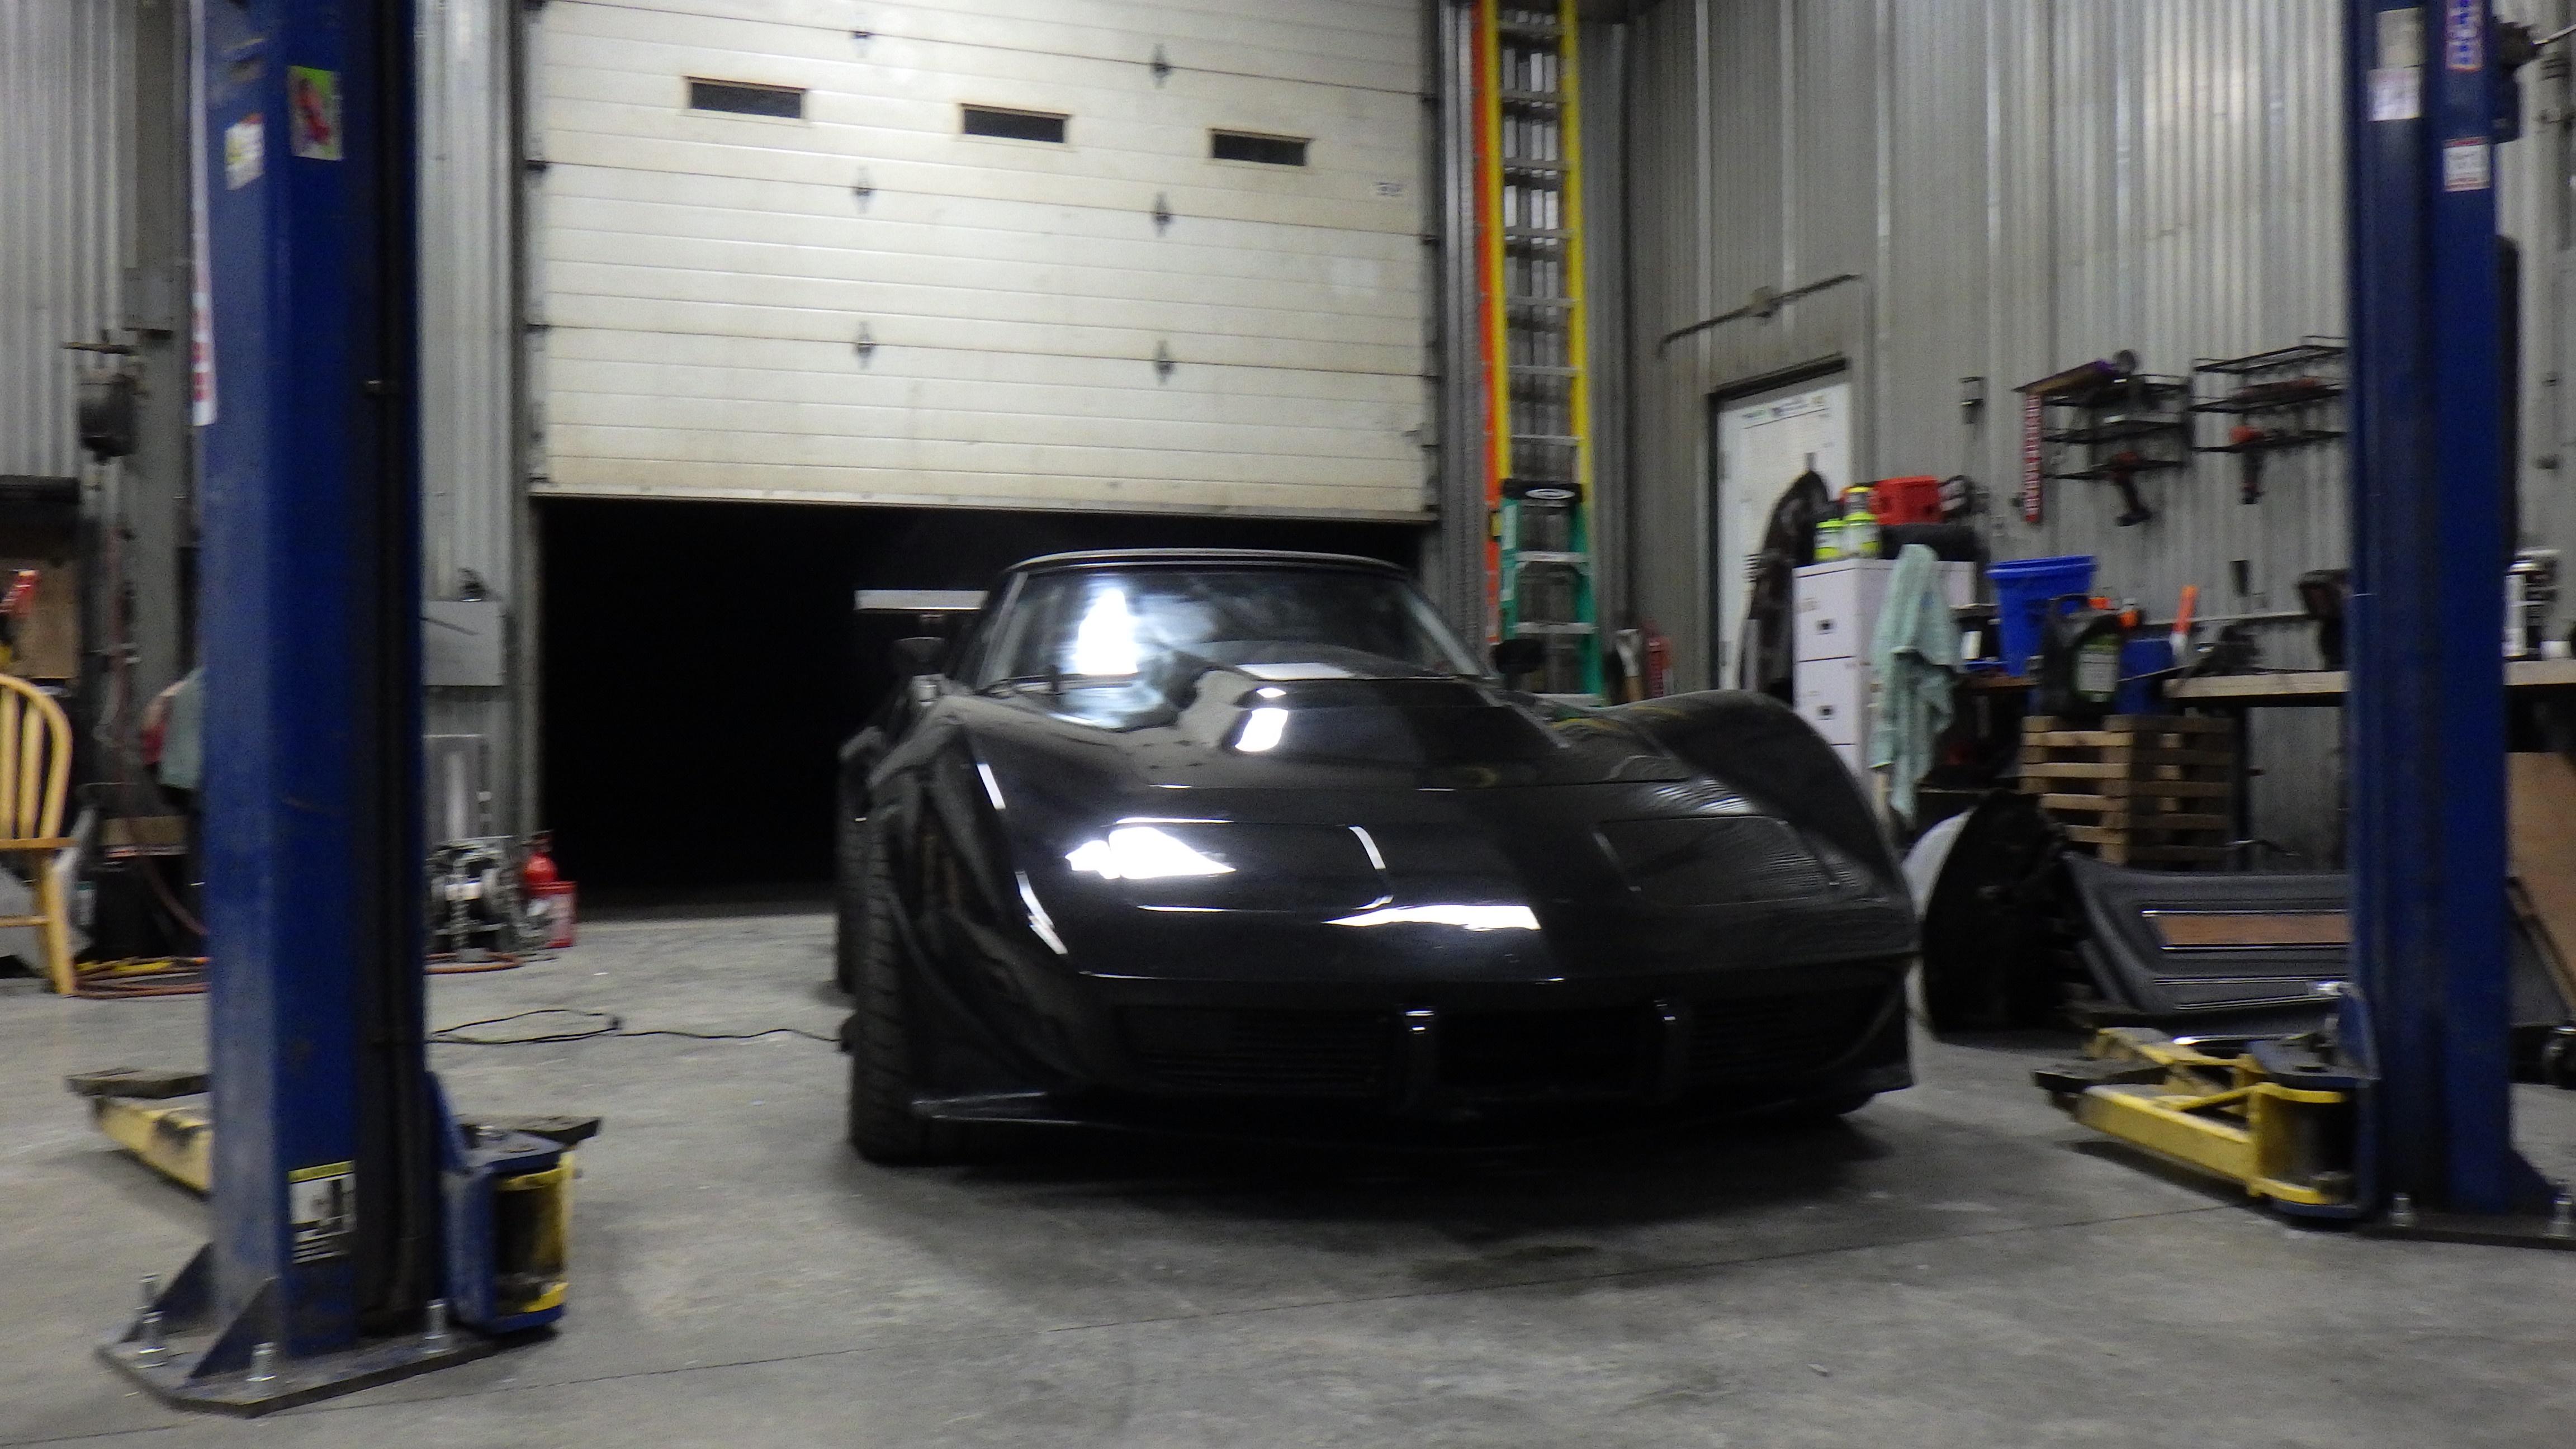
all that work and I'm painting it black..
​​​​​​​
Reply With Quote
The Following 2 Users Say Thank You to SuperBuickGuy For This Useful Post:
camcojb (02-20-2024), Roscoe03 (02-27-2024)
  #228  
Old 03-11-2024, 11:14 PM
SuperBuickGuy SuperBuickGuy is offline
Senior Member
 
Join Date: Aug 2021
Location: Puget Sound Washington
Posts: 221
Thanks: 12
Thanked 188 Times in 117 Posts
Default

Well, hopefully this will be a final installment on the EFI change.
built a bracket for the solid state relay

wired the cheat devices and reinstalled the passenger seat

and took a few pictures of my very dusty car

I do have to finish the aero stuff and do some paint repair - but for now....

​​​​​​​it's done except for tuning.
Reply With Quote
The Following User Says Thank You to SuperBuickGuy For This Useful Post:
camcojb (03-12-2024)
  #229  
Old 03-17-2024, 11:19 PM
SuperBuickGuy SuperBuickGuy is offline
Senior Member
 
Join Date: Aug 2021
Location: Puget Sound Washington
Posts: 221
Thanks: 12
Thanked 188 Times in 117 Posts
Default

'merica baby


communism... for some reason cylinder #8 isn't firing....


ah well, it's either this or bodywork... I should say, it's this AND bodywork....
Reply With Quote
The Following User Says Thank You to SuperBuickGuy For This Useful Post:
camcojb (03-18-2024)
  #230  
Old 03-29-2024, 12:21 AM
SuperBuickGuy SuperBuickGuy is offline
Senior Member
 
Join Date: Aug 2021
Location: Puget Sound Washington
Posts: 221
Thanks: 12
Thanked 188 Times in 117 Posts
Default

continuing from yesterday, I had to make a blanking plate so the air is forced through the radiator

this is me being lazy... I have a press brake that could put a nice kink in the metal to get the curve needed... or a BFH. The BFH, in its defense, was more fun

installed...

and what it looks like now

still need to put braces on it because it does flex a bit then, maybe, canards.... but for now, I have to finish on the gas tank then tuning, oh and door latch....

finally narrowing in on just 'minor' changes... a diffuser will probably be it for now - oh and a 521 ci motor next year (because 600 hp is barely sufficient, almost embarrassing)

and I'm trying to decide if I want to simulcast my next build... it's almost the antithesis to cone carving.... 54 Chev pickup on a Art Morrison chassis with a LS3 for a 16 year old kid who is a friend.... I think how I should say that is - I build him a truck that he wants but will be super capable then see how long it takes before the cone-carving bug gets him....
Reply With Quote
The Following User Says Thank You to SuperBuickGuy For This Useful Post:
camcojb (03-29-2024)
Reply


Posting Rules
You may not post new threads
You may not post replies
You may not post attachments
You may not edit your posts

BB code is On
Smilies are On
[IMG] code is On
HTML code is Off

Forum Jump


All times are GMT -5. The time now is 02:28 PM.


Powered by vBulletin® Version 3.8.11
Copyright ©2000 - 2024, vBulletin Solutions Inc.
Copyright Lateral-g.net