...

Go Back   Lateral-g Forums > Lateral-G Open Discussions > Project Updates
User Name
Password


Reply
 
Thread Tools Display Modes
  #21  
Old 03-06-2020, 10:15 AM
ZMAN1969's Avatar
ZMAN1969 ZMAN1969 is offline
Senior Member
 
Join Date: Jan 2005
Location: Dallas Tx
Posts: 268
Thanks: 6
Thanked 69 Times in 29 Posts
Default

Quote:
Originally Posted by garage_engineer View Post
Interesting... where did you get the Aluminum one? Are they hard to find or did all Firebirds come with them? Never heard of this before but definitely a great place to lose 8lbs.
early Camaros and firebirds occasionally got them, but not all. I grabbed one for my 90 but have to work with absorber and cut some holes for my turn signals they are HTF but they come around time to time
steel impact weighs in at 22lbs aluminum is 13lbs
now if I can find an aluminum hood
watching along on your build - nice
Attached Images
  
__________________
'69 Trans Am clone under construction -still!
LS6 6speed
69 R/S Z28 Daytona Yellow 302
90 Formula / Firehawk clone
1999 Firehawk
1969 Chevelle SS 396
Reply With Quote
  #22  
Old 03-21-2020, 08:54 AM
RT_66_Pro_Touring RT_66_Pro_Touring is offline
Member
 
Join Date: Oct 2016
Location: Oklahoma
Posts: 51
Thanks: 3
Thanked 7 Times in 7 Posts
Default Paint Update

Just got back from the painter. Almost ready to go home!!


Marked a few places that needed a bit more attention. (The plastics aren't cut & buffed yet either)

Reply With Quote
The Following User Says Thank You to RT_66_Pro_Touring For This Useful Post:
Roscoe03 (03-21-2020)
  #23  
Old 04-19-2020, 06:11 PM
RT_66_Pro_Touring RT_66_Pro_Touring is offline
Member
 
Join Date: Oct 2016
Location: Oklahoma
Posts: 51
Thanks: 3
Thanked 7 Times in 7 Posts
Default Covid Quarantine Edition Update

I've put in more hours working from home the past month than I usually do in the office. That and spring cleaning around the property has kept me from making much progress.

The car is home from paint and assembly in under way!

Reply With Quote
  #24  
Old 04-25-2020, 08:42 PM
RT_66_Pro_Touring RT_66_Pro_Touring is offline
Member
 
Join Date: Oct 2016
Location: Oklahoma
Posts: 51
Thanks: 3
Thanked 7 Times in 7 Posts
Default

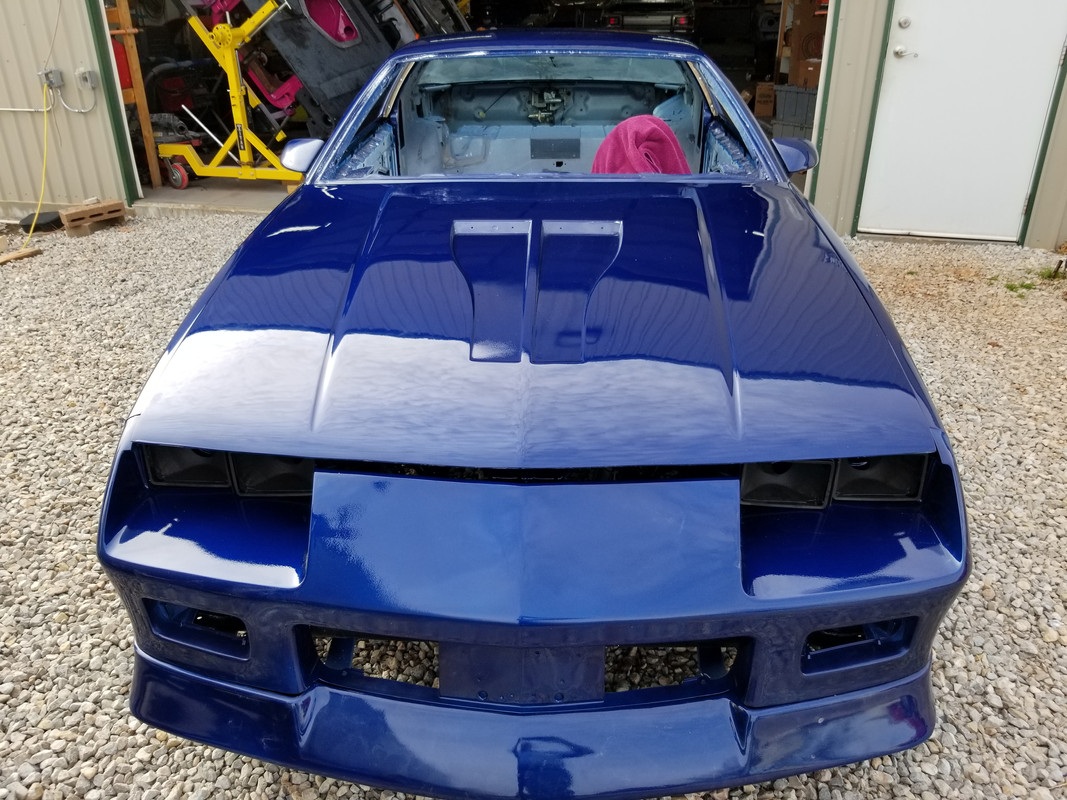
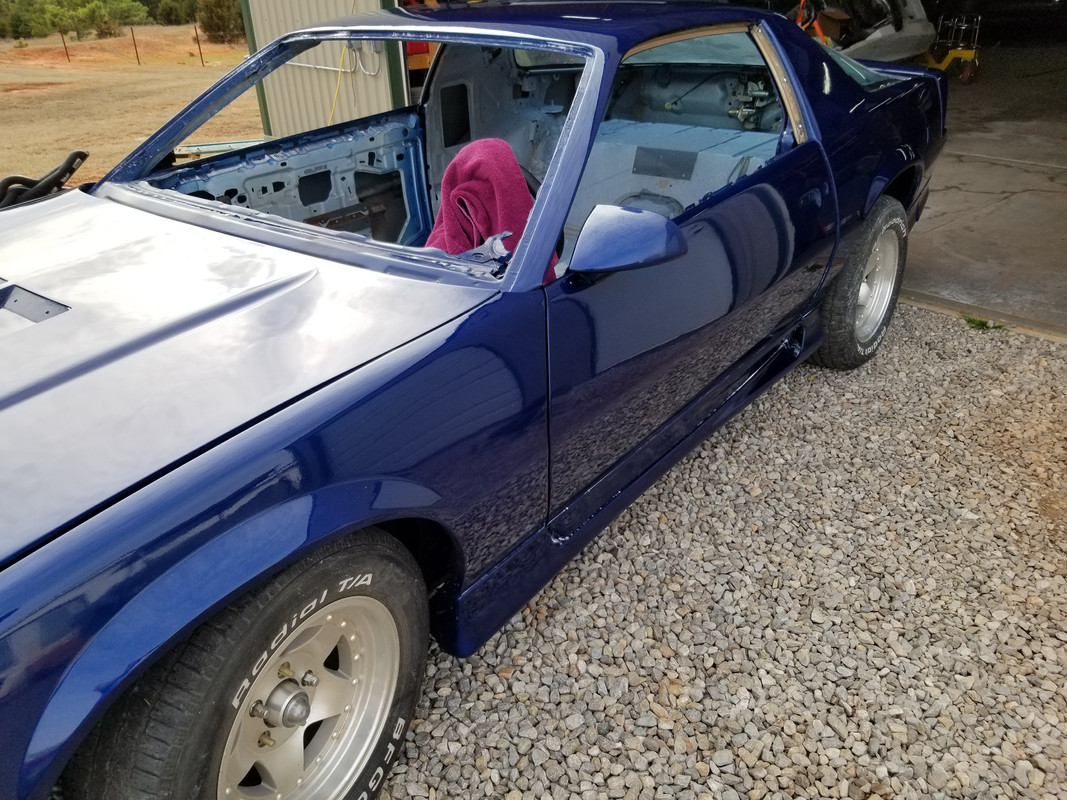
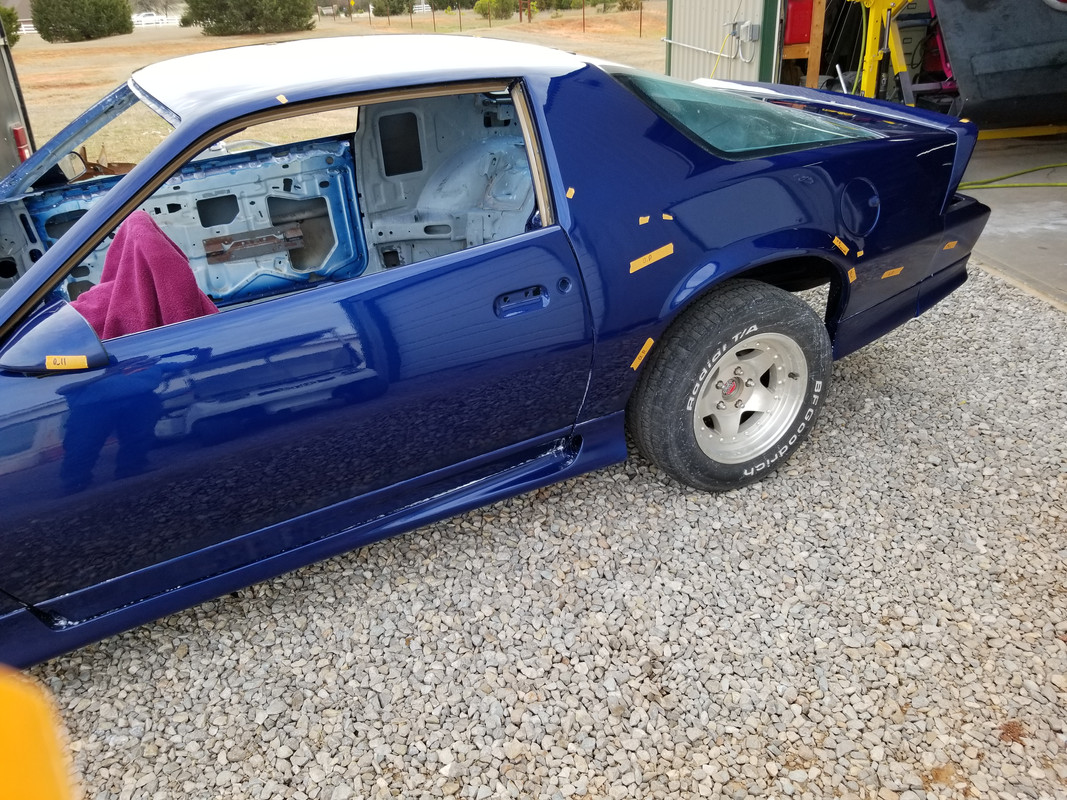
Made some progress this weekend and my wheels arrived yesterday!

Note: pay no mind to the loose brake lines in some of the pics. They are laying in there loose in the approximate location for my next project, bake and fuel hard line installation.


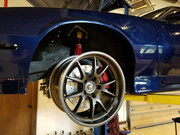
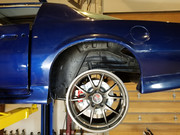
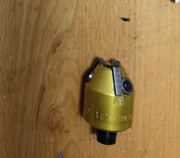
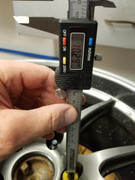
These are BMW wheels and have a center bore that is ~2mm too narrow and a 120mm PDC. I have some router and PDC correction work to do. But, the wheels are the correct offset, 20.9 lbs (which is really pretty good for a 18x10.5 wheel) and not terribly expensive.


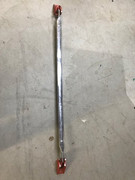
I mocked up the STB this evening leaving enough room for maximum camber plate movement. This thing was pretty nasty when I bought it off another forum. A little sand blasting, painting and 1000 grit sandpaper on the bar and it turned out pretty nice.


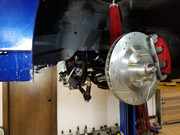
Found dust boots for the extended ball joints. The conventional "wisdom" of the mullet set is that is it's impossible to find a dust boot for Summit extended ball joints. Prothane make a variety and these fit really well.


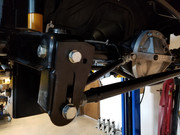
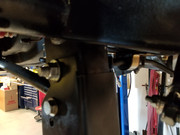
Got the adjustable panhard bar and LCA mounts installed. I REALLY do not like these bolt-in adjustable LCA mounts. There is no way this doesn't want to want to rotate around the single bolt under acceleration, they're definitely going to be welded in before I'm done! Also, the kit came with LCA bolts that are too short and 8.8 grade bolts! WTF?

Last update for this weekend:

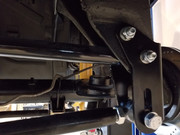
Third gens were built with an offset in the front swaybar bracket . UMI makes a very nice relocation bracket that also allows the use of a steering brace ( a.k.a. Wonder Bar)

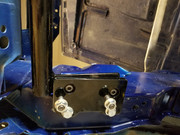
Big front bar is in the works.

Last edited by RT_66_Pro_Touring; 04-25-2020 at 08:51 PM.
Reply With Quote
The Following User Says Thank You to RT_66_Pro_Touring For This Useful Post:
Roscoe03 (04-27-2020)
  #25  
Old 06-06-2020, 07:22 PM
RT_66_Pro_Touring RT_66_Pro_Touring is offline
Member
 
Join Date: Oct 2016
Location: Oklahoma
Posts: 51
Thanks: 3
Thanked 7 Times in 7 Posts
Default PDC Adjustment

I've been working on hard lines (brakes and fuel) and I should have an update on that soon. Also, the transmission is being built and should ship in the next couple of weeks. That will be a fun update, it's more Ford than GM, pretty crazy

In the meantime I worked on adjusting the PDC of the wheels from 5x120mm to 5x 4.75. The difference is 0.65mm or 0.325mm at each seat.
(The procedure was not my idea, there is a thread by user //<86TA>\\ on Third Gen detailing the process and I did it in a similar manner. It's really a brilliant shade-tree mechanic fix that opens up many more options for lightweight yet affordable wheels)

I used a Neway 60 degree valve seat cutter to recut the seat.


I turned down a wheel stud to fit the center bore of the cutter, pressed it back into a spare axle from my differential upgrade project.


Note: What appears to be marks or scrapes on the wheel are actually only a reflection.

Cutting down the seat about 2.5mm did the trick.


The next pic may be a little hard to see, but the bottom lug nut was from a shallower cut and has marks on one side because the seat wasn't cut down enough. The top lug nut seated evenly all the way around when torqued to 100 ft-lbs (that's all the torque I could get with the axle and wheel mounted in the vice).

Last edited by RT_66_Pro_Touring; 06-06-2020 at 08:29 PM.
Reply With Quote
  #26  
Old 06-06-2020, 08:38 PM
WSSix WSSix is offline
Lateral-g Supporting Member
 
Join Date: Nov 2008
Location: Dunwoody, GA
Posts: 6,298
Thanks: 664
Thanked 581 Times in 471 Posts
Default

So you used the turned down stud as a guide while holding the wheel in place on the axle with the other lug nuts? Finish one seat and shift the rim one stud on the axle to get to the next?

APEX wheels?
__________________
Trey

Current rides: 2000 BMW 540i/6 and 86 C10.

Former ride: 1979 Trans Am WS6: LT1/T56, Kore 3 C5/6 brakes, BMW 18in rims

Last edited by WSSix; 06-06-2020 at 08:42 PM.
Reply With Quote
  #27  
Old 06-06-2020, 09:19 PM
RT_66_Pro_Touring RT_66_Pro_Touring is offline
Member
 
Join Date: Oct 2016
Location: Oklahoma
Posts: 51
Thanks: 3
Thanked 7 Times in 7 Posts
Default

Quote:
Originally Posted by WSSix View Post
So you used the turned down stud as a guide while holding the wheel in place on the axle with the other lug nuts? Finish one seat and shift the rim one stud on the axle to get to the next?

APEX wheels?
That's correct and yes, they are Apex FL-5's.

Also, I should have added that I used a centering ring to get the wheel in the right place. The other lug nuts were just to keep the wheel from tipping and moving around.

Last edited by RT_66_Pro_Touring; 06-07-2020 at 06:13 PM.
Reply With Quote
The Following User Says Thank You to RT_66_Pro_Touring For This Useful Post:
WSSix (06-07-2020)
  #28  
Old 06-07-2020, 08:29 PM
garage_engineer's Avatar
garage_engineer garage_engineer is offline
Senior Member
 
Join Date: Jun 2015
Location: Mass
Posts: 144
Thanks: 10
Thanked 40 Times in 26 Posts
Default

Nice progress! Those wheels will look great against the new paint job.
Reply With Quote
Reply

Thread Tools
Display Modes

Posting Rules
You may not post new threads
You may not post replies
You may not post attachments
You may not edit your posts

BB code is On
Smilies are On
[IMG] code is On
HTML code is Off

Forum Jump


All times are GMT -5. The time now is 08:59 PM.


Powered by vBulletin® Version 3.8.11
Copyright ©2000 - 2024, vBulletin Solutions Inc.
Copyright Lateral-g.net