Small update for tonight. I've been chipping away at some small things when I've had some free time (which hasn't been much lately!)
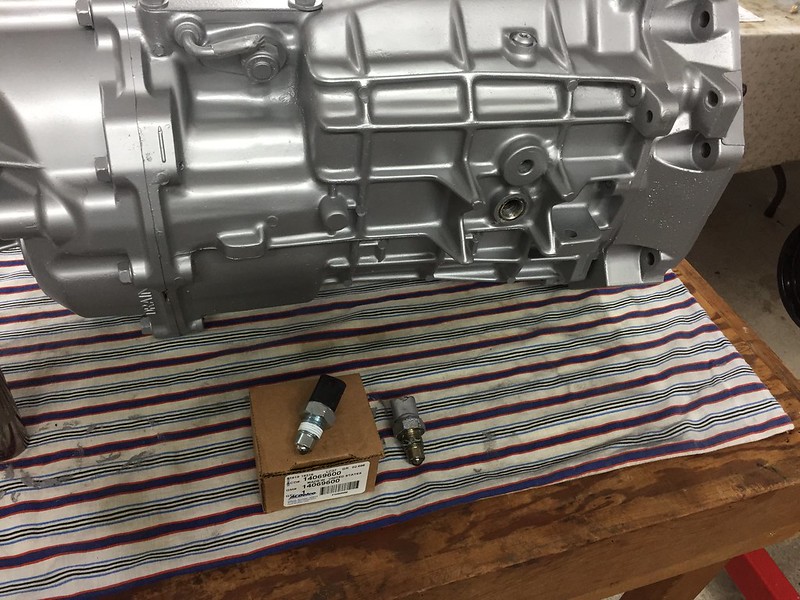
New speed sensor on the T56:
Masked off and painted the inner wheel wells. The undercoating in there was actually in pretty good shape and mostly intact. I just scraped off the loose bits, cleaned it with some degreaser and hit it with some Rustoleum undercoating in a can. Turned out pretty good!
Got my new polyurethane engine mounts mounted up in the clamshells and mounted on the K-member:
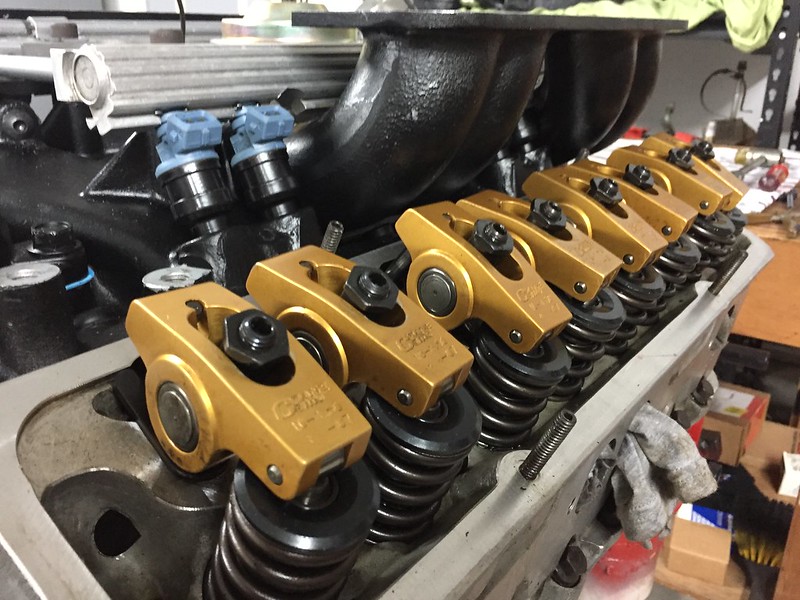
Finally spent some time setting the lash on the lifters:
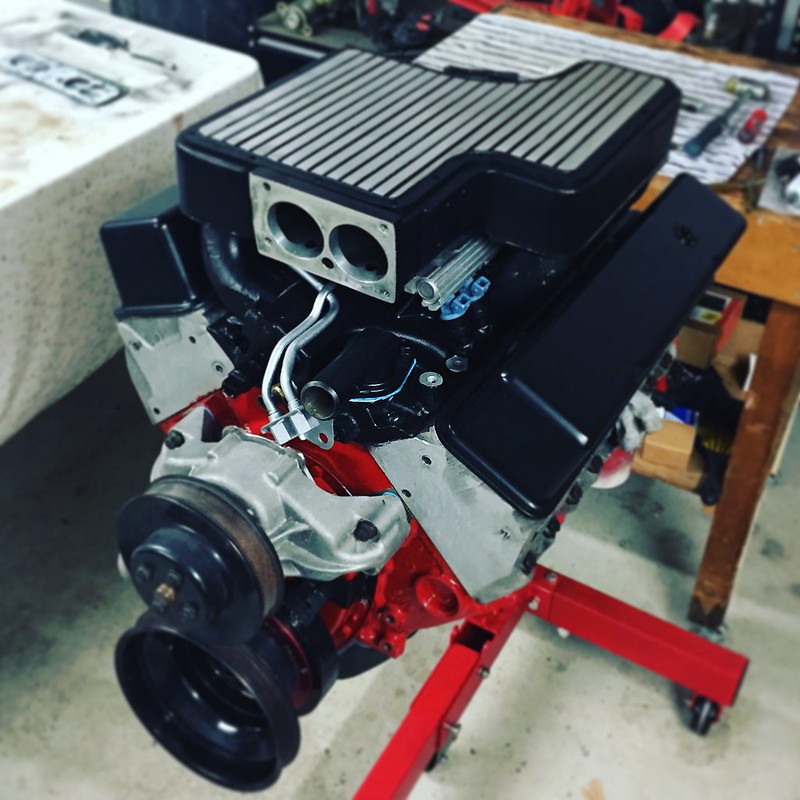
Almost ready to get the engine back on the K-member and get the clutch hooked up!
Had a busy October but managed to get a few small things done on the car.
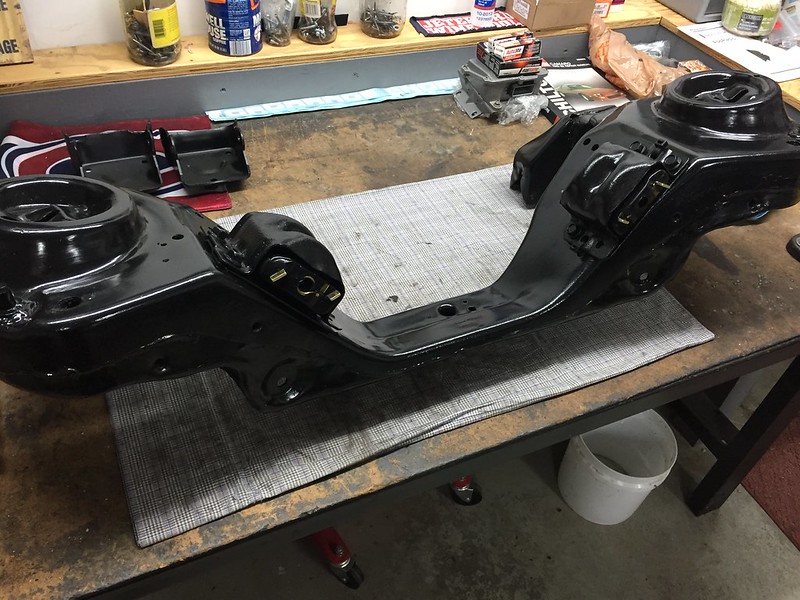
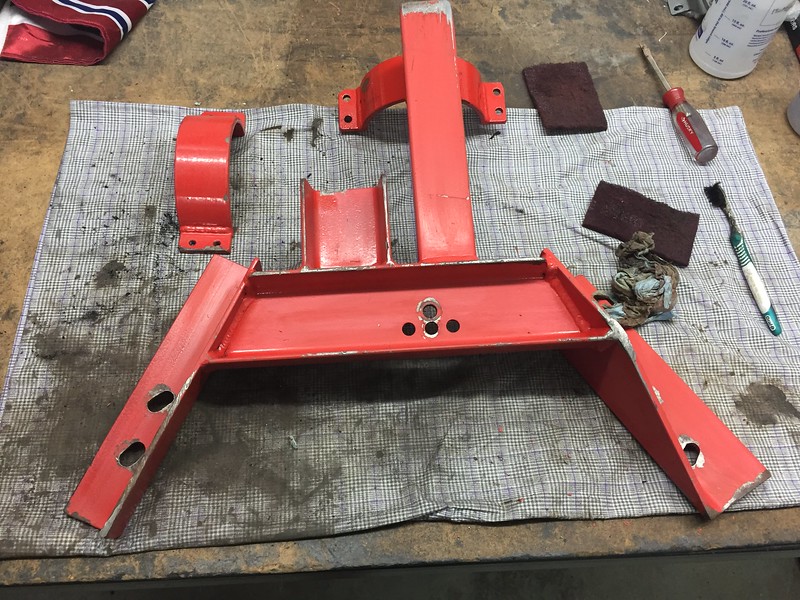
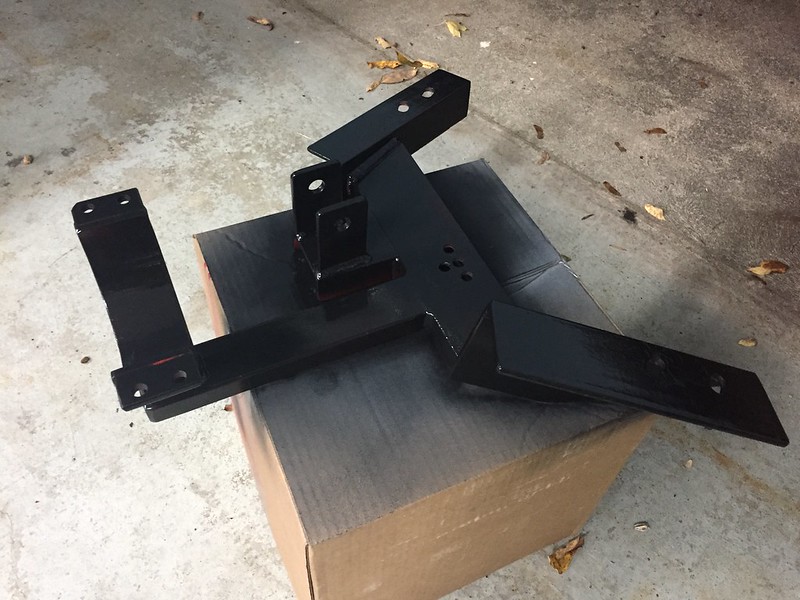
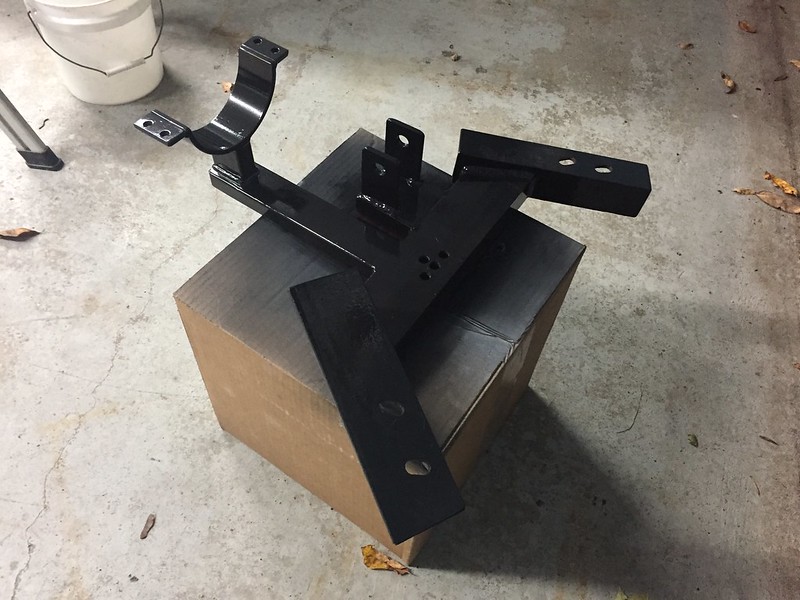
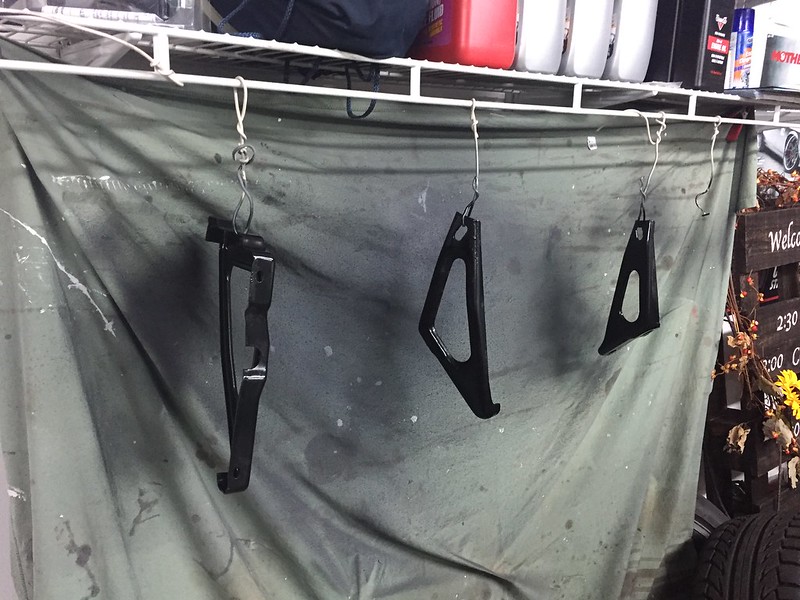
Transmission crossmember and a few other pieces all cleaned up, prepped and painted:
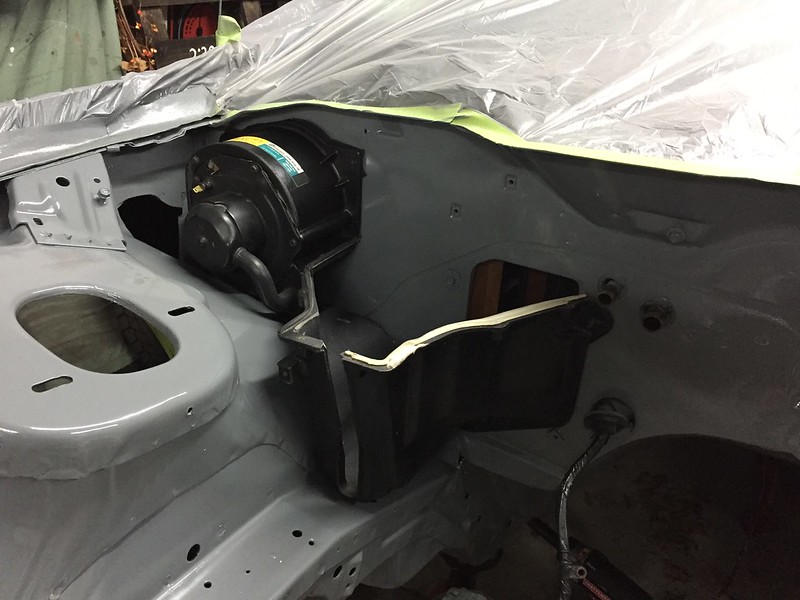
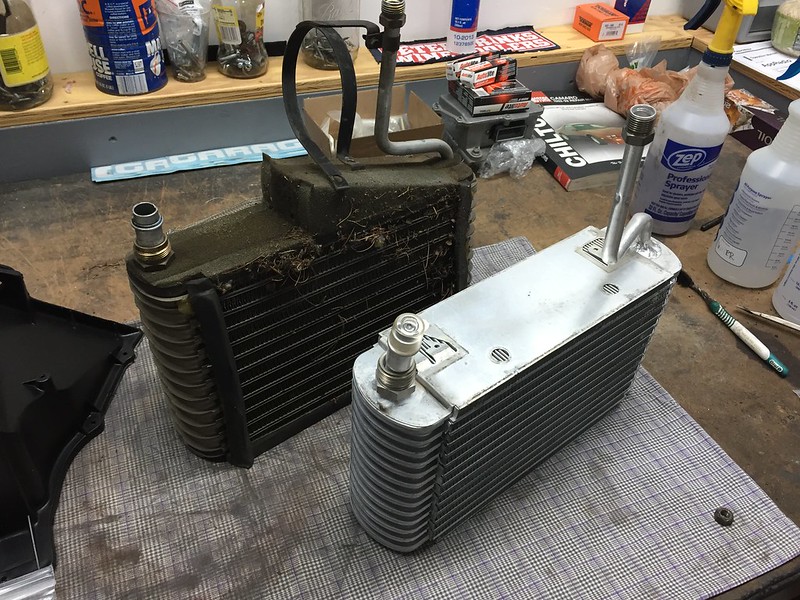
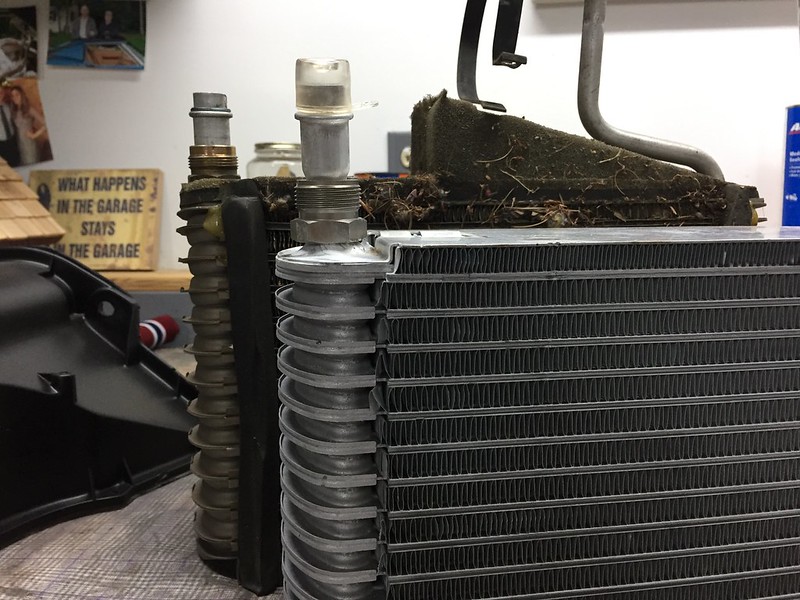
Next I started installing my A/C system on the firewall and ran into a bit of a problem with my new evaporator. My new one wasn't quite the same shape as the original...it was smaller and was also missing the foam needed to seal it against the hosing. This one was from RockAuto does anyone know where I can get a good replacement evaporator?
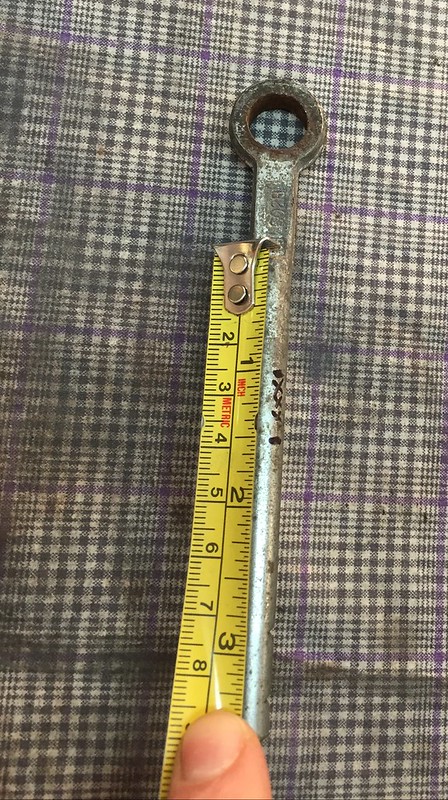
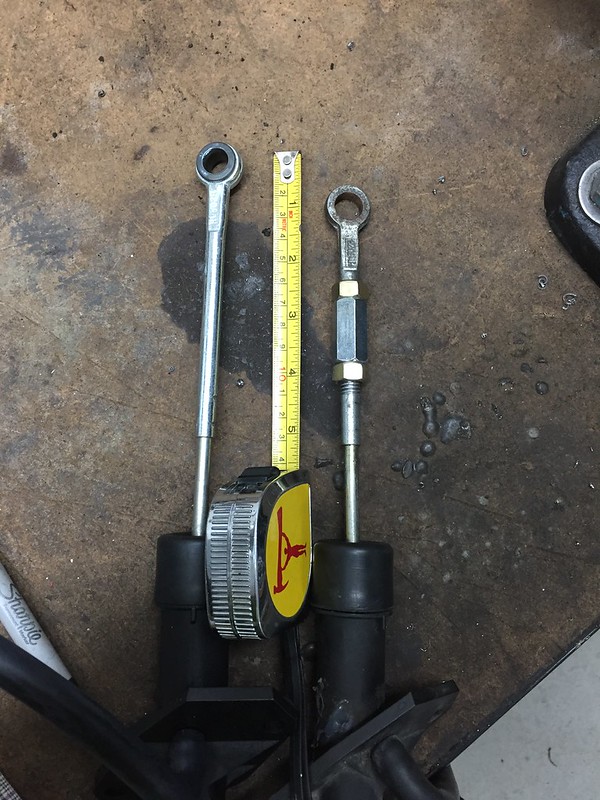
Lastly I modified my 4th gen clutch master cylinder to be adjustable using some plans I found here on thirdgen.org. Before I took the car apart, the clutch pedal sat very high and the engagement point was near the top of the pedal travel. I prefer to have the clutch engage pretty close to the floor, and I'm hoping shortening the rod and making it adjustable will help me get that dialed in.
I started by making the following 2 cuts, which took about a 1/2" out of the shaft:
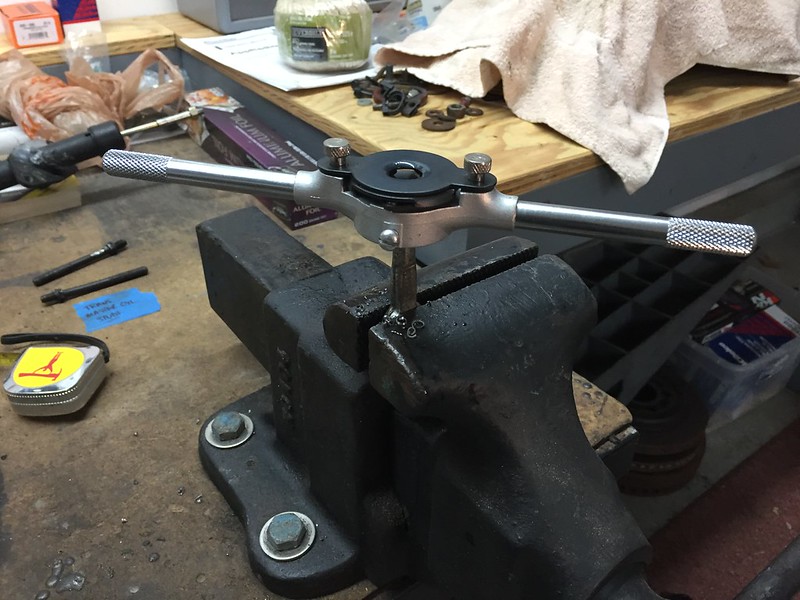
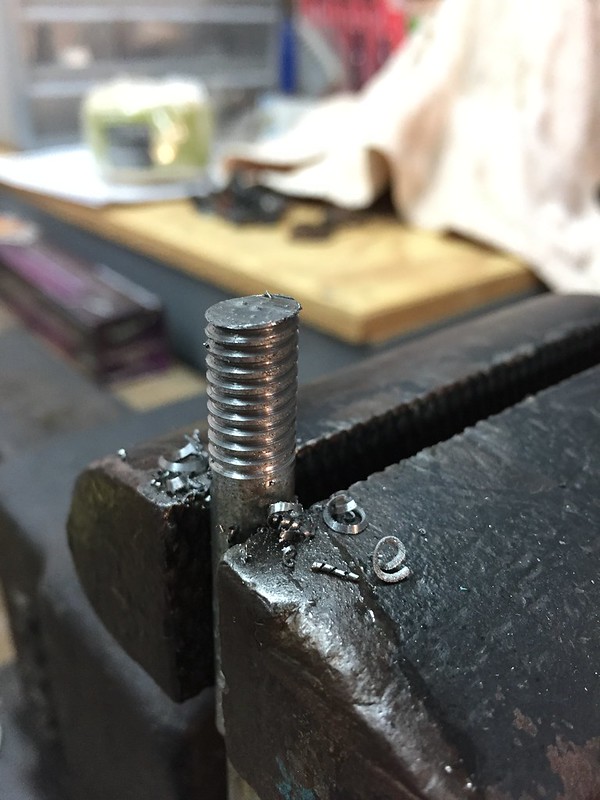
I used a 3/8-16 NC tap to add threads to the ends of the shafts:
I then just joined the 2 ends of the shafts using a 1 1/8" hex nut and 2 jam nuts. If I were to do it again, I would order some thinner nuts to use as jam nuts as the ones I bought take up quite a bit of the available thread and there's not much thread there to begin with. I first practiced on my old one and then repeated the process on my new one.
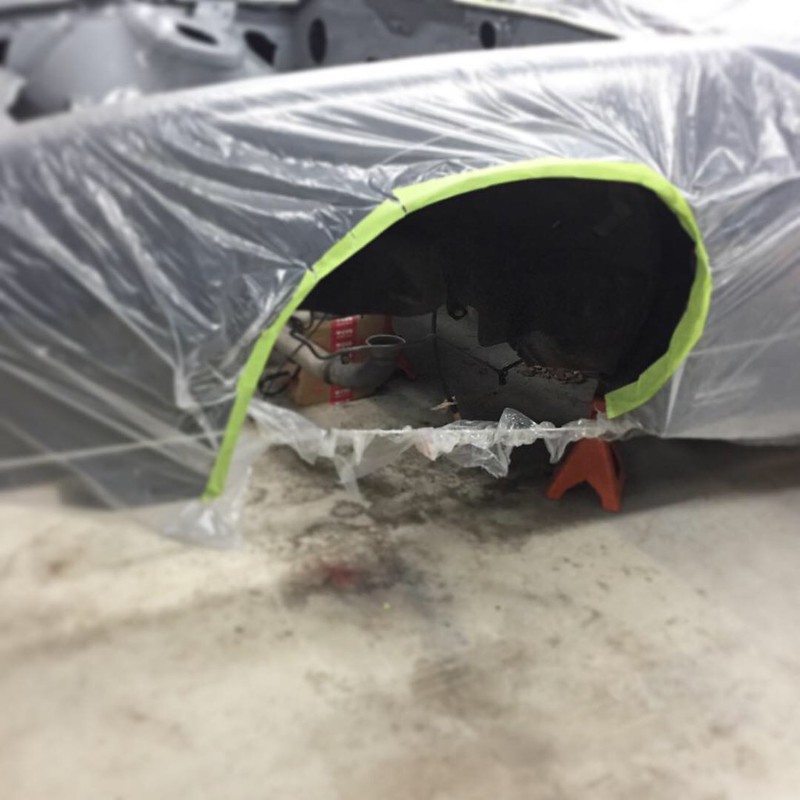
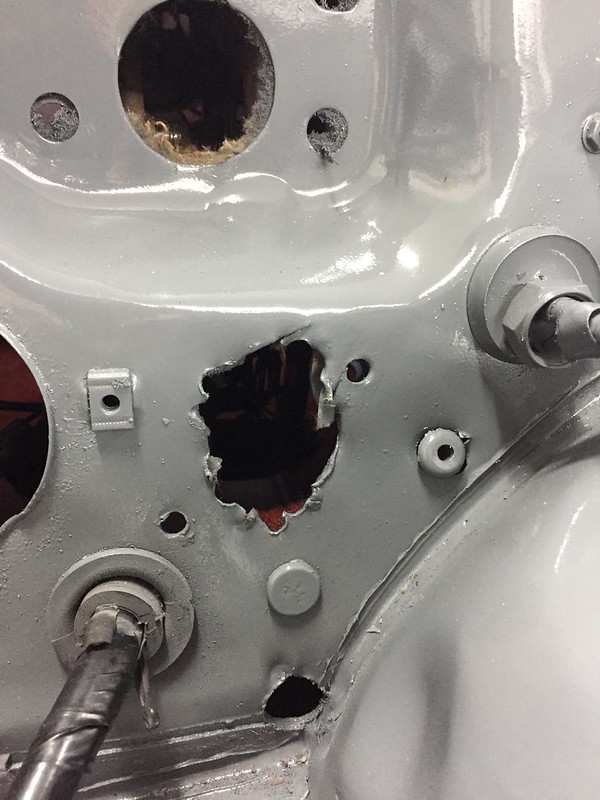
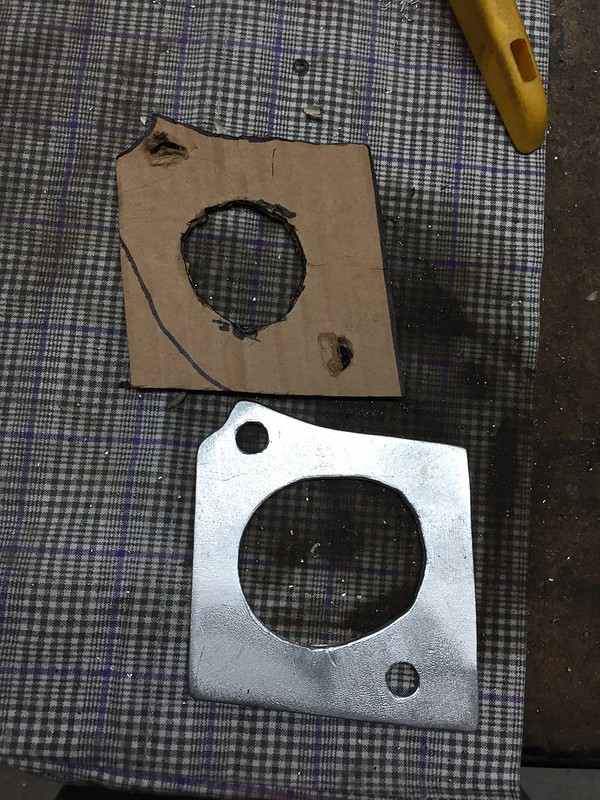
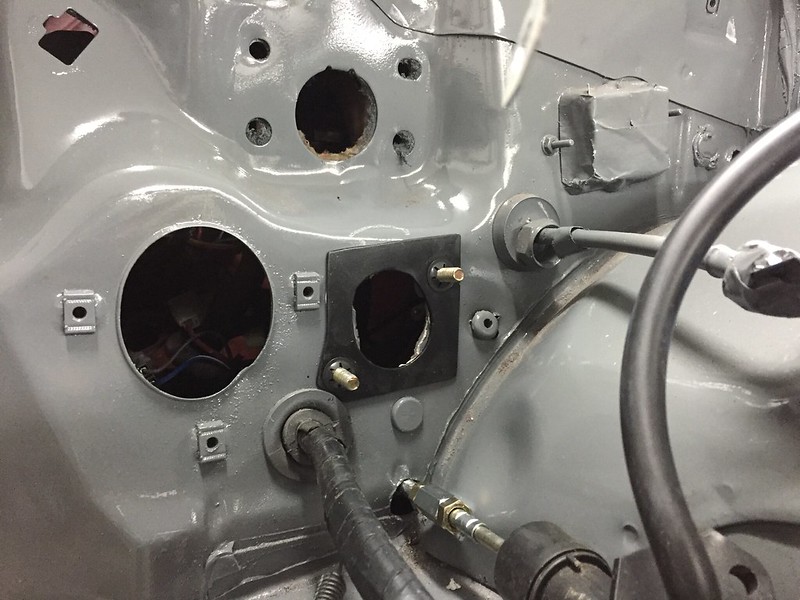
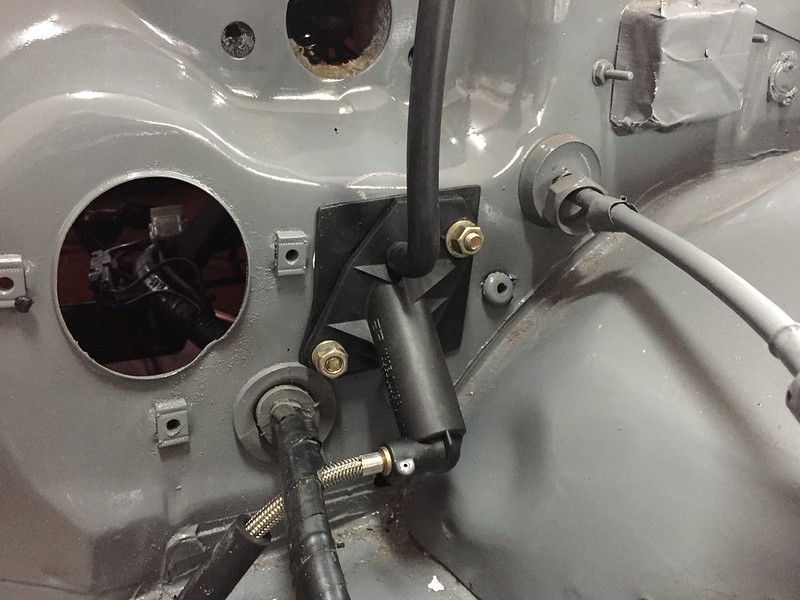
Before I installed my clutch master cylinder I had to repair this nasty hole cut in the firewall by the previous owner. Looks like they used a drill bit and some cutters or something to make this hole... not pretty! I tried my best to clean it up with a grinder but ended up just making a little block off plate to clean up the area:
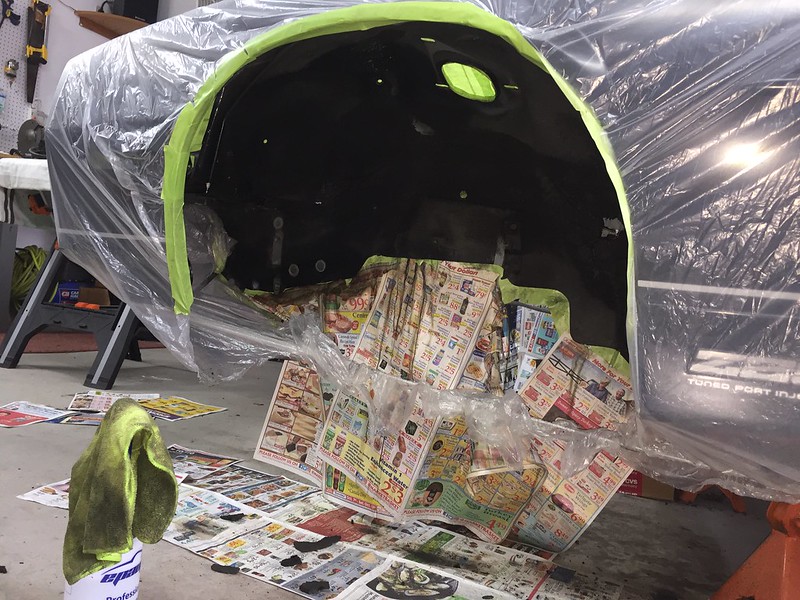
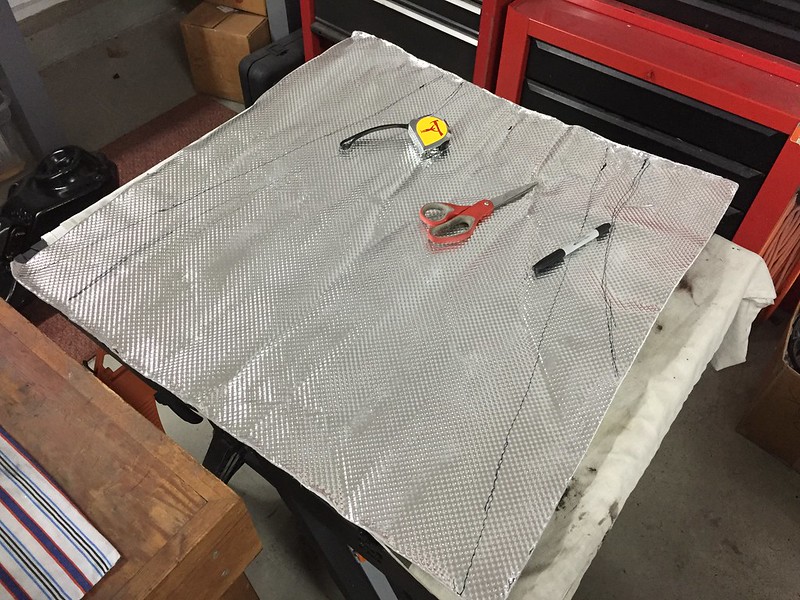
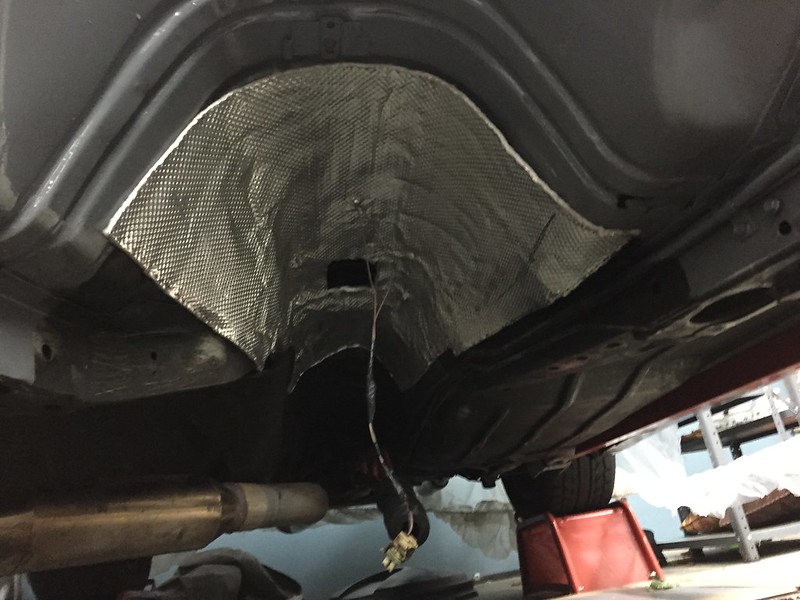
Next I custom cut a sheet of DEI heat shielding to put in my transmission tunnel. Before I took the car apart my center console would get very hot after some aggressive driving. I'm hoping this will help cool it down a bit. It was a bit tricky working on my back and trimming the shape piece by piece but I got it done!
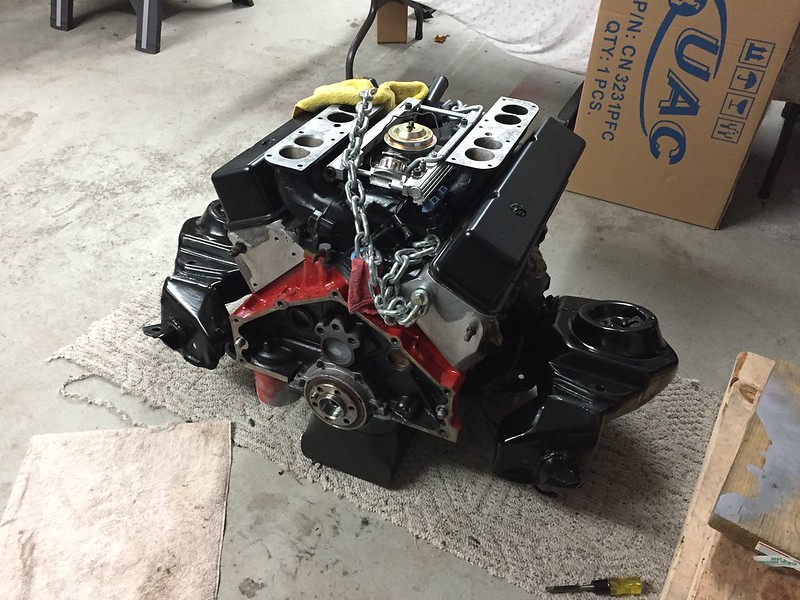
Finally,I worked on getting my engine off the stand (for the first time in about 8 months!) so I could work on getting the clutch and transmission installed:
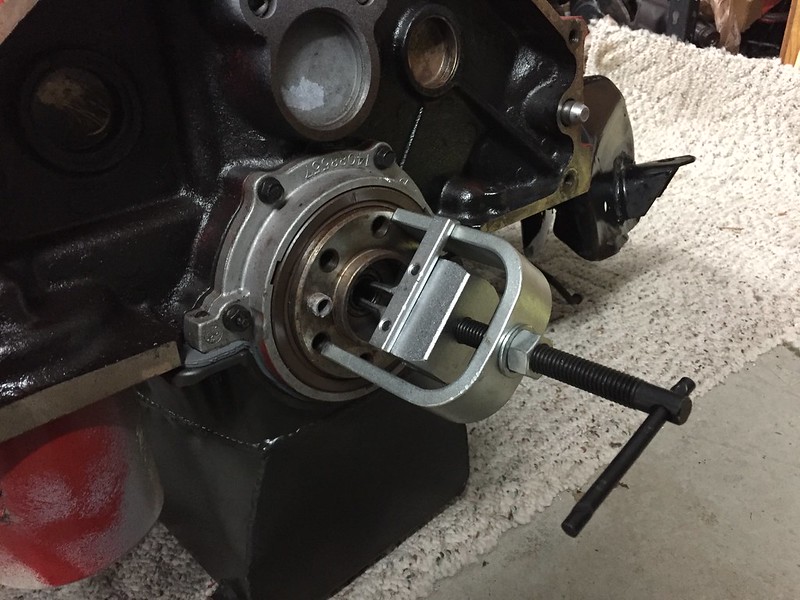
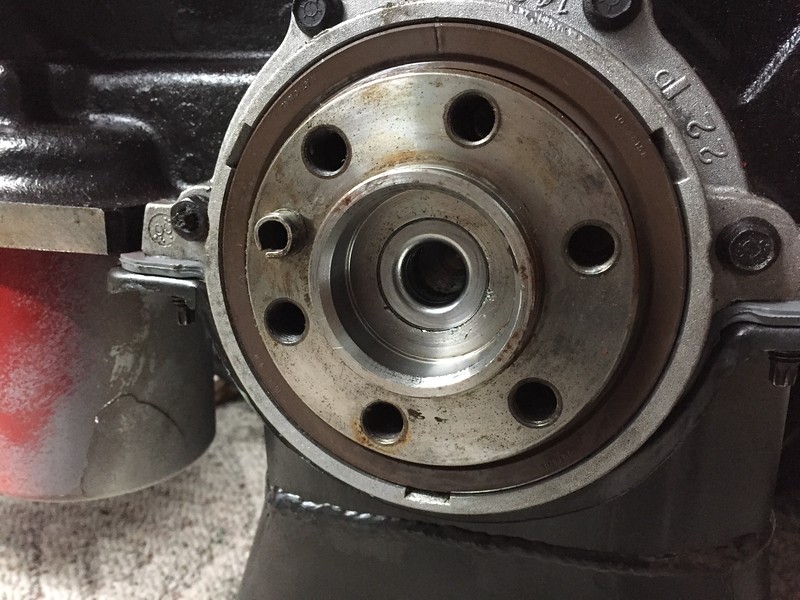
I started with replacing the pilot bearing in the back of the crankshaft. What a battle this turned out to be! I started with using the rental tool from Advanced Auto Parts which didn't work at all and just kept slipping off of the inside edge of the bearing:
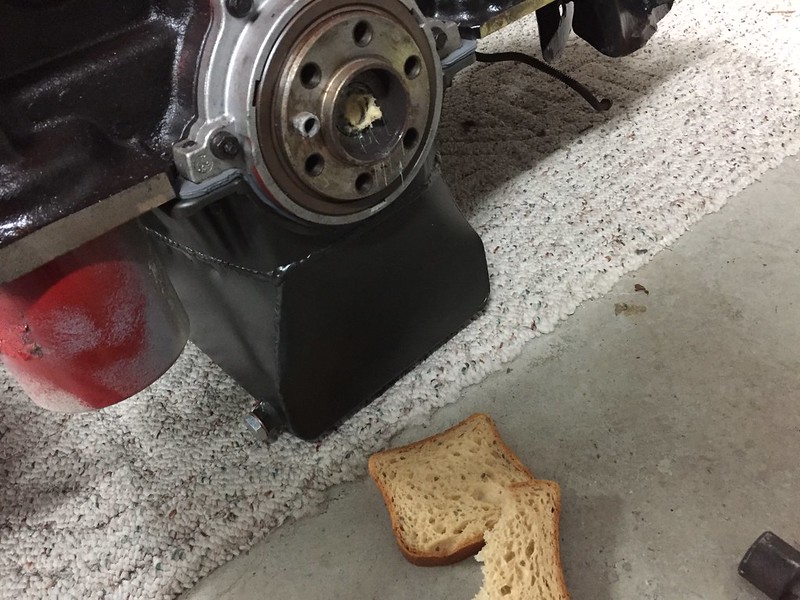
I then tried using the "grease method" by filling the cavity with grease and hammering in a socket. This didn't work out either as the grease kept working its way around the socket instead of forcing the bearing out. I even tried stuffing bread in there and that didn't work!
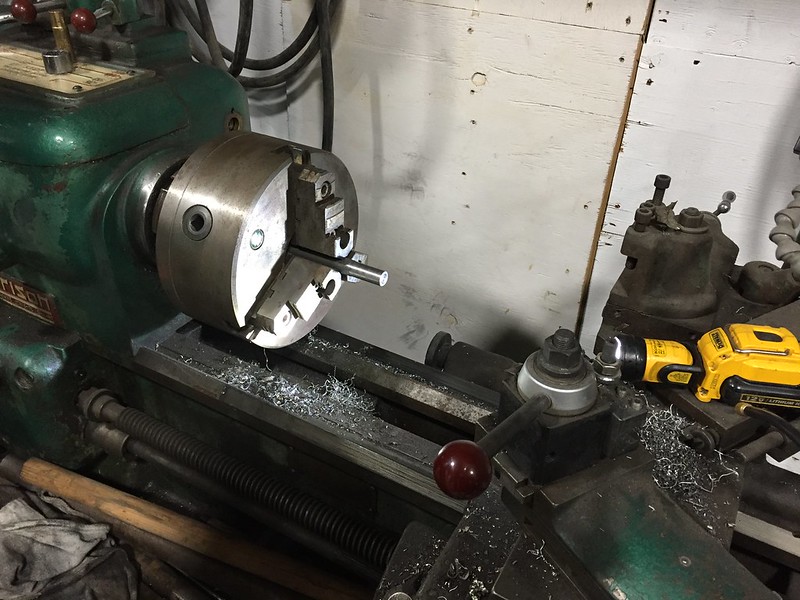
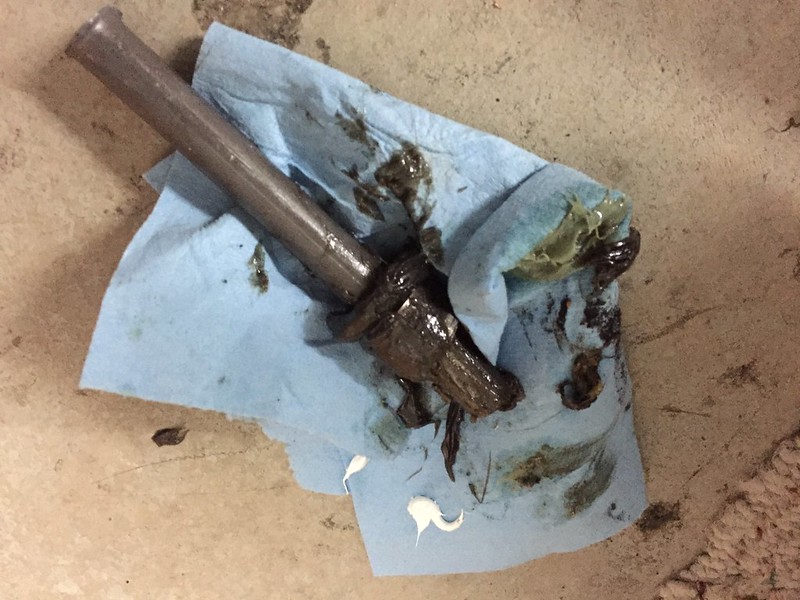
What I finally ended up doing was making a custom tool to get the job done. I grabbed some regular old bar stock at Home Depot and used a lathe at my buddy's shop to get an exact fit inside the bearing. This worked like a charm! Once I packed it tight with grease and gave it a few good shots with the hammer, the bearing moved out about a 1/4inch. I was pumped! After that, I just kept adding more grease and hammering on it until the bearing was out. Success!
Things like this have been setting me back quite a bit on this project but I've been looking at the positive side: I now have a new tool and some new knowledge on how to get these things out! It's all worth it when you enjoy the journey and know the job was done right! New one installed!
Nice work. I'm glad you got it out. I've always used the slide hammer tool from autozone or advance auto. It has a pilot bearing attachment that's never let me down. Might try that next time instead of the pilot bearing tool pictured.
__________________
Trey
Current rides: 2000 BMW 540i/6 and 86 C10.
Former ride: 1979 Trans Am WS6: LT1/T56, Kore 3 C5/6 brakes, BMW 18in rims
I agree with Trey but I own the tool in question. The slide hammer is the way to go - especially with certain cranks that are gun drilled. If you have one of those the grease method won't work, you will push the plug into the engine. In the process you will also learn the definition of the word frustration if said engine is in a vehicle.
This is the Cliff's Notes version but I have a friend who can explain this scenario in detail if you like.
Almost ready to get the engine back in the car, just finishing up a few things and back in it goes!
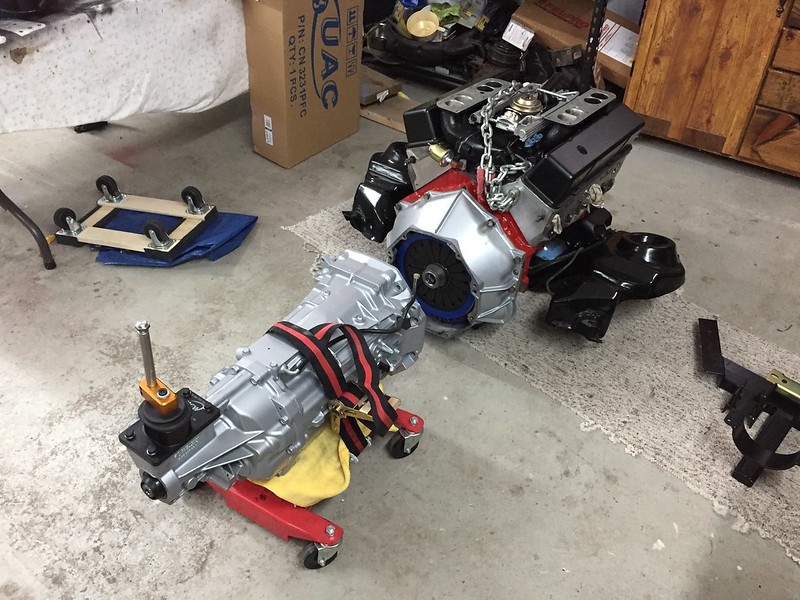
First I had to get the engine and transmission mated up on the ground. This is my first clutch and transmission install so I thought doing it on the ground would give me better access instead of wrestling with it on my chest under the car.
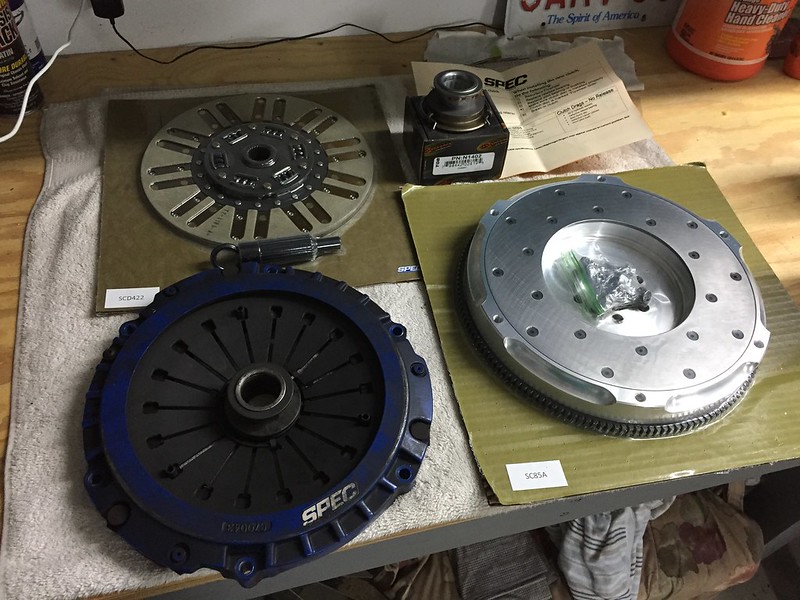
The car had a SPEC Stage 2 clutch already installed when I bought it. I called SPEC, and we decided to freshen it up with a new clutch disk and flywheel and keep the pressure plate. I decided to go with an Aluminum flywheel... I know it will be a little trickier to drive but I had one in my C5 Corvette and loved and how quickly it revved when I blipped the throttle on downshifts. That's an OK tradeoff for me!
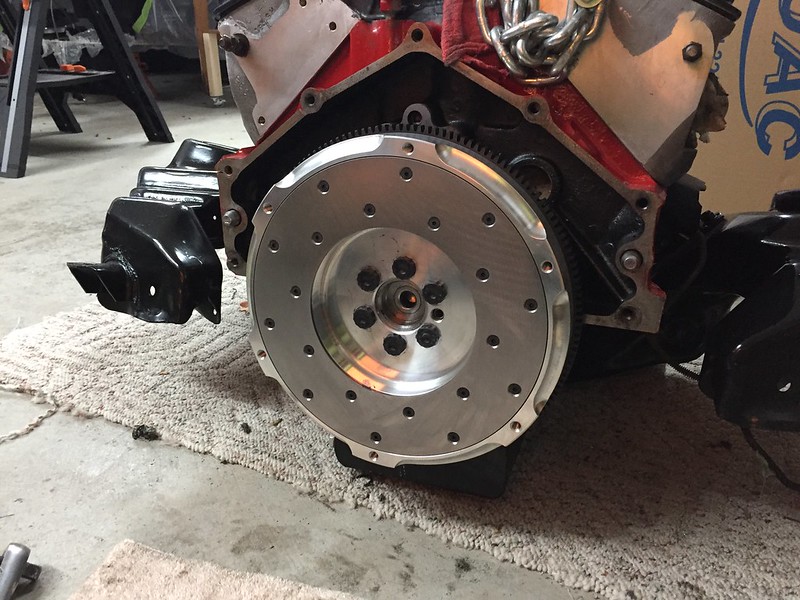
Flywheel installed with new ARP bolts:
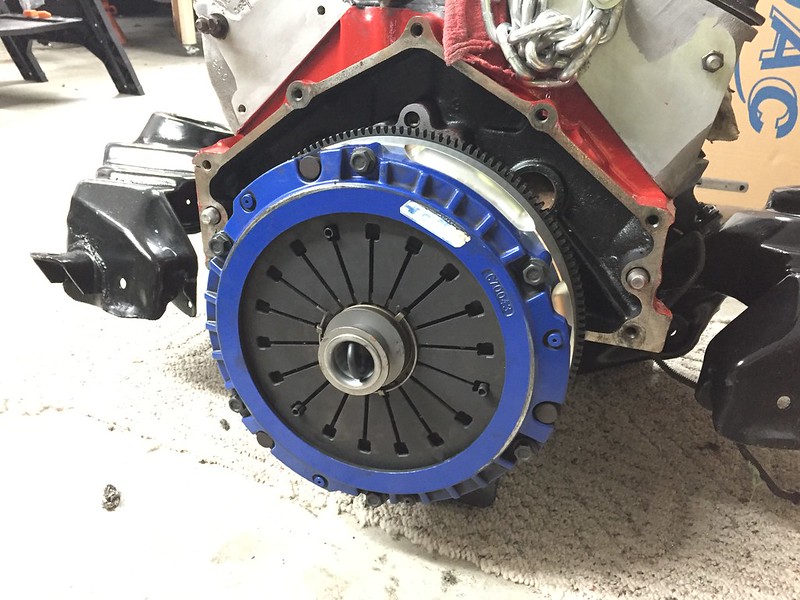
Pressure plate torqued down with new bolts:
Bellhousing on and ready for the transmission:
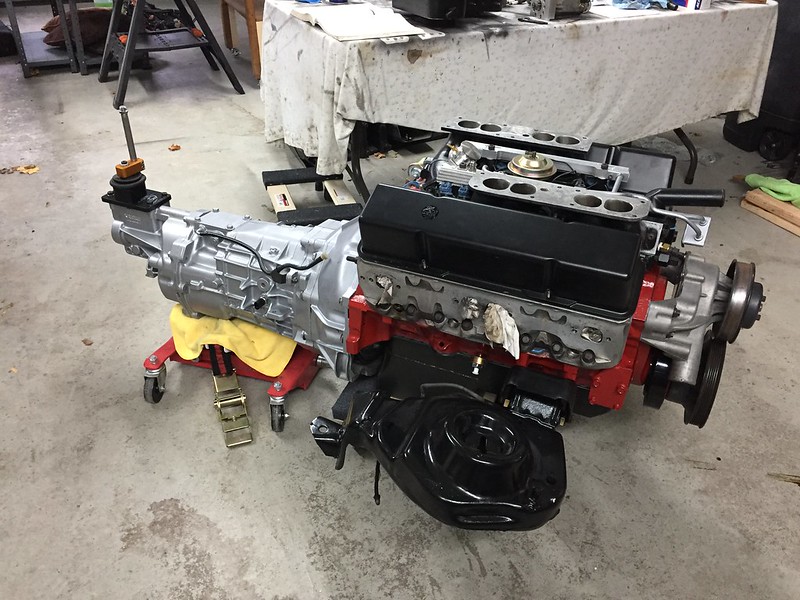
Mated up!
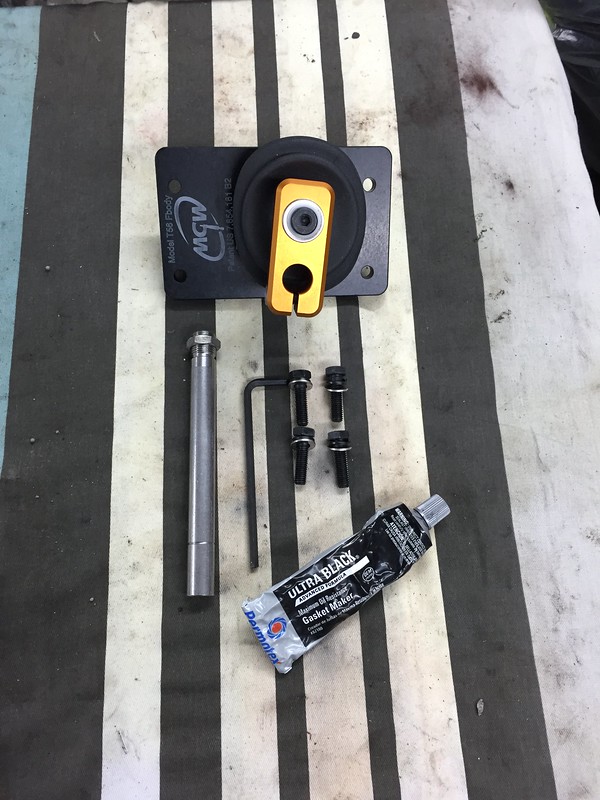
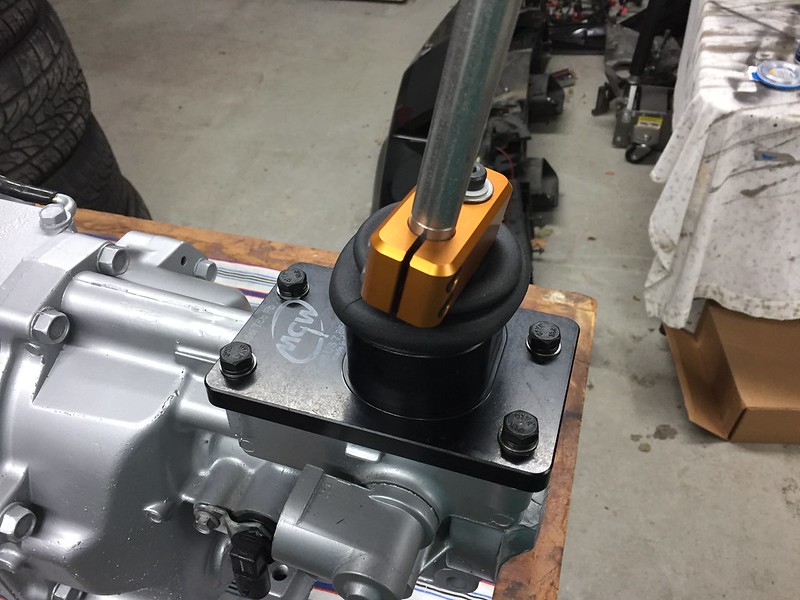
Before I put everything in the car I also installed my new MGW shifter in the T56 with a new bronze bushing. I had a Pro 5.0 in the car, but still felt it was a bit sloppy for my taste. I'm hoping this one will stiffen it up a bit and give the shifts a nice crisp feel:
The drivetrain is pretty much ready to go back in the car now, should have that done in the next update!
I enjoy the MGW shifter in my TA. Good balance between feel and ease of movement.
Agreed on the aluminum flywheel. I've had the Fidanza flywheel I have currently behind my stroker motor behind a stock LT1 when it was in my Formula and then the TA. Yes, I'd occasionally stall out on the start, but rev matching is so easy. My new to me 00 540i has a dual mass flywheel. I haven't gotten accustomed to how much throttle I need to give it to rev match. It's so much more than the aluminum. I'd switch on it too but the Bimmer's heavy and the transmission will rattle without the dual mass flywheel.
Congrats on getting the engine and trans put back together.
__________________
Trey
Current rides: 2000 BMW 540i/6 and 86 C10.
Former ride: 1979 Trans Am WS6: LT1/T56, Kore 3 C5/6 brakes, BMW 18in rims
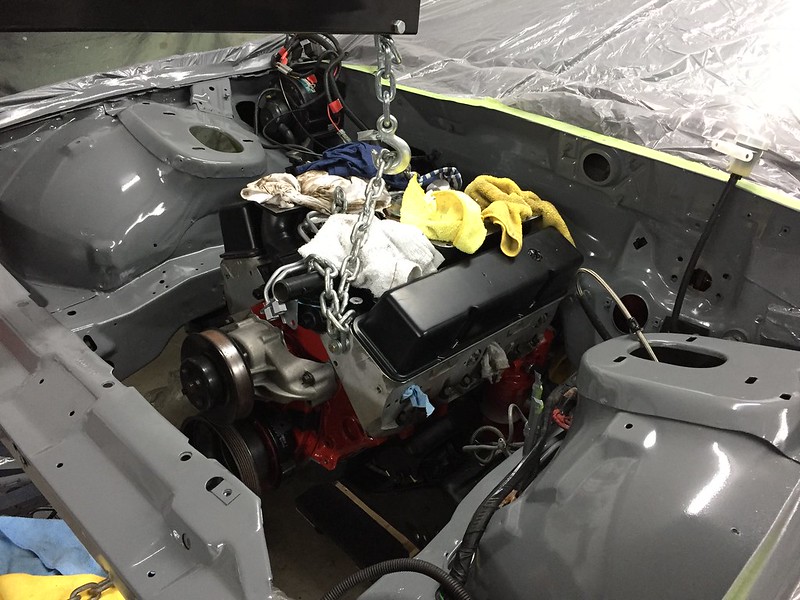
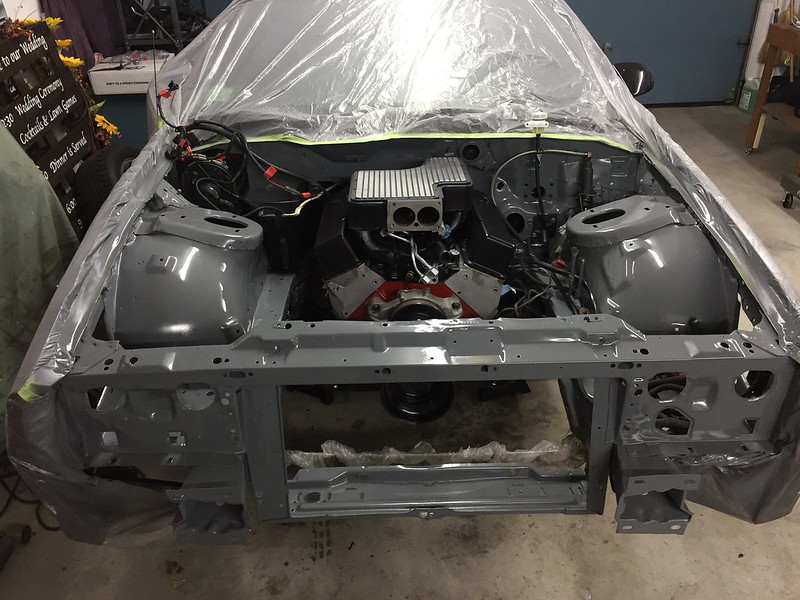
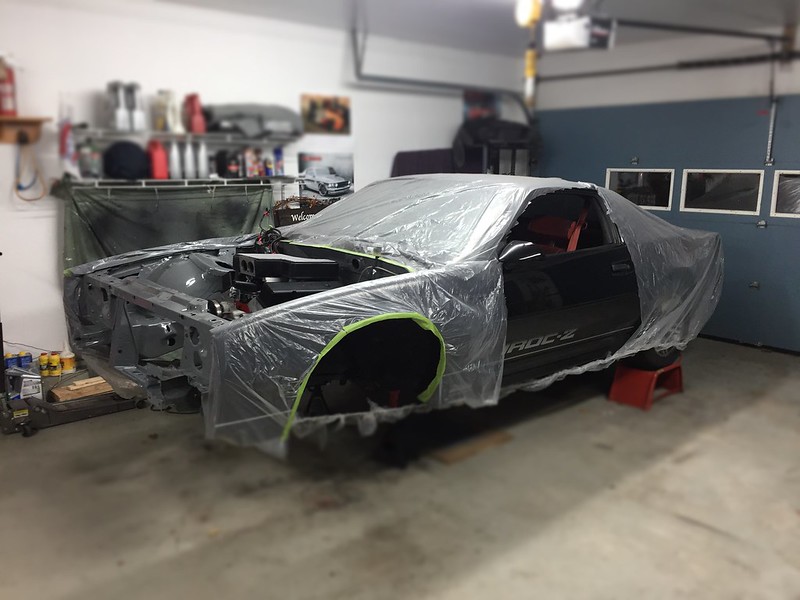
BIG MILESTONE IN THE PROJECT! ENGINE IS BACK IN THE CAR!
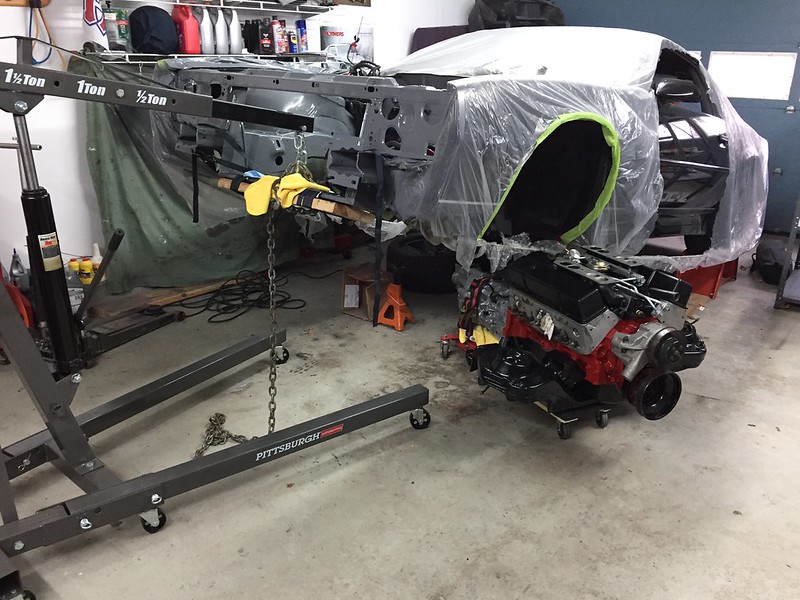
I decided to put the engine and transmission back into the car as a unit from the bottom and it ended up working out awesome. I was able to do it myself in just a couple of hours. Here's how I did it:
I had the transmission on a small scissor lift and put the engine and K-member on a cheap $20 moving cart I found at Harbor Freight. It was awesome, the whole drivetrain rolled arund the garage pretty easy!
To get the engine under the car, I had the rear wheels up on ramps and lifted the front end using my engine crane attached to the lower radiator support. I reinforced the radiator support by ratchet-strapping a 2x6 underneath it to help spread the load:
Getting the motor in place under the car:
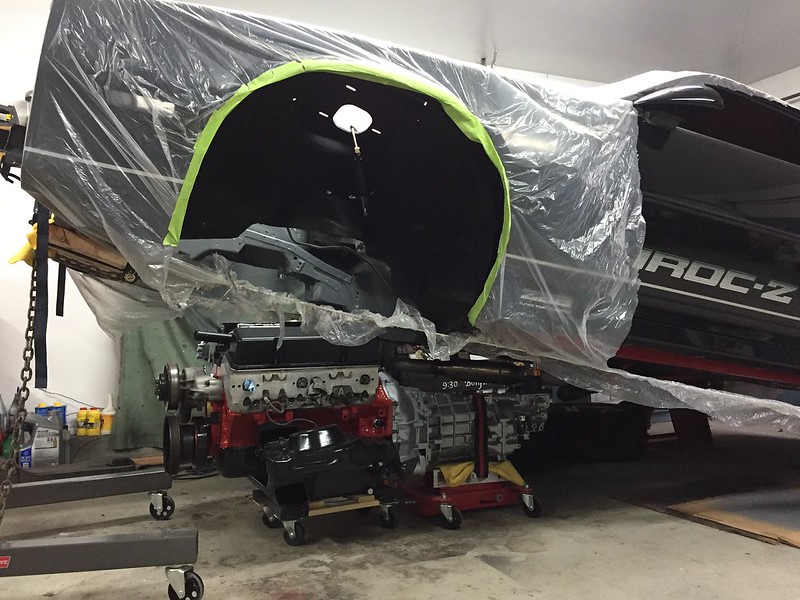
I then started lowering the body to meet the engine:
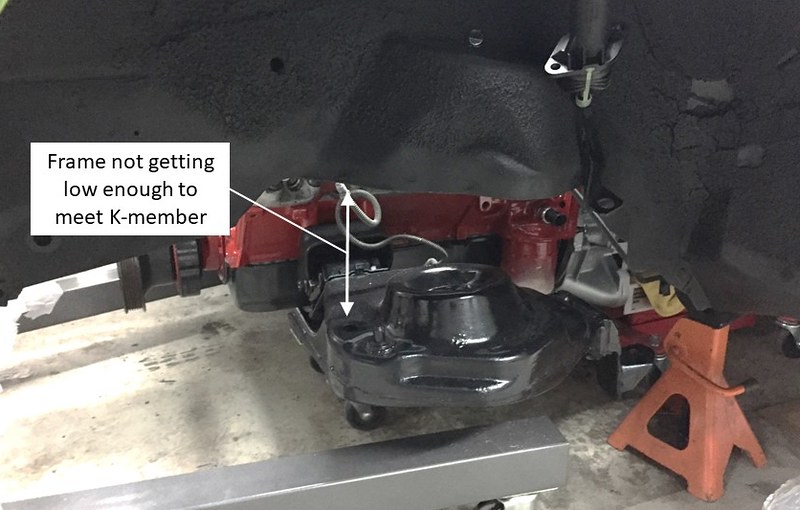
I ended up not being able to get the front of the car low enough to meet the K-member, so what I ended up doing was placing the body on jackstands and using my engine hoist and transmission jack to bring the K-member up to meet the frame. Ended up working like a charm!
Engine coming up!
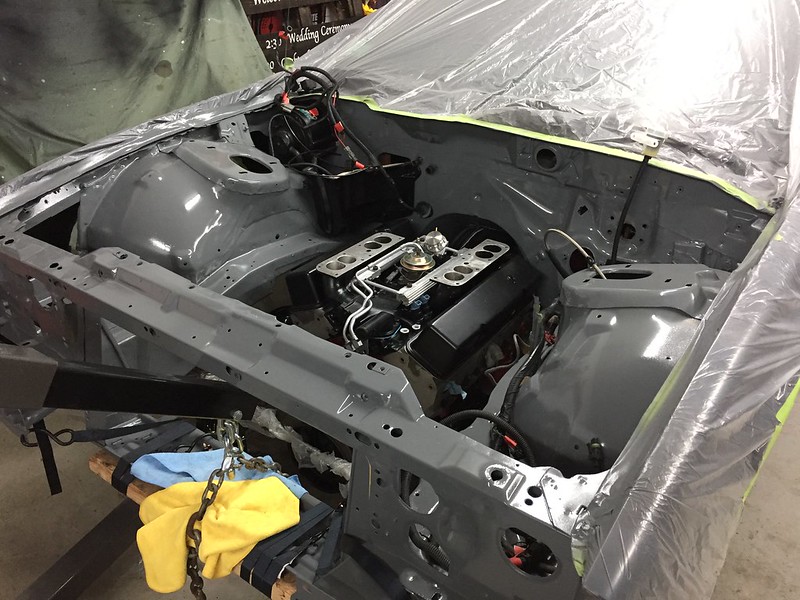
Motor, transmission and K-member in place and bolted up!
If you can't tell, I'm super fired up to get this done! I still have a long way to go but it feels like a big milestone to get the engine back in. I can't wait to start putting parts back on for good, knowing everything is one step closer to getting this thing fired up!
Last edited by garage_engineer; 12-05-2018 at 08:59 PM.


 Brian Hobaugh SCCA National Tour June 2014
 First Hemi 'Cuda Convertible Ever Built
 Short clips: Goodguys Pleasanton autocross and pit videos


 Linear Mode

