...

Go Back   Lateral-g Forums > Technical Discussions > Chassis and Suspension
User Name
Password


Reply
 
Thread Tools Display Modes
  #1  
Old 02-08-2012, 09:14 PM
SicMonte's Avatar
SicMonte SicMonte is offline
Member
 
Join Date: Mar 2009
Location: Woodbine, MD
Posts: 72
Thanks: 0
Thanked 0 Times in 0 Posts
Default Ridetech G Body Rear Coilover Install

This is my write up of the Ridetech Chevrolet G Body rear bolt on coilover kit. I performed this install in my home shop on a Rotary 10,00lb lift.

**I will have the comments associated with the given picture above the pictures**


The boxes as they came in.


The boxes all unpacked. This is the front and rear coilover set up's.


This is my old set up. Vari-shocks and CPP coil springs #603-4. This set up provided an amazing stance but horrible ride and handling!! I was pretty much bouncing off the bump stops.


Old set up gone. I know..I know...I need to clean up the underside of my car!!! lol

Reply With Quote
  #2  
Old 02-08-2012, 09:20 PM
SicMonte's Avatar
SicMonte SicMonte is offline
Member
 
Join Date: Mar 2009
Location: Woodbine, MD
Posts: 72
Thanks: 0
Thanked 0 Times in 0 Posts
Default

This is the underside view of the top bracket provided by Ridetech. I thought it was a nice touch that the logo was on it!!


Top bracket is installed. **be sure to follow the instructions on the top bracket b/c it faces a certain way**


This is a view of their bottom bracket.


I wanted to test fit the hardware Ridetech provided and found out that the bolt used to mount the lower bracket was a hair to big for my lower control arm.

Reply With Quote
  #3  
Old 02-08-2012, 09:24 PM
SicMonte's Avatar
SicMonte SicMonte is offline
Member
 
Join Date: Mar 2009
Location: Woodbine, MD
Posts: 72
Thanks: 0
Thanked 0 Times in 0 Posts
Default

The bolt on the left is the 1/2" bolt that Ridetech supplied with the kit and the one on the right is the 12mm bolt that was supplied with the control arms (Curr-Trac Lower Control Arms)


12mm


1/2"


I called Ridetech and they sent me out the correct length 12mm bolts in no time at all!!!! Great customer service over there!!
Reply With Quote
  #4  
Old 02-08-2012, 09:27 PM
SicMonte's Avatar
SicMonte SicMonte is offline
Member
 
Join Date: Mar 2009
Location: Woodbine, MD
Posts: 72
Thanks: 0
Thanked 0 Times in 0 Posts
Default

Driver side lower bracket installed


Passenger side lower bracket installed


This is a view of the support bolt that also holds on the lower bracket.

Reply With Quote
  #5  
Old 02-08-2012, 09:32 PM
SicMonte's Avatar
SicMonte SicMonte is offline
Member
 
Join Date: Mar 2009
Location: Woodbine, MD
Posts: 72
Thanks: 0
Thanked 0 Times in 0 Posts
Default

It does look like the lower brackets are close to my wheels. My rear wheels are 18x10.5 and there is about .75 inches between the bracket and tire.


This is a pic of the bushings that need to be used on the shock eyelets so the 1/2" bolt can be used.


And here is a pic of the shock bolts that Ridetech provided. The one on top was provided by Ridetech and is 2.5 inches long. It worked but didn't provide enough thread engagement for my likeing so I got some grade 8 bolts that were 2.75 inches long. These worked out prefectly!!

Reply With Quote
  #6  
Old 02-08-2012, 09:37 PM
SicMonte's Avatar
SicMonte SicMonte is offline
Member
 
Join Date: Mar 2009
Location: Woodbine, MD
Posts: 72
Thanks: 0
Thanked 0 Times in 0 Posts
Default

This is a pic of the set up installed with the supplied brackets.


To get my desired ride height I had to turn the bottom spanner all the way down. This was not desireable because if I ever caused the suspension to unload enough the spring could have popped out of the spring cups...and that's a bad thing!


I drove it like this around the block and zip tied the spring to the upper mount so it would not pop out of the spring cup.

Reply With Quote
  #7  
Old 02-08-2012, 09:43 PM
SicMonte's Avatar
SicMonte SicMonte is offline
Member
 
Join Date: Mar 2009
Location: Woodbine, MD
Posts: 72
Thanks: 0
Thanked 0 Times in 0 Posts
Default

To remedy this situation Darren at Ridetech thought outside of the box and sent me some A body upper coil over mounts. These mounts are actually a t-bar set up and are very similar to a factory G body upper shock mount.


Here is a jig that I came up with to compare the two mounting solutions. The A body set up is on the left and the supplied G body set up in on the right.


Here are the T-bars and the spring clips that keep them in the shock eyelet. They are tricky to install but a small screwdriver took care of them no problem!!


Reply With Quote
  #8  
Old 02-08-2012, 09:49 PM
SicMonte's Avatar
SicMonte SicMonte is offline
Member
 
Join Date: Mar 2009
Location: Woodbine, MD
Posts: 72
Thanks: 0
Thanked 0 Times in 0 Posts
Default

The factory upper shock mounting holes were too small and had to be drilled out to 3/8"

Before


After


This is with the upper mounts all installed. Follow the directions for the A Body mounts because the stress the fact to be sure to mount the bolts from the bottom up!!!. Ridetech supplied 1.25" long bolts but like the shock bolts I went with a little bit more thread engagement and got 1.5" bolts.


Reply With Quote
  #9  
Old 02-08-2012, 09:56 PM
SicMonte's Avatar
SicMonte SicMonte is offline
Member
 
Join Date: Mar 2009
Location: Woodbine, MD
Posts: 72
Thanks: 0
Thanked 0 Times in 0 Posts
Default

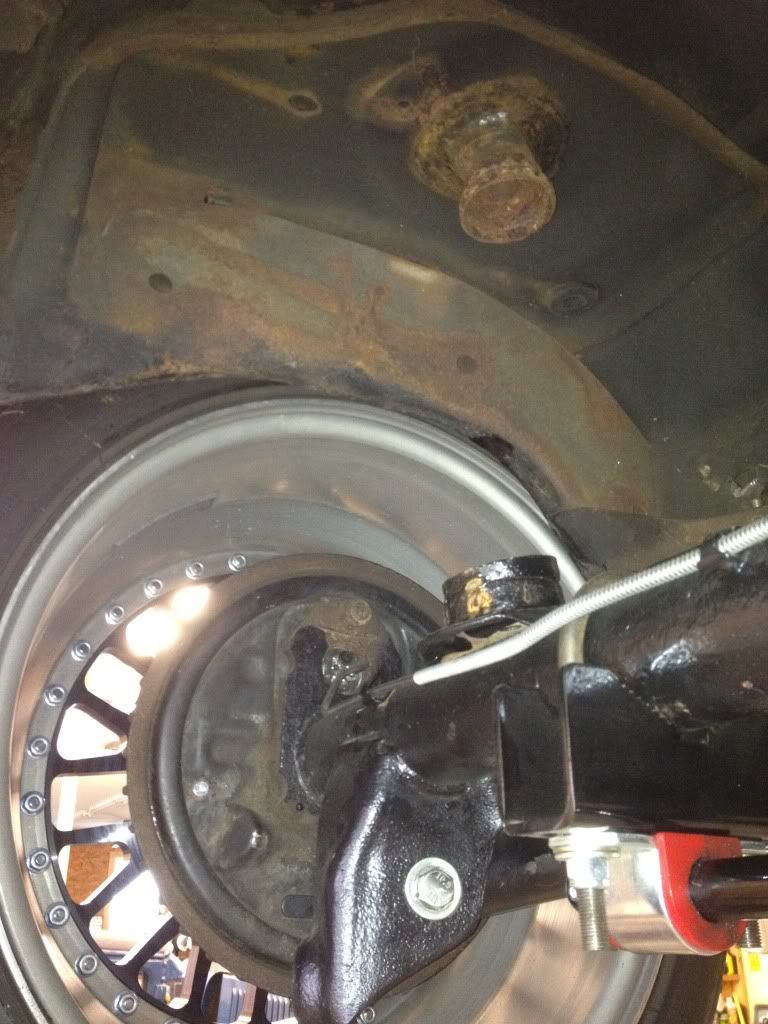
This is how much travel I now have at my desired ride height. For what it is worth the top of my rear fender is 26.75" from the ground and that's with a 295/35/18 tire on a 18x10.5 rim.

Ridetech says that these shocks should be between 13.5-14.5 inches from eye to eye at ride height. That lenght is in the shocks "sweet spot".


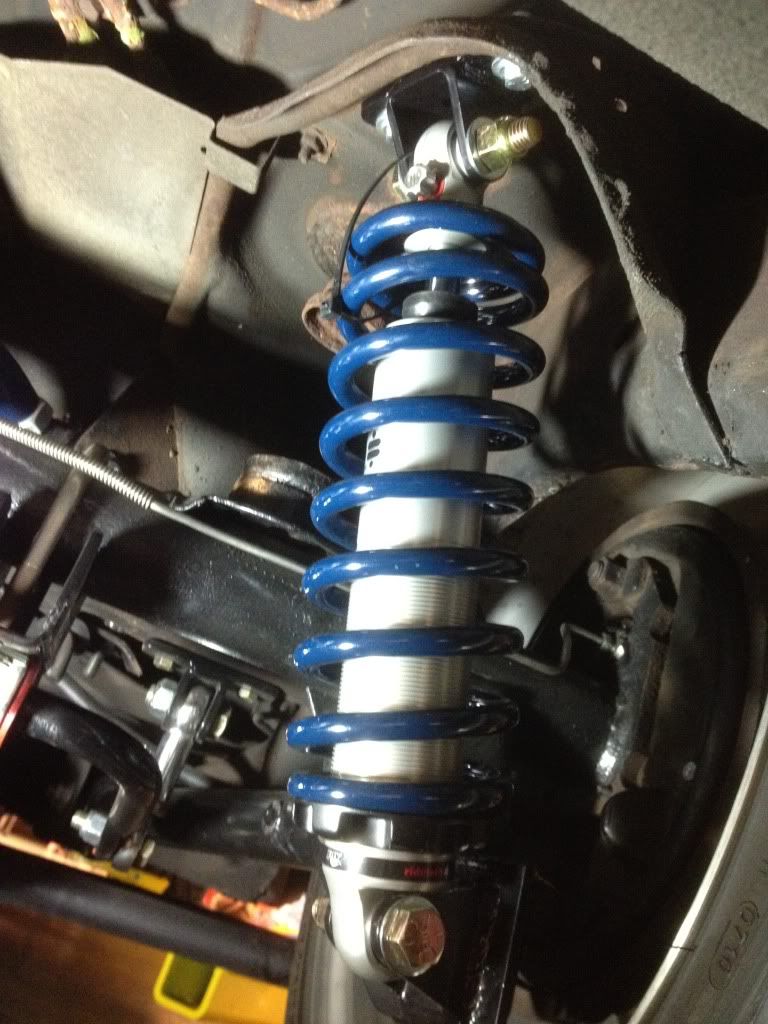
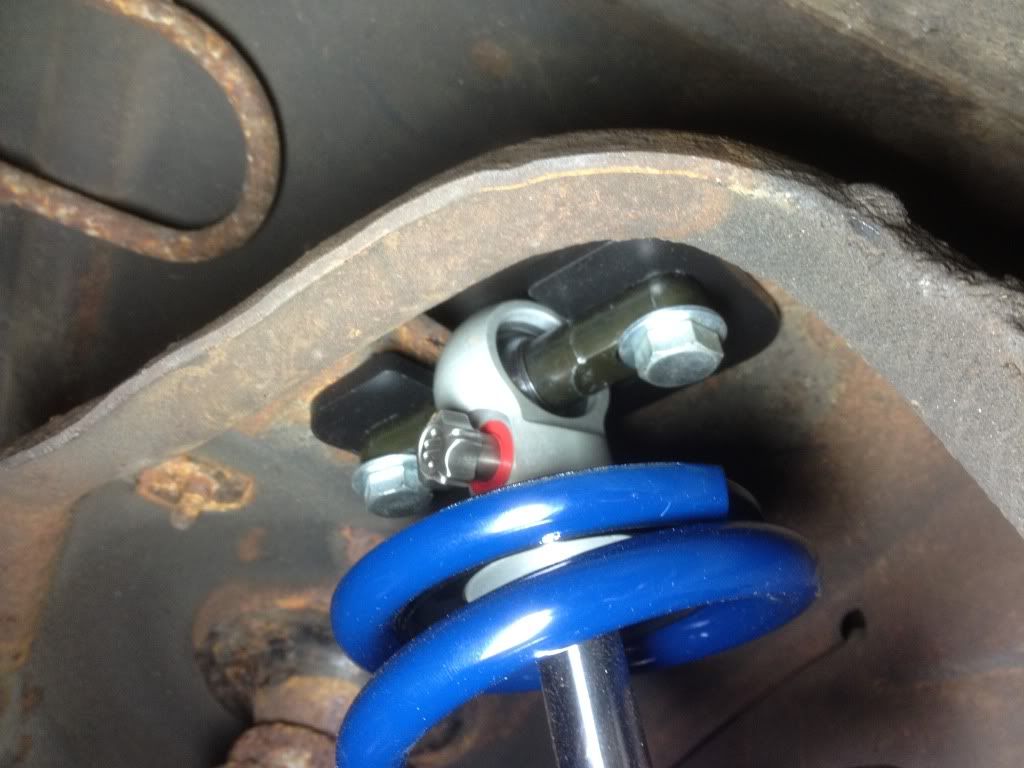
Pic of the final product.


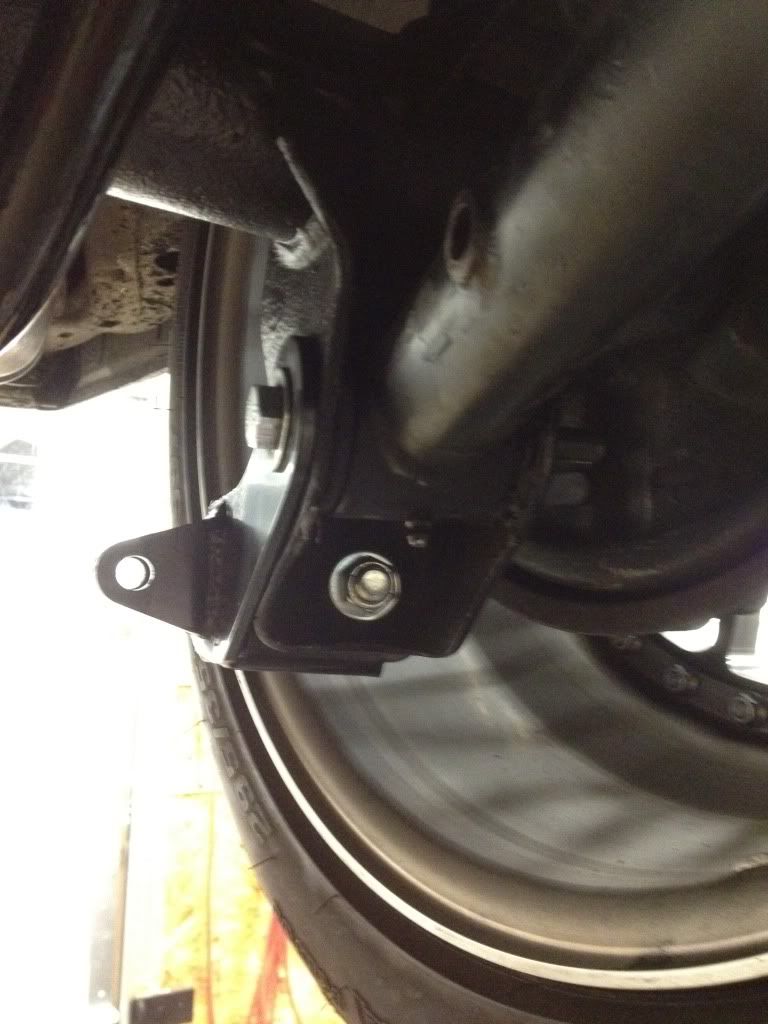
Cool view from the rear of the car...those coilovers look good under there!!!


I am very impressed with this coil over kit. The difference in ride quality and handling is night and day!!! The guys at Ridetech really helped me out with the ride height issue and got me to where I wanted to be. I couldn't be happier with this product! The springs and shocks are 100% A+ quality and they are made in America...which just makes it that much better!!!

Feel free to ask me any questions.
Reply With Quote
  #10  
Old 02-08-2012, 10:19 PM
SicMonte's Avatar
SicMonte SicMonte is offline
Member
 
Join Date: Mar 2009
Location: Woodbine, MD
Posts: 72
Thanks: 0
Thanked 0 Times in 0 Posts
Default

Wow...I totally forgot the pics on how to put these darn coilovers together!!!!


Pic of the seperated shocks and springs, which are 200lb springs.


Much better pics of the upper and lower brackets in the G Body kit.


Upper spring cup/retainer


Lower spring cup/retainer/spanner

Reply With Quote
Reply


Posting Rules
You may not post new threads
You may not post replies
You may not post attachments
You may not edit your posts

BB code is On
Smilies are On
[IMG] code is On
HTML code is Off

Forum Jump


All times are GMT -5. The time now is 03:23 AM.


Powered by vBulletin® Version 3.8.11
Copyright ©2000 - 2024, vBulletin Solutions Inc.
Copyright Lateral-g.net