Cool In The Texas Heat With Restomod Air
20 years ago, adding air conditioning to a classic car wasn’t a necessity. Nowadays, you won’t catch many classics without it! Aftermarket AC has come a long ways by developing kits to bolt into our cars and even fully universal kits to add AC to just about any car you can imagine.
We’ve done a few different air conditioning installs over the years from a ’65 Chevelle, to recently our ’66 Chevelle wagon. After doing these installs we realized that a kit is nice and makes installation go a little smoother, but in reality there’s just a few major components to any A/C system. You need an evaporator, condenser, compressor, drier, some hose and ducts.
These two cars we did install kits in, there was no doubt it would keep these cars cool all summer long. We wanted to try a real challenge, our 1962 Cadillac Limo that we like to tinker on. This car has double the air space of a standard ’69 Camaro, if not more. Originally the car had two A/C units – one in the dash and the other in the trunk to try to keep it cool. This car lives in Texas where it’s hot, humid and unrelenting. Could we comfortably cruise this car without sweating our asses off?
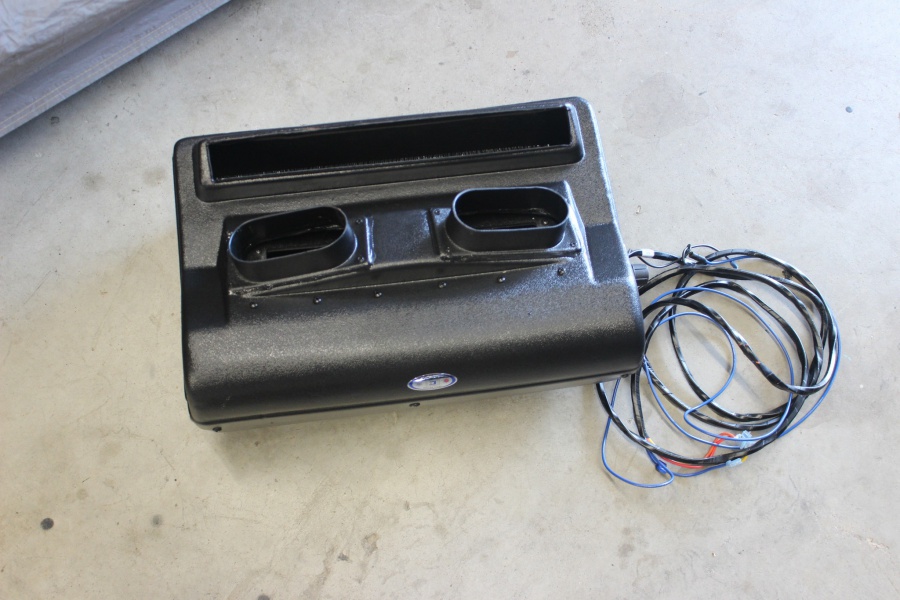
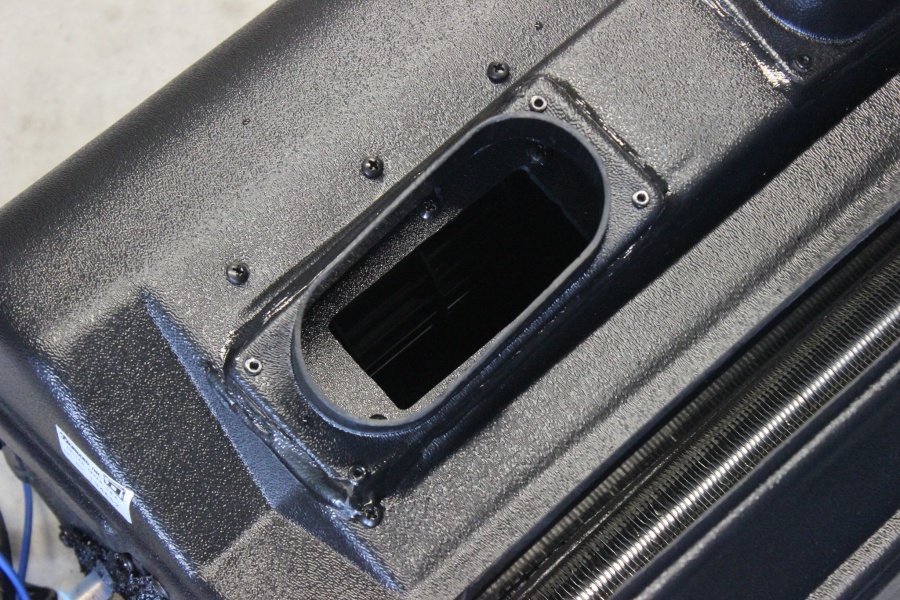

“We can can easily keep that big Caddy cool,” exclaimed Mike Rejowski, President at Restomod Air. “We can install one of our Haymaker heater and evaporator units under the dash and we have a trunk A/C kit for the rear,” continued Mike. In fact, this is a challenge that Restomod Air had done themselves a few years back. They took their ’69 Camaro to Death Valley, the hottest place on earth in the middle of summer! The temperature of the ground can reach temps as high as 145 degrees. In their challenge it was 118 degrees outside and inside the car was 42 degrees!
Time To Chill Out
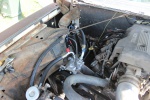
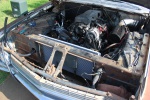
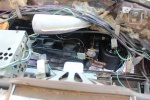
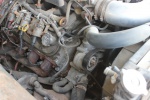
We started this install by removing almost all the factory A/C components. Sure we could have rebuilt them, but it’s a complicated mess of levers, vacuum hoses and outdated technology. We wanted to update to the latest and greatest to ensure the best chance of success. The front unit is typical where it hangs into the engine compartment, so we removed the passenger front fender to make access to all of it easier.
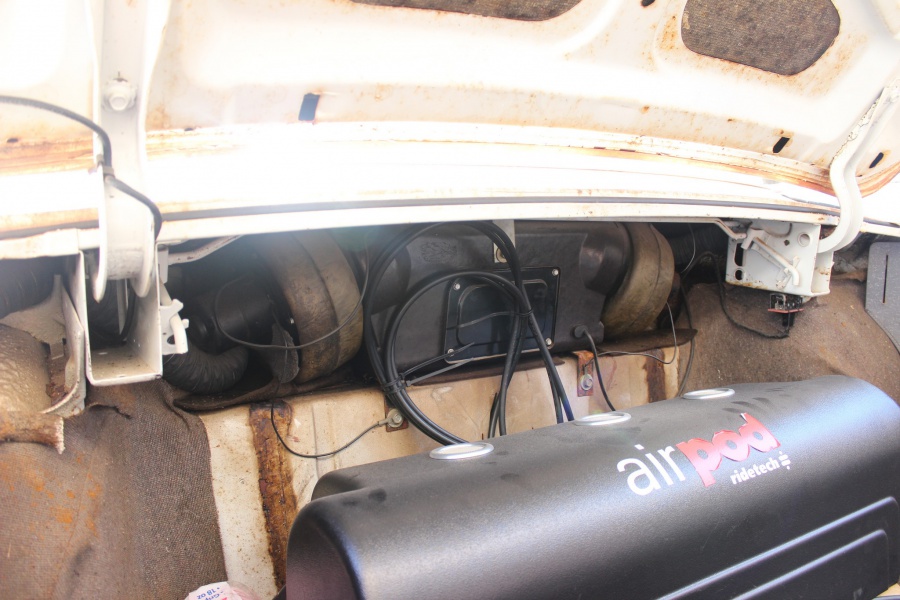
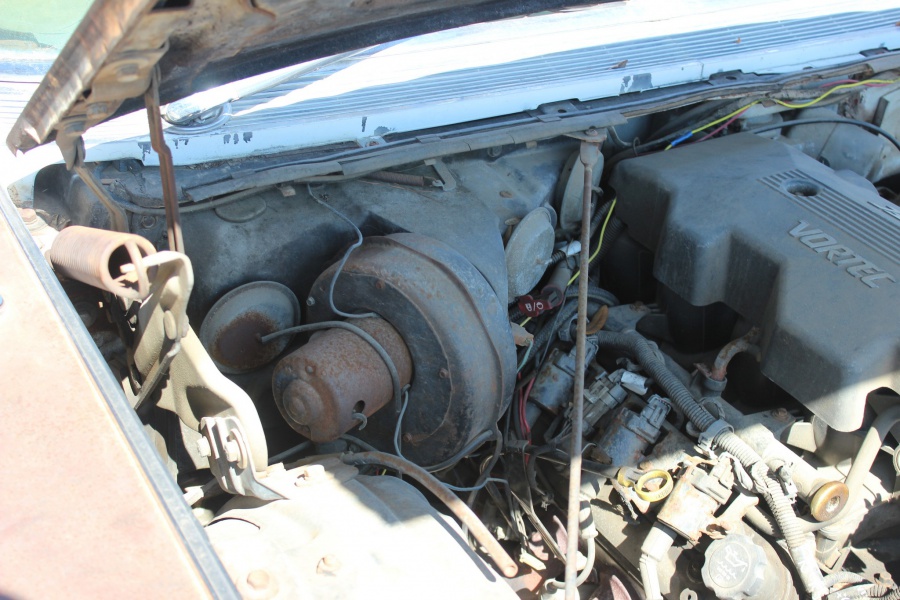
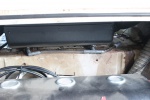
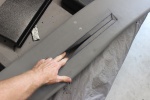
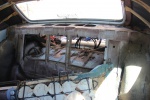
The rear unit is pretty neat in this car. The unit sits under the package tray in the rear, but has ducts that pump air up through the rear C-Pillars and pushes air down to the rear passengers from the roof. We wanted to keep and reuse this ducting as we think it’s really neat and it’s just a clean way to pump in cold A/C to the rear of the car. Everything else was removed though and donated to a local Cadillac junkyard.
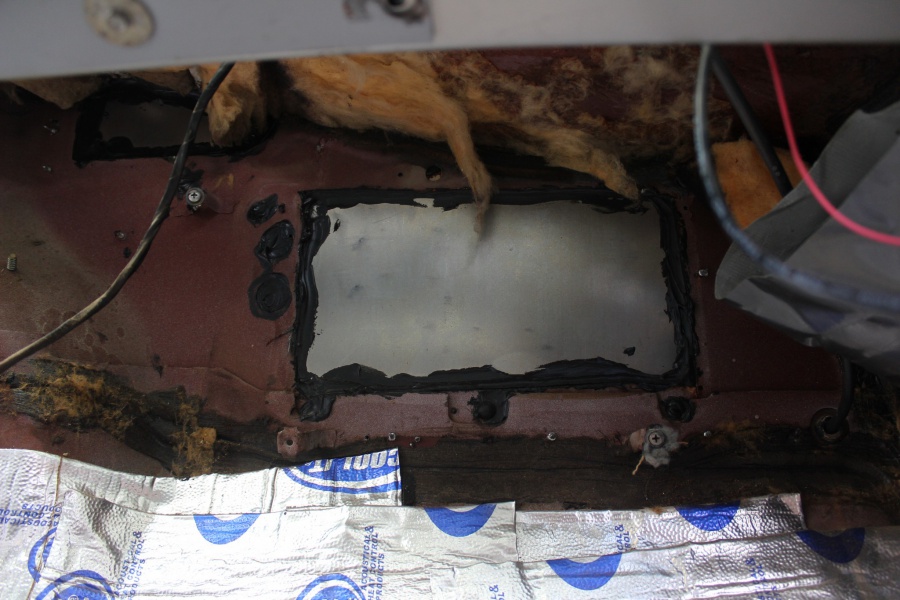
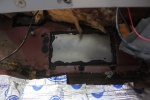
Back under the hood we cut and installed a flat piece of sheet metal over the holes in the firewall to seal everything up and to give us a place to mount the new Haymaker evaporator. “One thing that’s crucial before installing any A/C system is to have the car properly insulated. If you’re sitting inside a metal box in the middle of the desert, the A/C system won’t be able to cool that. You need to have insulation to allow the A/C system to do it’s job,” explained Mike.
Insulate Before You Condition
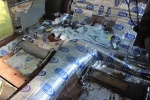
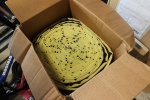
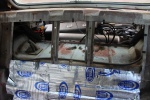
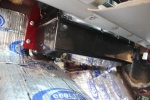
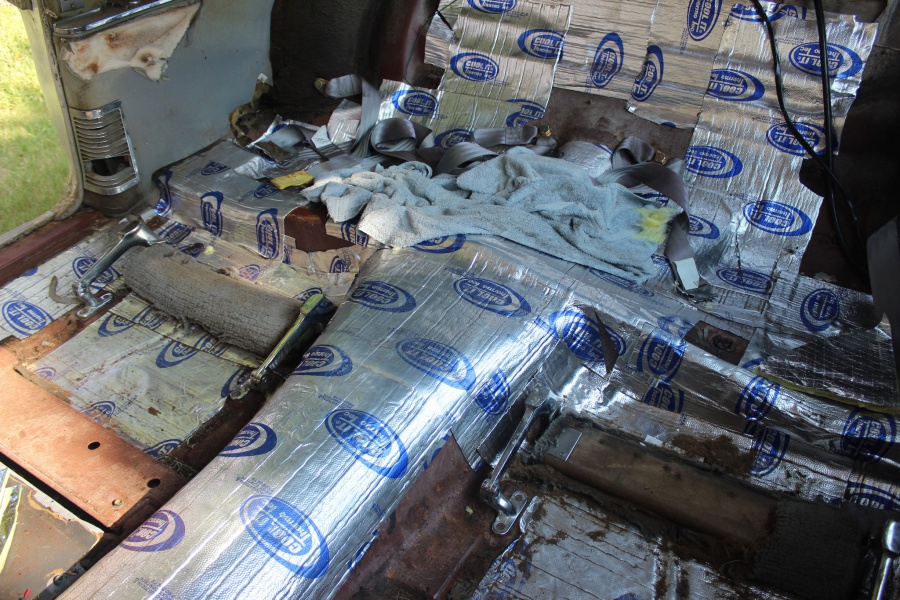
Restomod Air has their own insulation called Membrane that they recommend. We actually had a bunch of ThermoTec Cool-It insulation leftover from installing it throughout our ’66 Chevelle wagon, so we used that to save a few pennies. We put their Suppressor Acoustical Heat Control Mat down everywhere we could. All along the firewall, behind where the Haymaker will mount, along the floor and even on the rear package tray area where the rear A/C will mount. We can say that this stuff works! Driving the Caddy with nothing on the floor our shoes would get hot from driving only a few miles – with this stuff down we can drive all day without our shoes getting hot.
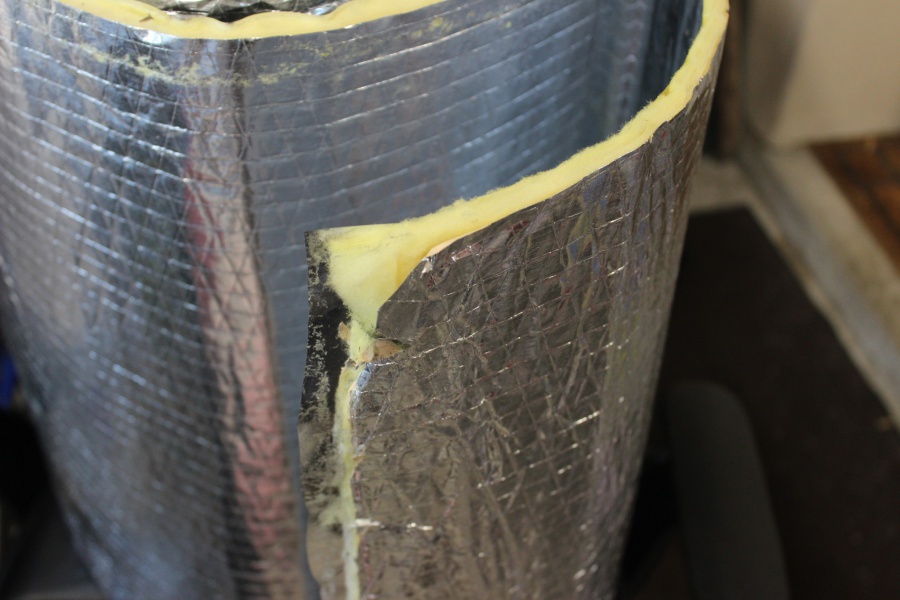
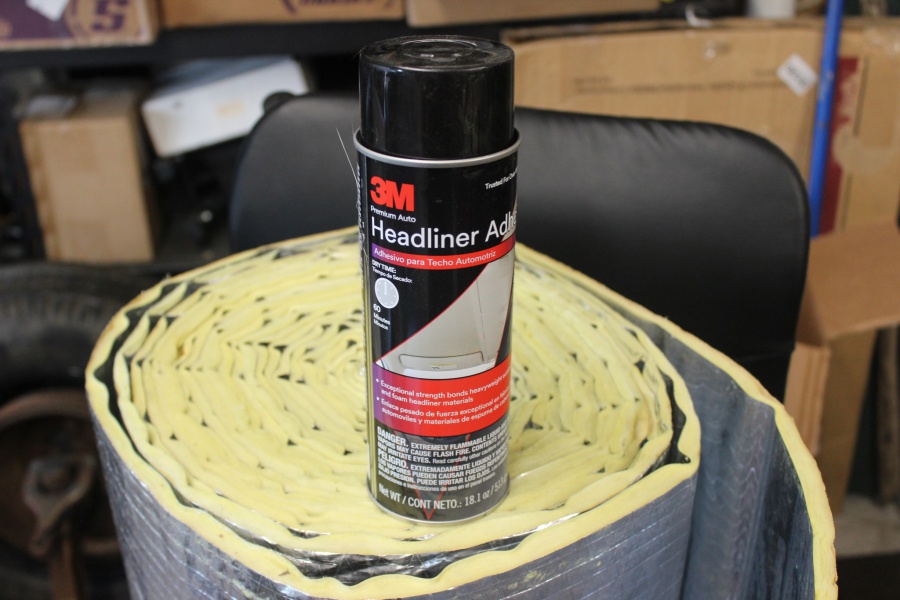
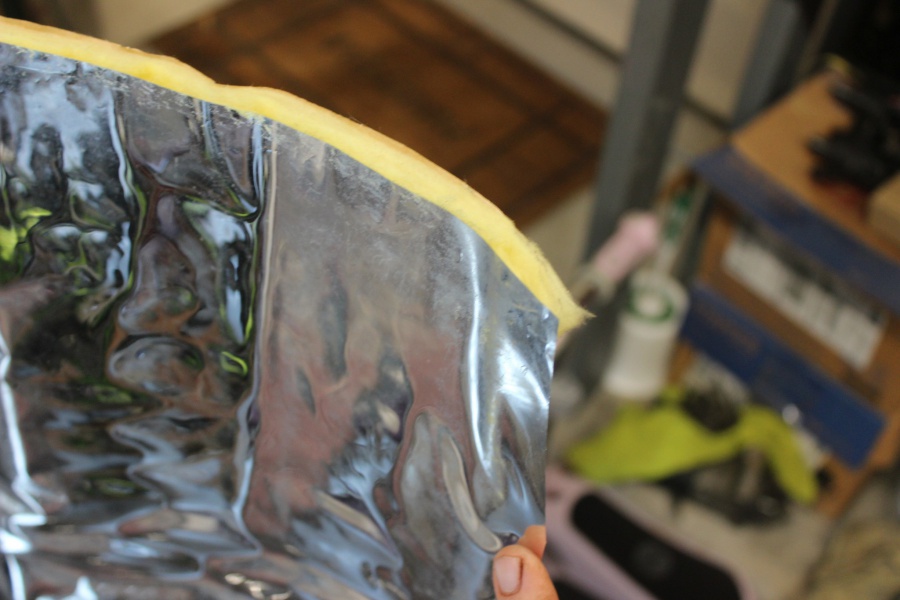
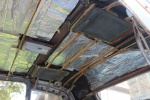
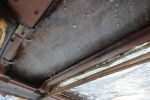
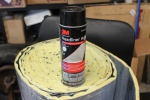
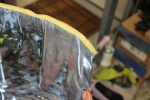
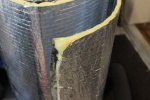
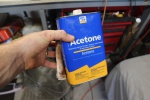
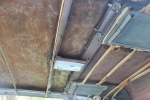
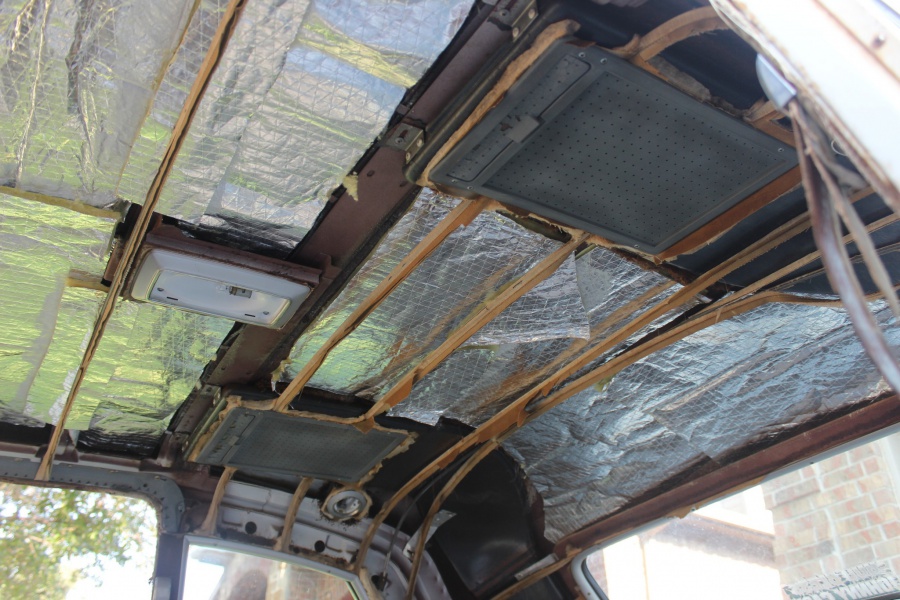
On the roof we scrapped off all the factory(or what was left of the factory) insulation. We then lightly sanded the underside of the roof to not only help clean it but give glue something to bite into. We then wiped it all down with acetone to ensure a great surface for 3M spray adhesive. On the underside of the roof we used Cool-It Mat, which is composed of resin-bonded silica blanketing insulation sandwiched between a Mylar facing on one side and a foil facing on the other. This stuff is about 1/2″ thick and is easy to cut with a knife or pair or scissors. We simply cut and glued it all over the underside of the roof. The end result is that just by touch the roof in the direct sun would burn your hand, but touching the insulation underneath was cool to the touch.
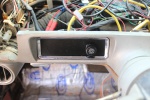
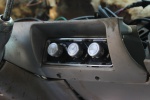
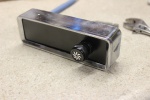
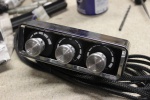
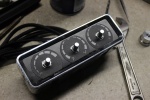
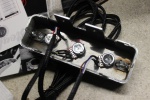
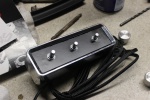
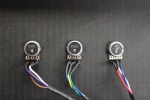
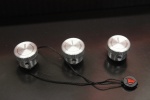
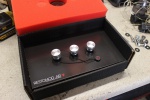
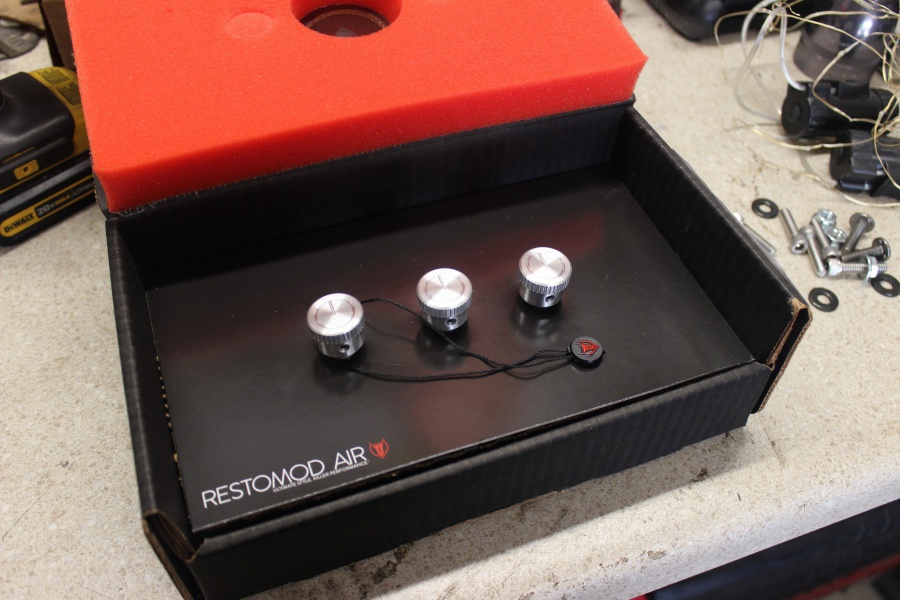
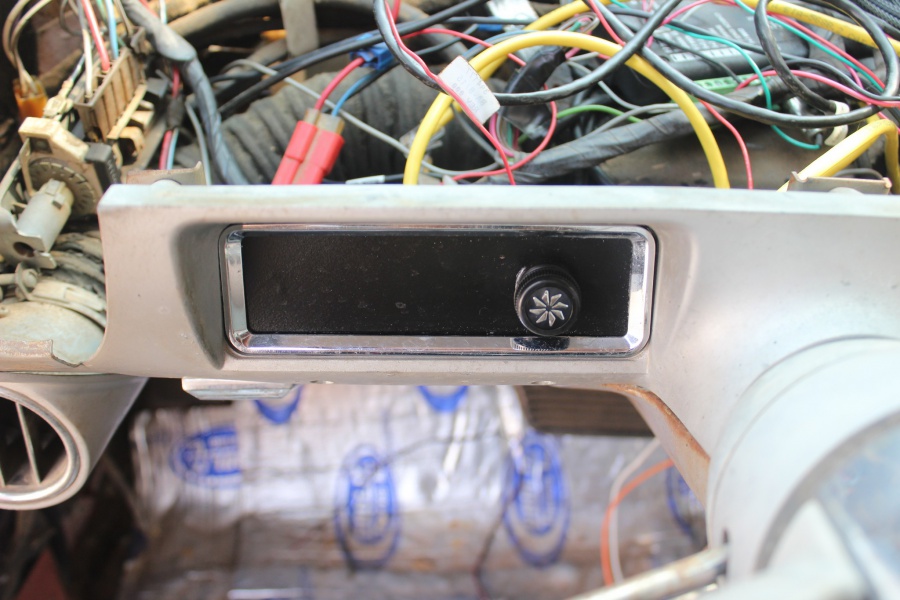
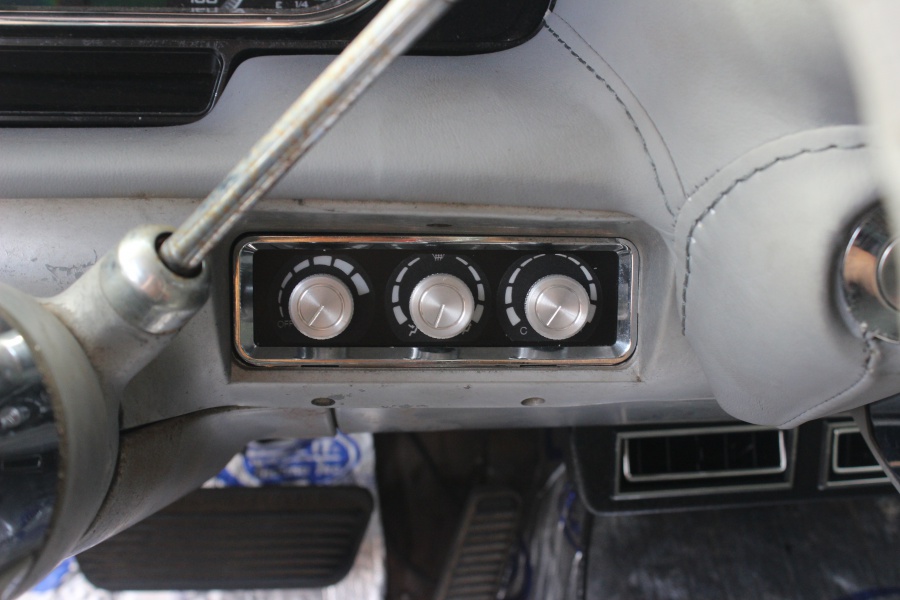
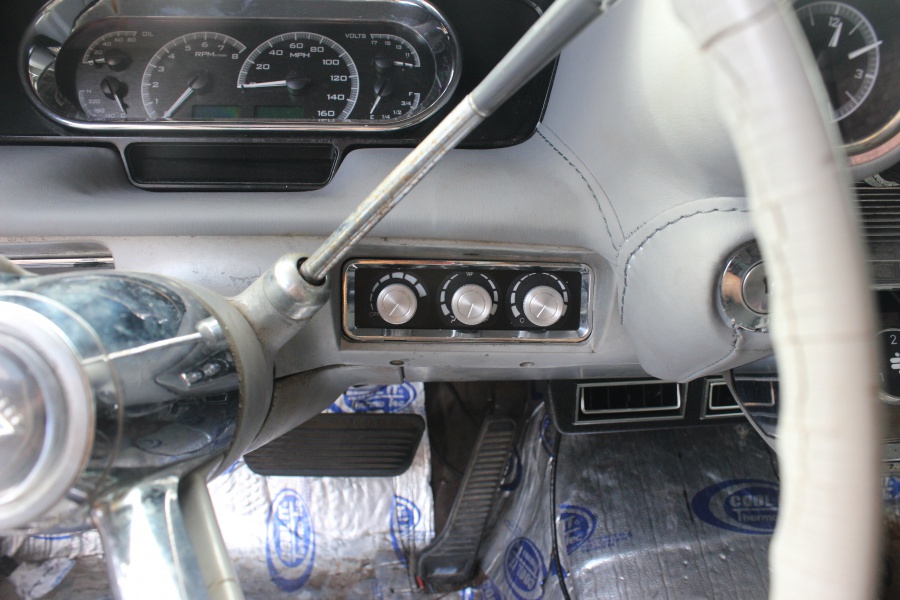
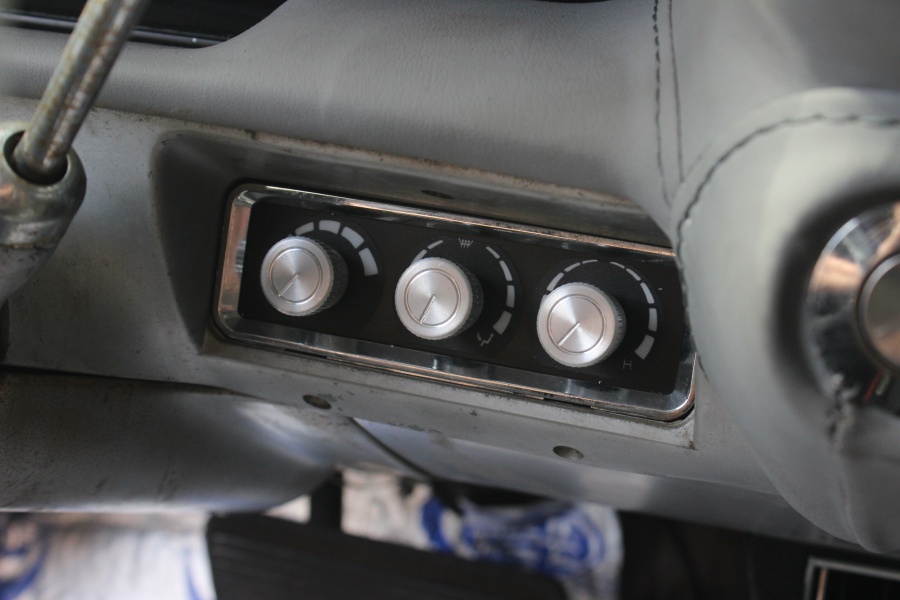
With all the insulation out of the way, the time came to start installing the actual Restomod Air A/C units! One of many cool things about Restomod Air is their selection of custom machined knobs and vents. They have a ton of styles to match your build from mild to wild. You can even control the entire AC system with bluetooth as well if you don’t even want to have controls on the dash! On this old Caddy, we chose probably their most mild knobs since they match the style of the car. We ended up reusing the factory control housings and fabricated a plate to house them in. After drilling three holes, the new controls were mounted in place.


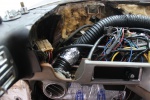
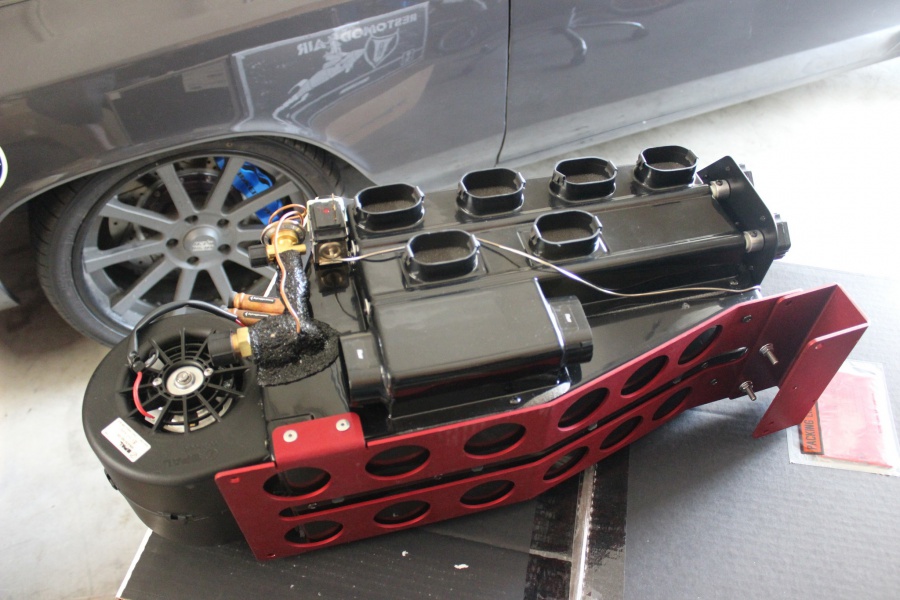
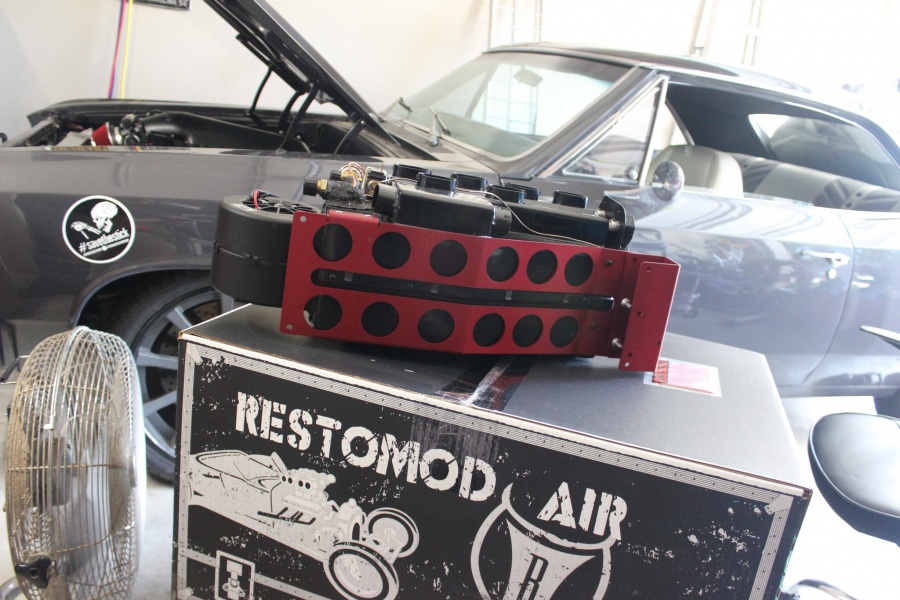
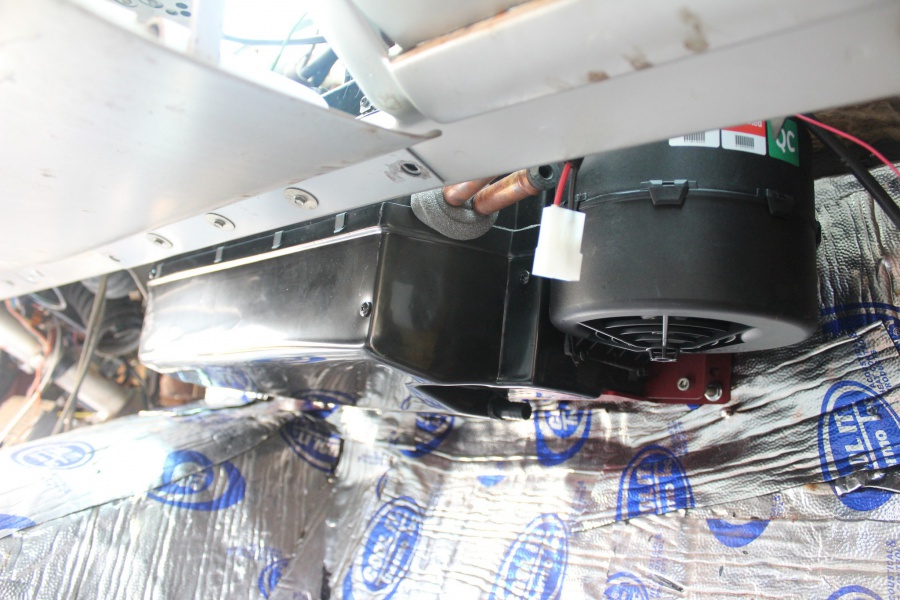
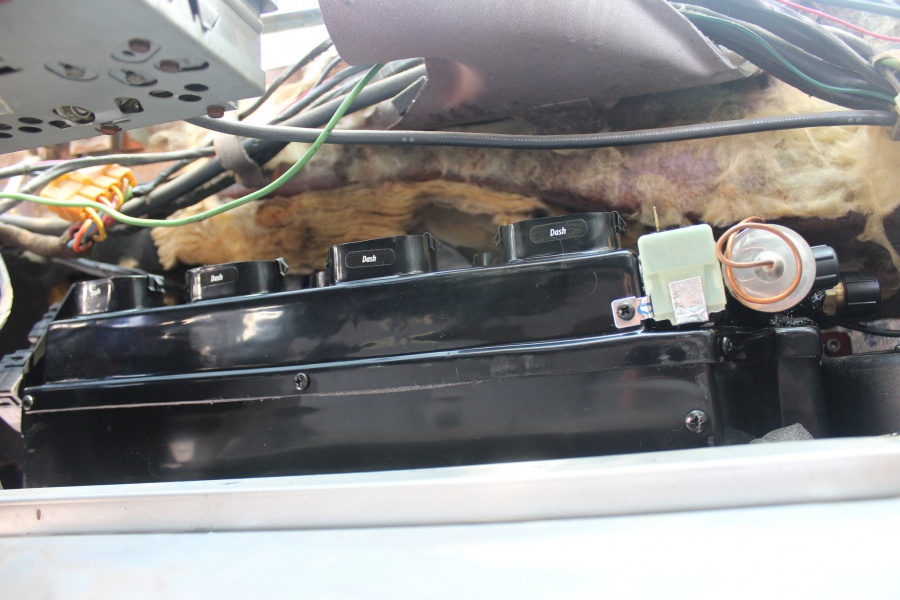
The heart of the system is the Haymaker heater and evaporator. This unit is the biggest and best that Restomod Air makes, and that’s what we wanted to keep this big ol’ boat cool. There’s a few different mounting options and we found that welding studs to the firewall was the easiest for us and made the most sense. We took a long time to get this right because there are duct hoses that will come off the top of the unit and A/C and heater hoses that come off the side of the unit. We wanted to make sure we had more than enough room for all of these pieces.


Double The Cool, Double The Fun
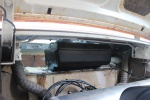
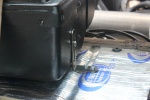
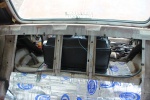
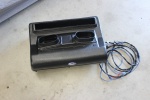
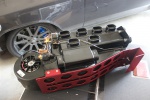
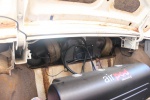
With the front unit mounted, we wanted to get the rear unit mounted up and figured out a bit before running all the hoses and lines that are needed. The rear unit is a A/C only unit, no heat. We could have done a second Haymaker unit in the rear, but we wanted maximum A/C. Plus a single heater up front will heat up the entire car pretty quickly. Another thing to note is that this is a slave unit, meaning the front unit has to be running in order for the rear to be running. The wiring on this one is ultra simple as its basically just a fan blower switch to wire up.
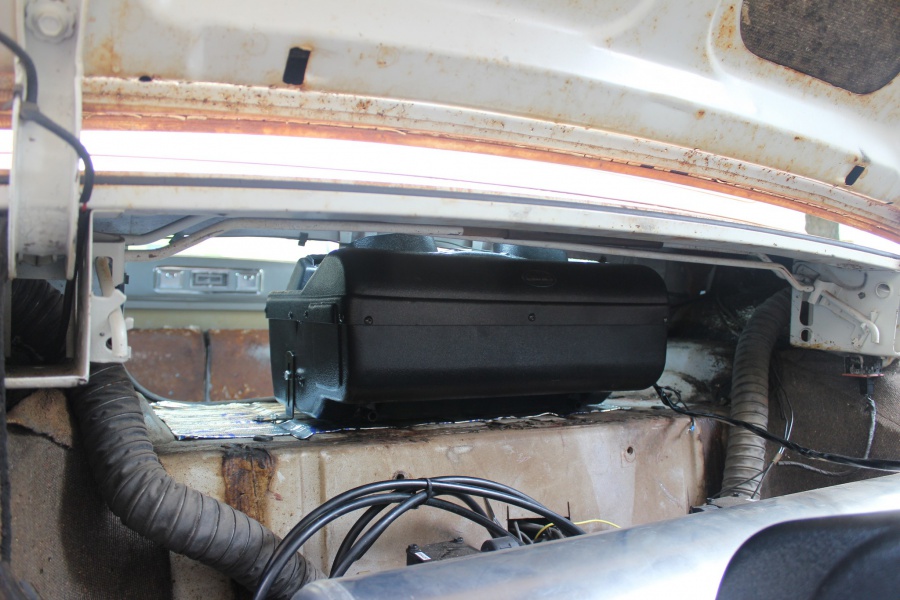

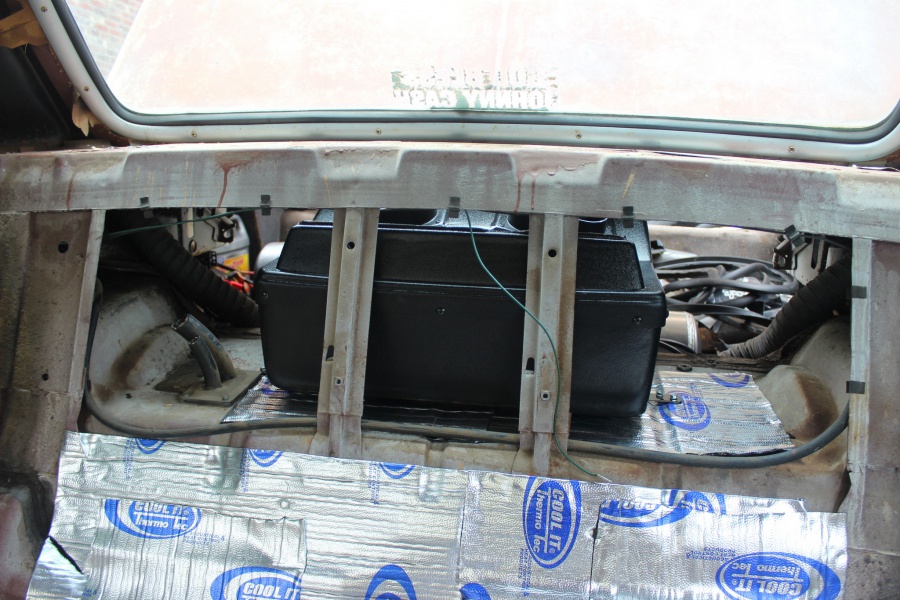
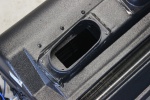
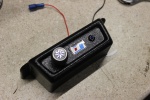
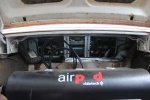
We slide the unit into place, centered it, then used self tapping screw to attach it to the floor. We ran wires for the control knob all the way up to the dash, and mounted this knob by itself on the other panel we made. We ended up wiring in a relay so that this rear unit will only kick on when the front unit is powered up. This unit is a re-circulatory system like the front, but we don’t want it sucking in hot air from the trunk. There’s a inlet duct that we cut into the package tray to pull air from the cabin into the unit to be cooled off instead of the hot trunk air.
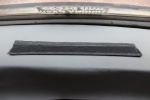
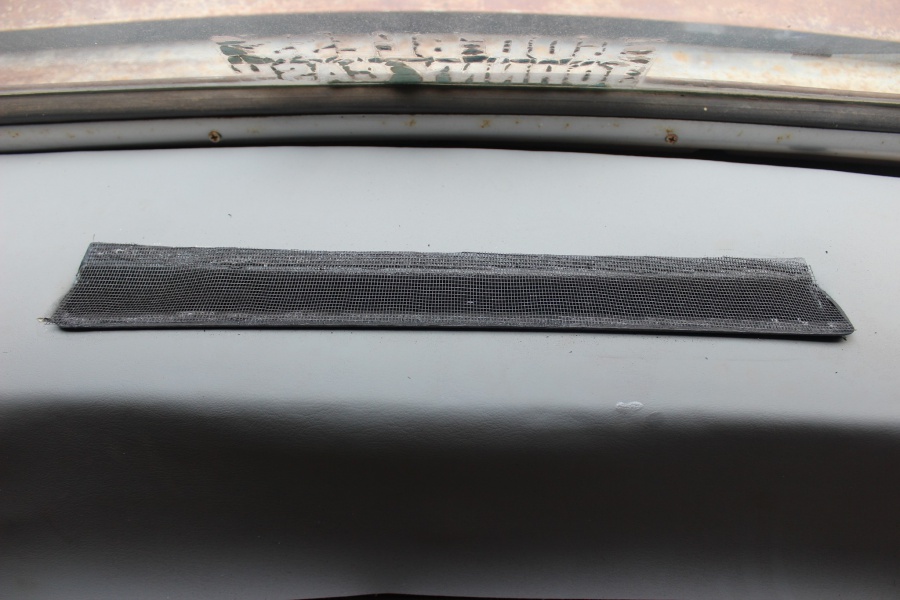
Probably the hardest part of the entire installation was plumbing in the rear ducts. In the rear A/C kit, there’s a set of vents that can easily be mounted on the rear package tray to blow cold air forward to the passengers. However as we mentioned earlier, we wanted to utilize the factory ducts that are the ceiling of the car. The bad part here is that these ducts come into the trunk area about 2″ from the top of the rear wheel wells, giving us almost no room to work.
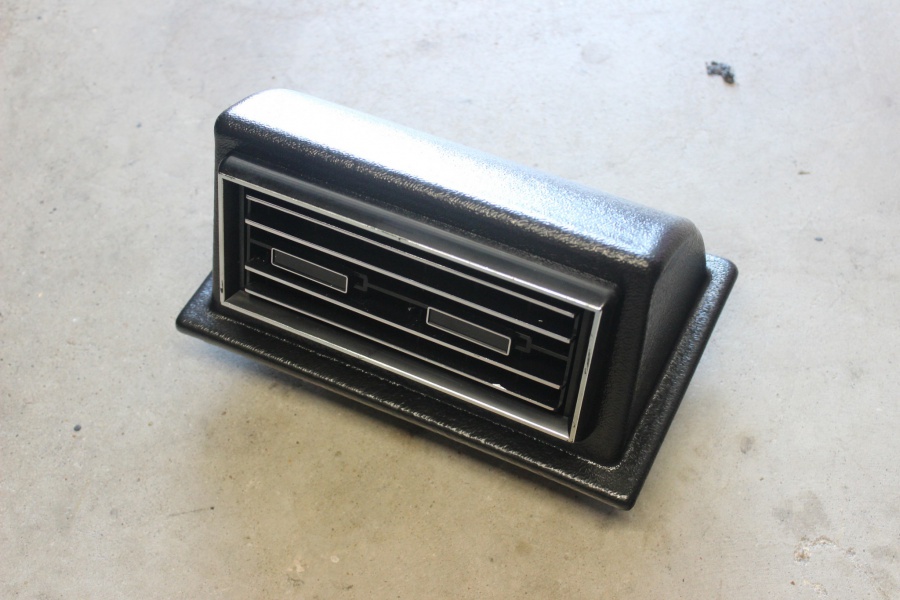
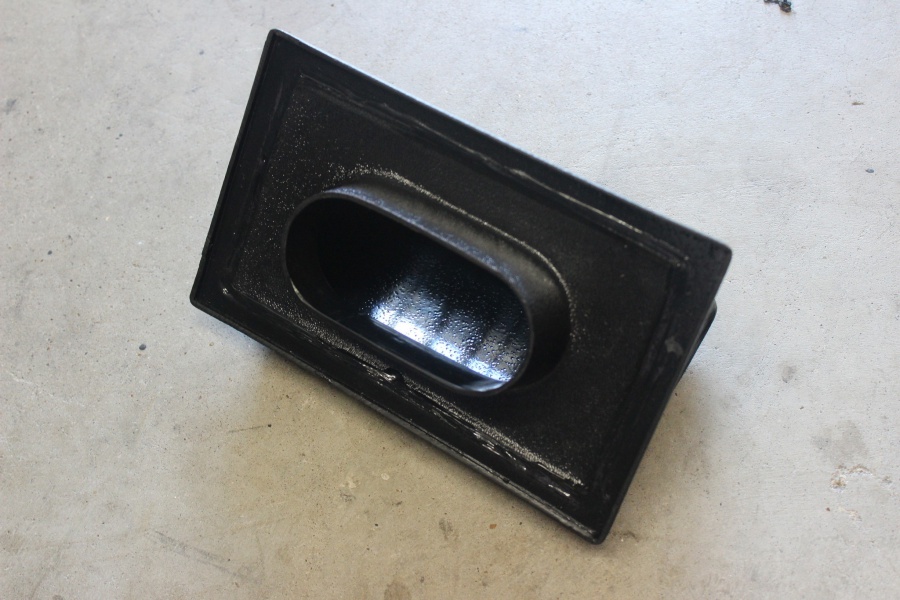
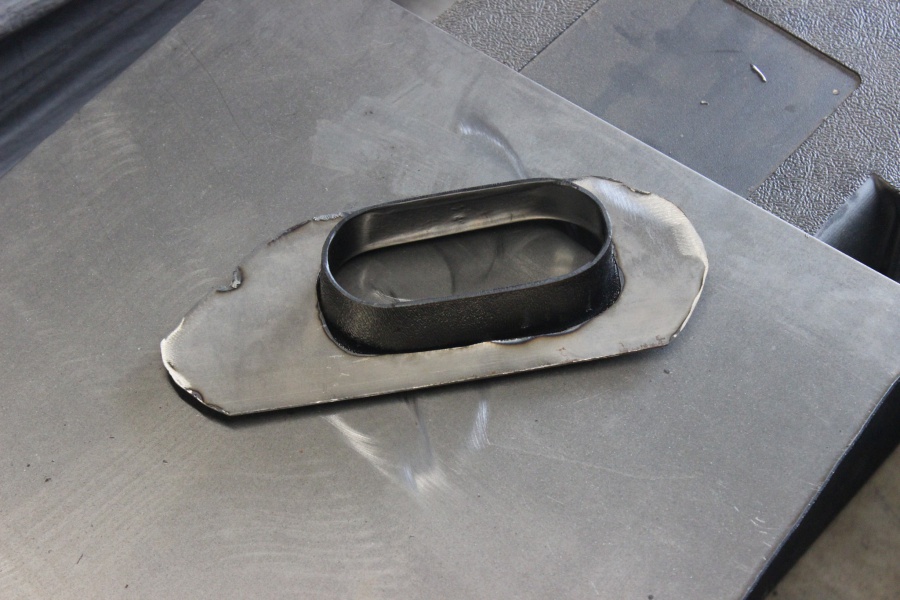
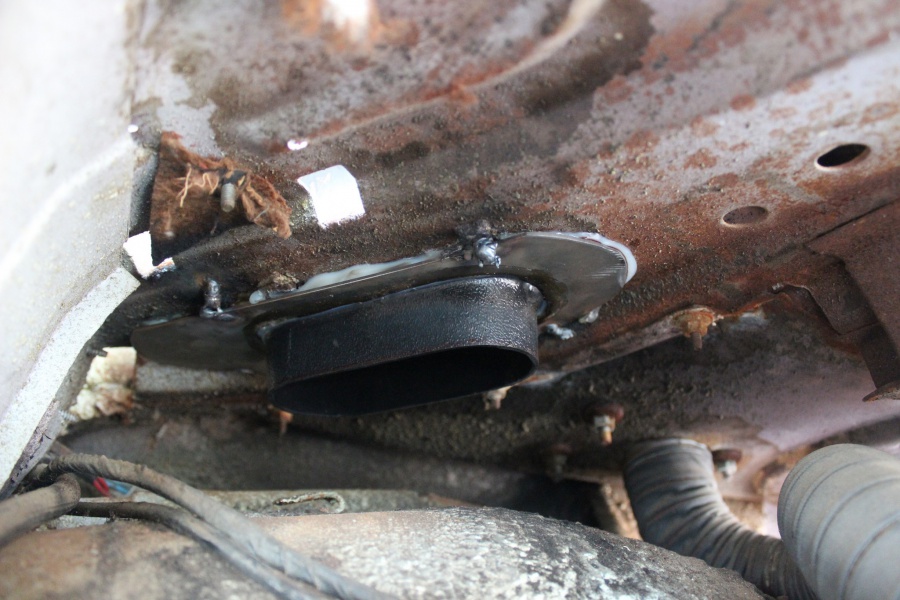
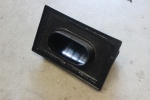
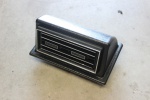
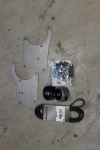
What we did was make a template of the shape of the duct opening, then cut out a piece of sheetmetal with our Miller Xtreme 625 plasma cutter. Then in the middle of these plates we installed the bottoms of the vents from the kits. This allowed us to go from the odd shaped factory ducts to the kit A/C ducting. Now we couldn’t figure out how to drill or attach this to the car any good or clean way. What we ended up doing was laying a big bead of silicon on the plate and sticking it up into place. We placed a few wedges in there and let it dry. Then we took our Miller welder and put a few tack welds to hold it in place.
The Finishing Touches
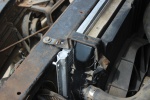
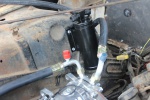
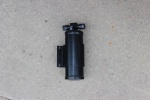
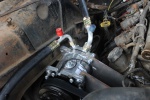
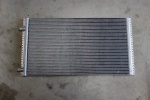
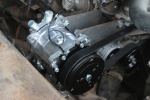
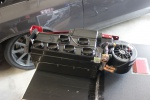
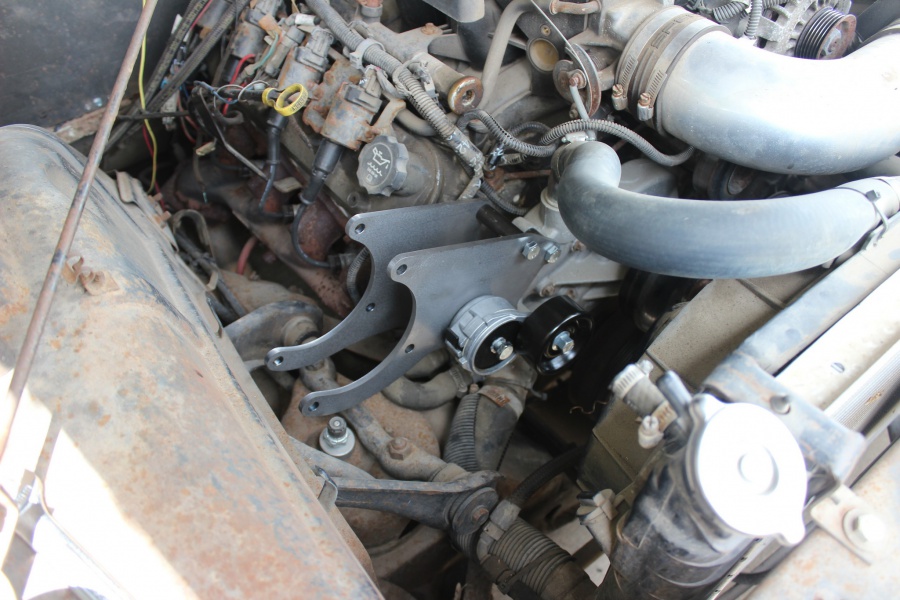
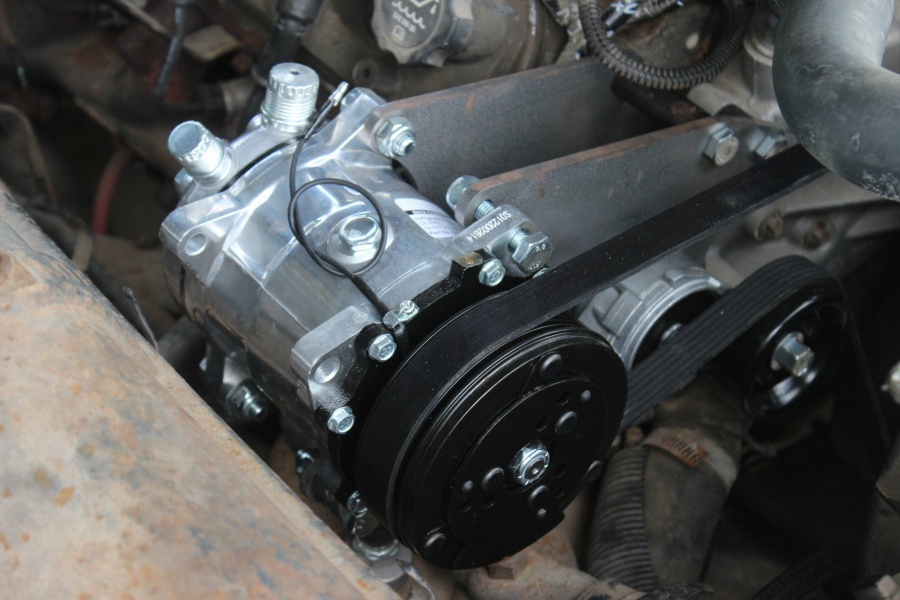
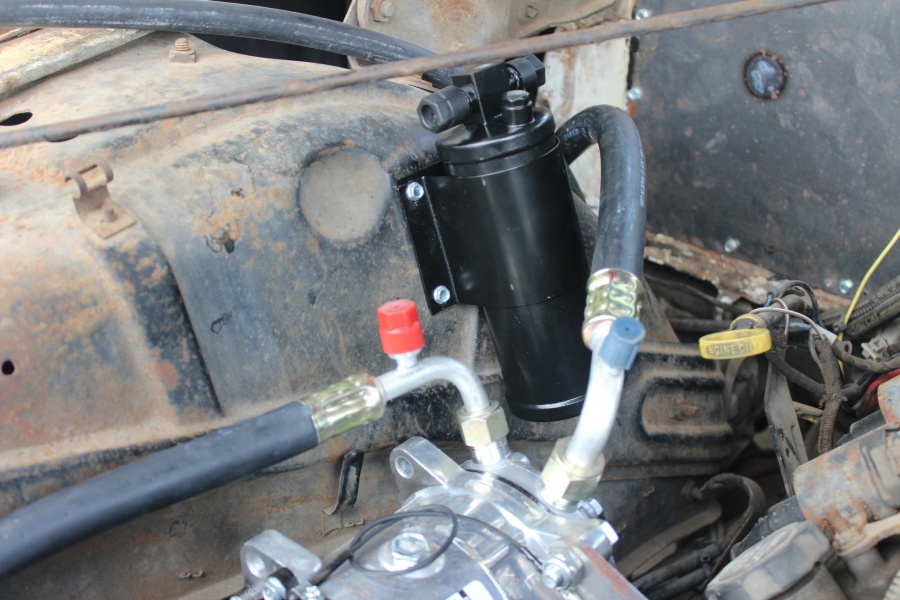
Under the hood we needed to add a compressor and condenser. The compressor was easy as Restomod Air has a kit with the correct brackets and belt to bolt it all right up to our LS engine. The condenser we had to tinker with a bit to get in there. The radiator and fan set up is from a fourth-gen Camaro. What we ended up doing was moving it towards the engine about a half inch which gave us enough room to mount the condenser to the core support, right in front of the radiator and fan set up. We even added some foam around the edges to ensure that the fans were going to be pulling maximum air through the condenser. While under the hood we mounted the drier right next to the compressor.
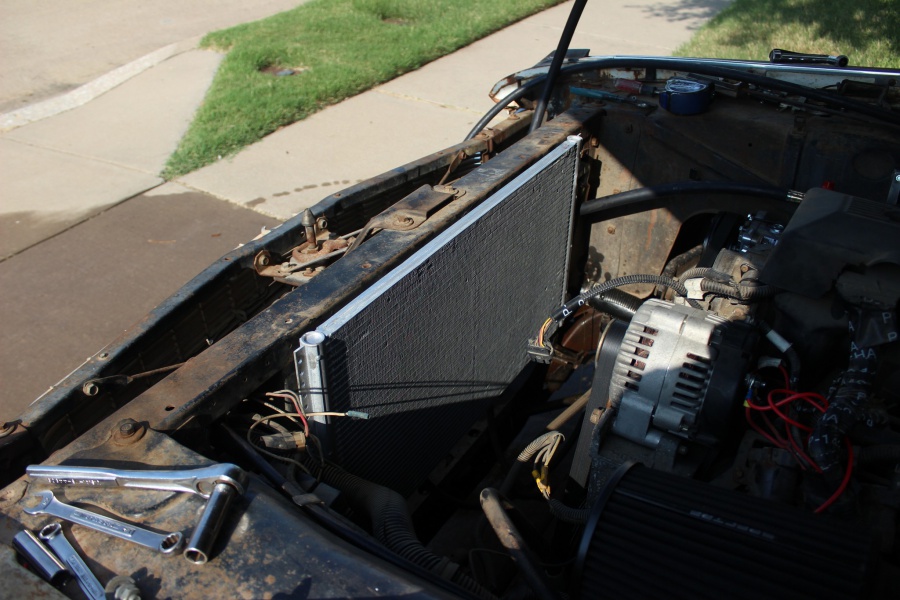
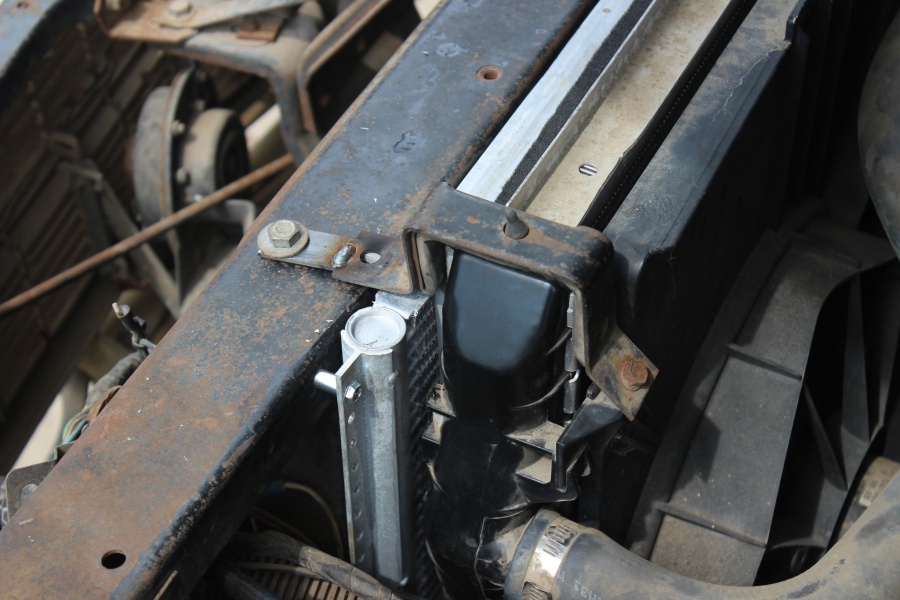
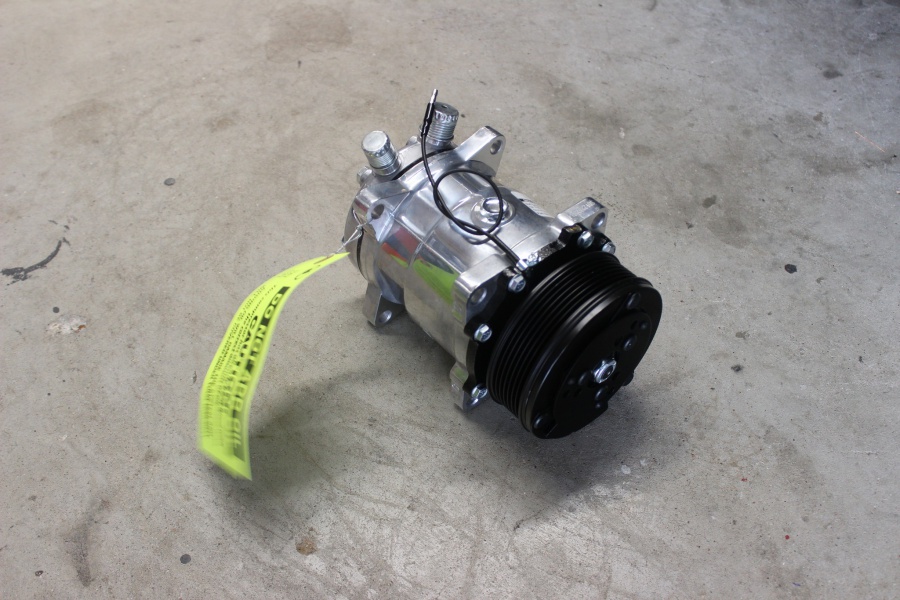
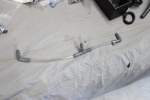
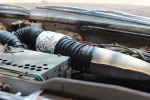
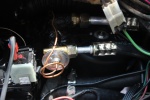
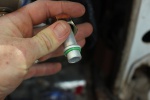
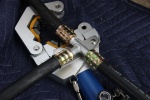
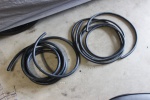
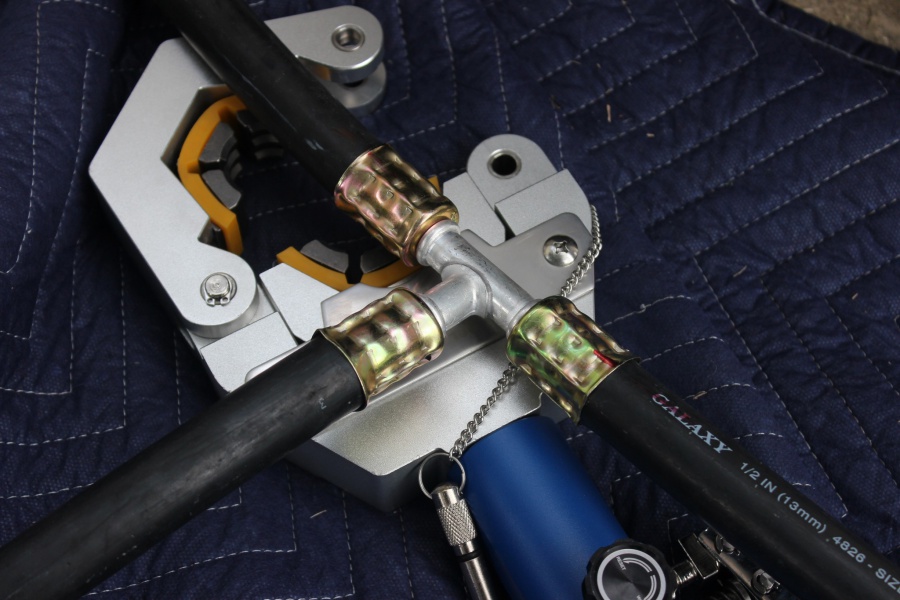
The last few steps were to connect all the hoses and lines. We ended up hopping on Amazon and buying an A/C hose crimping tool, which came in handy and more than paid for itself. Restomod Air supplied a bunch of different fittings with different angles so we went through and found what works, and crimped them on ourselves. The one special part here with dual A/C units, is we used a “T” fitting from Restomod Air that connected the hoses from the front unit to the rear unit. We had to install the heater control valve and heater hoses, then she was just about done!
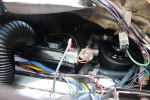
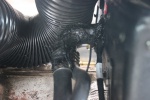
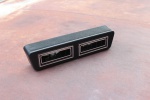
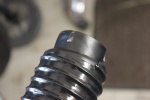
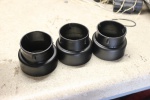
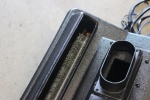
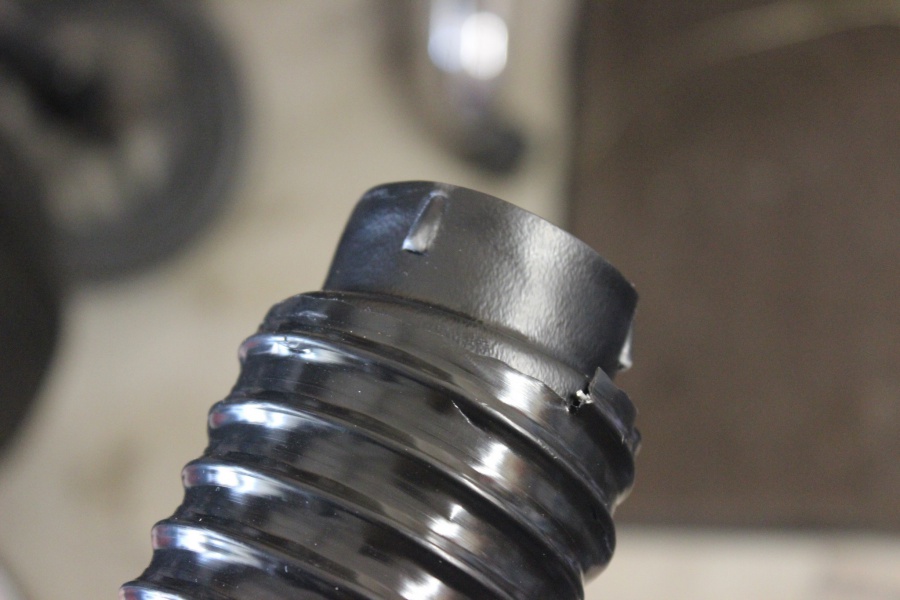
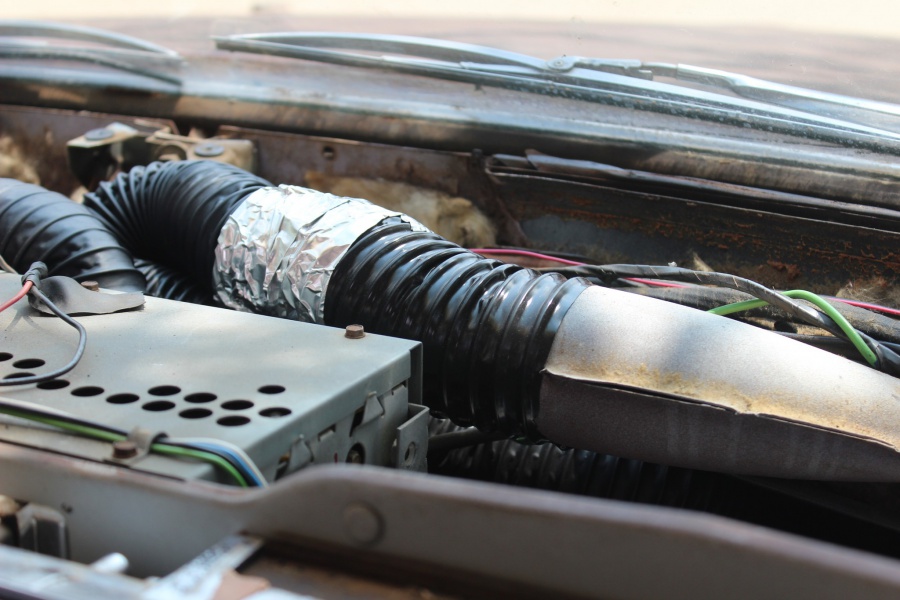
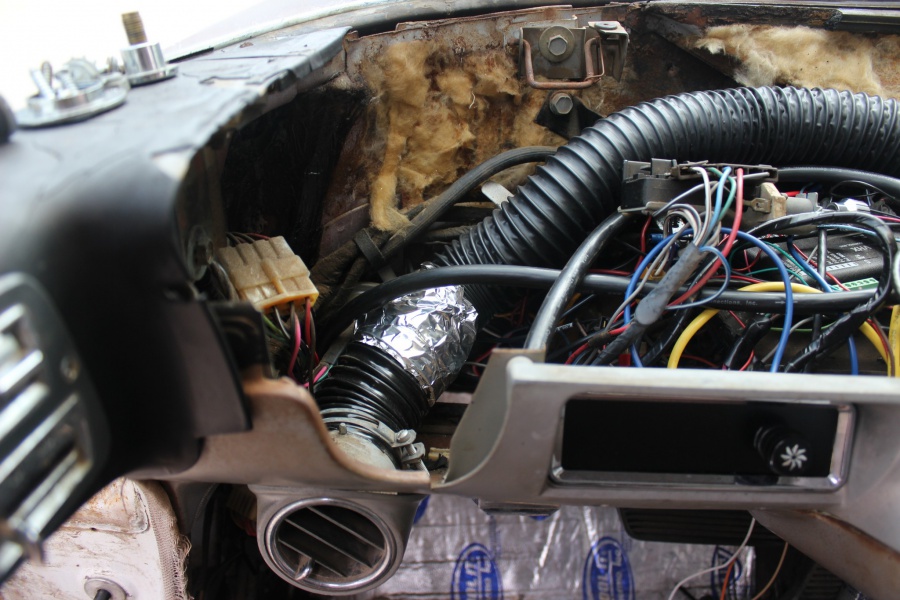
Back under the dash we ran into a little snag where the Restomod Air units utilize a 2″ duct hose, but the factory A/C and defrost vents use a 2.5″ hose. we hopped on Summit Racing and found some adapters to solve that issue. We also found this universal dual vent to stick under the dash in the middle.
 The last step was to take this car to an A/C shop to have them evacuate the system, check for leaks and fill it up. With that out of the way, it was time to cruise in the cold! So now the big question, were these two units able to cool this massive car? When out driving our Dakota Digital readout told us it was 95 degrees outside. Inside the cab was a comfy 70 degrees with the air coming out ice cold. We couldn’t be happier! Even in the Texas heat this car remained cool. Next stop is the Hot Rod Power Tour!

For More Information Hop On Restomodair.com or Give ’em a Call At (866) 784-4278


