|
|

10-09-2014, 12:46 PM
|
 |
Lateral-g Supporting Vendor
|
|
Join Date: Nov 2005
Posts: 1,891
Thanks: 8
Thanked 32 Times in 21 Posts
|
|
 1969 Chevelle SS396 / 454 Street Machine Complete Build Thread
This car is not an up-to-the-minute track monster, but it was a fun build and the car came out really sharp, so we figured we'd share it!
This 1969 Chevelle was born wearing a Cortez silver paint job and sporting a blue interior. It was an original V8 car, sporting a 307 V8 under the hood and was driven for many many years by its owner Al until the late 80s.

However, by the late 1980s, the street use took its toll on the Chevelle's body and chassis, and Al decided it was time to disassemble the car and restore it.


He disassembled the car in his home garage with the help of his young son, and embarked on a journey to repair the rusty quarter panels as the first steps to bring this car back to life.

Unfortunately, as many people know, restoring classic muscle car takes time, money, and effort. He had the effort, but raising the family was the obvious priority, so his project speed was set on extra slow. However, Al was able to complete some tasks, including a very good job of installing a pair of original NOS Chevrolet quarter panels on both sides.


__________________
Kevin Oeste
V8 Speed and Resto Shop
V8TV
Muscle Car Of The Week
V8 Radio Podcast
All about us:
https://www.v8speedshop.com

Last edited by V8TV; 10-09-2014 at 01:30 PM.
|
10-09-2014, 12:46 PM
|
|
Lateral-g Supporting Vendor
|
|
Join Date: Nov 2005
Posts: 1,891
Thanks: 8
Thanked 32 Times in 21 Posts
|
|
__________________
Kevin Oeste
V8 Speed and Resto Shop
V8TV
Muscle Car Of The Week
V8 Radio Podcast
All about us:
https://www.v8speedshop.com
|
10-09-2014, 12:47 PM
|
|
Lateral-g Supporting Vendor
|
|
Join Date: Nov 2005
Posts: 1,891
Thanks: 8
Thanked 32 Times in 21 Posts
|
|
__________________
Kevin Oeste
V8 Speed and Resto Shop
V8TV
Muscle Car Of The Week
V8 Radio Podcast
All about us:
https://www.v8speedshop.com
|
10-09-2014, 12:48 PM
|
|
Lateral-g Supporting Vendor
|
|
Join Date: Nov 2005
Posts: 1,891
Thanks: 8
Thanked 32 Times in 21 Posts
|
|
__________________
Kevin Oeste
V8 Speed and Resto Shop
V8TV
Muscle Car Of The Week
V8 Radio Podcast
All about us:
https://www.v8speedshop.com
|
10-09-2014, 12:48 PM
|
|
Lateral-g Supporting Vendor
|
|
Join Date: Nov 2005
Posts: 1,891
Thanks: 8
Thanked 32 Times in 21 Posts
|
|
__________________
Kevin Oeste
V8 Speed and Resto Shop
V8TV
Muscle Car Of The Week
V8 Radio Podcast
All about us:
https://www.v8speedshop.com
|
10-09-2014, 12:49 PM
|
|
Lateral-g Supporting Vendor
|
|
Join Date: Nov 2005
Posts: 1,891
Thanks: 8
Thanked 32 Times in 21 Posts
|
|
__________________
Kevin Oeste
V8 Speed and Resto Shop
V8TV
Muscle Car Of The Week
V8 Radio Podcast
All about us:
https://www.v8speedshop.com
|
10-09-2014, 12:55 PM
|
|
Lateral-g Supporting Vendor
|
|
Join Date: Nov 2005
Posts: 1,891
Thanks: 8
Thanked 32 Times in 21 Posts
|
|
__________________
Kevin Oeste
V8 Speed and Resto Shop
V8TV
Muscle Car Of The Week
V8 Radio Podcast
All about us:
https://www.v8speedshop.com
|
10-09-2014, 12:56 PM
|
|
Lateral-g Supporting Vendor
|
|
Join Date: Nov 2005
Posts: 1,891
Thanks: 8
Thanked 32 Times in 21 Posts
|
|
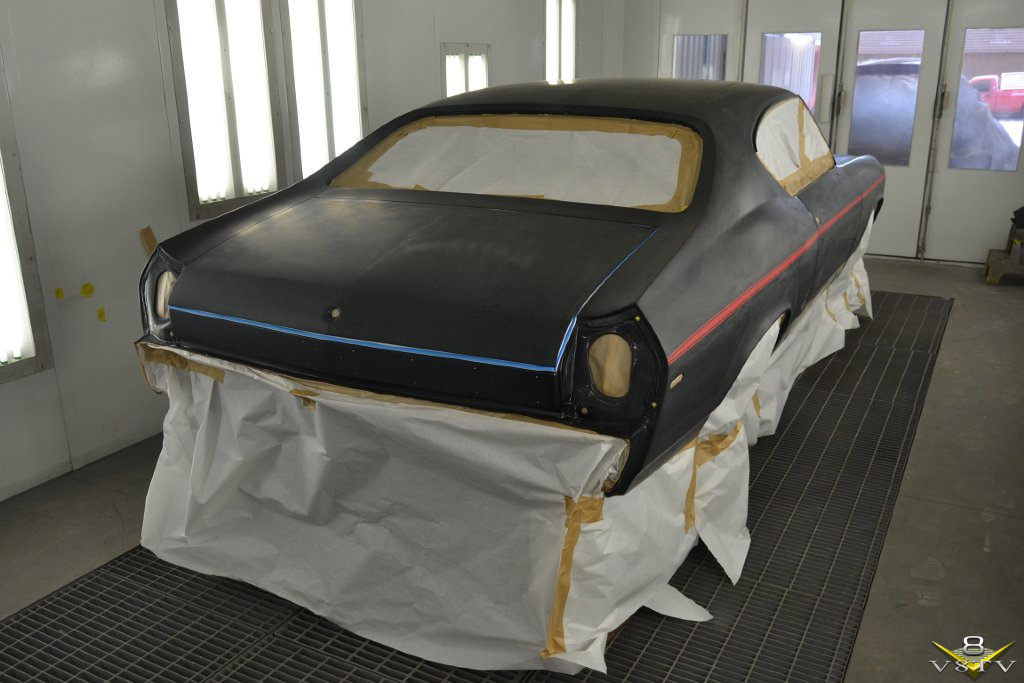
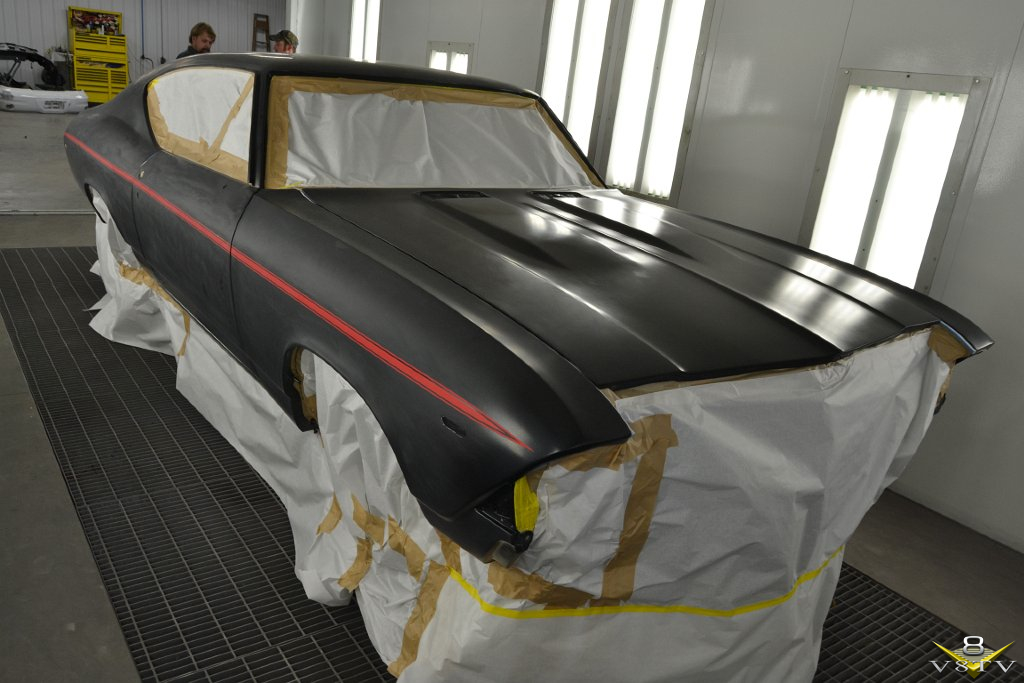
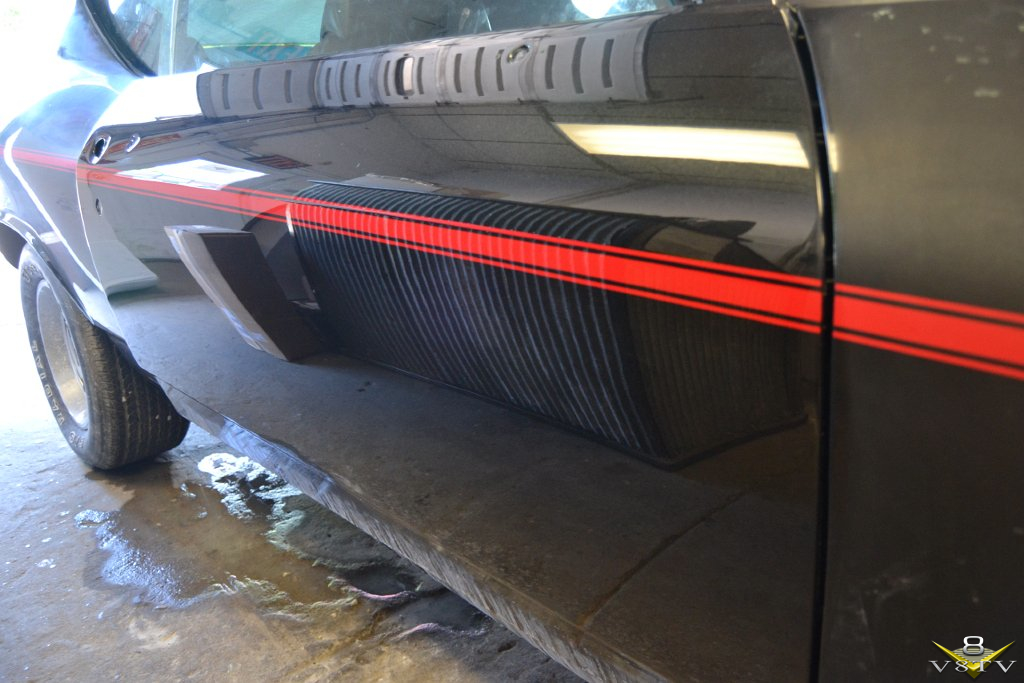
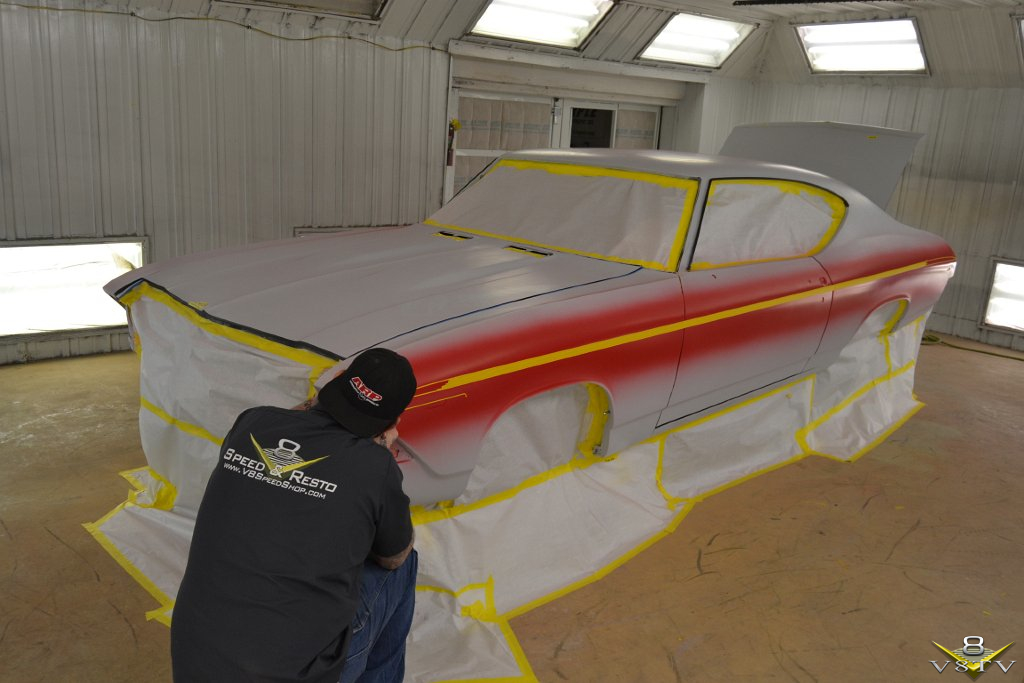
After a couple weeks, we cleaned and wet sanded the clear and rolled the car into the baking spray booth for its final clearcoat. We then applied to more coats of clear to ensure a deep luster and smooth finish.


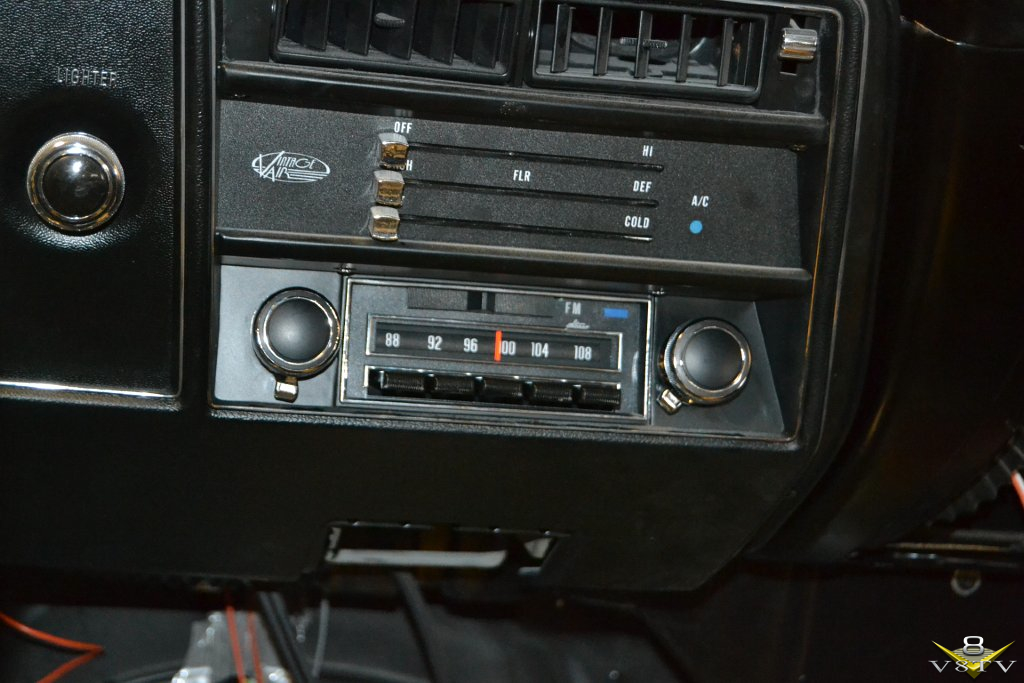
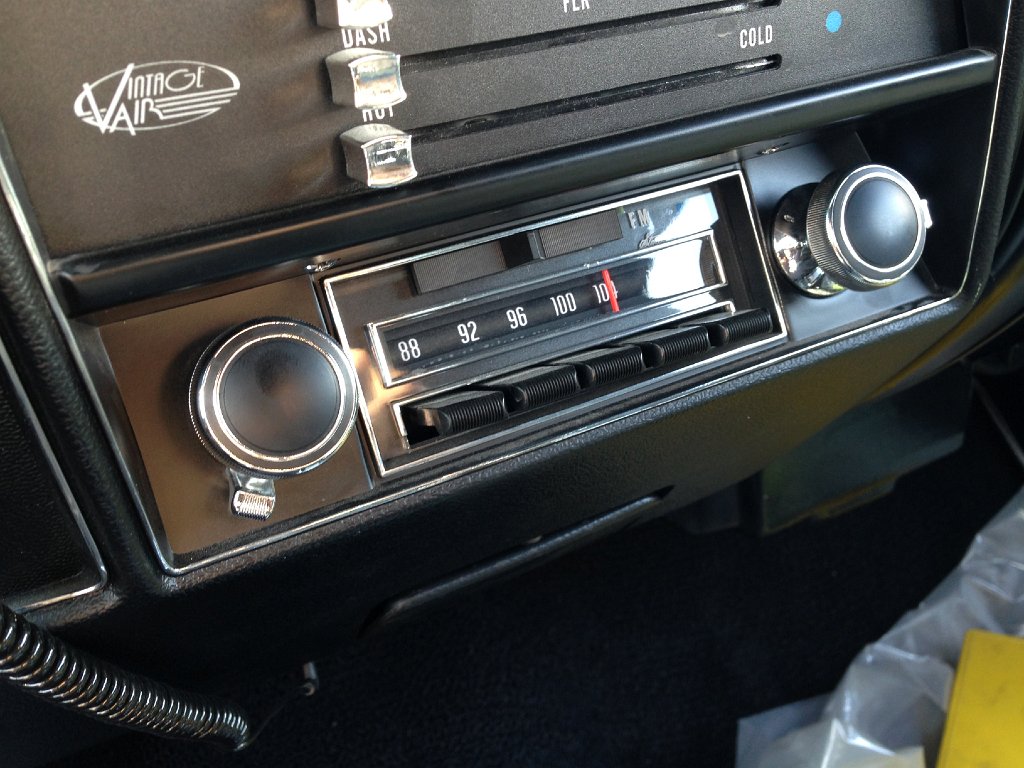
At this point, the window rollers and regulators and tracks were all rebuilt and lubricated. We installed a stereo from Antique Auto Radios which looks exactly like stock, but features modern internals, MP3 and Bluetooth capability, but still retains the sliding red needle like a 1969 Chevrolet radio.
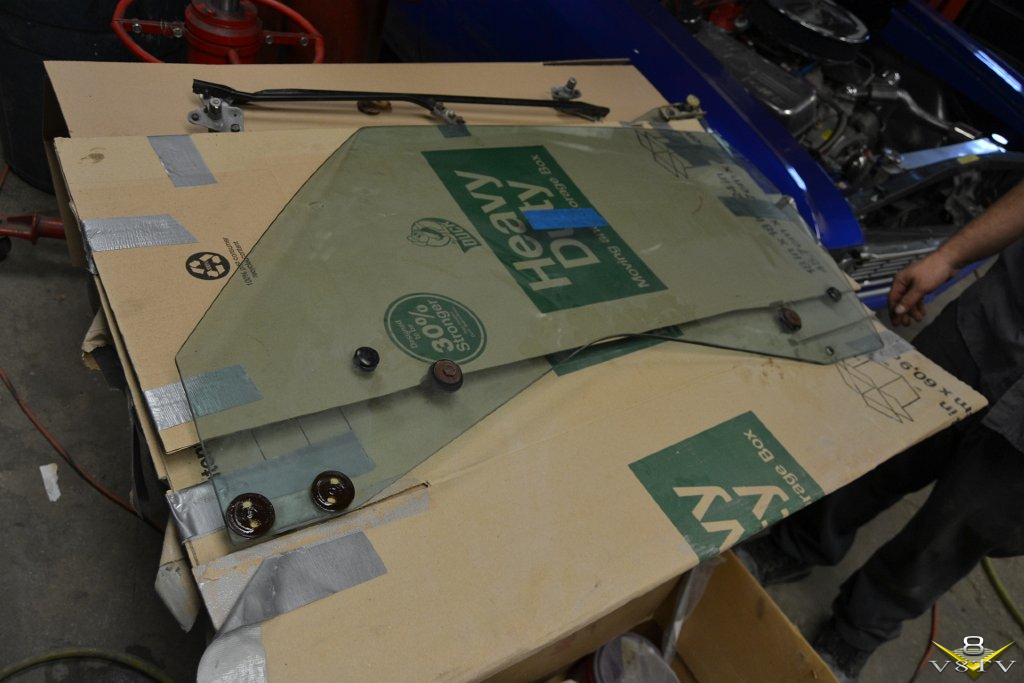
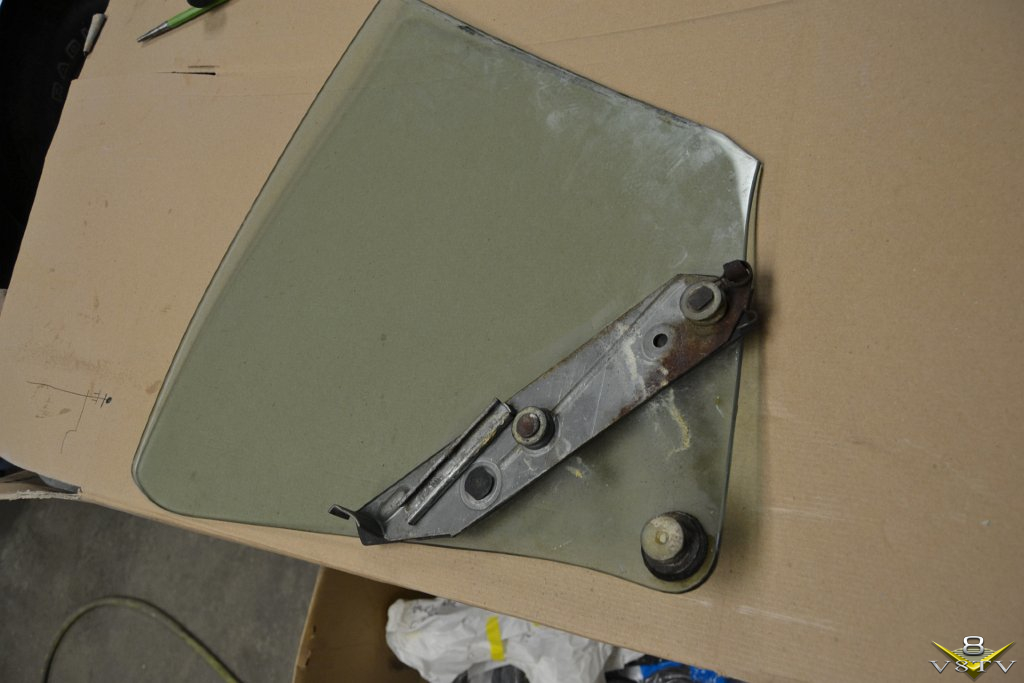
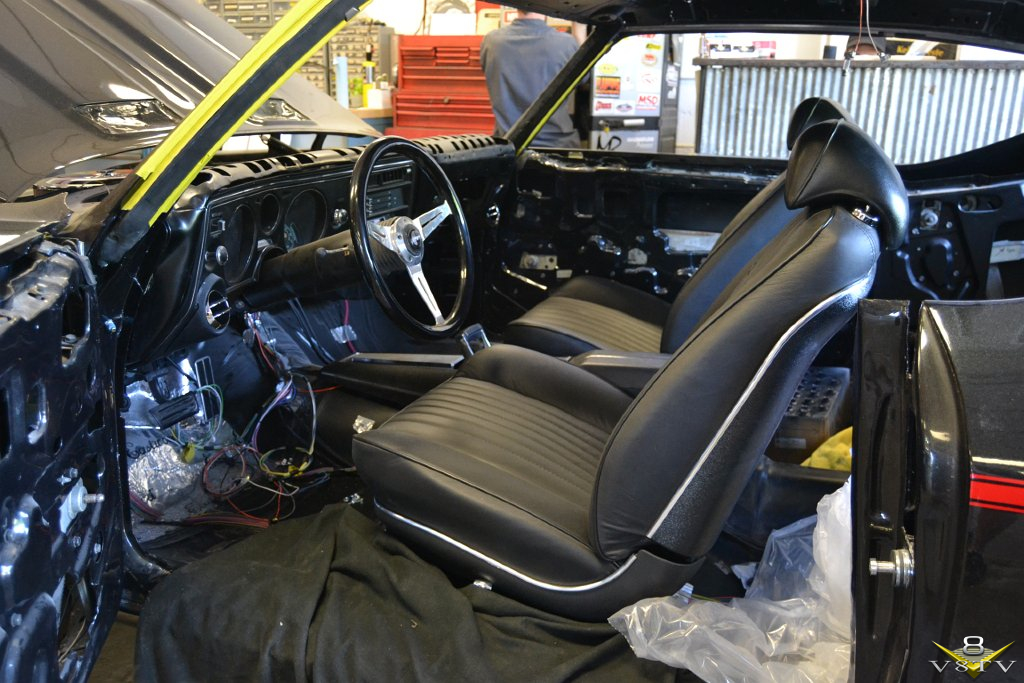
The interior assembly continued with original Chevrolet bucket seats that have been reupholstered with leather covers in the original pattern. The crew installed the side windows and weatherstripping at this point, along with the windshield and rear glass. Next up where the door panels, dash pad, carpeting, and other interior details.

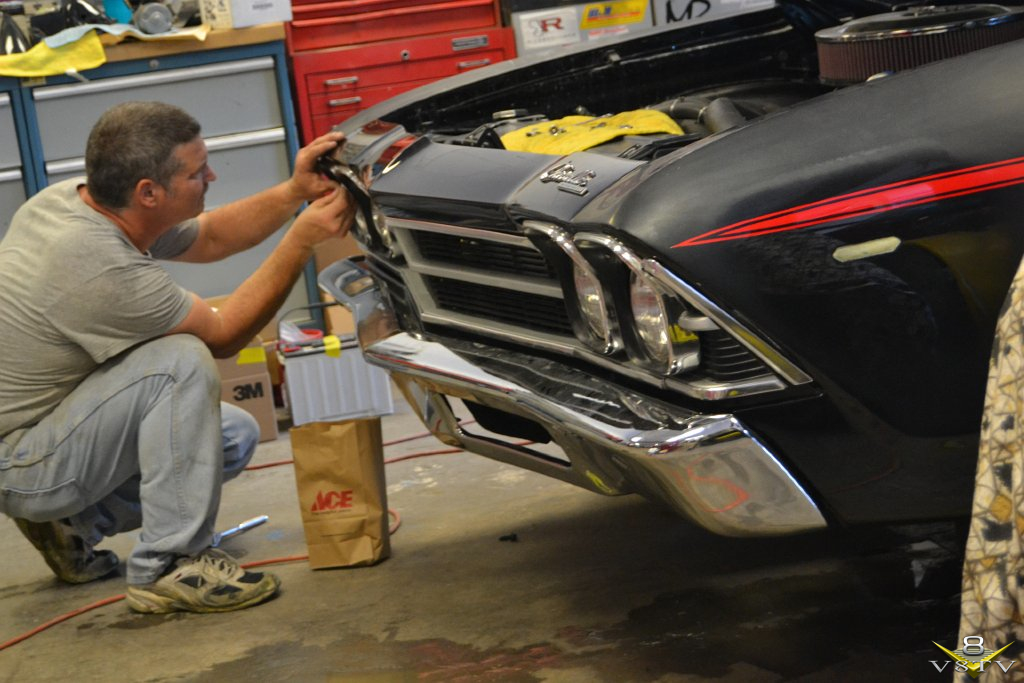
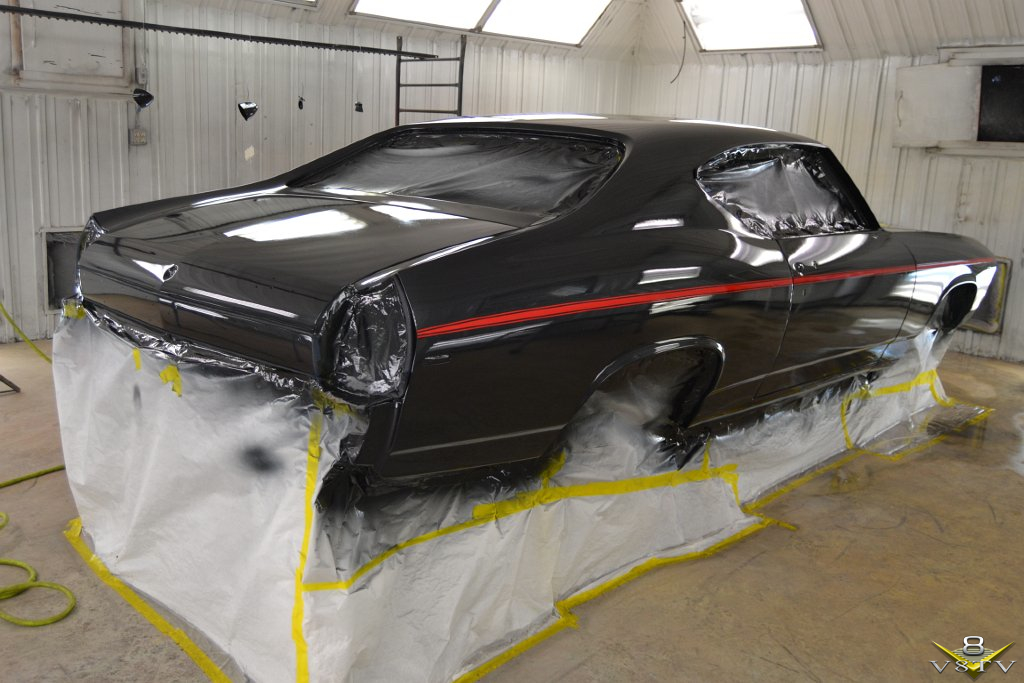
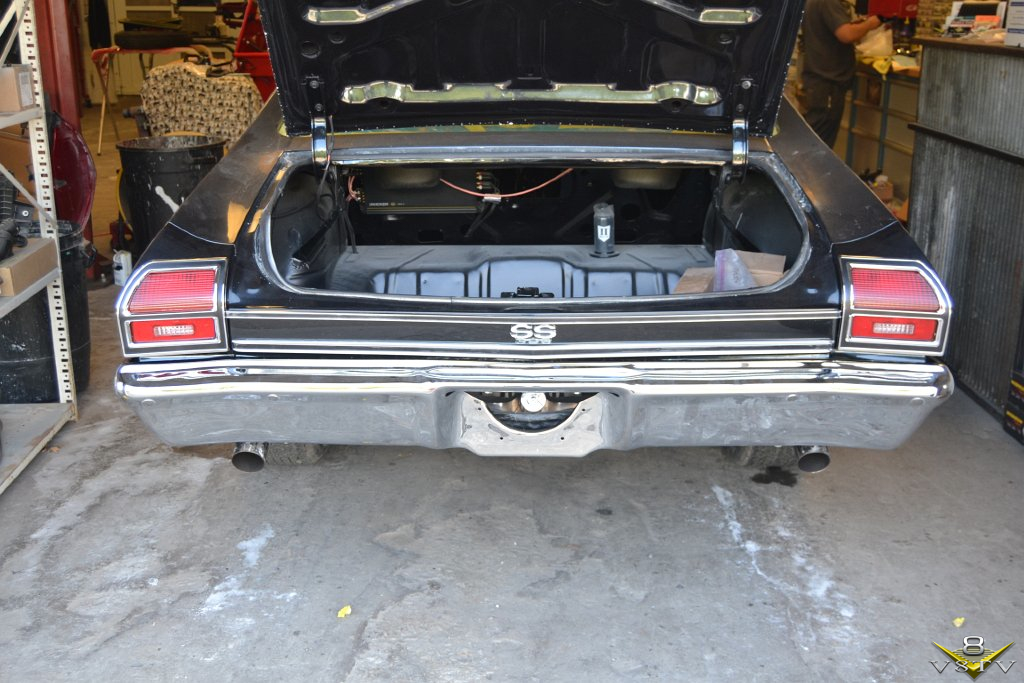
Next came the installation of the headlights, grille, bezels, and taillights. The car was wet sanded and buffed using a multi step process to bring out a mirror like finish.


__________________
Kevin Oeste
V8 Speed and Resto Shop
V8TV
Muscle Car Of The Week
V8 Radio Podcast
All about us:
https://www.v8speedshop.com
|
10-09-2014, 12:56 PM
|
|
Lateral-g Supporting Vendor
|
|
Join Date: Nov 2005
Posts: 1,891
Thanks: 8
Thanked 32 Times in 21 Posts
|
|
__________________
Kevin Oeste
V8 Speed and Resto Shop
V8TV
Muscle Car Of The Week
V8 Radio Podcast
All about us:
https://www.v8speedshop.com
|
10-09-2014, 12:57 PM
|
|
Lateral-g Supporting Vendor
|
|
Join Date: Nov 2005
Posts: 1,891
Thanks: 8
Thanked 32 Times in 21 Posts
|
|
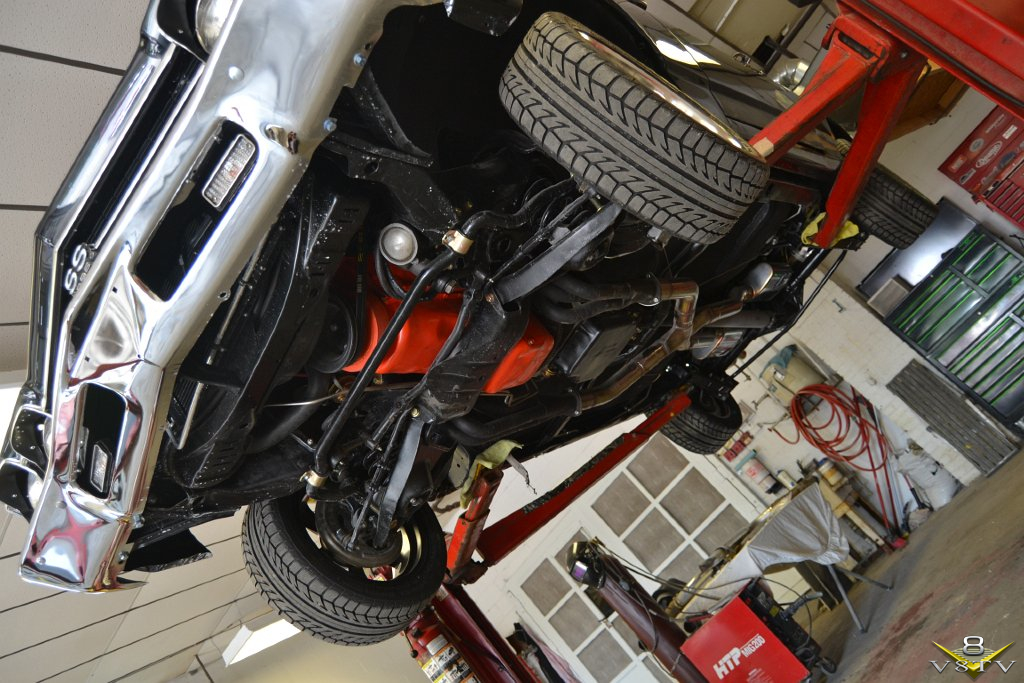
It was finally time for an initial test drive where we tuned the carburetor on a chassis dyno. We learned several things after warming up the car and running it on the rollers. We found the used rear differential to be worn out and the gears and housing were rusty. The posi unit chattered like crazy and the clutches were gone, so we installed a new set of gears and a Detroit True Track differential to remedy that problem.

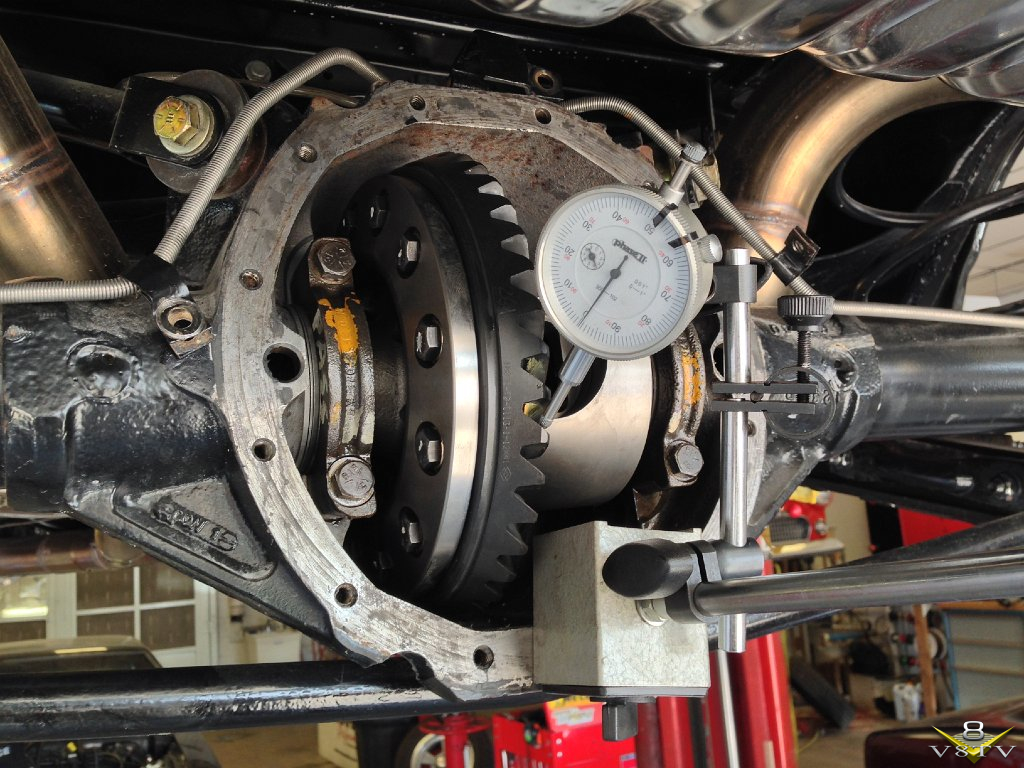
Changing the rear gear also required the installation of a new Speedometer drive gear.


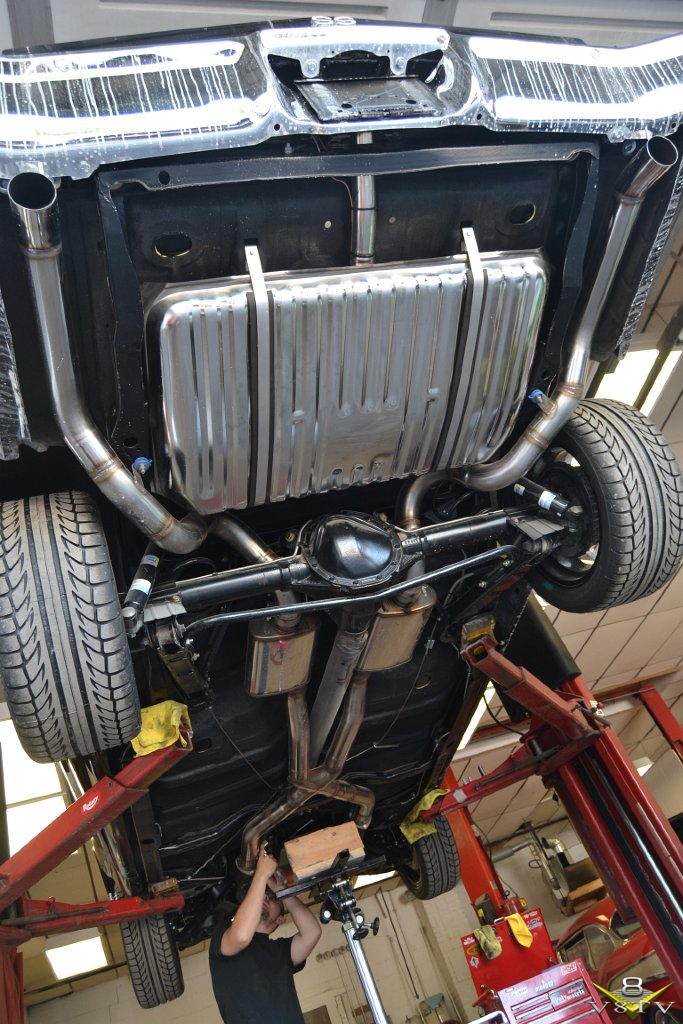
The dyno showed us some lean areas in the fuel curve, so we tuned the 750 carb but were not happy with the result, so we switched the carburetor for a Holley Street Avenger 870 CFM unit to better supply the thirsty 454. This tuneup process was verified on the chassis dyno with a wideband oxygen sensor installed in the exhaust for optimum air fuel ratio.
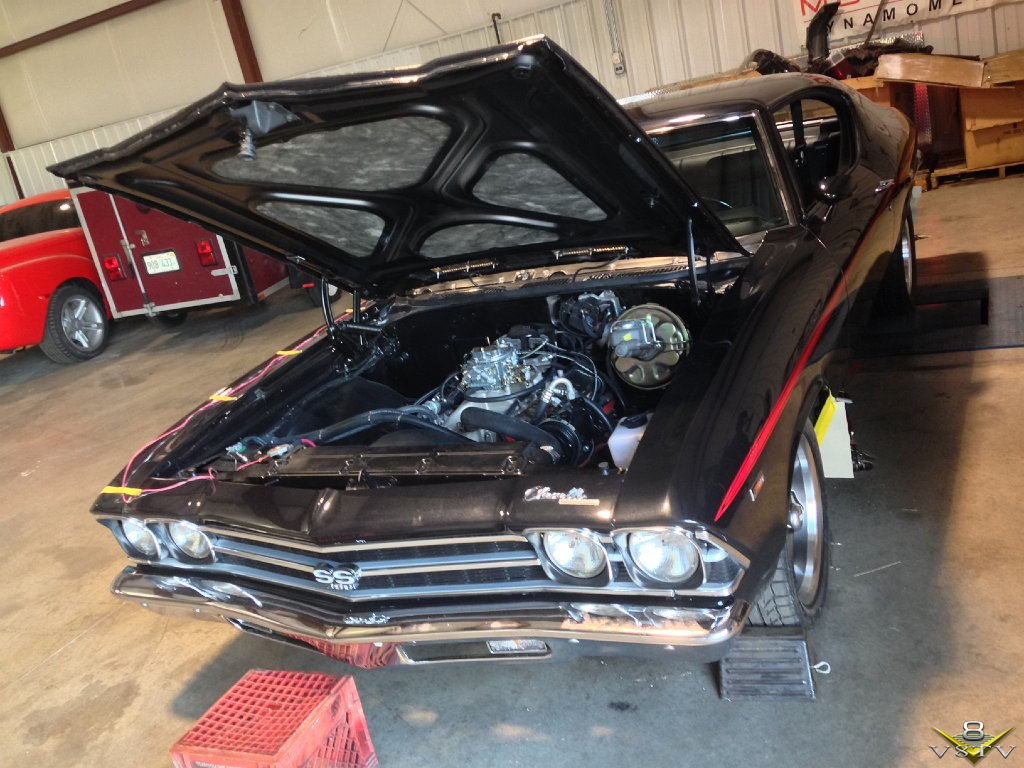
We didn't do full power pulls on the dyno yet, as the car is super-fresh and is still not broken in. After a 4-500 miles we'll change the fluids again and see what it does. We'll be running Royal Purple synthetics to reduce friction as well as keep the moisture at bay.
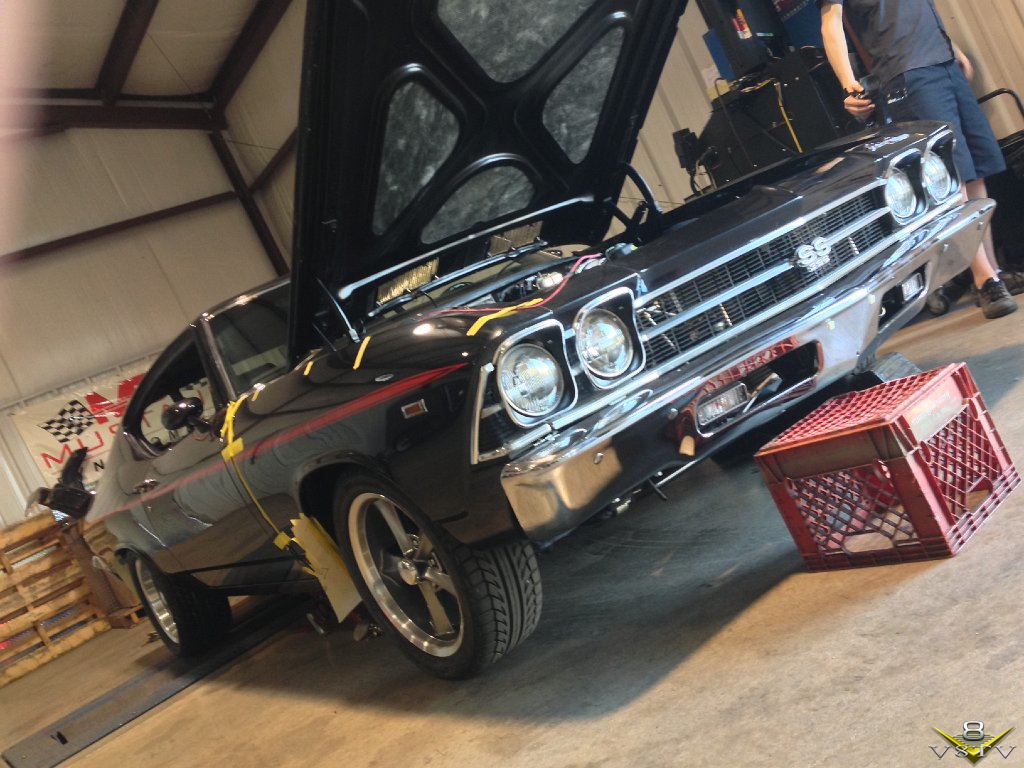
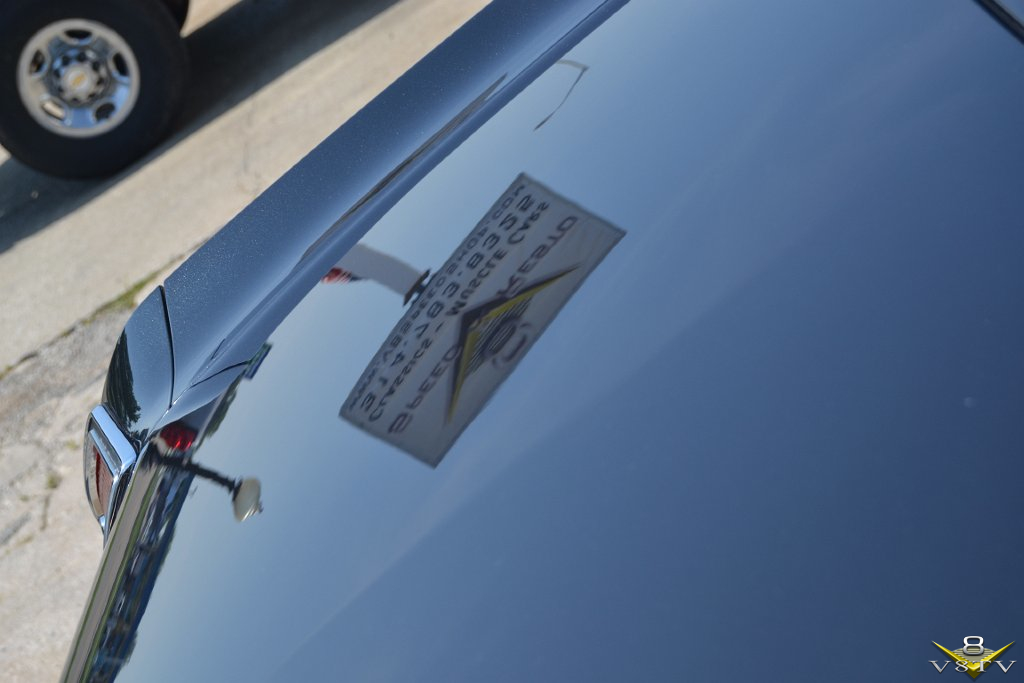
We put some miles on the car and are quite happy with the result. The car is stunning in any light, turn heads everywhere does, and the performance is excellent. It feels new and tight, the steering is crisp, and that 454 makes tons of tire frying torque!
__________________
Kevin Oeste
V8 Speed and Resto Shop
V8TV
Muscle Car Of The Week
V8 Radio Podcast
All about us:
https://www.v8speedshop.com
|
 Posting Rules
|
You may not post new threads
You may not post replies
You may not post attachments
You may not edit your posts
HTML code is Off
|
|
|
All times are GMT -7. The time now is 06:27 PM.
|


 Brian Hobaugh SCCA National Tour June 2014
 First Hemi 'Cuda Convertible Ever Built
 Short clips: Goodguys Pleasanton autocross and pit videos


 Hybrid Mode