I'm putting a 5th gen console in my 69 Camaro with some direction from Jeff (jwcarguy) Thanks Jeff!
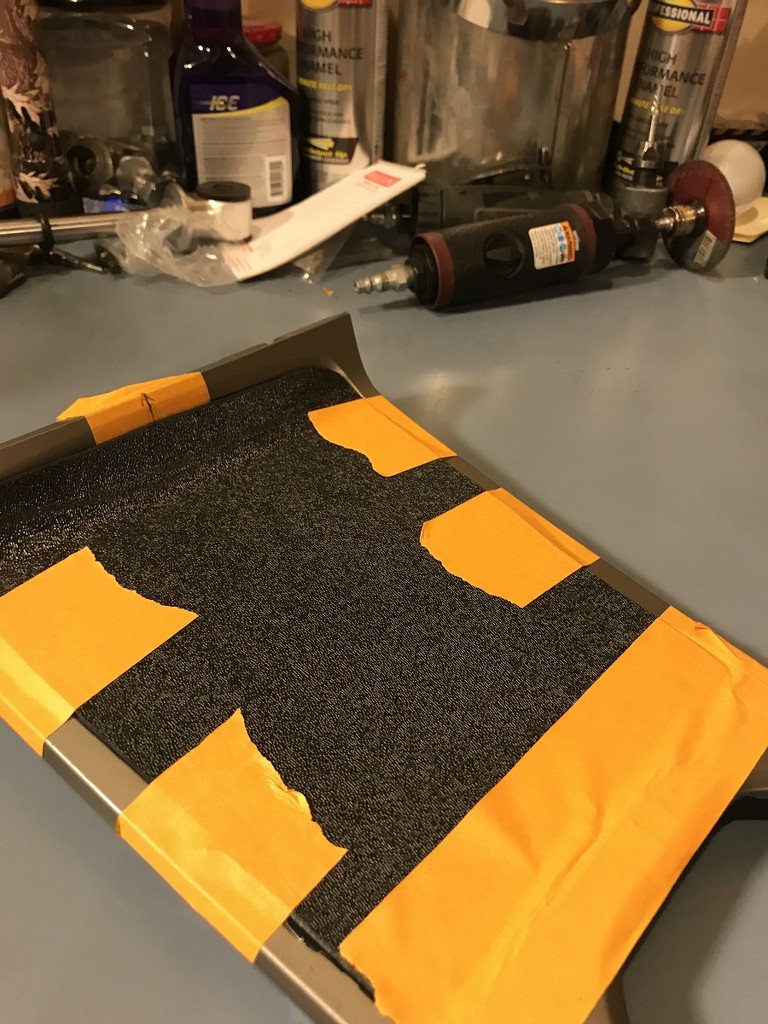
I decided to try my luck at making the mods to put an Auto Meter gauge pod in my 5 gen console. The console was mounted in the car to check the fitment of my B&M Stealth Pro ratchet shifter and so I could see the console cover on in place. I ended up trimming the change tray flush with the bottom where it started to turn in for the tray. I left the part you see with the orange tape for strength.
Make sure you measure there is room for the gauges and the brackets that hold them in. Your brackets to install the console might be in the way of the fitment. you can see my bracket if way forward so it's not in the way.

I'm going to show how I did my gauge pod install, I know there are probably better and maybe easier ways but here's what I did.
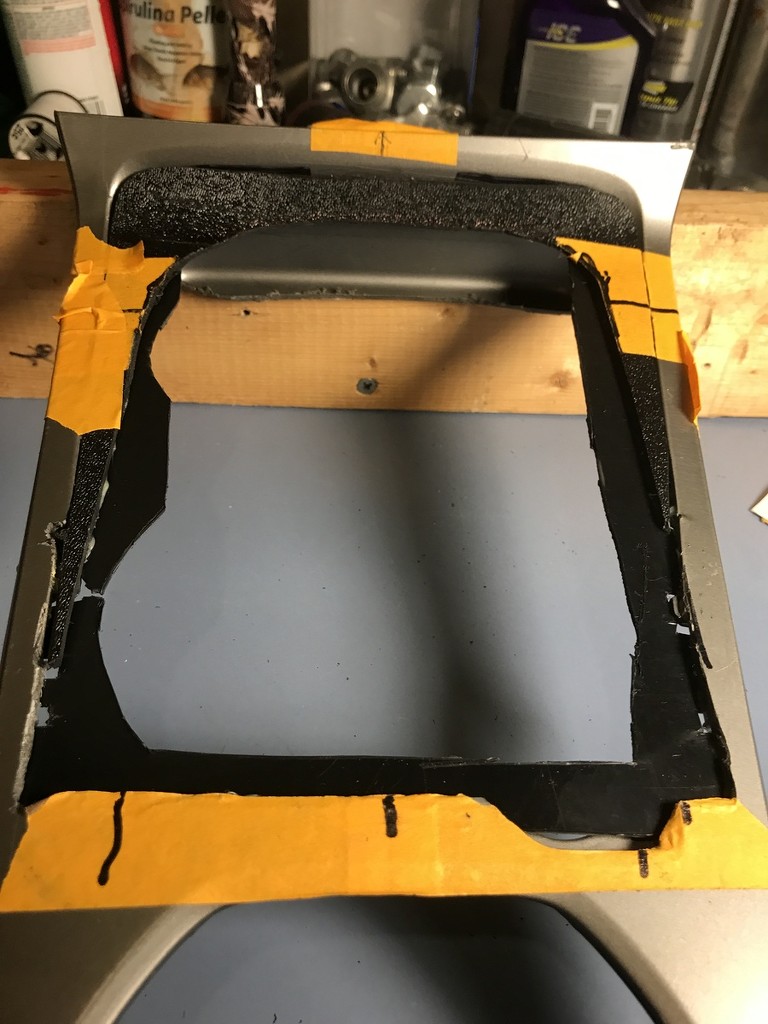
First I cut out the change tray from the console after measuring how much needed to be removed..

Then I measured and cut the gauge pod to fit the opening, and glued small tabs to hold it in place which I had to trim later.
You may want to do this step after you close in the hole with the ABS the check what you need to trim.

The tabs ended up being an unnessary step. I used them to hold small pieces I cut for around the gauge pod. I used a piece of ABS (Bought on E Bay) the same thickness as the gauge pod to fill around it to make it flush with the top of the console piece. The pieces on the under side were 1/16".

I filled in the whole opening with 1/8" ABS. I used a heat gun to roll the top to match the console cover then I marked what I needed to remove for the gauge pod and cut it out.
I could have just used long pieces of ABS 1/8" which I ended up using for the strips you can see from the bottom. Around the perimeter of the opening.
I'll post more tomorrow.
, most important thing Measure put witness marks and keep using them.


 Brian Hobaugh SCCA National Tour June 2014
 First Hemi 'Cuda Convertible Ever Built
 Short clips: Goodguys Pleasanton autocross and pit videos


 Hybrid Mode
