continued from above
The dry sump pump was bolted on once the engine was in the car, to avoid smashing the shiny bits or fittings. The front drive accessories were already installed with the serpentine belt, then the cogged belt went onto the dry sump drive.
INTAKE MANIFOLD TESTING + REVERSE MOUNT
After talking to Koenig at HPR at length about intake manifolds, he kept stressing how important it was to use the right design for larger displacement (7L+) engines. To keep the engine from peaking too early, and losing all of the top end power, a shorter intake runner length (6.5-7" long) with enough cross section and throttle body size would help. There are many manifolds that have MUCH shorter runners (which kills mid range completely and rarely helps on top in an NA motor) and all too many with OEM style, LONG runners (which shuts off the top end). Not many in the middle...

One of the few that have runner lengths and TB sizes in the range we wanted was the
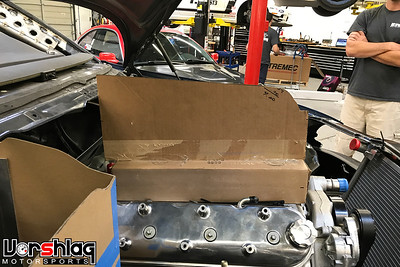
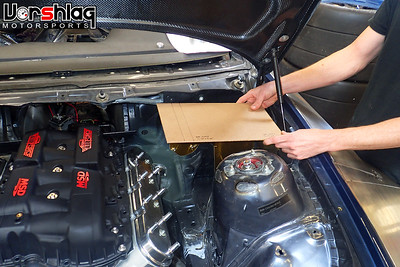
Holley Hi-Ram, which comes in cathedral, LS3 and LS7 style ports. With an optional 105mm throttle body opening and a 6.5" runner length (which is almost perfectly straight) the Hi-Ram could be worth another 30-50 whp up top. After I found the CAD print (top left) for this I asked Ryan to make a quick cardboard mock-up to check hood height. That was ridiculously too tall, and even flipped 180° to make it a "cowl breather" it was still many inches above the hood line (see above right). Like "making it hard to see" tall. We talked about making a custom intake but it was really time to "get going" so we picked the best OEM style intake on the market for the moment: the MSD Atomic.
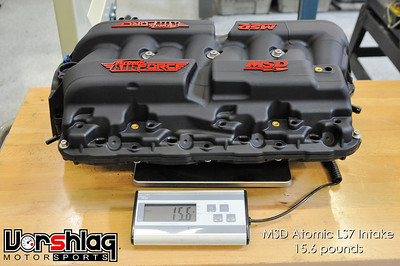
Of the OEM style crossover intakes the
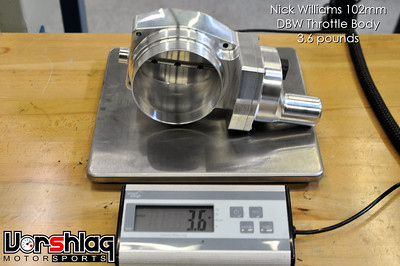
MSD Atomic LS7 intake has the "least long" runners at 8.5". The 103mm throttle body size is a bit unusual, as the common "big" sizes are 102 and 105mm. Then a lot of those options are cable operated - old school. To work seamlessly with a Motorsports traction control system we went with a Nick Williams 102mm DBW (Drive By Wire) throttle body.
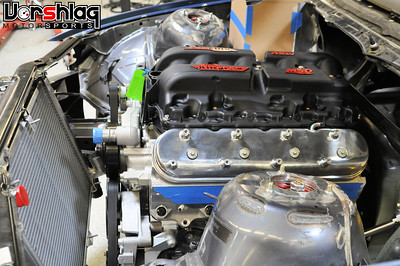
This manifold bolted onto the HPR motor without any drama, and with the TB opening pointed forward it fit under the hood easily. But we're not going to keep this build easy... we wanted to flip the intake manifold 180° to keep the front clear for hood ducting (which we will show in a future installment) and to take in high pressure air at the base of the windshield (cowl). This "little change" unleashed a lot of custom fabrication work....
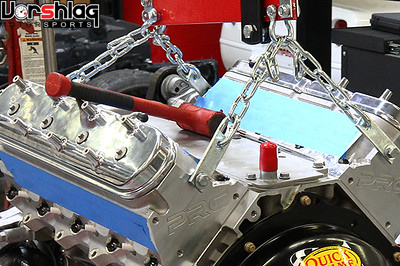
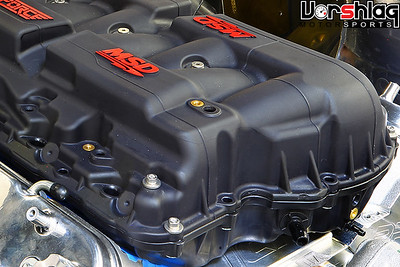
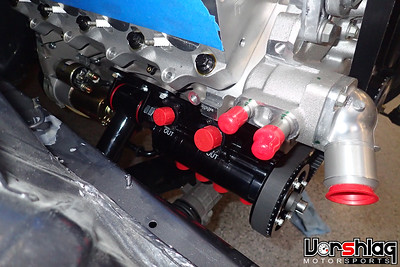
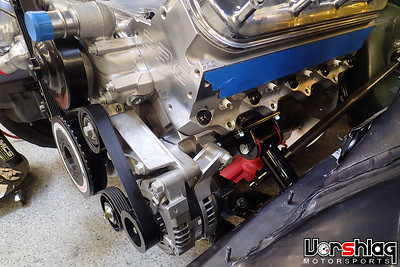
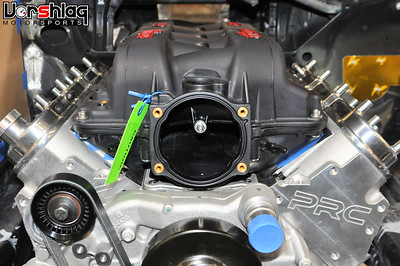
First of all, the OEM cast aluminum intake valley cover has an oil pressure riser cast into the back of the motor. You can see the red colored tip of this riser in the image above left. Most LS style intakes have a recessed edge to clear this at the back of the manifold, which can be seen in the image above right.
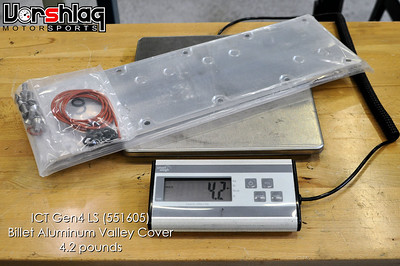
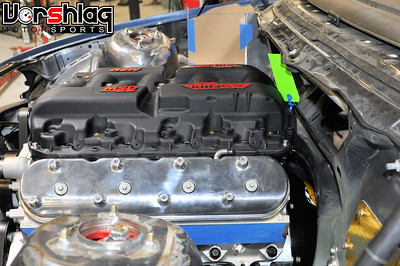
So to be able to flip this intake around we needed a flat valley cover with this oil pressure sensor riser deleted. This flat billet cover from ICT fit the bill and was an easy fix. This was installed and let us run the MSD Atomic flipped 180°. But as you can see above, there was no room at the firewall for the throttle body. I was hoping the TB might line up with the massive opening left by the cabin air filter structure, but this intake is too low to line up with that. Time to cut...
TWIN AIRBOX + COWL PLENUM FAB
To make this flipped intake fit we needed to cut the firewall up a little. Well.... OK,
a lot.
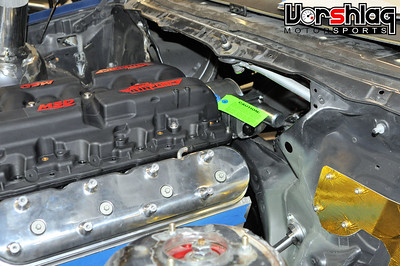
This was the first stage of making a cowl induction intake system. You see with a mostly gutted dash and aftermarket HVAC box mounted elsewhere, and relocated master cylinder and no brake booster, all of a sudden we had a lot more real estate under the dash and at the firewall. So Jason, Ryan and I brain stormed an airbox mounted at the base of the windshield with a flat air filter element. Or two.
continued below


 Brian Hobaugh SCCA National Tour June 2014
 First Hemi 'Cuda Convertible Ever Built
 Short clips: Goodguys Pleasanton autocross and pit videos


 Threaded Mode