continued from above


Small bulkhead brackets were CNC cut and welded to the axle housing, to make a good spot to connect the two rear flex lines. We had these flexlines made with BrakeQuip components to our specs, based on some scrap hose we marked up with what fittings / angles were needed on each end. Solid axle brake lines rarely end in flex lines, but we included them to make it easier to service the rear brakes.


You can see the tubing straightener above left, along with some of our tubing bender tooling. The same "bulkhead" brackets we needed out back were made for the front brake flex lines also,


We already had the C6 style flex lines from the PowerBrake 6 piston front brakes we talked the customer into buying from another customer who was selling his C6 Z06, so we didn't have to make new custom front flex lines. This wrapped up our hydraulic work on the brakes.
FIRE SYSTEM PLUMBING
In February of 2020 we had all of interior panels completed, and it was time to mount the fire suppression system and tackle some of the final inside work.


We had recently seen the horrific fire damage from the original Pro Touring car - the '69 Camaro tube framed big block car called Big Red. This fire cooked a lot of items in that car, but it was rebuilt. We're hoping to prevent anything like that happening on this Camaro.


We started with this 4.0 liter Lifeline aqueous foam fire suppression system, which was about $400 when it was purchased and comes with all of the tubing, nozzles, a mounting bracket for the bottle, and one manual "pull" to trigger the system in a fire situation. This system weighs 19.4 pounds in the box, but it is 19 pounds of insurance - for your skin and your ride. I talk more about this in an upcoming article about fire systems, which will eventually be in
the "safety gear" section of our forum.


Like on every fire system, Jason and I in engineering will lay out where we want the bottle, nozzles, and pulls, then let our technician mount and plumb it the best way they see fit. Evan mounted the bottle first, onto a rear interior panel that was extensively braced by the tube chassis underneath.


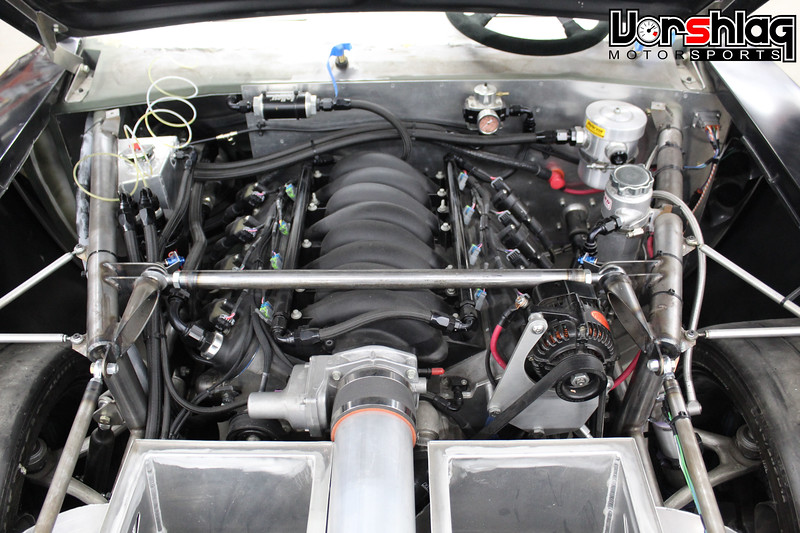
We generally add two nozzles in the engine bay, on either side and pointing at the fuel rails - as we did on this Camaro, blue nozzles on the cross brace shown above.


Then we tend to add two nozzles to the interior, pointing at the waist of the driver and passenger, with small brackets added to hold the nozzles securely. The included aluminum lines are easy to plumb with the included push-lock fittings and "T"s.


On this car the final nozzle was placed right above the fuel cell, mounting right into the interior panel. Generally you can mount the nozzles, bottle, and plumb an entire fire system like this in 5-8 hours.
BATTERY KILL + FIRE PULL PANEL
To mount the two fire "pulls" we first sketched out a "gusset panel" for the roll cage. We often add something like this to the cage near driver's front A-pillar and FIA vertical bar, as shown above.


This was then transferred to some 18 ga steel, cut out, drilled, dimple died, and stitch welded to the gap between these two cage tubes.


That is the panel that was used for the first pull - the outside accessible one, so a corner work can trigger a fire system (and remote kill the electrical power) if the driver is unable or already out of a burning car. The second pull was added to the very "temporary" looking center panel, shown above.


And I do hope the car owner allows us to upgrade that center panel with better switch gear and a cleaner layout, after the Camaro is track tested and at paint. We have gotten better with our CNC plasma cutter making these custom panels for builds, like my 2015 Mustang shown above.
continued below


