...

Go Back   Lateral-g Forums > Technical Discussions > How To's, Tips, and Tricks
User Name
Password


Reply
 
Thread Tools Display Modes
  #1  
Old 01-04-2014, 04:41 PM
TheJDMan's Avatar
TheJDMan TheJDMan is offline
Senior Member
 
Join Date: Jan 2011
Location: Northern Virginia
Posts: 690
Thanks: 5
Thanked 25 Times in 13 Posts
Default

When I twist off the head of a bolt the most effective way I have found to remove the remaining thread is to weld a nut on the end of the broken off bolt. The bolt can then be removed with a normal wrench and the heat normally helps loosen the threads.

Great thread BTW!
__________________
Steve Hayes
"Dust Off"
68 Camaro
Speed has never killed anyone. Suddenly becoming stationary, that's what gets you!
"Jeremy Clarkson"
Reply With Quote
  #2  
Old 01-05-2014, 04:52 PM
renegade6 renegade6 is offline
Senior Member
 
Join Date: Mar 2012
Location: Texarkana, TX
Posts: 132
Thanks: 0
Thanked 7 Times in 2 Posts
Default

This method works great for removing broken LS manifold bolts. The other thing is that if the head is aluminum, you don't have to worry about your welds sticking to it.

Quote:
Originally Posted by TheJDMan View Post
When I twist off the head of a bolt the most effective way I have found to remove the remaining thread is to weld a nut on the end of the broken off bolt. The bolt can then be removed with a normal wrench and the heat normally helps loosen the threads.

Great thread BTW!
__________________
63 Biscayne
Schwartz Performance Chassis
Build thread: https://lateral-g.net/forums/showthread.php4?t=37302
Reply With Quote
  #3  
Old 01-26-2014, 05:44 PM
raustinss raustinss is offline
Senior Member
 
Join Date: Dec 2013
Location: Kitchener ,Ontario
Posts: 852
Thanks: 56
Thanked 103 Times in 80 Posts
Default

If you ever lose a chuck key for a drill press use two small standard screwdrivers...insert one into the chuck key hole jse the other to engage the teeth of the chuck....switch it up to tighten or loosen
Ryan Austin
Reply With Quote
  #4  
Old 02-02-2014, 09:03 AM
onelapduster onelapduster is offline
Senior Member
 
Join Date: Dec 2010
Posts: 141
Thanks: 0
Thanked 1 Time in 1 Post
Wink

Quote:
Originally Posted by raustinss View Post
If you ever lose a chuck key for a drill press use two small standard screwdrivers...insert one into the chuck key hole jse the other to engage the teeth of the chuck....switch it up to tighten or loosen
Ryan Austin
Good tip in a pinch, but man, chucks are $8 at Lowes

When your sweeping up the shop, tape down the front of your dust pan. It keeps you from sweeping that last little bit back under the car.

Last edited by onelapduster; 02-02-2014 at 09:14 AM.
Reply With Quote
  #5  
Old 02-02-2014, 09:32 PM
raustinss raustinss is offline
Senior Member
 
Join Date: Dec 2013
Location: Kitchener ,Ontario
Posts: 852
Thanks: 56
Thanked 103 Times in 80 Posts
Default

Quote:
Originally Posted by onelapduster View Post
Good tip in a pinch, but man, chucks are $8 at Lowes

When your sweeping up the shop, tape down the front of your dust pan. It keeps you from sweeping that last little bit back under the car.
Very true....but making sure you've got the right one is another thing
Ryan Austin
Reply With Quote
  #6  
Old 02-20-2014, 04:48 PM
Revved's Avatar
Revved Revved is offline
Senior Member
 
Join Date: Feb 2009
Location: DFW
Posts: 532
Thanks: 4
Thanked 6 Times in 4 Posts
Default

Some of these items may sound persnickity but I spent many years in the OEM world and now in the custom world specializing in chasing gremlins so I am particular about how I like things to function and look.

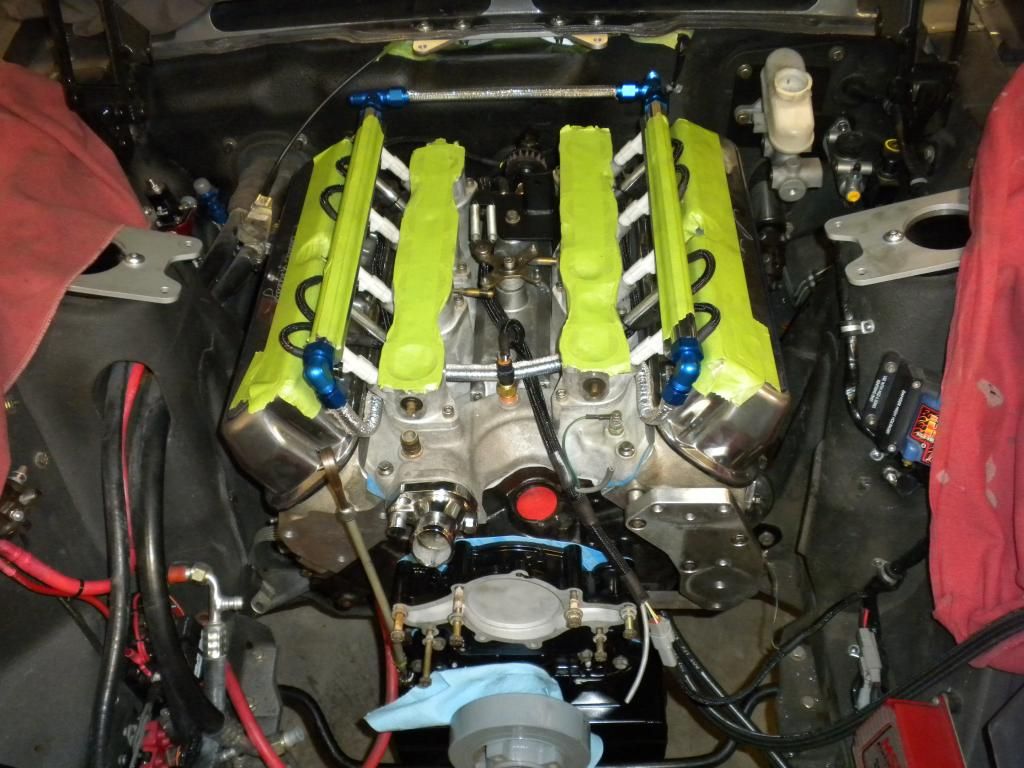
Get in the habit of running your wiring through shrinkwrap. Not only does it help hold the wiring together while running it but you also now have shrinkwrap on your wiring to "finish" whatever sheathing you run... especially good with powerbraid. Comes in handy for injector wiring that is "pull to seat" that you can't just pop the connector off and never seems to be finished cleanly. If you don't run sheathing then now you've got nice shrinkable collars to hold your wiring together.


Anytime you take a cable (accel cable, parking brake cable, etc.. Lokar) out of the sheath shrink some shrink wrap over the end to keep it from unraveling. Same if you need to cut it... shrink wrap the area you are going to cut... cutoff wheel in the middle of the shrink wrap and it holds the strands together.

Get in the habit of dabbing anti-seize on any stainless hardware before you use it... especially if you are going to weld it. (I tack nuts to the backs of panels for mounting purposes so the components bolt down one handed) Stainless loves to gall and of course will seize on you at the worst possible time.

I guess after that one I should mention... Make everything boltable from one side of the panel!!! Pet peeve here... It's great that you've got your buddy, kids, or wife there to hold the wrench on the other side of the firewall right now but what about when you are on the side of the road or everyone is gone? Tack a nut to the backside of the panel or buy the tool to set threaded inserts. Build everything servicable because you are most likely the next person that will have to take that piece back off. Self tapping screws belong on metal buldings... not cars.

Adding on to that one as well... Make all components and individual harnesses removable. I deal with a lot of vehicles where components like the MSD box are hardwired into the car which is fine if it is never going to go bad... or have to be diagnosed... or have to be removed to access other components. Spend a few minutes to wire in connectors so that every component can be removed without having to take half the dashboard or wiring harness apart. When I wire EFI systems I run connectors to where they meet the vehicle harness so that if there is ever an issue I can remove the EFI system as a whole. I put connectors anywhere there may be a need to disconnect the wiring for any reason... I'd rather build it in now than end up cutting and splicing wires later. You can see in the pic below on this electronics panel for the current build I've even got connectors between the ISIS system and the XFI system in case I ever had to remove one or the other. (See my shrink wrap?!?! )


If you are taking the third member out of a 9" axle housing instead of fighting it on the ground trying to pry through the old RTV, hang the housing by the U-bolts from an engine hoist or vehicle hoist with jack stands just below the axle tubes. Now you can tap down on the housing with a heavy mallet and gravity does the hard work. Once the seal breaks, the axle housing rests on the stands leaving your third member hanging free.

Someone made mention of clutches earlier on... Never assume your aftermarket clutch hydraulics match the application height of your aftermarket clutch. After you dial in your bell housing (you always do that right?!? ) Check the height of your clutch fingers with your flywheel and clutch torqued in place. Measure that against the installed height of your clutch slave and make sure the throw of your slave matches the throw of your clutch pressure plate. Figure in a little for wear as well.. those fingers will move out as the disk wears.
__________________
-Sean
Comp Performance Group
Business Development Manager

1970 Chevelle I built years back as a Lat-G Feature https://lateral-g.net/forums/showthread.php4?t=43116

Last edited by Revved; 02-20-2014 at 05:06 PM.
Reply With Quote
  #7  
Old 02-02-2015, 08:20 AM
Revved's Avatar
Revved Revved is offline
Senior Member
 
Join Date: Feb 2009
Location: DFW
Posts: 532
Thanks: 4
Thanked 6 Times in 4 Posts
Default

Quote:
Originally Posted by TheJDMan View Post
When I twist off the head of a bolt the most effective way I have found to remove the remaining thread is to weld a nut on the end of the broken off bolt. The bolt can then be removed with a normal wrench and the heat normally helps loosen the threads.

Great thread BTW!
This also works well for removing stubborn bellhousing dowel pins you aren't reusing. Weld a bolt on to the end of the dowel pin with the threads facing out, use a piece of pipe with a washer that allows the threads to stick out. Antiseize the threads and put a nut on... tighten with impact gun and the dowel pin will pop right out.
__________________
-Sean
Comp Performance Group
Business Development Manager

1970 Chevelle I built years back as a Lat-G Feature https://lateral-g.net/forums/showthread.php4?t=43116
Reply With Quote
  #8  
Old 02-02-2015, 11:26 AM
GregWeld's Avatar
GregWeld GregWeld is offline
Lateral-g Supporting Member
 
Join Date: Jul 2005
Location: Scottsdale, AriDzona
Posts: 20,741
Thanks: 504
Thanked 1,080 Times in 388 Posts
Default

Once a guy learns how to read and use the markings on his bender - the only tool you need is a tape measure. Whether you're bending a 45* or a 90* or measured to the outside or center etx. The minute you figure that out you're bends will look more professional and will land where you want them to.

Just sayin'
Reply With Quote
  #9  
Old 02-02-2015, 03:54 PM
Revved's Avatar
Revved Revved is offline
Senior Member
 
Join Date: Feb 2009
Location: DFW
Posts: 532
Thanks: 4
Thanked 6 Times in 4 Posts
Default

Quote:
Originally Posted by GregWeld View Post
Once a guy learns how to read and use the markings on his bender - the only tool you need is a tape measure. Whether you're bending a 45* or a 90* or measured to the outside or center etx. The minute you figure that out you're bends will look more professional and will land where you want them to.

Just sayin'
Yes, but tight space stuff comes out nicer if you mock it up first... especially when trying to connect two points in space (like an apron to a master cylinder) with multiple lines and make it all look nice.
__________________
-Sean
Comp Performance Group
Business Development Manager

1970 Chevelle I built years back as a Lat-G Feature https://lateral-g.net/forums/showthread.php4?t=43116
Reply With Quote
  #10  
Old 02-02-2015, 10:10 PM
frankv11's Avatar
frankv11 frankv11 is offline
Senior Member
 
Join Date: Dec 2009
Location: socal
Posts: 963
Thanks: 0
Thanked 28 Times in 17 Posts
Default

Quote:
Originally Posted by Revved View Post
Yes, but tight space stuff comes out nicer if you mock it up first... especially when trying to connect two points in space (like an apron to a master cylinder) with multiple lines and make it all look nice.
Agree with both of you. In my case I used mock up because it saves a ton on Ss material and wanted lines to run through very specific points. For example on picture below. That line goes from MC to front passenger wheel , undisturbed ( one piece ) it follows weld line on sub cross member and very tigh on all places. With multiple bends , on multiple planes and odd degree bends ( 13s , 17s etc )
There is no way I could have done it any other way.

The see through protractor was indispensable for me also.

Last edited by frankv11; 02-02-2015 at 10:17 PM.
Reply With Quote
Reply

Thread Tools
Display Modes

Posting Rules
You may not post new threads
You may not post replies
You may not post attachments
You may not edit your posts

BB code is On
Smilies are On
[IMG] code is On
HTML code is Off

Forum Jump


All times are GMT -7. The time now is 08:55 PM.


Powered by vBulletin® Version 3.8.11
Copyright ©2000 - 2026, vBulletin Solutions Inc.
Copyright Lateral-g.net