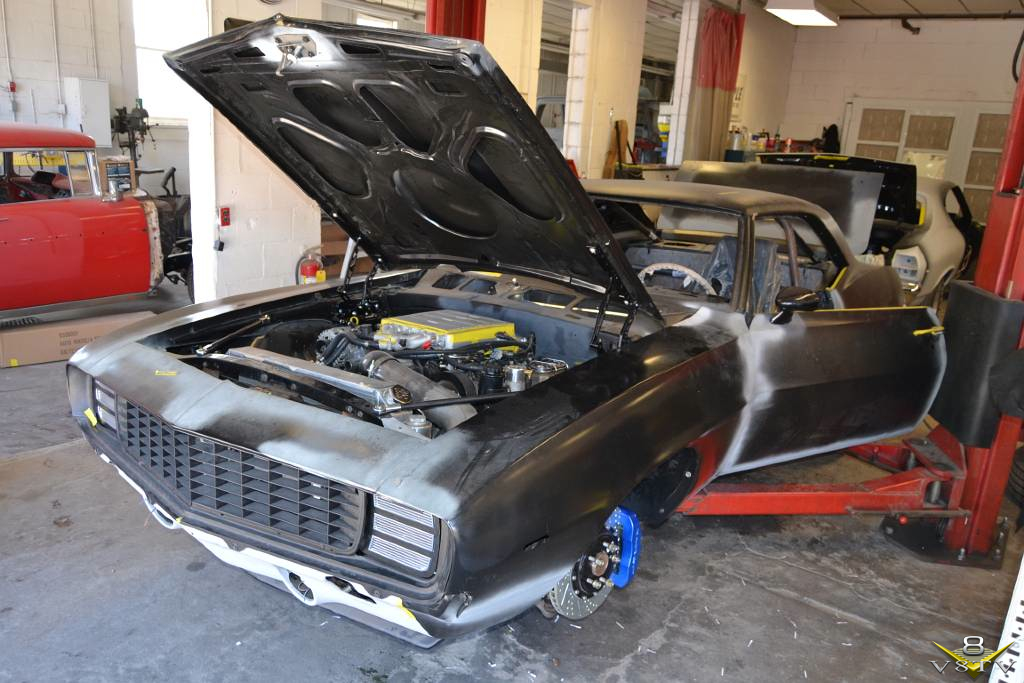
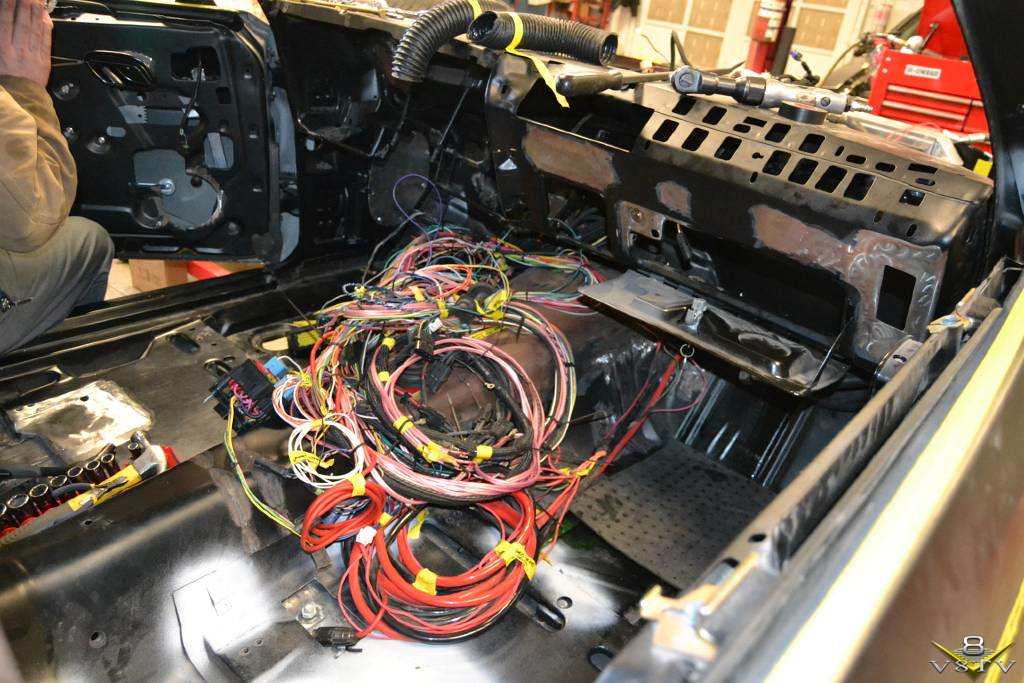
Our test assembly was nearly complete, and the car was started and run for the first time. The crew built a complete running and driving vehicle to ensure that no additional holes or fabrication would be required after the car was painted.
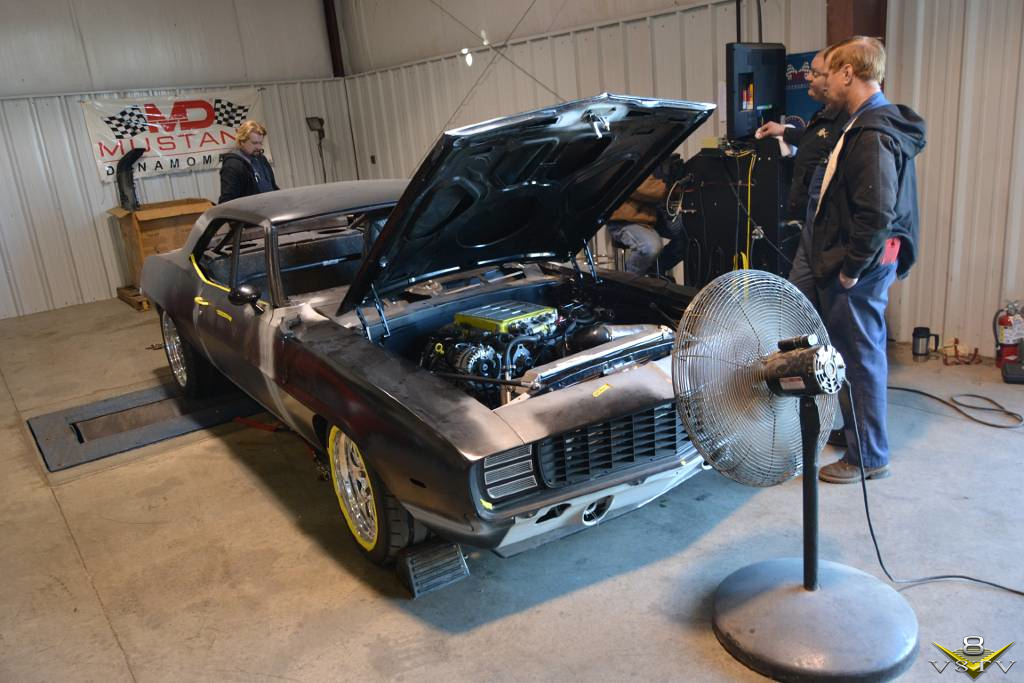
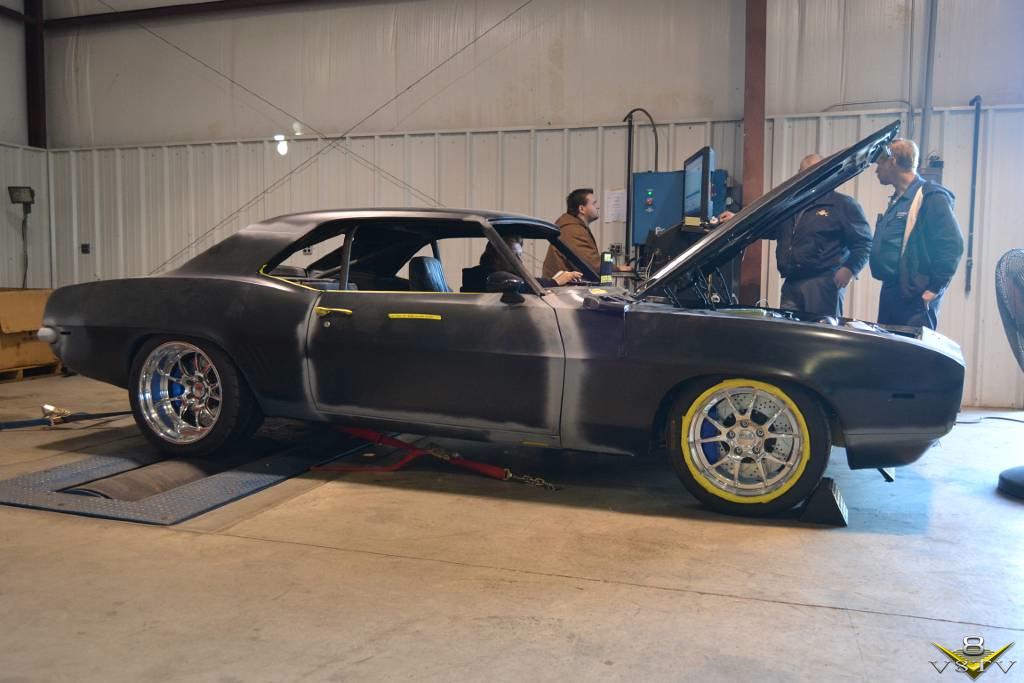
We ran the car on the chassis dyno to break in the mechanical parts and to verify the state of the two. After a software glitch that was restricting the throttle, the car eventually made over 620 hp at the rear wheels!
__________________ Kevin Oeste V8 Speed and Resto Shop
V8TV
Muscle Car Of The Week
V8 Radio Podcast
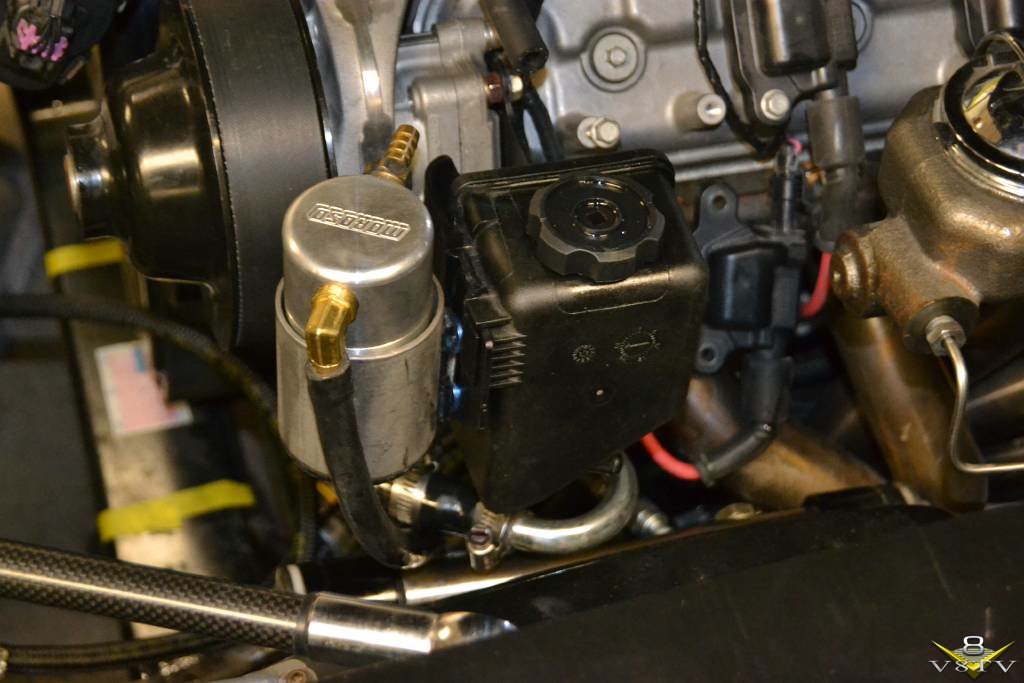
A custom bracket was made for the Moroso oil separator and mounted by the power steering reservoir. Note that we changed the steering reservoir to a stock GM style, we have learned that they are much better for preventing air bubbles from the power steering fluid then non baffled reservoirs.
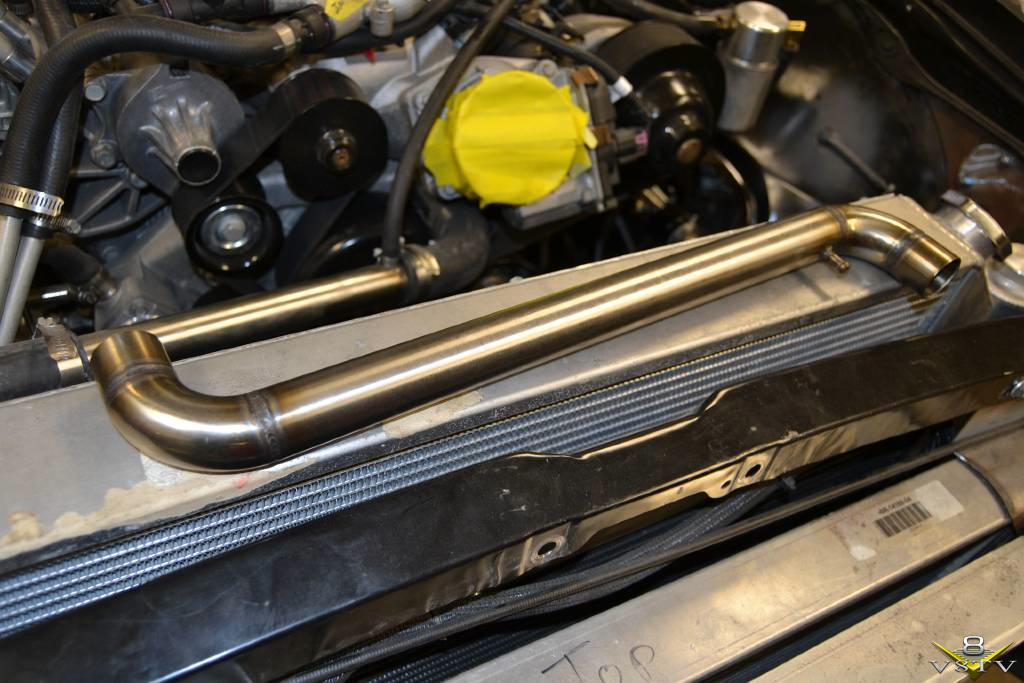
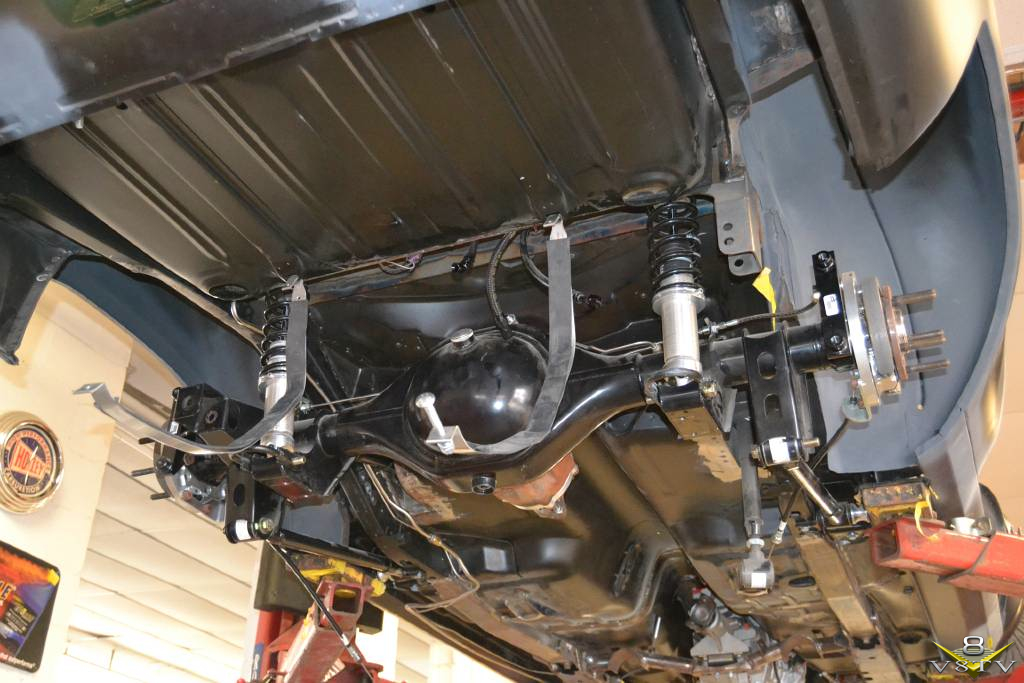
Stainless radiator tubes were made to replace the temporary rubber ones.
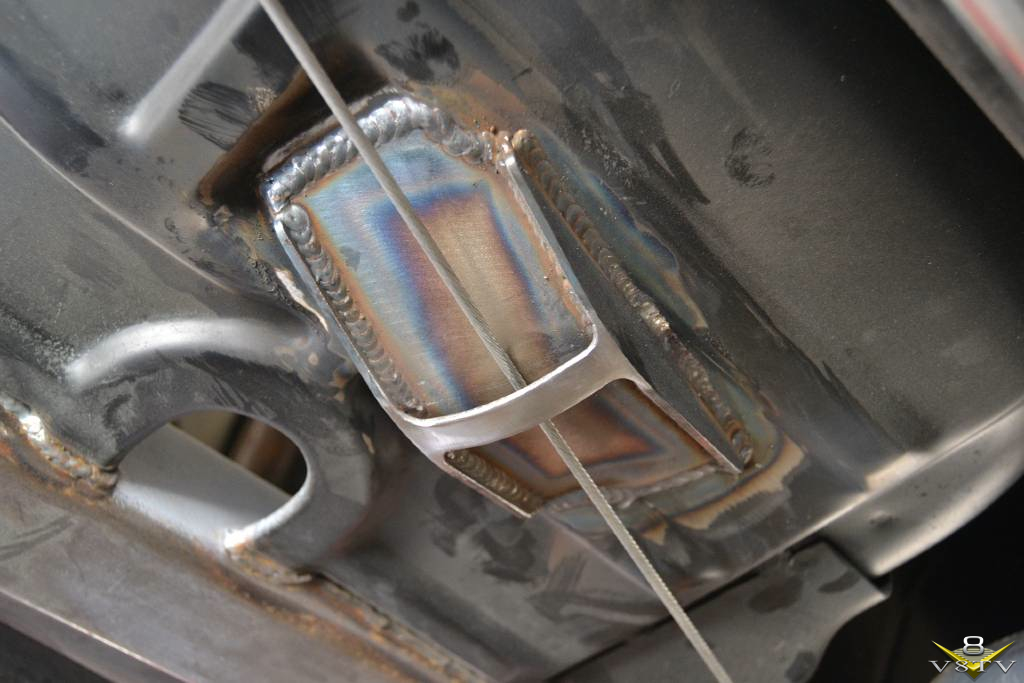
Steel guides were made for the emergency brake cables under the car.
__________________ Kevin Oeste V8 Speed and Resto Shop
V8TV
Muscle Car Of The Week
V8 Radio Podcast
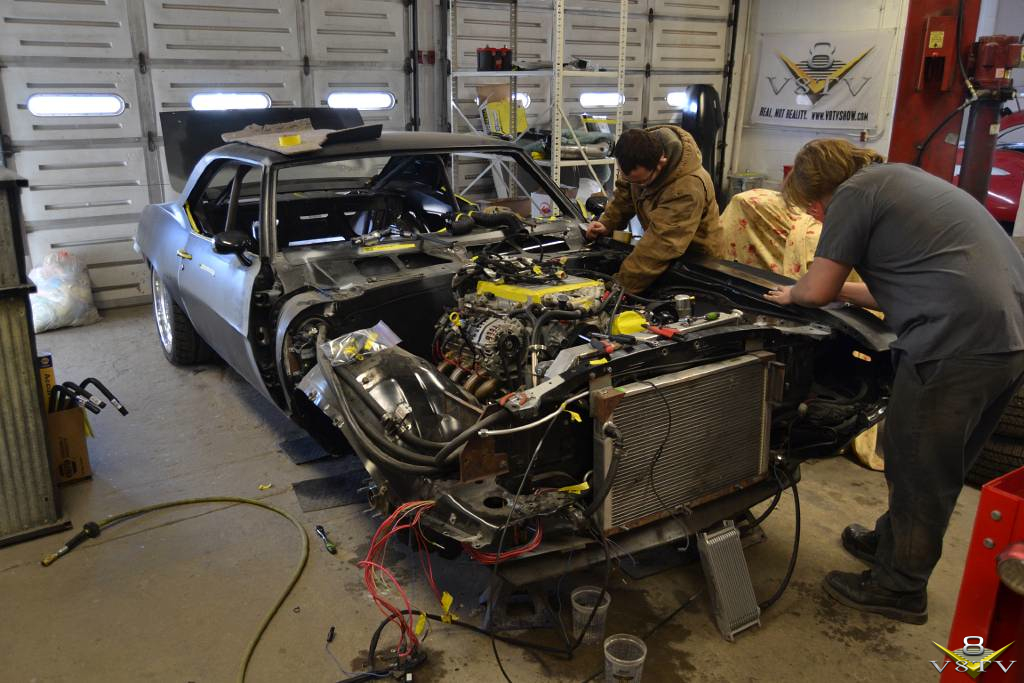
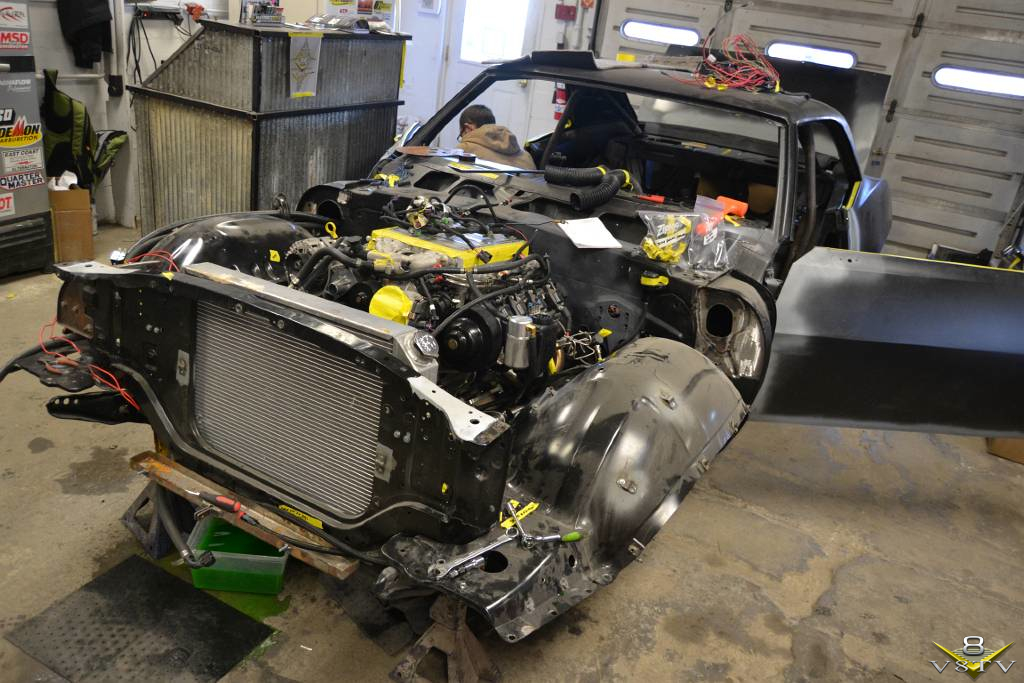
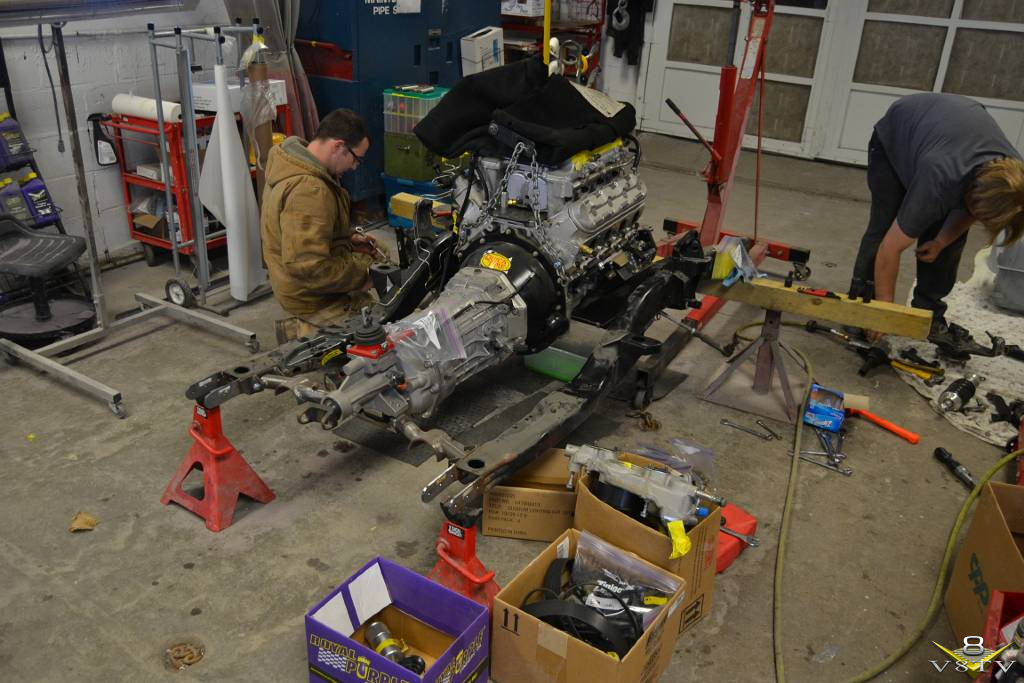
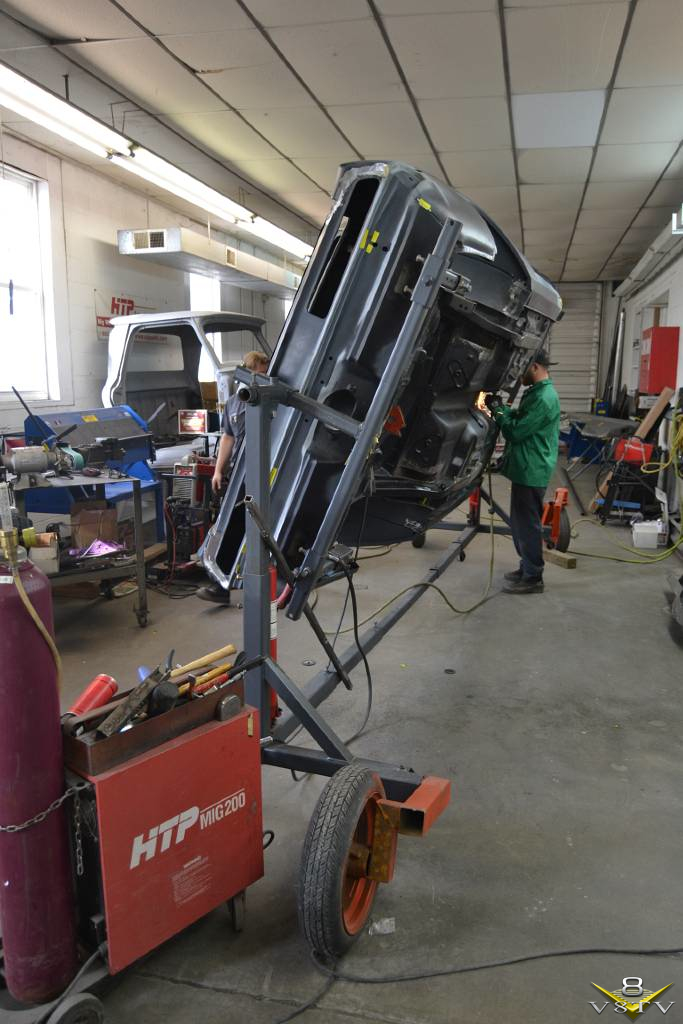
After the car had run, The crew began the disassembly process for paint.
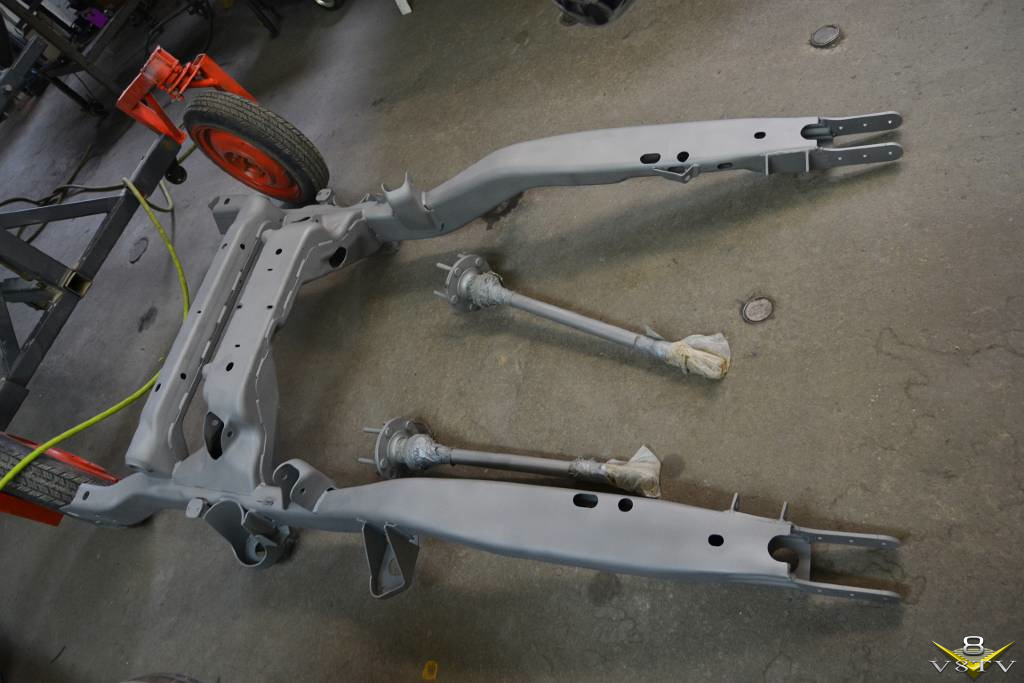
The sheet-metal was removed, noting locations of shims and utilizing guide holes to keep proper panel alignment upon reassembly. All the interior elements were removed, and the front subframe and Suspension were removed as an assembly.
The engine and transmission were separated from the subframe and it was disassembled for detail work and paint.
__________________ Kevin Oeste V8 Speed and Resto Shop
V8TV
Muscle Car Of The Week
V8 Radio Podcast
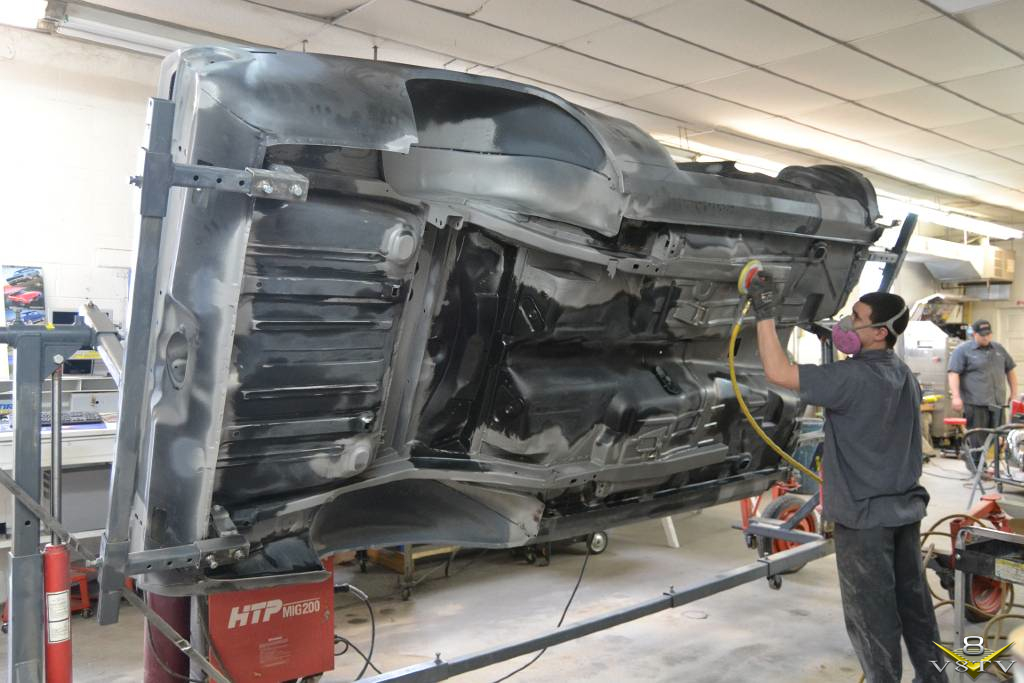
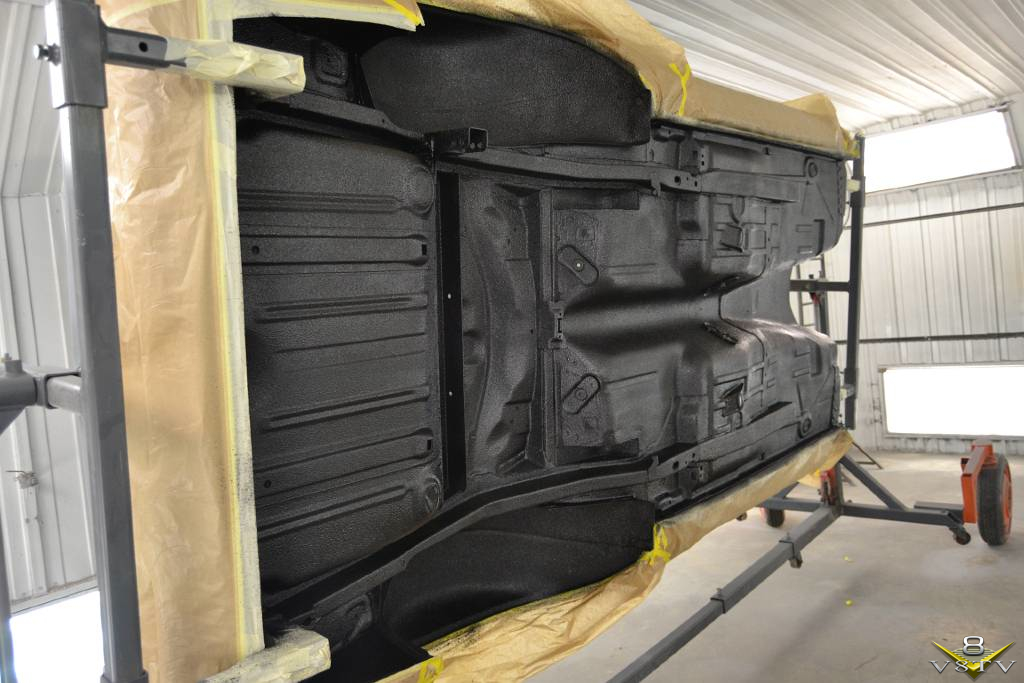
Once stripped, the body shell was attached to a rotisserie for detail welding, grinding, and eventually media blasting.
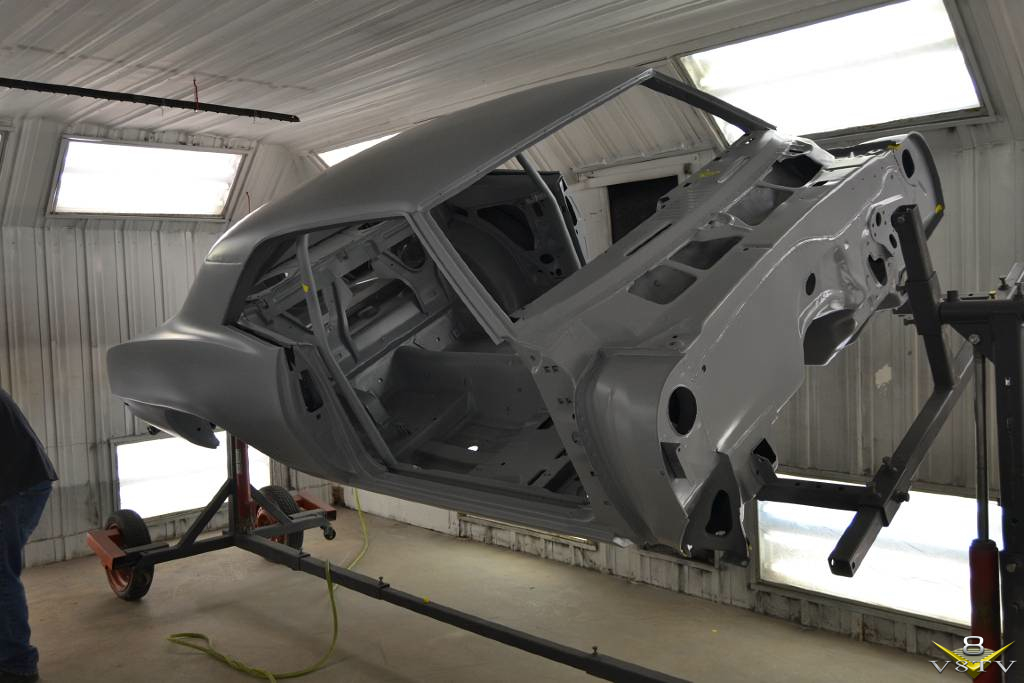
The stripped body was cleaned seam sealed, then prayed with a Standox epoxy primer.
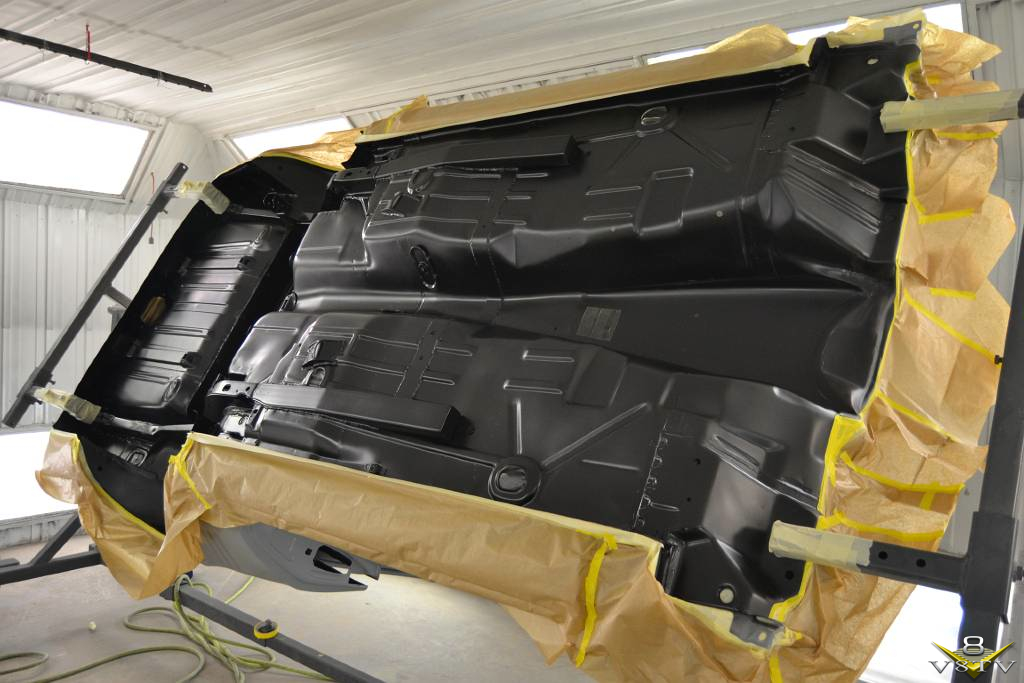
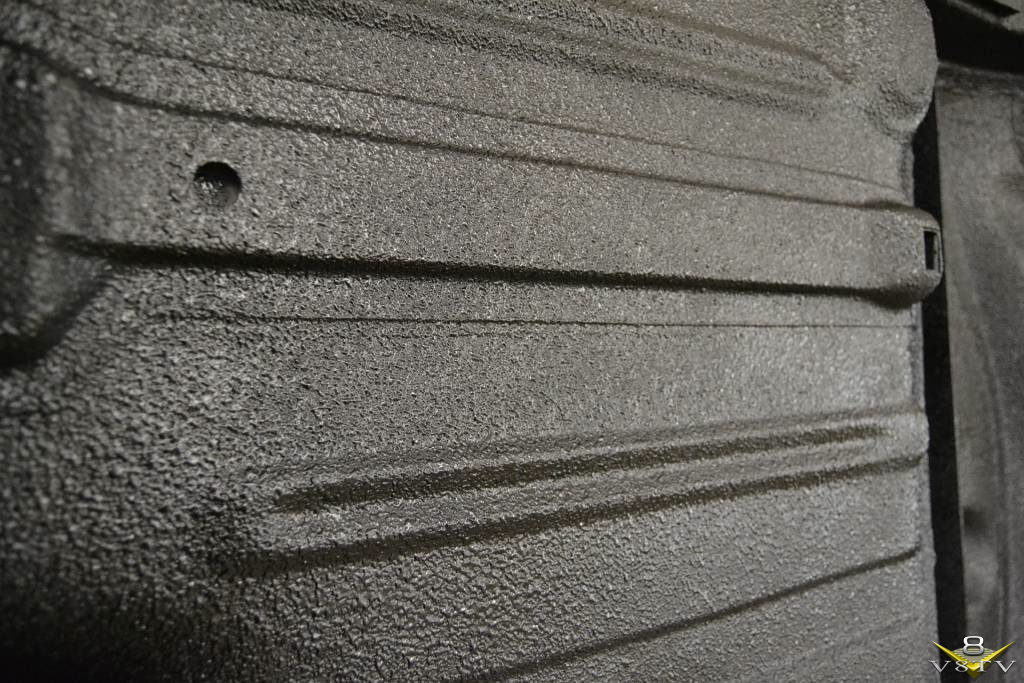
The the bottom side was painted black with Dupont Imron industrial coating. Next, the bottom of the car was coated with 3M body defender to prevent chips.
__________________ Kevin Oeste V8 Speed and Resto Shop
V8TV
Muscle Car Of The Week
V8 Radio Podcast
Our test assembly was nearly complete, and the car was started and run for the first time. The crew built a complete running and driving vehicle to ensure that no additional holes or fabrication would be required after the car was painted.
Thanks for posting this Kevin. I've been trying to explain this concept to some of my friends for YEARS and they still don't get it. To me the only thing more annoying than drilling holes in fresh paint is fabricating parts to fit around freshly painted surfaces.
Thanks for posting this Kevin. I've been trying to explain this concept to some of my friends for YEARS and they still don't get it. To me the only thing more annoying than drilling holes in fresh paint is fabricating parts to fit around freshly painted surfaces.
Thanks for posting this Kevin. I've been trying to explain this concept to some of my friends for YEARS and they still don't get it. To me the only thing more annoying than drilling holes in fresh paint is fabricating parts to fit around freshly painted surfaces.
The worst thing is when parts are not test fit before paint. I can't tell you how many times people try to install new parts on a freshly painted car to find out they need some help in the fit department.
Quote:
Originally Posted by Ketzer
Nice tech on the 3M stuff, especially the gun and how much product goes how far.
Thanks, we've been using this stuff for a while now and really like it.
__________________ Kevin Oeste V8 Speed and Resto Shop
V8TV
Muscle Car Of The Week
V8 Radio Podcast


 Brian Hobaugh SCCA National Tour June 2014
 First Hemi 'Cuda Convertible Ever Built
 Short clips: Goodguys Pleasanton autocross and pit videos


 Linear Mode

