This morning I received the 1/2" hub centric wheel spacers that I ordered for the rear.
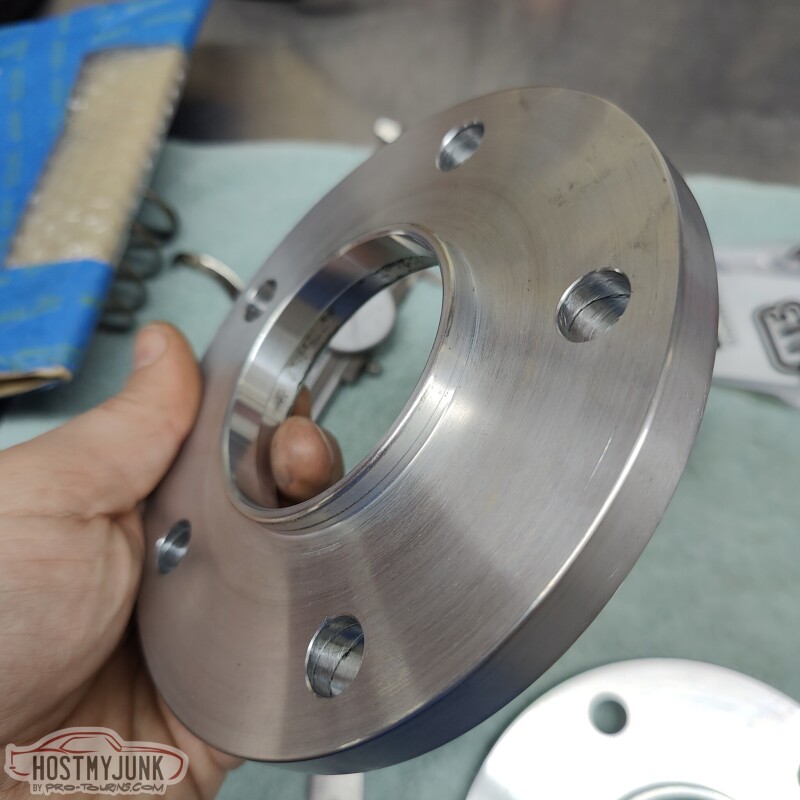
The fit was spot on.
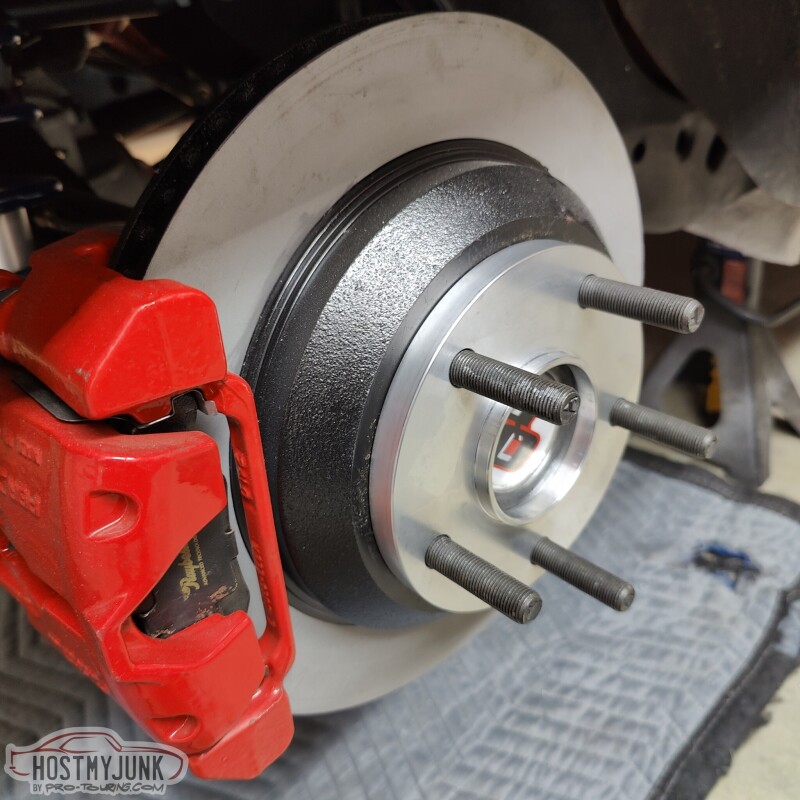
I added this spacer to center the tire in the wheel wells. There is about 1.5" from the tire to the frame on the inside and about 1" on the outside. Also, both sides looked the same, which means the axle is well centered in the chassis and the body is well placed on the frame.
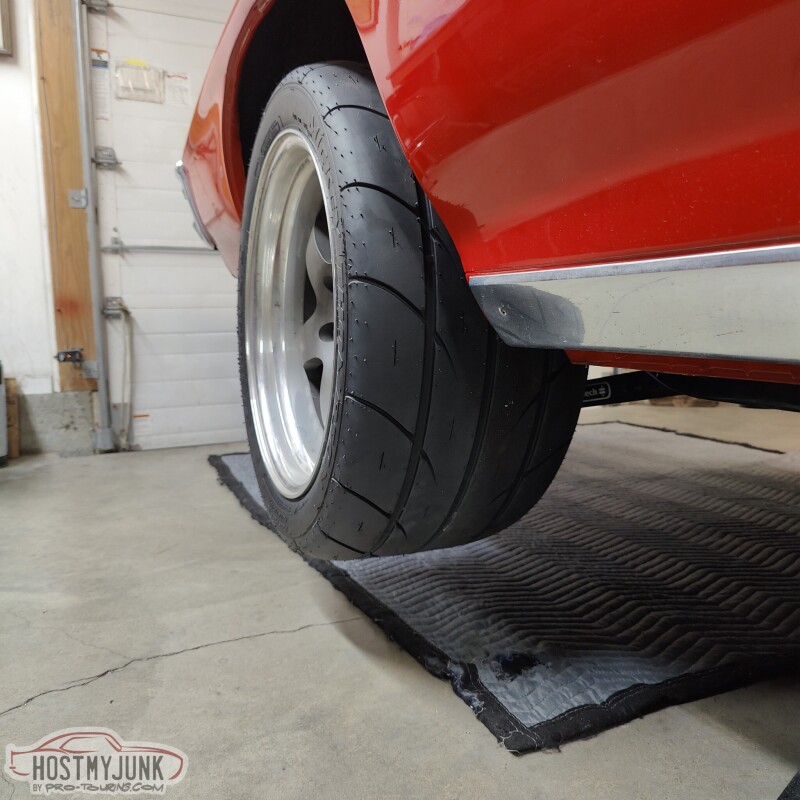
The Mickey Thompson ET Street SS tires look amazing! The rear end is in full droop in this picture. Ride height is still to be determined.
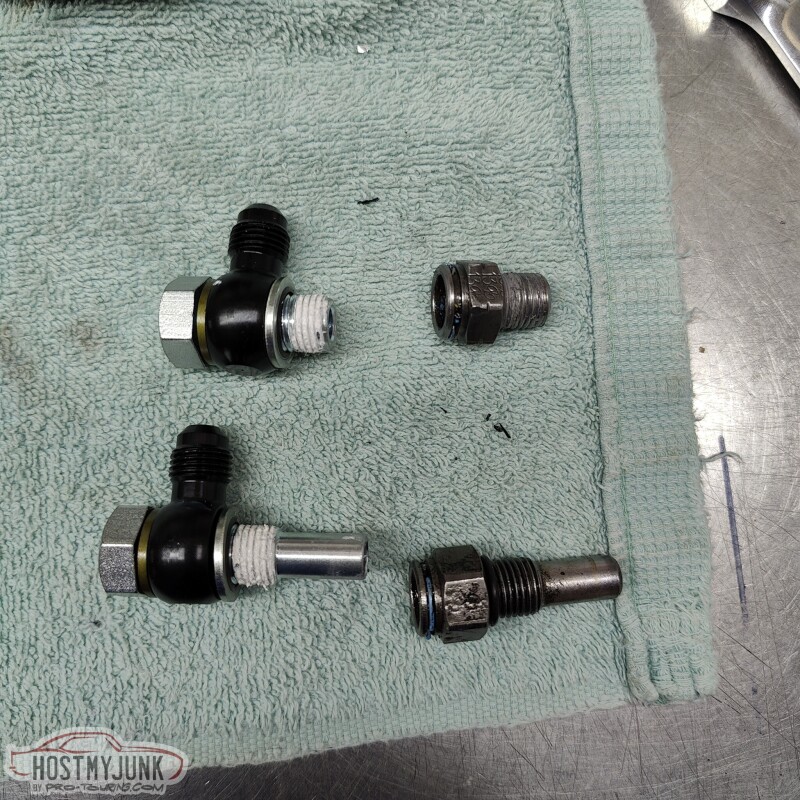
After the fun stuff, it was down to a rather tedious project. These are some banjo -AN adapters for the transmission cooler lines, compared to the stock adapters on the right.
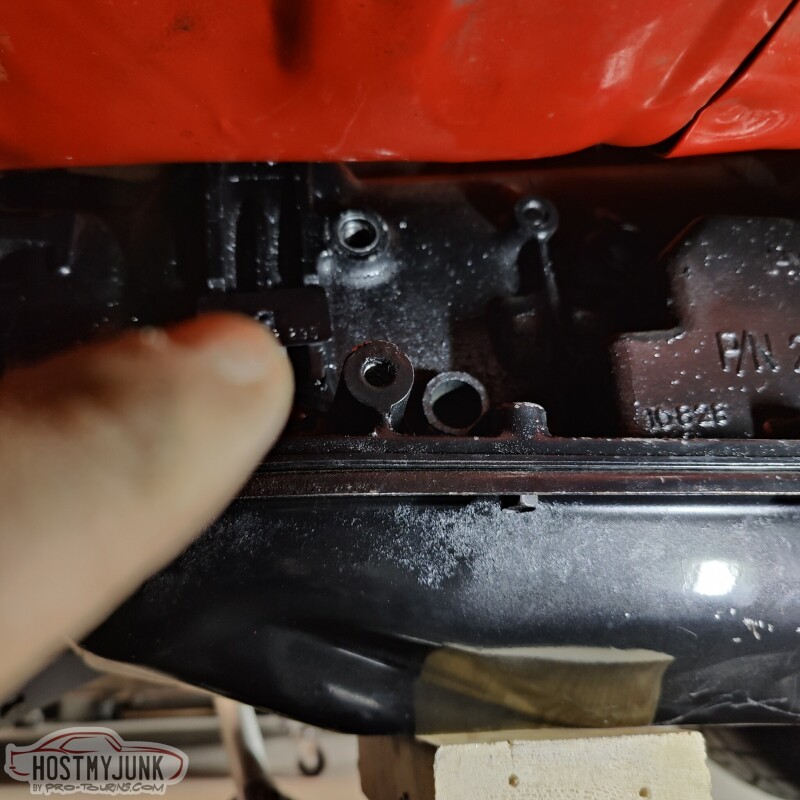
See that hole at the top?
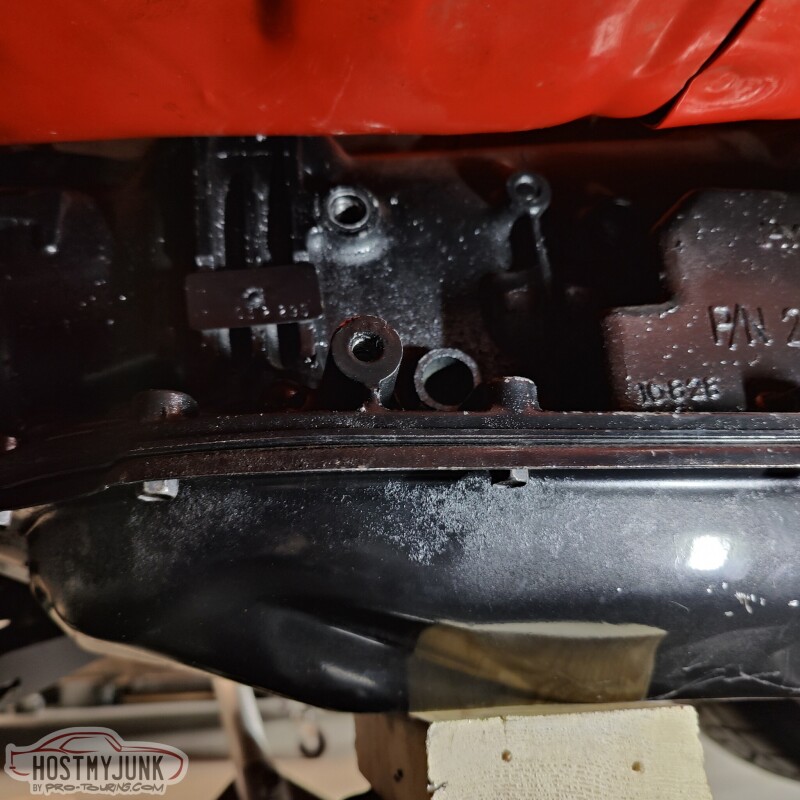
That one...That is where the longer fitting has to go, and there isn't enough room in the transmission tunnel to take the fitting out. So I had to remove the transmission crossmember and lower the trans in order to install these. This picture is with the transmission at full droop.
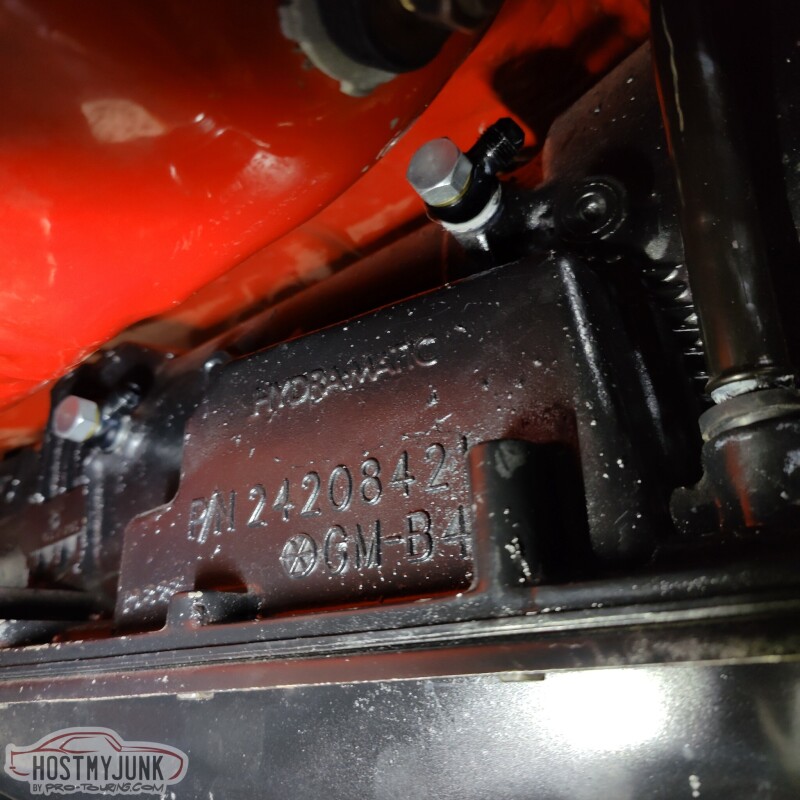
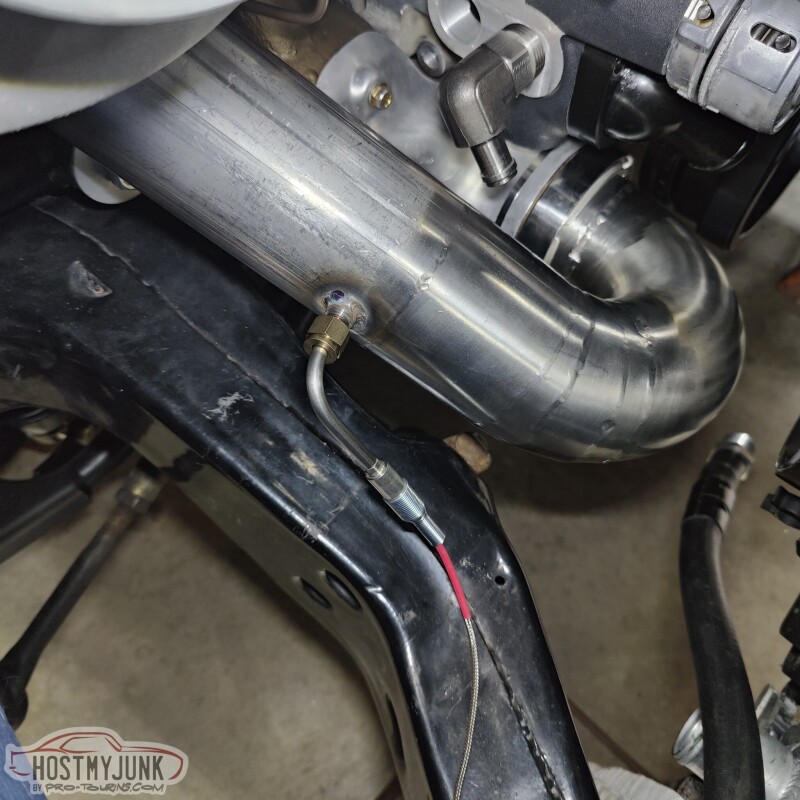
Here they are installed with the transmission back in place.
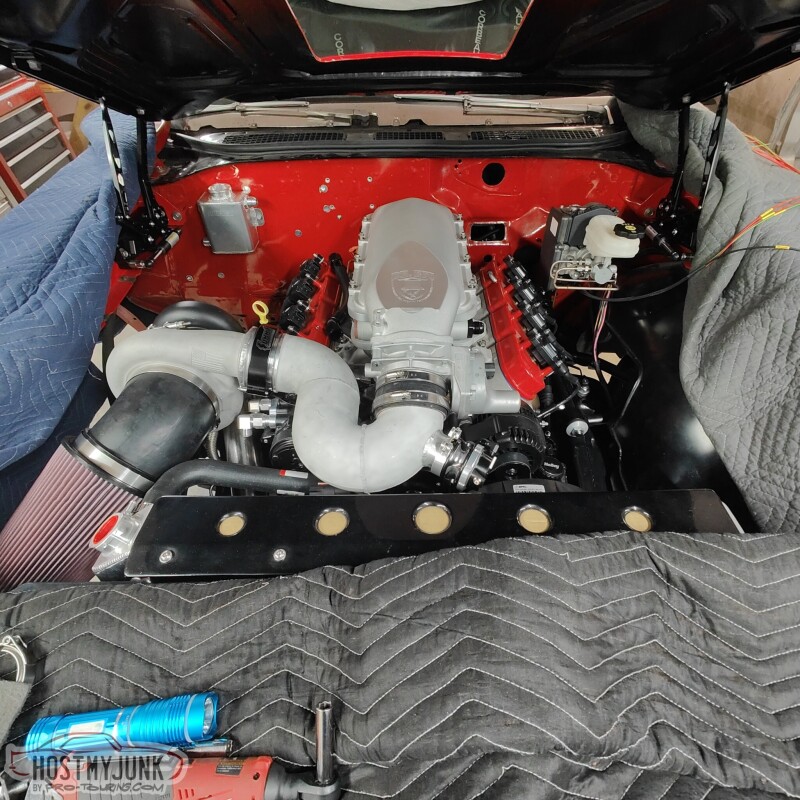
Then I got to looking at the intercooler and grabbed a gray scuff pad and started to rub. I really like the brushed look for the intercooler, so I will use the gray scuff pad over all of it and leave it a natural brushed finish (the rest is bead blasted for now).
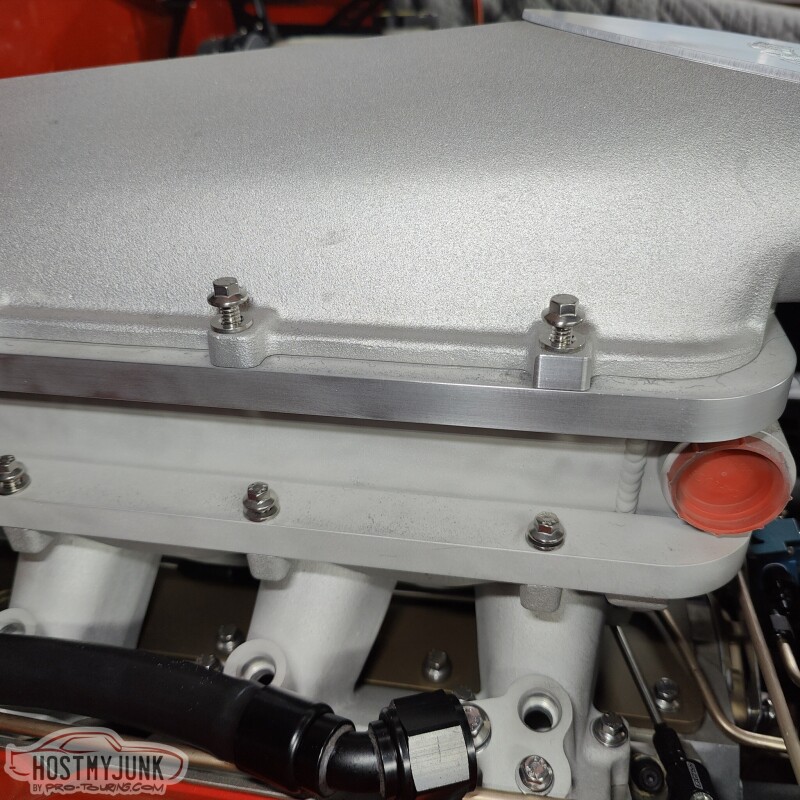
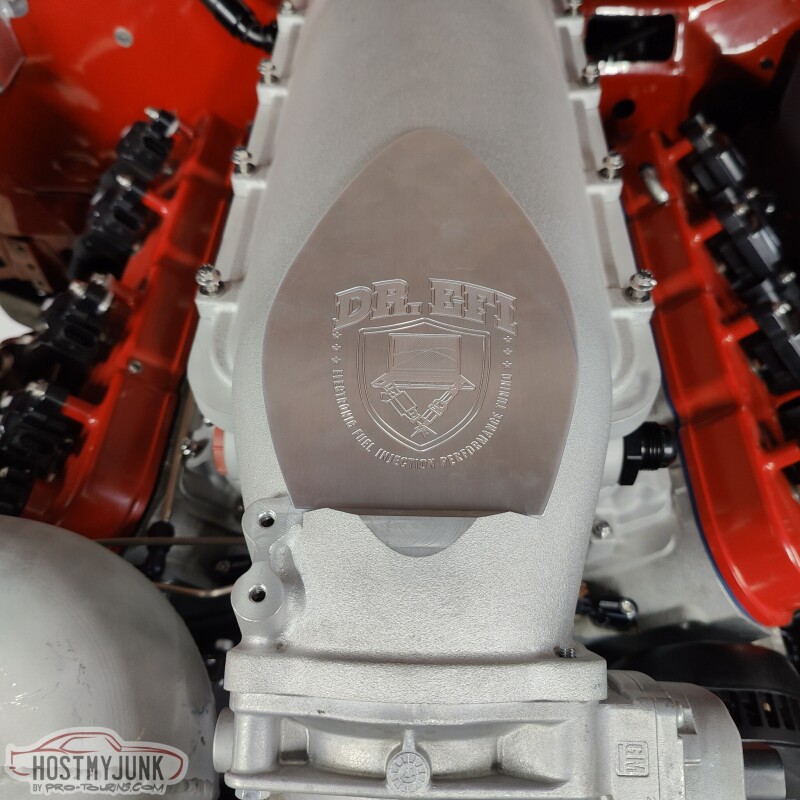
A big "Thank you" to one of my customers, who graciously engraved my logo into the intake manifold plate.
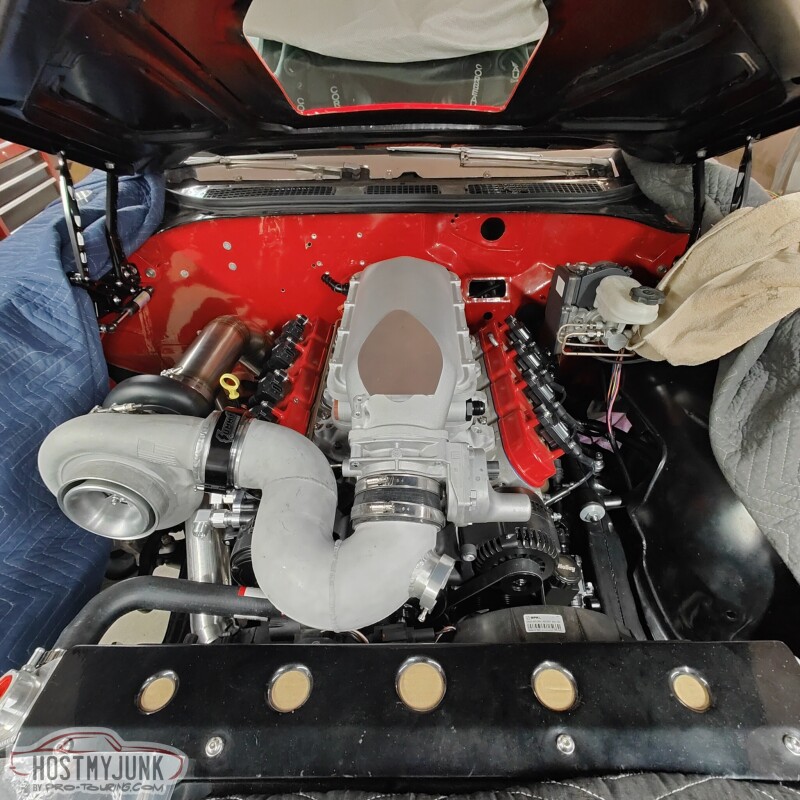
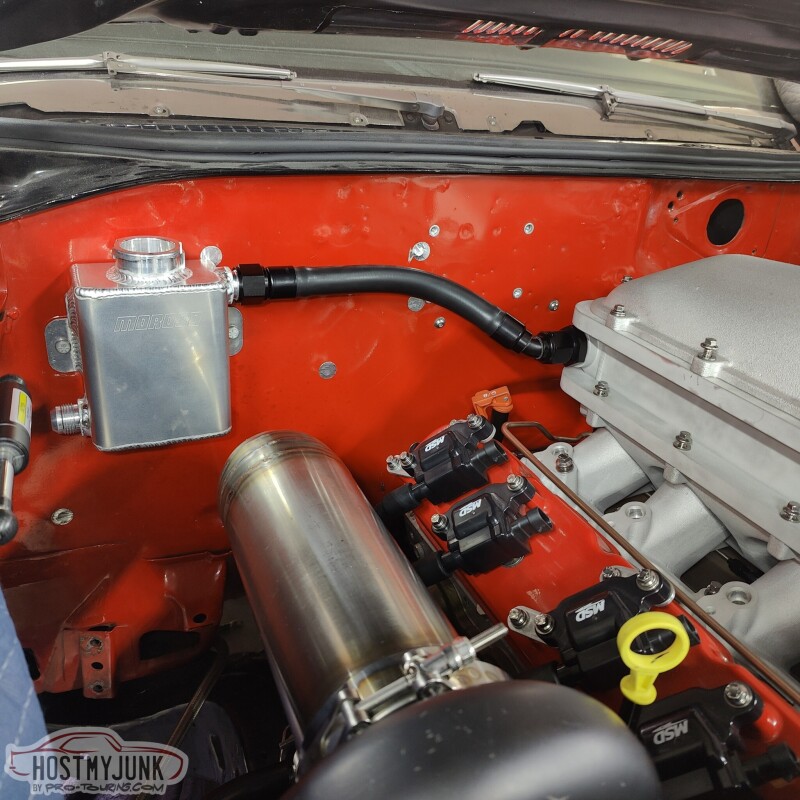
She is starting to look like something!
Andrew


 Brian Hobaugh SCCA National Tour June 2014
 First Hemi 'Cuda Convertible Ever Built
 Short clips: Goodguys Pleasanton autocross and pit videos


 Linear Mode

