Just one more update for now.
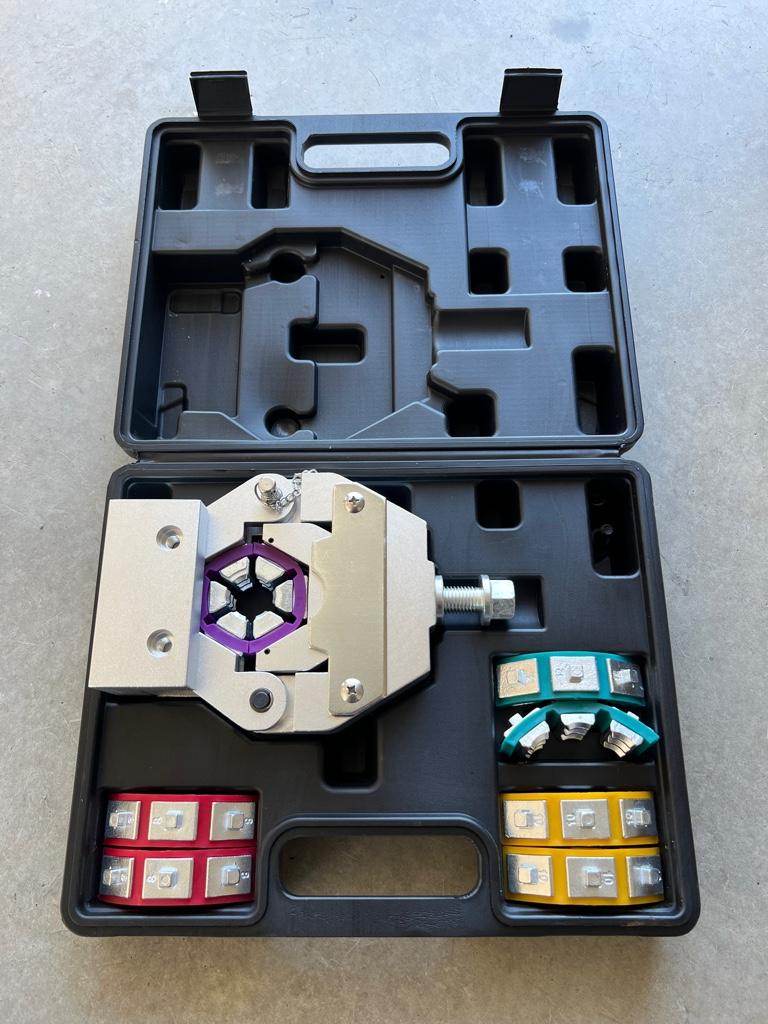
I purchased an AC hose crimper to try and get my system buttoned up.
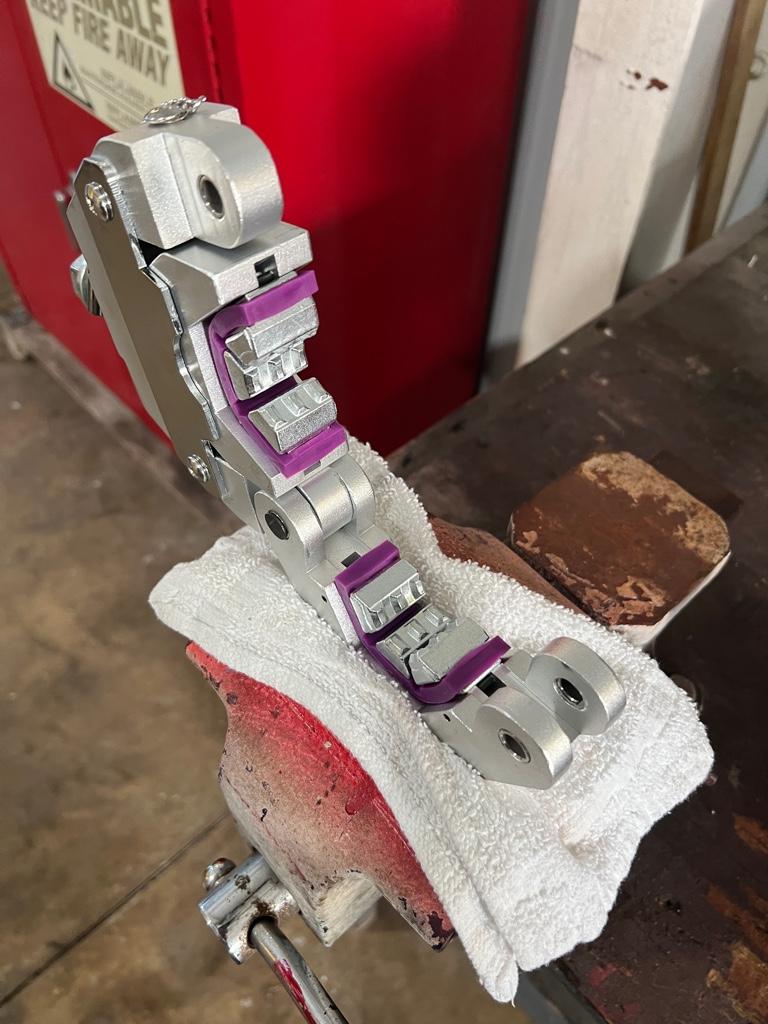
Don’t mind the Firetruck and Ambulance in the background. I don’t have a vice much less a work table in my garage. Some things I have to do while on duty during my down time hours.
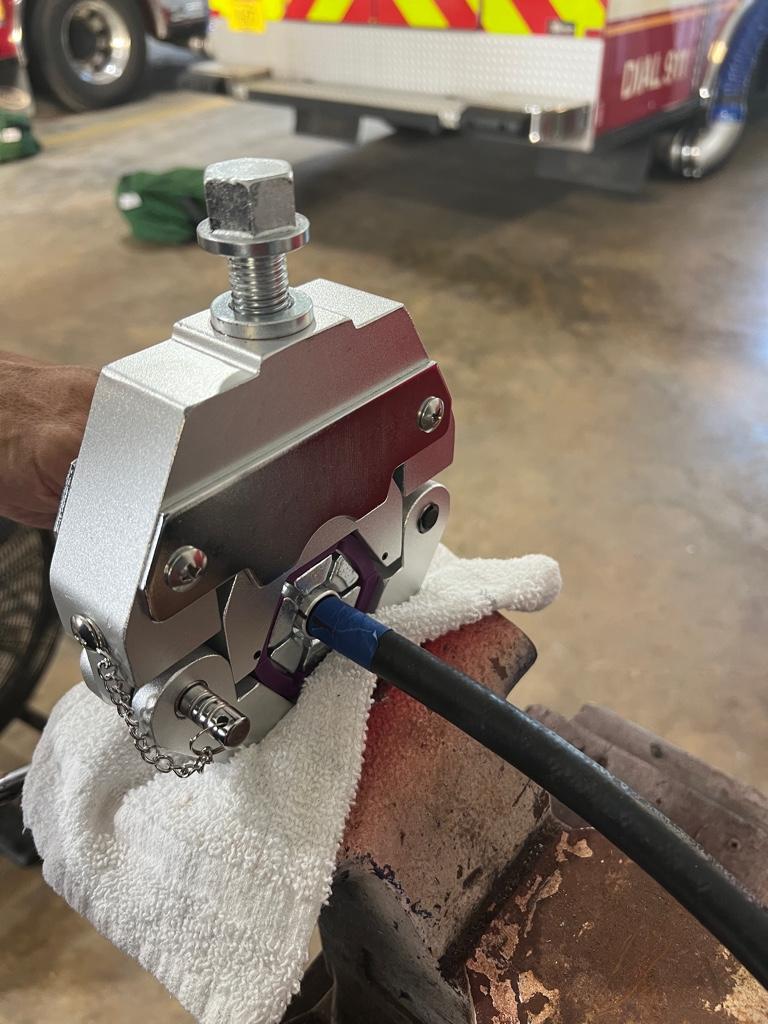
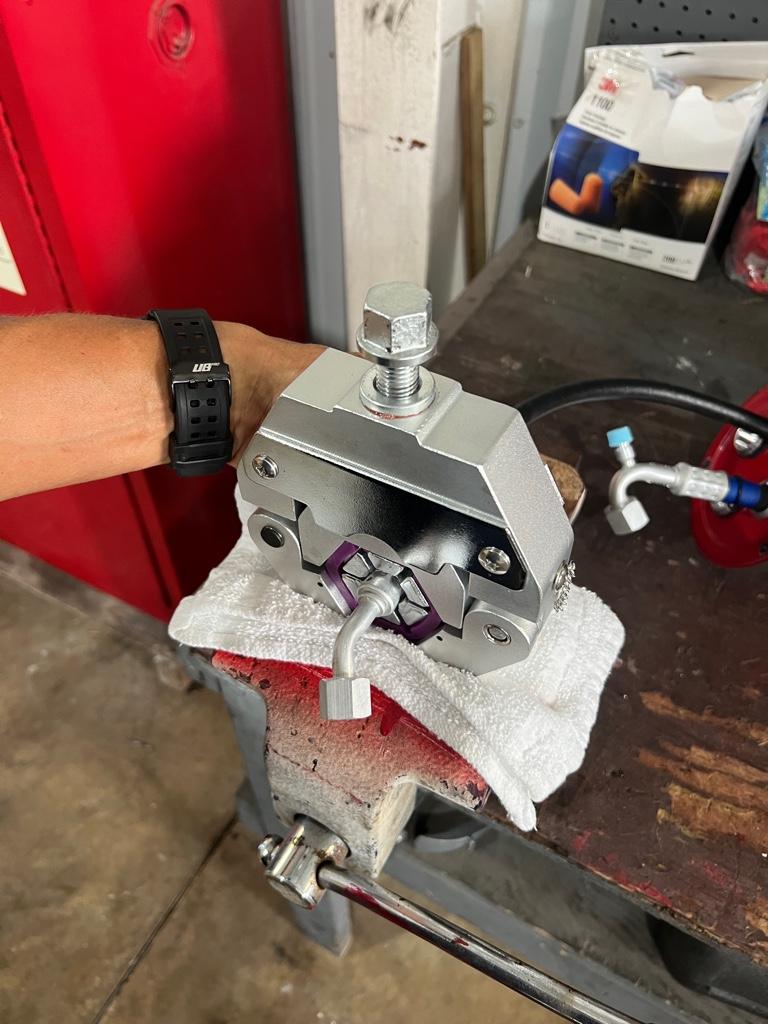

I learned from Marty to put the tape back from the fitting so I would not have to worry about digging it out after crimping. Thank you, sir!
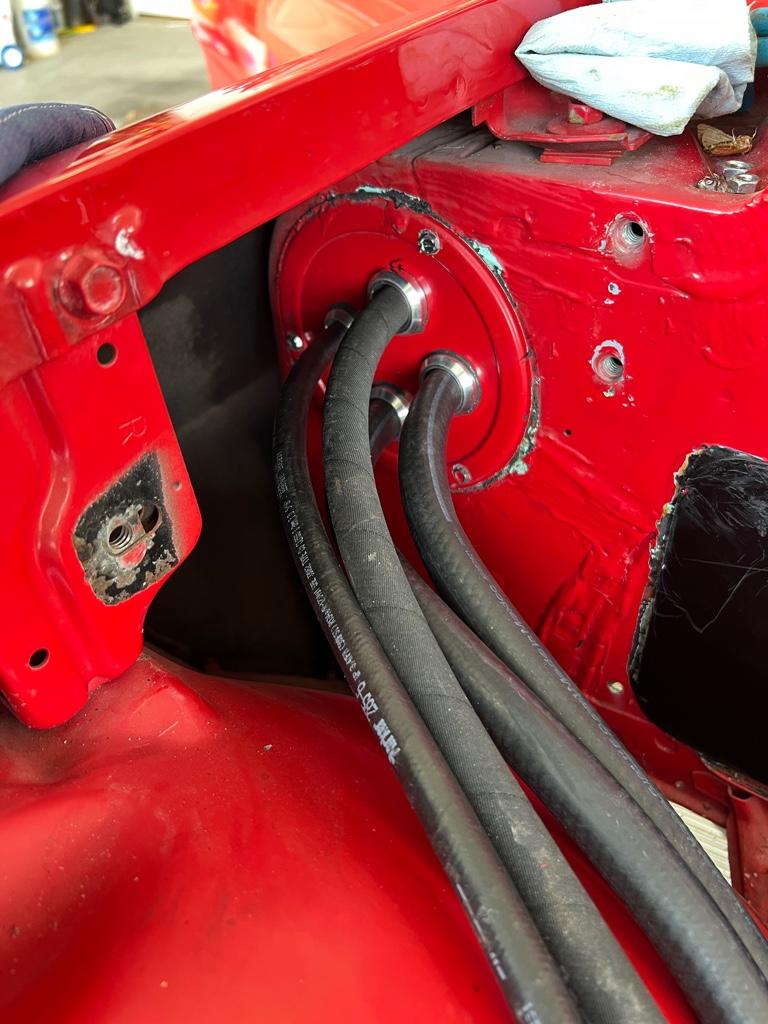
Getting the hoses installed.
I just noticed my pet moth died as well. R.I.P little buddy.
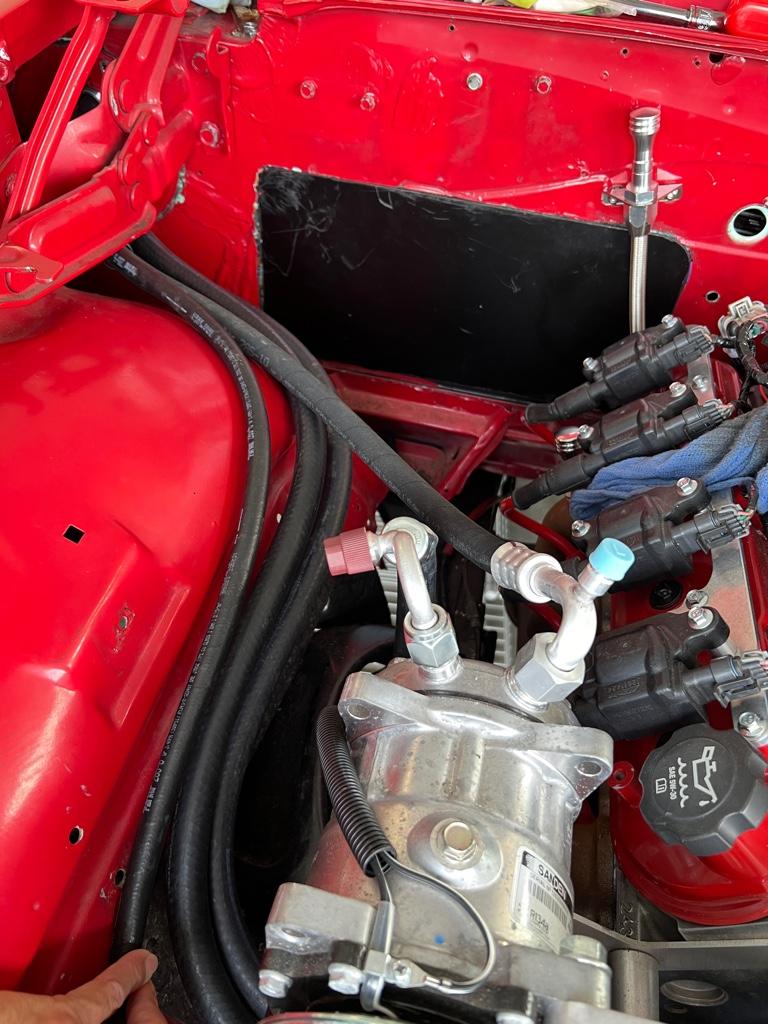
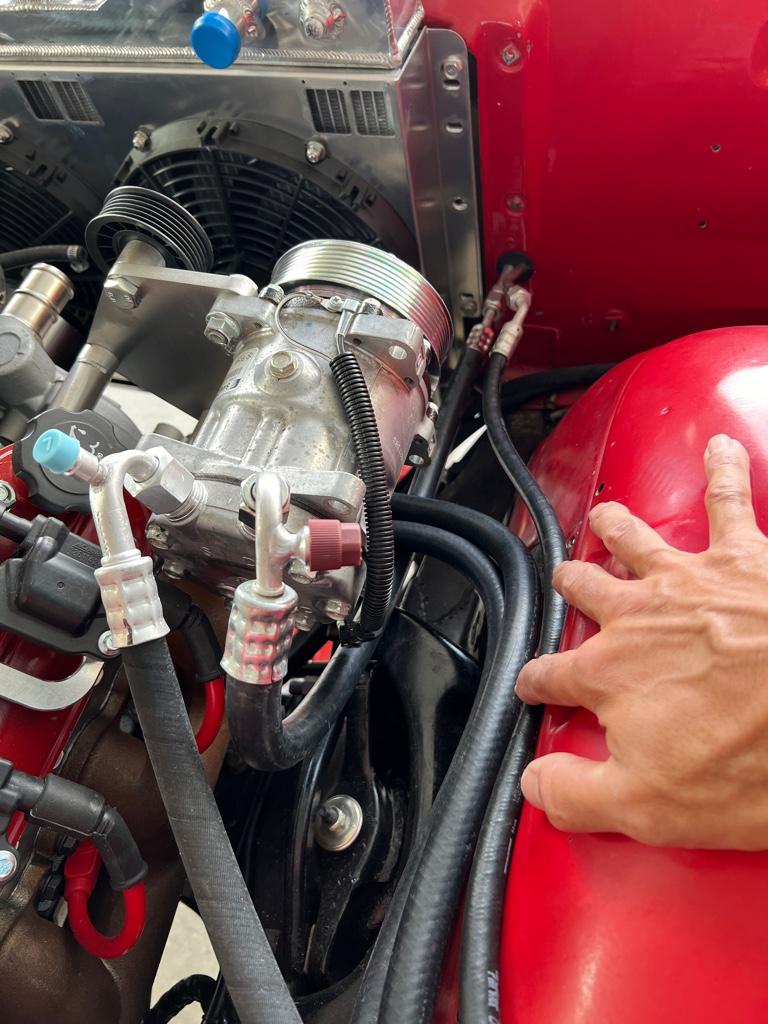
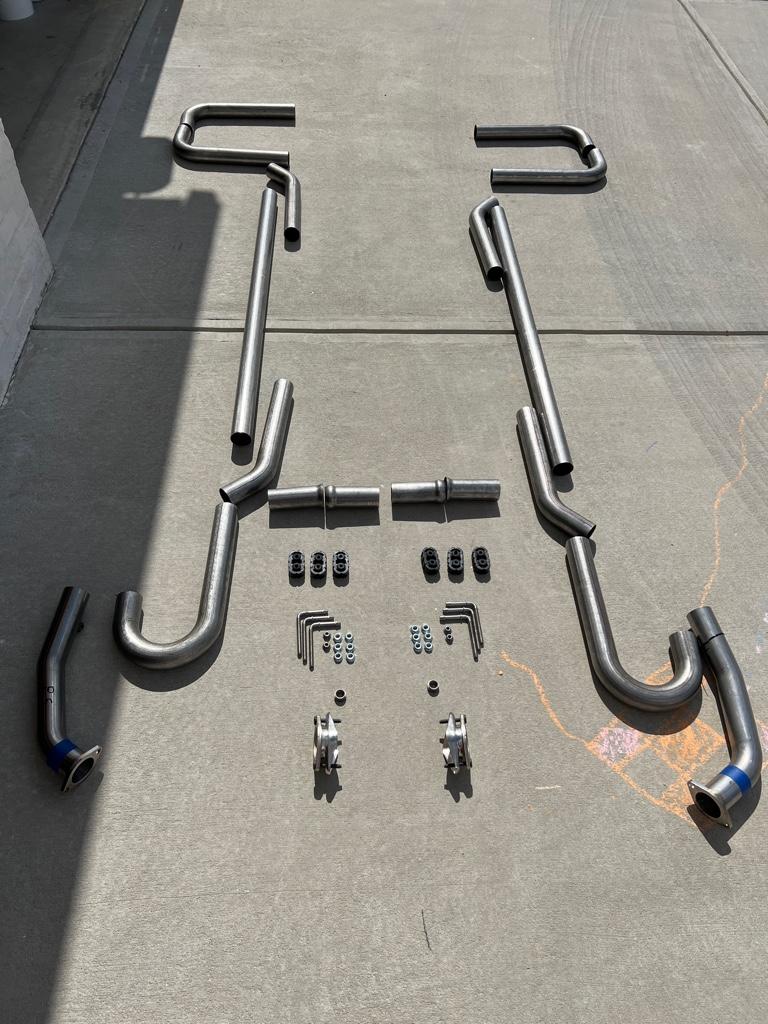
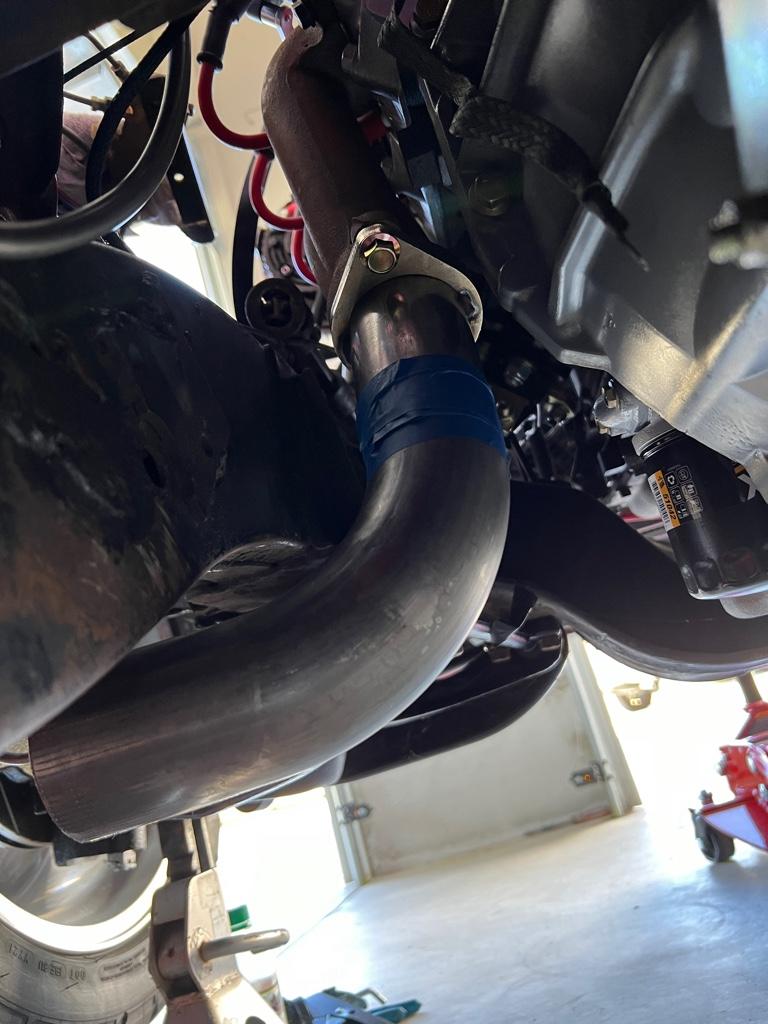
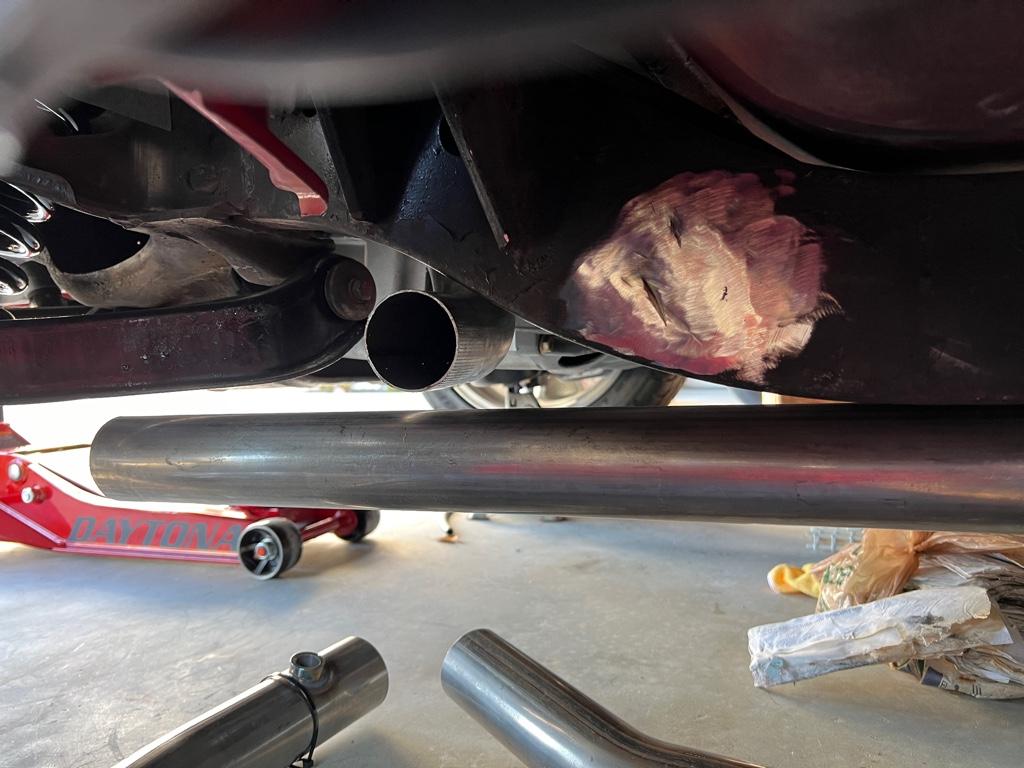
Remember, I will be going back through everything to refine the finished product.
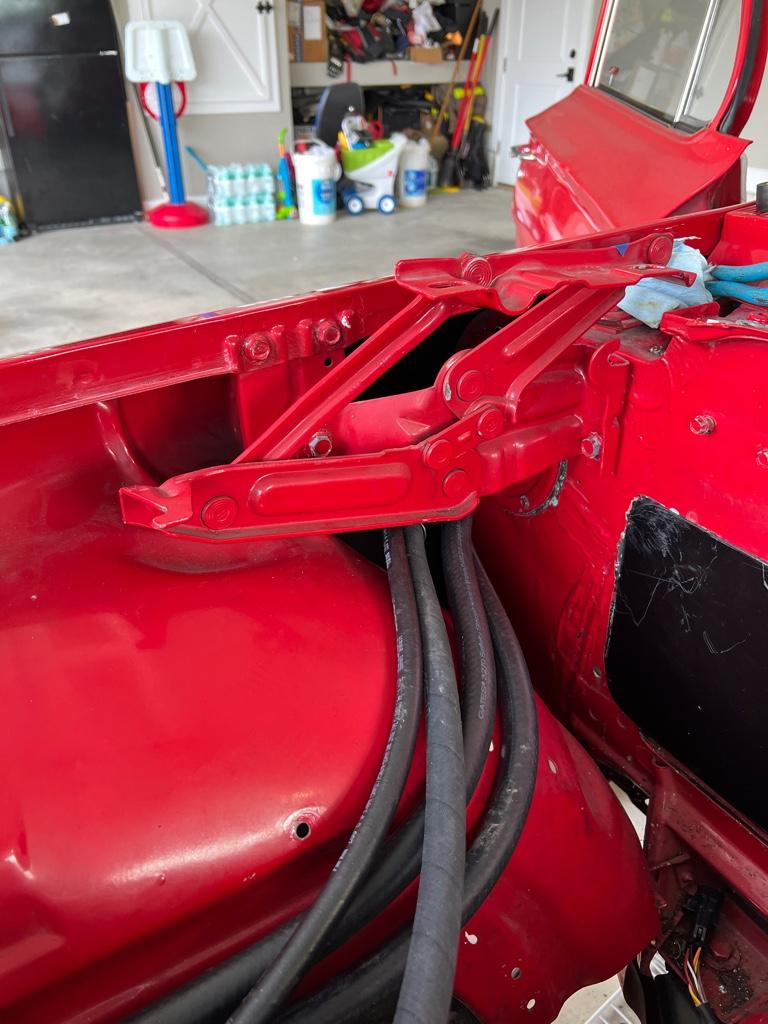
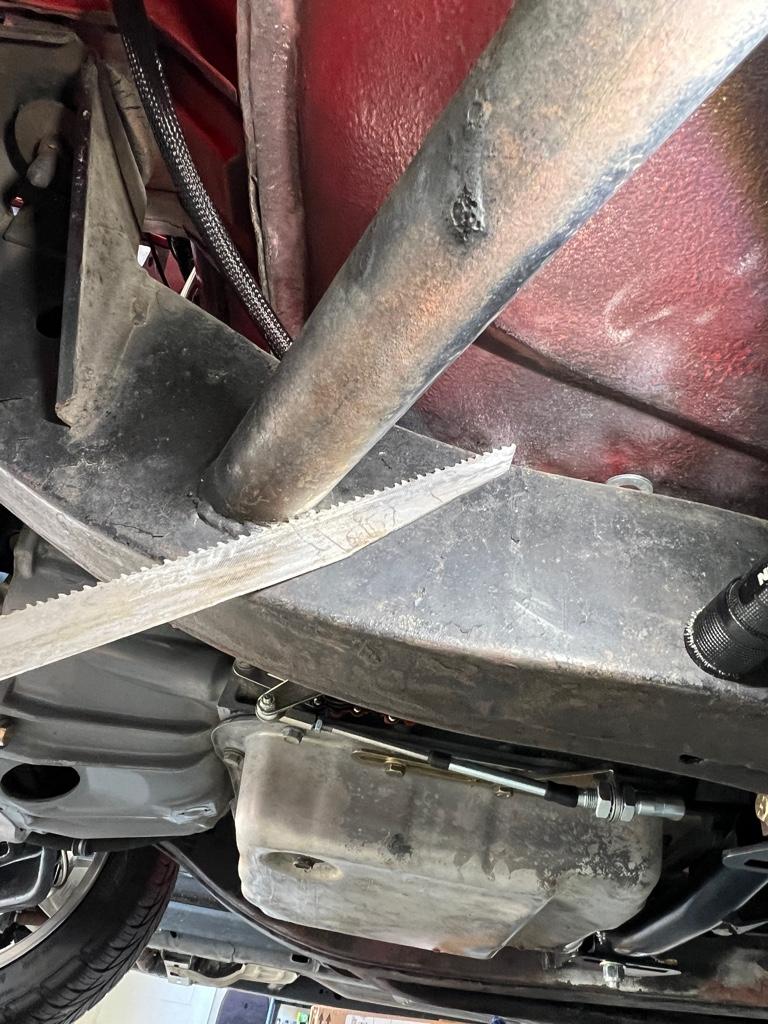
Plenty of clearance for the hinge when the hood is closed.
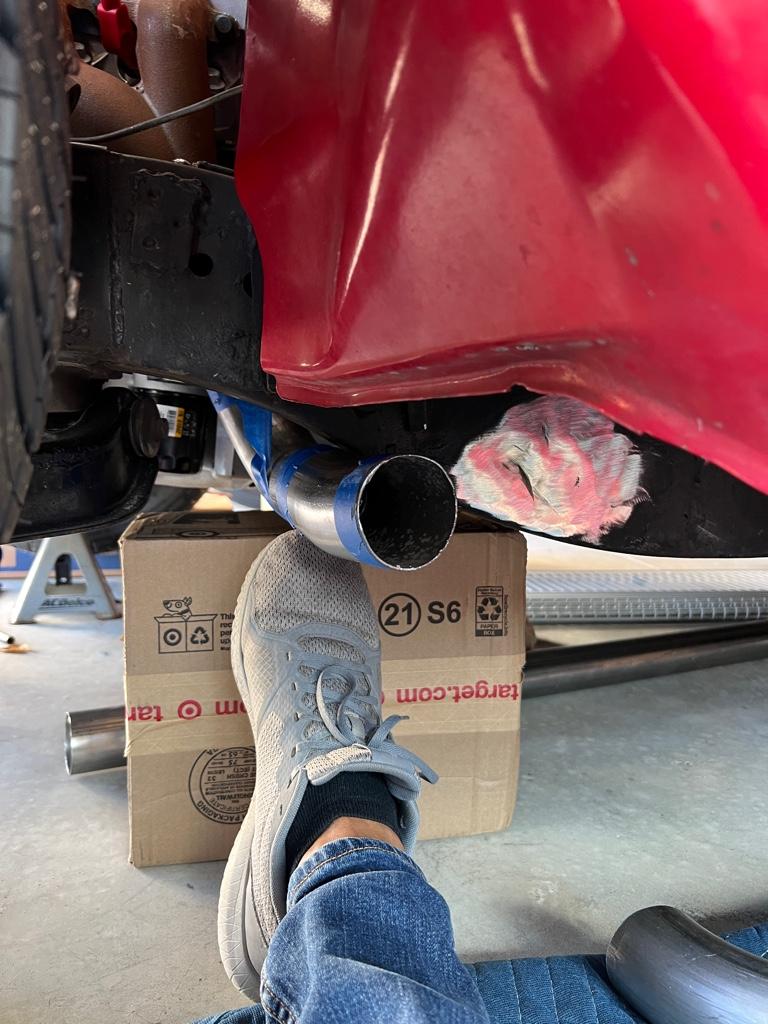
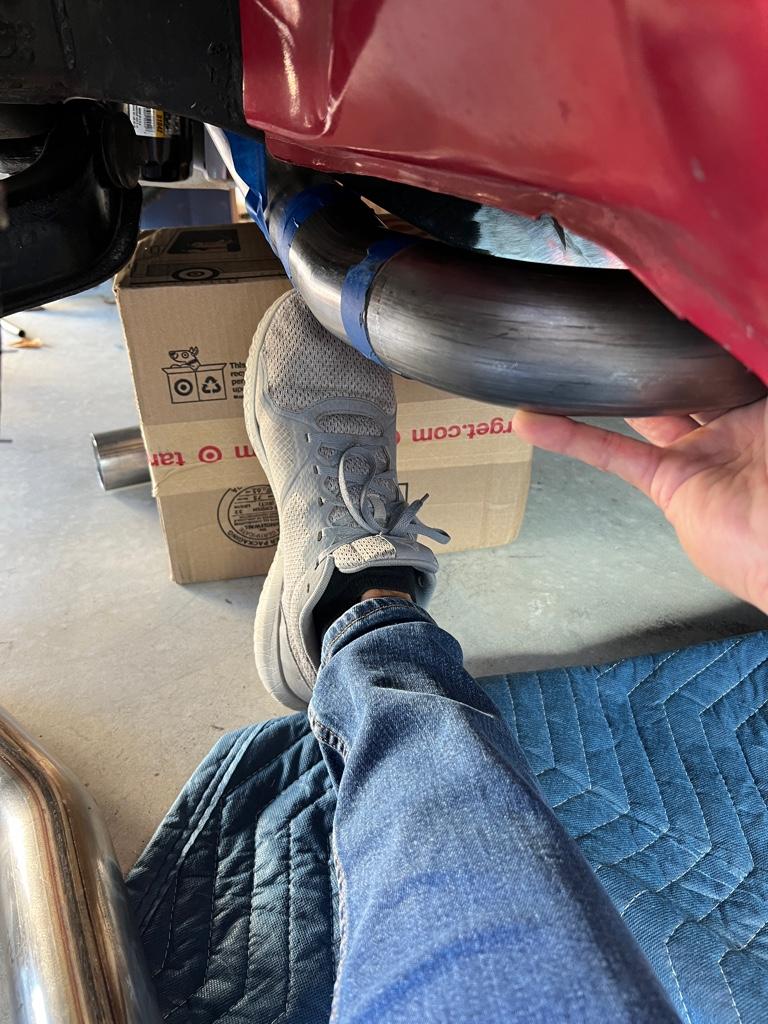
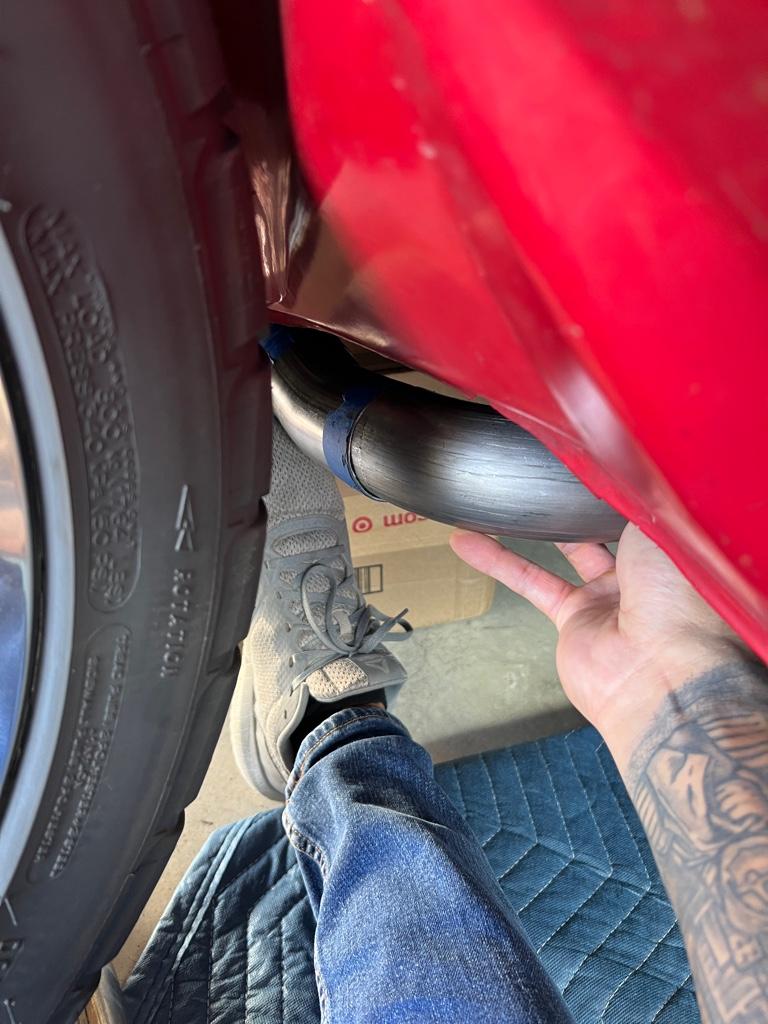
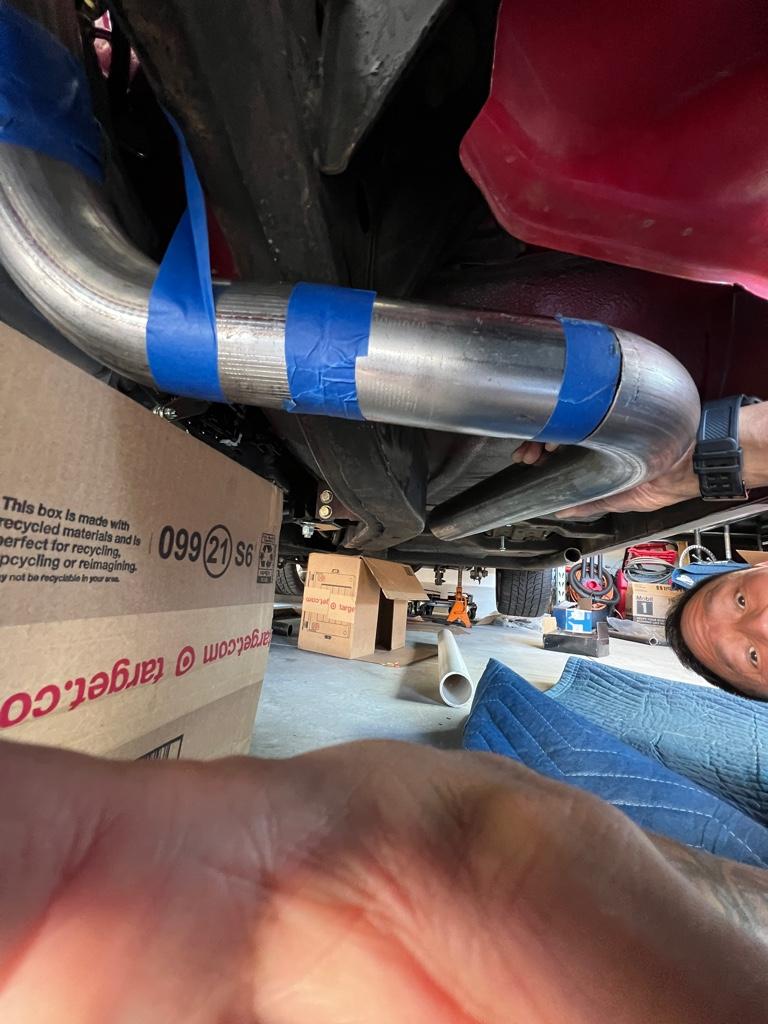
This is how I’m thinking the lines will be ran on the fenderwell.
Sent from my iPhone using Tapatalk


 Brian Hobaugh SCCA National Tour June 2014
 First Hemi 'Cuda Convertible Ever Built
 Short clips: Goodguys Pleasanton autocross and pit videos


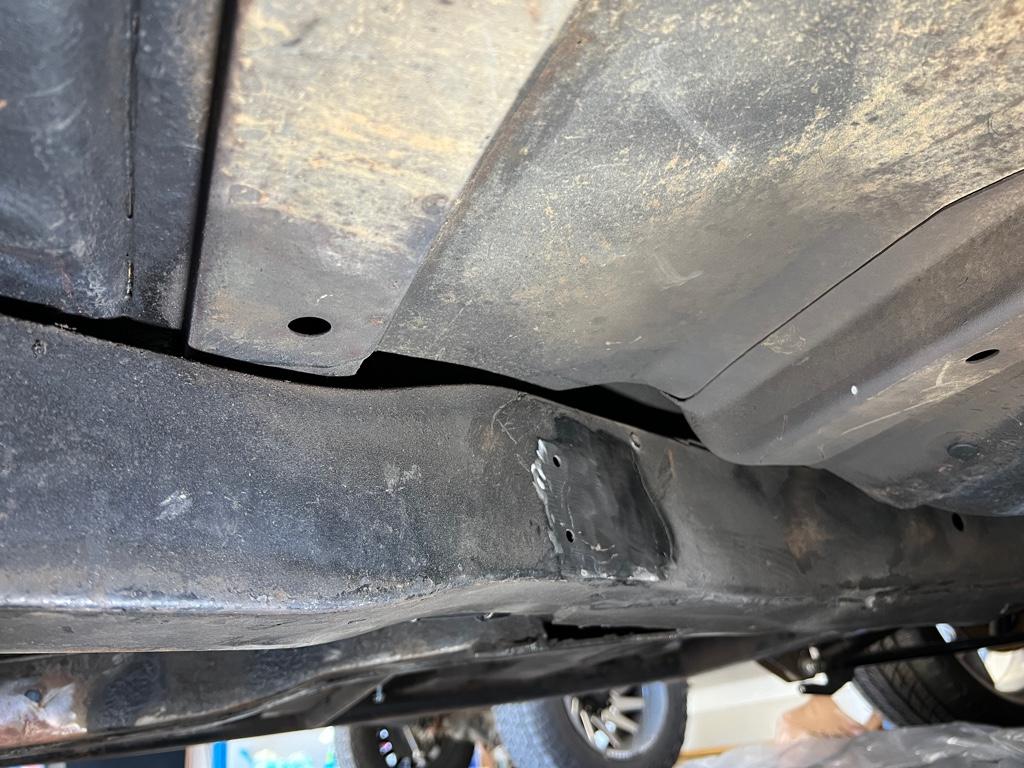


 It's like a ball of yarn unwinding, that has no end... Author DKz Garage


 Linear Mode

