...

Go Back   Lateral-g Forums > Lateral-G Open Discussions > Project Updates
User Name
Password


Reply
 
Thread Tools Display Modes
  #11  
Old 10-09-2014, 01:52 PM
V8TV's Avatar
V8TV V8TV is offline
Lateral-g Supporting Vendor
 
Join Date: Nov 2005
Posts: 1,889
Thanks: 8
Thanked 22 Times in 15 Posts
Default

Next, the assembled body went into the paint booth for several coats of primer. This high build primer ensures that there will be no sanding scratches from the polyester to diminish the shine of the paint.


The body panels were disassembled from the car so both sides could be sanded and primed.


The interior of the car was sprayed was basket and sprayed with Dupont Imron industrial satin black coating for corrosion resistance.


__________________
Kevin Oeste
V8 Speed and Resto Shop
V8TV
Muscle Car Of The Week
V8 Radio Podcast

All about us:
https://www.v8speedshop.com

Reply With Quote
  #12  
Old 10-09-2014, 01:52 PM
V8TV's Avatar
V8TV V8TV is offline
Lateral-g Supporting Vendor
 
Join Date: Nov 2005
Posts: 1,889
Thanks: 8
Thanked 22 Times in 15 Posts
Default

The exterior panels were all wet block sanded to 600 grit before the first color codes were applied. The color is called Carbon Flash Metallic, and is a late model Chevrolet color. This color has a variety of metallic pigments and flake in it so it looks like black at first glance, but comes to life and the sunlight. The body went back into the spray booth and was masked except for the door and trunk jamb areas, which were the first to receive color and a protective clearcoat.


Next, the body was moved out of the paint booth and the body panels and parts were brought in.


The backsides of the fenders and hood were sprayed with the black Dupont Imron.


Then they were then masked, and prepped for their color and clear coats. It's important to spray the little parts like the taillight pockets, door hinges, and anything else to receive body color.


__________________
Kevin Oeste
V8 Speed and Resto Shop
V8TV
Muscle Car Of The Week
V8 Radio Podcast

All about us:
https://www.v8speedshop.com

Reply With Quote
  #13  
Old 10-09-2014, 01:53 PM
V8TV's Avatar
V8TV V8TV is offline
Lateral-g Supporting Vendor
 
Join Date: Nov 2005
Posts: 1,889
Thanks: 8
Thanked 22 Times in 15 Posts
Default

Back in the shop, our crew disassembled a pair of original GM bullet style mirrors and retrofitted the internals with modern power movements. This will add a modern touch to our classic Chevelle.


Proper hood alignment can be a challenge, even with new hood hinges. We find that the best bet is to have the original hinges rebuilt with new pivots to make the hood line up and fit like original. We had ours rebuilt by S&S Classic. They come back in a media blasted finished, we painted hours for protection.


The crew was busy installing sound deadener in the cabin, and the wiring, plumbing, and brake components on the firewall. The steering system was connected to a new steering column.


__________________
Kevin Oeste
V8 Speed and Resto Shop
V8TV
Muscle Car Of The Week
V8 Radio Podcast

All about us:
https://www.v8speedshop.com

Reply With Quote
  #14  
Old 10-09-2014, 01:54 PM
V8TV's Avatar
V8TV V8TV is offline
Lateral-g Supporting Vendor
 
Join Date: Nov 2005
Posts: 1,889
Thanks: 8
Thanked 22 Times in 15 Posts
Default

A 3 inch Magnaflow exhaust system was modified to fit in our Chevelle. The Magnaflow kit comes with mandrel bent tubing and an X pipe, and stainless mufflers. We modified hours for additional clearance around the rear axle.


We did not want to make our final exhaust tip extensions until we had the bumper installed, so the exhaust was left short. It was fully TIG welded for a clean appearance.


Other underside details include a stainless gas tank, and new hardware.

Upfront, the core support was assembled with the Vintage Air air conditioning system, and all of the dash wiring was being installed.


New brake lines were bent along with a proportioning valve hidden behind the power booster.


A II Much fuel vent was mounted in the trunk to keep the gasoline vapors from leaking out from the gas cap.

__________________
Kevin Oeste
V8 Speed and Resto Shop
V8TV
Muscle Car Of The Week
V8 Radio Podcast

All about us:
https://www.v8speedshop.com

Reply With Quote
  #15  
Old 10-09-2014, 01:54 PM
V8TV's Avatar
V8TV V8TV is offline
Lateral-g Supporting Vendor
 
Join Date: Nov 2005
Posts: 1,889
Thanks: 8
Thanked 22 Times in 15 Posts
Default

The gauge cluster was cleaned and tested and the lenses were restored. All this was installed into a new dash face. The little red LED functions as an alternator indicator light. The Vintage Air system uses a stock-type controller but the movements are all electric servo motors. The result is a clean and stock appearance.


Soon the car was moved back into the body shop for the final installation of the fenders, doors, and front sheet metal. Once the sheet metal was installed and properly aligned, it received a final wet sanding before being masked in preparation for exterior color and clear.


__________________
Kevin Oeste
V8 Speed and Resto Shop
V8TV
Muscle Car Of The Week
V8 Radio Podcast

All about us:
https://www.v8speedshop.com

Reply With Quote
  #16  
Old 10-09-2014, 01:55 PM
V8TV's Avatar
V8TV V8TV is offline
Lateral-g Supporting Vendor
 
Join Date: Nov 2005
Posts: 1,889
Thanks: 8
Thanked 22 Times in 15 Posts
Default

Although our car is not a true SS model, we decided to add a correct GM Chevelle SS stripe to the side for some color accent. We chose a bright red stripe color for maximum contrast against the black exterior color. We decided to spray the stripe in reverse, so the red was the first color to go on the outside of the body. Once it was applied, we masked off the final stripe design using a factory GM assembly manual as a guide. The dimensions are exactly as GM specified.


Once the stripe was taped off, the exterior coats of Standox Carbon Flash metallic were applied. Three coats of color were sprayed on the car, and then it was bathed in several layers of clear. Our strategy was to apply two layers of clear, and then "cut open" the clear with 800 grit sand paper to allow it to outgas and breathe.


__________________
Kevin Oeste
V8 Speed and Resto Shop
V8TV
Muscle Car Of The Week
V8 Radio Podcast

All about us:
https://www.v8speedshop.com

Reply With Quote
  #17  
Old 10-09-2014, 01:56 PM
V8TV's Avatar
V8TV V8TV is offline
Lateral-g Supporting Vendor
 
Join Date: Nov 2005
Posts: 1,889
Thanks: 8
Thanked 22 Times in 15 Posts
Default

After a couple weeks, we cleaned and wet sanded the clear and rolled the car into the baking spray booth for its final clearcoat. We then applied to more coats of clear to ensure a deep luster and smooth finish.


At this point, the window rollers and regulators and tracks were all rebuilt and lubricated. We installed a stereo from Antique Auto Radios which looks exactly like stock, but features modern internals, MP3 and Bluetooth capability, but still retains the sliding red needle like a 1969 Chevrolet radio.


The interior assembly continued with original Chevrolet bucket seats that have been reupholstered with leather covers in the original pattern. The crew installed the side windows and weatherstripping at this point, along with the windshield and rear glass. Next up where the door panels, dash pad, carpeting, and other interior details.


Next came the installation of the headlights, grille, bezels, and taillights. The car was wet sanded and buffed using a multi step process to bring out a mirror like finish.


__________________
Kevin Oeste
V8 Speed and Resto Shop
V8TV
Muscle Car Of The Week
V8 Radio Podcast

All about us:
https://www.v8speedshop.com

Reply With Quote
  #18  
Old 10-09-2014, 01:56 PM
V8TV's Avatar
V8TV V8TV is offline
Lateral-g Supporting Vendor
 
Join Date: Nov 2005
Posts: 1,889
Thanks: 8
Thanked 22 Times in 15 Posts
Default

The theme for this car was the look of an SS 396, but with a few updates. We wanted a retro style wheel with a modern size and a high-performance tire, so we installed a set of 17 x 8" Rocket Racing Wheels in the hyper shot finish. This is a reflective dark gray spoke that changes color with various lighting conditions. The tires are BFGoodrich G Force Sport Comp 2 tires.


All the fluids were changed, brakes were bled, and the remaining interior items were installed. At this point the crew completed the exhaust tips exiting just below the rear bumper. The rear trunk was spatter coated in original black and gray pattern.


__________________
Kevin Oeste
V8 Speed and Resto Shop
V8TV
Muscle Car Of The Week
V8 Radio Podcast

All about us:
https://www.v8speedshop.com

Reply With Quote
  #19  
Old 10-09-2014, 01:57 PM
V8TV's Avatar
V8TV V8TV is offline
Lateral-g Supporting Vendor
 
Join Date: Nov 2005
Posts: 1,889
Thanks: 8
Thanked 22 Times in 15 Posts
Default

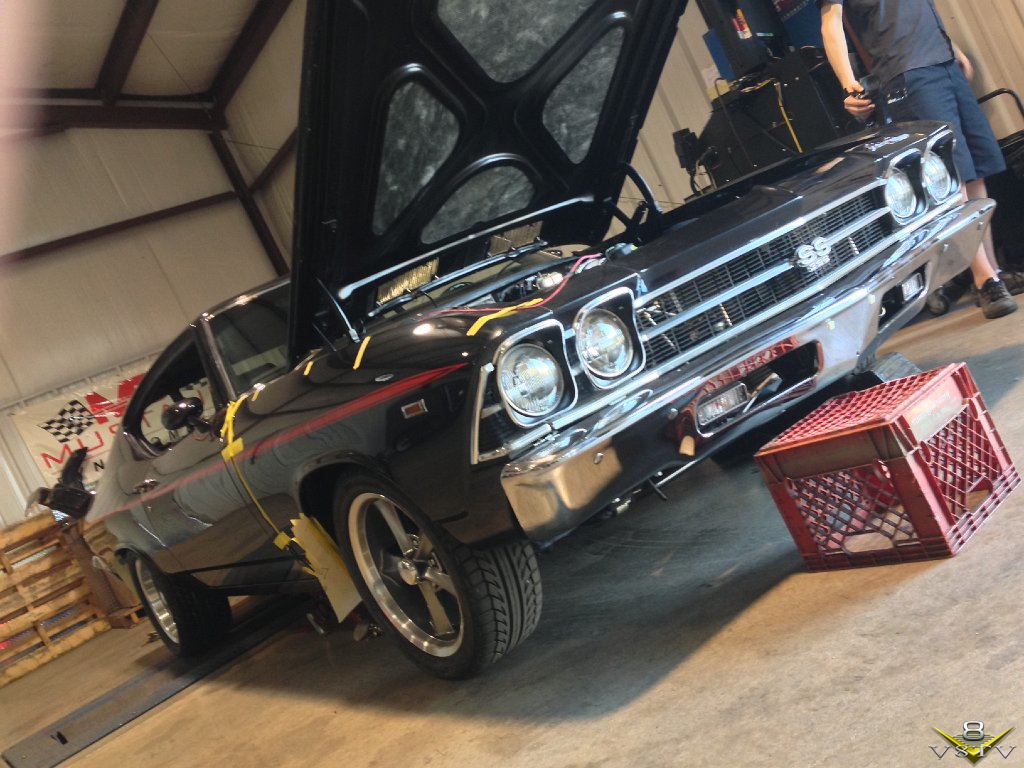
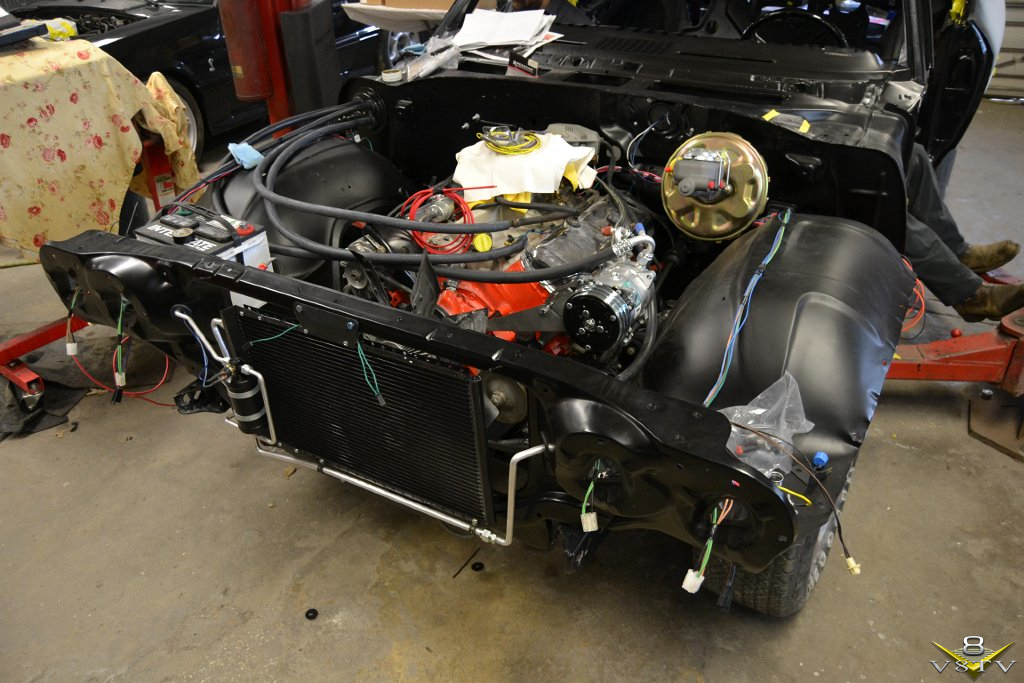
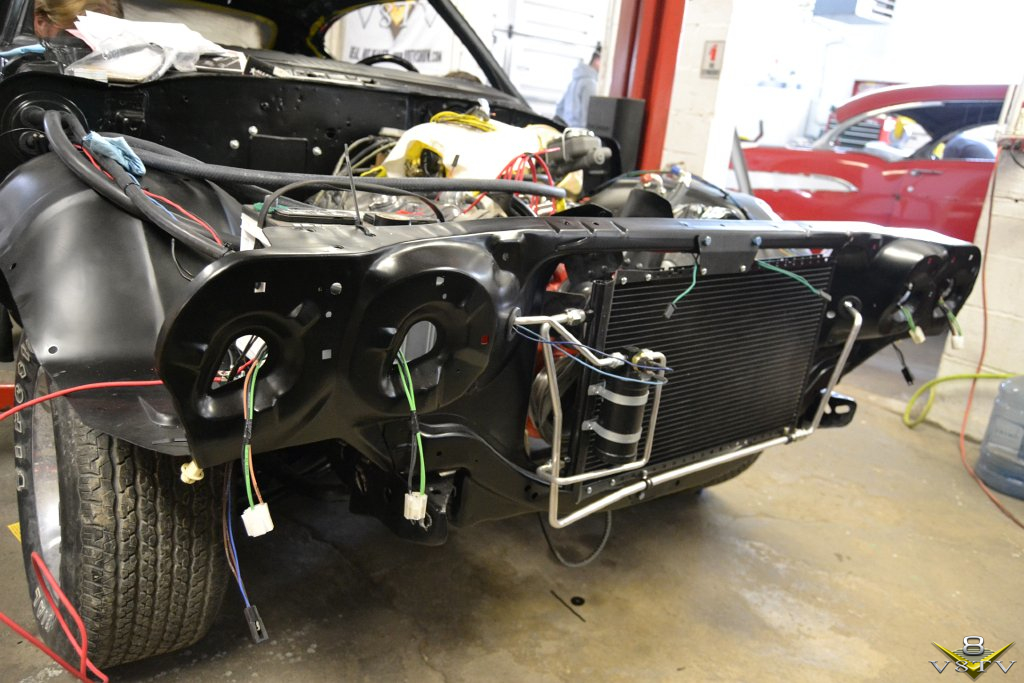
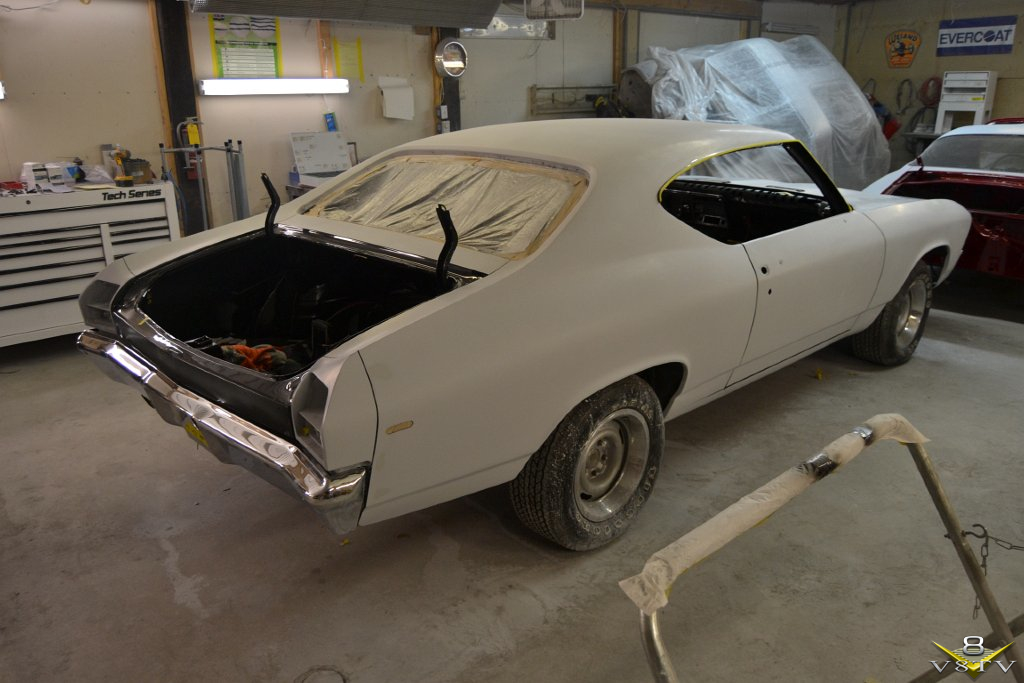
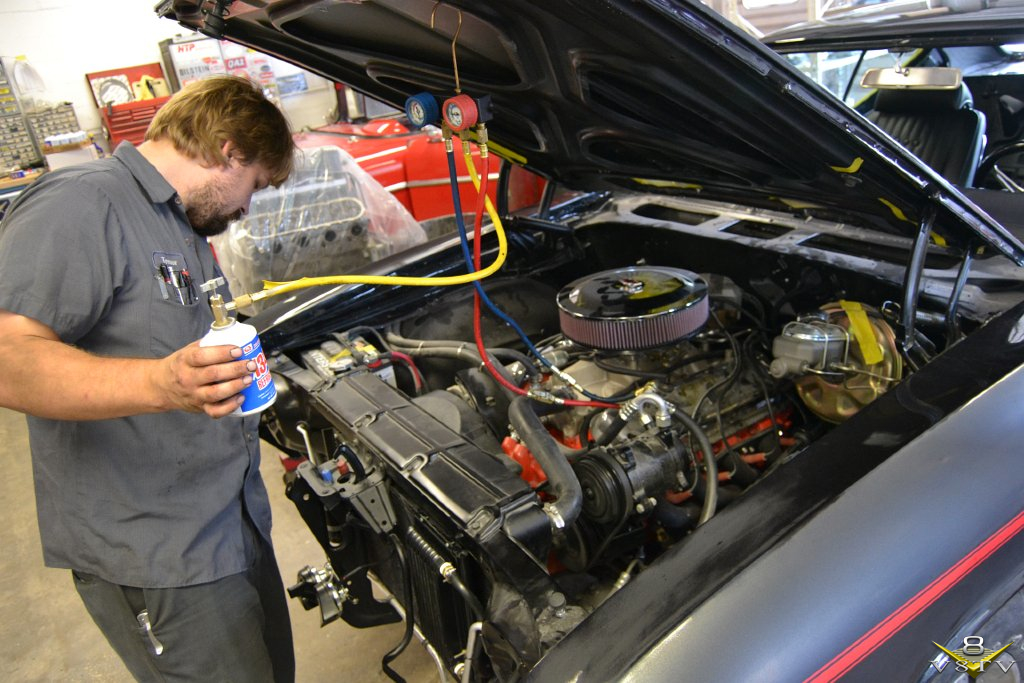
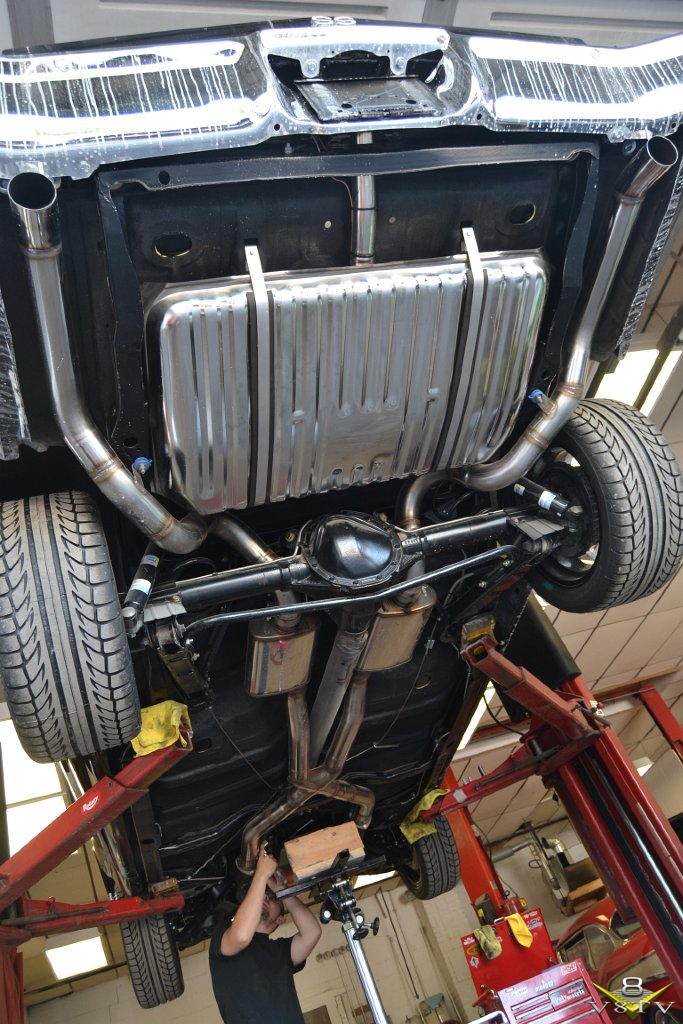
It was finally time for an initial test drive where we tuned the carburetor on a chassis dyno. We learned several things after warming up the car and running it on the rollers. We found the used rear differential to be worn out and the gears and housing were rusty. The posi unit chattered like crazy and the clutches were gone, so we installed a new set of gears and a Detroit True Track differential to remedy that problem.


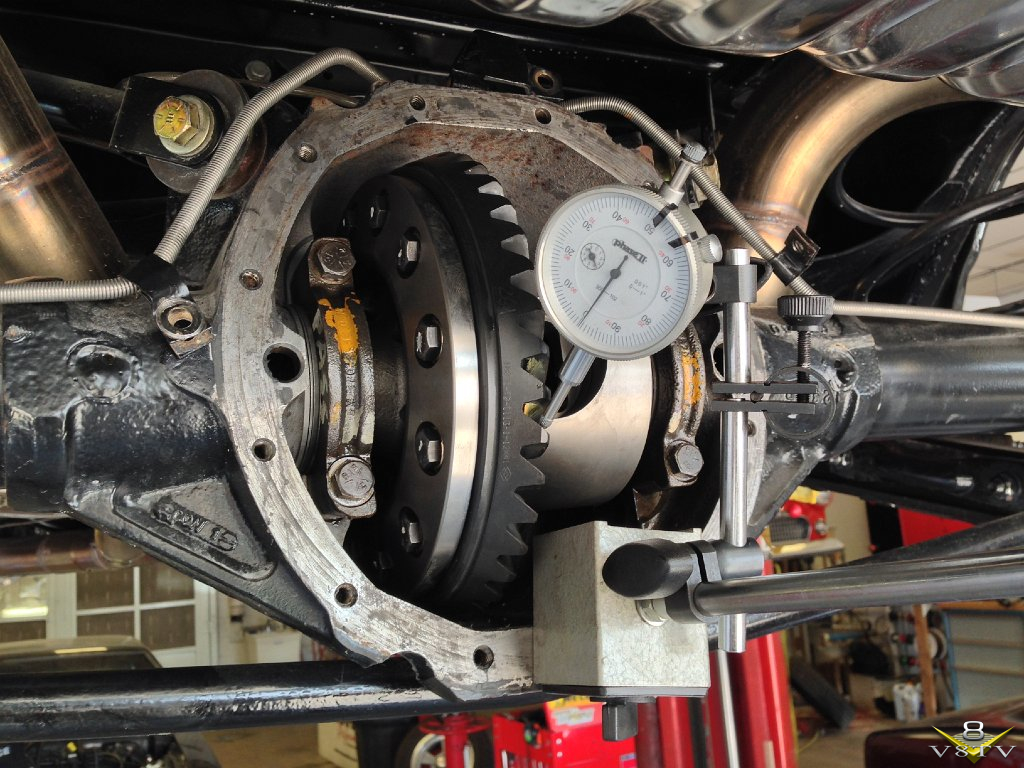
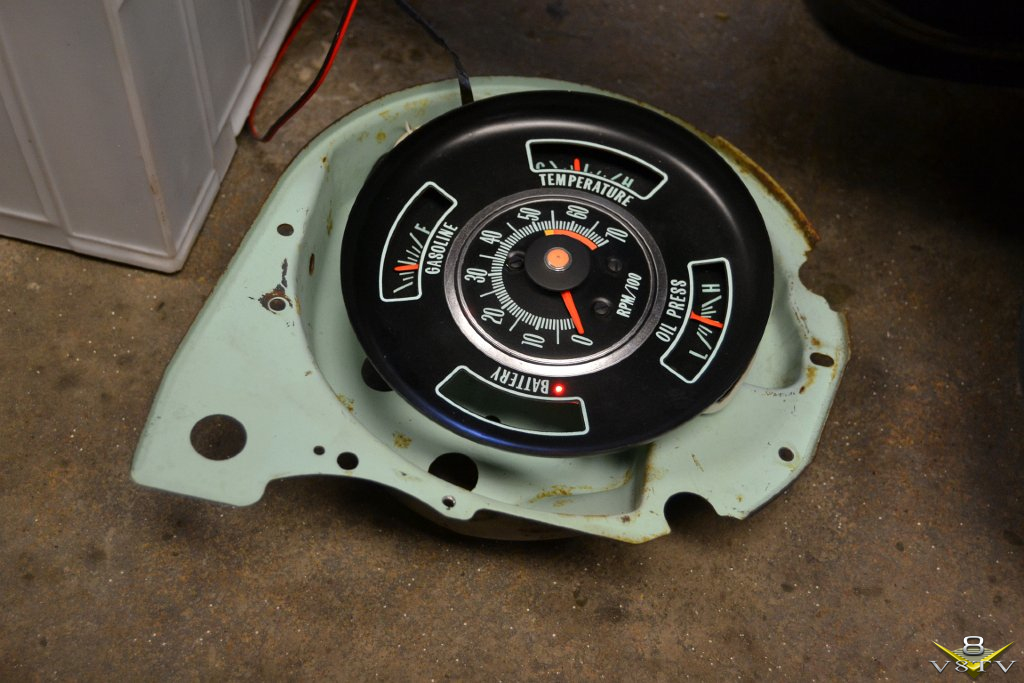
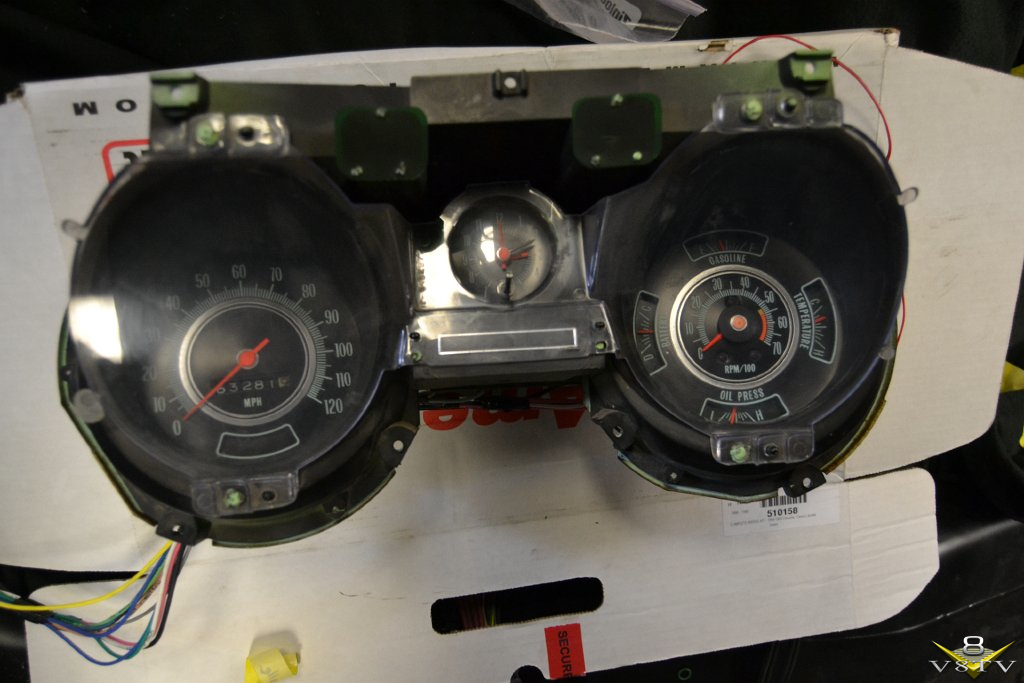
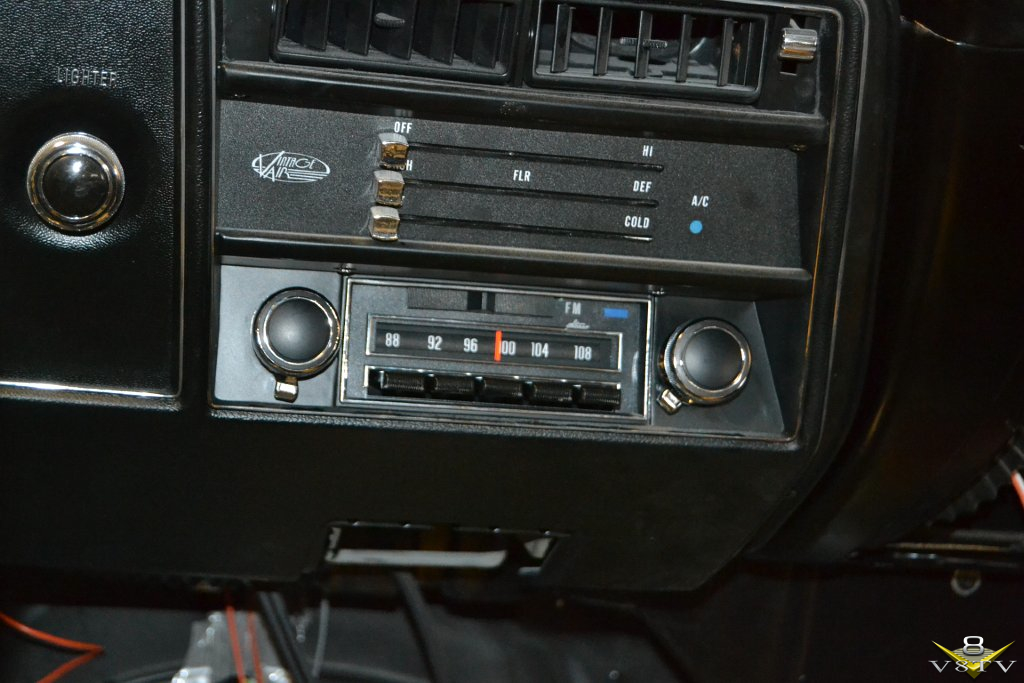
Changing the rear gear also required the installation of a new Speedometer drive gear.


The dyno showed us some lean areas in the fuel curve, so we tuned the 750 carb but were not happy with the result, so we switched the carburetor for a Holley Street Avenger 870 CFM unit to better supply the thirsty 454. This tuneup process was verified on the chassis dyno with a wideband oxygen sensor installed in the exhaust for optimum air fuel ratio.


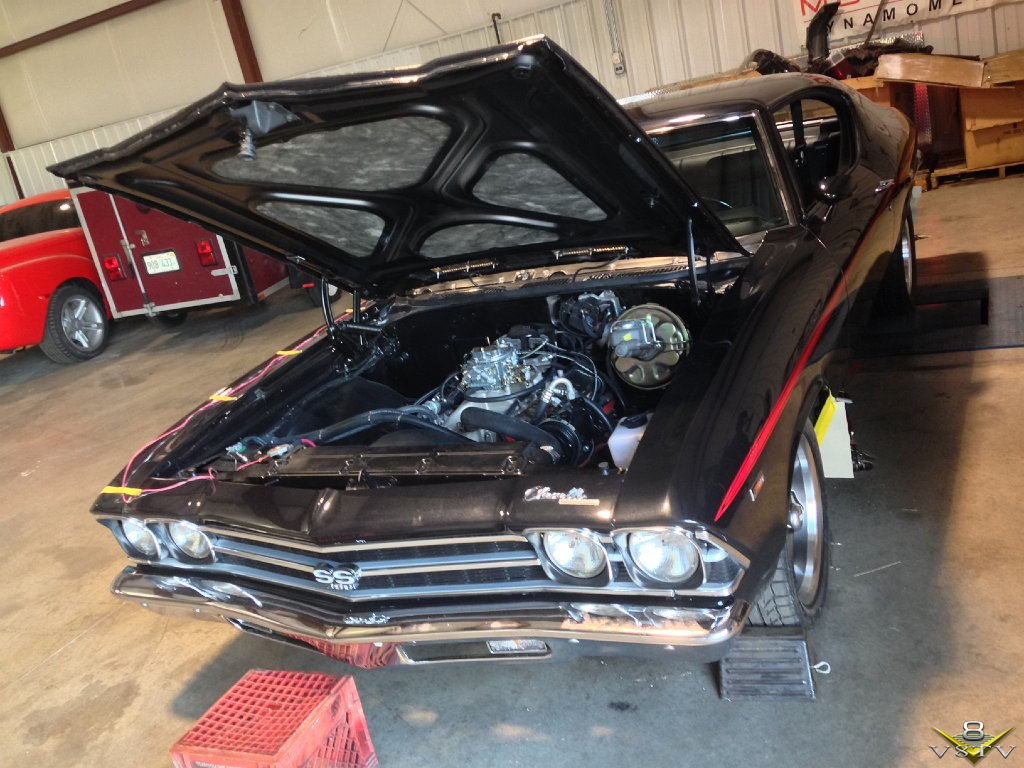
We didn't do full power pulls on the dyno yet, as the car is super-fresh and is still not broken in. After a 4-500 miles we'll change the fluids again and see what it does. We'll be running Royal Purple synthetics to reduce friction as well as keep the moisture at bay.

We put some miles on the car and are quite happy with the result. The car is stunning in any light, turn heads everywhere does, and the performance is excellent. It feels new and tight, the steering is crisp, and that 454 makes tons of tire frying torque!
__________________
Kevin Oeste
V8 Speed and Resto Shop
V8TV
Muscle Car Of The Week
V8 Radio Podcast

All about us:
https://www.v8speedshop.com

Reply With Quote
  #20  
Old 10-09-2014, 01:58 PM
V8TV's Avatar
V8TV V8TV is offline
Lateral-g Supporting Vendor
 
Join Date: Nov 2005
Posts: 1,889
Thanks: 8
Thanked 22 Times in 15 Posts
Default


The crew at the V8 Speed & Resto Shop did an outstanding job on this car, and we are grateful for an owner who was great to work with and who has become a good friend.

This car will be on display at the 2014 Muscle Car and Corvette Nationals show in Rosemont, Illinois, November 22-23, 2014. Come see it in person! we'll also be posting a video feature on the car soon!
__________________
Kevin Oeste
V8 Speed and Resto Shop
V8TV
Muscle Car Of The Week
V8 Radio Podcast

All about us:
https://www.v8speedshop.com

Reply With Quote
Reply

Thread Tools
Display Modes

Posting Rules
You may not post new threads
You may not post replies
You may not post attachments
You may not edit your posts

BB code is On
Smilies are On
[IMG] code is On
HTML code is Off

Forum Jump


All times are GMT -7. The time now is 07:26 PM.


Powered by vBulletin® Version 3.8.11
Copyright ©2000 - 2025, vBulletin Solutions Inc.
Copyright Lateral-g.net