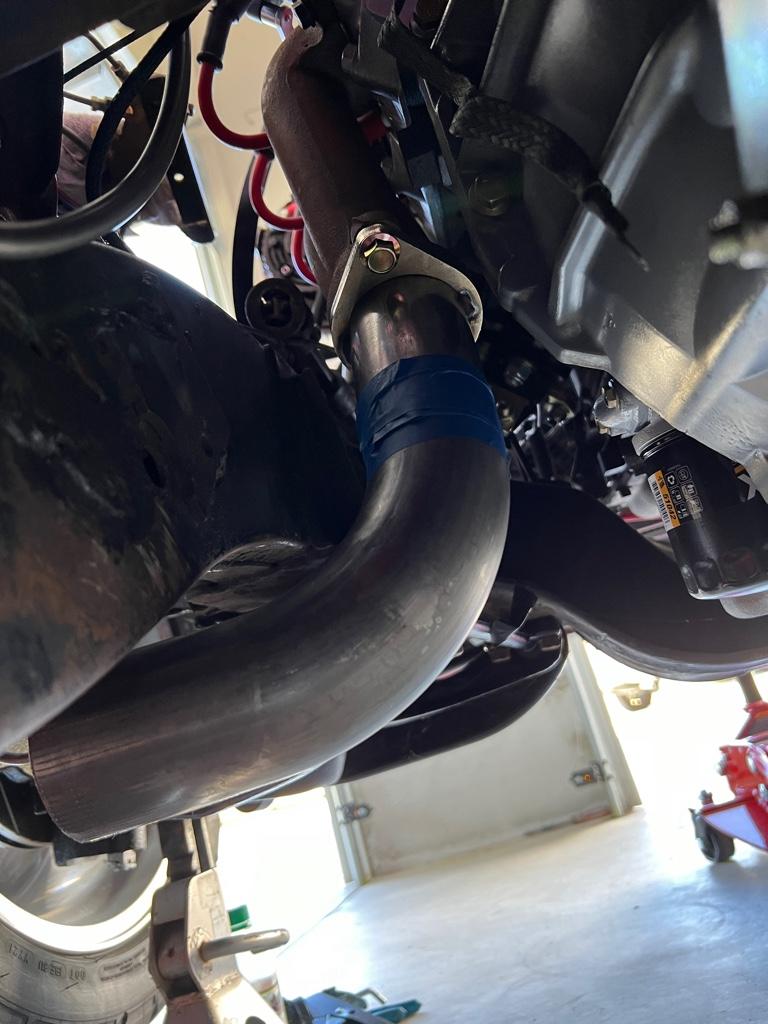
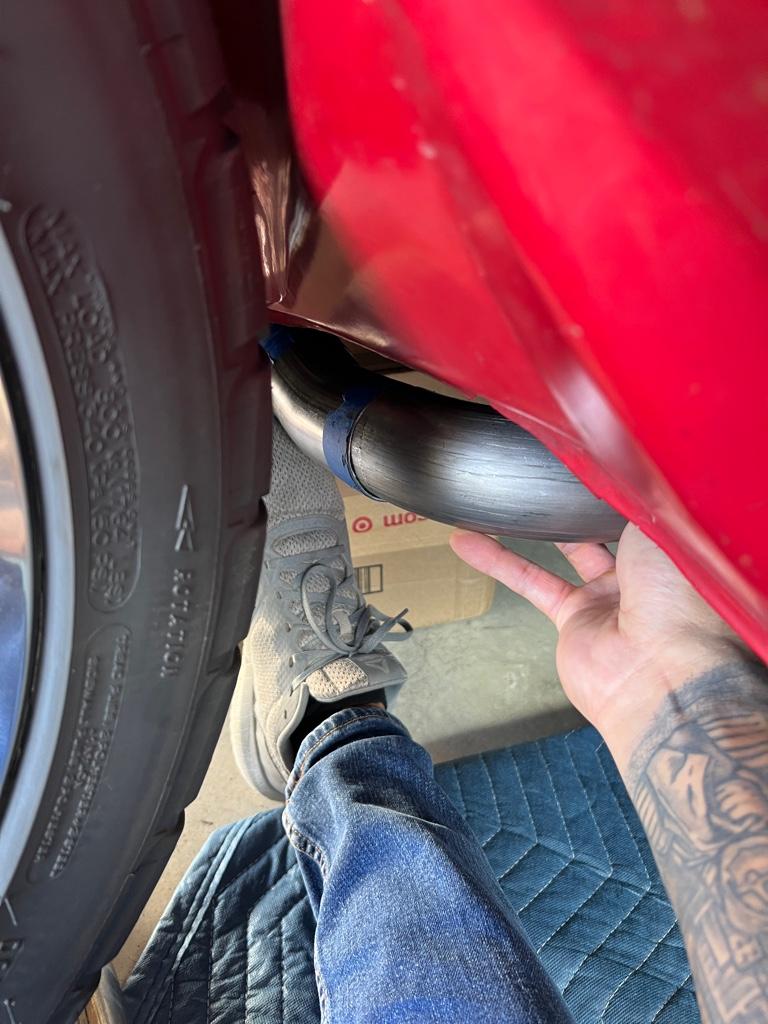
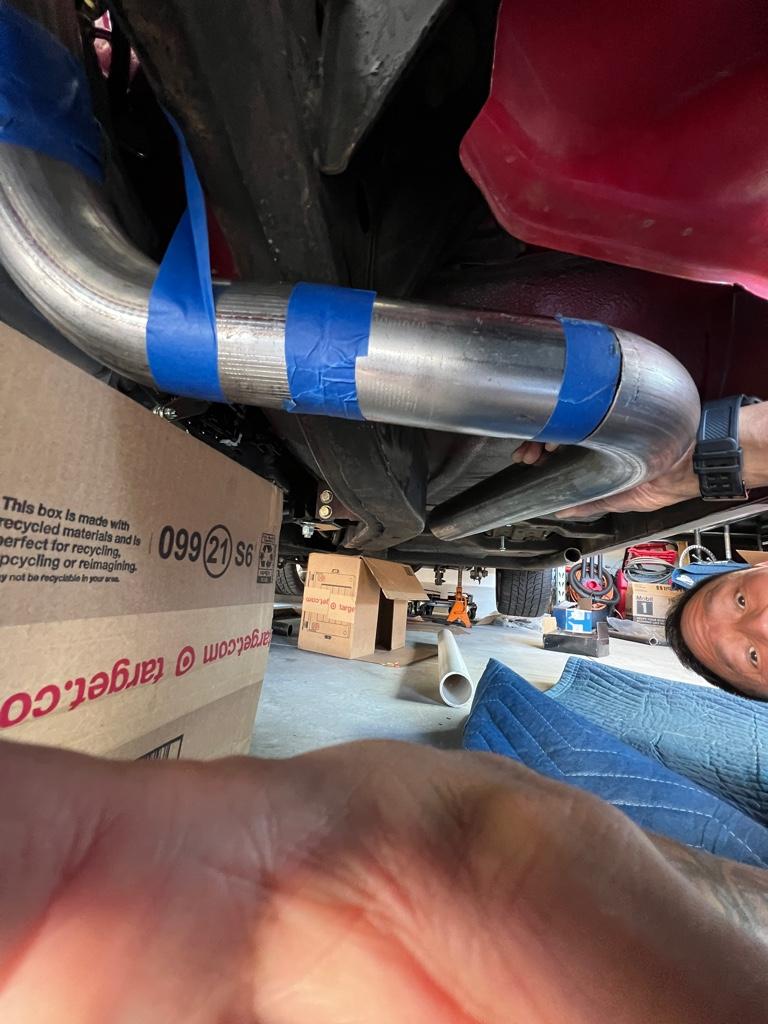
I bought some stainless wire for my welder and was able to get the pieces tacked together. I know its not pretty, but Im working with minimal tools.
My plan is to make the exhaust in three sections. I will use stainless clamps to join the sections together so that I can remove them if needed. I am going to take the sections to get TIGd together.
I know the tacks are bigger than needed. Im still learning to weld properly. The guy that is going to TIG the pieces together said he can work with them. I am hoping to be able to watch him and I will possibly grind some of the tacks down as he gets some solid welds in.


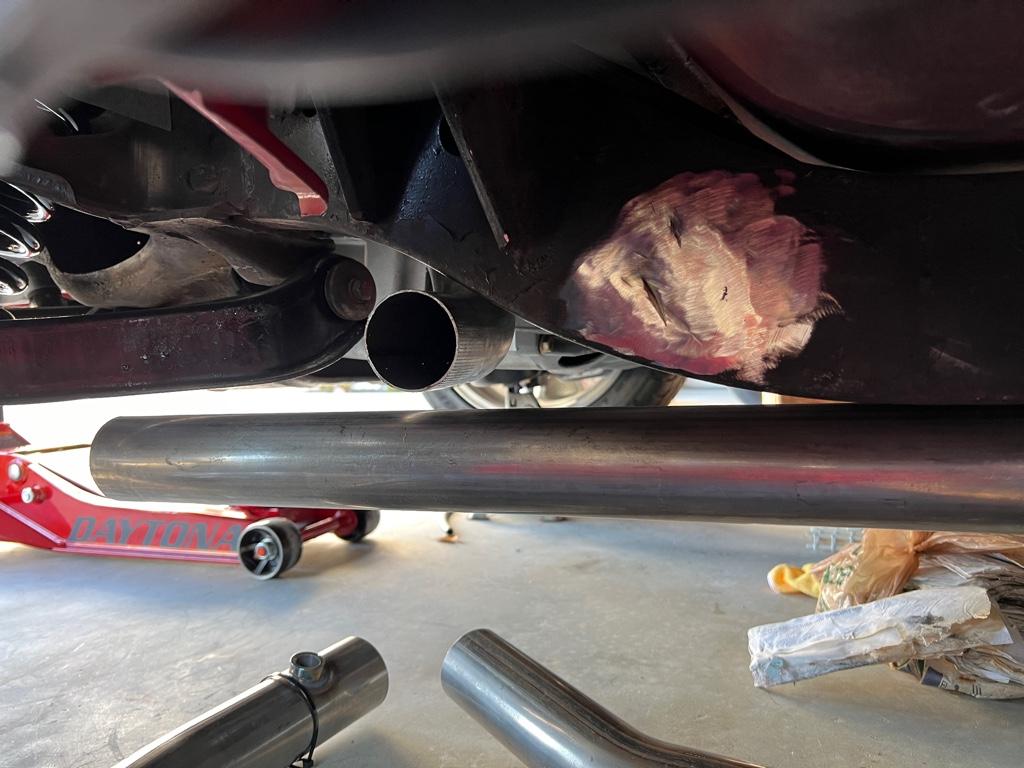
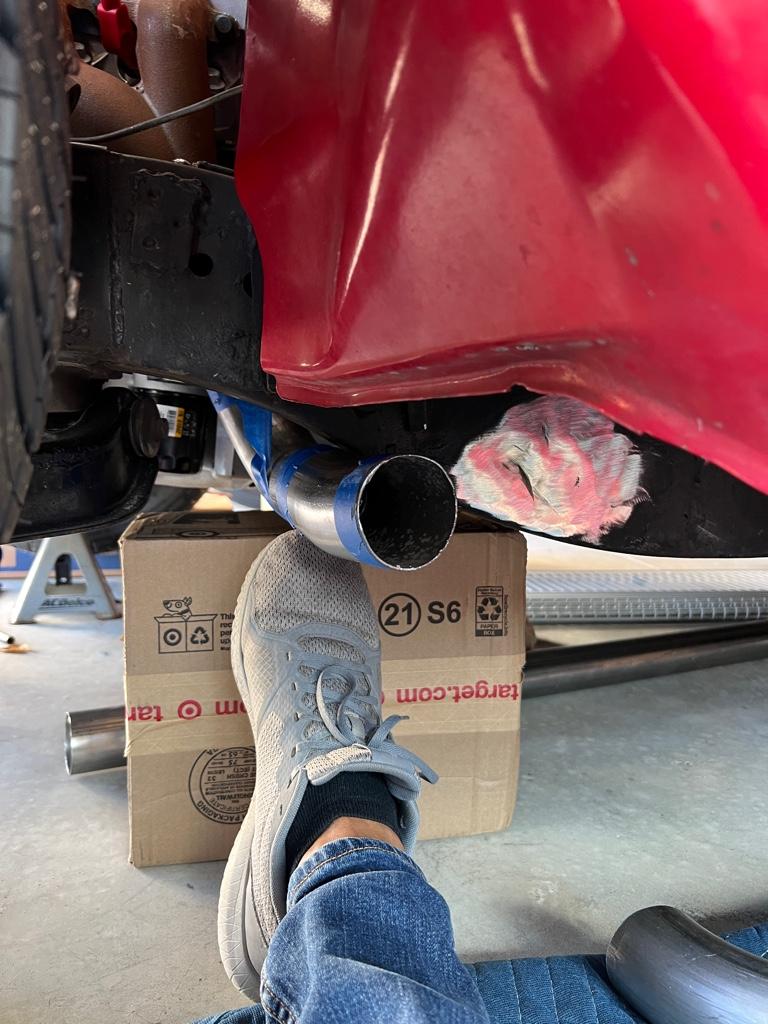
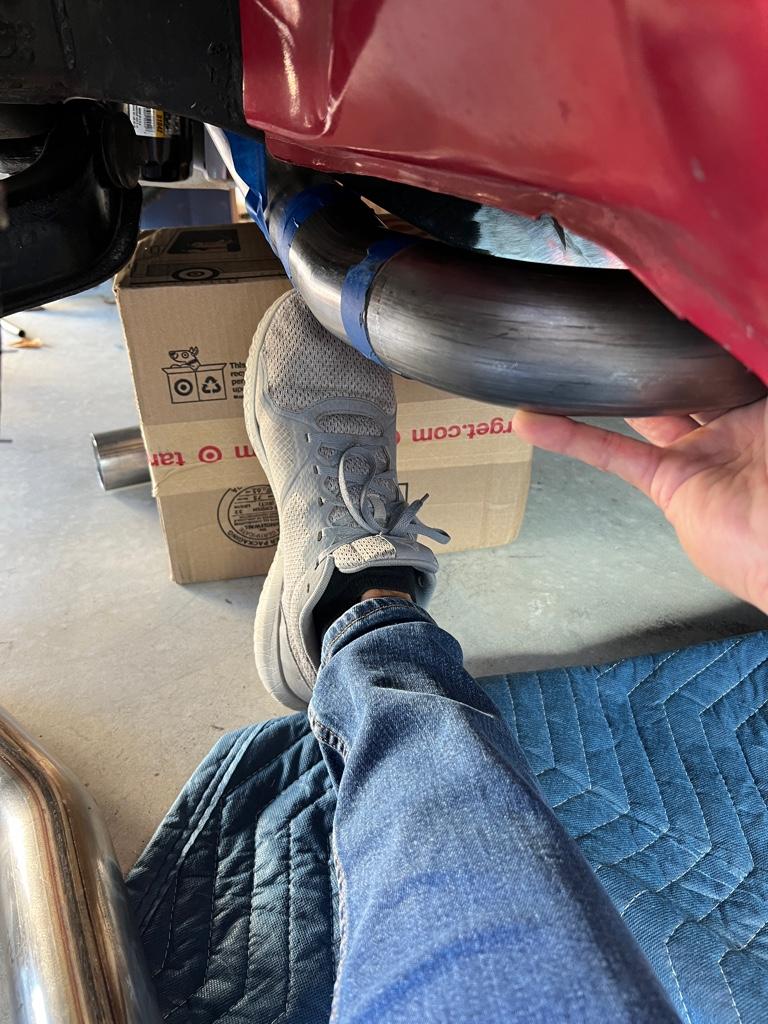
Not too shabby for my first time building an exhaust.


I just need to commit to either side exit or all the way out the back now.
Sent from my iPhone using Tapatalk


 Brian Hobaugh SCCA National Tour June 2014
 First Hemi 'Cuda Convertible Ever Built
 Short clips: Goodguys Pleasanton autocross and pit videos


 Hybrid Mode
