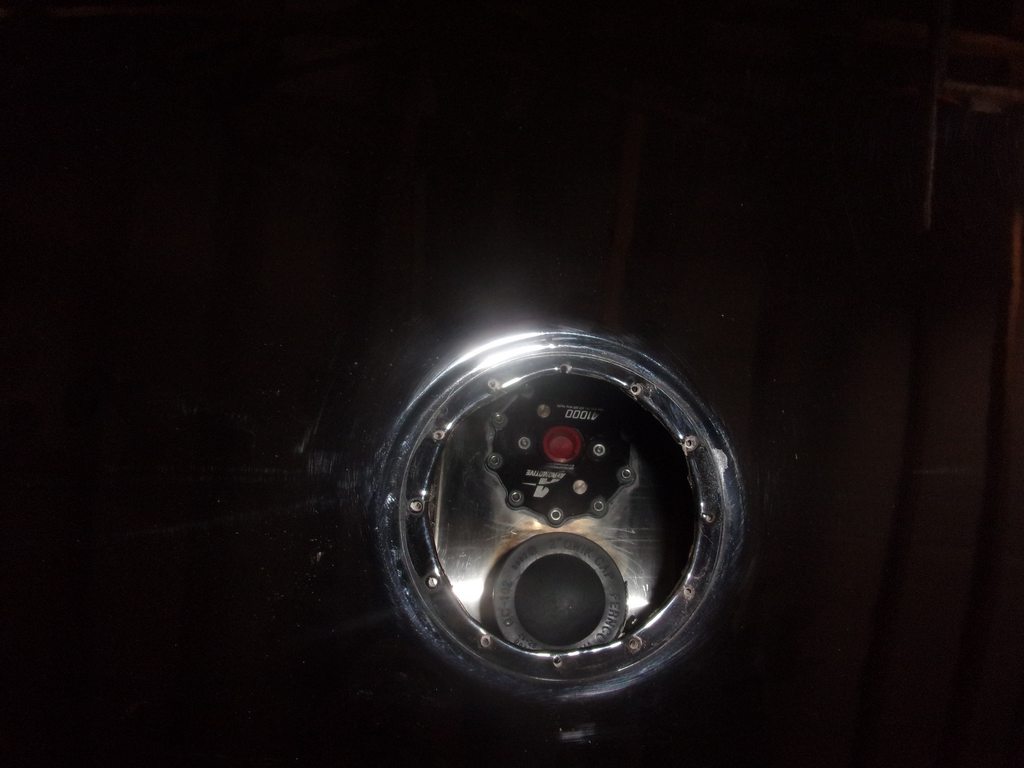
...

Go Back   Lateral-g Forums > Lateral-G Open Discussions > Project Updates
User Name
Password


Reply
 
Thread Tools Display Modes
  #71  
Old 03-08-2022, 09:16 PM
SuperBuickGuy SuperBuickGuy is offline
Senior Member
 
Join Date: Aug 2021
Location: Puget Sound Washington
Posts: 221
Thanks: 12
Thanked 188 Times in 117 Posts
Default

time to cap

key here is to not go fast


and be clean

hopefully crack checking tomorrow night
Reply With Quote
  #72  
Old 03-09-2022, 08:43 PM
SuperBuickGuy SuperBuickGuy is offline
Senior Member
 
Join Date: Aug 2021
Location: Puget Sound Washington
Posts: 221
Thanks: 12
Thanked 188 Times in 117 Posts
Default

onward

welded 1/2 last night, other half tonight - and did it over a couple hours so I didn't get warping


pretty welds leak. My goal here was full penetration - thus the weld has some grey in it - key here is the HAZ is even (heat affected zone)

and all those black marks are holes - to check for leaks - I look for holes or HAZ changes

for whatever reason, this side didn't have any

then I put 7 or 8 psi in the tank, spray soapy water on the seams and blow bubbles

hmmm more bubbles

leaks fixed, clean up the tank.... next up, removal of the old tank eventually this will have tabs on the bottom so I can attach a defuser and also attach the rear panel to it
Reply With Quote
The Following User Says Thank You to SuperBuickGuy For This Useful Post:
camcojb (03-09-2022)
  #73  
Old 03-10-2022, 09:51 PM
SuperBuickGuy SuperBuickGuy is offline
Senior Member
 
Join Date: Aug 2021
Location: Puget Sound Washington
Posts: 221
Thanks: 12
Thanked 188 Times in 117 Posts
Default

time to test fit

old tank

and out

get the fuel out... was joking with my dad that between the fuel in the tank and the nickel in the tank I should be concerned they'll both disappear

now you can see what the plan was

even got pretty close lining up the fill spout - the plan all along was an offset then straight into a coupling and the filler
Reply With Quote
  #74  
Old 03-12-2022, 09:22 PM
SuperBuickGuy SuperBuickGuy is offline
Senior Member
 
Join Date: Aug 2021
Location: Puget Sound Washington
Posts: 221
Thanks: 12
Thanked 188 Times in 117 Posts
Default

tonight started mapping how I'm going to accomplish the tasks

was kind of hoping there would be some 'dos' and 'dont's' from the seller... guess not - this needs to attach to the deck and be supported underneath to the frame

here

the optima battery is 1" wider... so new battery box coming


part of tonight was a failed attempt to figure out whether the wire with a knot or the brown wire were the reverse light wires... I have a schematic - but who knows where


tomorrow I will spend some time on this but most of the day will be spent looking for used parts that I don't need....
Reply With Quote
The Following User Says Thank You to SuperBuickGuy For This Useful Post:
camcojb (03-13-2022)
  #75  
Old 03-13-2022, 09:17 PM
SuperBuickGuy SuperBuickGuy is offline
Senior Member
 
Join Date: Aug 2021
Location: Puget Sound Washington
Posts: 221
Thanks: 12
Thanked 188 Times in 117 Posts
Default

Battery, cont.

it's like 1" wider... so a new tray is in order

and off

new tray

and installed and painted

at the swap meet today, I took a chance on several of these...

makes getting the burn off a lot easier

and reverse light....
Reply With Quote
  #76  
Old 03-14-2022, 09:28 PM
SuperBuickGuy SuperBuickGuy is offline
Senior Member
 
Join Date: Aug 2021
Location: Puget Sound Washington
Posts: 221
Thanks: 12
Thanked 188 Times in 117 Posts
Default

time to give it wings.. or a wing

aluminum angle


some solid eyeball calibrating followed by serious staring


wing held on by hopes and prayers with an assist by gravity


it's about here I'm considering whether or not I like the stands.... they need to parallel something, e.g. the rear valence and let me be SUPER clear, I approved the design. CIRO did what I asked them to do...


my brave act of the night


now in place


thankfully, I have a plasma table... basically the wing will end above the end of the deck - so it will move horizontally.... no big deal


love it


a good view - the stands will mirror the rear angle - also, I have to build an 8" version for Optima.


paint is dry so I can finish this as well

Reply With Quote
  #77  
Old 03-15-2022, 12:00 PM
SuperBuickGuy SuperBuickGuy is offline
Senior Member
 
Join Date: Aug 2021
Location: Puget Sound Washington
Posts: 221
Thanks: 12
Thanked 188 Times in 117 Posts
Default

I rarely ask opinions - mostly because they're someone else's preference (which is fine, and I have my own).

But here, I'm kind of stumped.

the angle


do I match the B pillar window frame or the tail light panel with the struts?
Reply With Quote
  #78  
Old 03-15-2022, 09:48 PM
SuperBuickGuy SuperBuickGuy is offline
Senior Member
 
Join Date: Aug 2021
Location: Puget Sound Washington
Posts: 221
Thanks: 12
Thanked 188 Times in 117 Posts
Default

onward with fastening

Luigi is checking out the progress too

notice the tail blur? he is one active dog (love it)

bolted down

with pads to pretend we're saving the paint

and tied to the frame

tomorrow weld
Reply With Quote
  #79  
Old 03-16-2022, 09:03 AM
Panteracer's Avatar
Panteracer Panteracer is offline
Senior Member
 
Join Date: Oct 2013
Location: SF bay area
Posts: 1,179
Thanks: 1
Thanked 293 Times in 117 Posts
Default Plastic 76 Corvette

I like the struts layed back a little so matching the
back of the car. I have changed the ends on mine
multiple times... Starting to rework the ones on my
Gt-1 race car plus raising the wing some

Bob
Reply With Quote
The Following User Says Thank You to Panteracer For This Useful Post:
SuperBuickGuy (03-16-2022)
  #80  
Old 03-16-2022, 10:05 PM
SuperBuickGuy SuperBuickGuy is offline
Senior Member
 
Join Date: Aug 2021
Location: Puget Sound Washington
Posts: 221
Thanks: 12
Thanked 188 Times in 117 Posts
Default

choices.
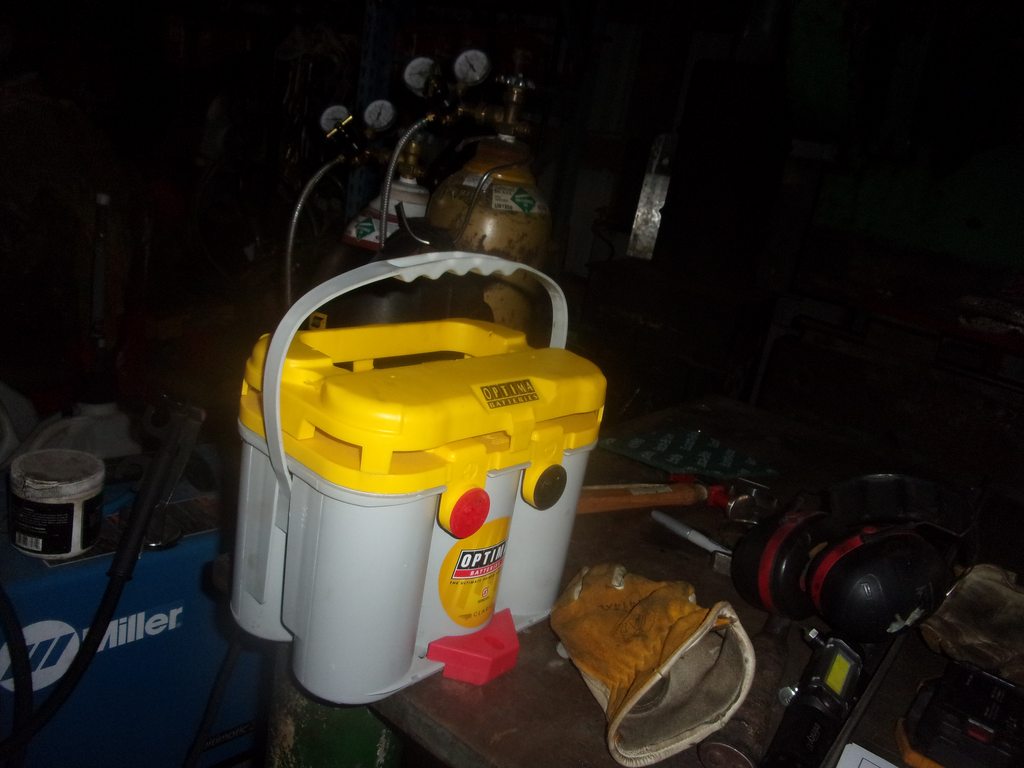
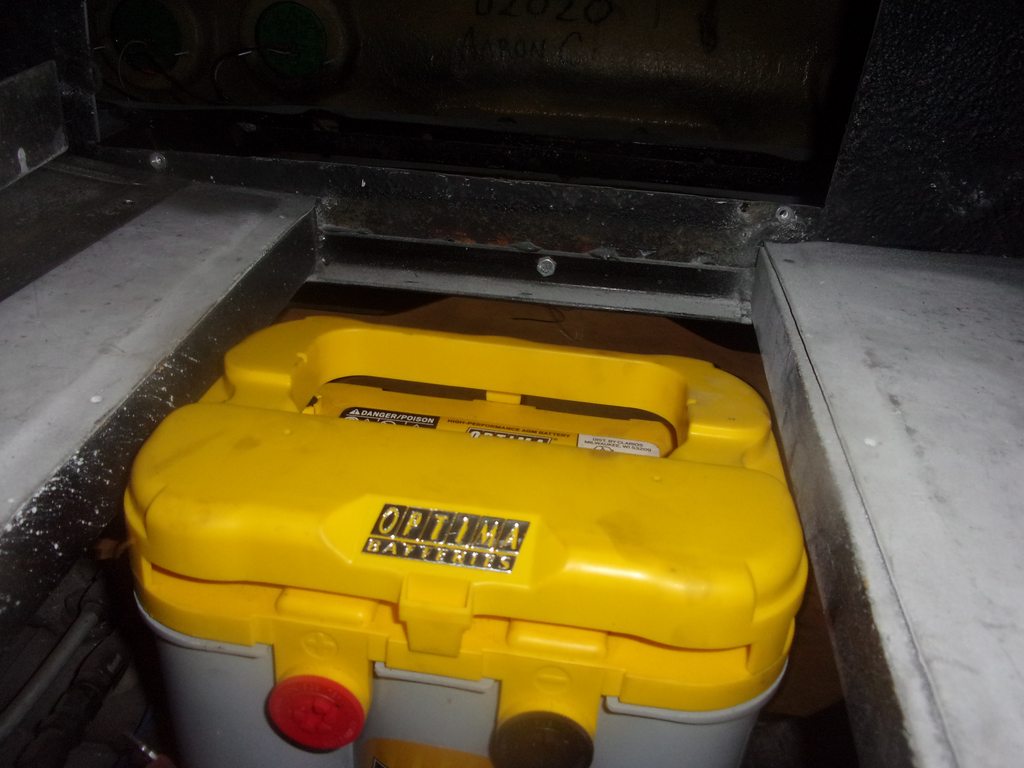
The A1000 pump is good for 1200 hp and has -12 lines in and out. The Holley system right now has - 6 lines and makes 500 wheel hp
I've been going back and forth about upgrading lines. I have most of what I need to upgrade to -10 supply and -8 return.
But
at this point I'm already pushing noise limits and 700 hp is at 7000 rpm. As it is now, it's got a physical cap on noise - set the rev limiter to 5500 and life is fine.
But yeah.

my only real concern if I leave it all -6 is it puts a lot of stress on the pump but with that said, I can turn the pressure up to 75 psi if I really want more power... after all volume is a function of pressure

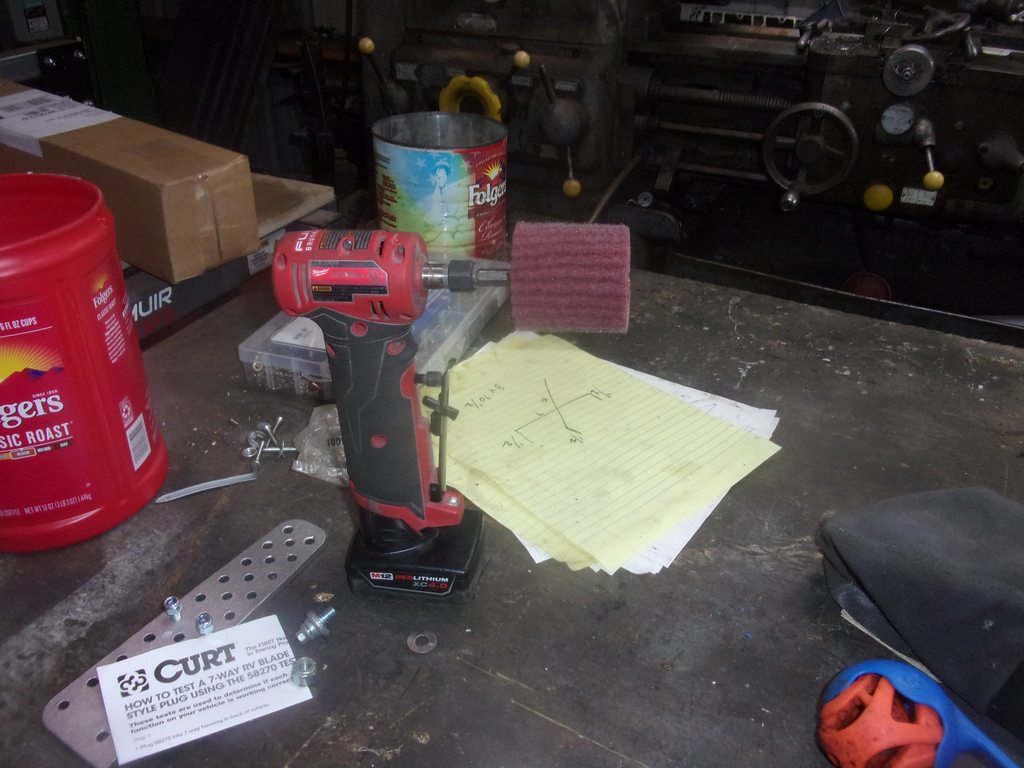
got more done tonight, though.... think I'll stay with -6 for now.... but when I build more power, I'll update. At this moment, the car is fast enough for my skills.
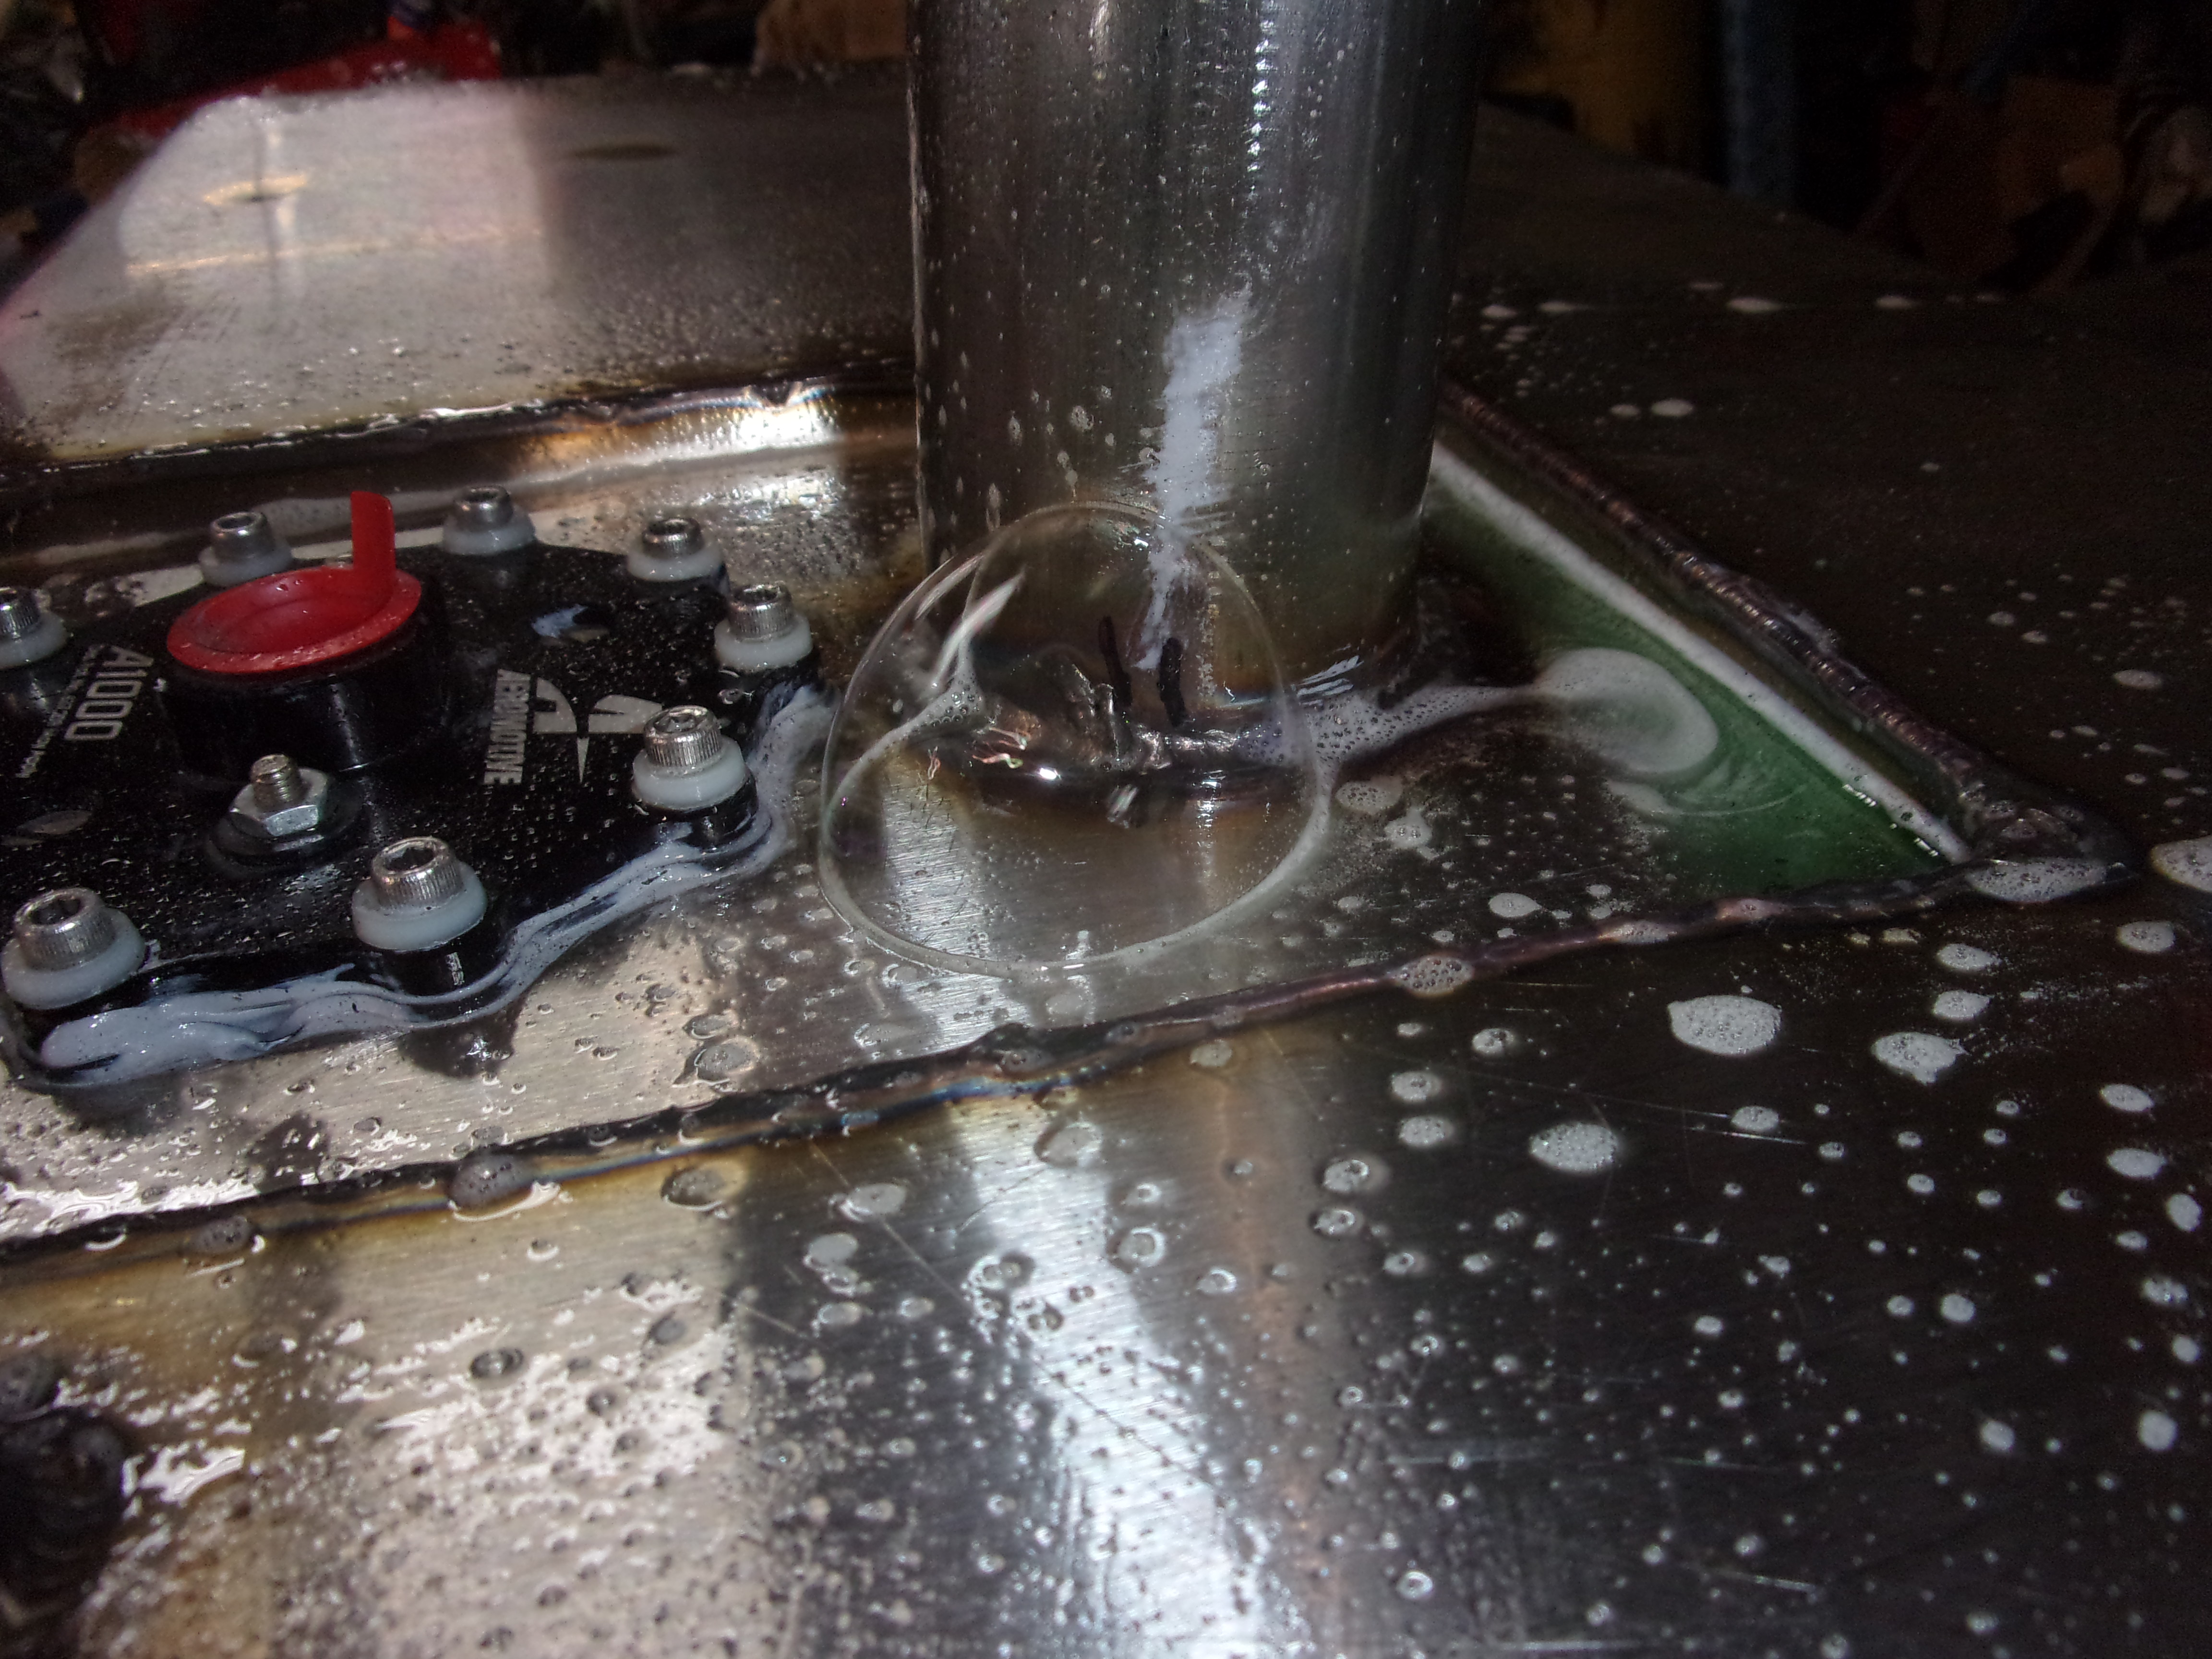
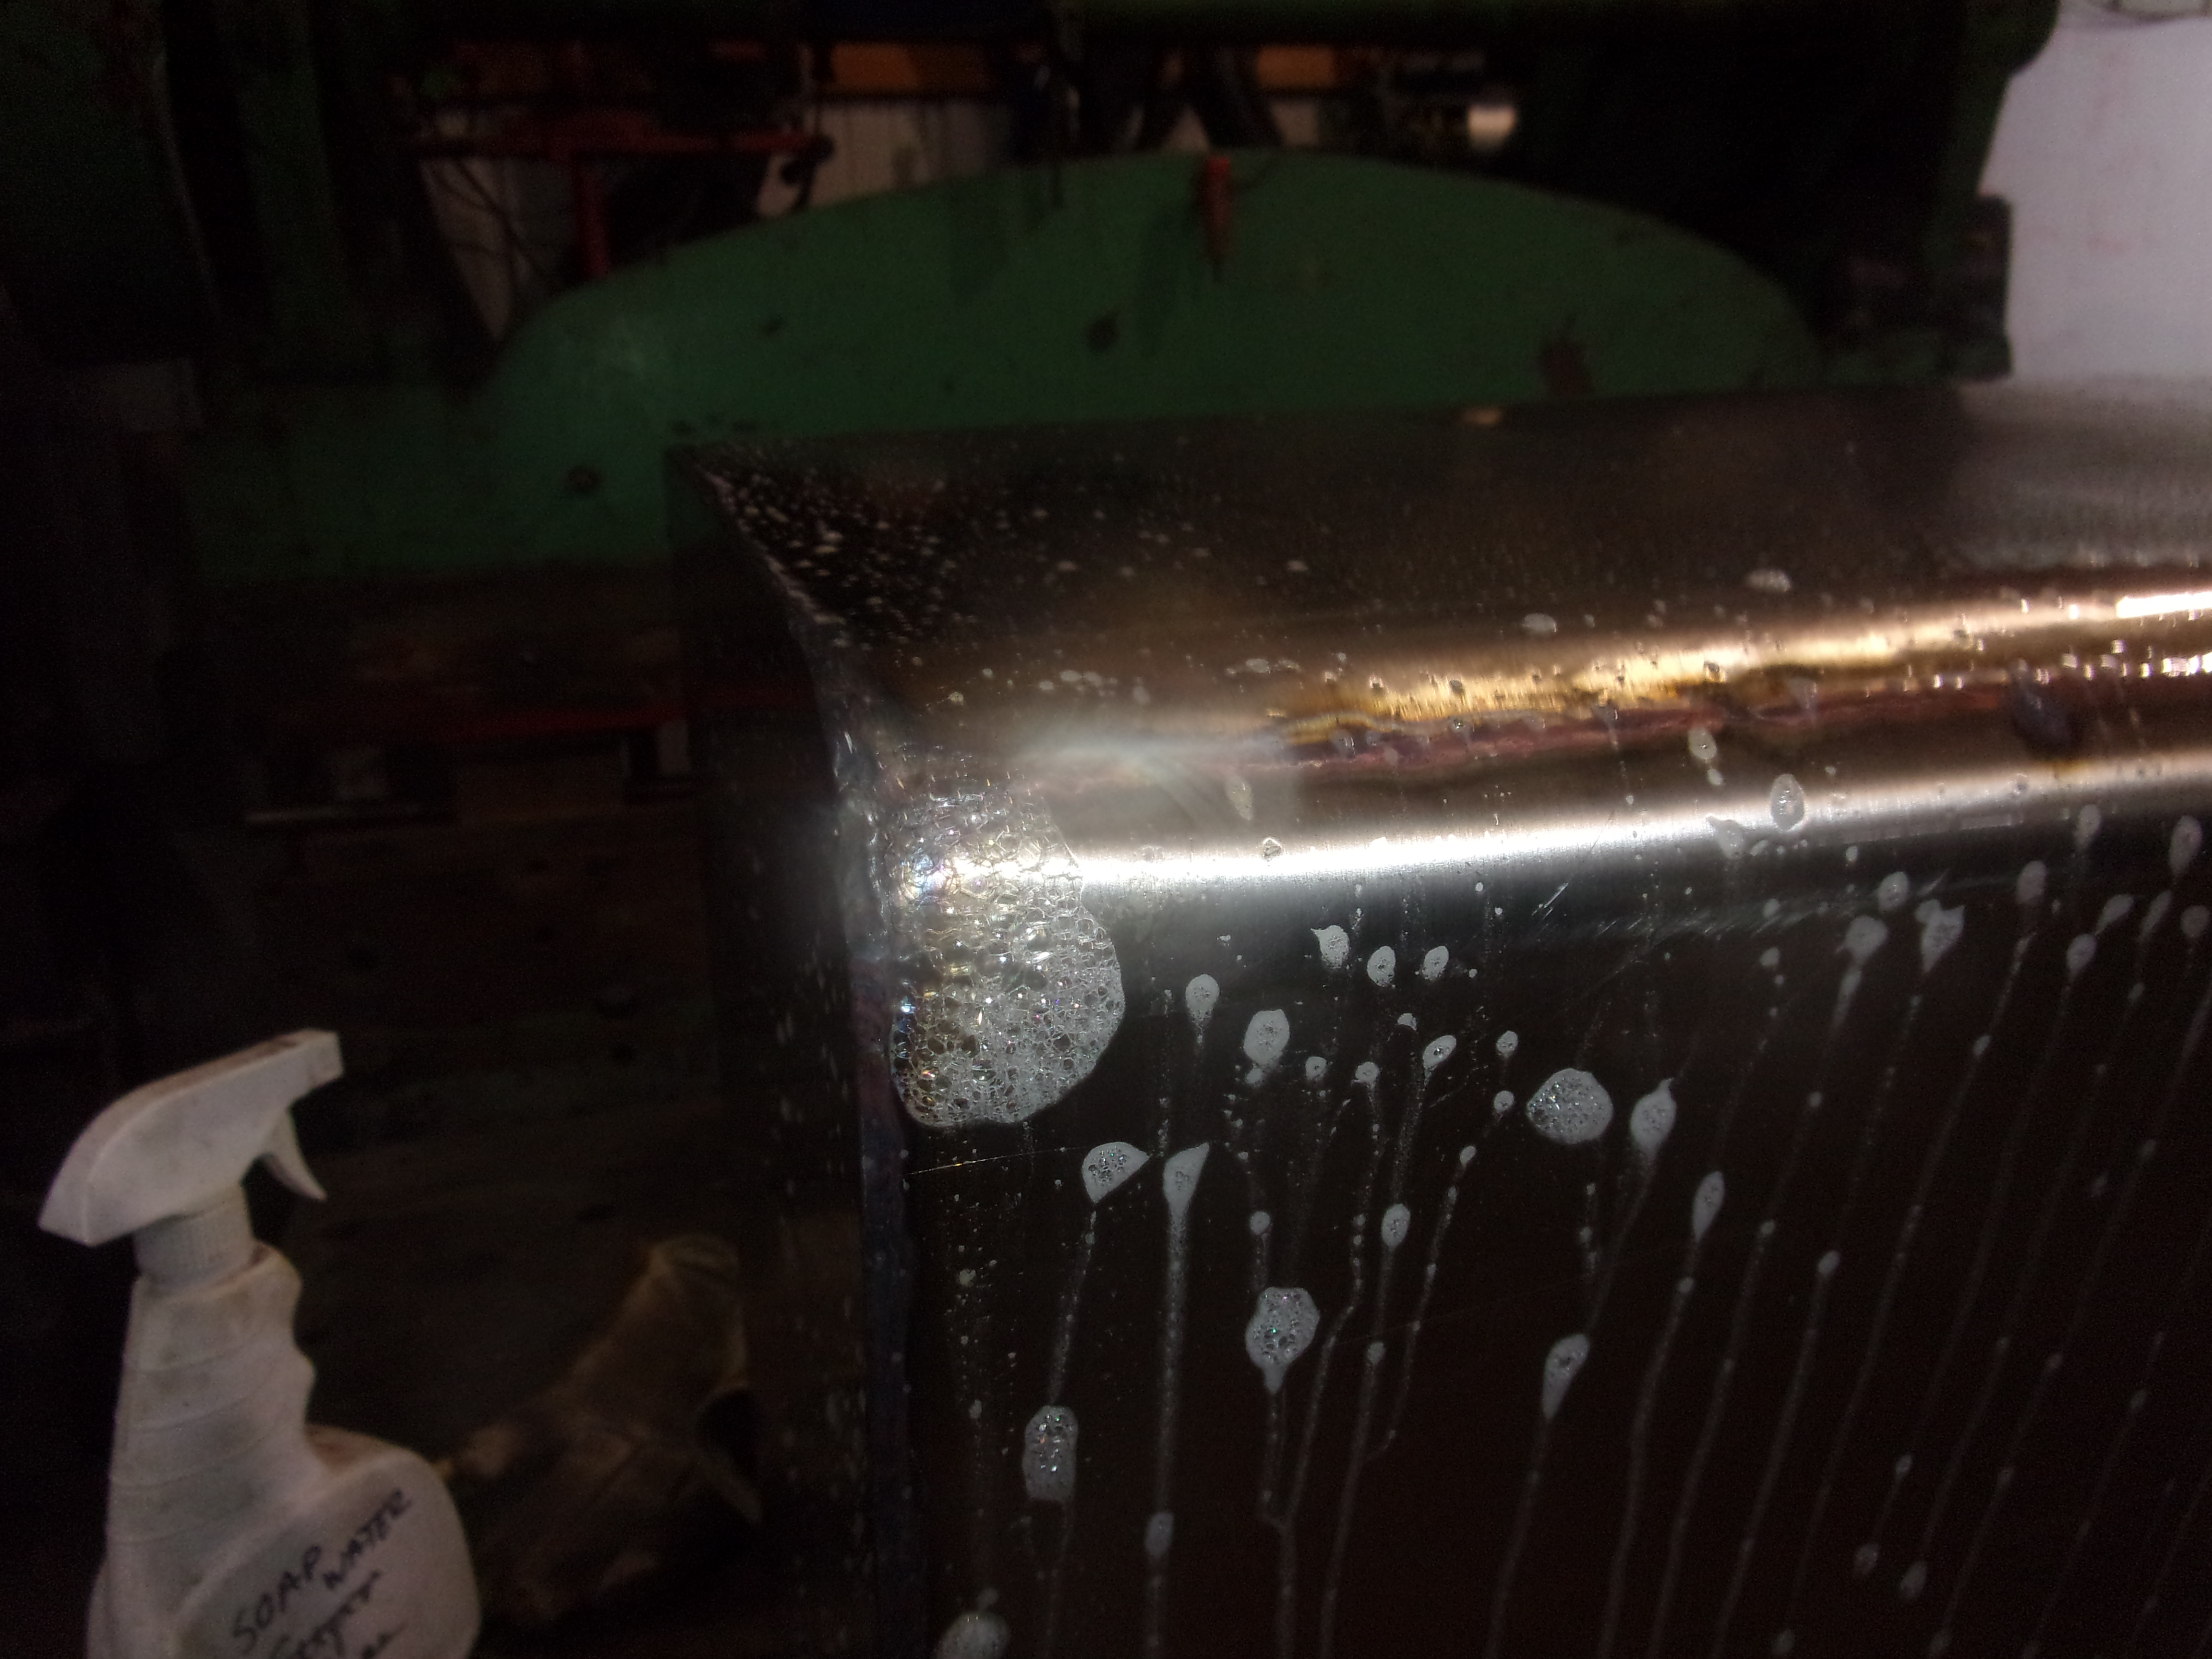
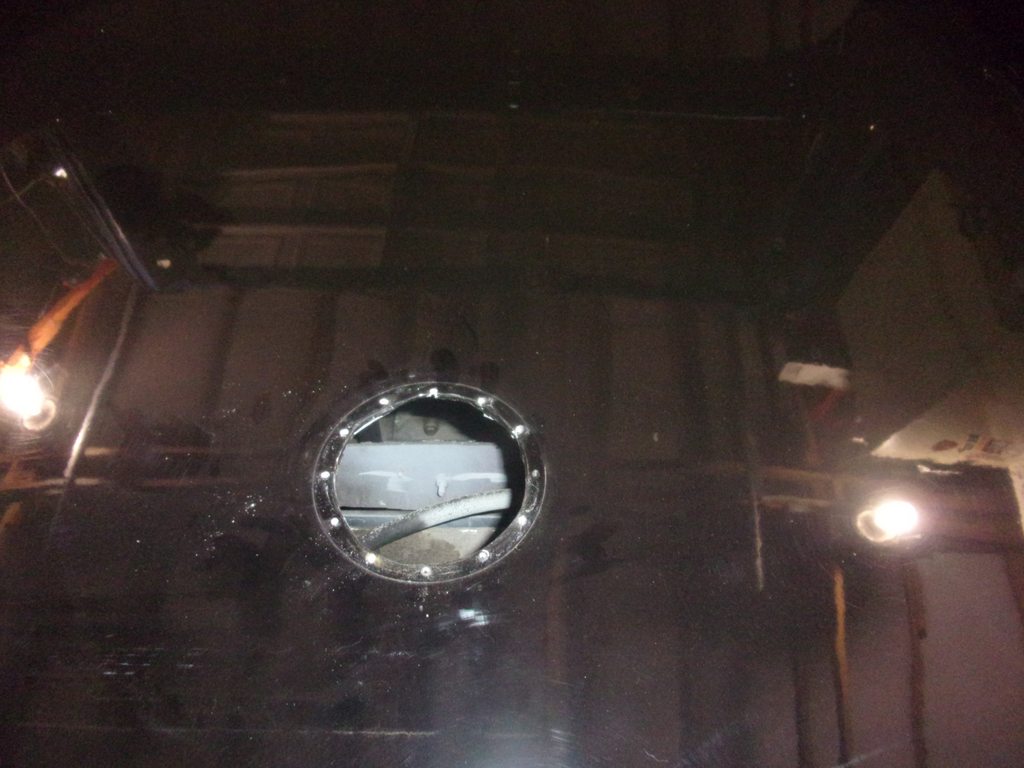
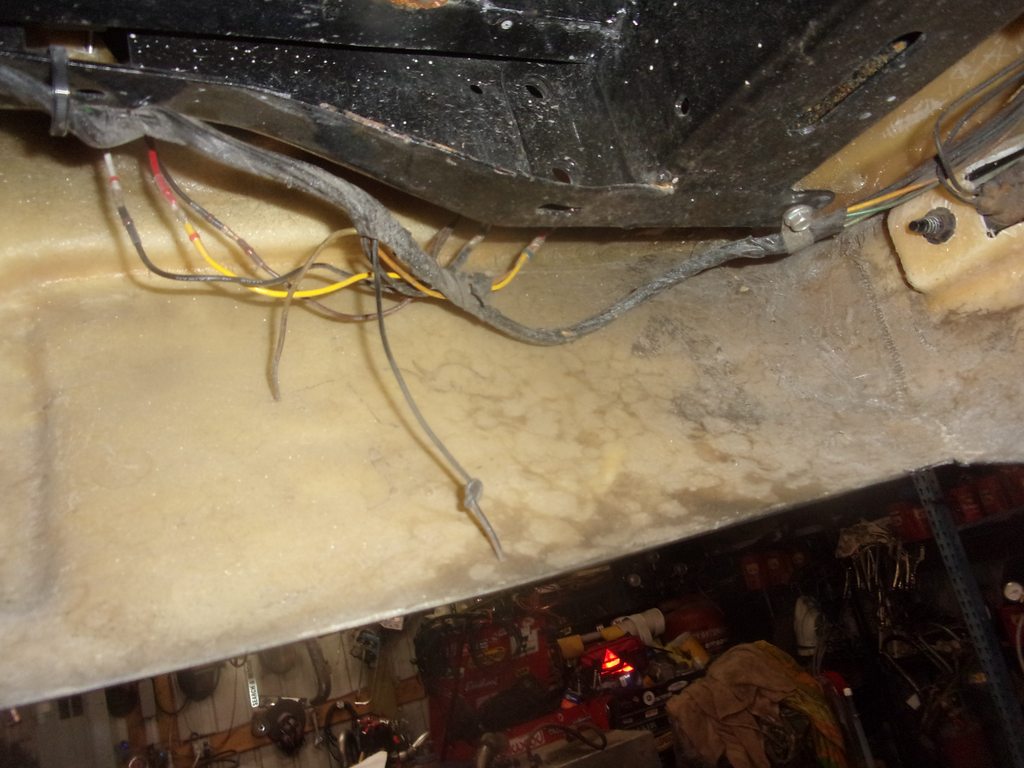
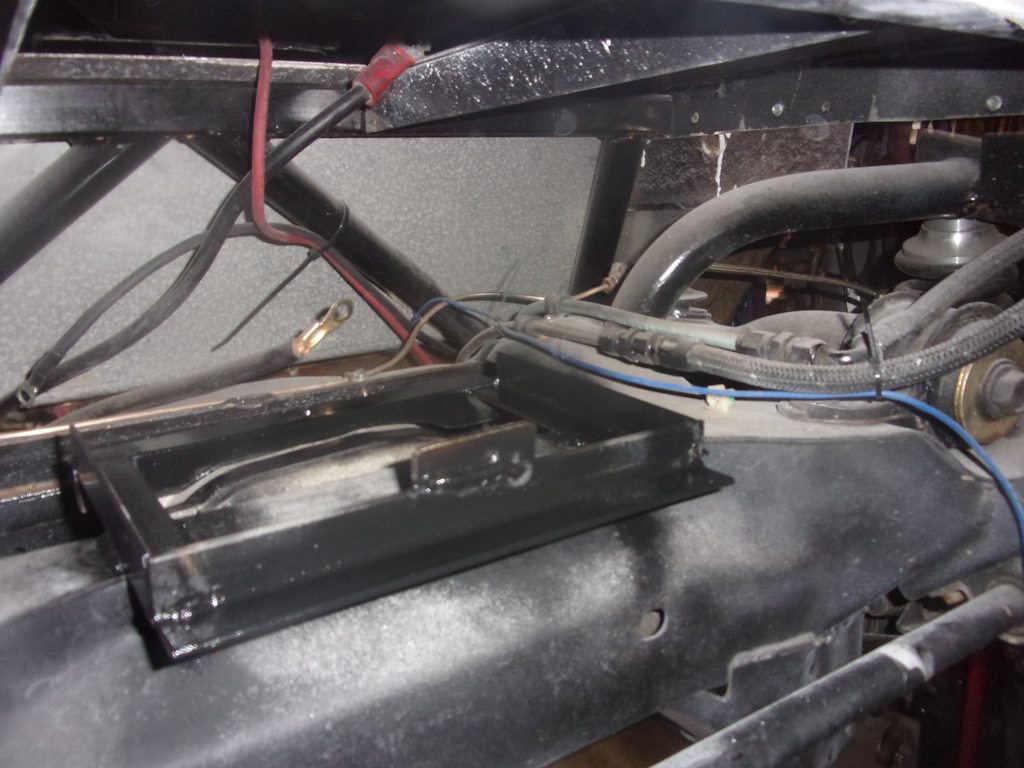
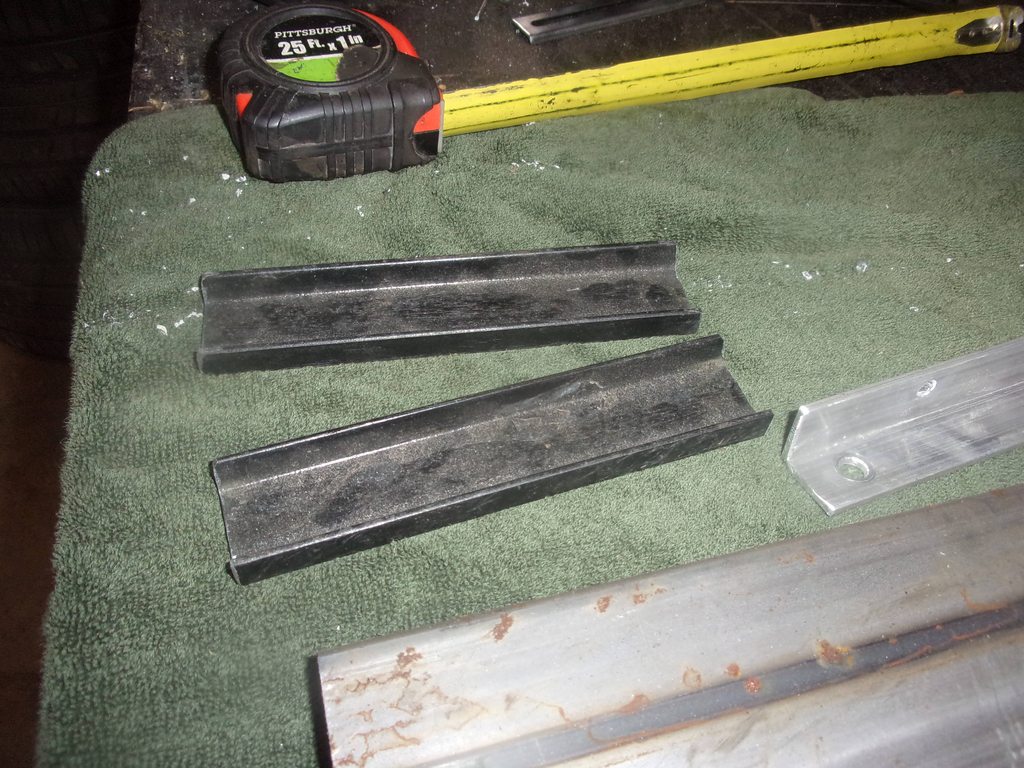
line test

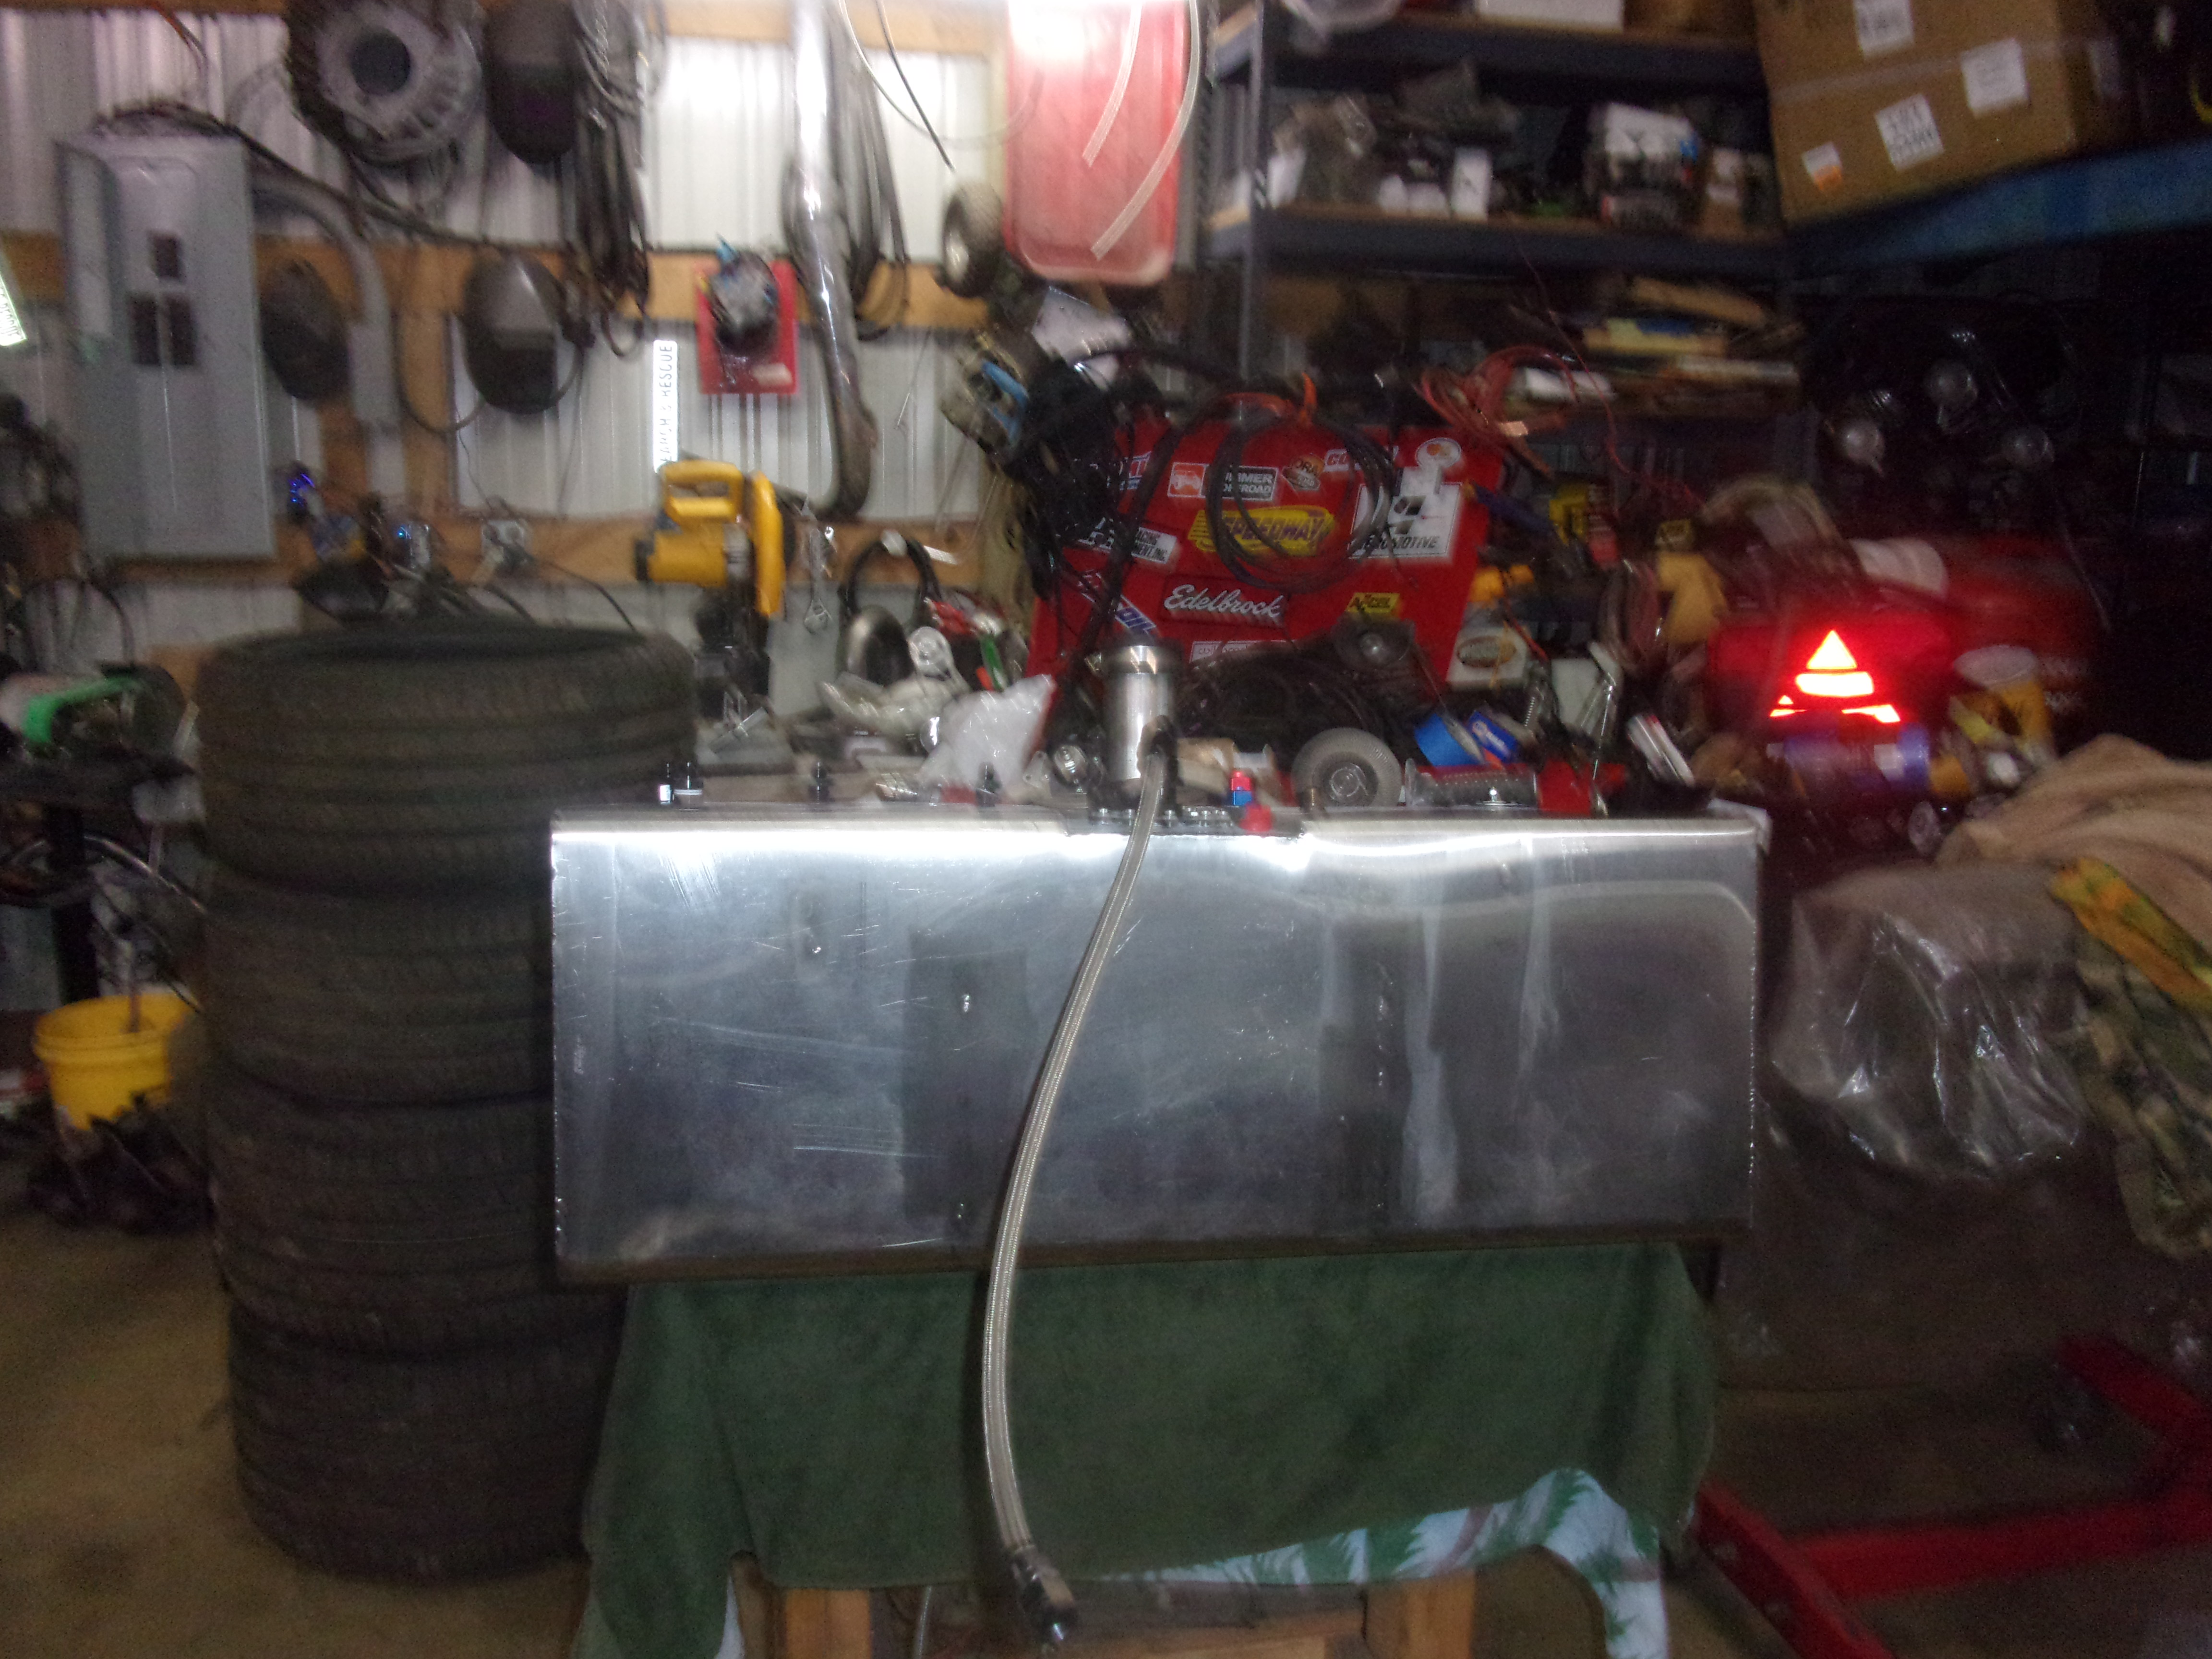
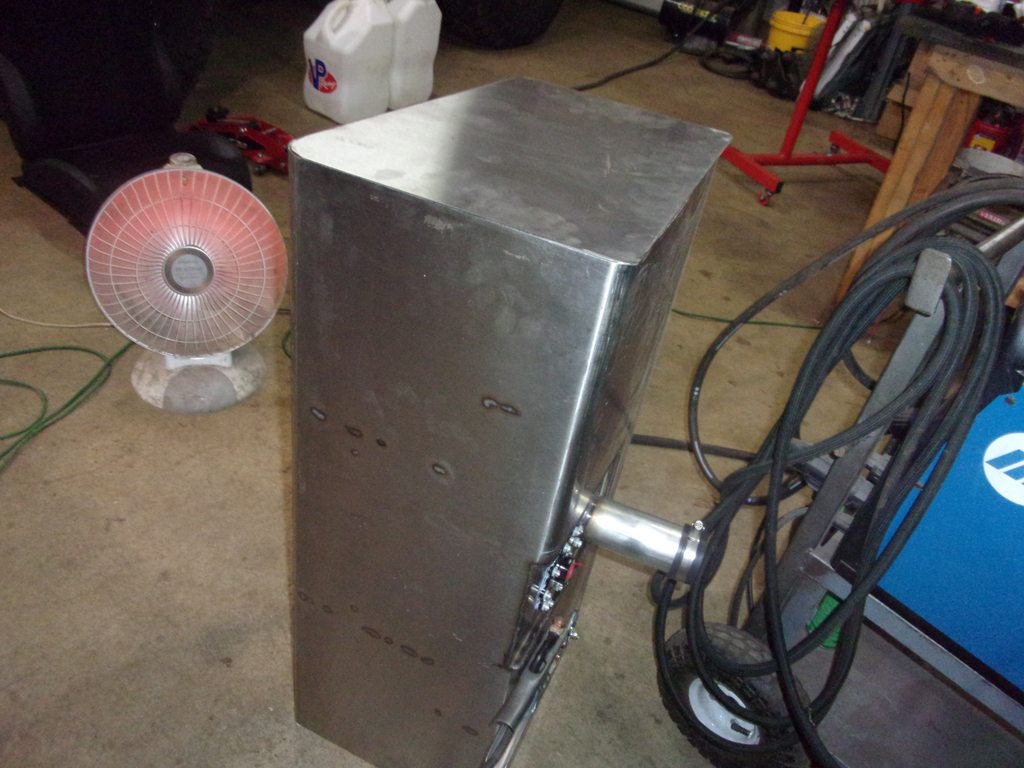
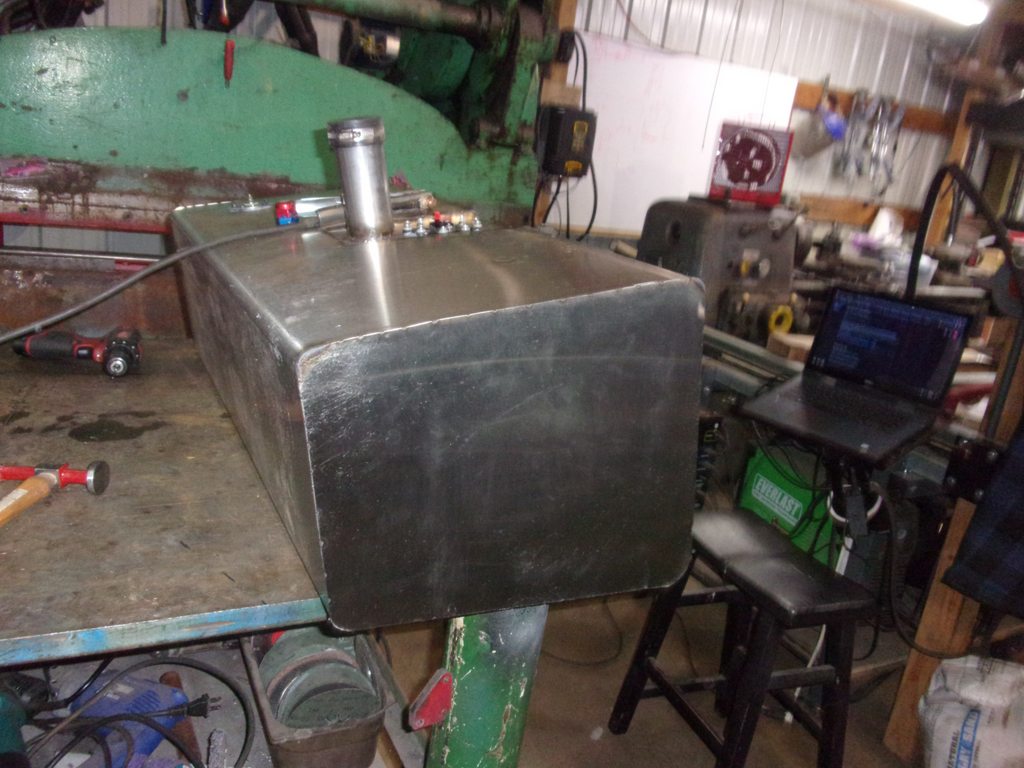
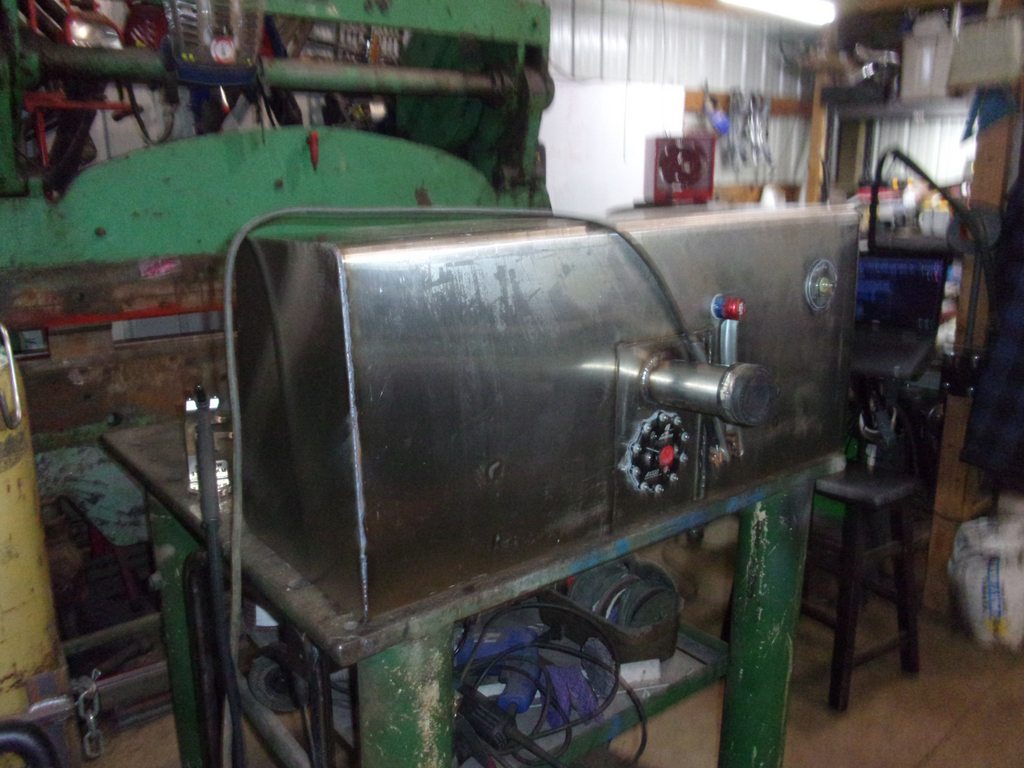
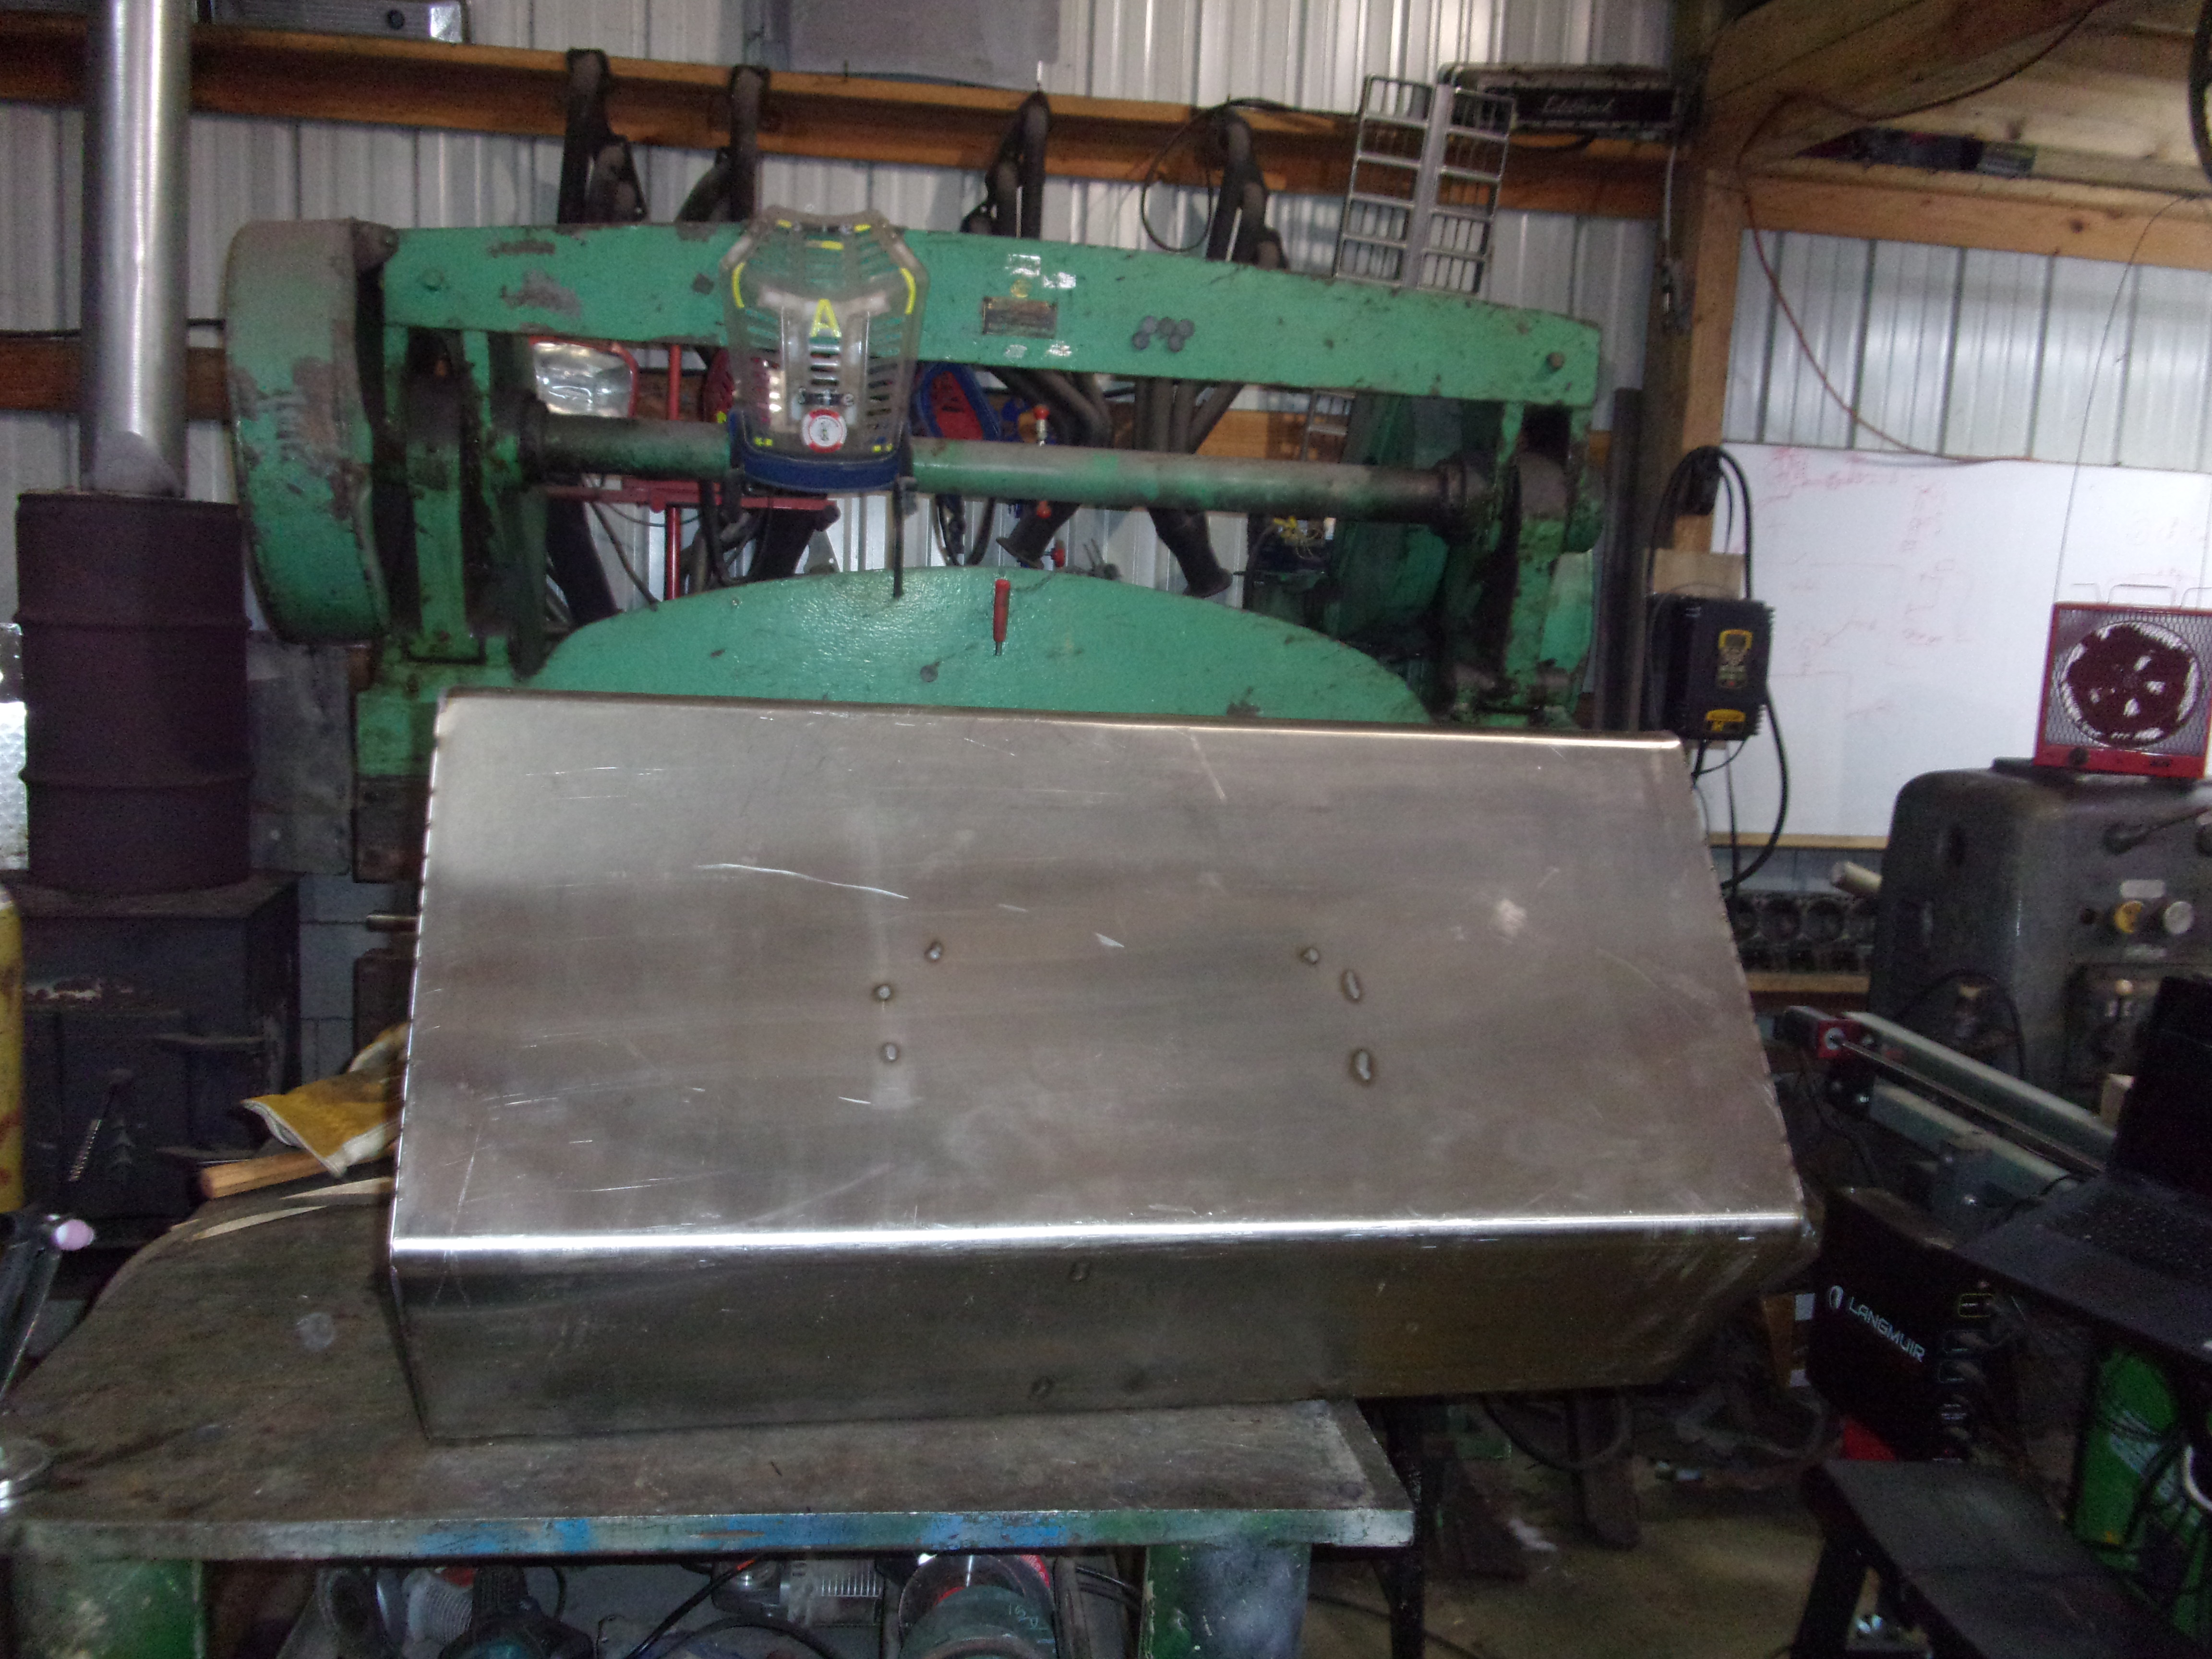
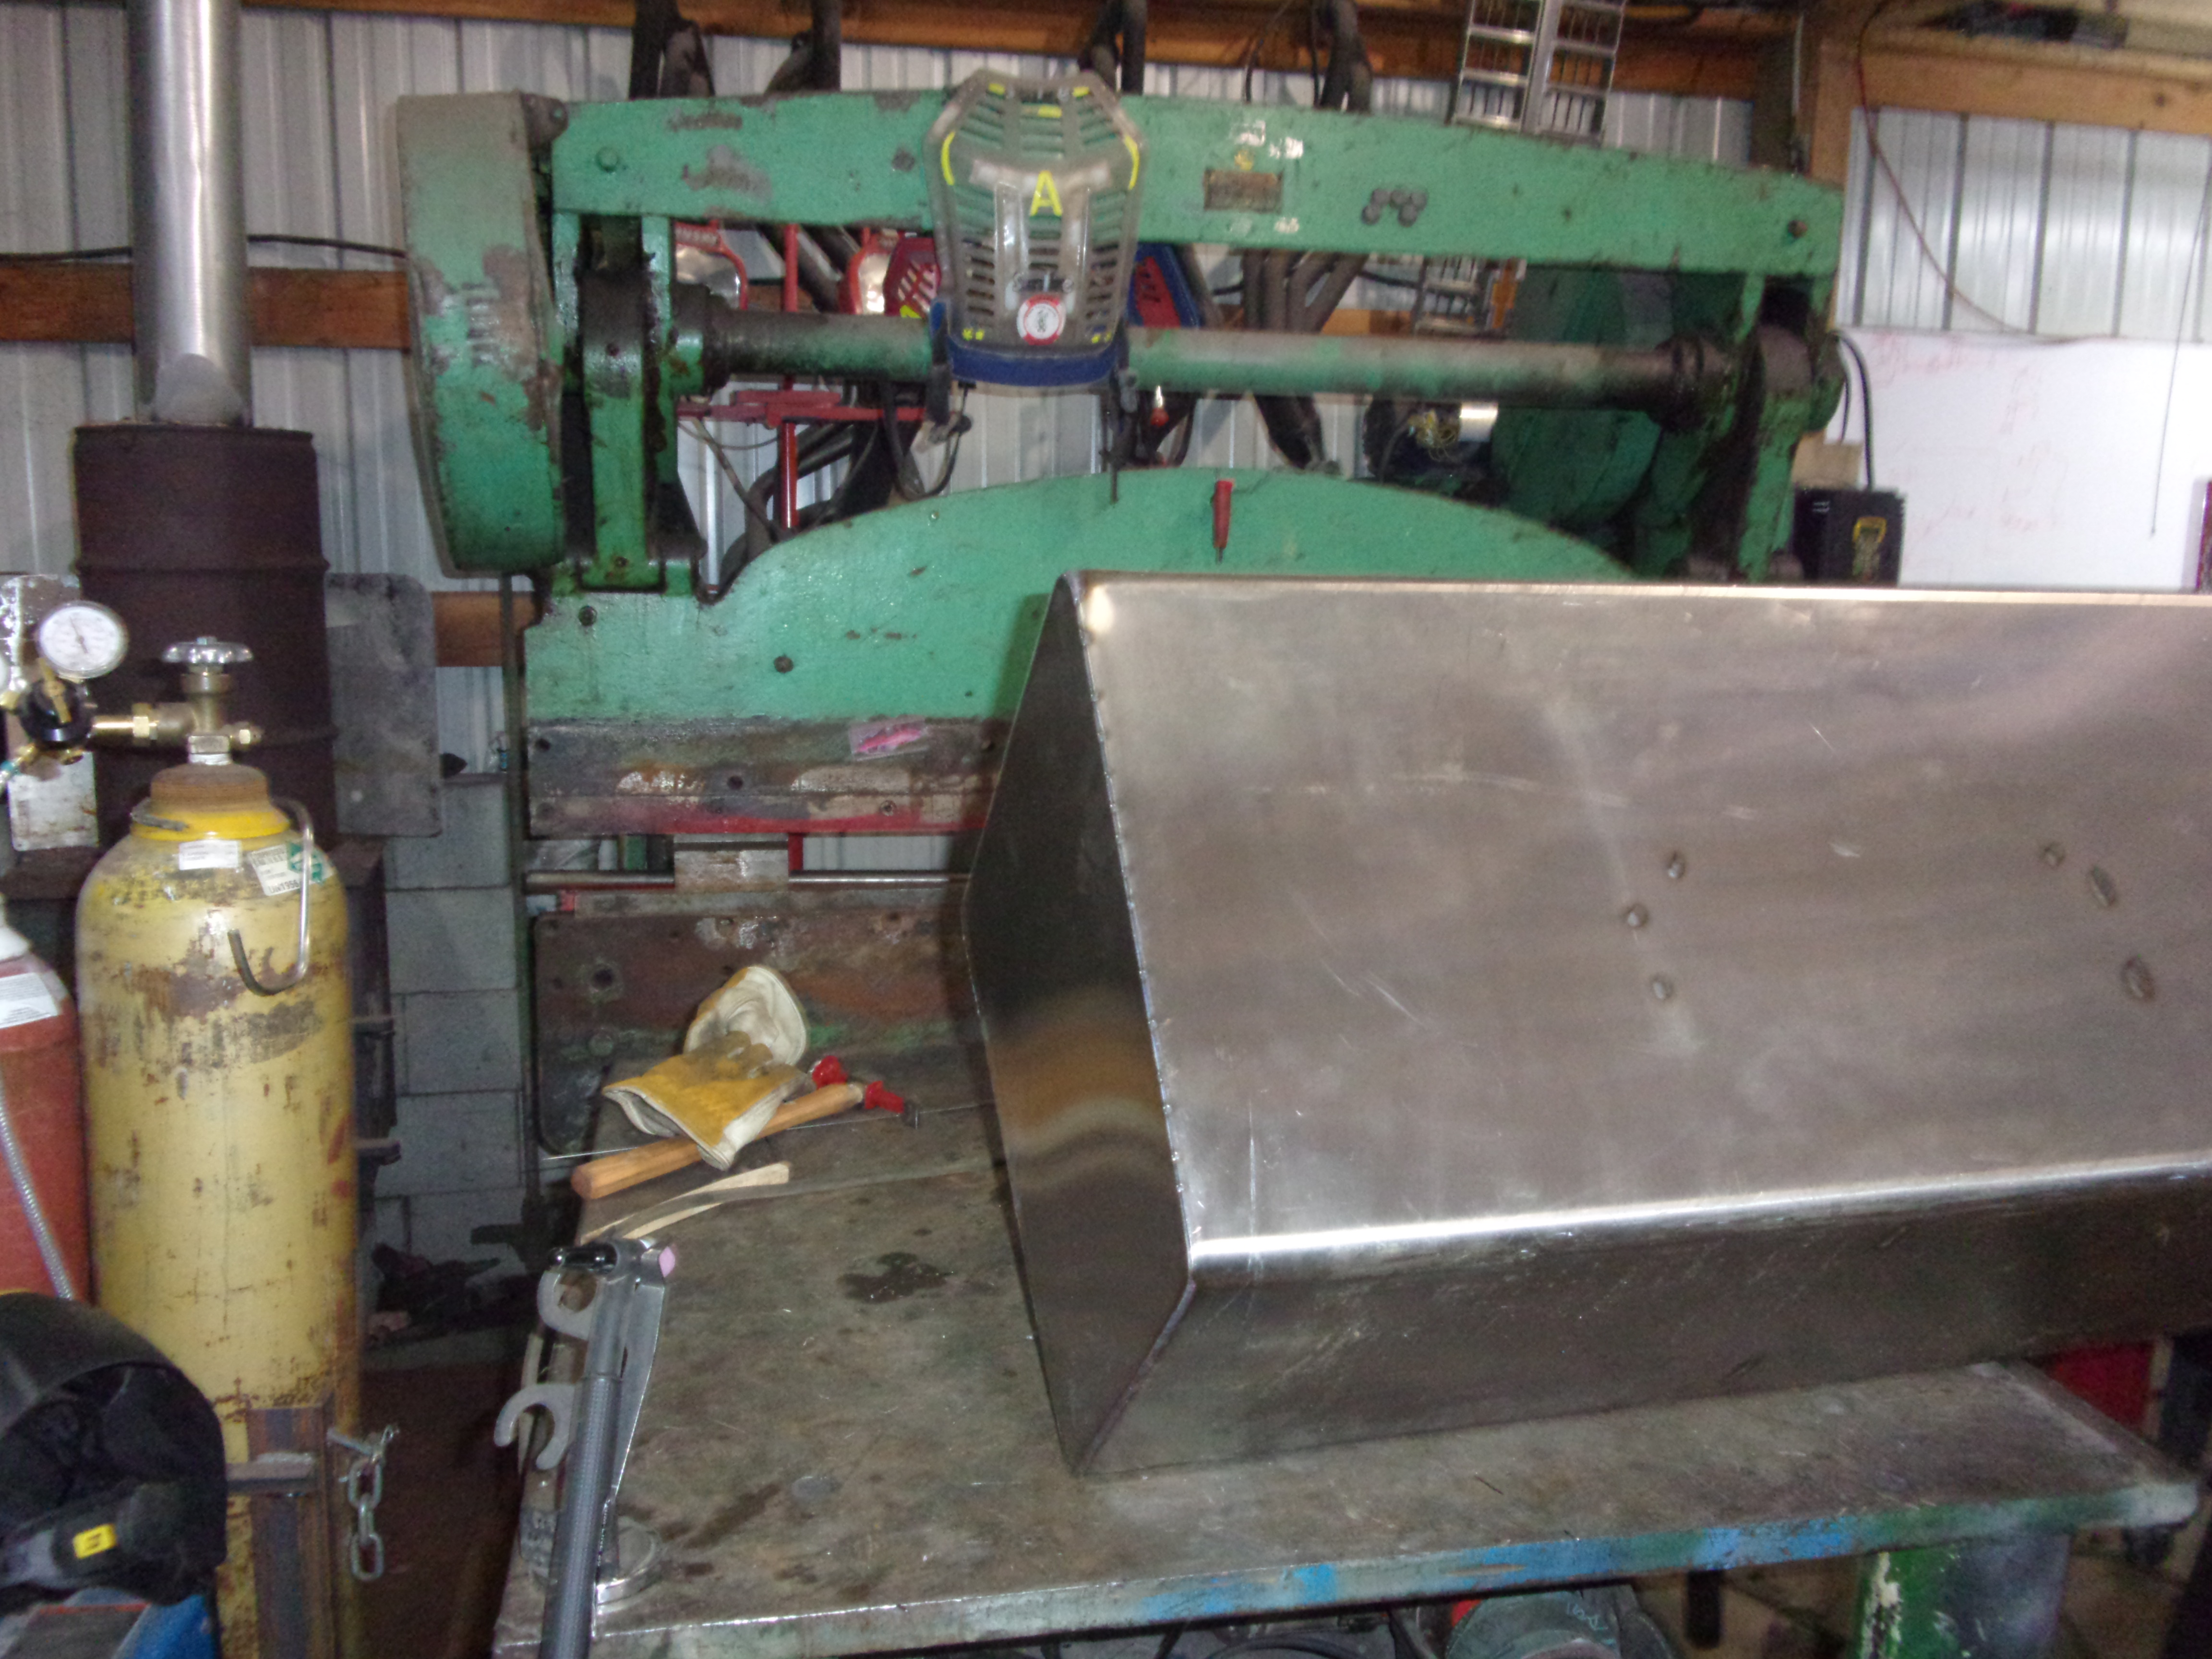
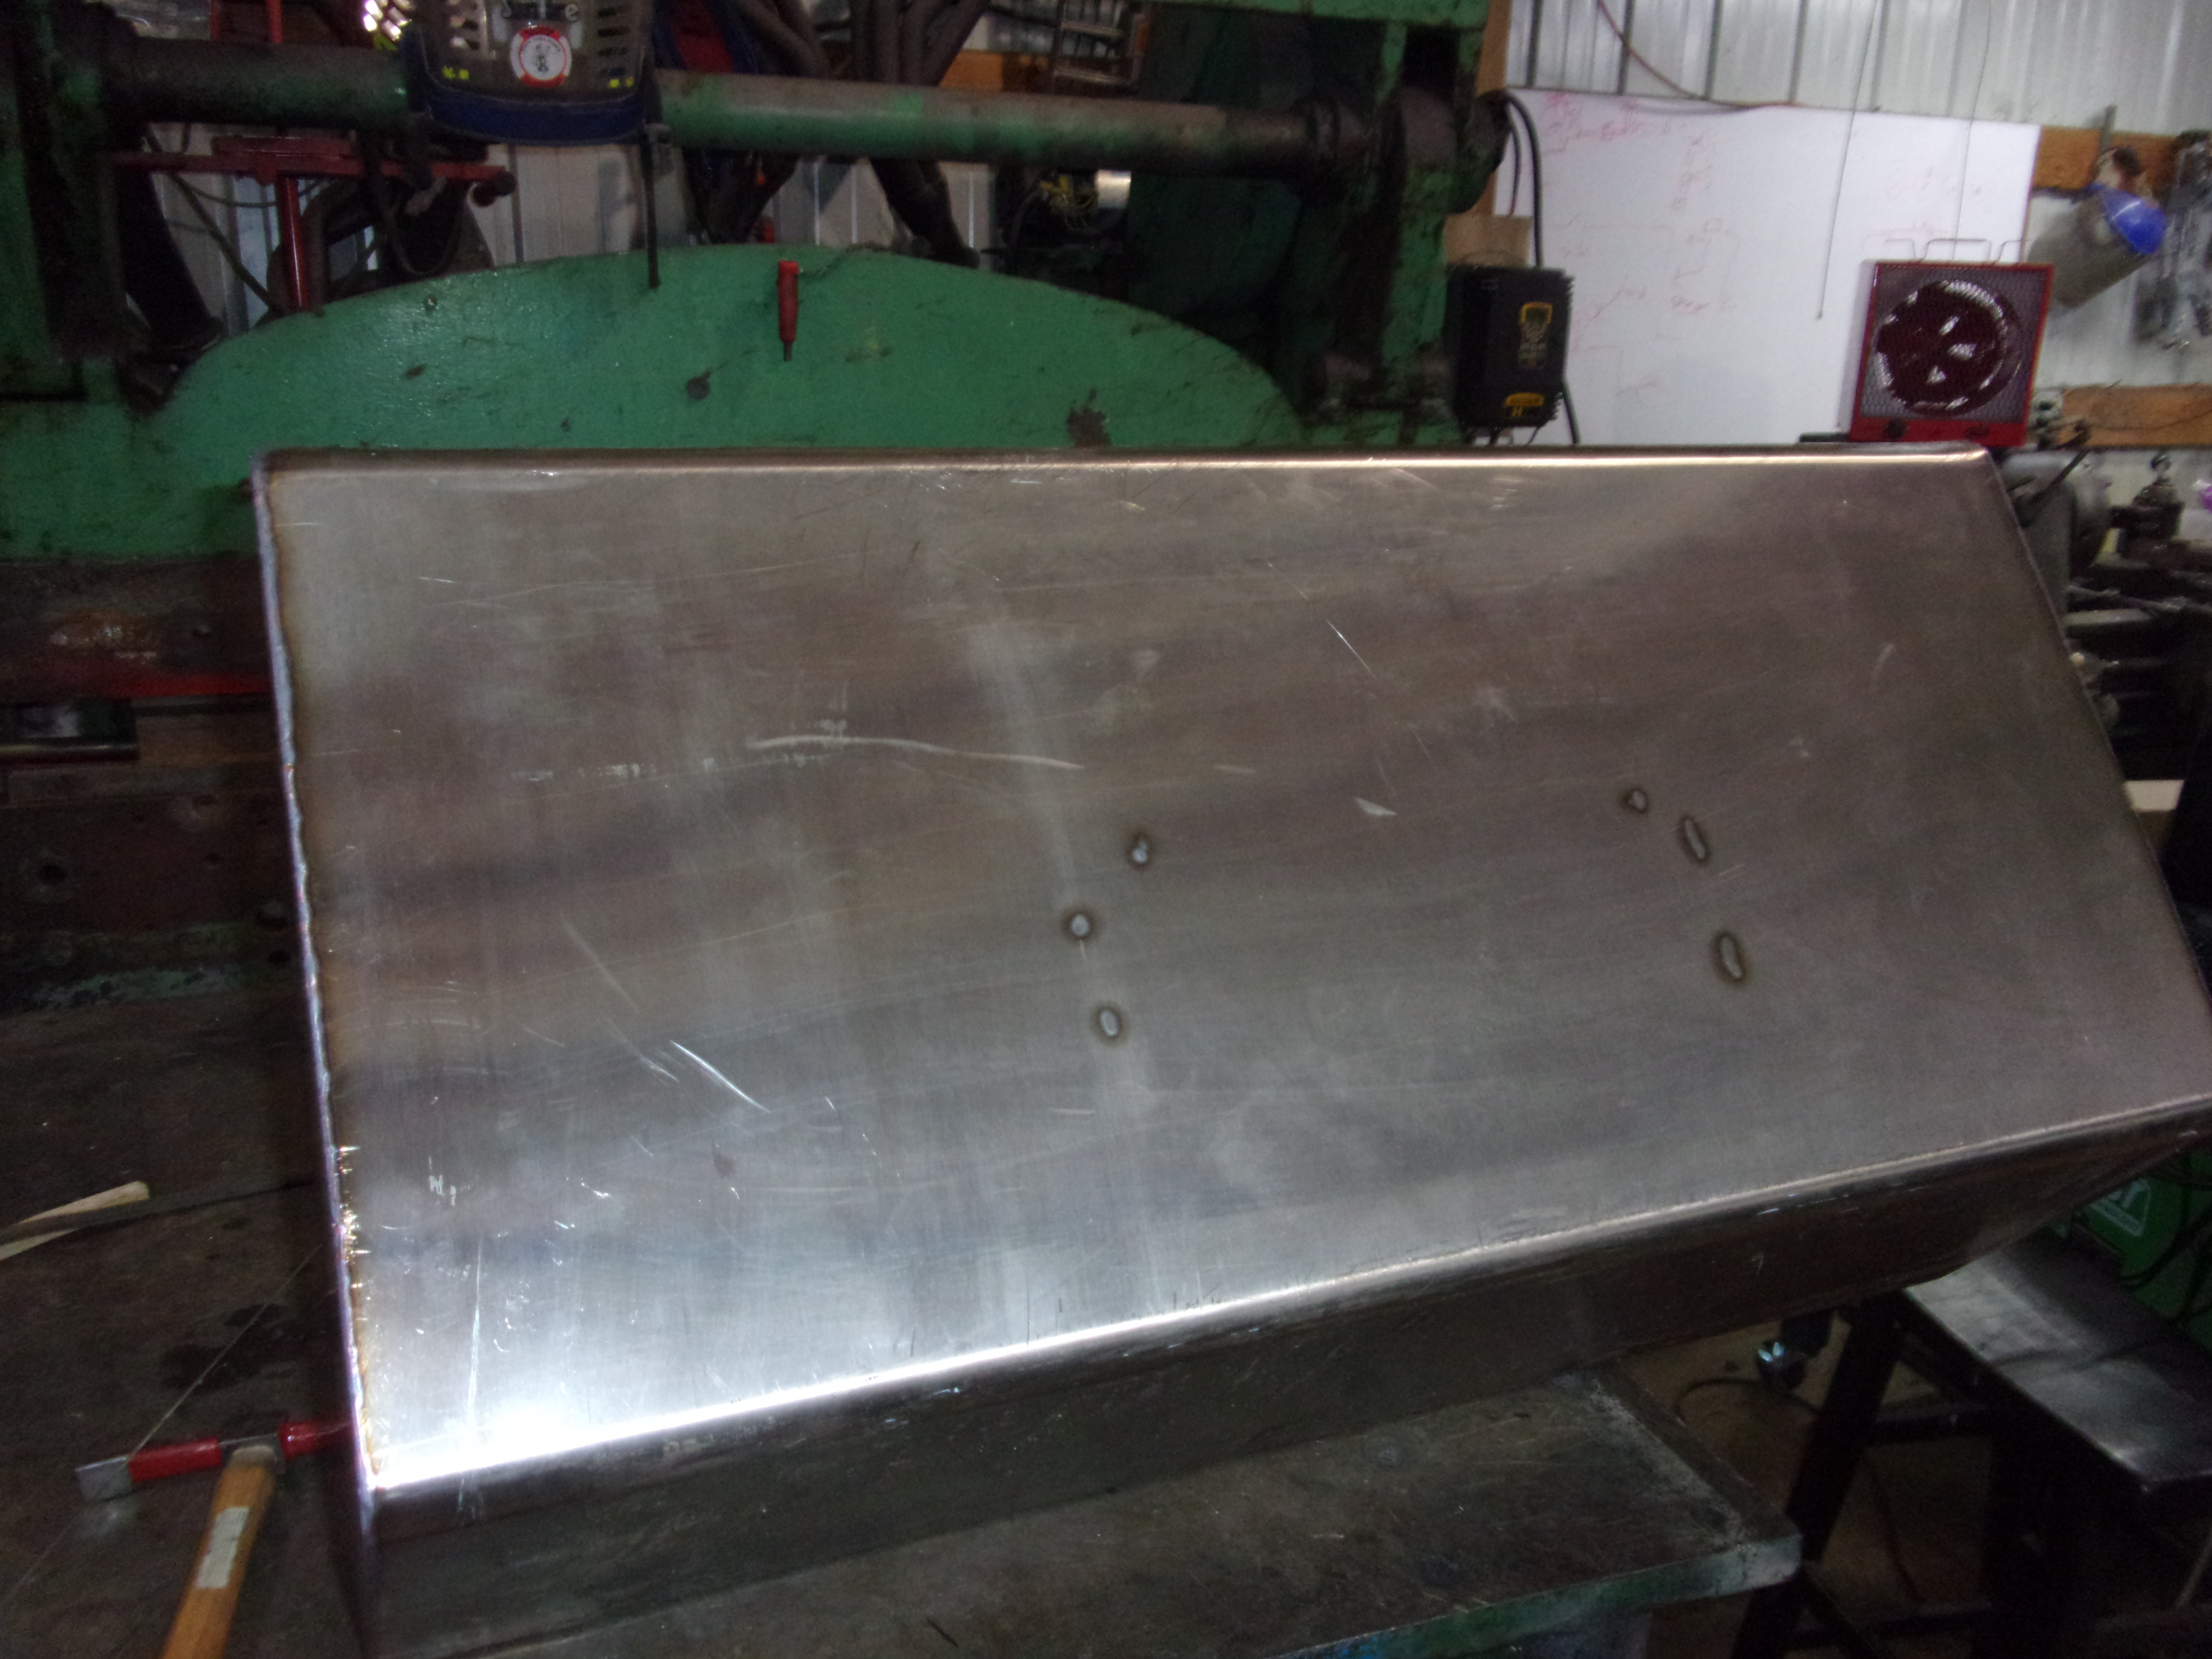
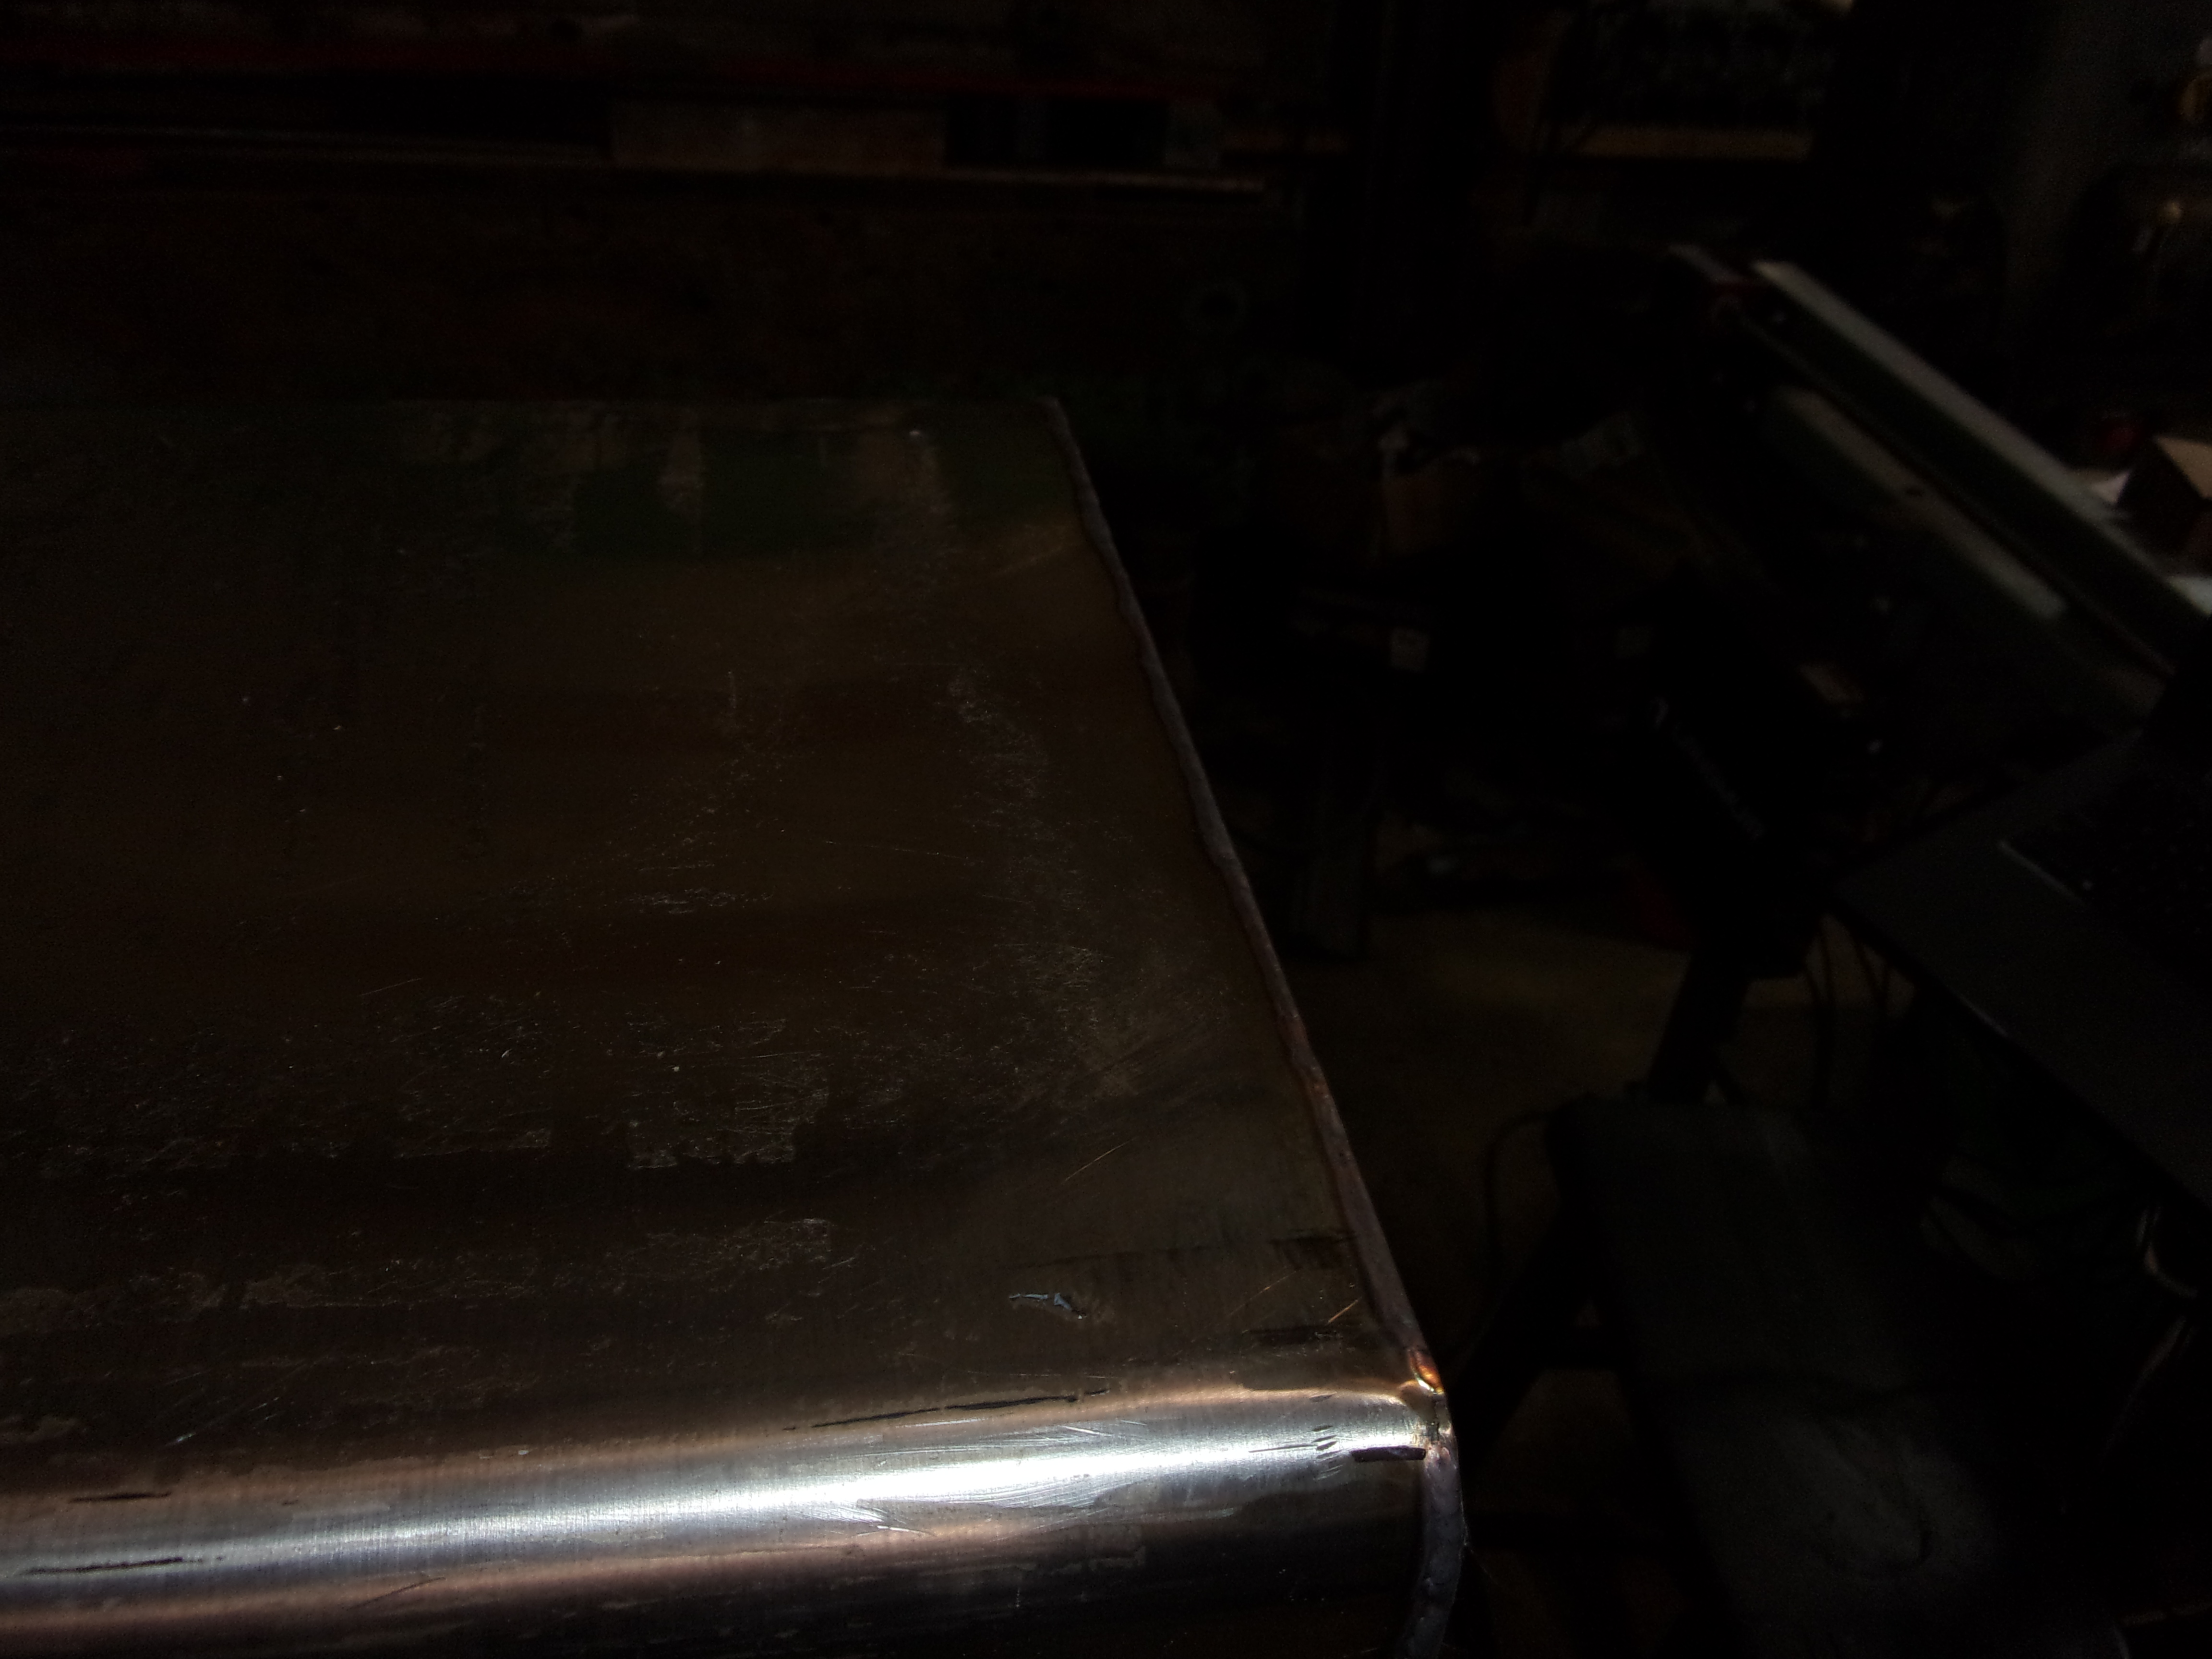
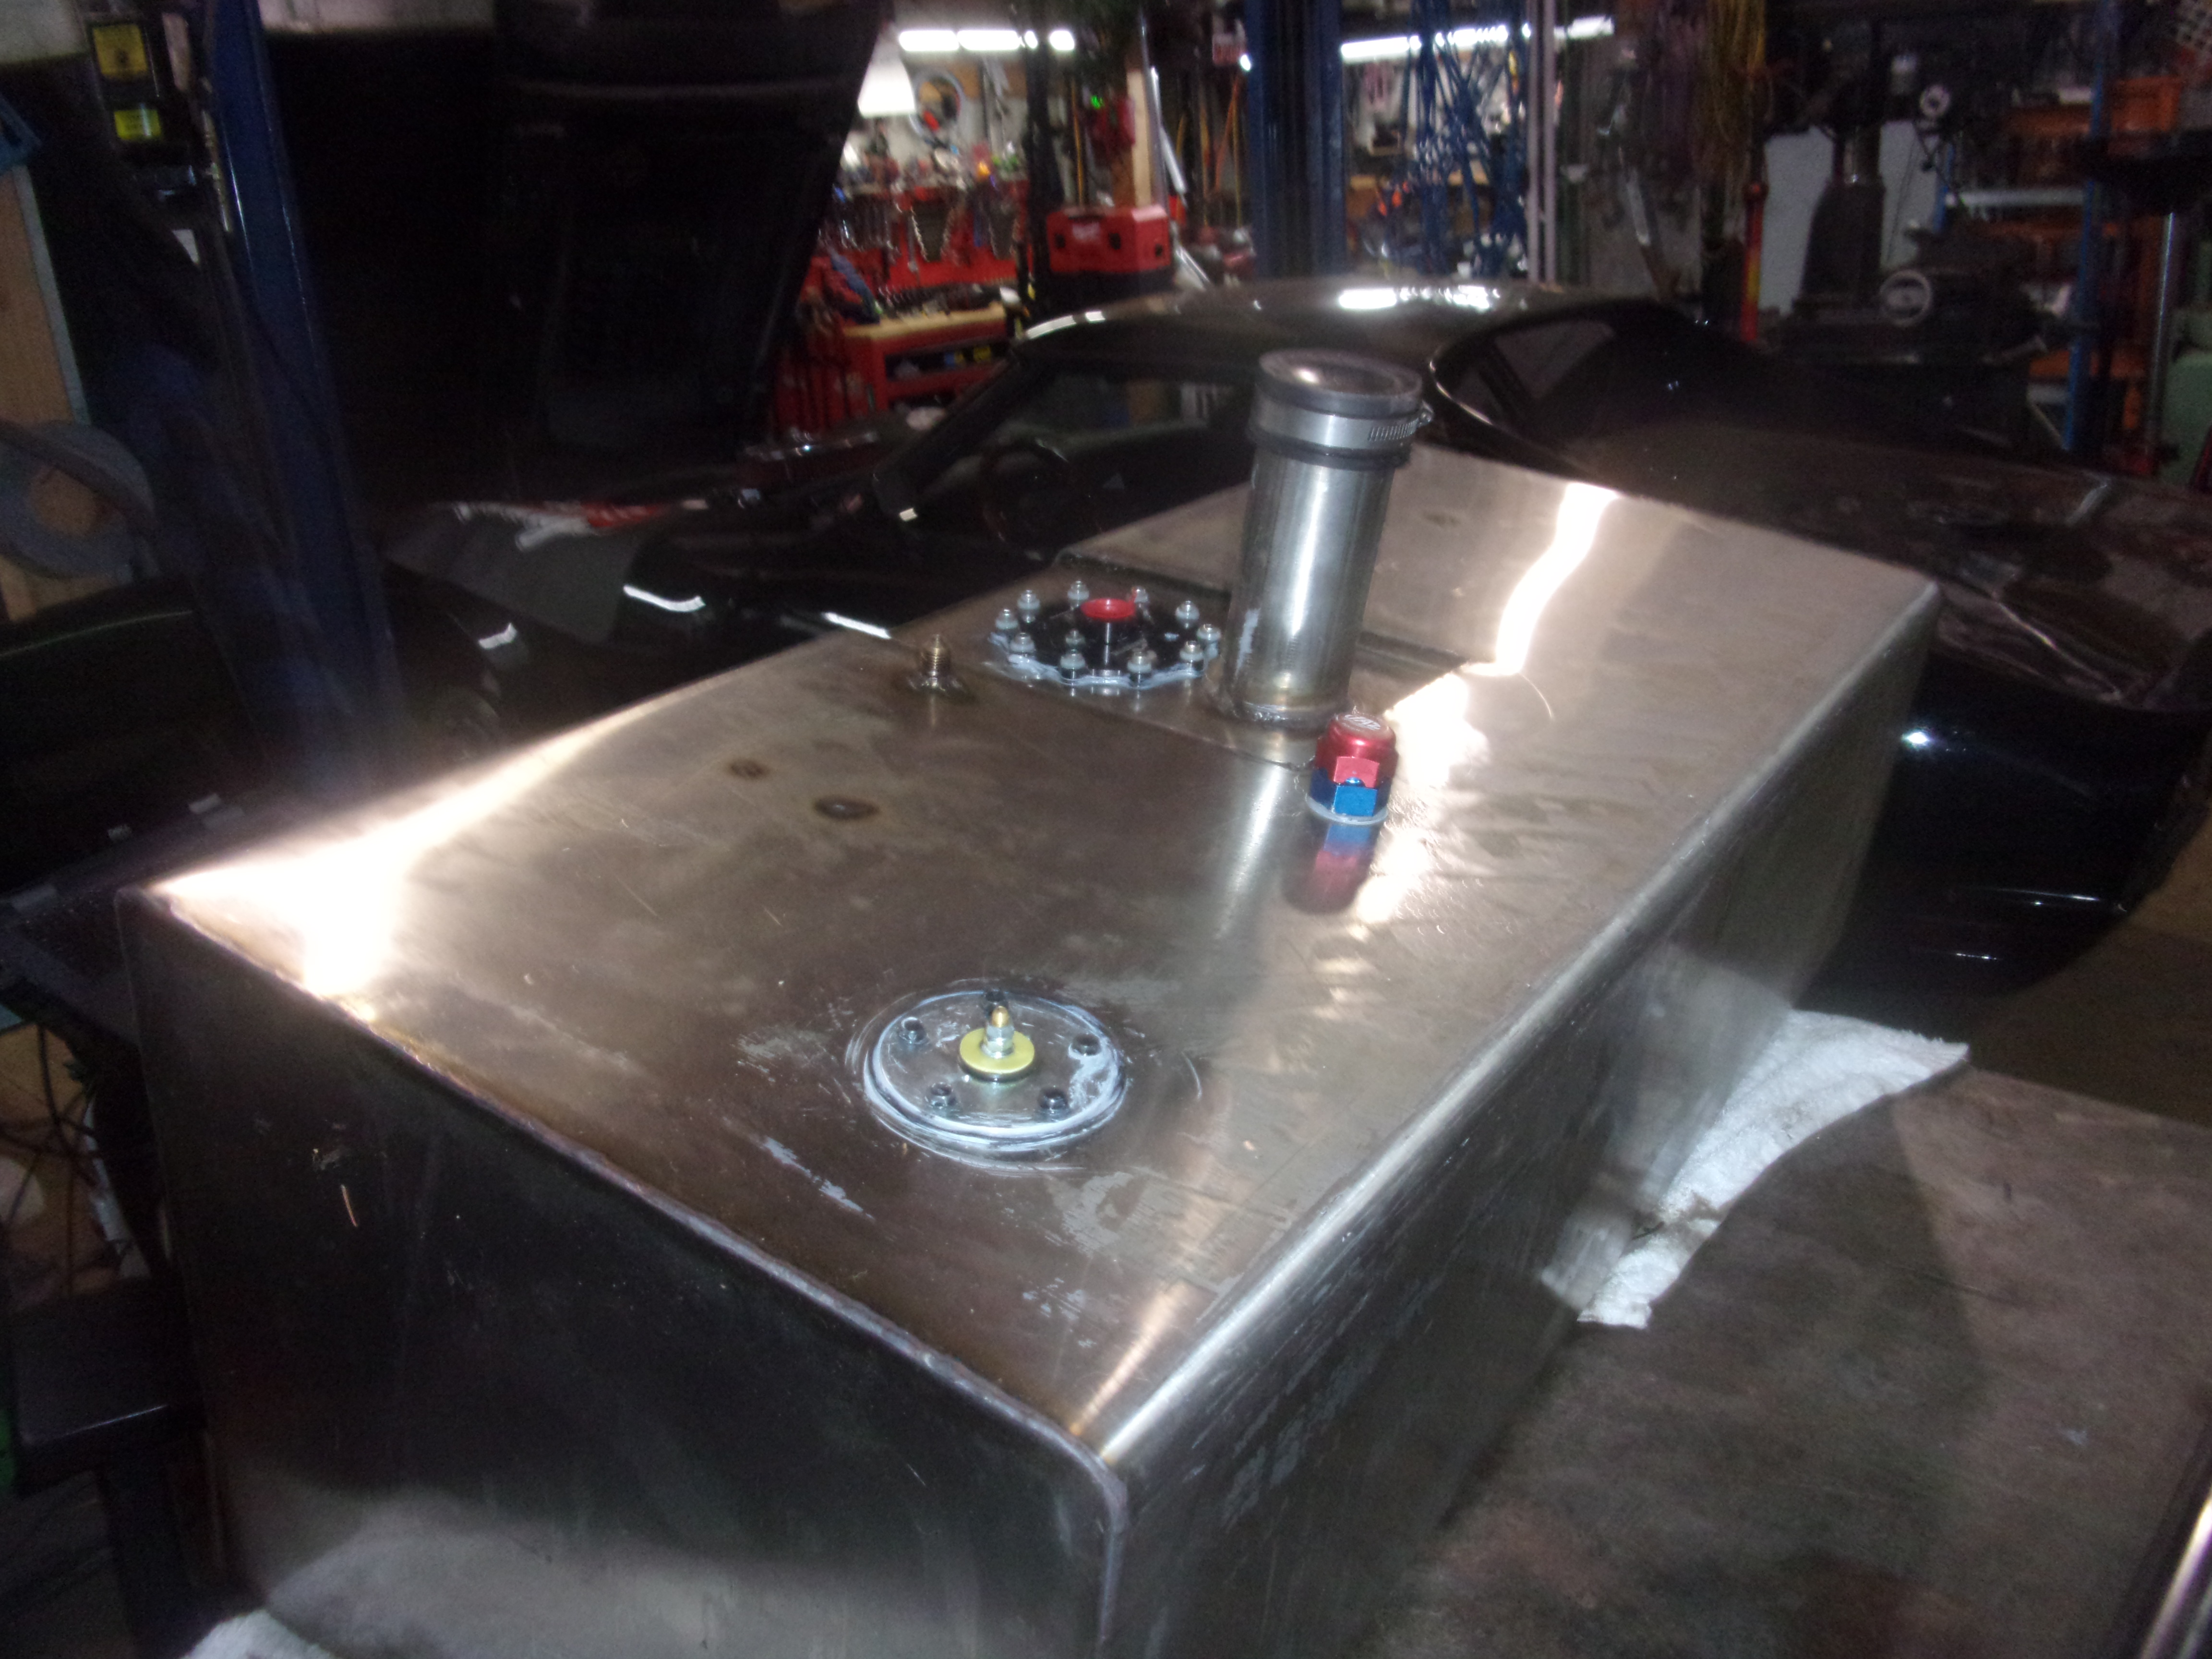
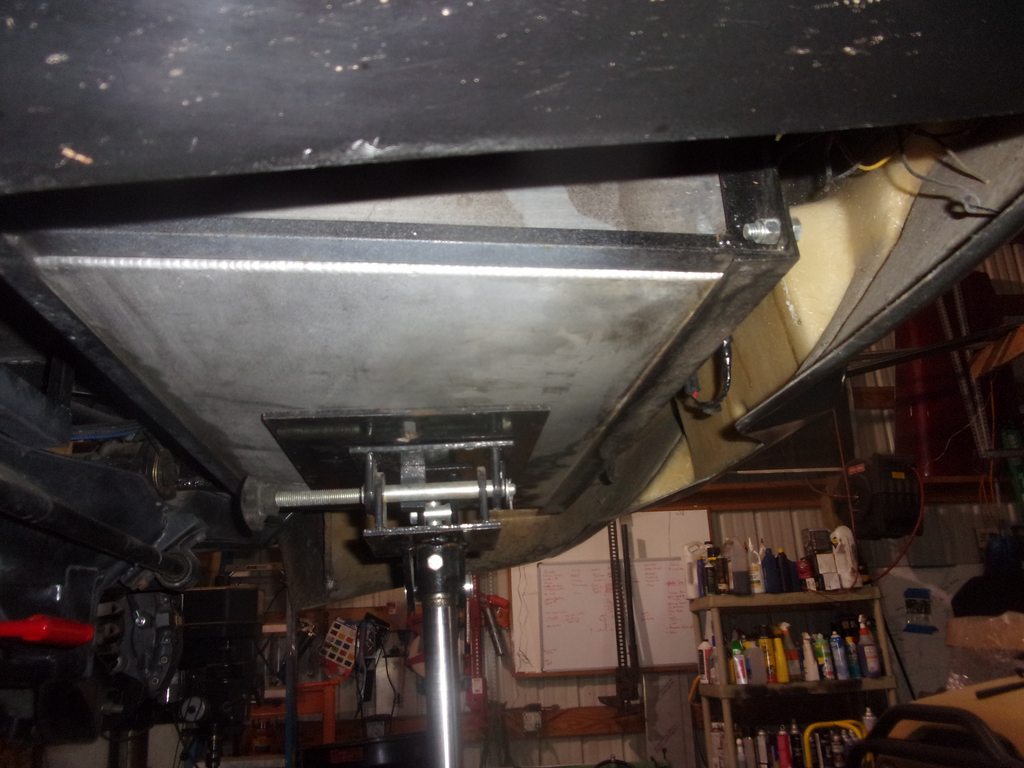
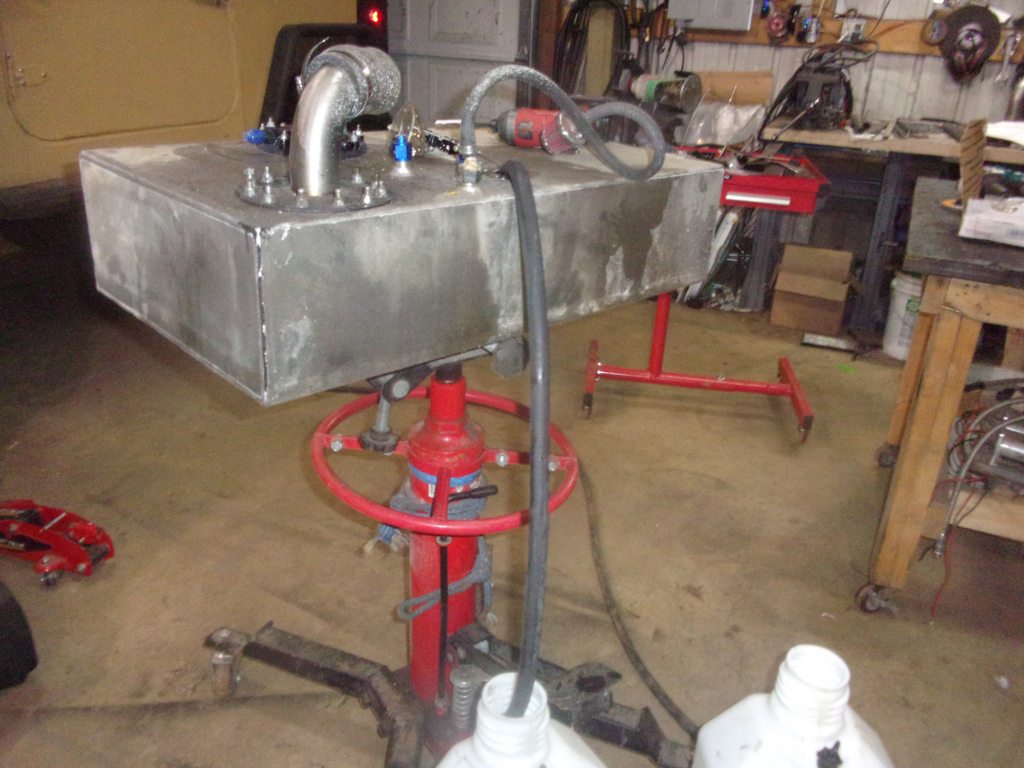
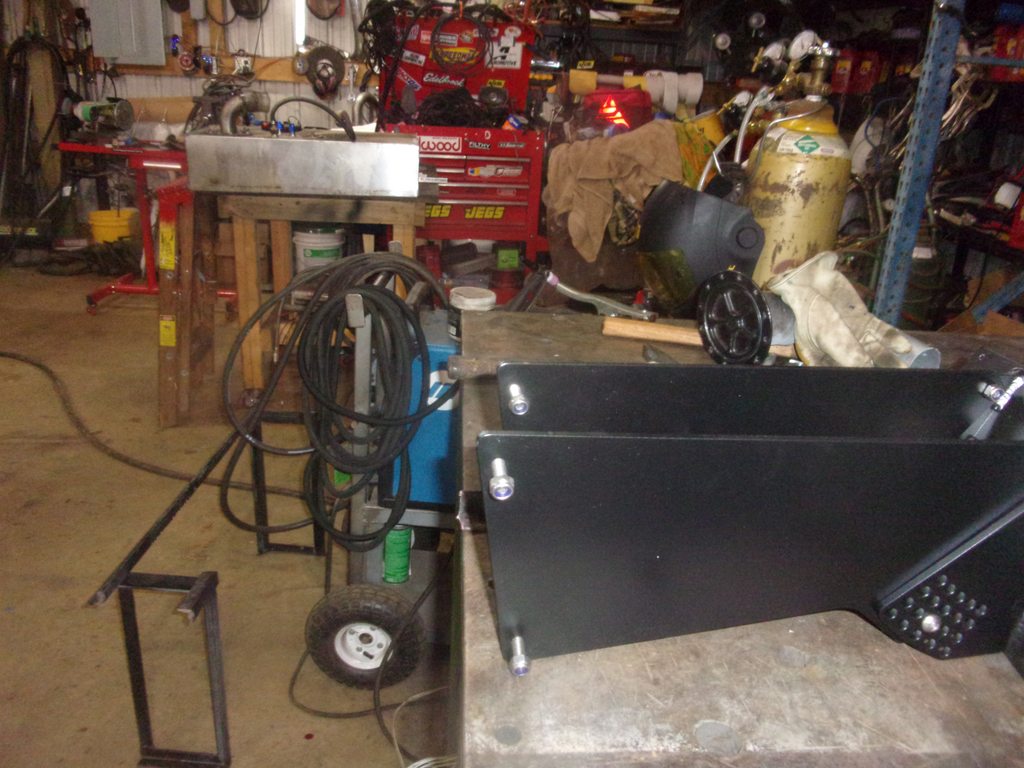
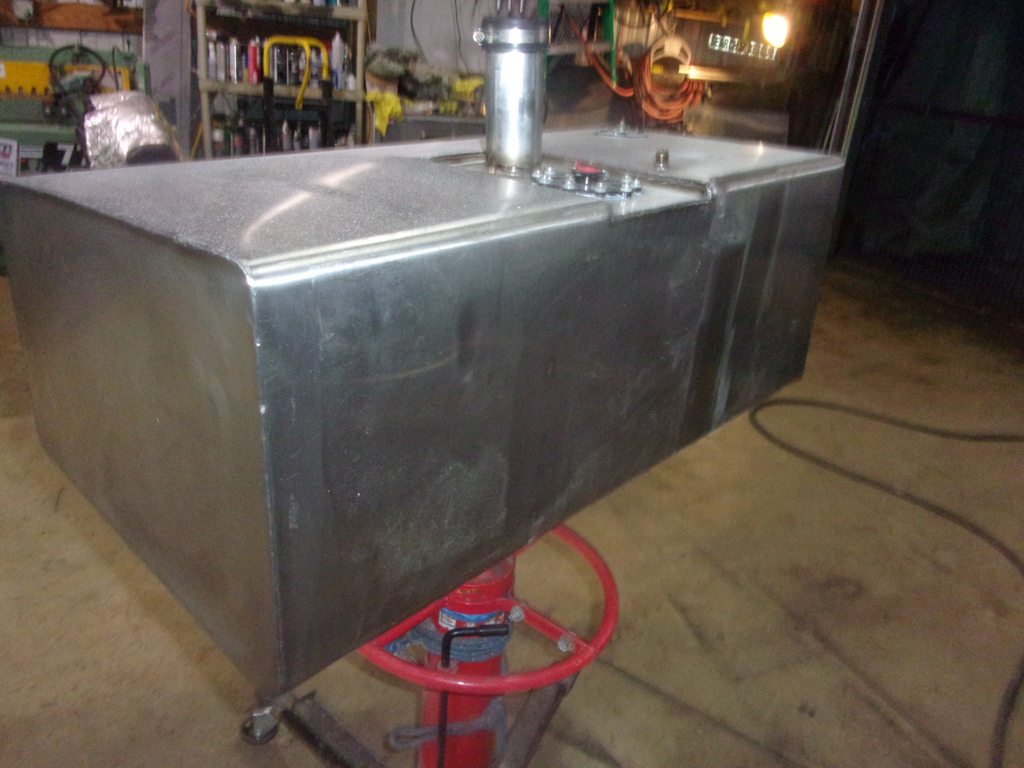
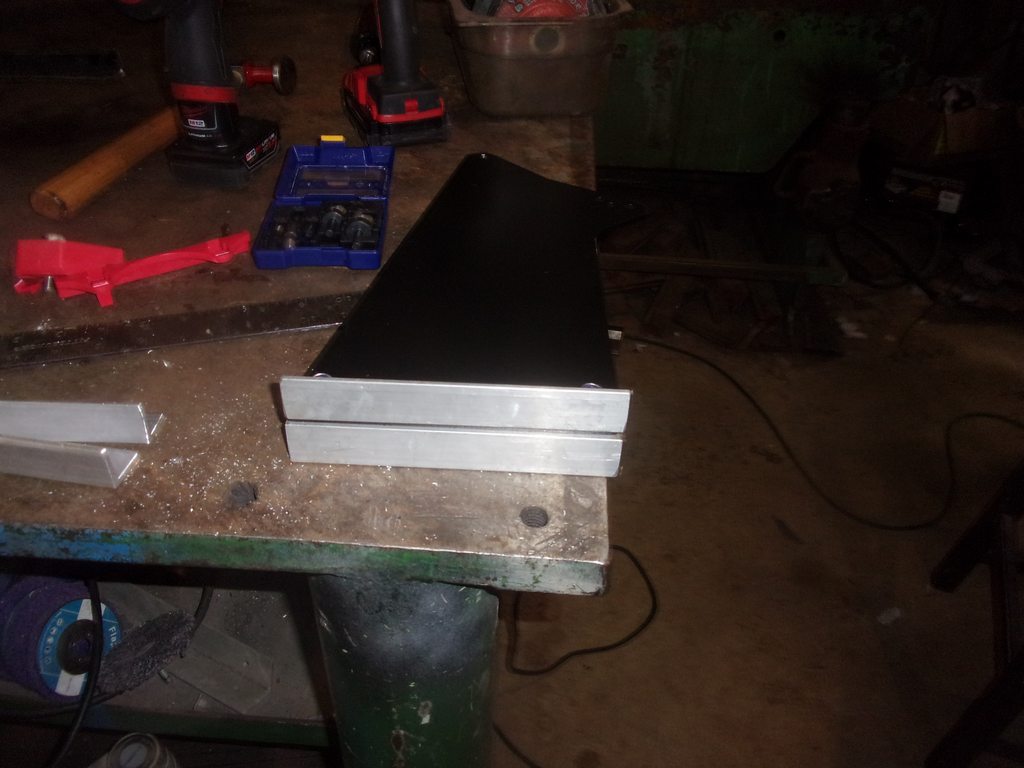
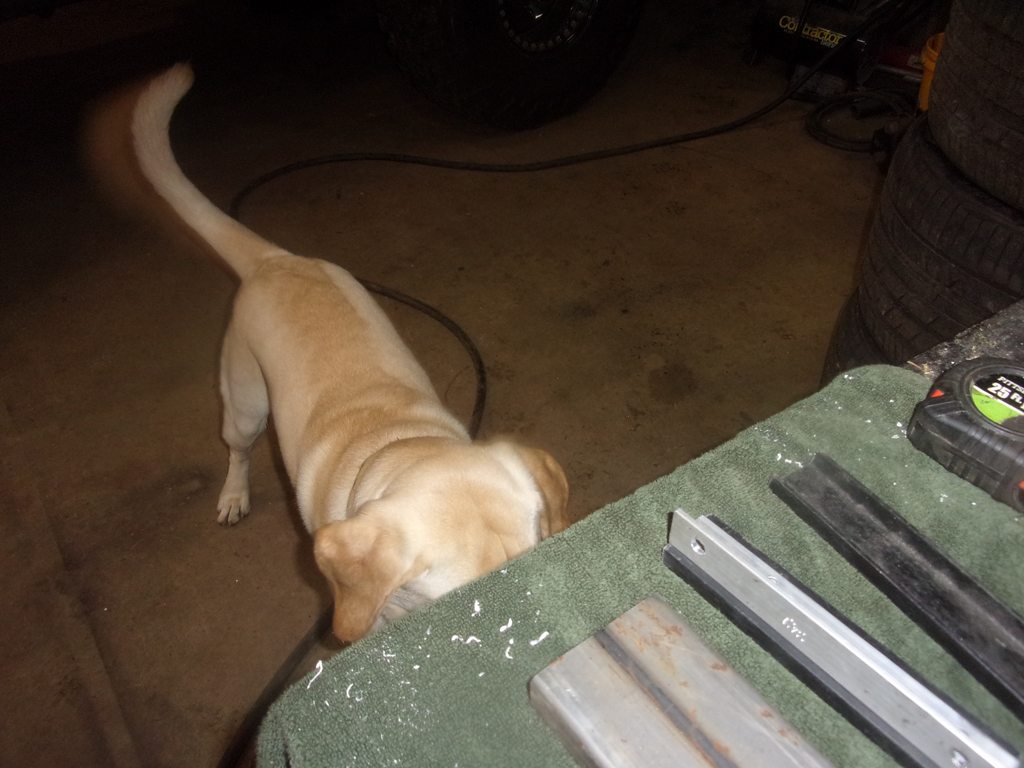
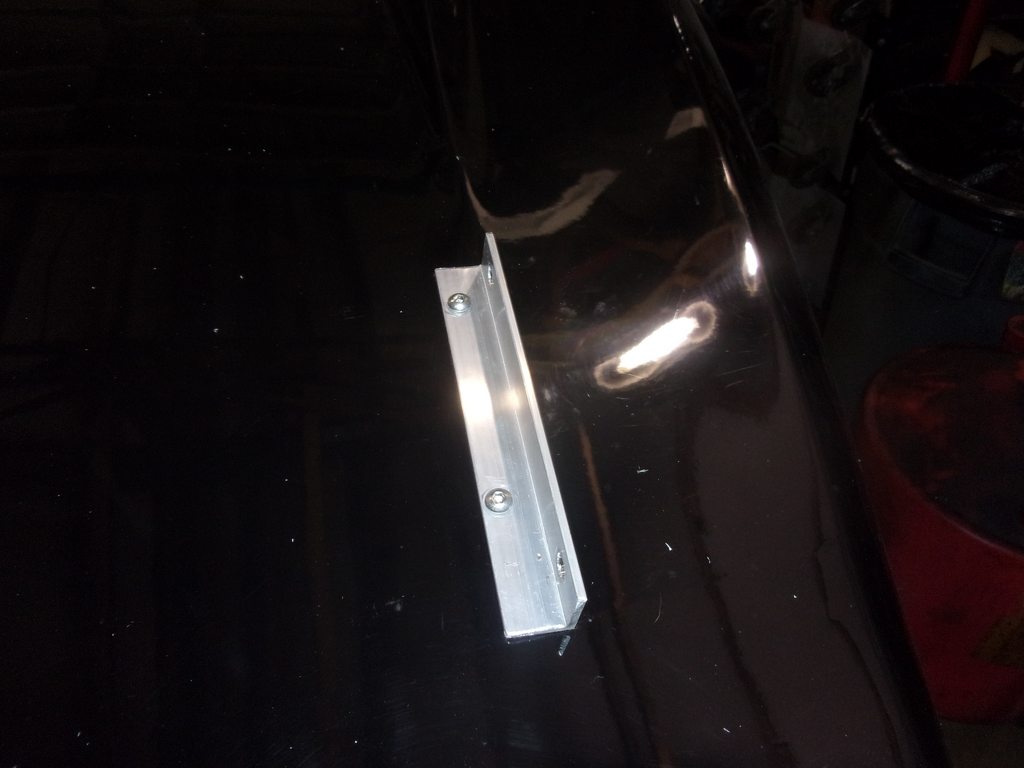
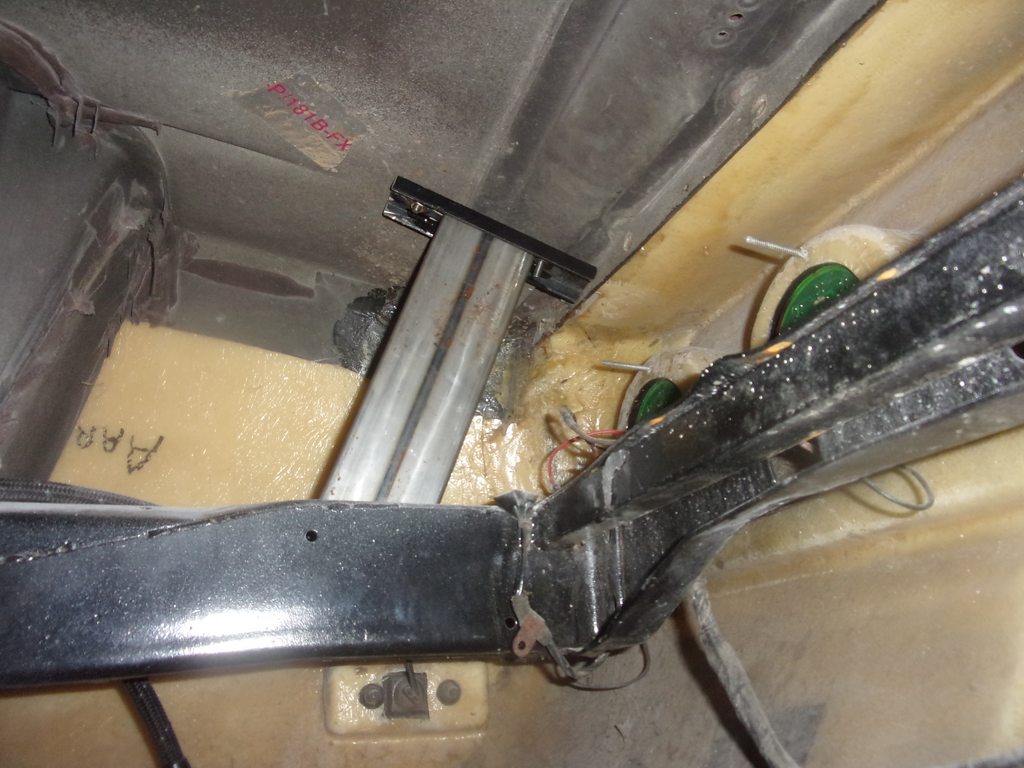
starting to lay out how the tank will be mounted

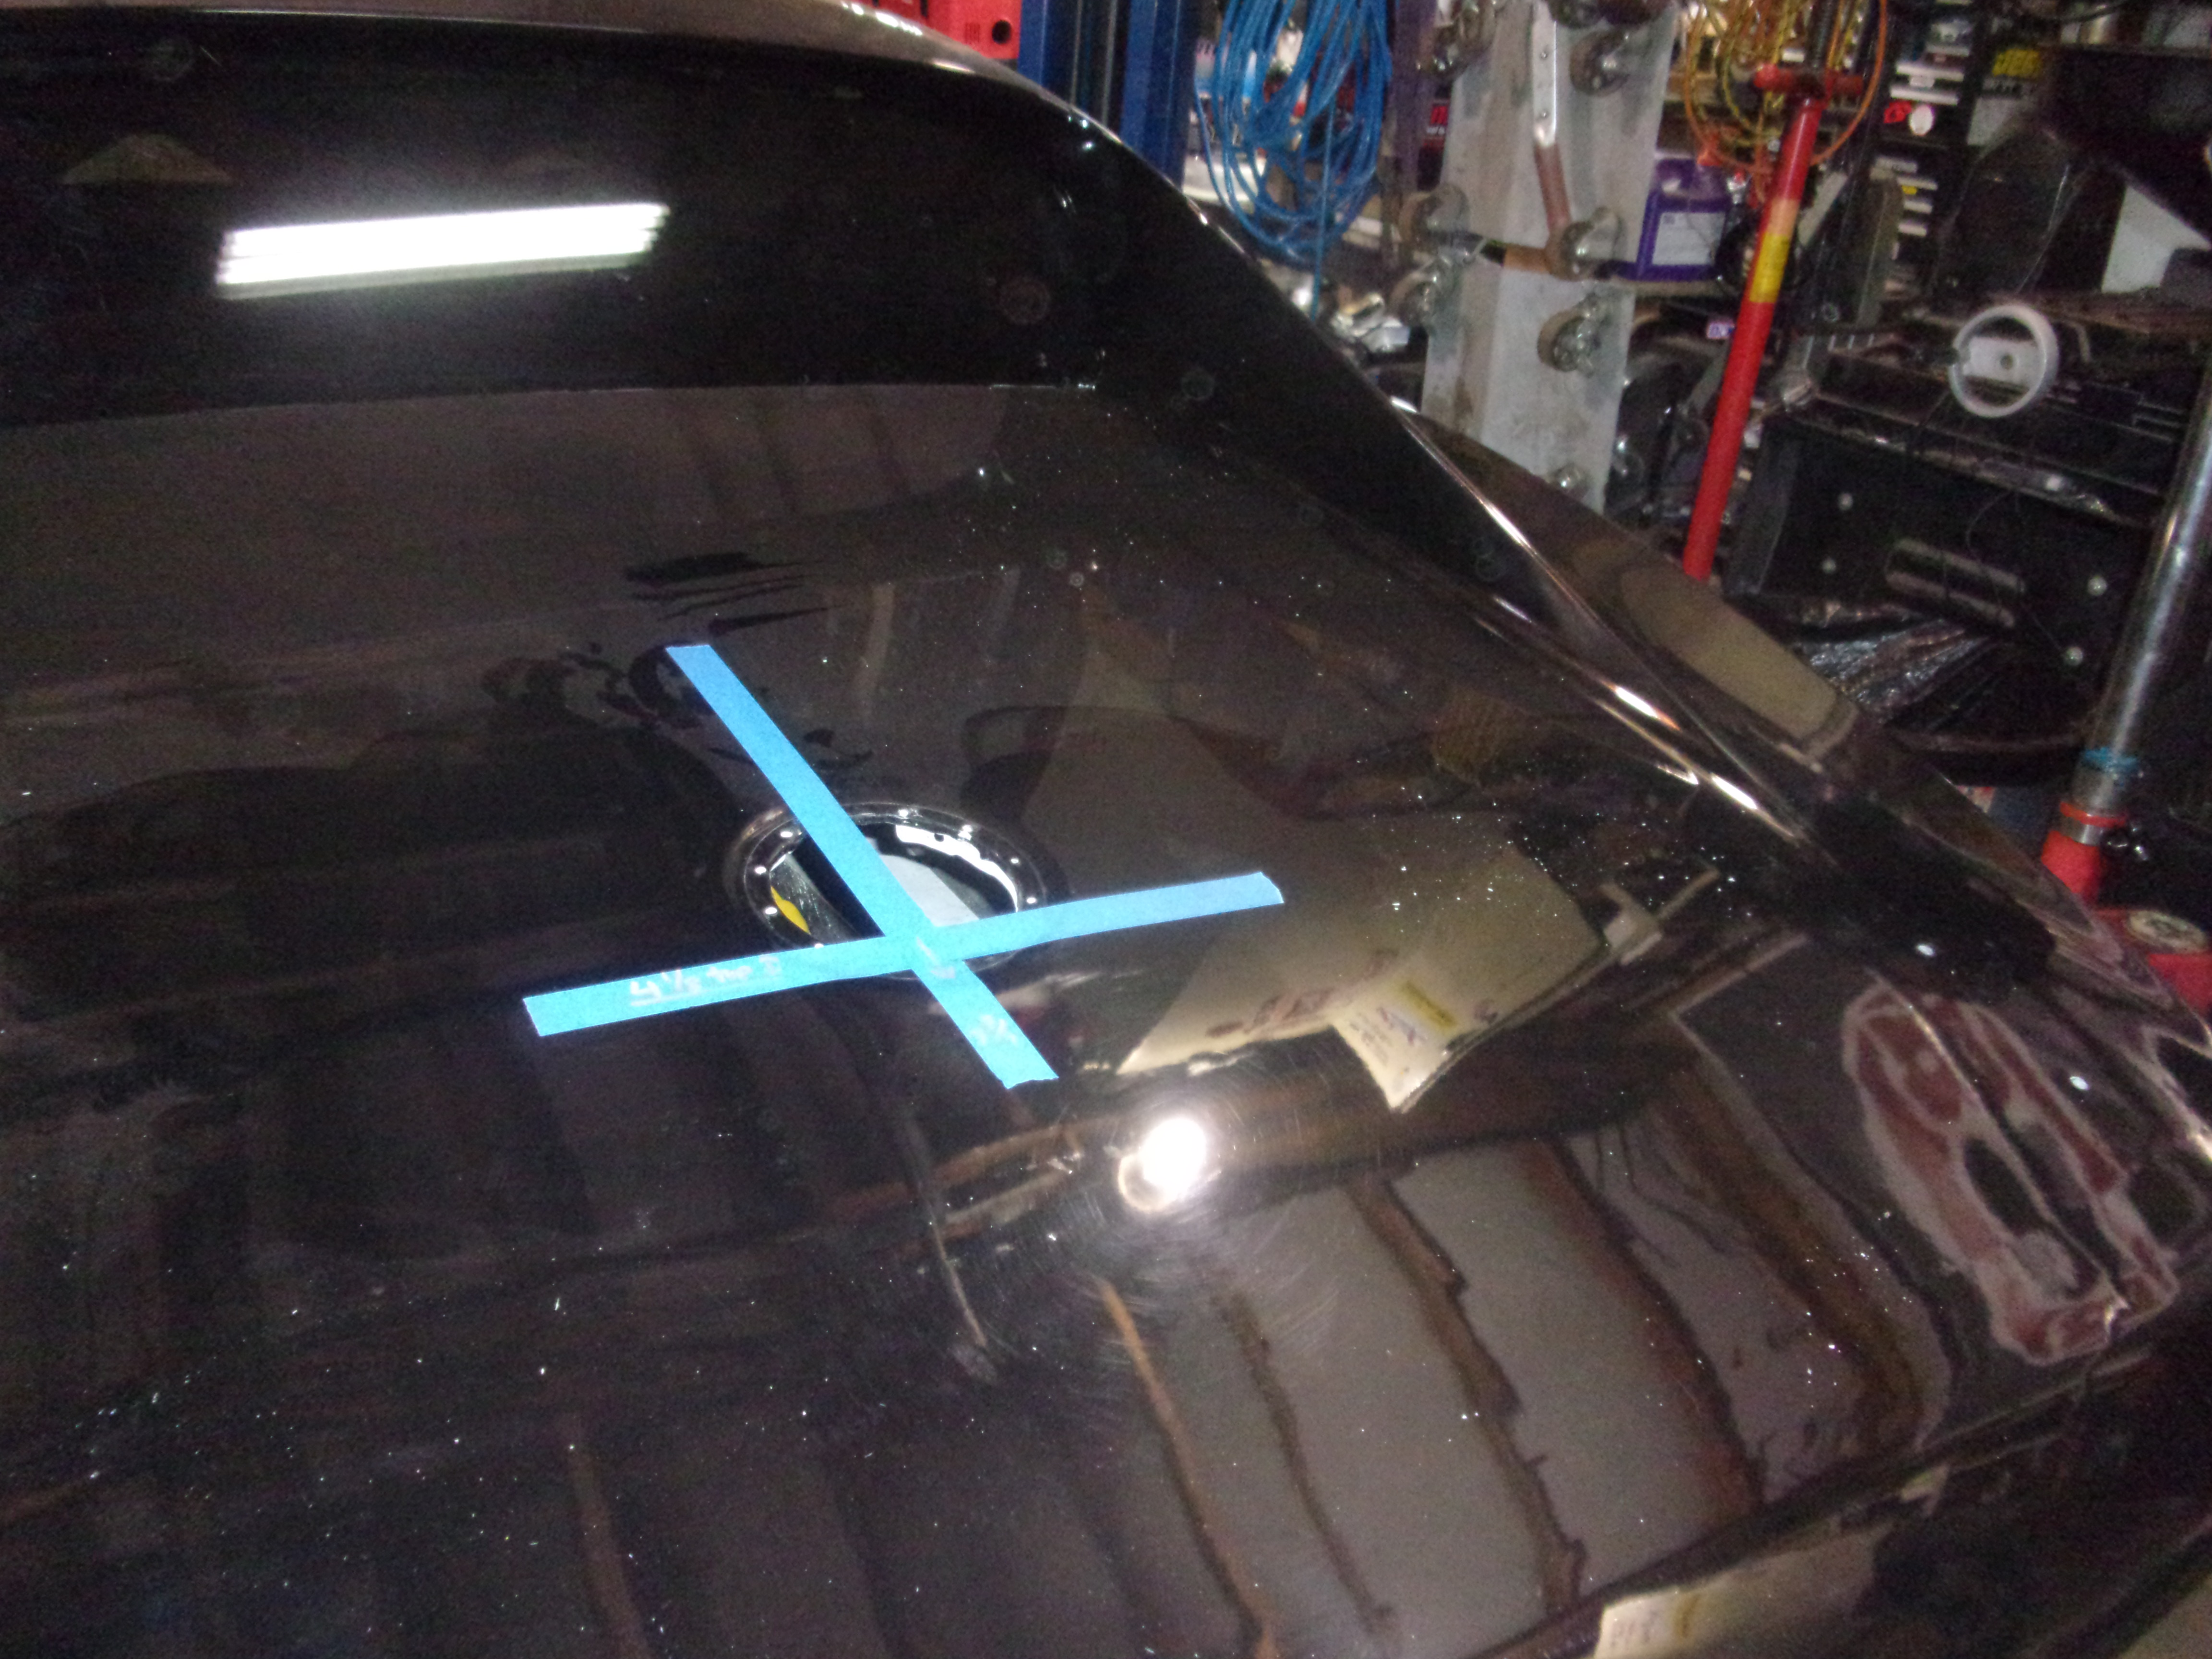
I also need to put an offset in the fill tube to line up with the gas cap (3 7/8 offset)


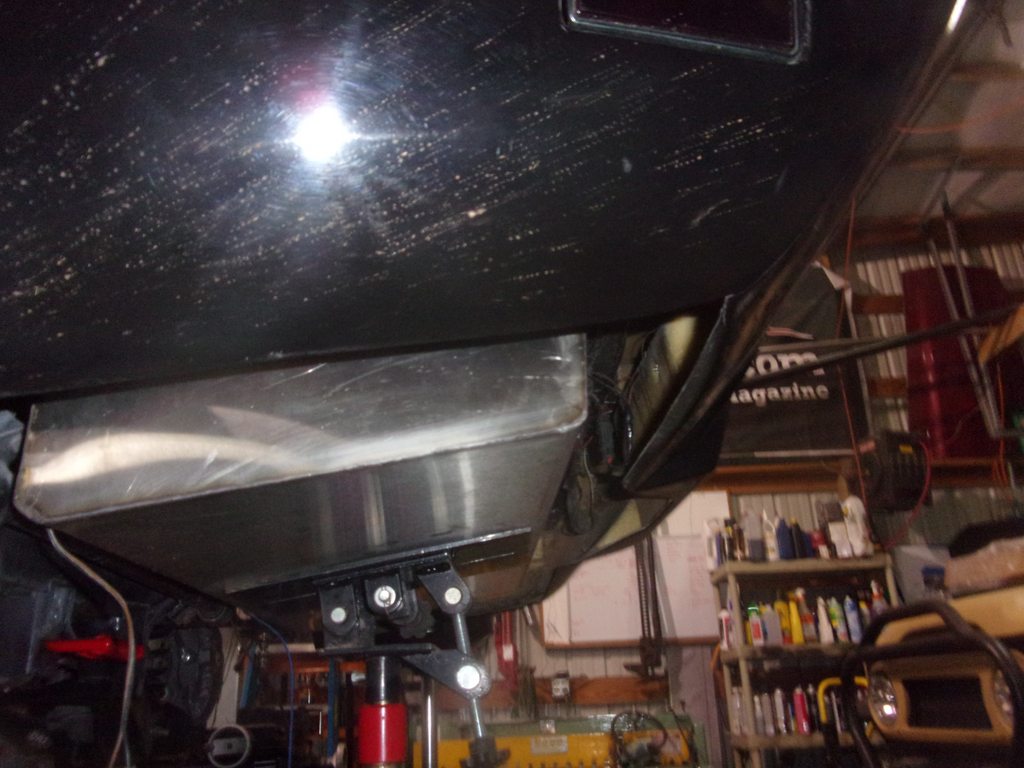
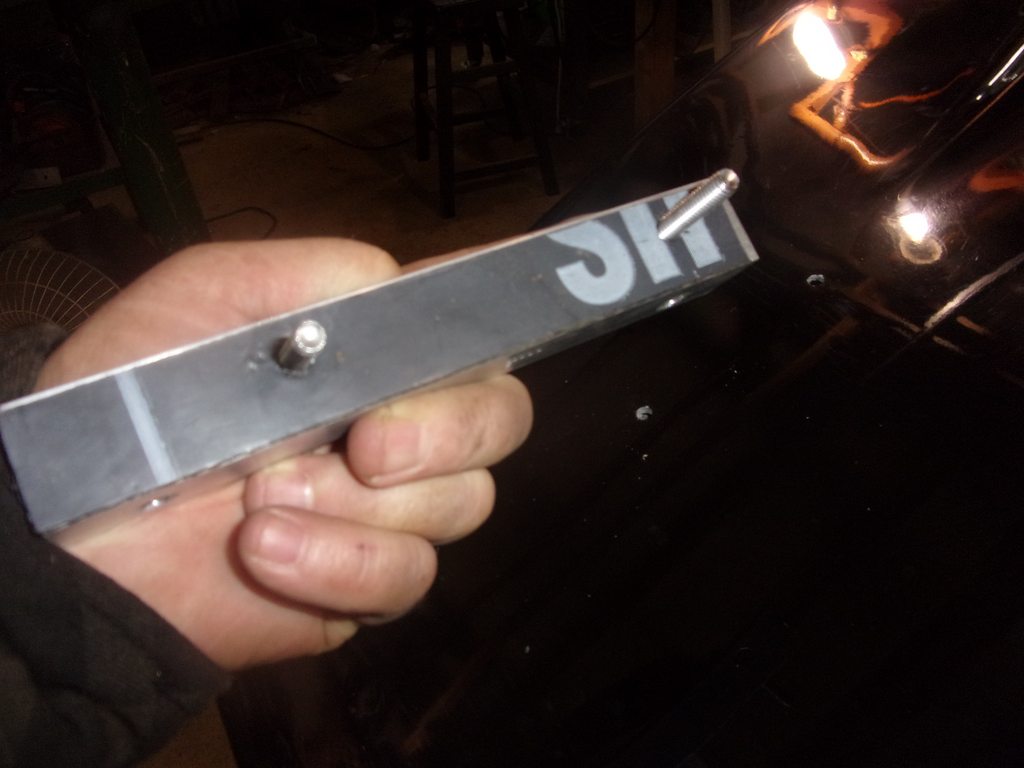
I also welded in the braces - brackets got a coat of paint so drying... bolts get here Friday
Reply With Quote
Reply

Thread Tools
Display Modes

Posting Rules
You may not post new threads
You may not post replies
You may not post attachments
You may not edit your posts

BB code is On
Smilies are On
[IMG] code is On
HTML code is Off

Forum Jump


All times are GMT -7. The time now is 09:53 AM.


Powered by vBulletin® Version 3.8.11
Copyright ©2000 - 2025, vBulletin Solutions Inc.
Copyright Lateral-g.net