...

Go Back   Lateral-g Forums > Lateral-G Open Discussions > Project Updates
User Name
Password


Reply
 
Thread Tools Display Modes
  #151  
Old 04-25-2014, 12:36 AM
Vince@Meanstreets's Avatar
Vince@Meanstreets Vince@Meanstreets is offline
Senior Member
 
Join Date: Nov 2004
Location: Bay Area, California
Posts: 5,532
Thanks: 13
Thanked 18 Times in 12 Posts
Default

what? you didn't get scalloped and drilled?
__________________
MEANSTREETS PERFORMANCE

Dealer for
ACCUAIR rideheight control systems
ENTROPY RADIATORS XXX radiators for your pro-touring vehicle
FORGELINE MOTORSPORTS Highline custom 3 piece wheels
WEGNER AUTOMOTIVE Custom engines and LSX drive systems
SPEEDTECH PERFORMANCE Bay Area stocking dealer

NEVER FORGET -11
Reply With Quote
  #152  
Old 04-25-2014, 12:46 AM
Flash68's Avatar
Flash68 Flash68 is offline
Moderator
 
Join Date: Sep 2005
Location: NorCal
Posts: 9,180
Thanks: 58
Thanked 158 Times in 104 Posts
Default

Quote:
Originally Posted by Vince@MSperfab View Post
what? you didn't get scalloped and drilled?
Drilled FTL.
__________________
2004 NASA AIX Mustang LS2 #14
1964 Lincoln Continental
2014 4 tap Keezer
Reply With Quote
  #153  
Old 05-04-2014, 08:21 PM
Damn True's Avatar
Damn True Damn True is offline
Senior Member
 
Join Date: Sep 2005
Location: San Jose, CA
Posts: 795
Thanks: 0
Thanked 0 Times in 0 Posts
Default

Quote:
Originally Posted by Vince@MSperfab View Post
what? you didn't get scalloped and drilled?
You and I have been on these forums a long time my friend.


Brake system assembly began today though somewhat truncated by an insidiously progressive "honey-do" list.

Two steps forward and one step back in the form of a wheel stud shoulder that is .020 bigger than the hole in the Wilwood hat.
Reply With Quote
  #154  
Old 05-05-2014, 06:03 AM
Ketzer's Avatar
Ketzer Ketzer is offline
Lateral-g Supporting Member
 
Join Date: Feb 2008
Location: Eads, TN.
Posts: 1,462
Thanks: 375
Thanked 177 Times in 117 Posts
Default

Quote:
Originally Posted by Damn True View Post
Two steps forward and one step back in the form of a wheel stud shoulder that is .020 bigger than the hole in the Wilwood hat.
Thank God somebody besides me has this kind of luck.... only twenty thou? Bigger hammer!


Jeff-
__________________
You remind me of the timing on a turbo engine...
Reply With Quote
  #155  
Old 05-05-2014, 09:21 AM
Vince@Meanstreets's Avatar
Vince@Meanstreets Vince@Meanstreets is offline
Senior Member
 
Join Date: Nov 2004
Location: Bay Area, California
Posts: 5,532
Thanks: 13
Thanked 18 Times in 12 Posts
Default

Quote:
Originally Posted by Ketzer View Post
Thank God somebody besides me has this kind of luck.... only twenty thou? Bigger hammer!


Jeff-
Good step drill will solve that.
__________________
MEANSTREETS PERFORMANCE

Dealer for
ACCUAIR rideheight control systems
ENTROPY RADIATORS XXX radiators for your pro-touring vehicle
FORGELINE MOTORSPORTS Highline custom 3 piece wheels
WEGNER AUTOMOTIVE Custom engines and LSX drive systems
SPEEDTECH PERFORMANCE Bay Area stocking dealer

NEVER FORGET -11
Reply With Quote
  #156  
Old 05-05-2014, 09:25 AM
Damn True's Avatar
Damn True Damn True is offline
Senior Member
 
Join Date: Sep 2005
Location: San Jose, CA
Posts: 795
Thanks: 0
Thanked 0 Times in 0 Posts
Default

Quote:
Originally Posted by Vince@MSperfab View Post
Good step drill will solve that.
Yep. I'll be making small holes into slightly bigger holes tonight.

Such is the challenge of systems integration.
Reply With Quote
  #157  
Old 05-05-2014, 09:27 AM
Damn True's Avatar
Damn True Damn True is offline
Senior Member
 
Join Date: Sep 2005
Location: San Jose, CA
Posts: 795
Thanks: 0
Thanked 0 Times in 0 Posts
Default

Quote:
Originally Posted by Ketzer View Post
Thank God somebody besides me has this kind of luck.... only twenty thou? Bigger hammer!


Jeff-
Yep, but it's enough to keep the hat from seating all the way down on the flange. The shoulder on the stud is ~.520 and the hole in the hat is .500 exactly.

The hats index to the ring on the flange so boring them out with a step-drill shouldn't cause a problem.
Reply With Quote
  #158  
Old 05-05-2014, 09:30 AM
Damn True's Avatar
Damn True Damn True is offline
Senior Member
 
Join Date: Sep 2005
Location: San Jose, CA
Posts: 795
Thanks: 0
Thanked 0 Times in 0 Posts
Default

Forgot to put the posts back that were lost in the server debacle, this and the next are from about 2wks ago...........

So the last substantive fabrication/welding task was to finish the install of the Lateral Dynamics 3-Link. I had the front x-member in before work stalled.


The remaining bits were installing the rear x-member, closing out the torque box, and installing the close-out panels/boxes to make room for the upper trailing arm.

Here's the rear x-member installed. I had it powder coated in a light gray. I hated to cover up Matt's welds, but the guy at the PC shop said a clear PC would discolor and look really lousy.


For some reason, I really enjoy doing those rosette welds. They're just kinda fun. As you can see, I had to put a doubler on the frame to take up the gap between the length of the x-member and the width of the frame. James had to pound his frame rails out to make his fit. Yeah late-60's manufacturing inconsistencies!

Here's the torque box closeouts. I hadn't finished grinding the welds down when I snapped the pic. Kathy was calling me to dinner.


Then I roughed in the trunk pan closeout and the doghouse that houses the upper link on the rear end housing.


Reply With Quote
  #159  
Old 05-05-2014, 09:30 AM
Damn True's Avatar
Damn True Damn True is offline
Senior Member
 
Join Date: Sep 2005
Location: San Jose, CA
Posts: 795
Thanks: 0
Thanked 0 Times in 0 Posts
Default

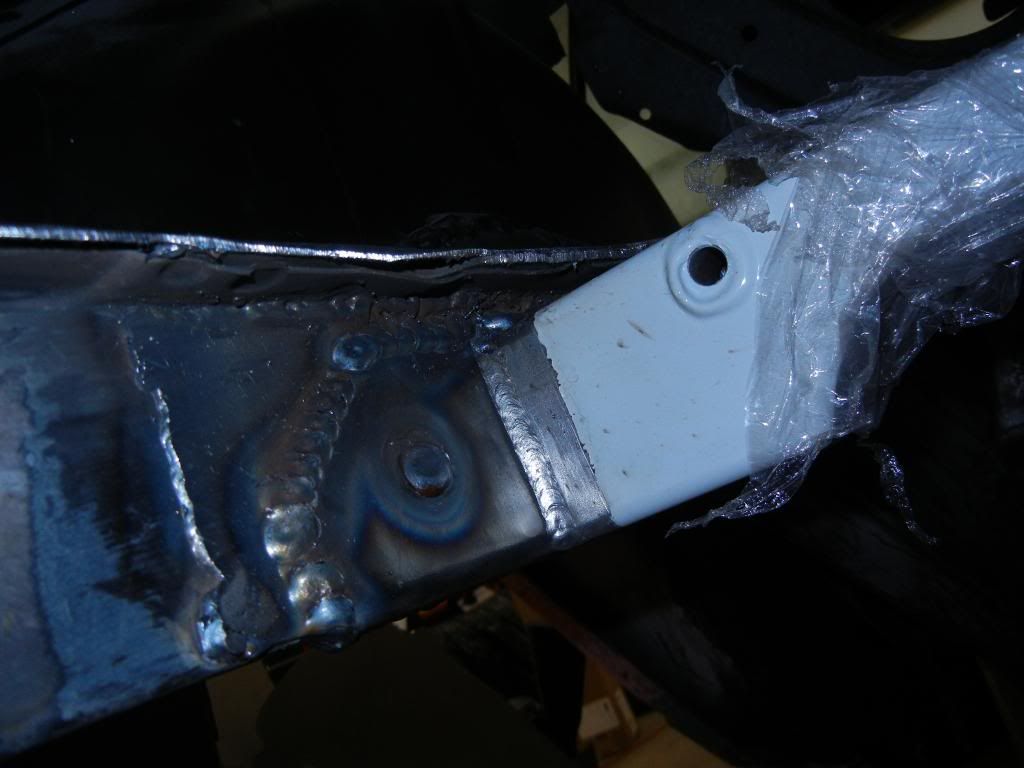
Next up was to figure out a reasonably clean way to close out the area above the tunnel where the upper trailing arm will reside. The part that came with the kit was ok, but I didn't like the area around the fwd upper trailing arm mount. It didn't fit tight enough to the mount to allow the hardware to be outside the doghouse, and it was too narrow to access it if you put it inside.

Noodled around a bunch of ideas, including what James did in cutting a tunnel out of another car (t-bird I think) and I looked at using a Harley FL front fender. Almost did that, but once I cut the rolled edges off the fender it was way too flimsy.

So, what I wound up doing is what you see below. Pretty simple. I just struck a template off the fwd edge of the upper trailing arm mount, transferred that to the end of that 6" wide sheet and put a gentle bend it it to land it on the top of the rear doghouse.


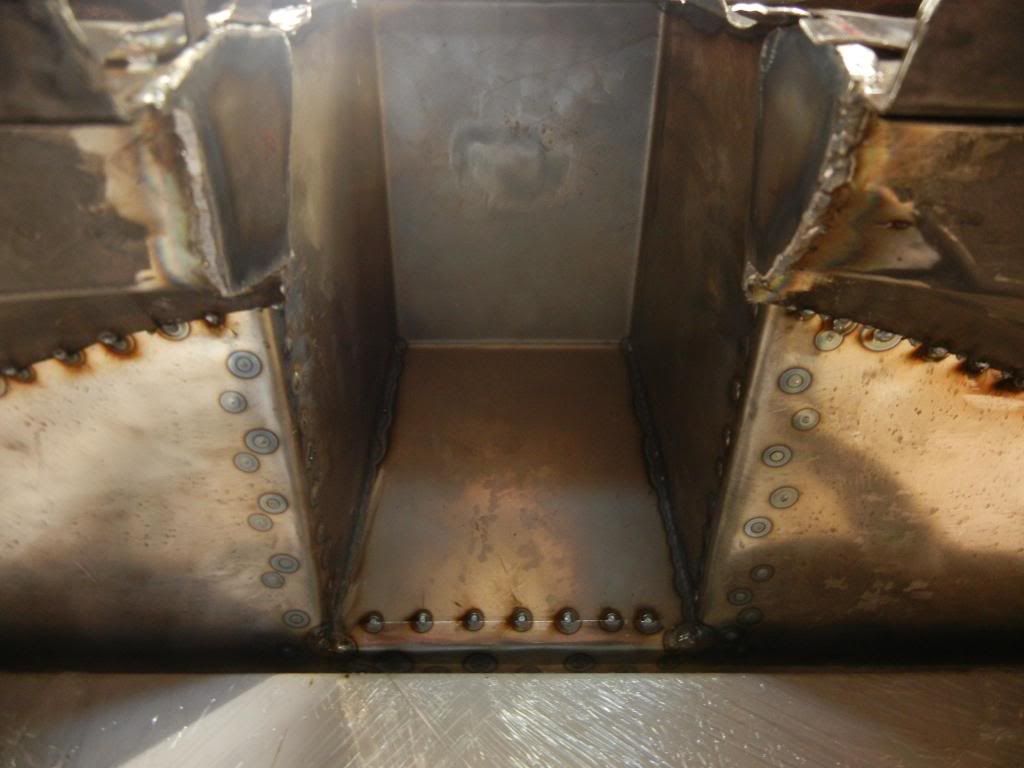
As you can see, the sides aren't symmetrical. Because neither is the tunnel so that made forming the sides a bit troublesome. This presented another, among many opportunities to discover that my wife is much smarter than I am.

So I'm kneeling inside the cabin of the car, whittling away at a sheet of poster board trying to make a template that matches the nutty bunch of contours from the fwd x-member all along the pan/tunnel, and up onto the fwd face of the rear doghouse. Cut-curse-mark-cut-curse-mark-cut-curse-mark.... So Kathy pokes her head into the car and says "why don't you use a piece of wire and bend it to all those contours and then transfer that to the posterboard?"

In less time than I'd expended nibbling away at the paper, I drove to Lowes, bought 8' of solid core copper ground wire (a bit larger dia than coat hanger wire but more pliable, I forget what gauge) bent it, transferred it to paper and it fit pretty close to perfect.


So there is the part tacked in place at the top & bottom, you can see a bit of light peeking in the gap, but it's tiny. A few nudges with a body hammer from beneath closed those up tight. BTW, the gizmo to the right is a "Gorilla Torch", it's made by a company called JOBY. The legs articulate and will wrap around almost anything and the feet are magnetic so it can be placed just about anywhere. Comes in really handy when there isn't enough ambient light to see what you are doing through the auto-darkening shield. Especially when welding under the car as you can focus the beam right where you are trying to weld allowing to to see perfectly before beginning the weld.

Quite a bit of yoga required to weld that part in, but despite that I was able to do some ok work.


Adequate given my meager skill set and experience.

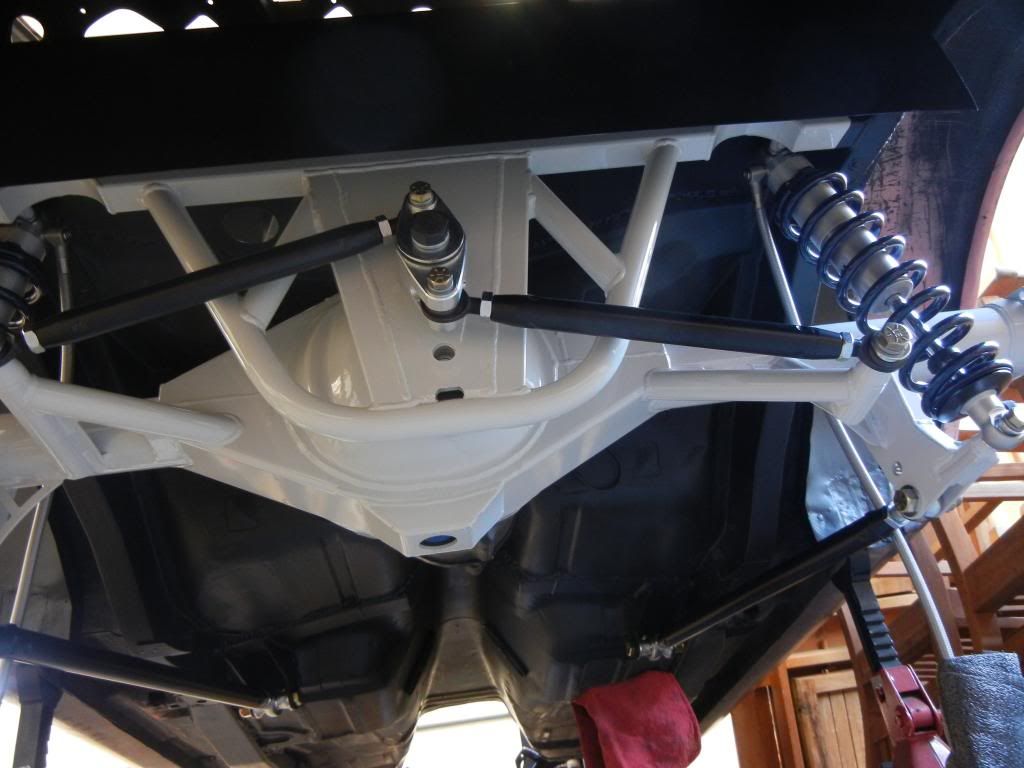
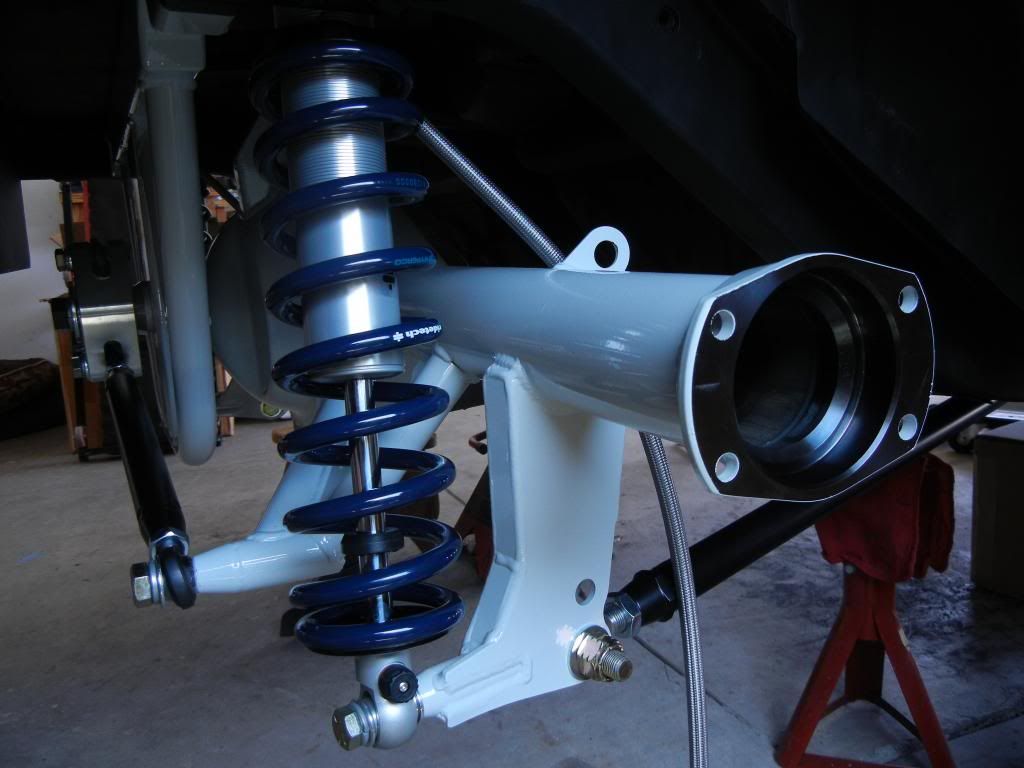
So. Up next is front suspension install (v2.0) and assembly of the rear end housing......
Reply With Quote
  #160  
Old 05-05-2014, 05:27 PM
Damn True's Avatar
Damn True Damn True is offline
Senior Member
 
Join Date: Sep 2005
Location: San Jose, CA
Posts: 795
Thanks: 0
Thanked 0 Times in 0 Posts
Default

In this update I'm wrapping up (blessedly) the rear suspension install.

If you've not been following along, this is the Lateral Dynamics 3-Link System. Sadly, the company went out of business a few years ago so here's hoping nothing ever goes wrong with this damn thing or I'm hosed.

It's a really nicely designed system though. In use on James Shipka's "One Lap Camaro"

https://www.youtube.com/watch?v=0T8y_Q5RKcw

....and Yancy John's (former owner Steve Rupp) "Bad Penny" Camaro.


http://youtu.be/Ay2w0OGDRpQ?t=34s

Both tuned by David and Mary Pozzi and both work spectacularly well. There aren't many of these kits in existence, Mike Kelcy recently got his on the road and that is all the ones that belong to folks I know.

Matt Rogers did all the fabrication on these and I'll be damned if I've ever seen better fitment and welding. Broke my heart to cover it up in powder coating.


As you can see, I had the housing powder coated in a light gray to aid in spotting any leaks or cracks down the road. The 3rd member is a Strange (iron) 9" with 3.70 gears and a Detroit TrueTrac diff. Should be plenty stout.

The hardware in the system is all really top notch as well. I sure wish the manufacturer was still around, I'd love to have a list of the rod end sources and PN's for replacements if needed.


The install of this system was the most challenging part of the build thus far. I went into it with my eyes wide open on that and thanks in large part to Matt, David Pozzi and James Shipka I got through it. Here's hoping the performance potential of this system over some of the more "plug-n-play" bolt in kits makes it worth it.


As you can probably tell, the rear alignment is way off. Not worried about that right now. But I'll get it in the ballpark before it rolls out of the garage at the end of this month.


Next update with pics will cover the front suspension and shocks.....
Reply With Quote
Reply


Posting Rules
You may not post new threads
You may not post replies
You may not post attachments
You may not edit your posts

BB code is On
Smilies are On
[IMG] code is On
HTML code is Off

Forum Jump


All times are GMT -7. The time now is 06:06 PM.


Powered by vBulletin® Version 3.8.11
Copyright ©2000 - 2025, vBulletin Solutions Inc.
Copyright Lateral-g.net