Quote:
Originally Posted by SSLance

I can see the grin on your face from here... 

I bet you all had a blast! Love running right with other cars and drivers of similar speed, especially in an old sh**box... lol... |
It was awesome and yes, that grin was on there all day long =)
Quote:
Originally Posted by Flash68
Given em the bidness!! That's gotta be a lot of fun....
|
It is. Mostly because nobody expects it. Been spending a lot of time in the drivers seat, that is making huge improvements too.
Quote:
Originally Posted by rustomatic
It's a small part of the puzzle, but the impact is comparatively large: the Ferrari point-by. There's that and running with a supercharged C7.
Old beige Volvo box, MFR's!
This reminds me of a funny 1320 Video episode that included a very similar (in body, anyway + turbo LS) car called Mother____er Jones. I won't bother trying to insert it here (one can search YouTube), but the experience is excellent for all . . .
Good work, sir!
On the topic of pressurizing the fuel tank (especially in heat and with enthusiastic driving/Wally 450 pressures) the Falcon has always had some problem of this type, with both Ferd and LS engines. My latest attempt at relieving the dumb thing's pressure is a -8 rollover valve which is then plumbed to an old eBay catch can I've had forever. Here's hoping for less nasty in the trunk-ish area of the car.
|
Thanks dude, I am getting there. The more people I talk with about this the more I hear about fuel issues. I am seriously considering your catch can idea in the trunk as well. It seems like a solid approach, something that I could empty after each run if there was any fuel in it. Also trying to figure out how I could hook up a charcoal canister on the vent line and too engine vacuum without a Solenoid valve in there. Not sure if it just gets plumbed to engine vacuum or what.
Quote:
Originally Posted by scrubby2009
BS. Been following since your first truck build. Shared it with my now 15 year old son, we check in and don't comment, but we're fans, we're inspired and we'd miss it if the updates stopped. Carry on..
|
Thanks man!! Its great to hear that people are still reading it. Ill keep the updates coming.
Spent most of last week getting some tunes in this pig.
Aside from 1 bad speaker its turned out very nice.
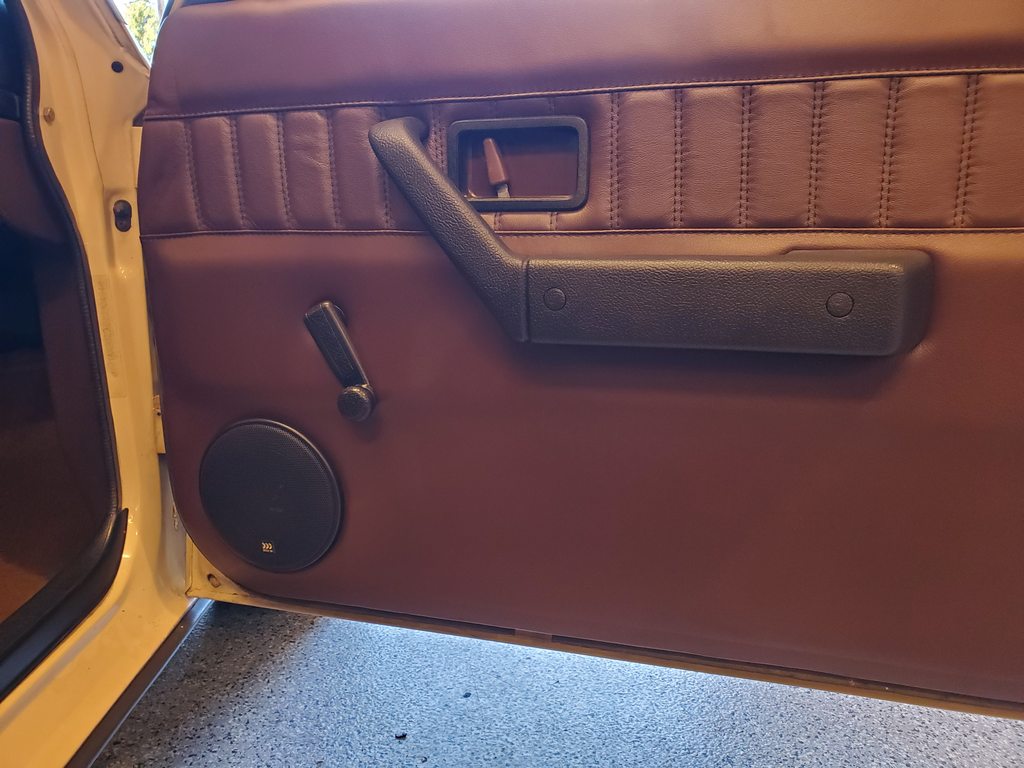
This was very tough, locating everything getting the holes cut in the sheetmetal to line up with the new hole in the door card. Also missing the lower trim piece on the door sill and the crank for the windows. I had this location picked out a long time ago, as I wanted some additional holding power on the door panels. So these are drilled into the sheetmetal with full length screws.
These are Audison 5x front speakers with Morel grilles on them (Better looking and fit the look and feel I was going for on the door panels)

The plan was to keep this simple looking from the onlooker. So instead of a traditional head unit I went for this setup. This is an Audison DRC, its a direct input into the Bit Ten from Audison and is a really cool, small and light piece. It took a little work with the dremel on the ashtray to make it fit but it fits pretty good. Not sure its the final placement but moving it is super easy.
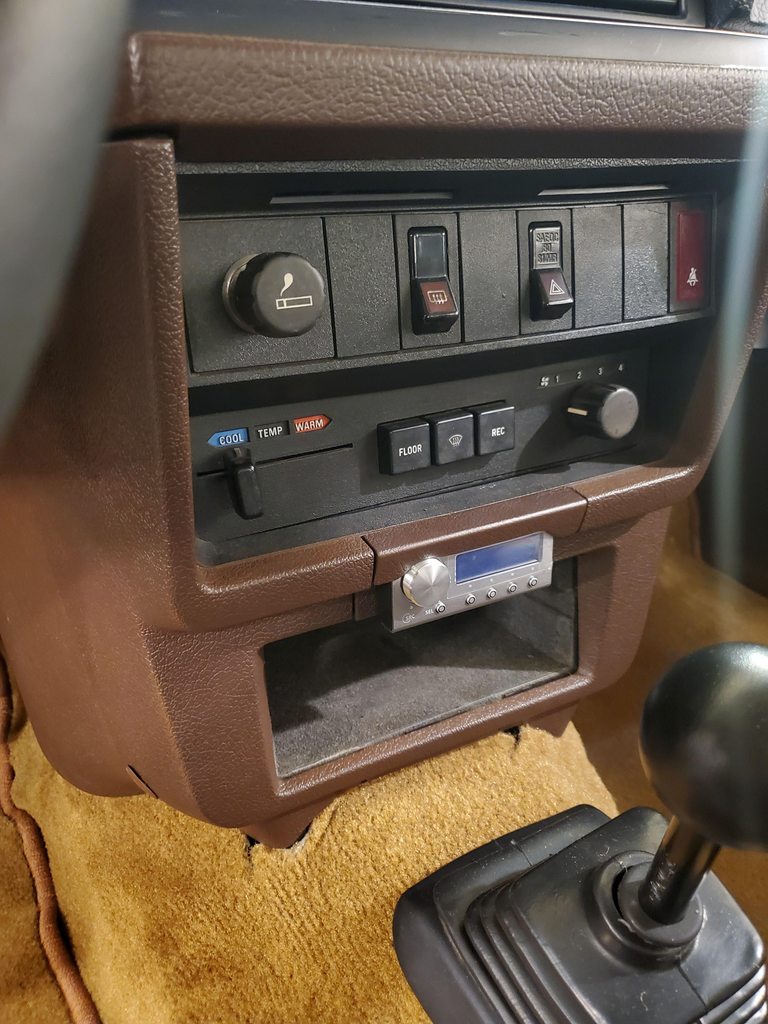
This runs to the Bit Ten in the passenger kick panel and has lots of great functions, I am running it all on bluetooth input so my phone controls all of the music to it. Its a fully progrmable device, Digital EQ, crossover, staging with 5 pre outs to amps. I have software on my laptop and program the Bit Ten from that via a cable. Its amazing what you can do with this piece.
I installed an AD 400.4 amp with the rear channel Bridged for a super simple setup. Amp is under the passenger seat and that gave me great places to run the cables as I have ditched the rear seat air passages.


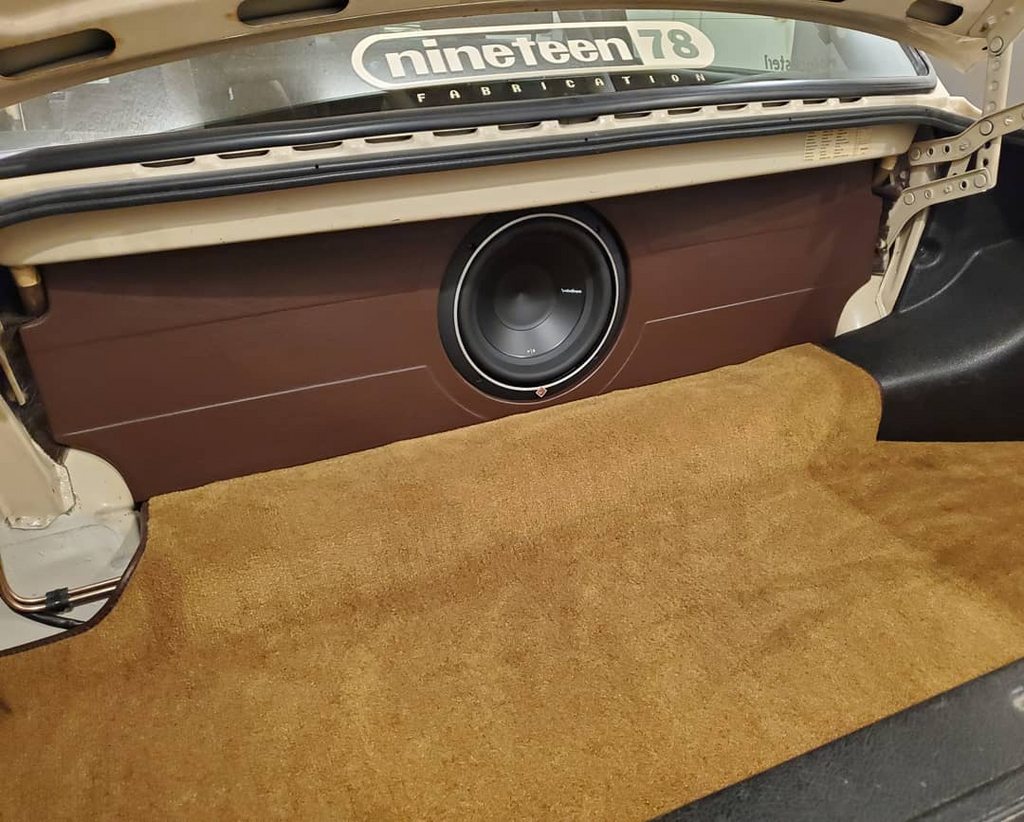
Sub is a singe Fosgate Punch P2 DVC sub, single 4 ohm load how I have it wired in.
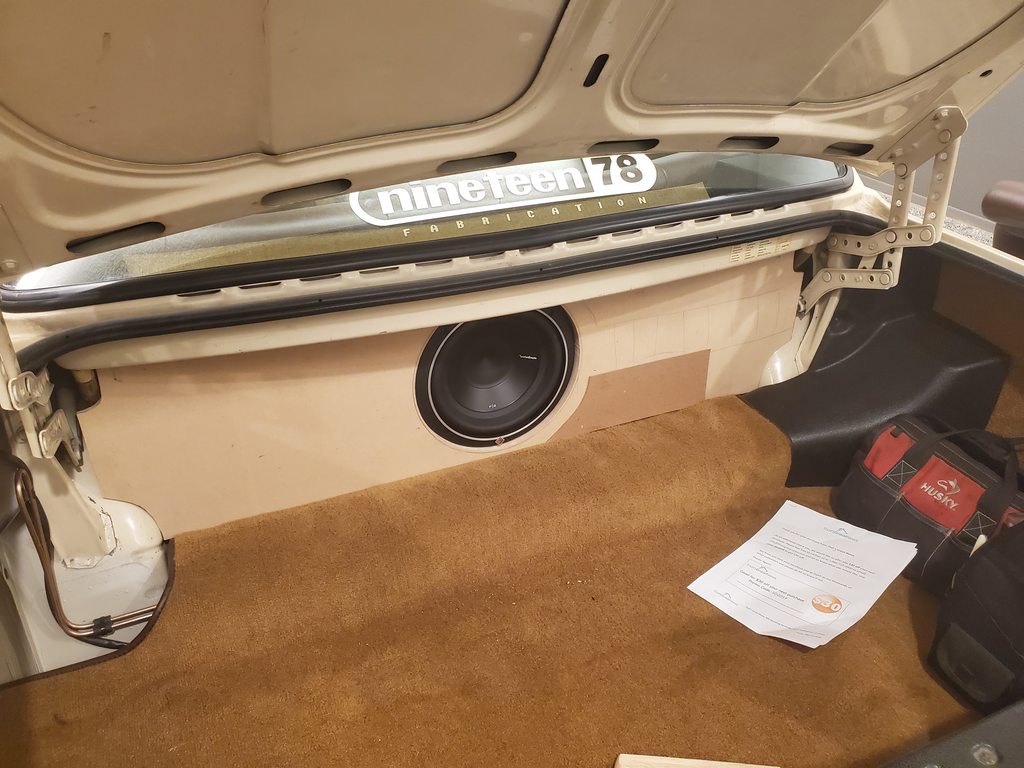
We built the sub enclosure to fit tight between the down bars of the cage and tight to the floor to rear deck height. I covered the front in leather, then built a cover panel for the rear area to finish it off.
I initially was just going to cover it but it was way to flat and boring, needed some detail so I thought on it overnight and got up at 5 (I am a terrible sleeper) and threw this together.

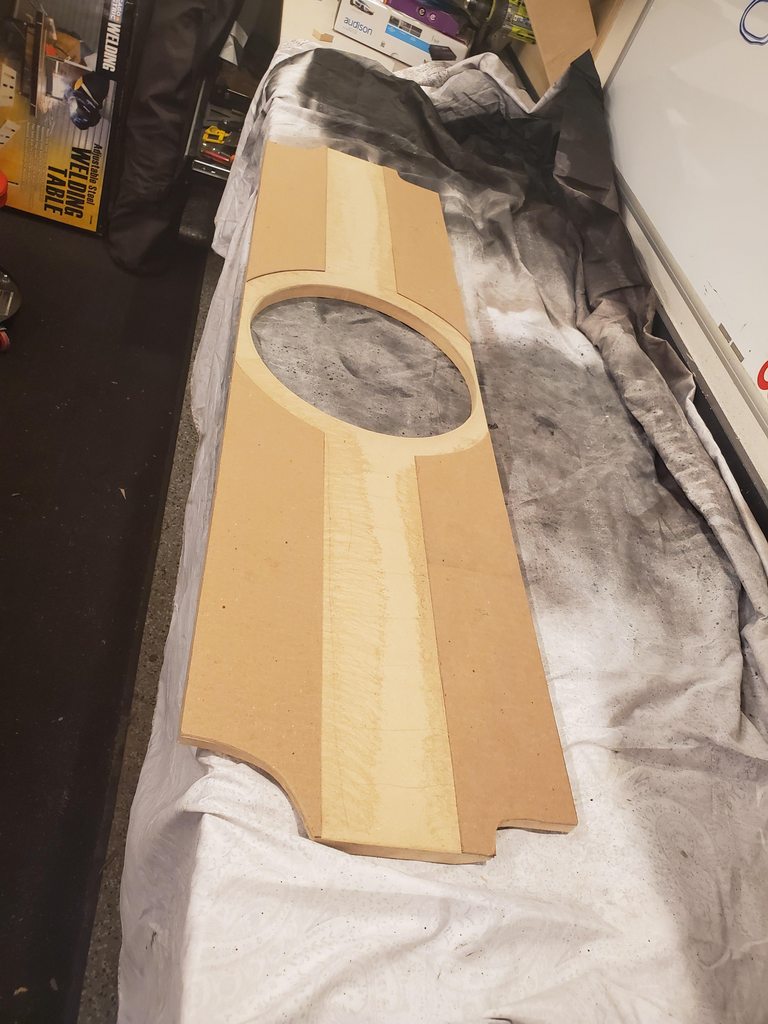
Its super simple, but made a little more detail on the panel to make it look like something.
The finished product. I used a small fox tail broom, cut in half and used the bristles mounted on the back of this panel to finish off the ends where the trunk hinges go. They are brown and blend right in.
Took the car out for a nice 100 mile drive yesterday morning. Kept tuning on the stereo and I have to say for just 2 5" speakers and a 10" sub it sounds amazing.
Car is pretty damn good. Drives great, cruises down the freeway at any speed you want to go very nice. 1600 RPM at 70 mph is ridiculous. Hauls ass on the road course and autocross.
This weeks project is to fix my god awful fuel system......
Sean


 Brian Hobaugh SCCA National Tour June 2014
 First Hemi 'Cuda Convertible Ever Built
 Short clips: Goodguys Pleasanton autocross and pit videos


 Hybrid Mode
