...

Go Back   Lateral-g Forums > Lateral-G Open Discussions > Project Updates
User Name
Password


Reply
 
Thread Tools Display Modes
  #91  
Old 07-14-2014, 01:37 PM
sleepertime's Avatar
sleepertime sleepertime is offline
Lateral-g Supporting Member
 
Join Date: Apr 2011
Location: Texas
Posts: 247
Thanks: 2
Thanked 29 Times in 17 Posts
Post Lizard skin application...

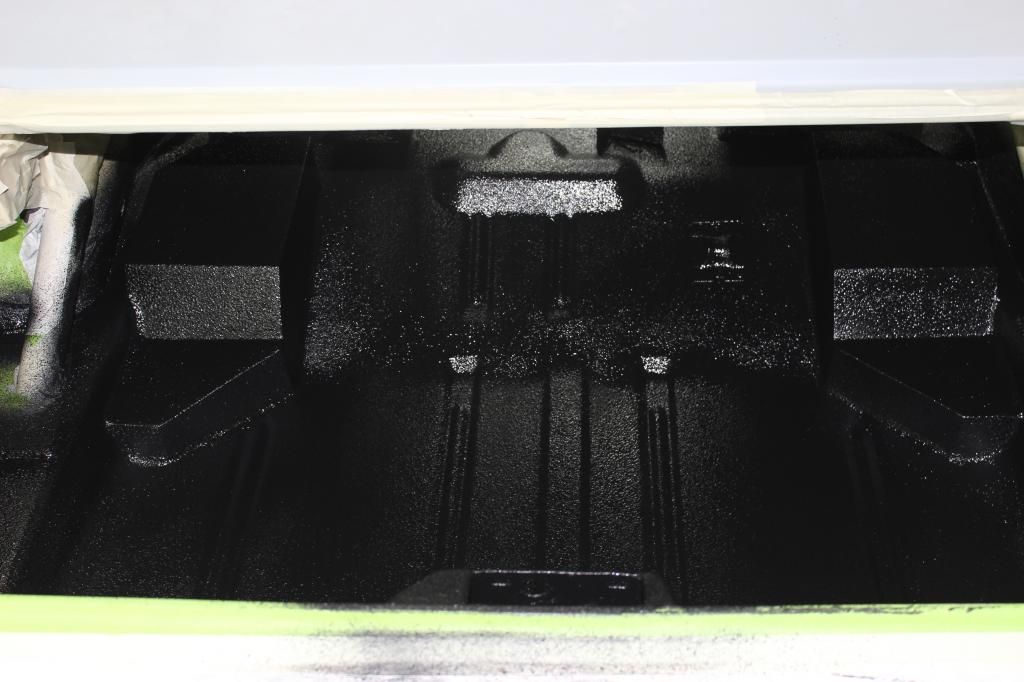
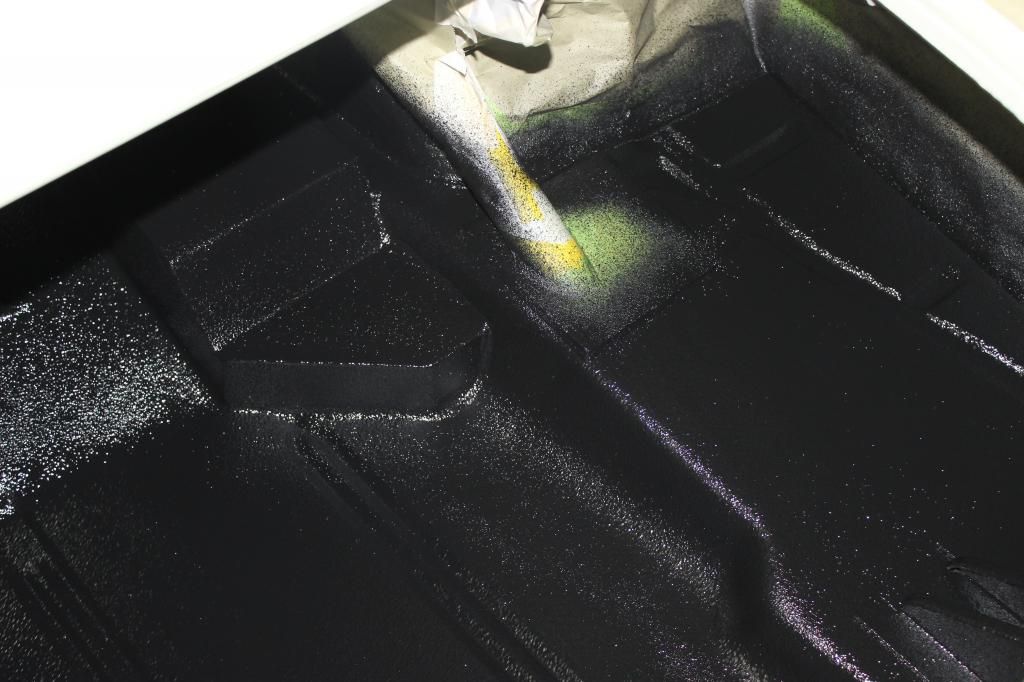
Easy way to remember is that it is black and white.
Black container is the sound control, the white container is the ceramic temp control.
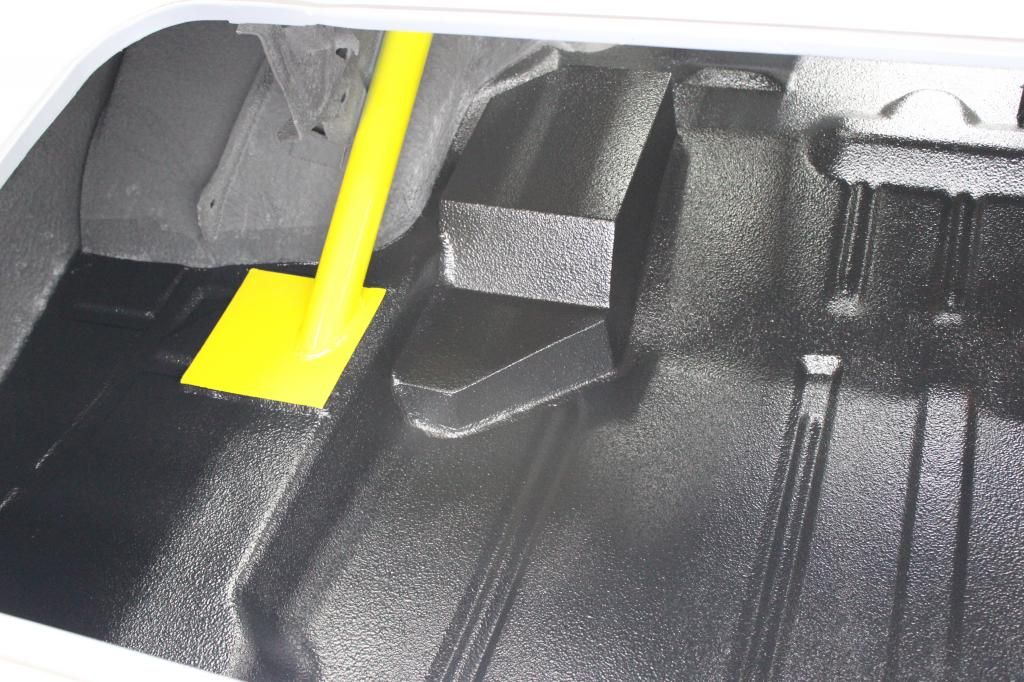
Both products spray out about the same color. The black is sprayed first.

__________________
My build BRNAGN 1969 camaro SS
Reply With Quote
  #92  
Old 07-15-2014, 12:26 PM
sleepertime's Avatar
sleepertime sleepertime is offline
Lateral-g Supporting Member
 
Join Date: Apr 2011
Location: Texas
Posts: 247
Thanks: 2
Thanked 29 Times in 17 Posts
Smile UPOL Raptor liner application in the trunk area...

Mark another thing off of the to do list.

I spayed the UPOL Raptor liner in the trunk area.

I really like the way it turned out. It should be plenty functional...


__________________
My build BRNAGN 1969 camaro SS
Reply With Quote
  #93  
Old 07-18-2014, 10:37 AM
HBRod HBRod is offline
Senior Member
 
Join Date: Jun 2014
Posts: 108
Thanks: 0
Thanked 0 Times in 0 Posts
Default Great preparation for a cool project

If possible, can you PM me the approx. cost of doing the Lizard Skin. Working on my planned build and doing a cost estimation before starting and would like to plug in numbers for doing the Lizard Skin like you did. I talked with the paint manager of the series "Wrecks to Riches" about the product and he was very enthusiastic about the product. Said that it worked better for them (and faster) than the mat deadener and he'd do it again in a minute. Just want to know a ball park number, not an exact figure. One suggestion that I was told was to also apply the ceramic to the underside of the car where the exhaust pipes were to be routed to further reduce heat transfer through the floor/trunk.

Thanks,
Rod
Reply With Quote
  #94  
Old 08-02-2014, 12:58 PM
sleepertime's Avatar
sleepertime sleepertime is offline
Lateral-g Supporting Member
 
Join Date: Apr 2011
Location: Texas
Posts: 247
Thanks: 2
Thanked 29 Times in 17 Posts
Smile Moving on with progress...

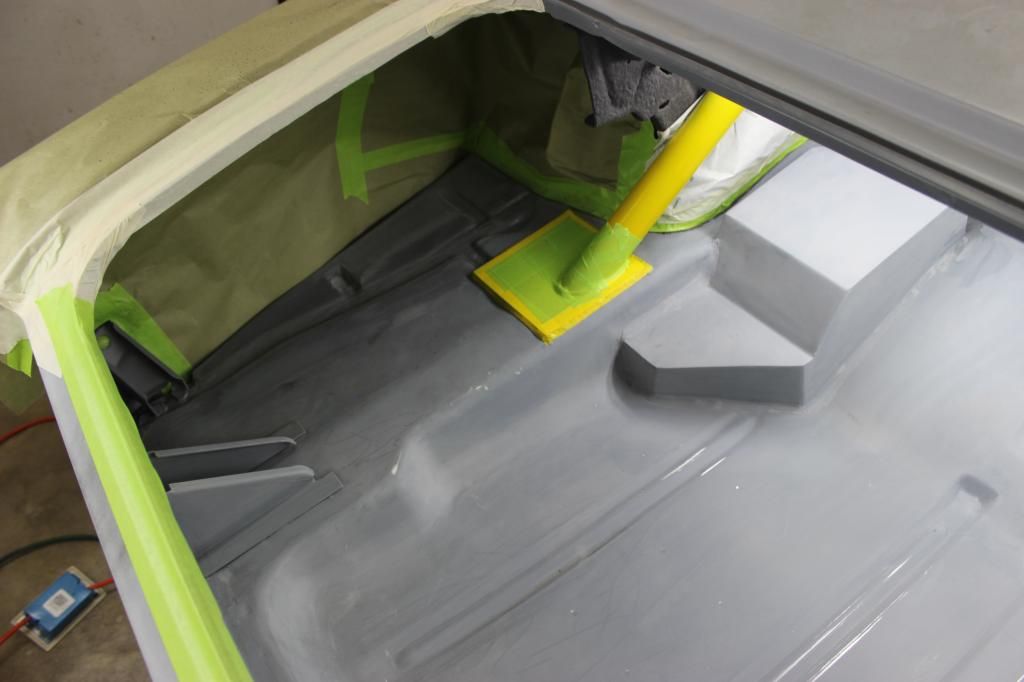
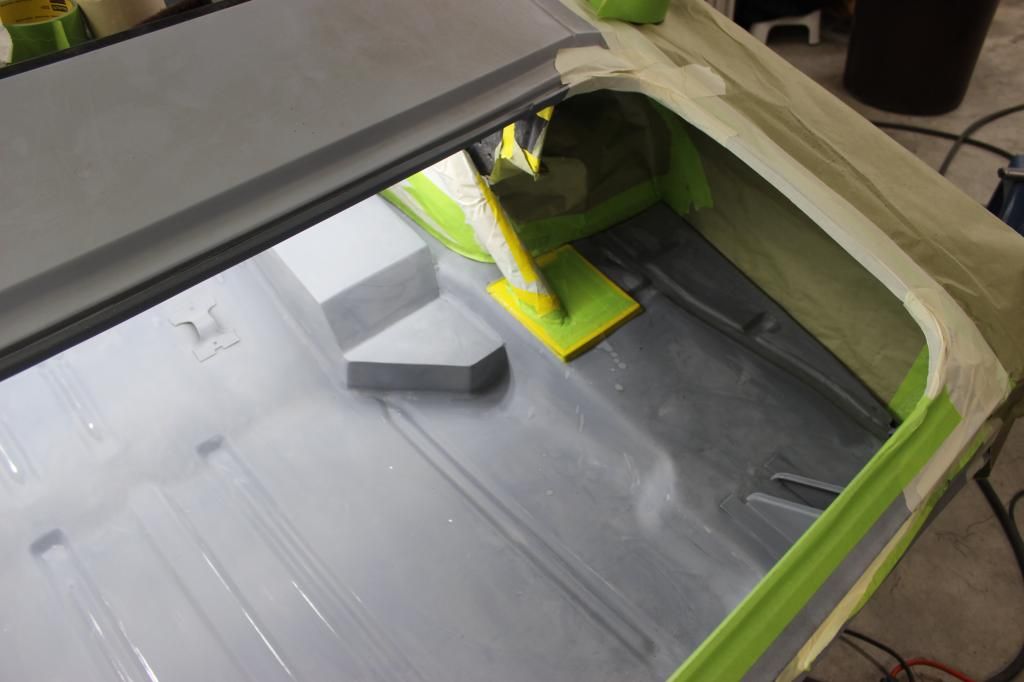
After much internal debate I decided to spray the jamb area's around the hinges before paint so that I would insure the best possible coverage.
I used the reduced epoxy primer (PPG DP48LF) as a sealer before the color.

It's a lot of work and probably overkill but oh well...


__________________
My build BRNAGN 1969 camaro SS
Reply With Quote
  #95  
Old 08-02-2014, 02:30 PM
HBRod HBRod is offline
Senior Member
 
Join Date: Jun 2014
Posts: 108
Thanks: 0
Thanked 0 Times in 0 Posts
Default

Wow, that's a bright yellow. Makes a statement. I have zero body skills so watching this portion intently to learn what I can. Did your door hinges need rebuilding? Curious as most of the '69's I'm looking at have really tired hinges that need rebuilding. Looks to me like you are making good steady progress. Will be tracking this as I really want to see how this all turns out in the end. I love watching builds where the person spends time on the foundation before adding the go fast or bling parts. I think the car ends up being one that's been built to last.

Rod
Reply With Quote
  #96  
Old 08-02-2014, 02:47 PM
sleepertime's Avatar
sleepertime sleepertime is offline
Lateral-g Supporting Member
 
Join Date: Apr 2011
Location: Texas
Posts: 247
Thanks: 2
Thanked 29 Times in 17 Posts
Smile

Thanks,
We ended up rebuilding the original hinges with kits.

__________________
My build BRNAGN 1969 camaro SS
Reply With Quote
  #97  
Old 08-02-2014, 04:34 PM
Efi69Cam Efi69Cam is offline
Senior Member
 
Join Date: Jan 2006
Posts: 196
Thanks: 4
Thanked 0 Times in 0 Posts
Default

Quote:
Originally Posted by sleepertime View Post
Thanks,
We ended up rebuilding the original hinges with kits.


That's the way to go imo. I bought repro uppers and could not get the door to align right. Rebuild the stock and it lined up quickly.
Reply With Quote
  #98  
Old 08-02-2014, 05:27 PM
tubbed69's Avatar
tubbed69 tubbed69 is offline
Lateral-g Supporting Member
 
Join Date: May 2010
Posts: 2,133
Thanks: 8
Thanked 42 Times in 36 Posts
Default

Great work with the prep and paint,looks very good
Reply With Quote
  #99  
Old 08-02-2014, 06:27 PM
sleepertime's Avatar
sleepertime sleepertime is offline
Lateral-g Supporting Member
 
Join Date: Apr 2011
Location: Texas
Posts: 247
Thanks: 2
Thanked 29 Times in 17 Posts
Smile


Thanks, It feels good getting to the stage of the project when things start going on for good...


__________________
My build BRNAGN 1969 camaro SS
Reply With Quote
  #100  
Old 08-03-2014, 07:21 AM
Sonar Chief's Avatar
Sonar Chief Sonar Chief is offline
Senior Member
 
Join Date: Dec 2011
Location: Greater Denver area
Posts: 1,366
Thanks: 245
Thanked 163 Times in 72 Posts
Post

The car has come a long way, looking great!!! Question; I see you painted the hinges separate from the body ... how do you align the hinges after paint? Did you mark the location with drilled pins?

Just asking cuz I'm right behind you!

Michael
__________________
JUST PICTUREShttps://imageshack.com/user/mcavery


Let the house go .... NEVER give up your car!!!!
Reply With Quote
Reply


Posting Rules
You may not post new threads
You may not post replies
You may not post attachments
You may not edit your posts

BB code is On
Smilies are On
[IMG] code is On
HTML code is Off

Forum Jump


All times are GMT -7. The time now is 03:11 AM.


Powered by vBulletin® Version 3.8.11
Copyright ©2000 - 2026, vBulletin Solutions Inc.
Copyright Lateral-g.net