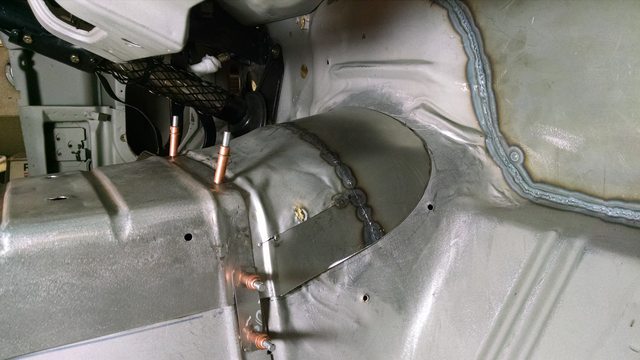
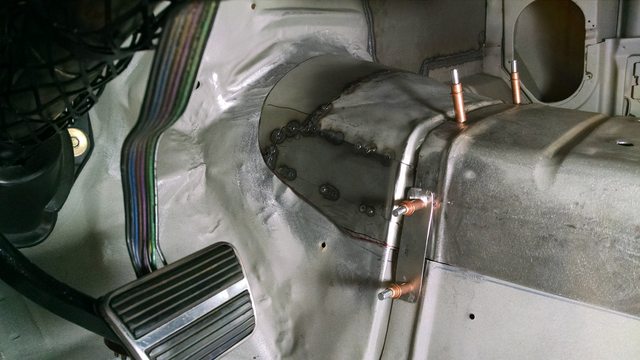
I decided to save the mangled piece that connects the tunnel to the firewall. I was going to start over but as I looked at the firewall, the metal there is all folded and wrinkled in many spots. So, I beat on this piece for a while to get as many wrinkles out, glass beaded all the sealant off and welded closed a few holes. I decided to just tack weld the same 2-inch strips to the sides as the rest of the tunnel.
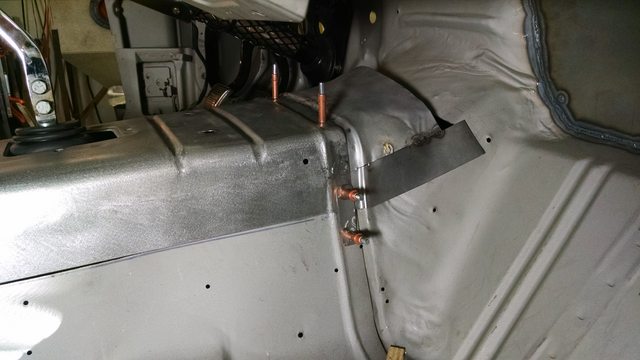
I also added some Clecos through some of the old spot welds to help hold it in place. Unfortunately, I wasn’t as careful as I should have been cutting this piece out and I had to add another small strip on the driver’s side.
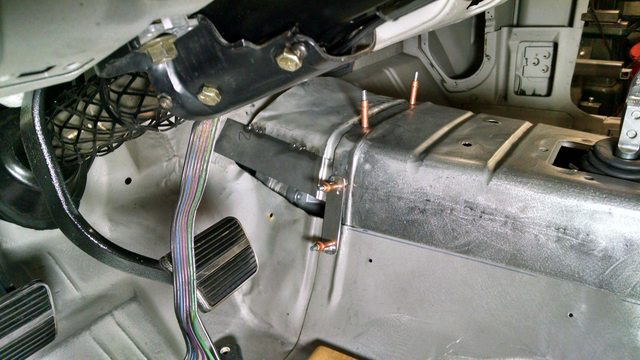
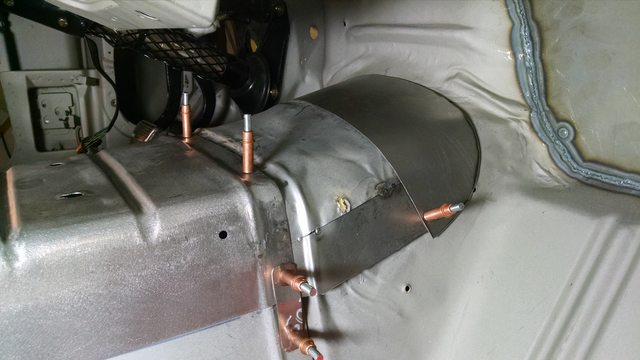
I kept going back to the trunk to eyeball and make sure it looks square and flat. It still needs to move over a little at the rear. I will take some reference measurements before I do my final welds.
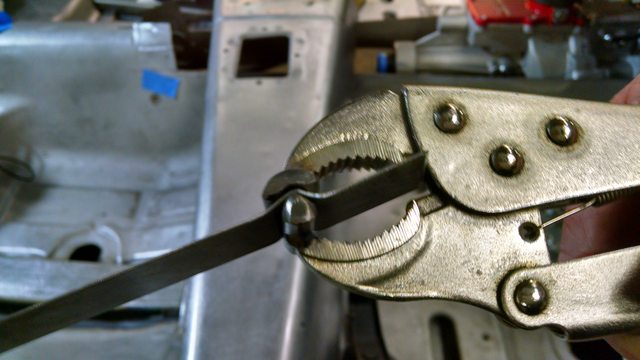
I used my little handy bead maker tool to sort of match the factory stiffener rib that runs around the pinch weld joint. This simple contour matched surprisingly well and I can fine tune it in the vice.
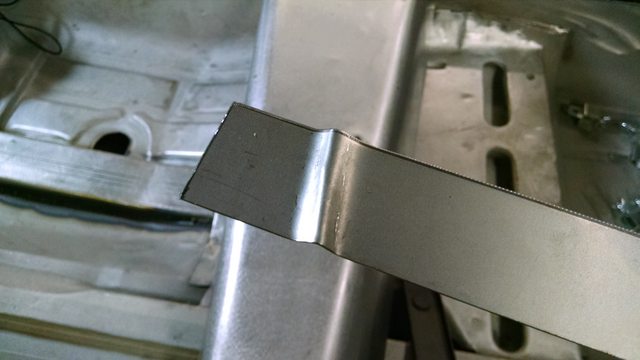
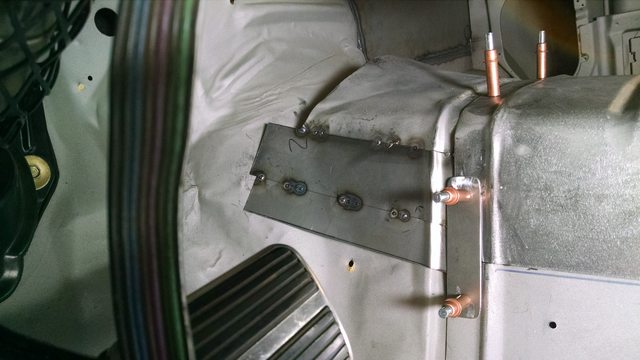
I made a few paper patterns and cut out the final piece in front.
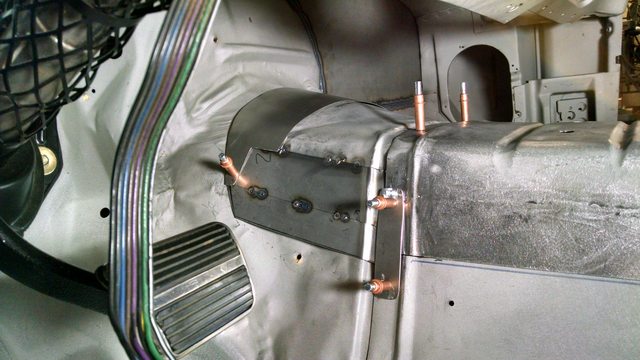
It all looks pretty crude now, but as I trim and start butt-welding it together and work out a few more high/low spots I think it will work better. I don’t have a photo, but I trimmed the firewall area at the front and there is plenty of transmission clearance all around.
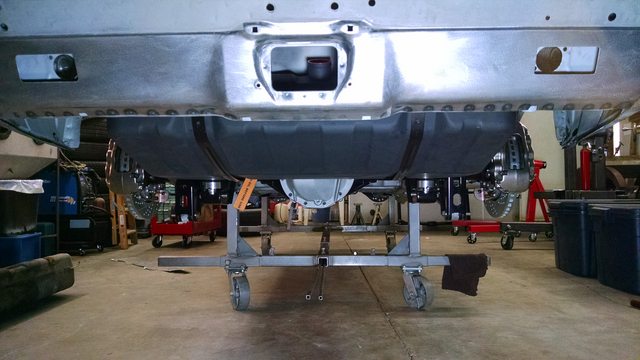
I am still about 1000 hammer blows away from finishing this, but it feels like it is heading in the right direction !


 Brian Hobaugh SCCA National Tour June 2014
 First Hemi 'Cuda Convertible Ever Built
 Short clips: Goodguys Pleasanton autocross and pit videos


 Linear Mode

