...

Go Back   Lateral-g Forums > Lateral-G Open Discussions > Project Updates
User Name
Password


Reply
 
Thread Tools Display Modes
  #121  
Old 07-02-2011, 10:36 AM
Roadster Shop's Avatar
Roadster Shop Roadster Shop is offline
Supporting Vendor

RoadsterShop.com

 
Join Date: Sep 2007
Posts: 1,120
Thanks: 0
Thanked 2 Times in 2 Posts
Default

Thanks all!

Quote:
Originally Posted by GregWeld View Post
You have to pull the motor to change plugs??

Not a bad days work there!
There is actually a lot of room there. The bottoms of the inner fenders are not attached to anything in these pics and are way closer to the motor than they will be when completed.


Quote:
Originally Posted by DJW32 View Post
Looks like those vents are functional...damn... very nice work.
The vents are functional. They house K&N air filters and there is then duct work that runs under the inner fenders to the intake.
__________________
www.roadstershop.com
Reply With Quote
  #122  
Old 07-02-2011, 10:39 AM
Roadster Shop's Avatar
Roadster Shop Roadster Shop is offline
Supporting Vendor

RoadsterShop.com

 
Join Date: Sep 2007
Posts: 1,120
Thanks: 0
Thanked 2 Times in 2 Posts
Default

Inner fenders further along and engine detail starting to take shape:


__________________
www.roadstershop.com
Reply With Quote
  #123  
Old 07-02-2011, 01:23 PM
strtcar strtcar is offline
Senior Member
 
Join Date: Mar 2010
Location: Buffalo Grove, IL
Posts: 274
Thanks: 0
Thanked 0 Times in 0 Posts
Default

Looks great.

Question, do you guys put anything in the metal/body while working on it so it doesn't flash rust? About to get my 70 Chevelle blasted and then start body work/panel replacement. Was thinking about leaving it bare until metalwork is done then epoxy prime.
Reply With Quote
  #124  
Old 07-02-2011, 02:00 PM
mexMan's Avatar
mexMan mexMan is offline
Senior Member
 
Join Date: May 2009
Location: Los Mochis, Sinaloa
Posts: 392
Thanks: 0
Thanked 0 Times in 0 Posts
Default

OH MY GOD, the build is impecable, plain awesome, every detail on it, so clean, so cool.
__________________
''Every car has a great quality, is not the hands that build it, is the dedication behind it.''
Reply With Quote
  #125  
Old 07-02-2011, 02:19 PM
Sandbagger's Avatar
Sandbagger Sandbagger is offline
Senior Member
 
Join Date: Nov 2009
Location: North of Chicago
Posts: 216
Thanks: 0
Thanked 0 Times in 0 Posts
Default

How did you guys form the upper aprons ? By the vent ? How many peices ? Pullmax,hammerform ?
I cant tell from the pics .


Reply With Quote
  #126  
Old 07-02-2011, 02:55 PM
BBC71Nova BBC71Nova is offline
Senior Member
 
Join Date: Jun 2007
Location: Birmingham, AL
Posts: 849
Thanks: 0
Thanked 4 Times in 4 Posts
Default

Looking great. You guys are hauling arse on this fab work.
__________________
John
'71 Nova (Build thread)
FFR Roadster
Reply With Quote
  #127  
Old 07-03-2011, 02:27 PM
Roadster Shop's Avatar
Roadster Shop Roadster Shop is offline
Supporting Vendor

RoadsterShop.com

 
Join Date: Sep 2007
Posts: 1,120
Thanks: 0
Thanked 2 Times in 2 Posts
Default

Quote:
Originally Posted by strtcar View Post
Looks great.

Question, do you guys put anything in the metal/body while working on it so it doesn't flash rust? About to get my 70 Chevelle blasted and then start body work/panel replacement. Was thinking about leaving it bare until metalwork is done then epoxy prime.
We leave all cars in bare metal through out the build process. While under construction we generally use just a scuff pad to keep the metal clean. When the car is ready for body work we spend a lot of time metal prepping the entire care to make sure that all rust and traces of it are gone.
__________________
www.roadstershop.com
Reply With Quote
  #128  
Old 07-03-2011, 02:40 PM
Roadster Shop's Avatar
Roadster Shop Roadster Shop is offline
Supporting Vendor

RoadsterShop.com

 
Join Date: Sep 2007
Posts: 1,120
Thanks: 0
Thanked 2 Times in 2 Posts
Default

Continuing fab work on the engine detail:

Beginning to fab the recessed center portion.


Pocket detail added to front.


Start of the upper radiator close out panel. Also fabbed a template for the grille.
__________________
www.roadstershop.com
Reply With Quote
  #129  
Old 07-03-2011, 02:48 PM
black2002ls black2002ls is offline
Senior Member
 
Join Date: May 2005
Location: greenville, tx
Posts: 675
Thanks: 0
Thanked 1 Time in 1 Post
Default

What are you doing for the stereo, looks like an opening left for a double din type radio. GM Factory unit perhaps?
__________________
1/12th scale 1969 Sunset Orange Metallic Camaro Pro Touring Style>>
Progress Thread

Artwork Page
Reply With Quote
  #130  
Old 07-03-2011, 03:38 PM
Roadster Shop's Avatar
Roadster Shop Roadster Shop is offline
Supporting Vendor

RoadsterShop.com

 
Join Date: Sep 2007
Posts: 1,120
Thanks: 0
Thanked 2 Times in 2 Posts
Default

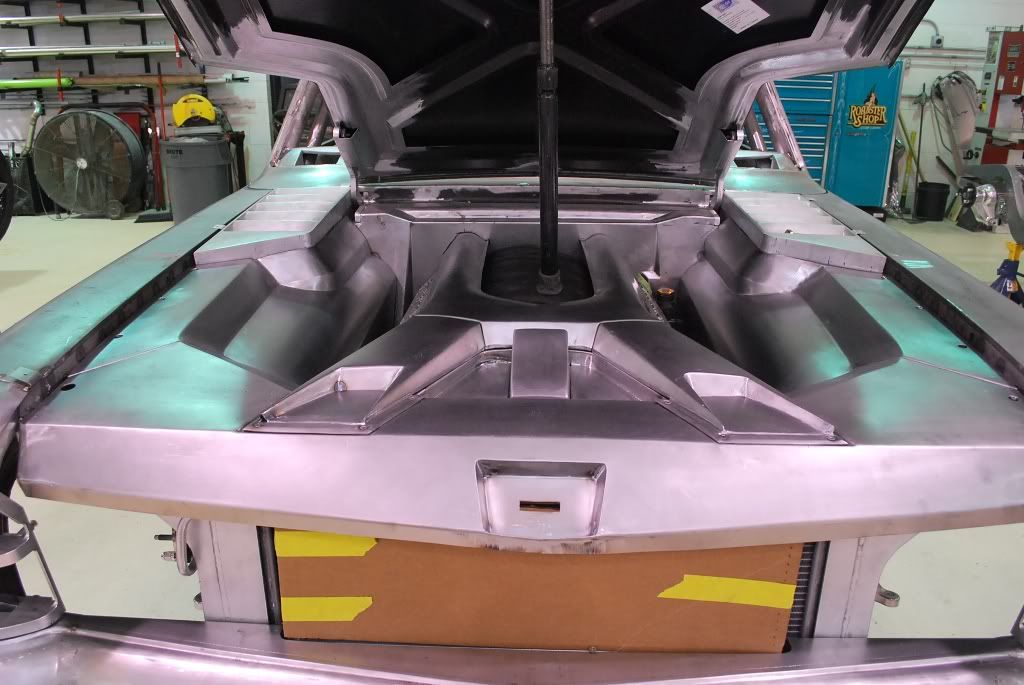
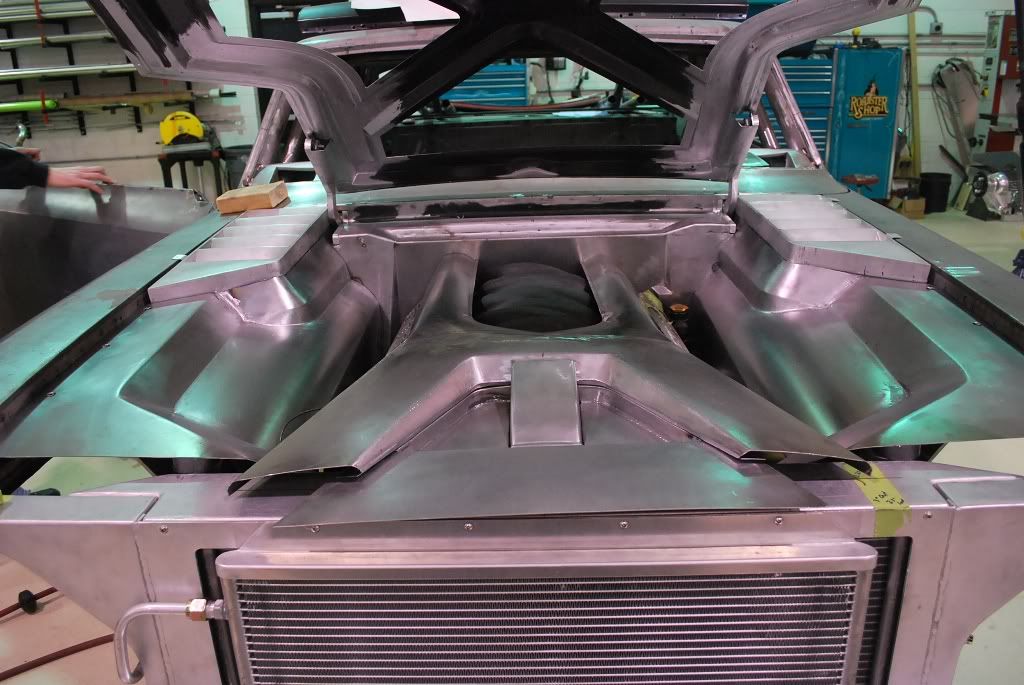
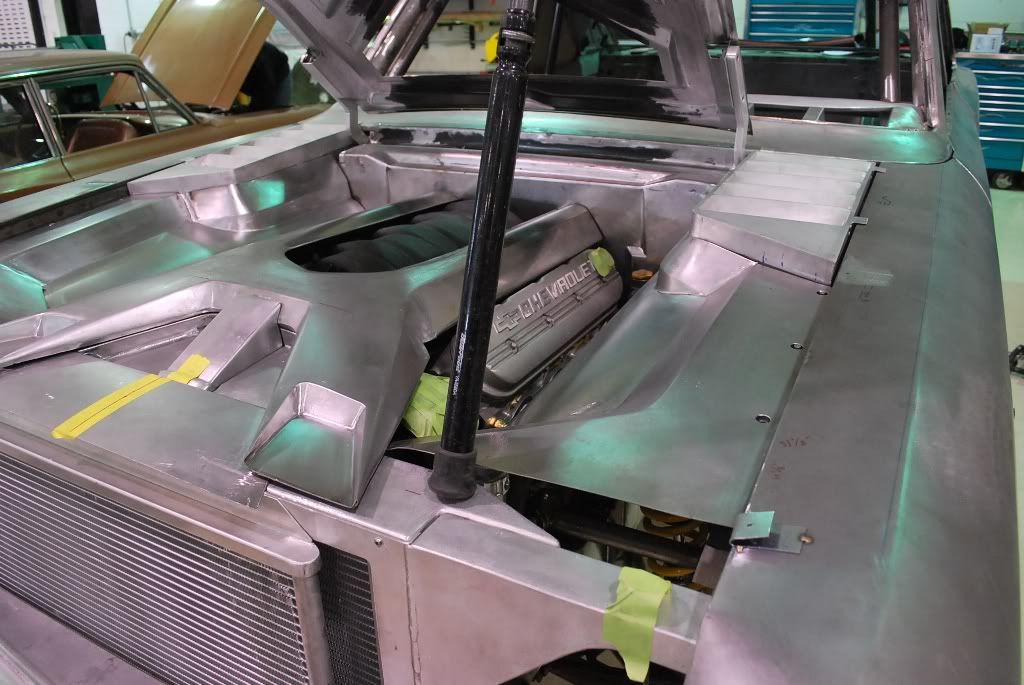
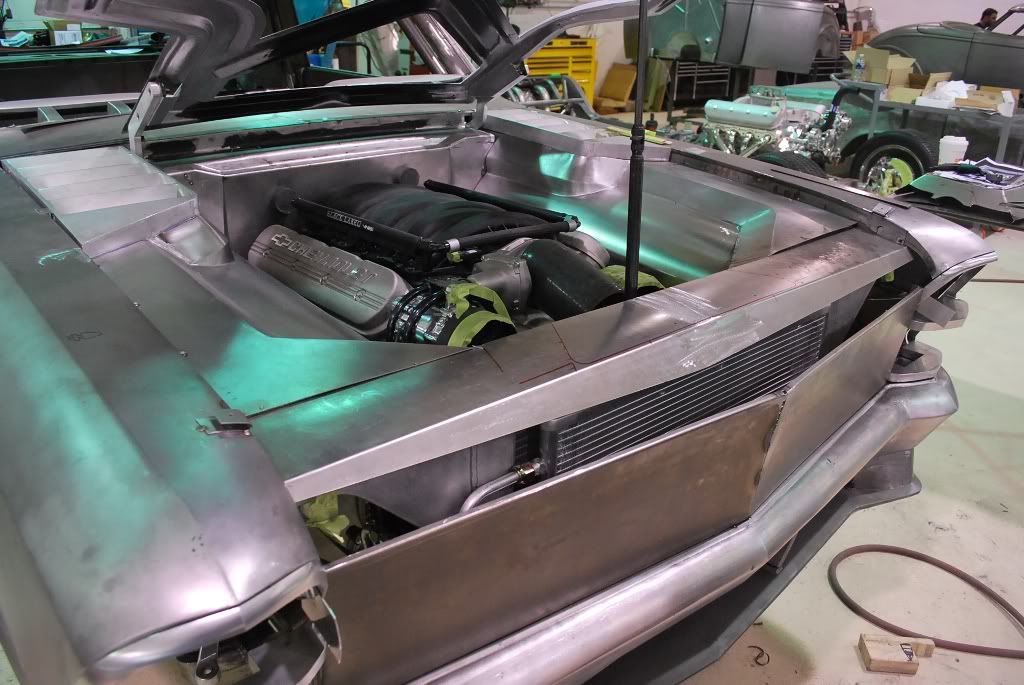
Upper radiator close out panel completed and transitioned into the inner fenders. We went back and put a seam in the the inner fender before it meets the radiator close out panel to add more detail to it. Also have the pocket installed for the BMW hood latch.


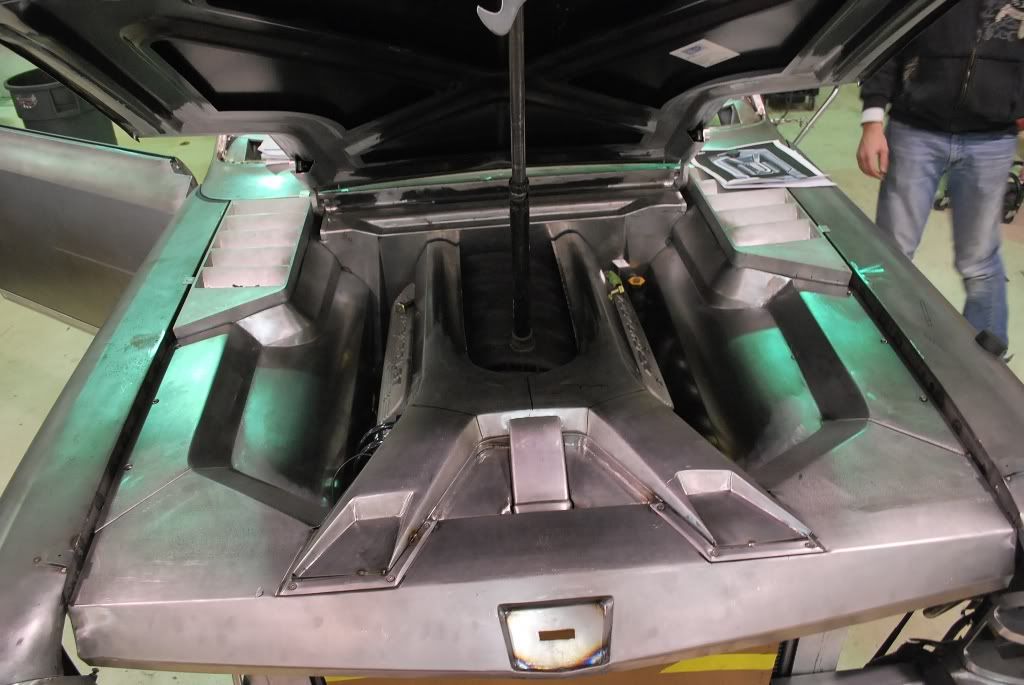
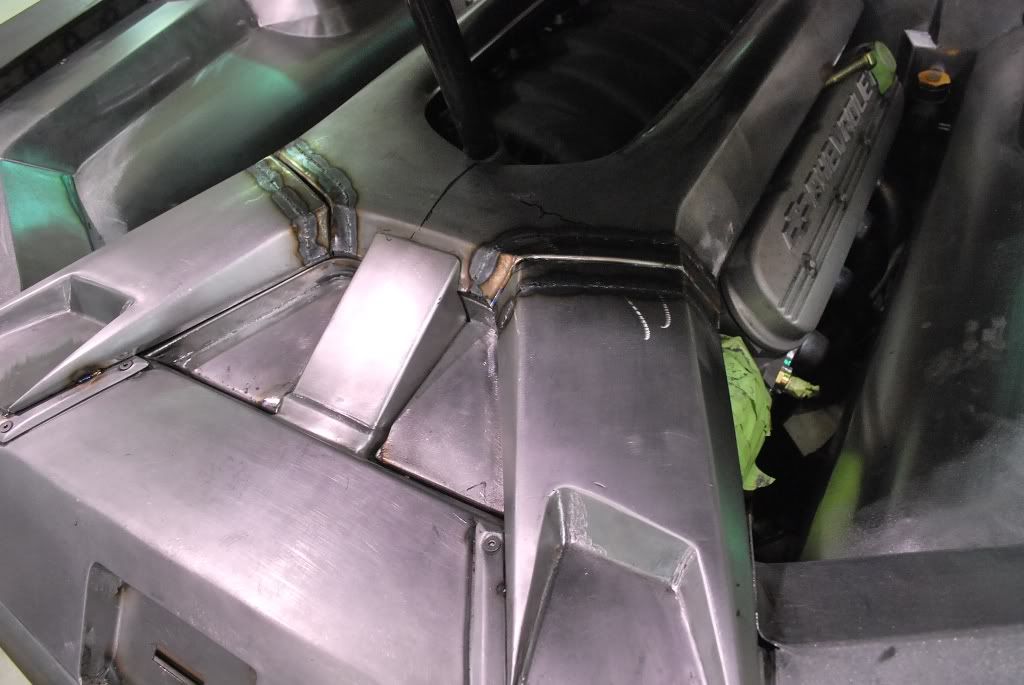
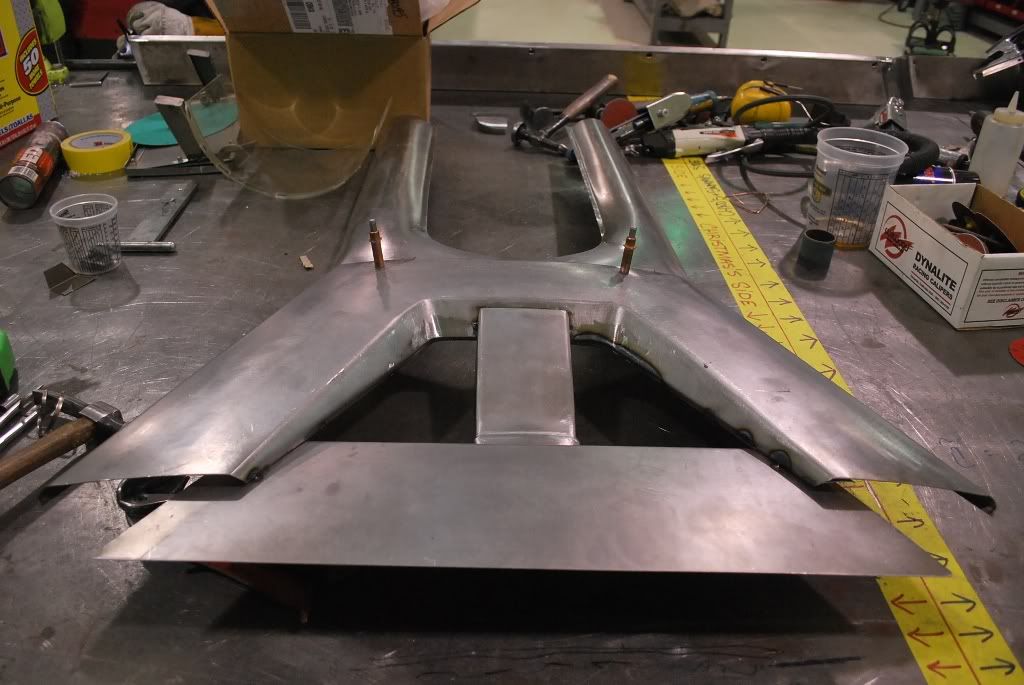
Start of the trim piece around where the engine metal work meets the close out panel.


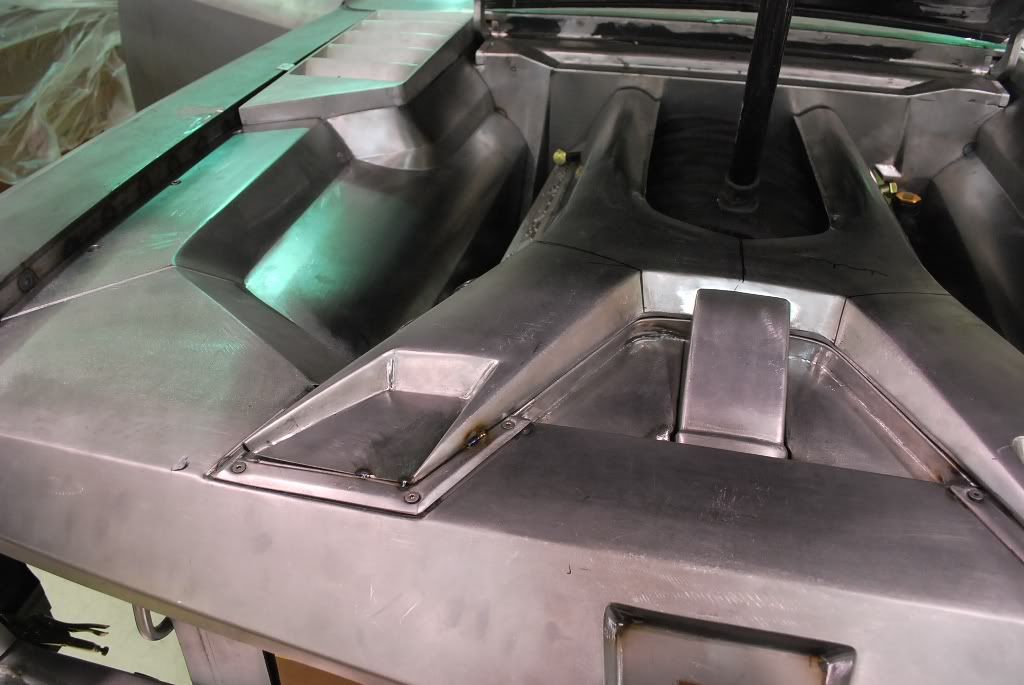
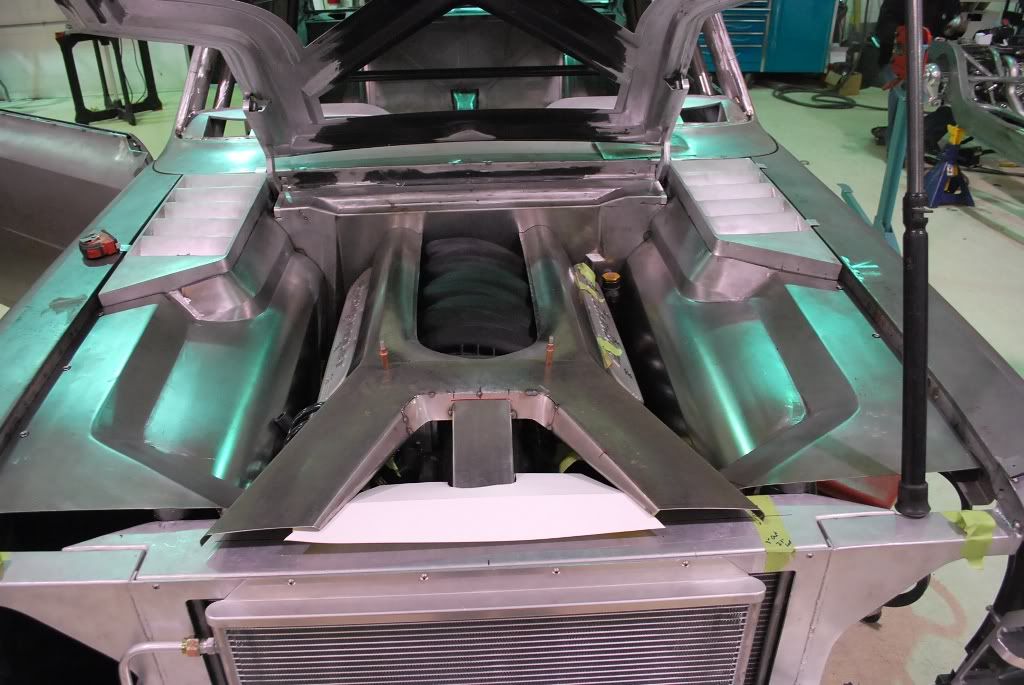
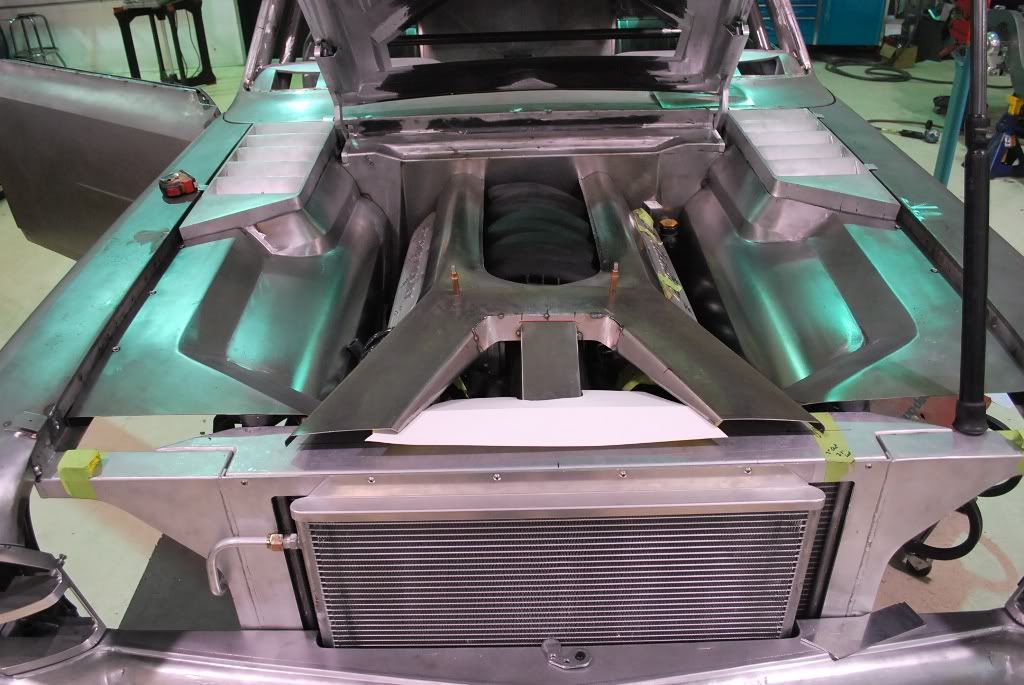
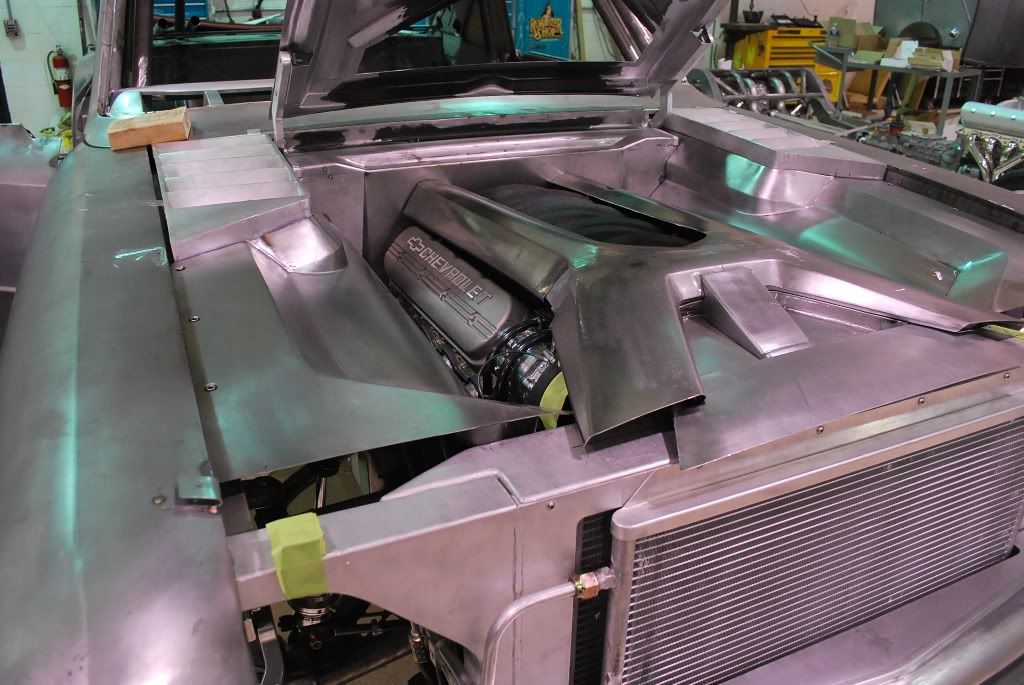
We then went back and put another seam in the forward panels coming off the intake.


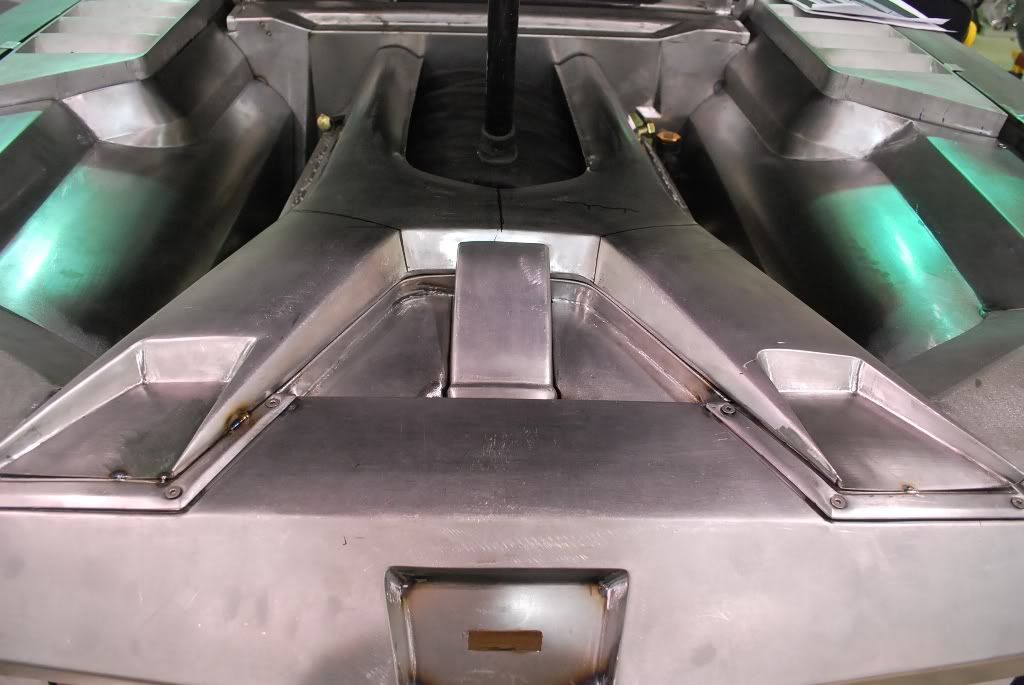
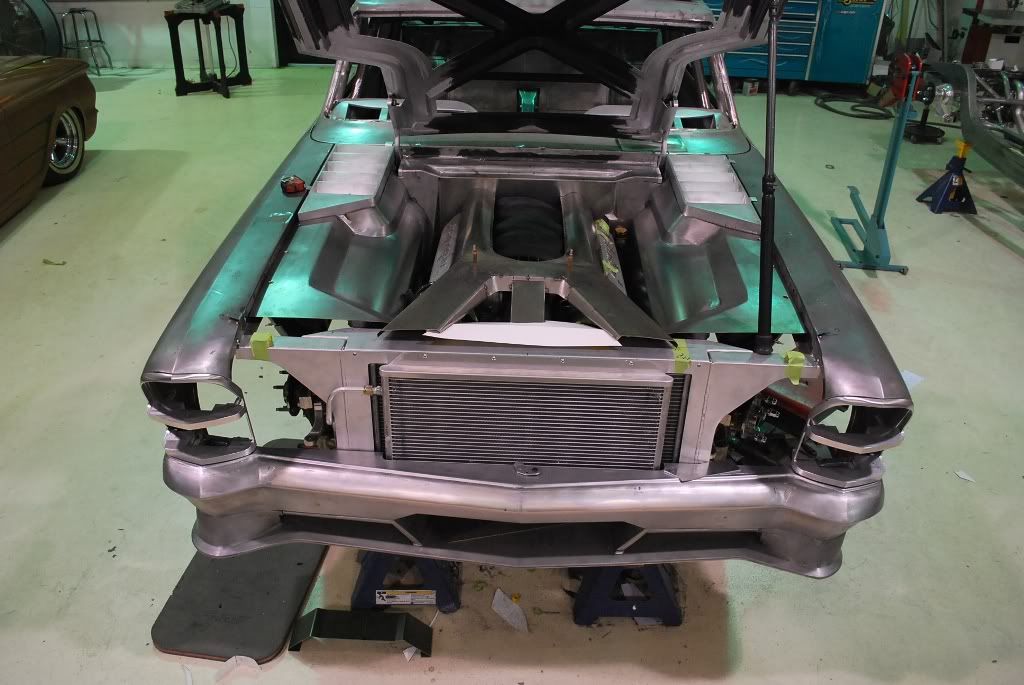
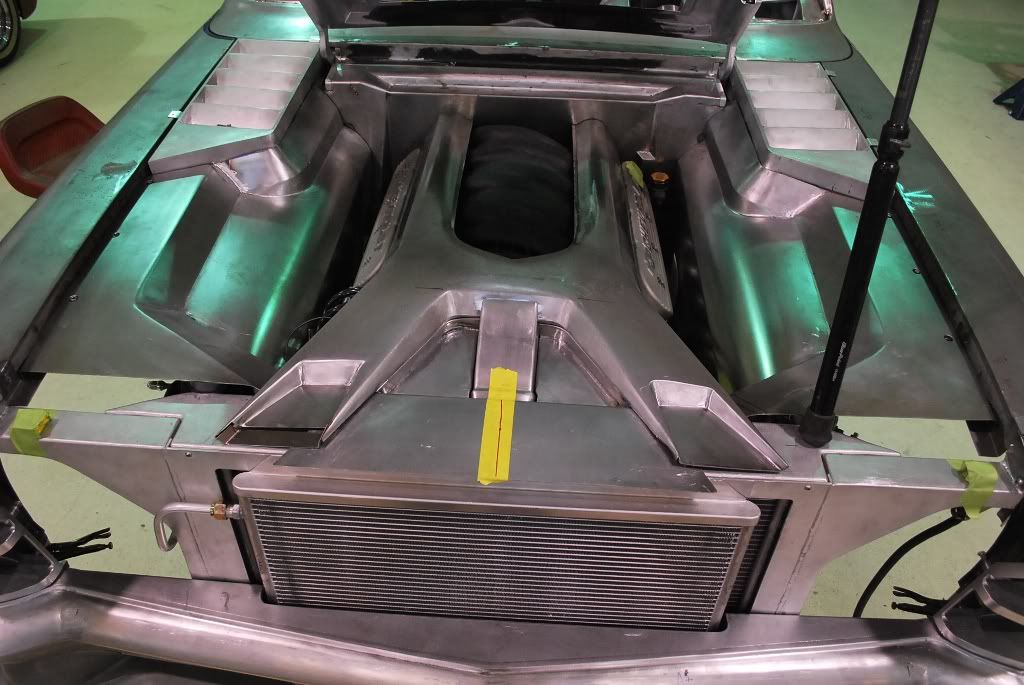
Everything metal finished.
__________________
www.roadstershop.com
Reply With Quote
Reply


Posting Rules
You may not post new threads
You may not post replies
You may not post attachments
You may not edit your posts

BB code is On
Smilies are On
[IMG] code is On
HTML code is Off

Forum Jump


All times are GMT -7. The time now is 10:28 PM.


Powered by vBulletin® Version 3.8.11
Copyright ©2000 - 2025, vBulletin Solutions Inc.
Copyright Lateral-g.net