|
|

03-25-2012, 09:45 PM
|
|
Senior Member
|
|
Join Date: Aug 2010
Location: Bellingham, WA
Posts: 129
Thanks: 2
Thanked 5 Times in 4 Posts
|
|
__________________
-Aman
1969 Camaro Z/28: W.I.P. Bolt-on Art Morrison MaxG Chassis, LS2 Stroker, 6spd. manual, amongst many other goodies!
|
03-25-2012, 09:49 PM
|
|
Senior Member
|
|
Join Date: Aug 2010
Location: Bellingham, WA
Posts: 129
Thanks: 2
Thanked 5 Times in 4 Posts
|
|
__________________
-Aman
1969 Camaro Z/28: W.I.P. Bolt-on Art Morrison MaxG Chassis, LS2 Stroker, 6spd. manual, amongst many other goodies!
Last edited by 67pro-street; 03-25-2012 at 09:52 PM.
|
03-25-2012, 09:59 PM
|
|
Senior Member
|
|
Join Date: Aug 2010
Location: Bellingham, WA
Posts: 129
Thanks: 2
Thanked 5 Times in 4 Posts
|
|
__________________
-Aman
1969 Camaro Z/28: W.I.P. Bolt-on Art Morrison MaxG Chassis, LS2 Stroker, 6spd. manual, amongst many other goodies!
|
03-25-2012, 10:04 PM
|
|
Senior Member
|
|
Join Date: Aug 2010
Location: Bellingham, WA
Posts: 129
Thanks: 2
Thanked 5 Times in 4 Posts
|
|
__________________
-Aman
1969 Camaro Z/28: W.I.P. Bolt-on Art Morrison MaxG Chassis, LS2 Stroker, 6spd. manual, amongst many other goodies!
|
03-25-2012, 10:07 PM
|
|
Senior Member
|
|
Join Date: Aug 2010
Location: Bellingham, WA
Posts: 129
Thanks: 2
Thanked 5 Times in 4 Posts
|
|
__________________
-Aman
1969 Camaro Z/28: W.I.P. Bolt-on Art Morrison MaxG Chassis, LS2 Stroker, 6spd. manual, amongst many other goodies!
|
03-25-2012, 10:10 PM
|
|
Senior Member
|
|
Join Date: Aug 2010
Location: Bellingham, WA
Posts: 129
Thanks: 2
Thanked 5 Times in 4 Posts
|
|
__________________
-Aman
1969 Camaro Z/28: W.I.P. Bolt-on Art Morrison MaxG Chassis, LS2 Stroker, 6spd. manual, amongst many other goodies!
|
03-25-2012, 10:16 PM
|
|
Senior Member
|
|
Join Date: Aug 2010
Location: Bellingham, WA
Posts: 129
Thanks: 2
Thanked 5 Times in 4 Posts
|
|
__________________
-Aman
1969 Camaro Z/28: W.I.P. Bolt-on Art Morrison MaxG Chassis, LS2 Stroker, 6spd. manual, amongst many other goodies!
|
03-25-2012, 10:18 PM
|
 |
Senior Member
|
|
Join Date: Dec 2011
Posts: 103
Thanks: 1
Thanked 0 Times in 0 Posts
|
|
The project is def looking pretty good, don't beat yourself up to bad. And at the very least this thread will be entertaining, lol. Good luck and can't wait for some more updates.
|
03-25-2012, 10:18 PM
|
|
Senior Member
|
|
Join Date: Aug 2010
Location: Bellingham, WA
Posts: 129
Thanks: 2
Thanked 5 Times in 4 Posts
|
|
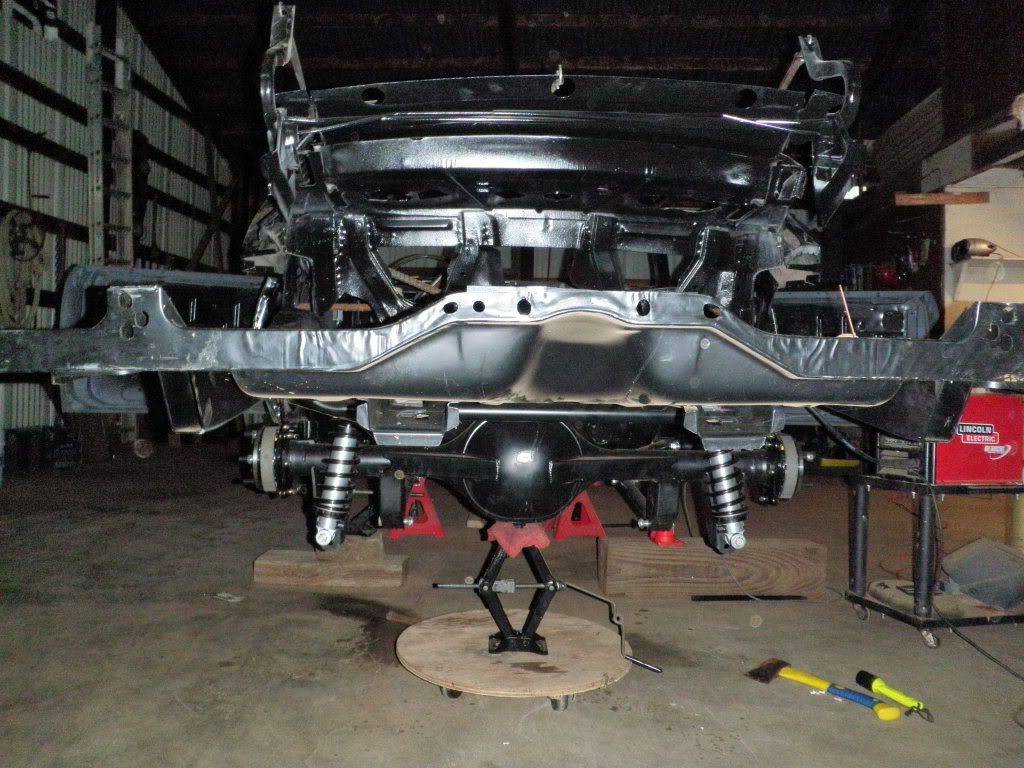
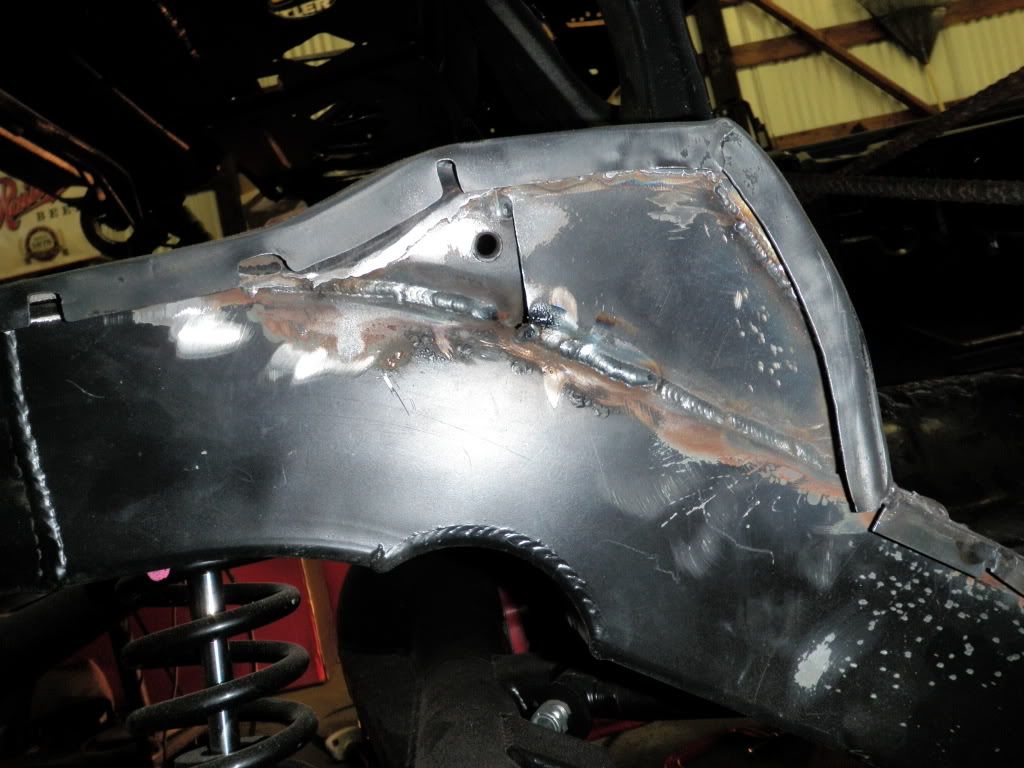
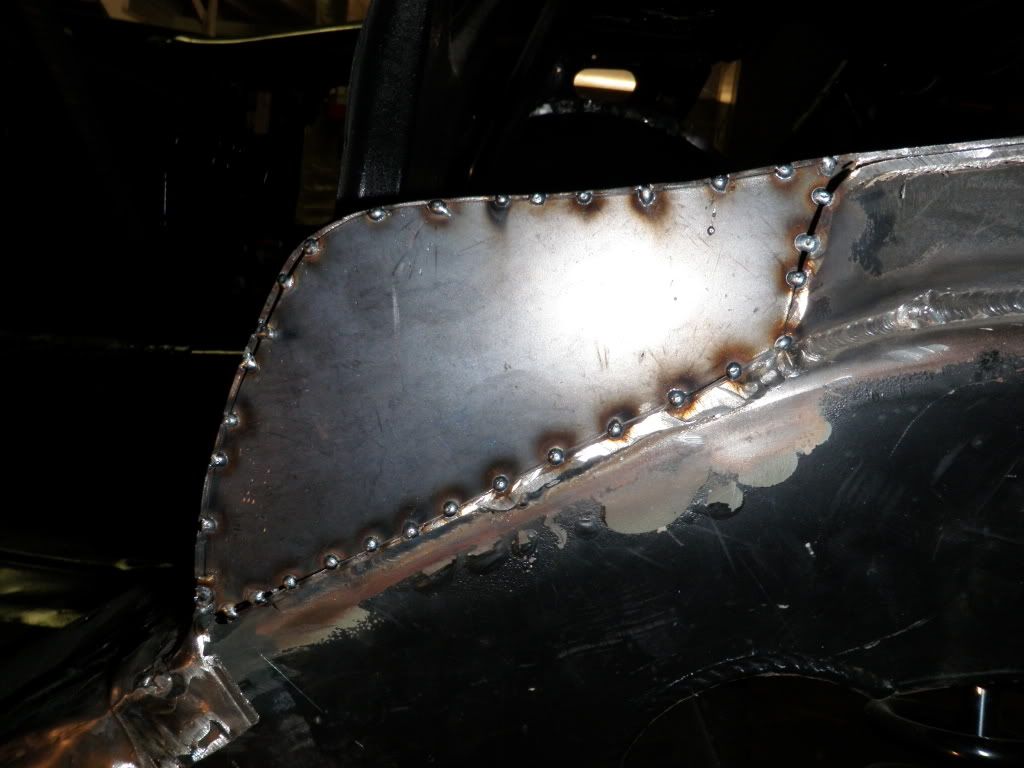
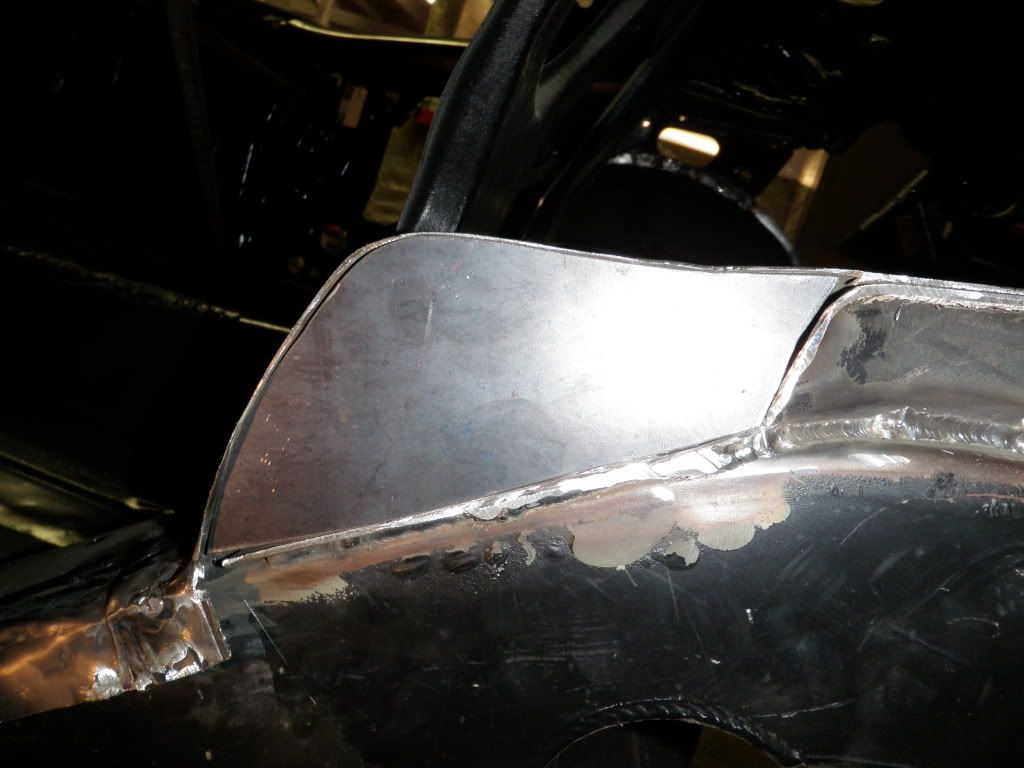
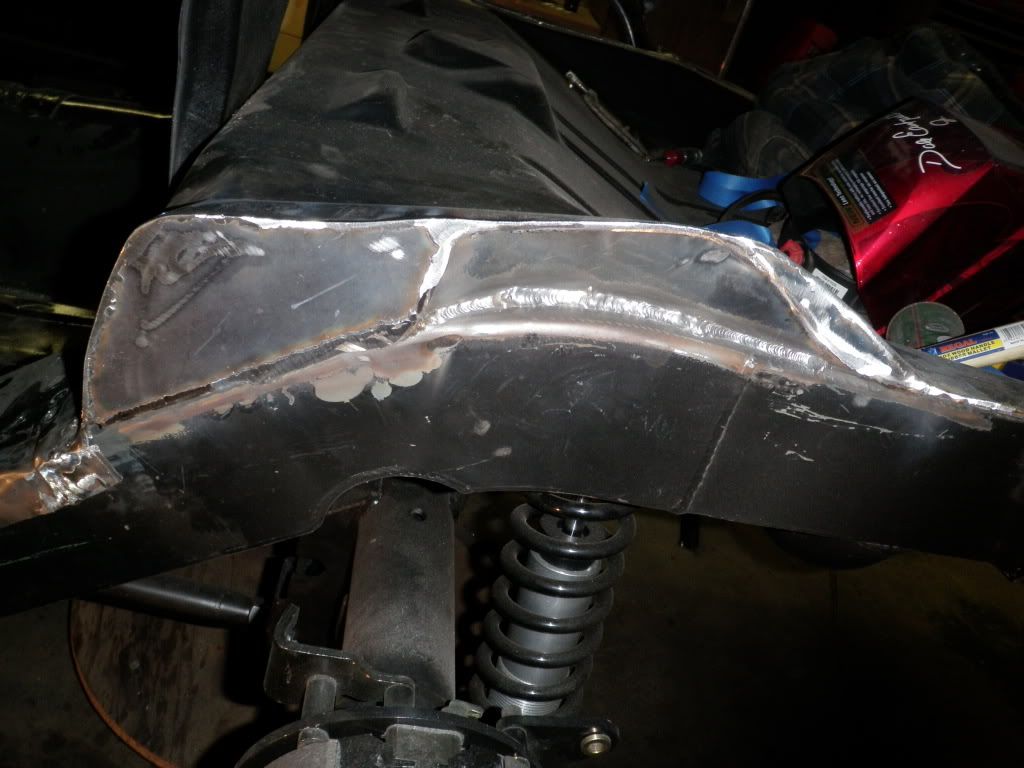
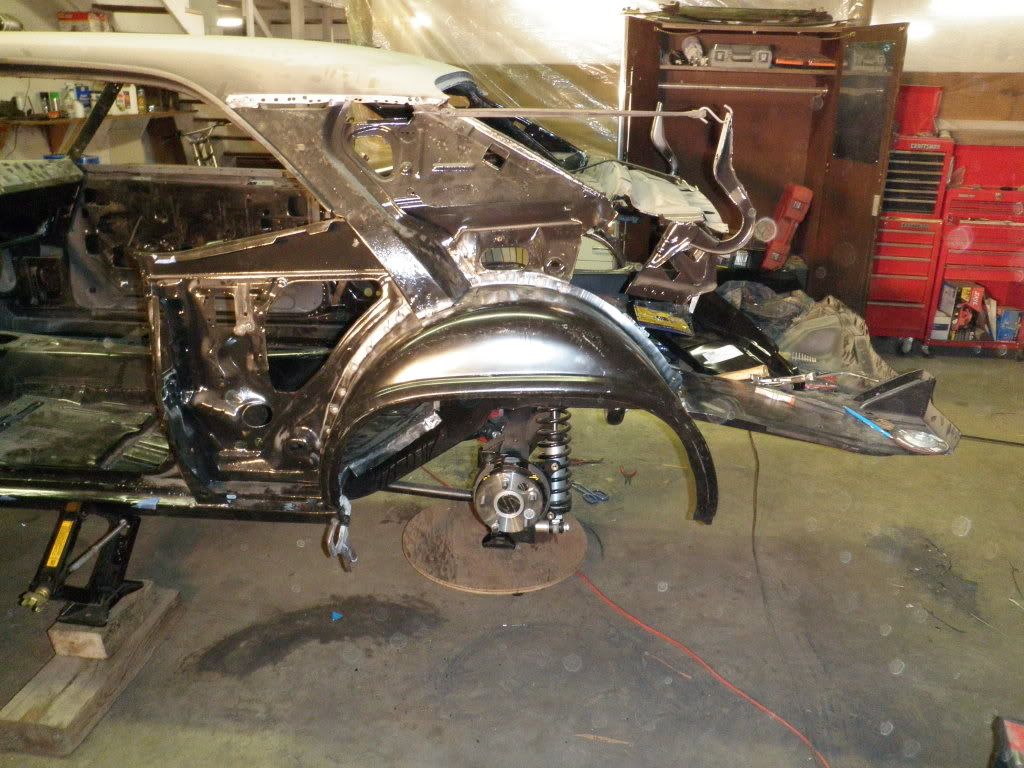
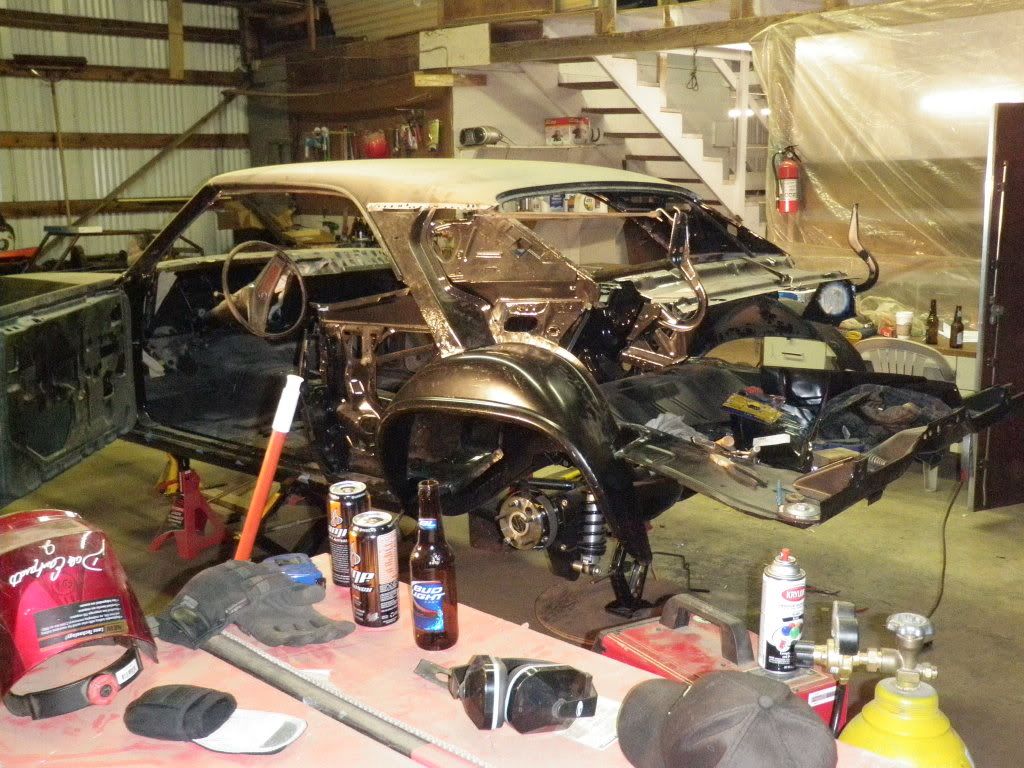
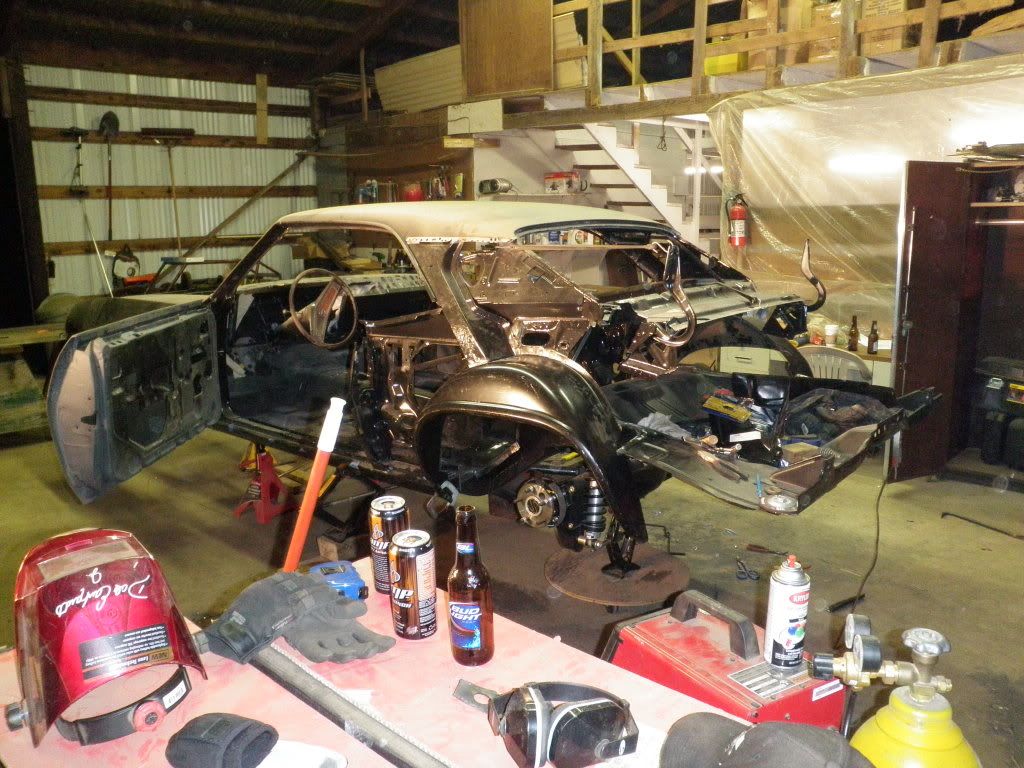
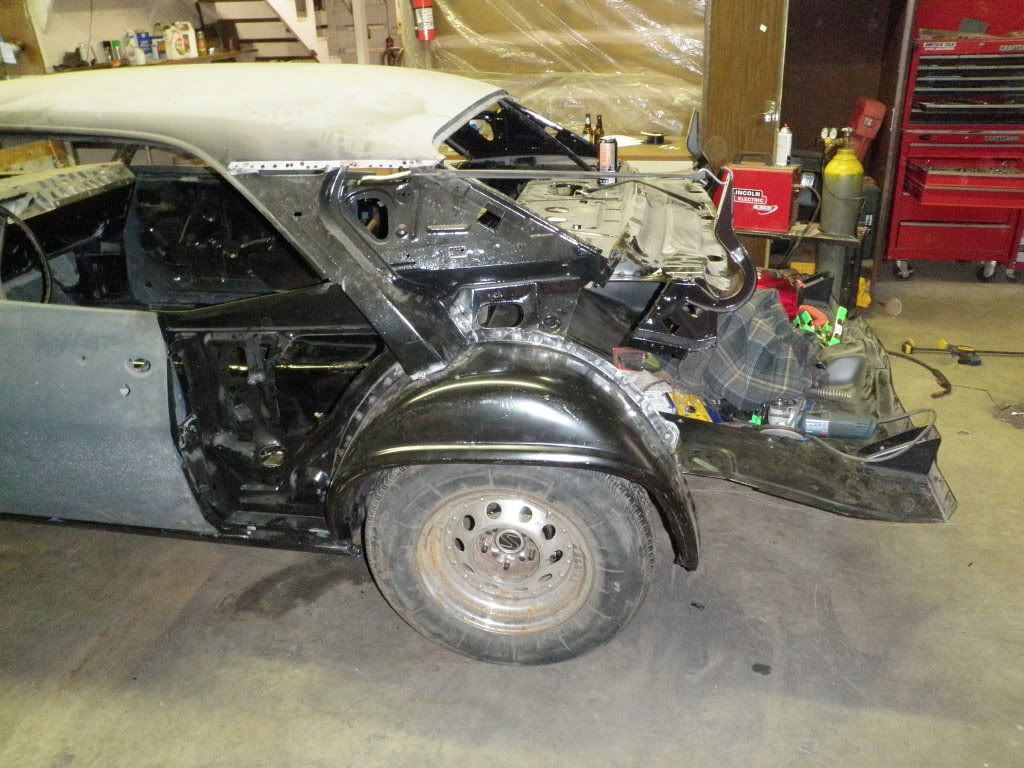
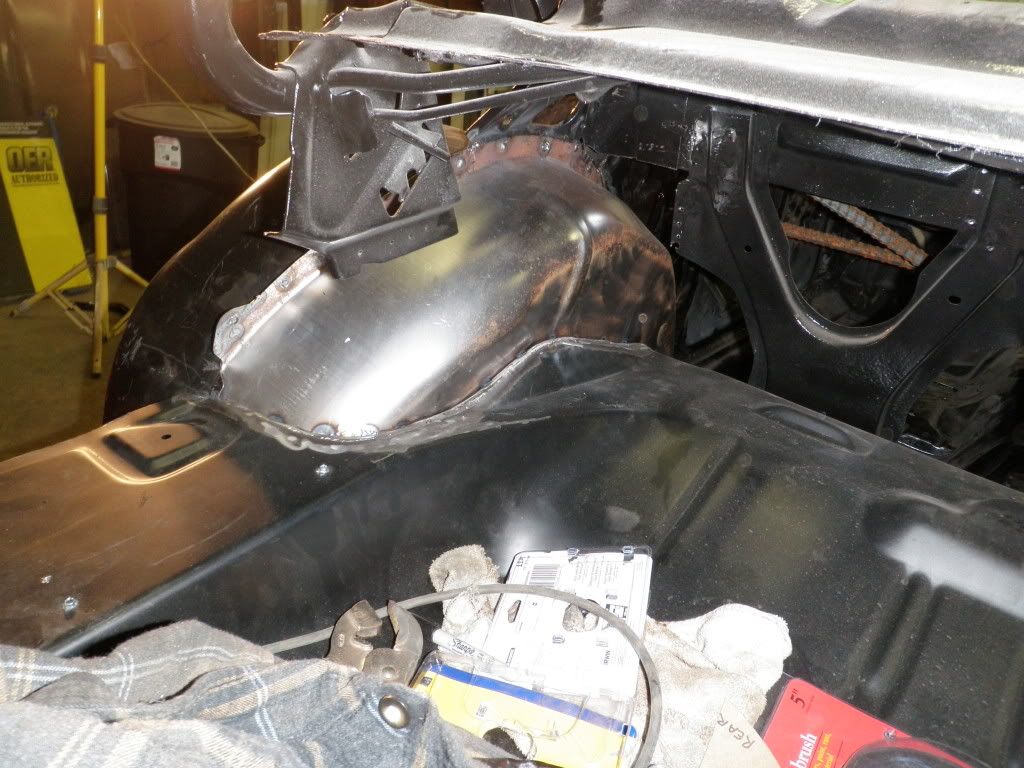
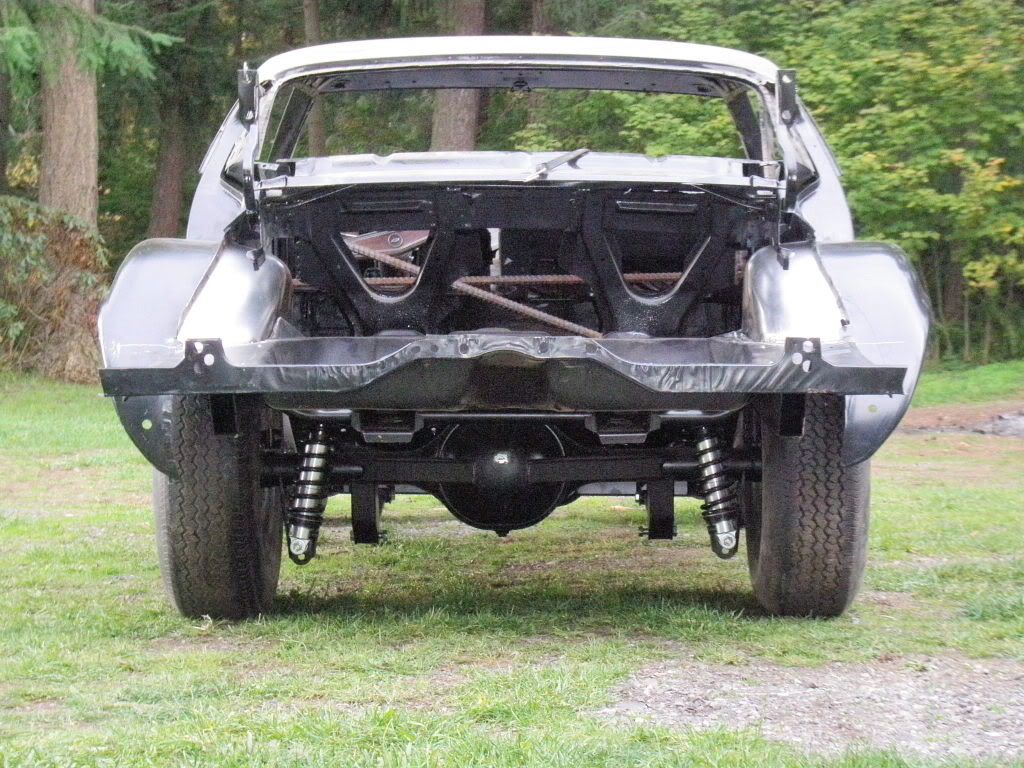
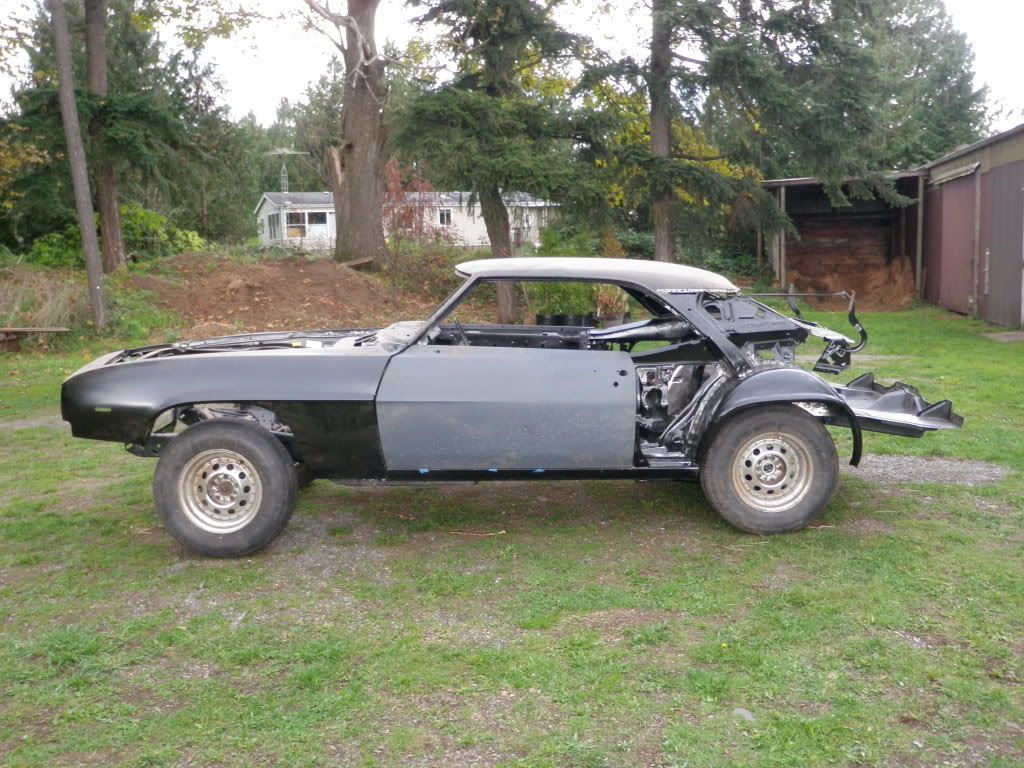
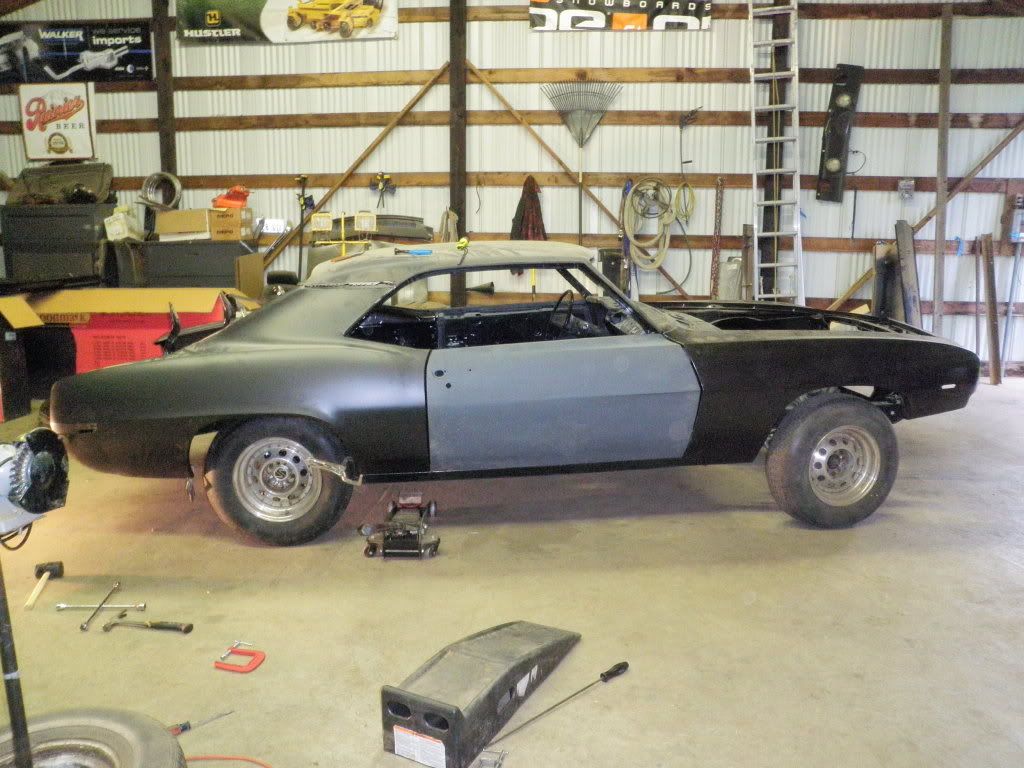
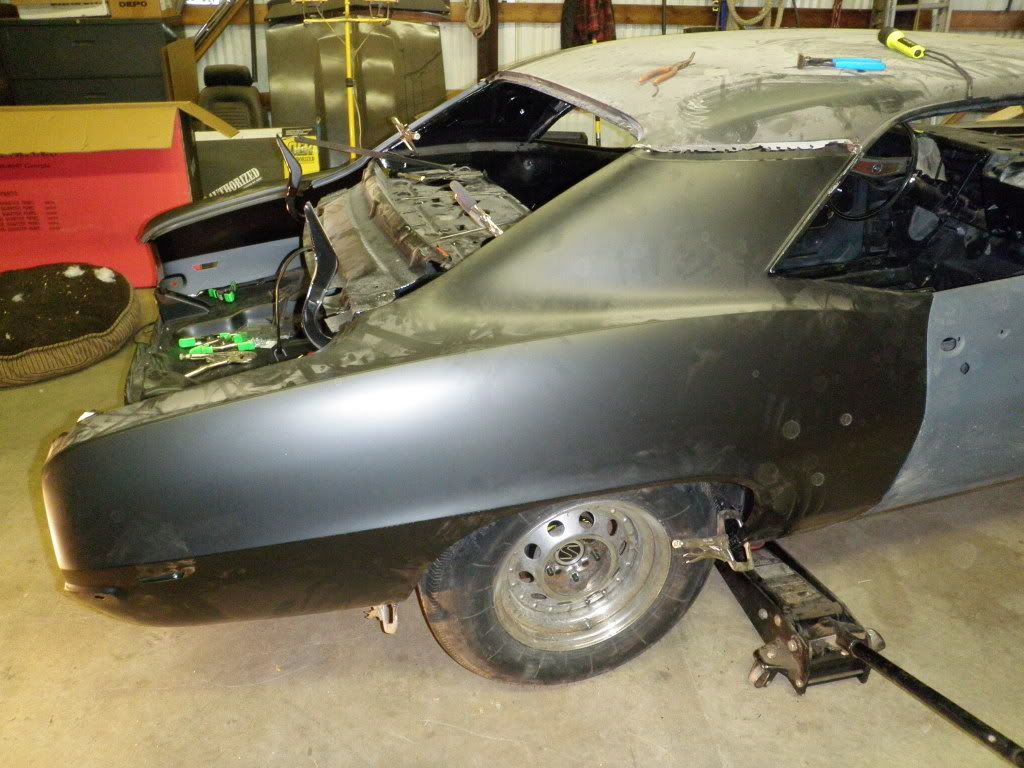
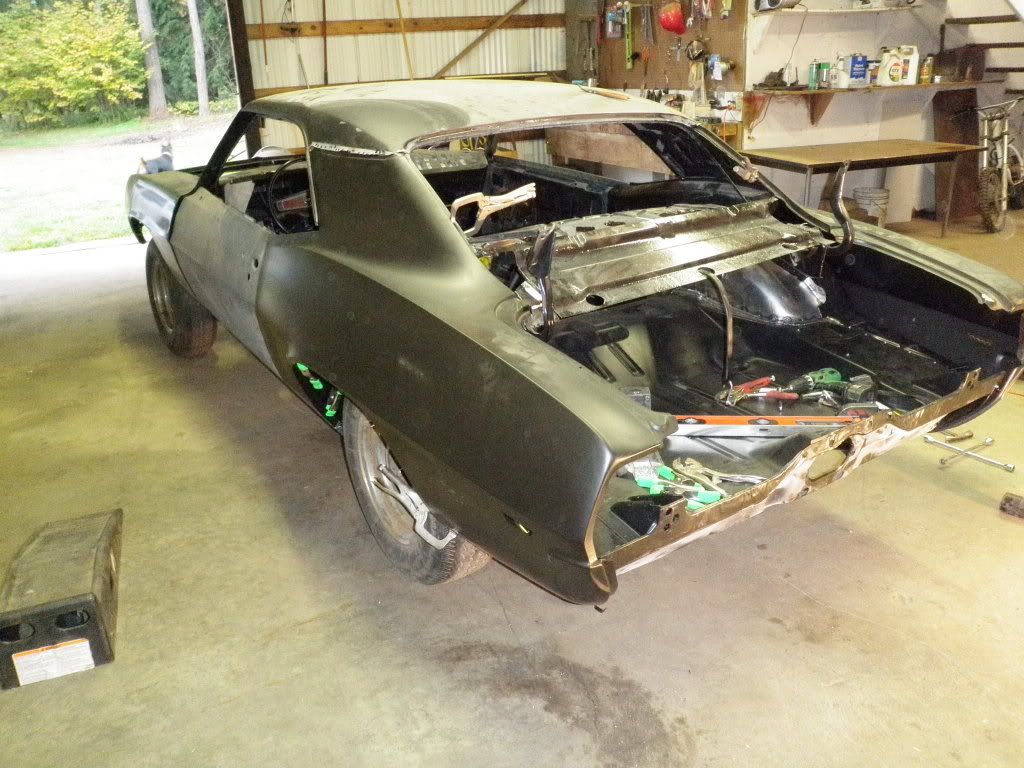
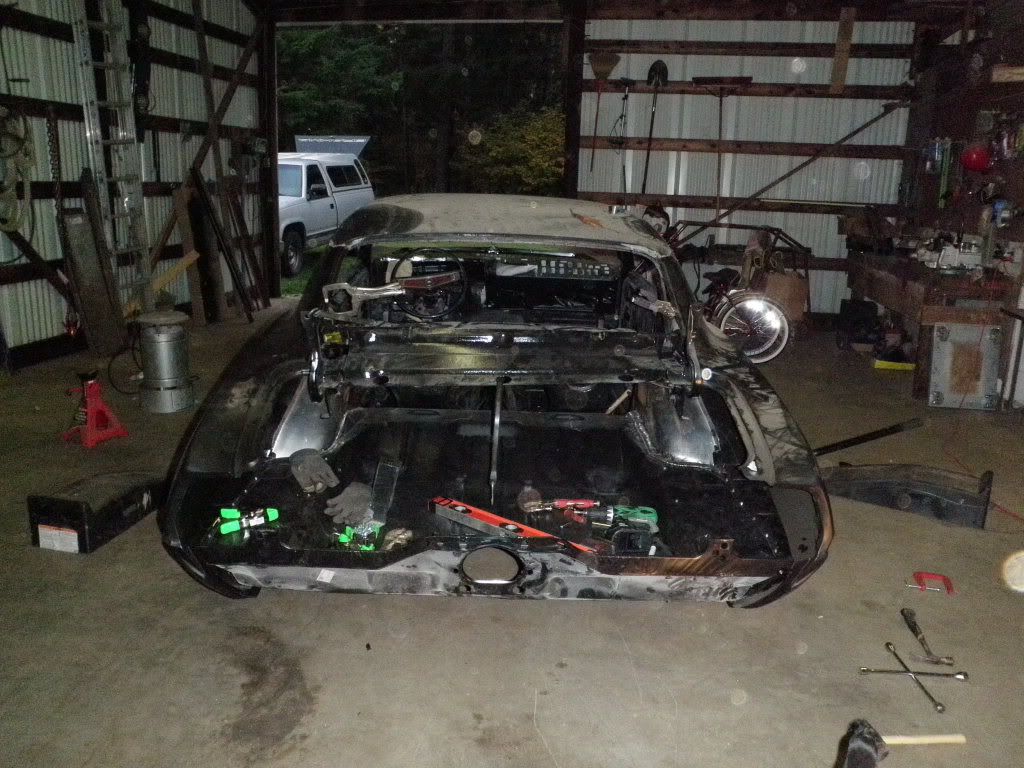
Luckily i only used sheetmetal screws on this part, so the panels can be re-used. My new sheetmetal guy is going to start working on the car in June. He is going to rebuild the wheel tubs from scratch, amongst many other things. This was also the reason why i decided to go with a Max G Chassis. Since i still have so many flaws and since the Max G requires you to rebuild the floor, i figured that since i got a good deal on the Max G i would come out ahead by just having my metal guy start from scratch! I will post some updates around June once i take the car over there and he gets started!! I am finally starting to get excited about this car again, wish me luck  
__________________
-Aman
1969 Camaro Z/28: W.I.P. Bolt-on Art Morrison MaxG Chassis, LS2 Stroker, 6spd. manual, amongst many other goodies!
|
03-25-2012, 10:37 PM
|
|
Senior Member
|
|
Join Date: Aug 2010
Location: Bellingham, WA
Posts: 129
Thanks: 2
Thanked 5 Times in 4 Posts
|
|
__________________
-Aman
1969 Camaro Z/28: W.I.P. Bolt-on Art Morrison MaxG Chassis, LS2 Stroker, 6spd. manual, amongst many other goodies!
|
 Posting Rules
|
You may not post new threads
You may not post replies
You may not post attachments
You may not edit your posts
HTML code is Off
|
|
|
All times are GMT -7. The time now is 12:30 PM.
|


 Brian Hobaugh SCCA National Tour June 2014
 First Hemi 'Cuda Convertible Ever Built
 Short clips: Goodguys Pleasanton autocross and pit videos


 Unfortunately somebody else also tried to get in on the food action, but was quickly put in her place!
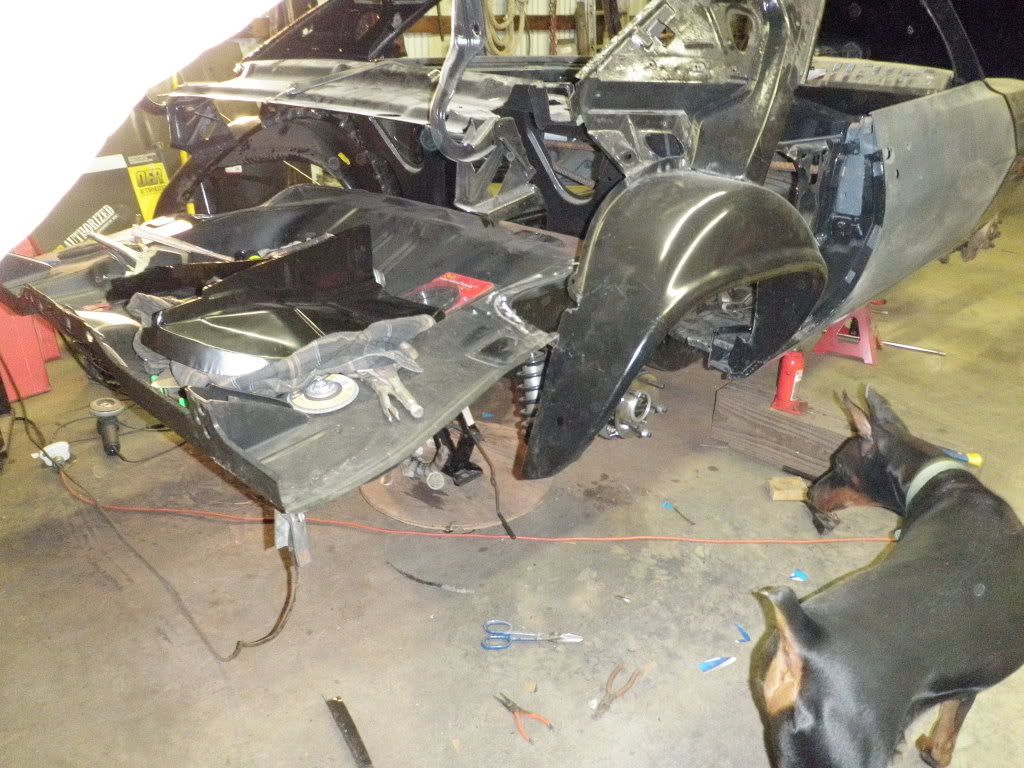


 Linear Mode
