...

Go Back   Lateral-g Forums > Lateral-G Open Discussions > Project Updates
User Name
Password


Reply
 
Thread Tools Display Modes
  #201  
Old 04-29-2012, 06:55 AM
Al Moreno Al Moreno is offline
Senior Member
 
Join Date: Dec 2004
Posts: 1,502
Thanks: 3
Thanked 1 Time in 1 Post
Default

Wow, happy day for sure! Going to be nice when done
Reply With Quote
  #202  
Old 04-29-2012, 07:42 AM
Sonar Chief's Avatar
Sonar Chief Sonar Chief is offline
Senior Member
 
Join Date: Dec 2011
Location: Greater Denver area
Posts: 1,366
Thanks: 245
Thanked 163 Times in 72 Posts
Smile

Quote:
Originally Posted by Al Moreno View Post
Wow, happy day for sure! Going to be nice when done
Thanks ... happy day for sure. She's coming along nice, now I can sandblast the areas that need to be POR'd in the driveway and not make a mess in the garage BIG PLUS

Thanks for looking!
__________________
JUST PICTUREShttps://imageshack.com/user/mcavery


Let the house go .... NEVER give up your car!!!!
Reply With Quote
  #203  
Old 04-29-2012, 04:26 PM
Sonar Chief's Avatar
Sonar Chief Sonar Chief is offline
Senior Member
 
Join Date: Dec 2011
Location: Greater Denver area
Posts: 1,366
Thanks: 245
Thanked 163 Times in 72 Posts
Smile 4/29 Started the cowl....

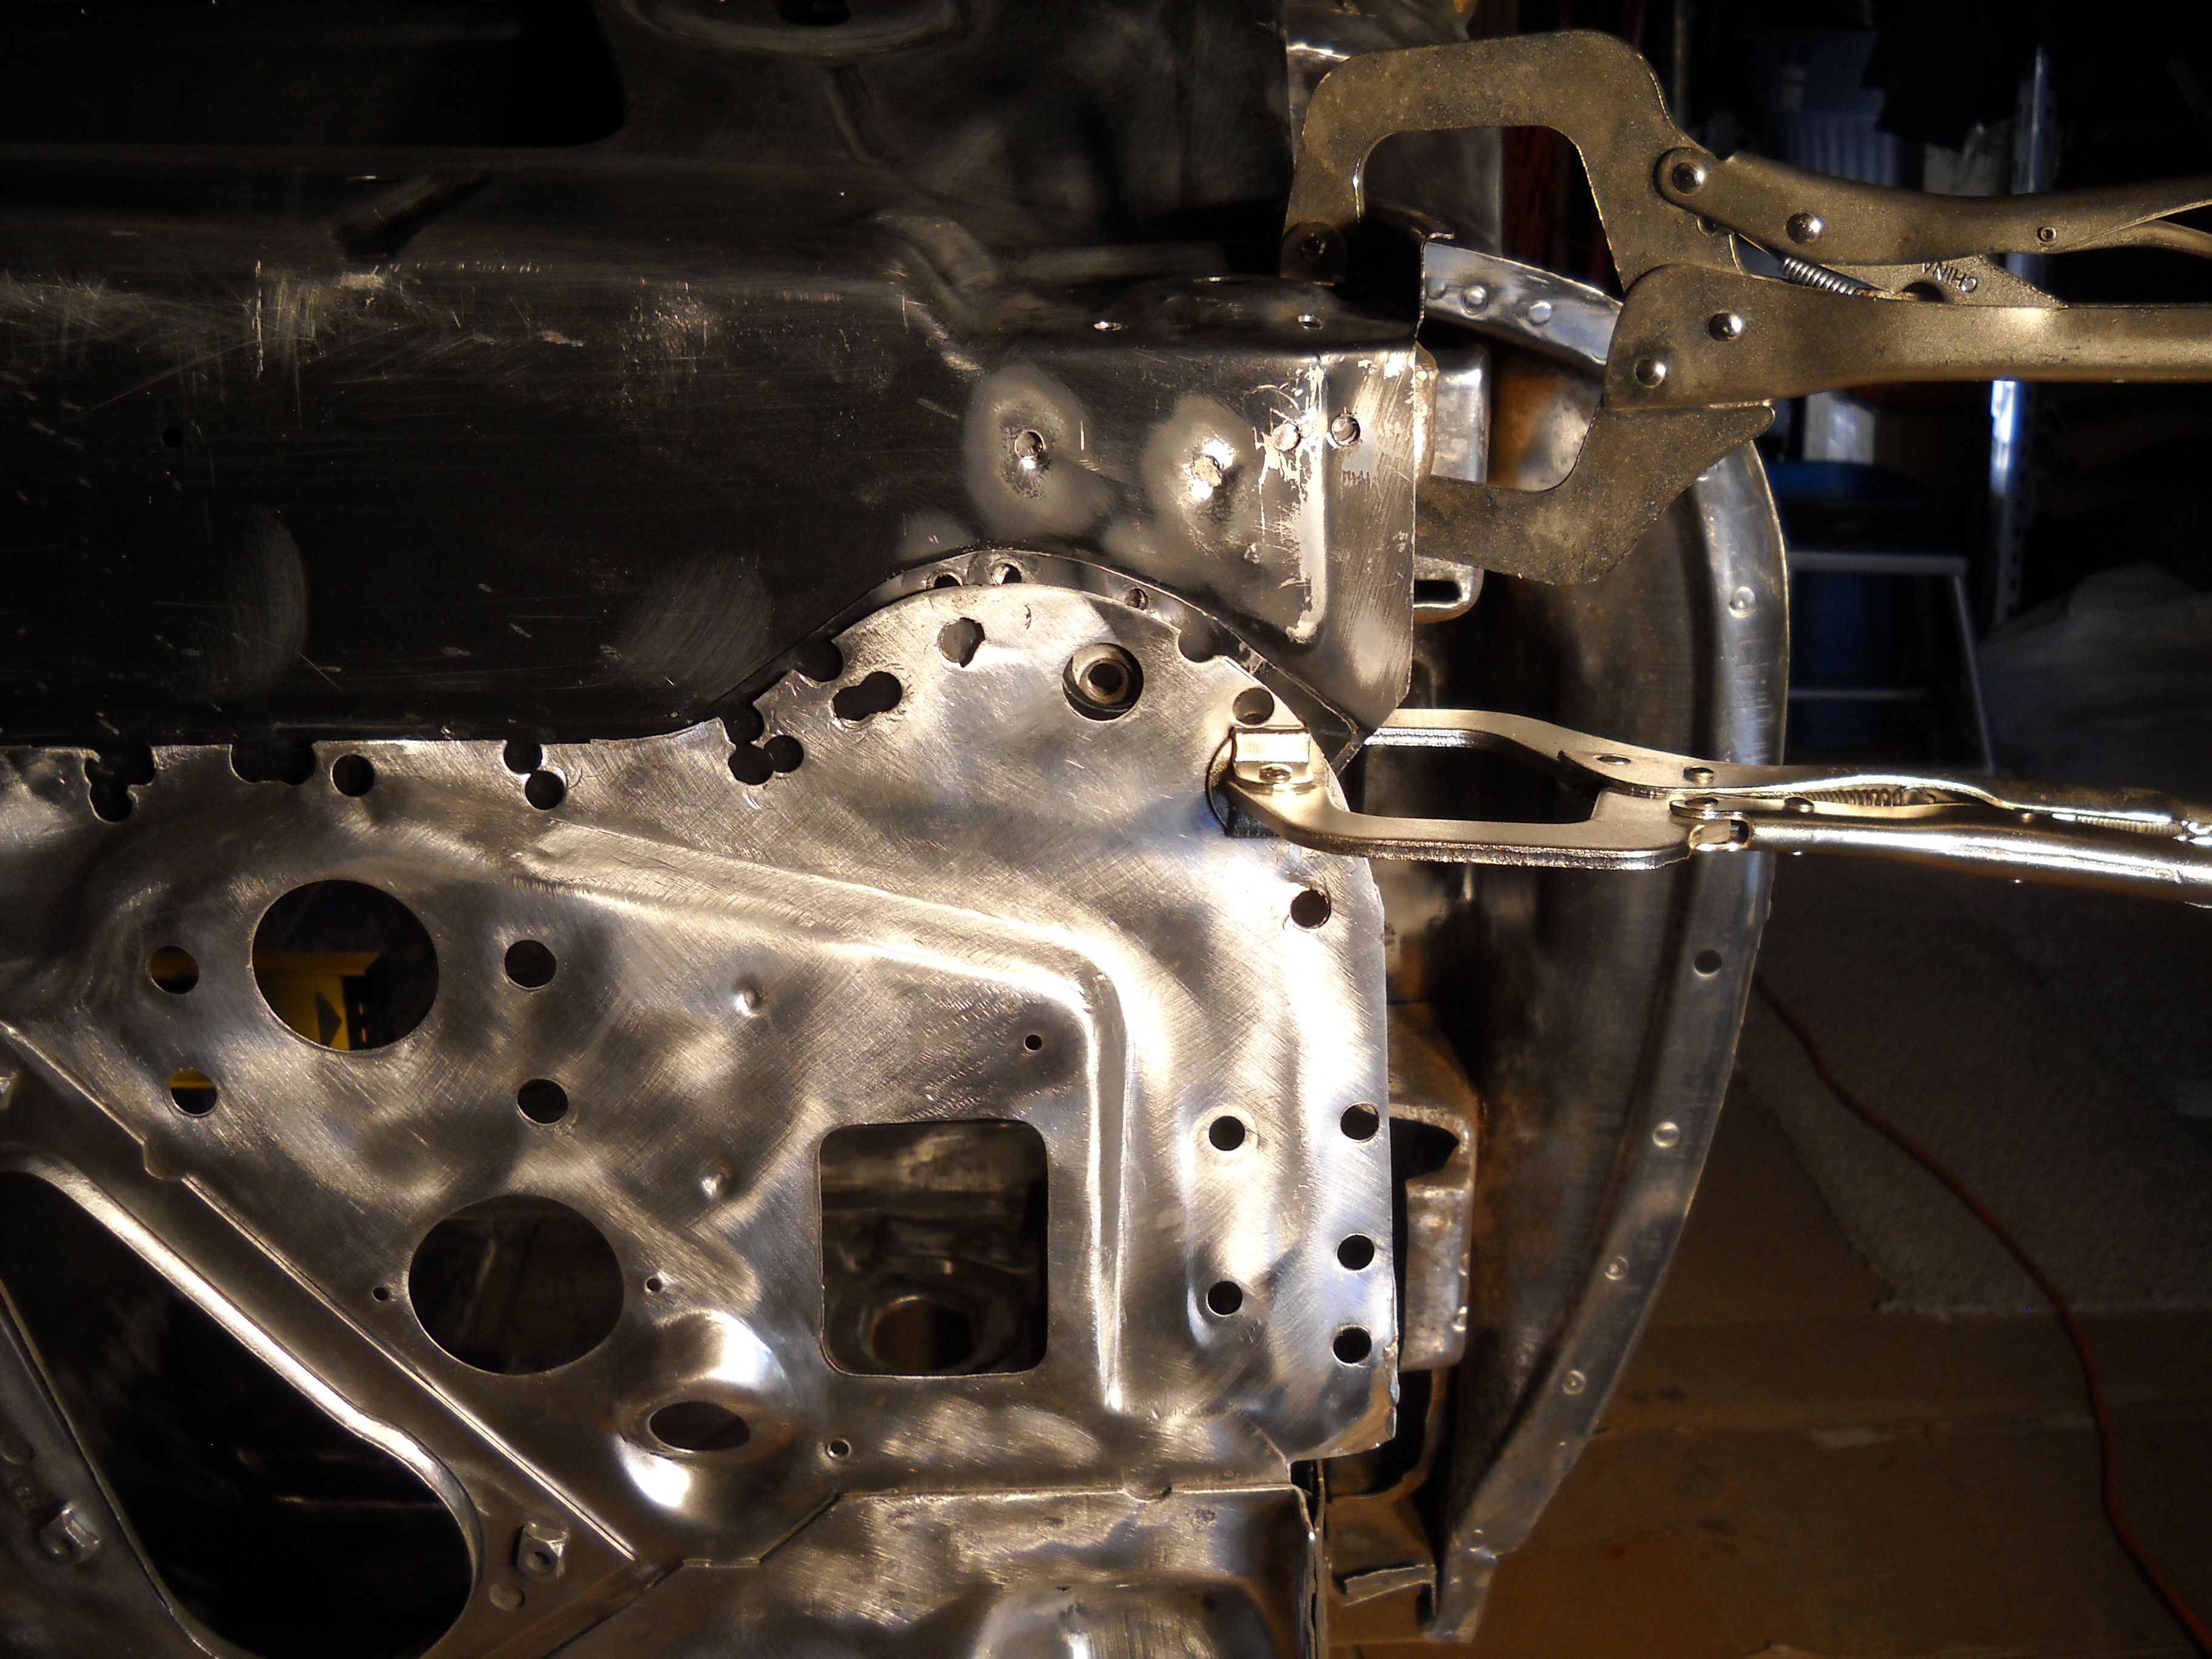
Fitting the cowl today and nothing was lining up, go figure Taiwan POS, so I measured off the old piece and they are not the same. So I decided to take off the old corner pieces (lines up the fender bolts) and use them instead of the POS already on there.
Just need to POR15 them and then I can weld them in place and start lining up the side cowls.... man it's goood to measure off the frame knowing it's square


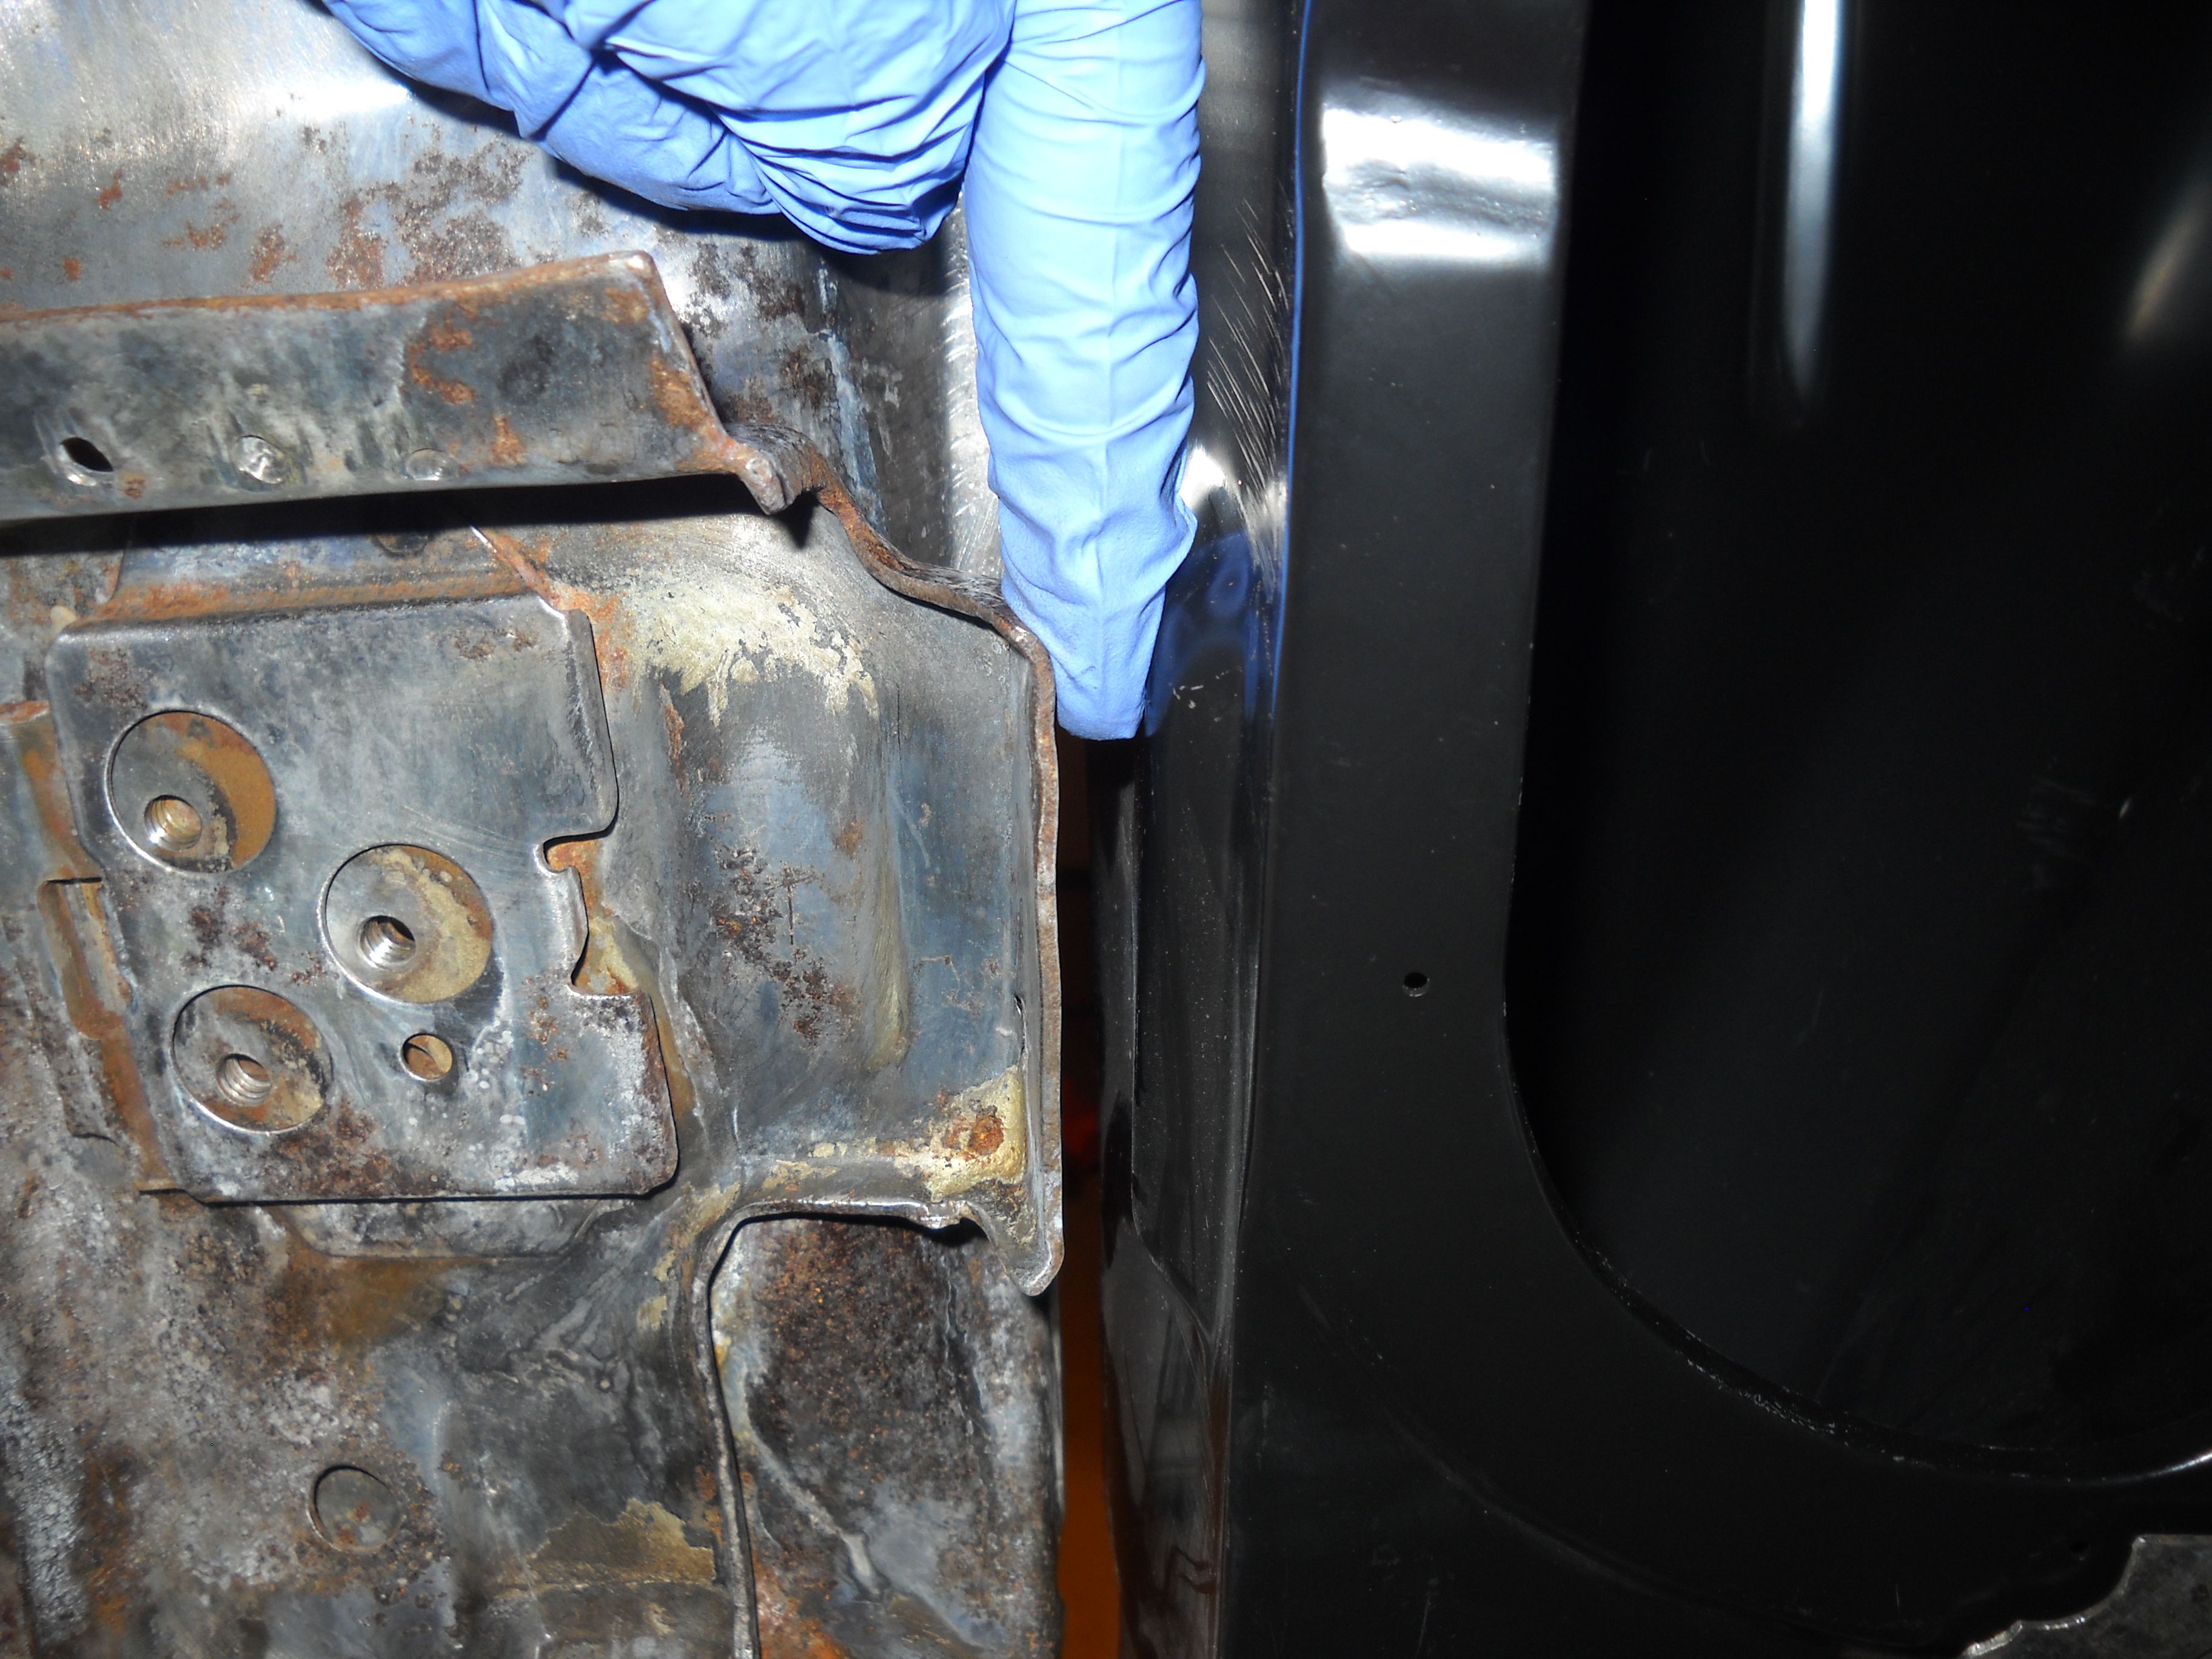
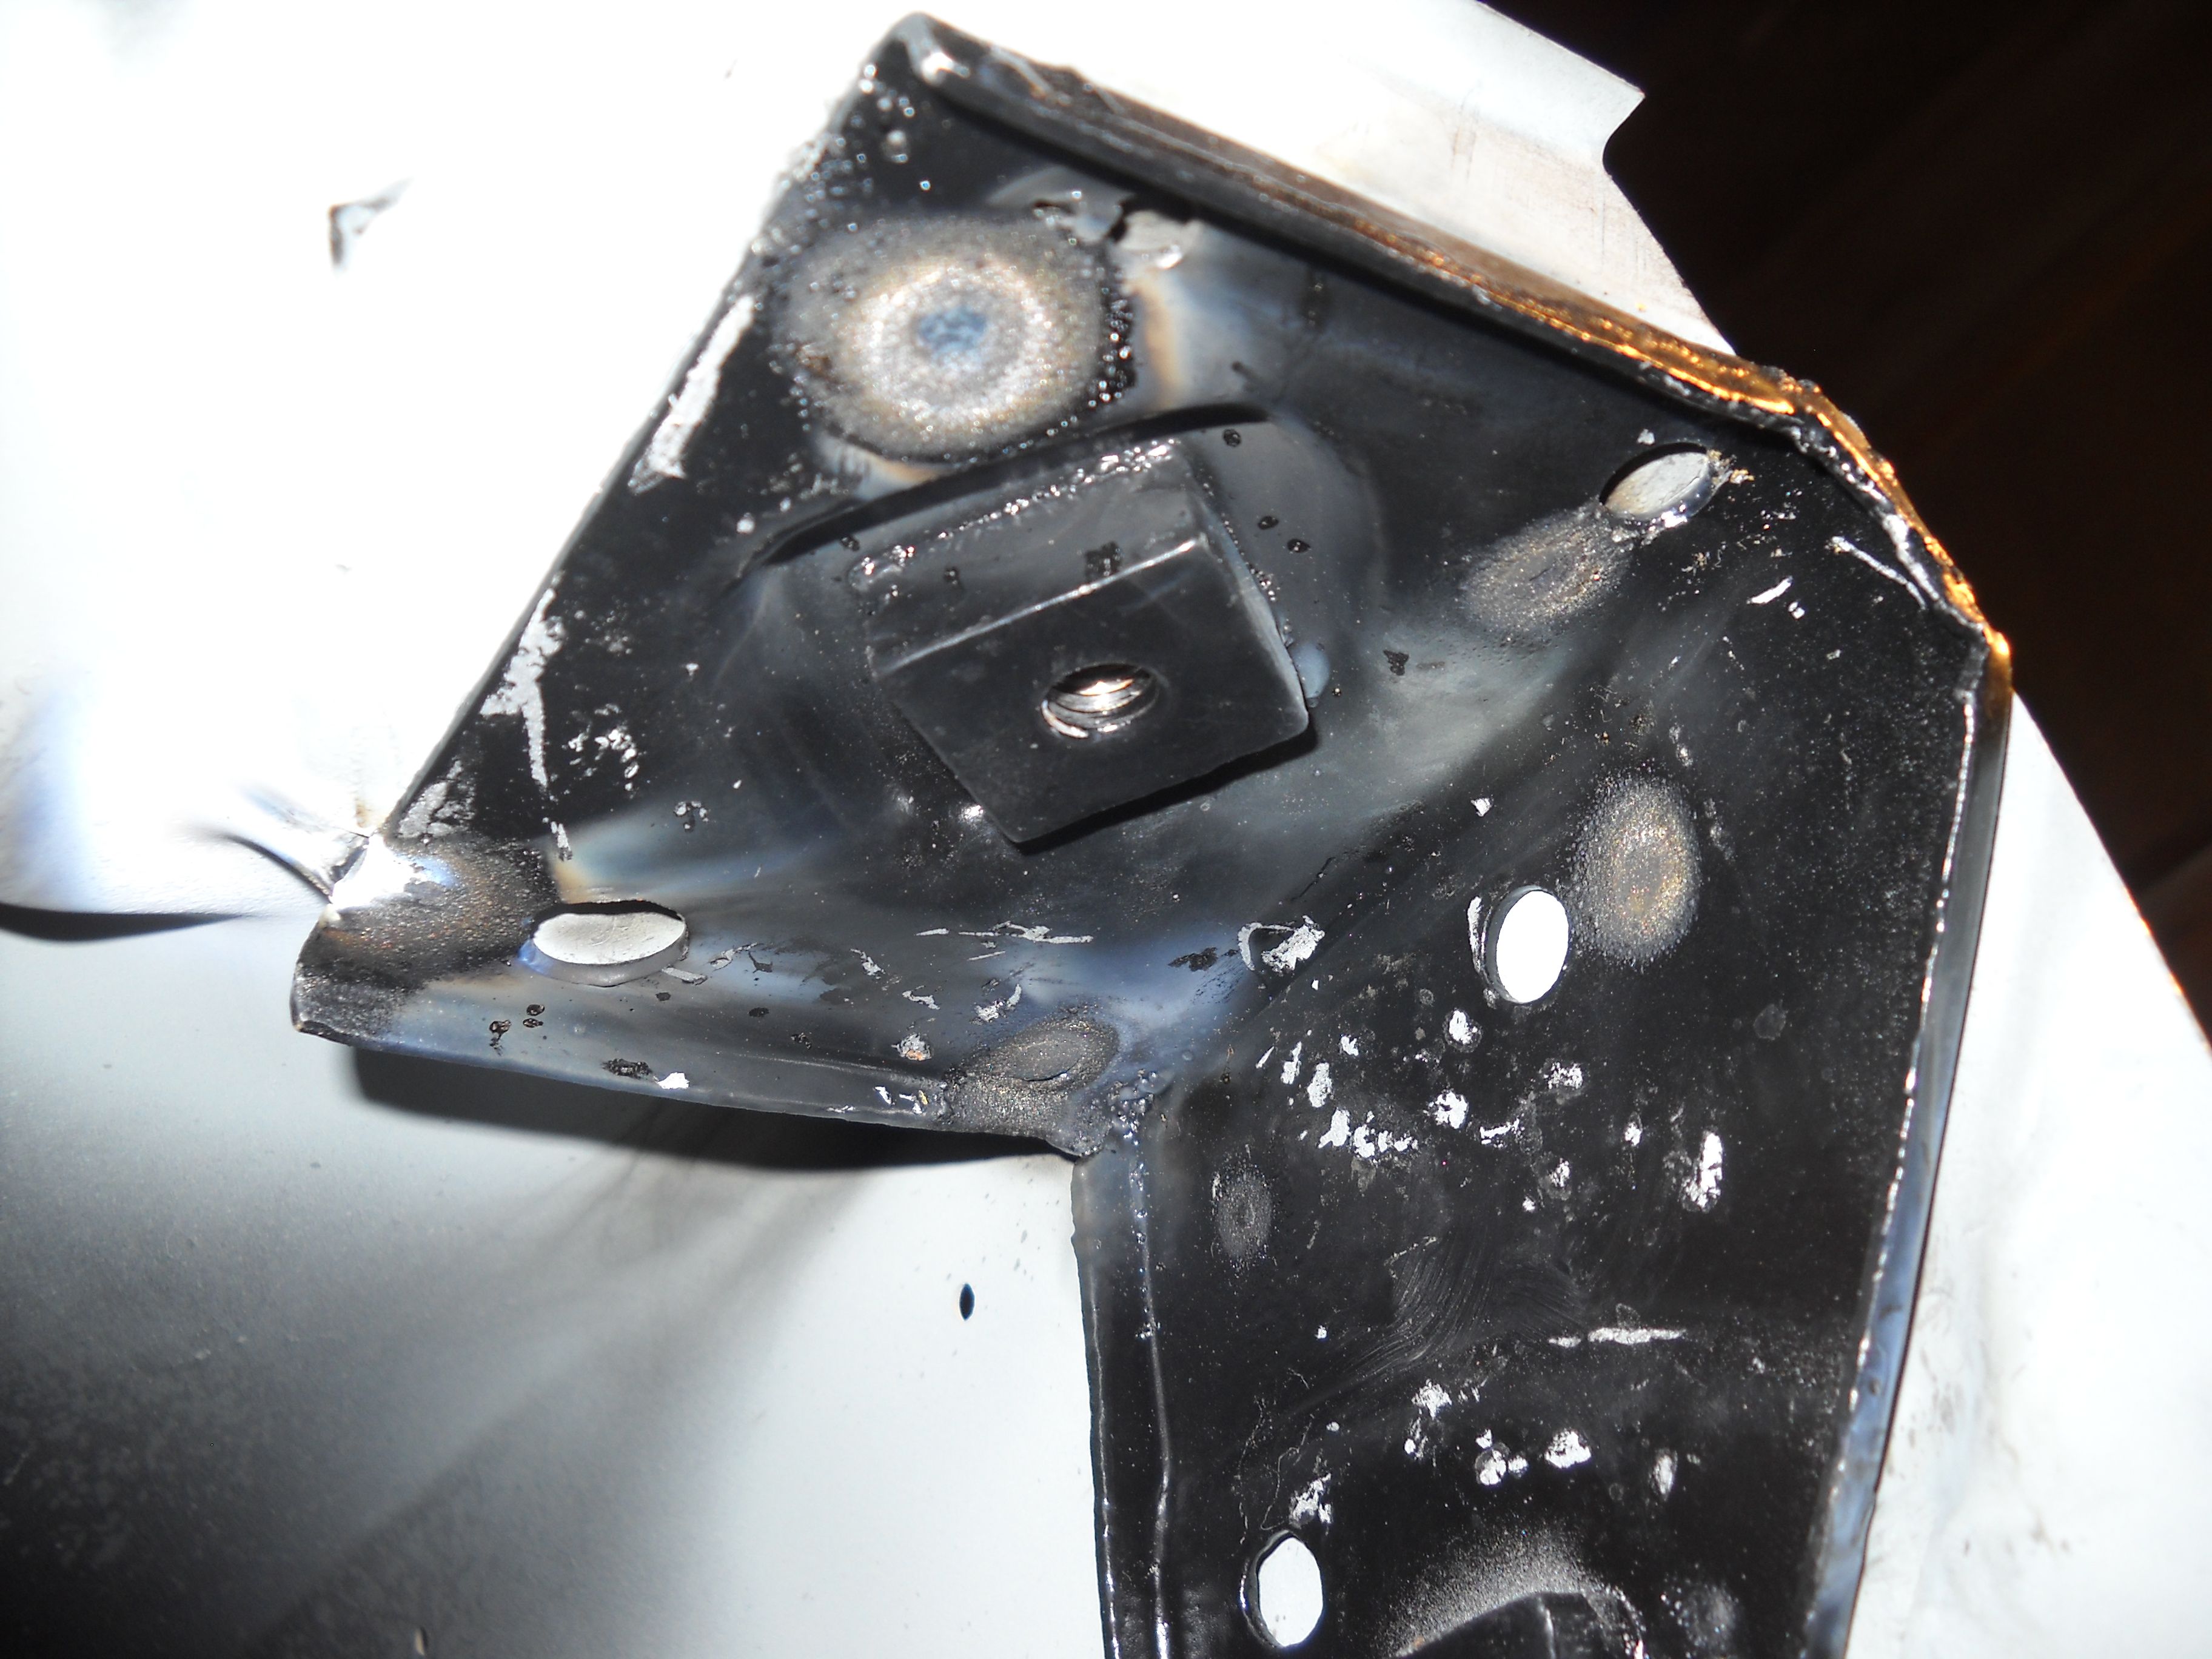
I didn't trust those nuts anyway!

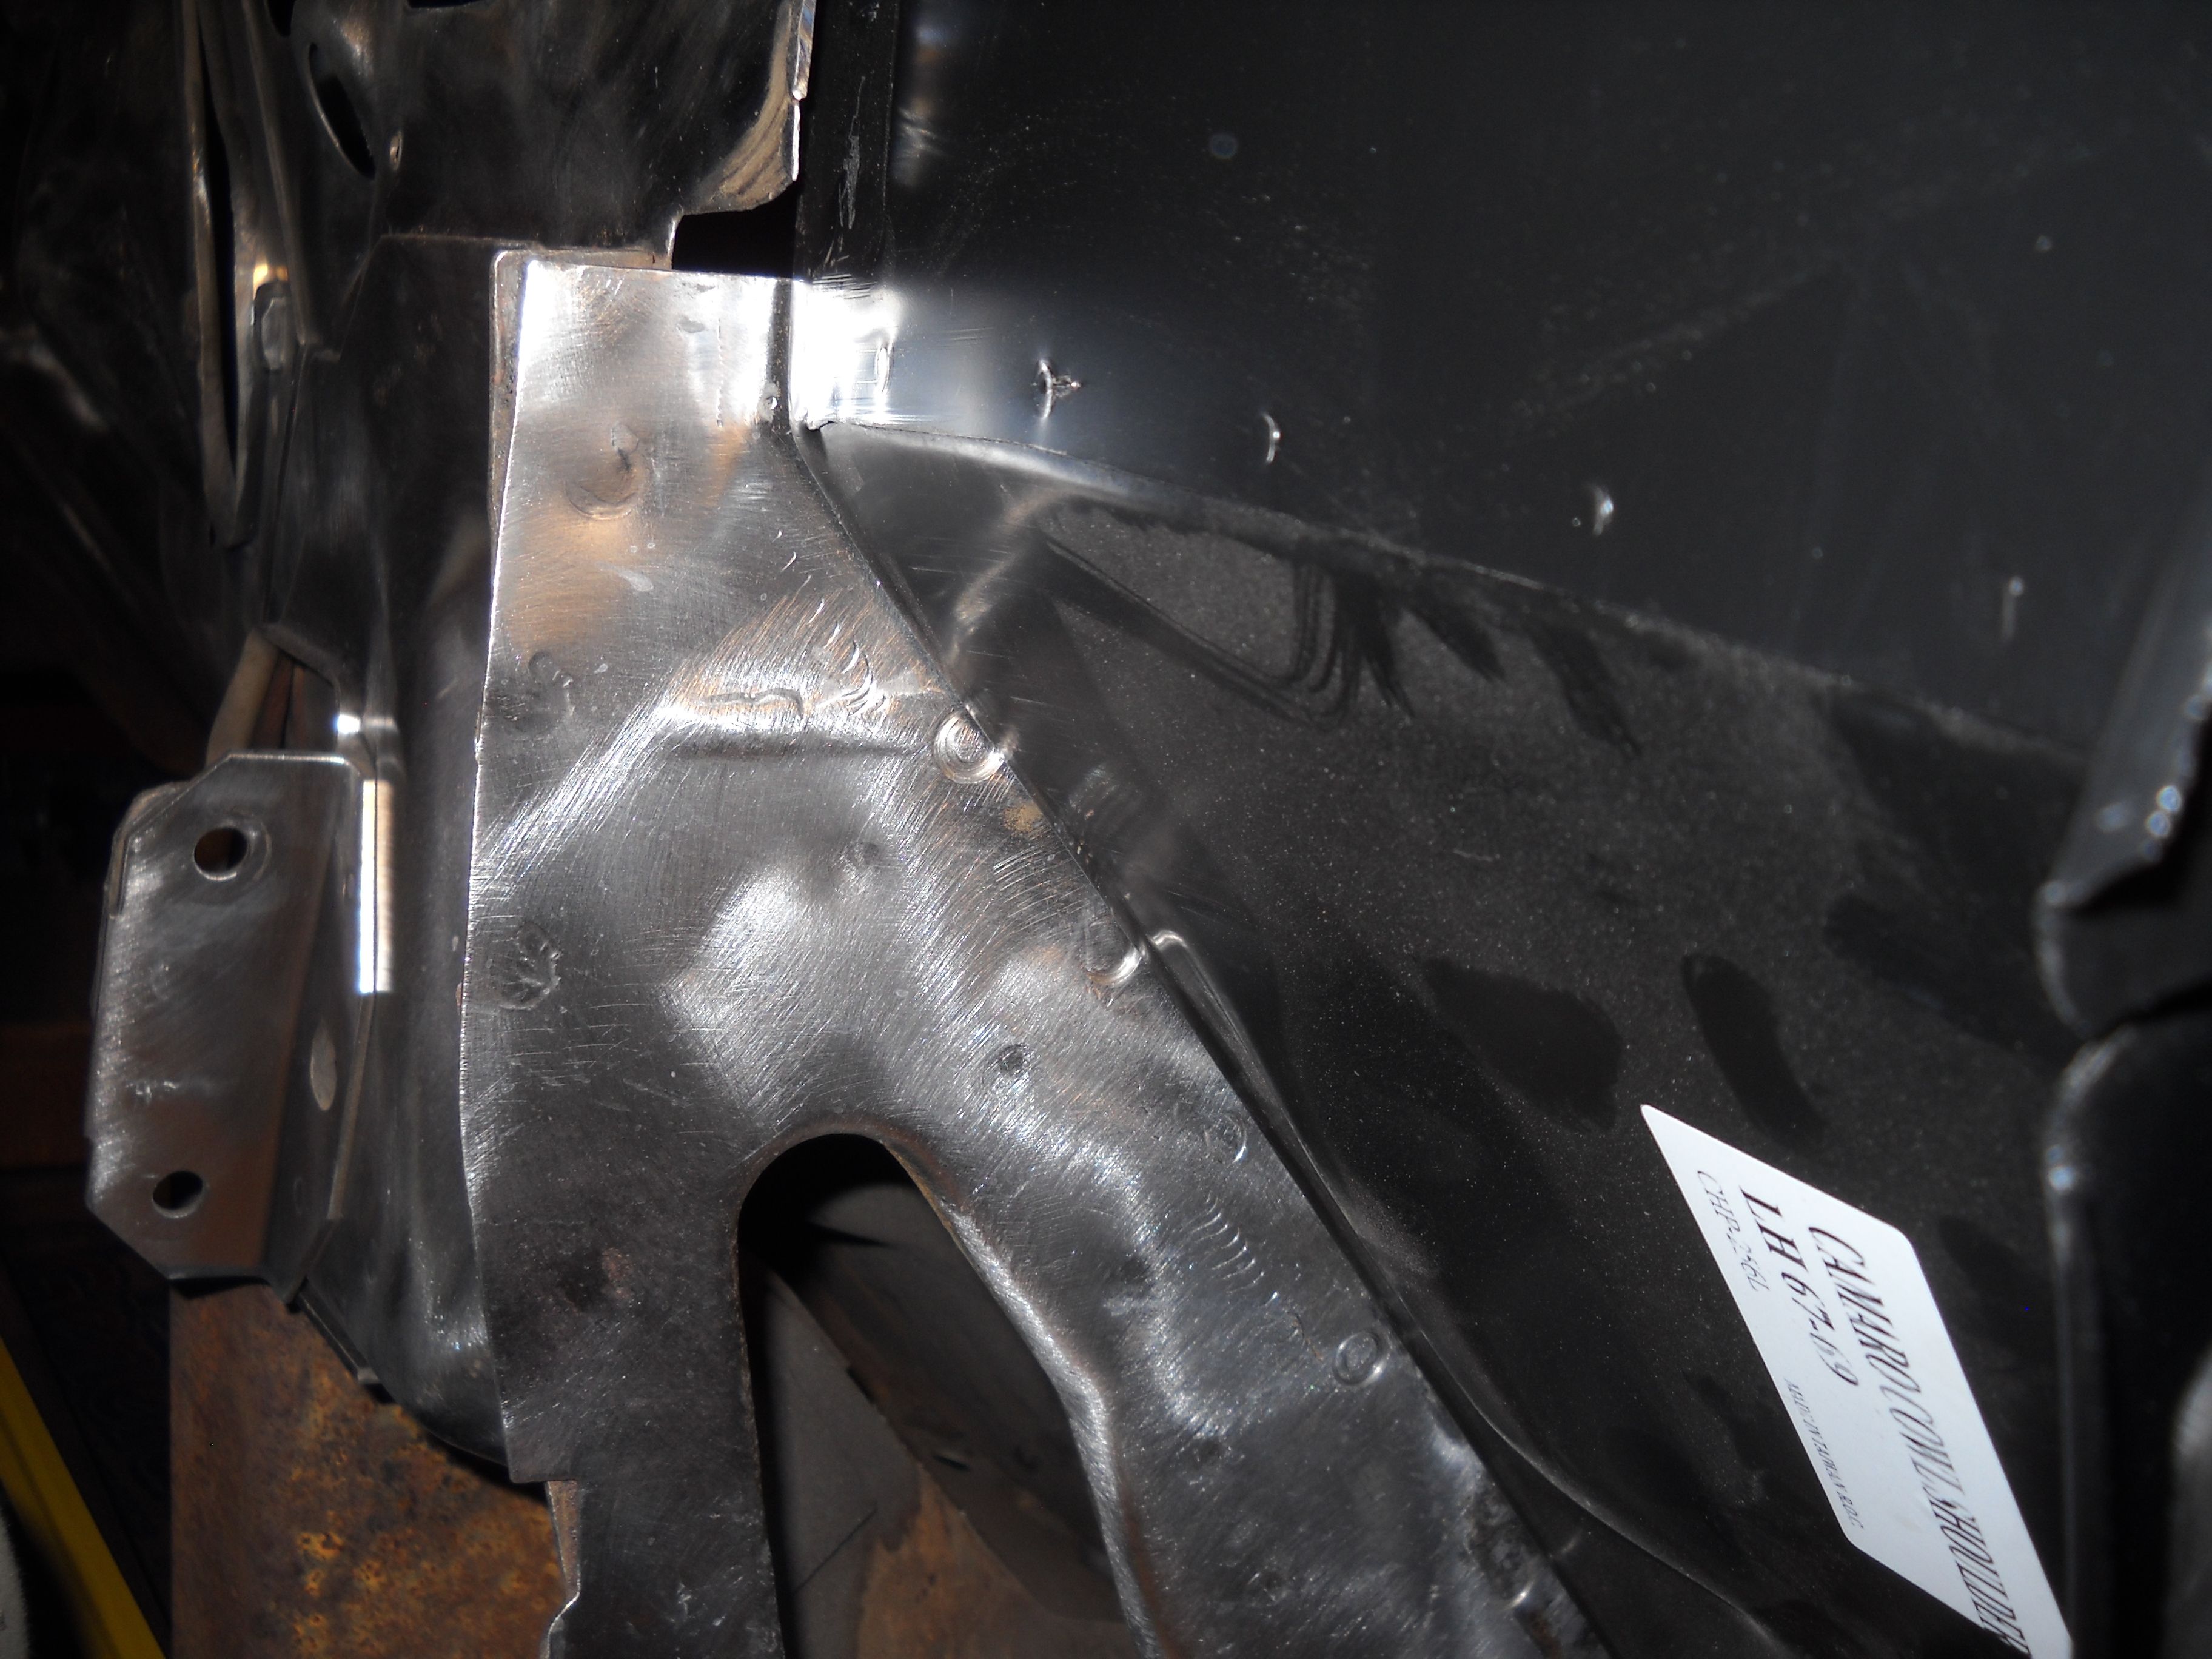
Got the cowl level and it lines up now!

Geee ... the bolt holes line up with the firewall now, kool.

Nothing too big ... but that was bugging me so I had to do the right thing

Thanks for looking,
Michael
__________________
JUST PICTUREShttps://imageshack.com/user/mcavery


Let the house go .... NEVER give up your car!!!!
Reply With Quote
  #204  
Old 04-30-2012, 05:59 AM
makoshark makoshark is offline
Senior Member
 
Join Date: Jun 2005
Location: Byhalia, MS
Posts: 726
Thanks: 0
Thanked 0 Times in 0 Posts
Default

You're making some great progress! You'll be setting up suspension here soon. Have you ordered any of it yet?
Reply With Quote
  #205  
Old 04-30-2012, 03:15 PM
Sonar Chief's Avatar
Sonar Chief Sonar Chief is offline
Senior Member
 
Join Date: Dec 2011
Location: Greater Denver area
Posts: 1,366
Thanks: 245
Thanked 163 Times in 72 Posts
Thumbs up

Quote:
Originally Posted by makoshark View Post
You're making some great progress! You'll be setting up suspension here soon. Have you ordered any of it yet?
Thanks .... been waiting on your pixs and fell asleep
No I haven't ordered any suspension parts yet, figured I'd get the body ready and save $$$$ and go from there.

I did ran into a snafu with the POS side cowls last nite, I'll post some pixs tonight and get some ideas!
__________________
JUST PICTUREShttps://imageshack.com/user/mcavery


Let the house go .... NEVER give up your car!!!!
Reply With Quote
  #206  
Old 04-30-2012, 06:53 PM
Sonar Chief's Avatar
Sonar Chief Sonar Chief is offline
Senior Member
 
Join Date: Dec 2011
Location: Greater Denver area
Posts: 1,366
Thanks: 245
Thanked 163 Times in 72 Posts
Angry POS side cowls!

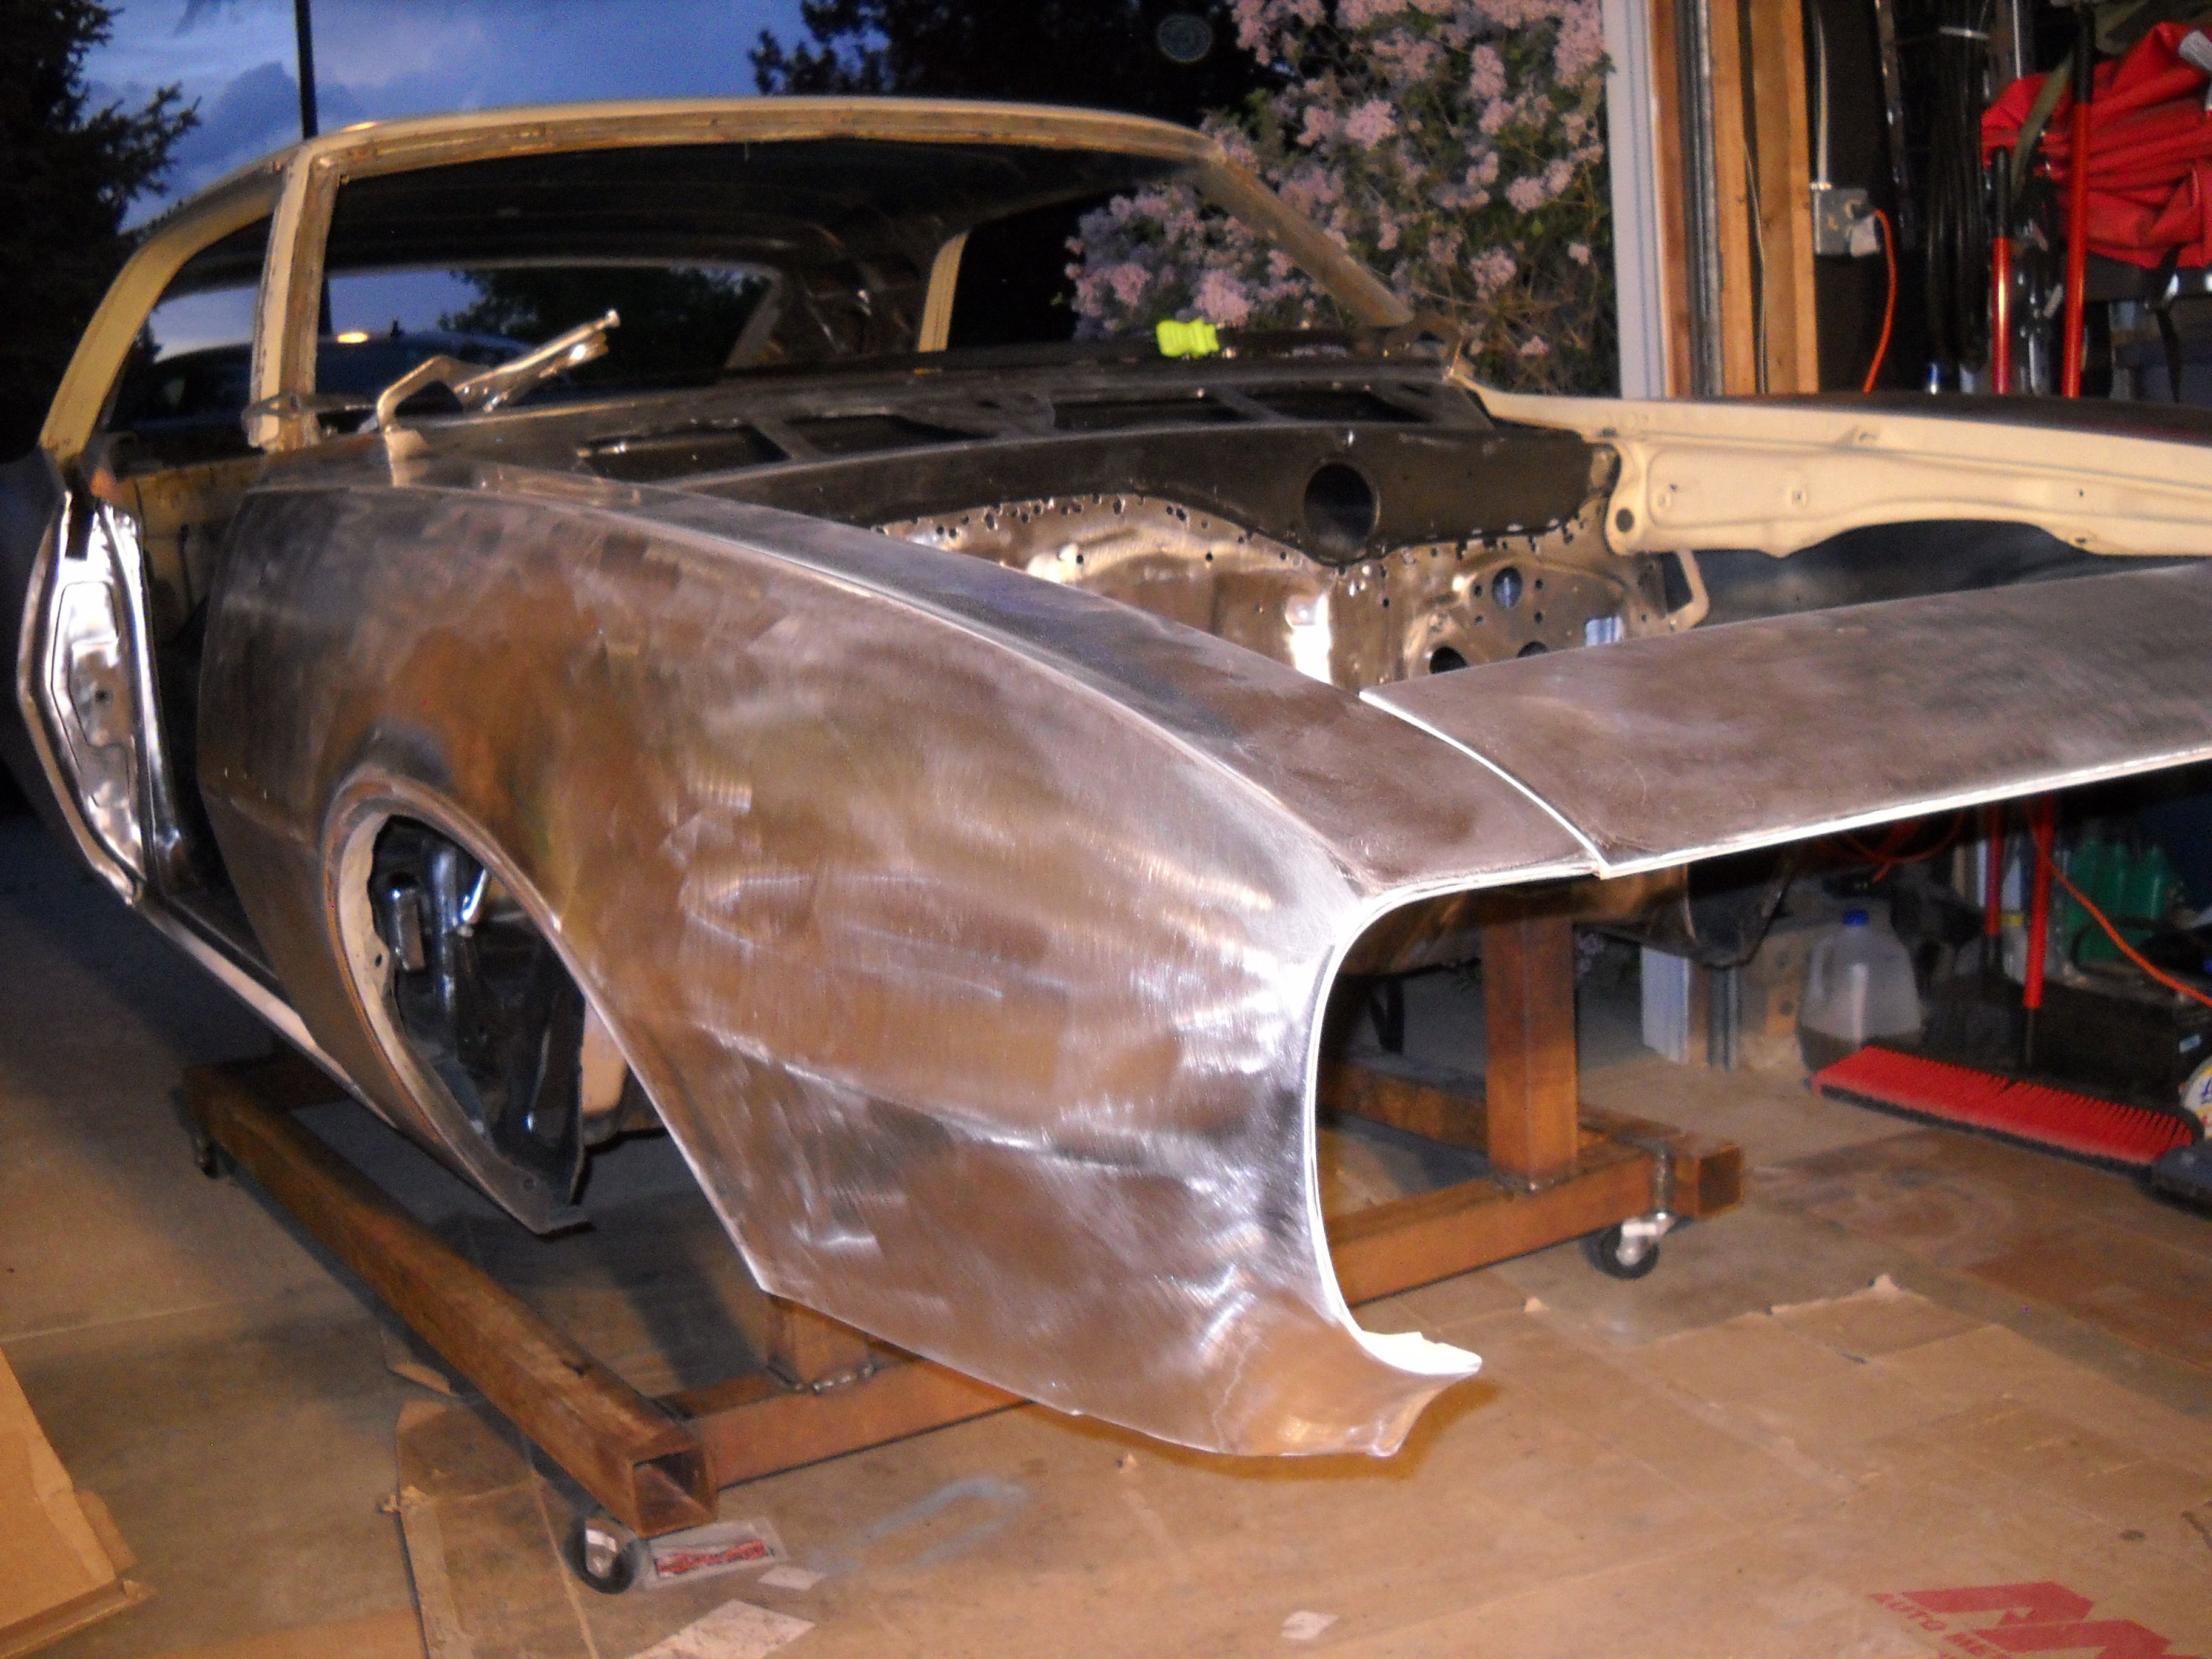
The fit of these side cowls are horrible, if I clamp them to the hinge support like the original there is a 3/8 gap to the firewall, the dang things are not wide enough.
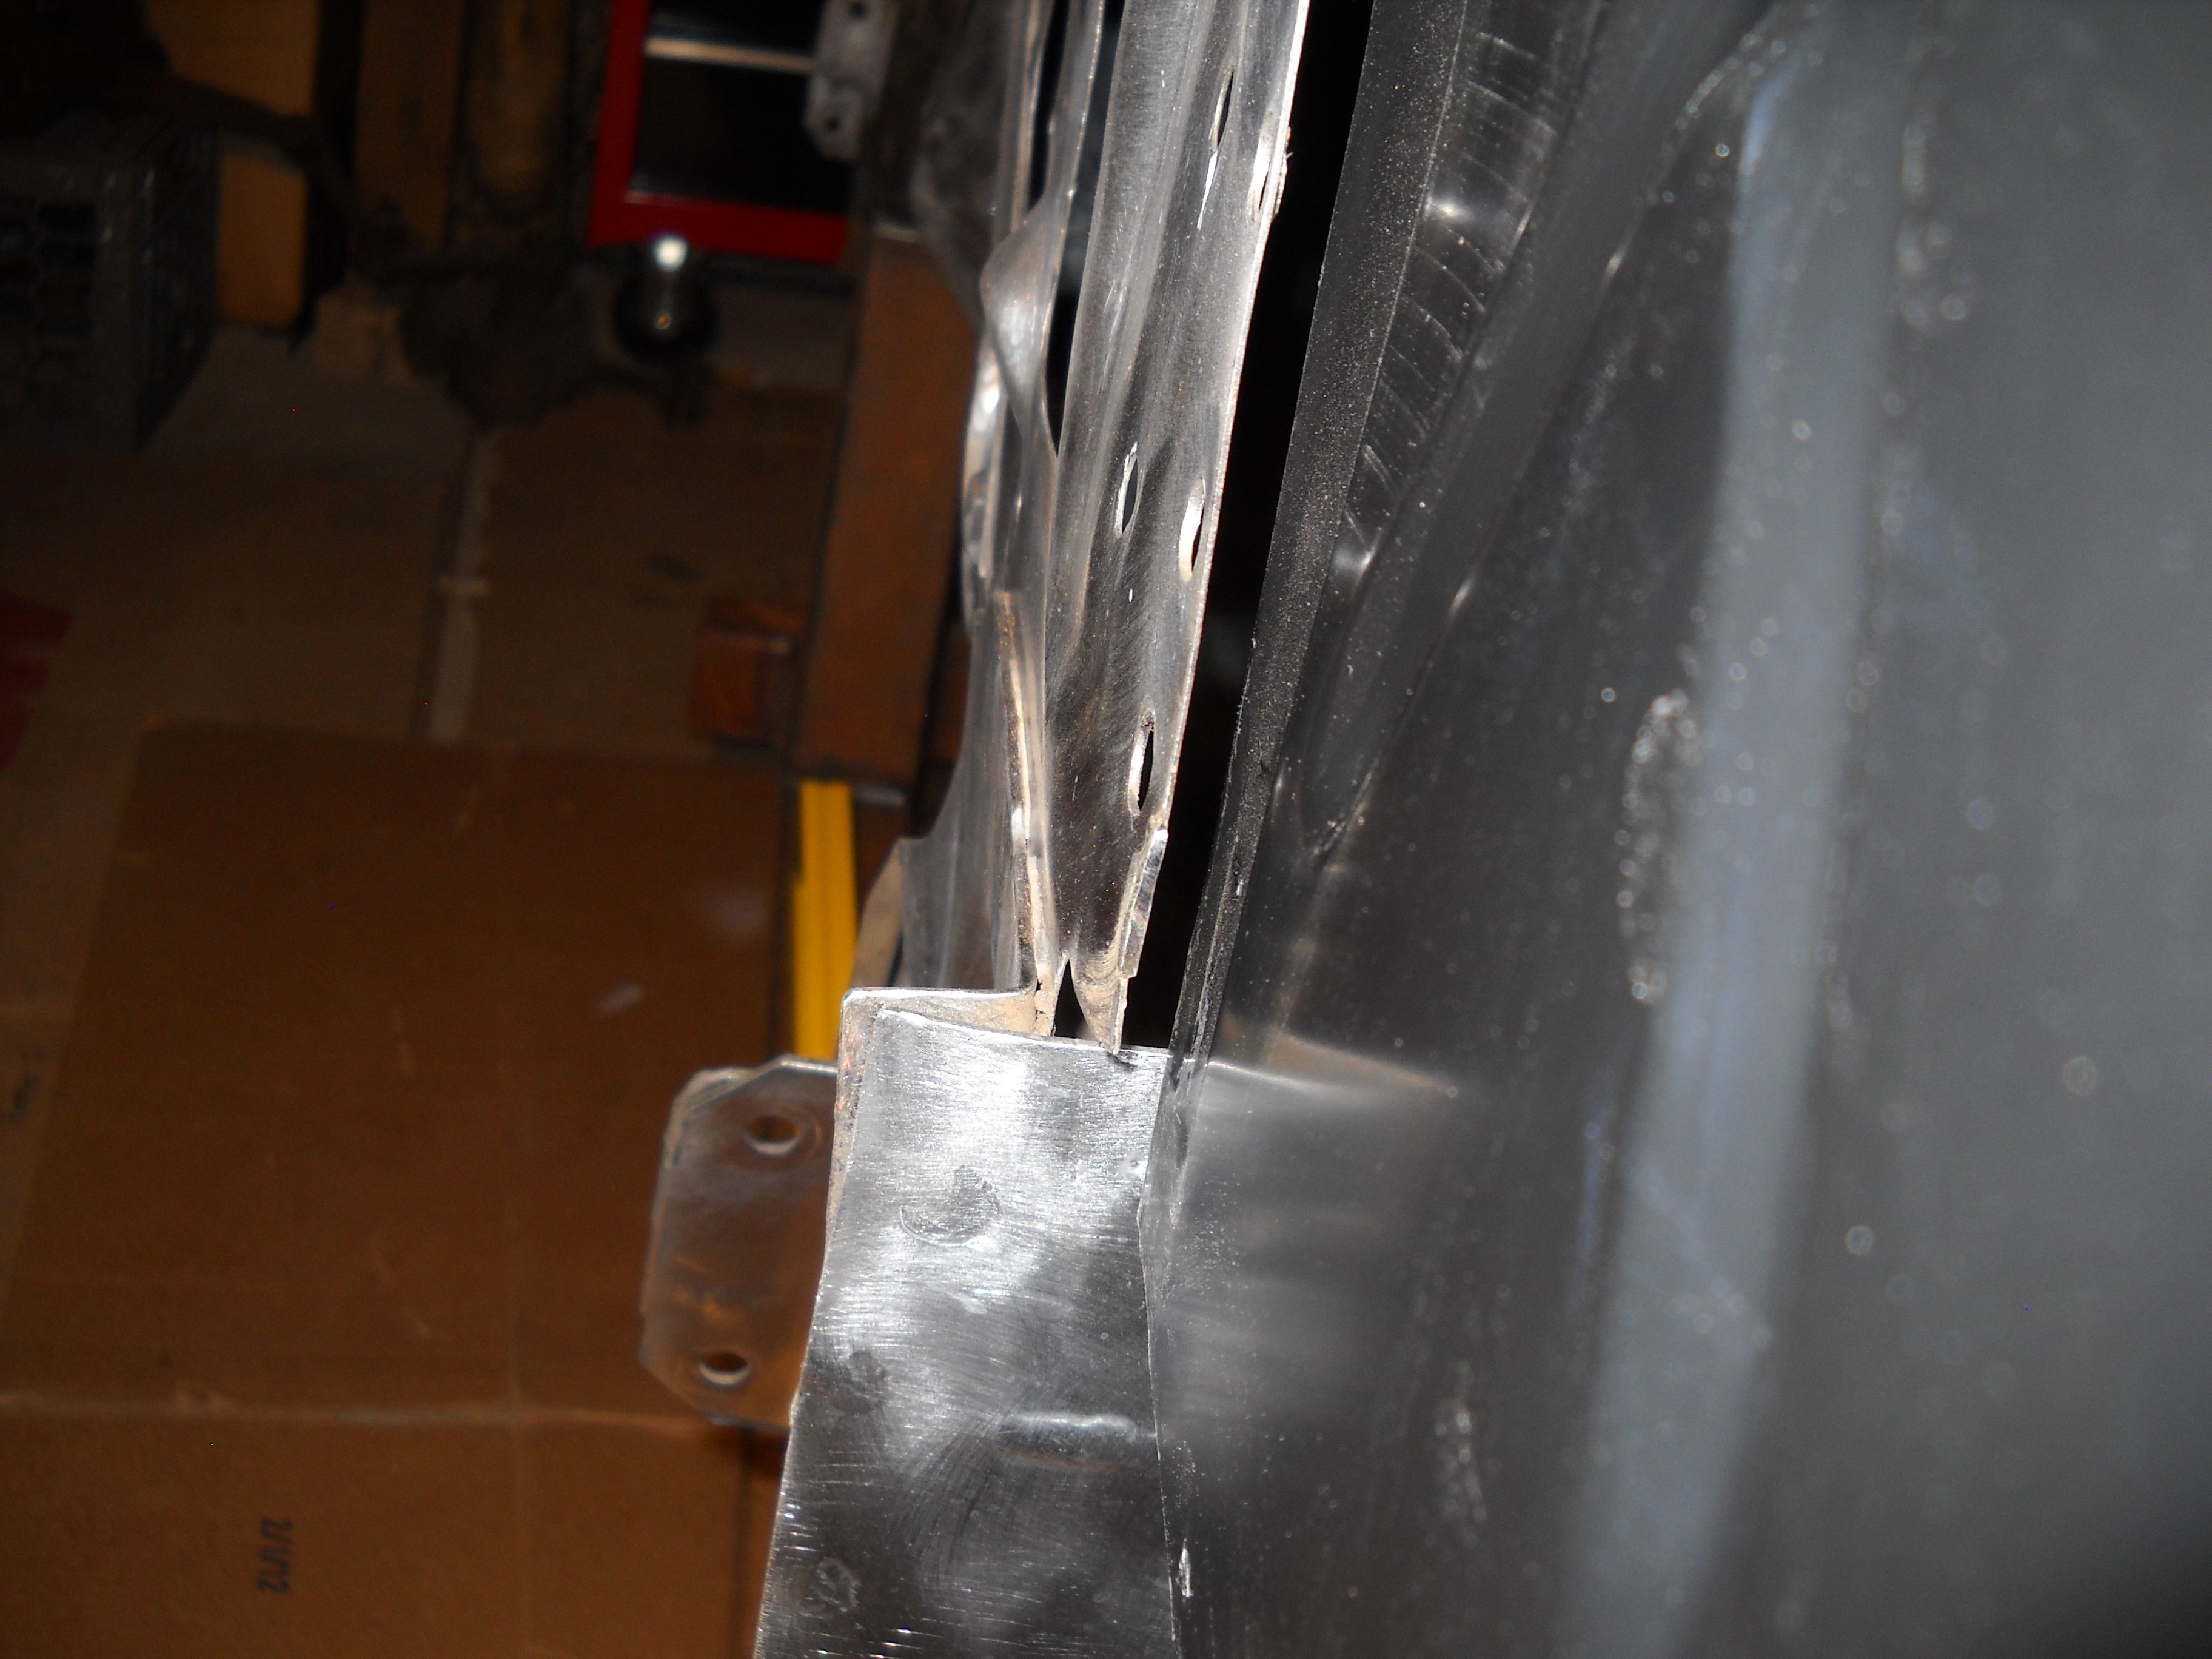
And the outer panel is the same width as the side cowl ...grrrrrrrrrrrr so I can't just slice and weld in the diff .... any ideas? Other than return and hope someone else has better quality, would like to find an OEM but that may prove to be difficult.
Has anyone replaced side cowls with better luck than I am having, please chime in.


Gap with the cowl clamped to the hinge support.

Ditto ... those circles are where the OEM was welded.

Clamped to the firewall and short on the inside
__________________
JUST PICTUREShttps://imageshack.com/user/mcavery


Let the house go .... NEVER give up your car!!!!
Reply With Quote
  #207  
Old 04-30-2012, 06:59 PM
makoshark makoshark is offline
Senior Member
 
Join Date: Jun 2005
Location: Byhalia, MS
Posts: 726
Thanks: 0
Thanked 0 Times in 0 Posts
Default

Dang, those do fit like sheeot. I don't know what to do other than drill out the spot welds on them and make them fit better that way
Reply With Quote
  #208  
Old 05-01-2012, 07:18 PM
Sonar Chief's Avatar
Sonar Chief Sonar Chief is offline
Senior Member
 
Join Date: Dec 2011
Location: Greater Denver area
Posts: 1,366
Thanks: 245
Thanked 163 Times in 72 Posts
Default

Quote:
Originally Posted by makoshark View Post
Dang, those do fit like sheeot. I don't know what to do other than drill out the spot welds on them and make them fit better that way
Naw ... I'm returning these POS and will get some AMD parts when they are in stock. Craig Hopkins at the AMD installation center said all their parts are test fitted and should fit like OEM
I should have order from AMD in the first place ... lesson learned!!!!
I did get the floor pan cleaned and POR'd the rusted spots ... it's something while I'm waiting on parts.
Thanks for looking

__________________
JUST PICTUREShttps://imageshack.com/user/mcavery


Let the house go .... NEVER give up your car!!!!

Last edited by Sonar Chief; 05-02-2012 at 08:22 AM. Reason: + pix
Reply With Quote
  #209  
Old 05-02-2012, 08:10 PM
Sonar Chief's Avatar
Sonar Chief Sonar Chief is offline
Senior Member
 
Join Date: Dec 2011
Location: Greater Denver area
Posts: 1,366
Thanks: 245
Thanked 163 Times in 72 Posts
Thumbs up 5/4 Update

Got to work on the cowl assembly tonite, filled the holes from removing the old corner pieces and drilled new holes similar to OEM, and then welded the POR'd corner pieces at the correct width (52 3/4") across the cowl.
Everything lines up well A little more work on the welds and then get some black POR15 .... but that's another day!


Welded the corners.

POR15 black needs touching up!

Work in progress while I'm waiting for the side cowls

Thanks for looking
__________________
JUST PICTUREShttps://imageshack.com/user/mcavery


Let the house go .... NEVER give up your car!!!!

Last edited by Sonar Chief; 05-02-2012 at 08:25 PM.
Reply With Quote
  #210  
Old 05-05-2012, 07:58 PM
Sonar Chief's Avatar
Sonar Chief Sonar Chief is offline
Senior Member
 
Join Date: Dec 2011
Location: Greater Denver area
Posts: 1,366
Thanks: 245
Thanked 163 Times in 72 Posts
Thumbs up 5/5 Update

Bolted the front fenders to the cowl to make sure everything lined up (still waiting on my side cowls before I weld anything to that cowl!) Then I decided that I would take the fenders down to metal while they were bolted to the body, I still need to DA them, so yesterday and today I that's what I did
I still need to get in the jambs with the fiber disc.... but overall she came out nice. This way when I am ready for epoxy primer I can do the whole car at once .... that's the plan anyhow.


Bolted the NOS fenders to the cowl!

Couple hours later ....

Another day of sanding.

Thanks
__________________
JUST PICTUREShttps://imageshack.com/user/mcavery


Let the house go .... NEVER give up your car!!!!
Reply With Quote
Reply


Posting Rules
You may not post new threads
You may not post replies
You may not post attachments
You may not edit your posts

BB code is On
Smilies are On
[IMG] code is On
HTML code is Off

Forum Jump


All times are GMT -7. The time now is 11:19 PM.


Powered by vBulletin® Version 3.8.11
Copyright ©2000 - 2026, vBulletin Solutions Inc.
Copyright Lateral-g.net