...

Go Back   Lateral-g Forums > Lateral-G Open Discussions > Project Updates
User Name
Password


Reply
 
Thread Tools Display Modes
  #311  
Old 07-14-2012, 08:42 AM
Leadfoot1's Avatar
Leadfoot1 Leadfoot1 is offline
Senior Member
 
Join Date: Dec 2005
Location: MONTREAL- CANADA
Posts: 705
Thanks: 0
Thanked 0 Times in 0 Posts
Default

WoW!!! Thats a lot of work!!

Im just thinking...did you ever tought about an acid bath or something? Followed by electrodeposit primer or the like? I saw that done a few times and to take care of all the rust like you seem to be wanting to do it might have been the ticket!! Not sure it would have come that expensive, and it would have covered every spec of rust!! I consider myself a little asking on quality work but when it comes to getting to EVERY little spot...Man, it just never can be done. You really seem to want to get every inch done so i wonder if that system crossed your mind or not.

Great job so far! Keep it up! You are one patient dude!

Lead.
__________________
LEADFOOT1

New for summer '13. My latest find!!

48k miles, 100% original, 1969 Camaro coupe. Untouched, never apart and squeaky clean!!! 327/th350, A/C car. Gold on black w/vinyl top. Only add ons; Fast ratio box and SS396 wheels.

FINALLY!!! A car without rust repairs ever!!! None before, none coming!!! Cant come to modifying it tough....

...So, '67 Camaro project with my laying around stuff out of my black 'vert. 468 BB and YSI blower, braked th400, 12 bolt/spool, 35 splines etc. Complete Calvert suspension front and rear. 30x13.5 ET Streets, caged, lightened, slammed and running low 9's "Street car"
Reply With Quote
  #312  
Old 07-14-2012, 11:43 AM
Sonar Chief's Avatar
Sonar Chief Sonar Chief is offline
Senior Member
 
Join Date: Dec 2011
Location: Greater Denver area
Posts: 1,366
Thanks: 245
Thanked 163 Times in 72 Posts
Smile

Quote:
Originally Posted by Steve68 View Post
Time for the handheld sand blaster,and clean that up,
Sand blasting won't get underneath where the rust started , so the roof has got to come off .... to do it right


Quote:
Originally Posted by Leadfoot1 View Post
WoW!!! Thats a lot of work!!

Im just thinking...did you ever tought about an acid bath or something? Followed by electrodeposit primer or the like? I saw that done a few times and to take care of all the rust like you seem to be wanting to do it might have been the ticket!! Not sure it would have come that expensive, and it would have covered every spec of rust!! I consider myself a little asking on quality work but when it comes to getting to EVERY little spot...Man, it just never can be done. You really seem to want to get every inch done so i wonder if that system crossed your mind or not.

Great job so far! Keep it up! You are one patient dude!

Lead.
Thanks ... have your read Stielow's book? The neutralizer after the acid dip didn't get into the same spots as the acid and the doors rusted out requiring redo on the doors.

I may be getting all the rust off the car the hard way, but .... I didn't introduce any chemicals, sand or any media that didn't come from the factory and I know it's done right.

Thanks for asking thou ...
__________________
JUST PICTUREShttps://imageshack.com/user/mcavery


Let the house go .... NEVER give up your car!!!!
Reply With Quote
  #313  
Old 07-14-2012, 11:45 AM
Black93GT's Avatar
Black93GT Black93GT is offline
Senior Member
 
Join Date: Aug 2010
Location: Vacaville CA
Posts: 108
Thanks: 0
Thanked 0 Times in 0 Posts
Default

when i was pulling my quarters out I found rust in the drip rails the same as yours. it was rusted inside the seam. the spot welds didn't exist anymore. I ended up grabbing my plasma and cutting the roof off.... only to find the drip rail panel itself was rusted nearly the entire lenght. oh well... what's one more panel at this point.
Reply With Quote
  #314  
Old 07-14-2012, 12:01 PM
Sonar Chief's Avatar
Sonar Chief Sonar Chief is offline
Senior Member
 
Join Date: Dec 2011
Location: Greater Denver area
Posts: 1,366
Thanks: 245
Thanked 163 Times in 72 Posts
Thumbs up Sprayed exopy

primer on the door jambs, sills and the rocker panels Had to get up at o dark thirty, actually around 0630 and get the car wiped off and get going before the garage got too hot.

Came out alright ... had a couple runs no biggy thou, now I can hang the doors and get the other parts set in place and outa my boys bedroom.

I didn't mask off anything off .... a grey scotch brite will take care of the over spray (the floor will get epoxy and then Lizard skin anyway). There will be more high fill primer coming later so no biggy.


Door jamb done.

Check.

Time to hang the doors

Jambs came out nice!

Got the inner and outer rocker to the pinch weld

So a good day so far, everything is drying and I'm outa epoxy, I knew I didn't have enough for the quarters .... nice timing. Time for some inside stuff during the heat of the day.

Thanks for looking ...
__________________
JUST PICTUREShttps://imageshack.com/user/mcavery


Let the house go .... NEVER give up your car!!!!

Last edited by Sonar Chief; 07-14-2012 at 12:06 PM.
Reply With Quote
  #315  
Old 07-14-2012, 12:04 PM
Sonar Chief's Avatar
Sonar Chief Sonar Chief is offline
Senior Member
 
Join Date: Dec 2011
Location: Greater Denver area
Posts: 1,366
Thanks: 245
Thanked 163 Times in 72 Posts
Default

Quote:
Originally Posted by Black93GT View Post
when i was pulling my quarters out I found rust in the drip rails the same as yours. it was rusted inside the seam. the spot welds didn't exist anymore. I ended up grabbing my plasma and cutting the roof off.... only to find the drip rail panel itself was rusted nearly the entire lenght. oh well... what's one more panel at this point.
That is why you gotta take the panel off and see what's under the rust .... I am getting everything else done first and then I'll tackle the roof .... it's holding the car together now and I don't wanna cut too much off the car at once.

Thanks for sharing ...
__________________
JUST PICTUREShttps://imageshack.com/user/mcavery


Let the house go .... NEVER give up your car!!!!
Reply With Quote
  #316  
Old 07-21-2012, 10:40 PM
Sonar Chief's Avatar
Sonar Chief Sonar Chief is offline
Senior Member
 
Join Date: Dec 2011
Location: Greater Denver area
Posts: 1,366
Thanks: 245
Thanked 163 Times in 72 Posts
Thumbs up 7/21 Update

It's a good day when parts come in, been gone all week and my AMD side cowls are here ... so now I can finish the cowl and the firewall!

Man do they fit 110% better than those other (China made) ones, so I had to fit them and see what the car looks like with side cowls ( I forgot) I am glad the AMD parts fit, should have ordered them from the beginning ... I now know there is an AMD dealer here in town that will get all my business fer sure.

The driver's side cowl doesn't quite have the same curvature as the upper cowl piece, but that is not a deal breaker just means I have to work with it .... BFH

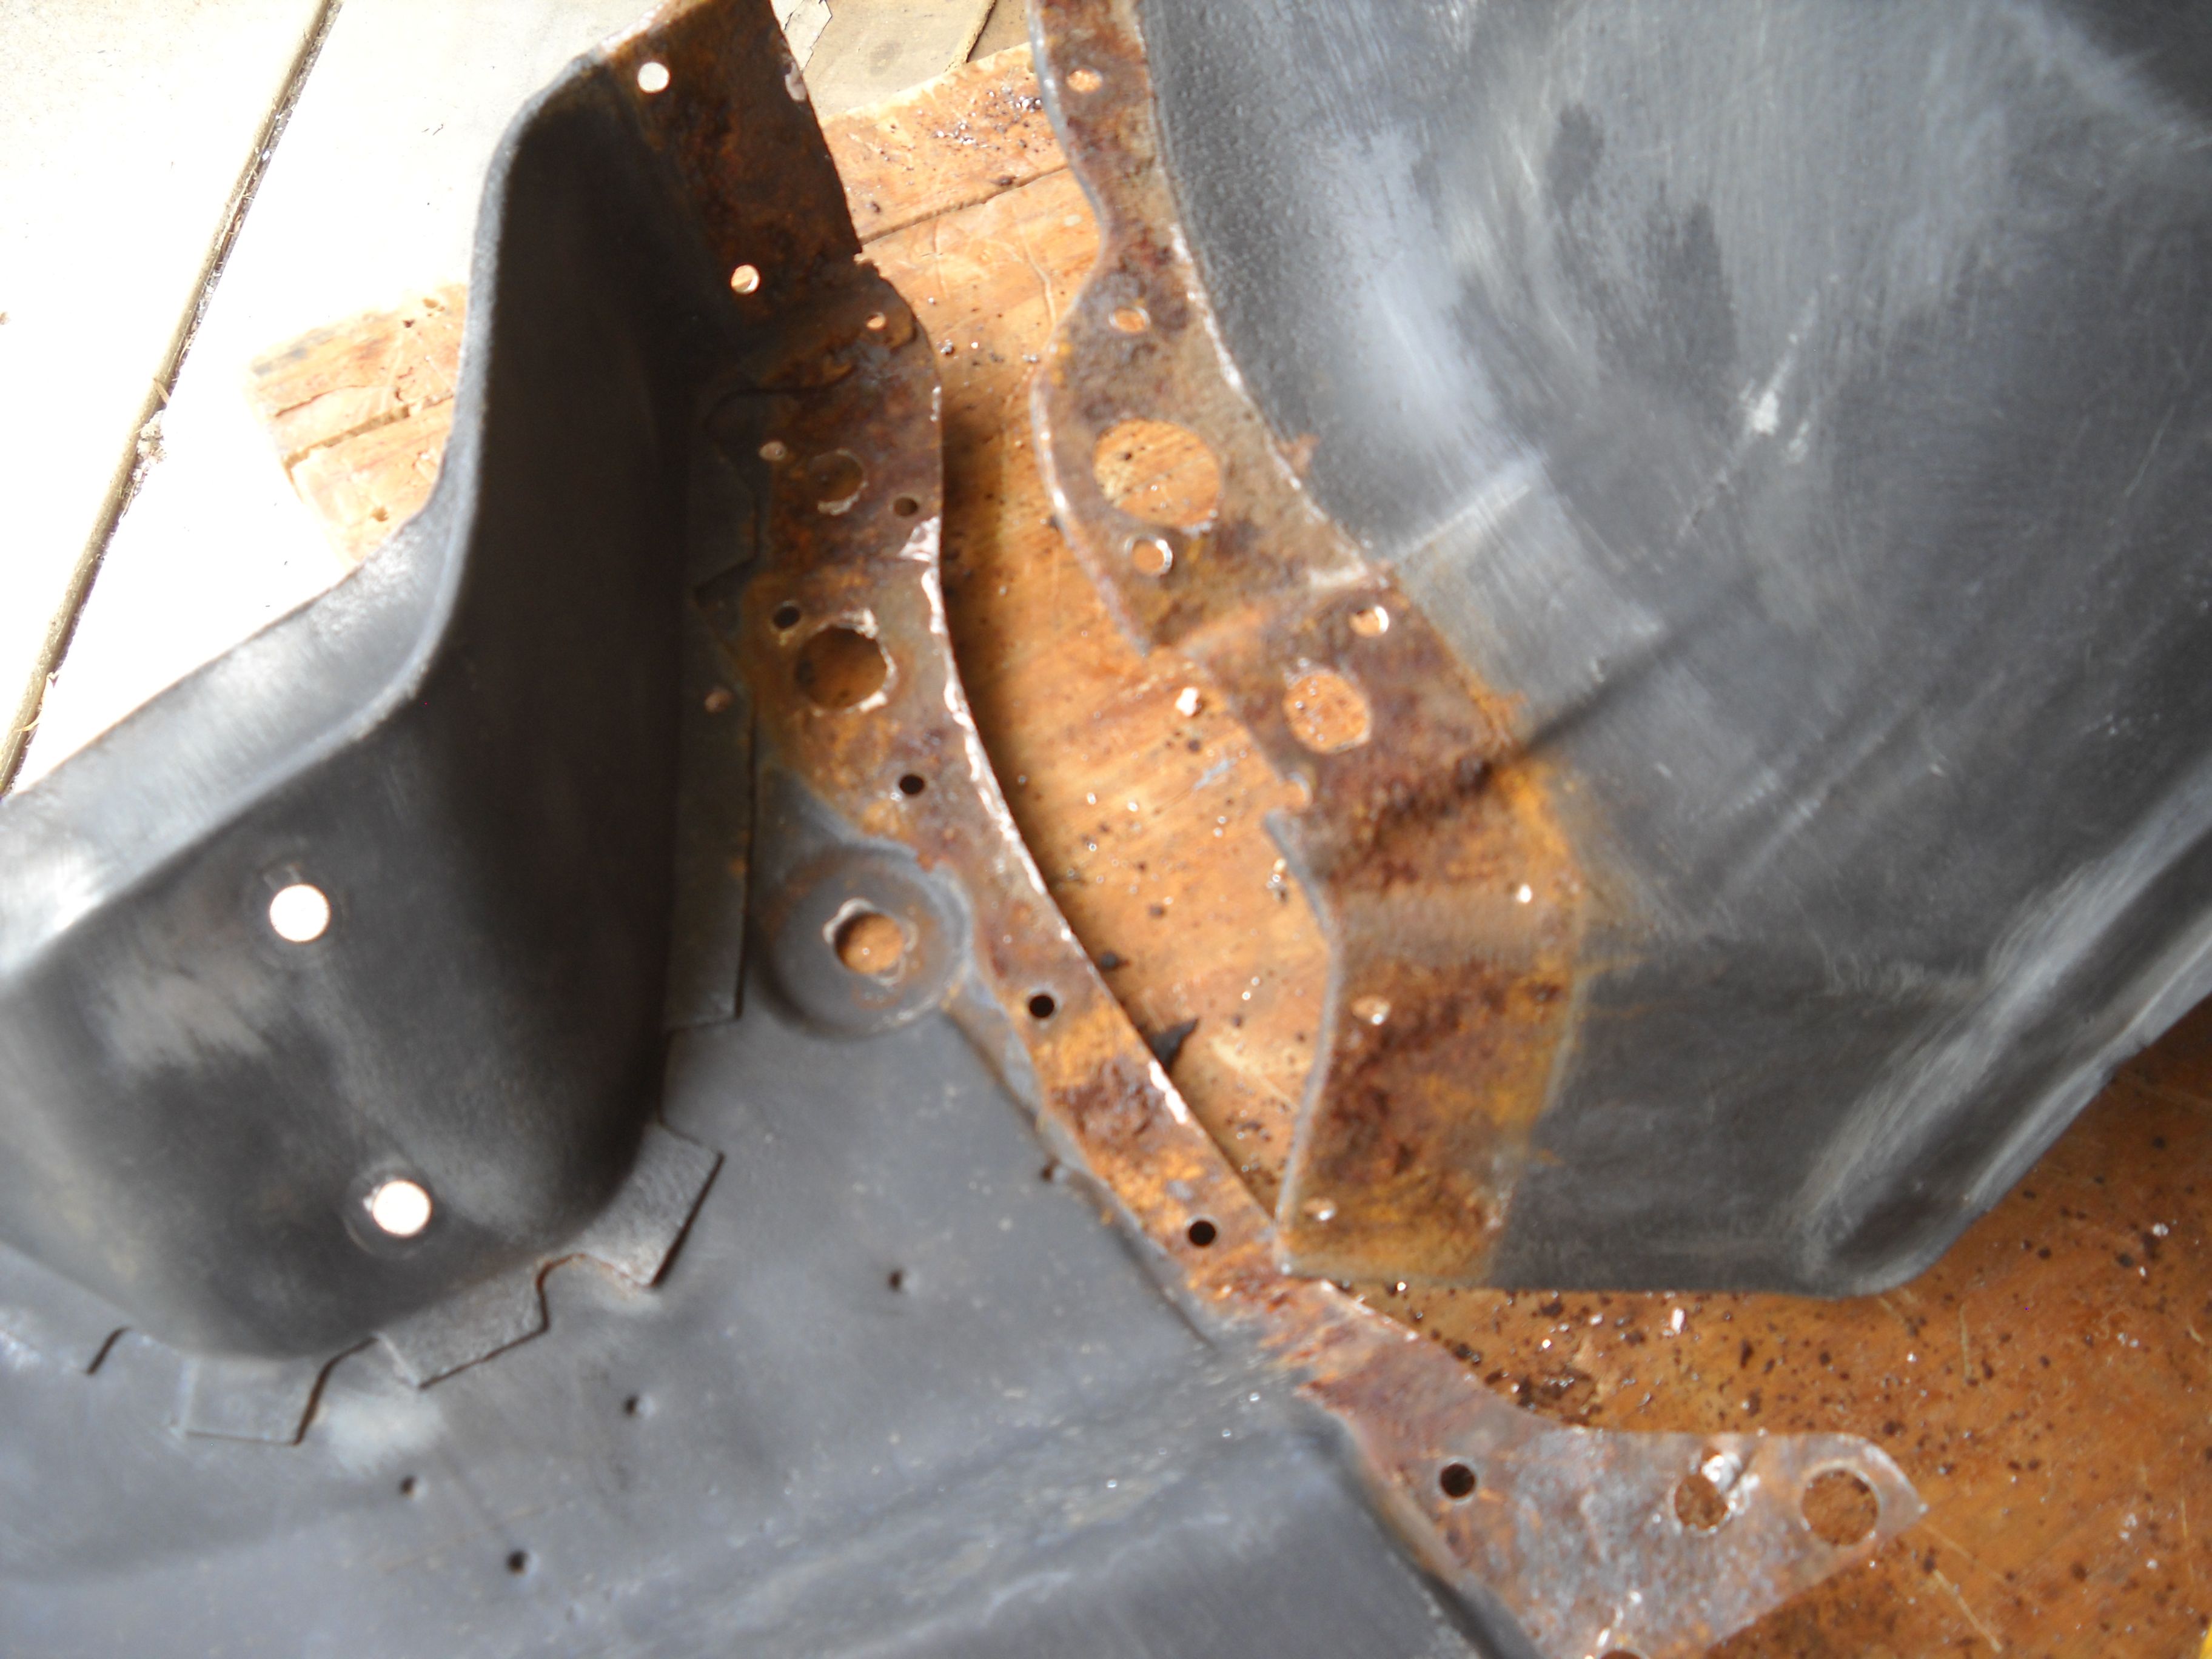
I was working with the stripping gel today on my inner fender wells and let's just say when it's 100 out there is NO SUCH THING AS GEL It turned to liquid so I let it dry and scrapped it with the wire brush and most of the paint came off, I'll work on them early before it gets too hot again !!!!!!


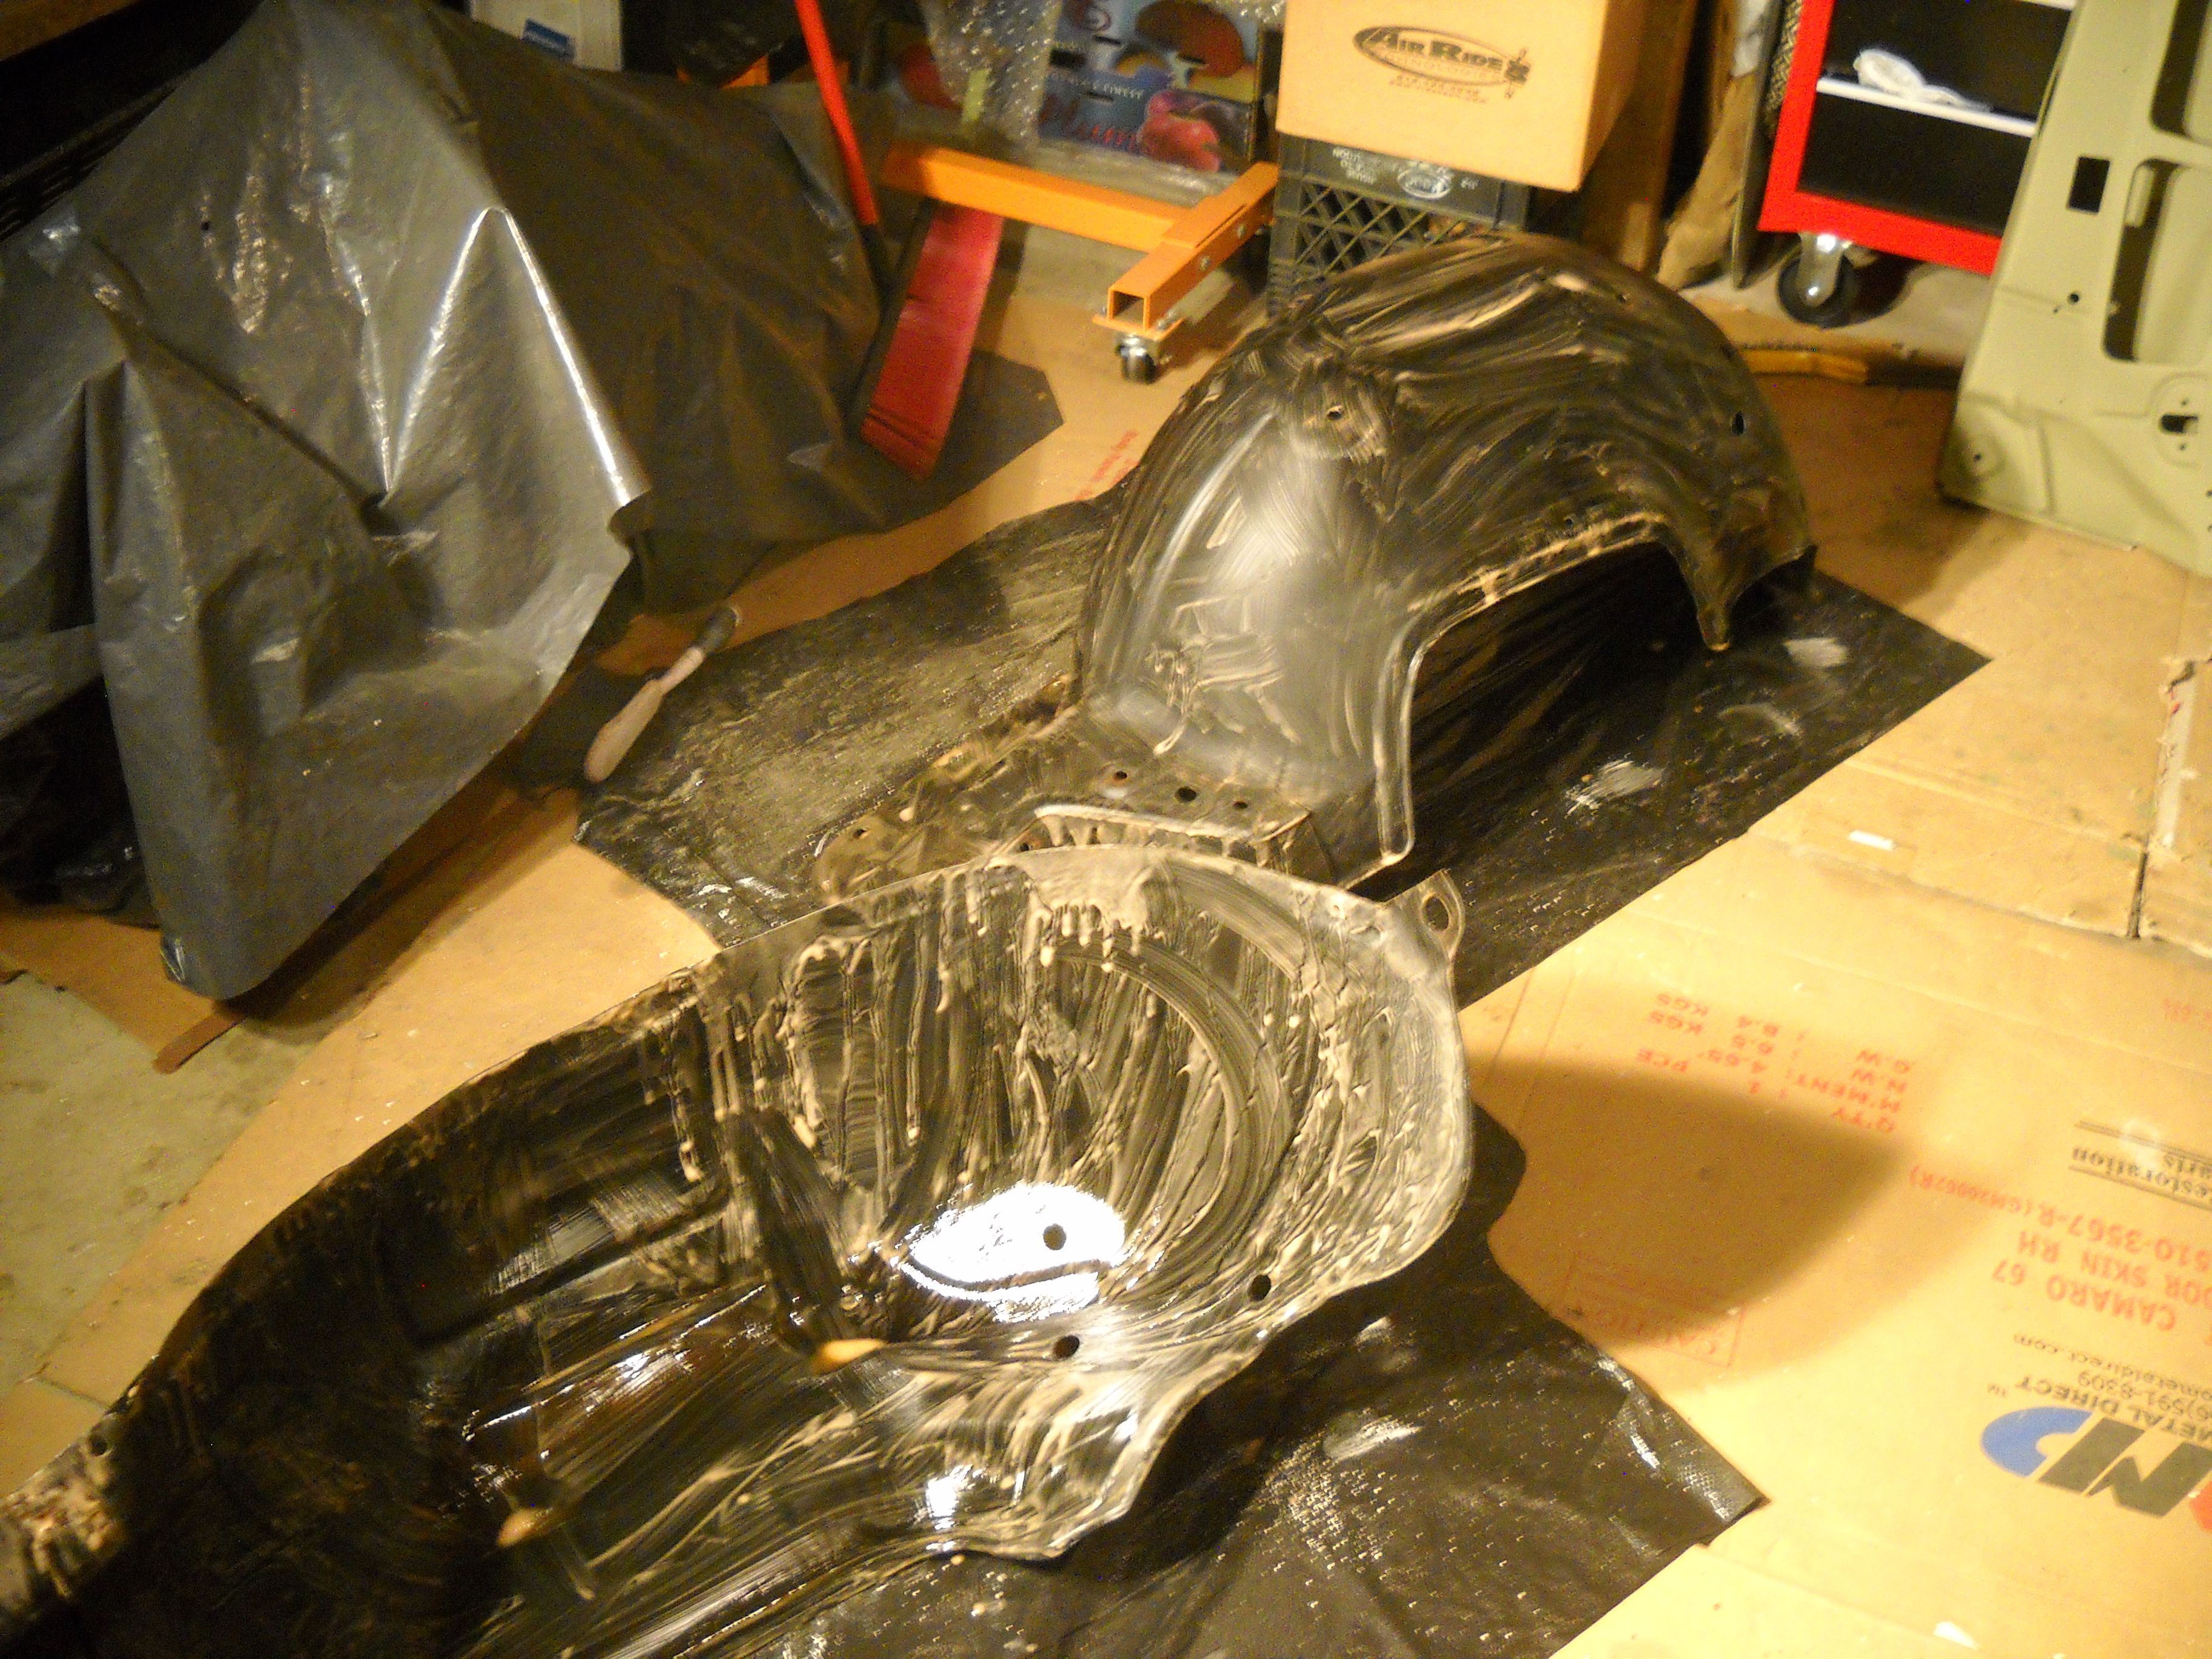
Gel turned to liquid with the heat


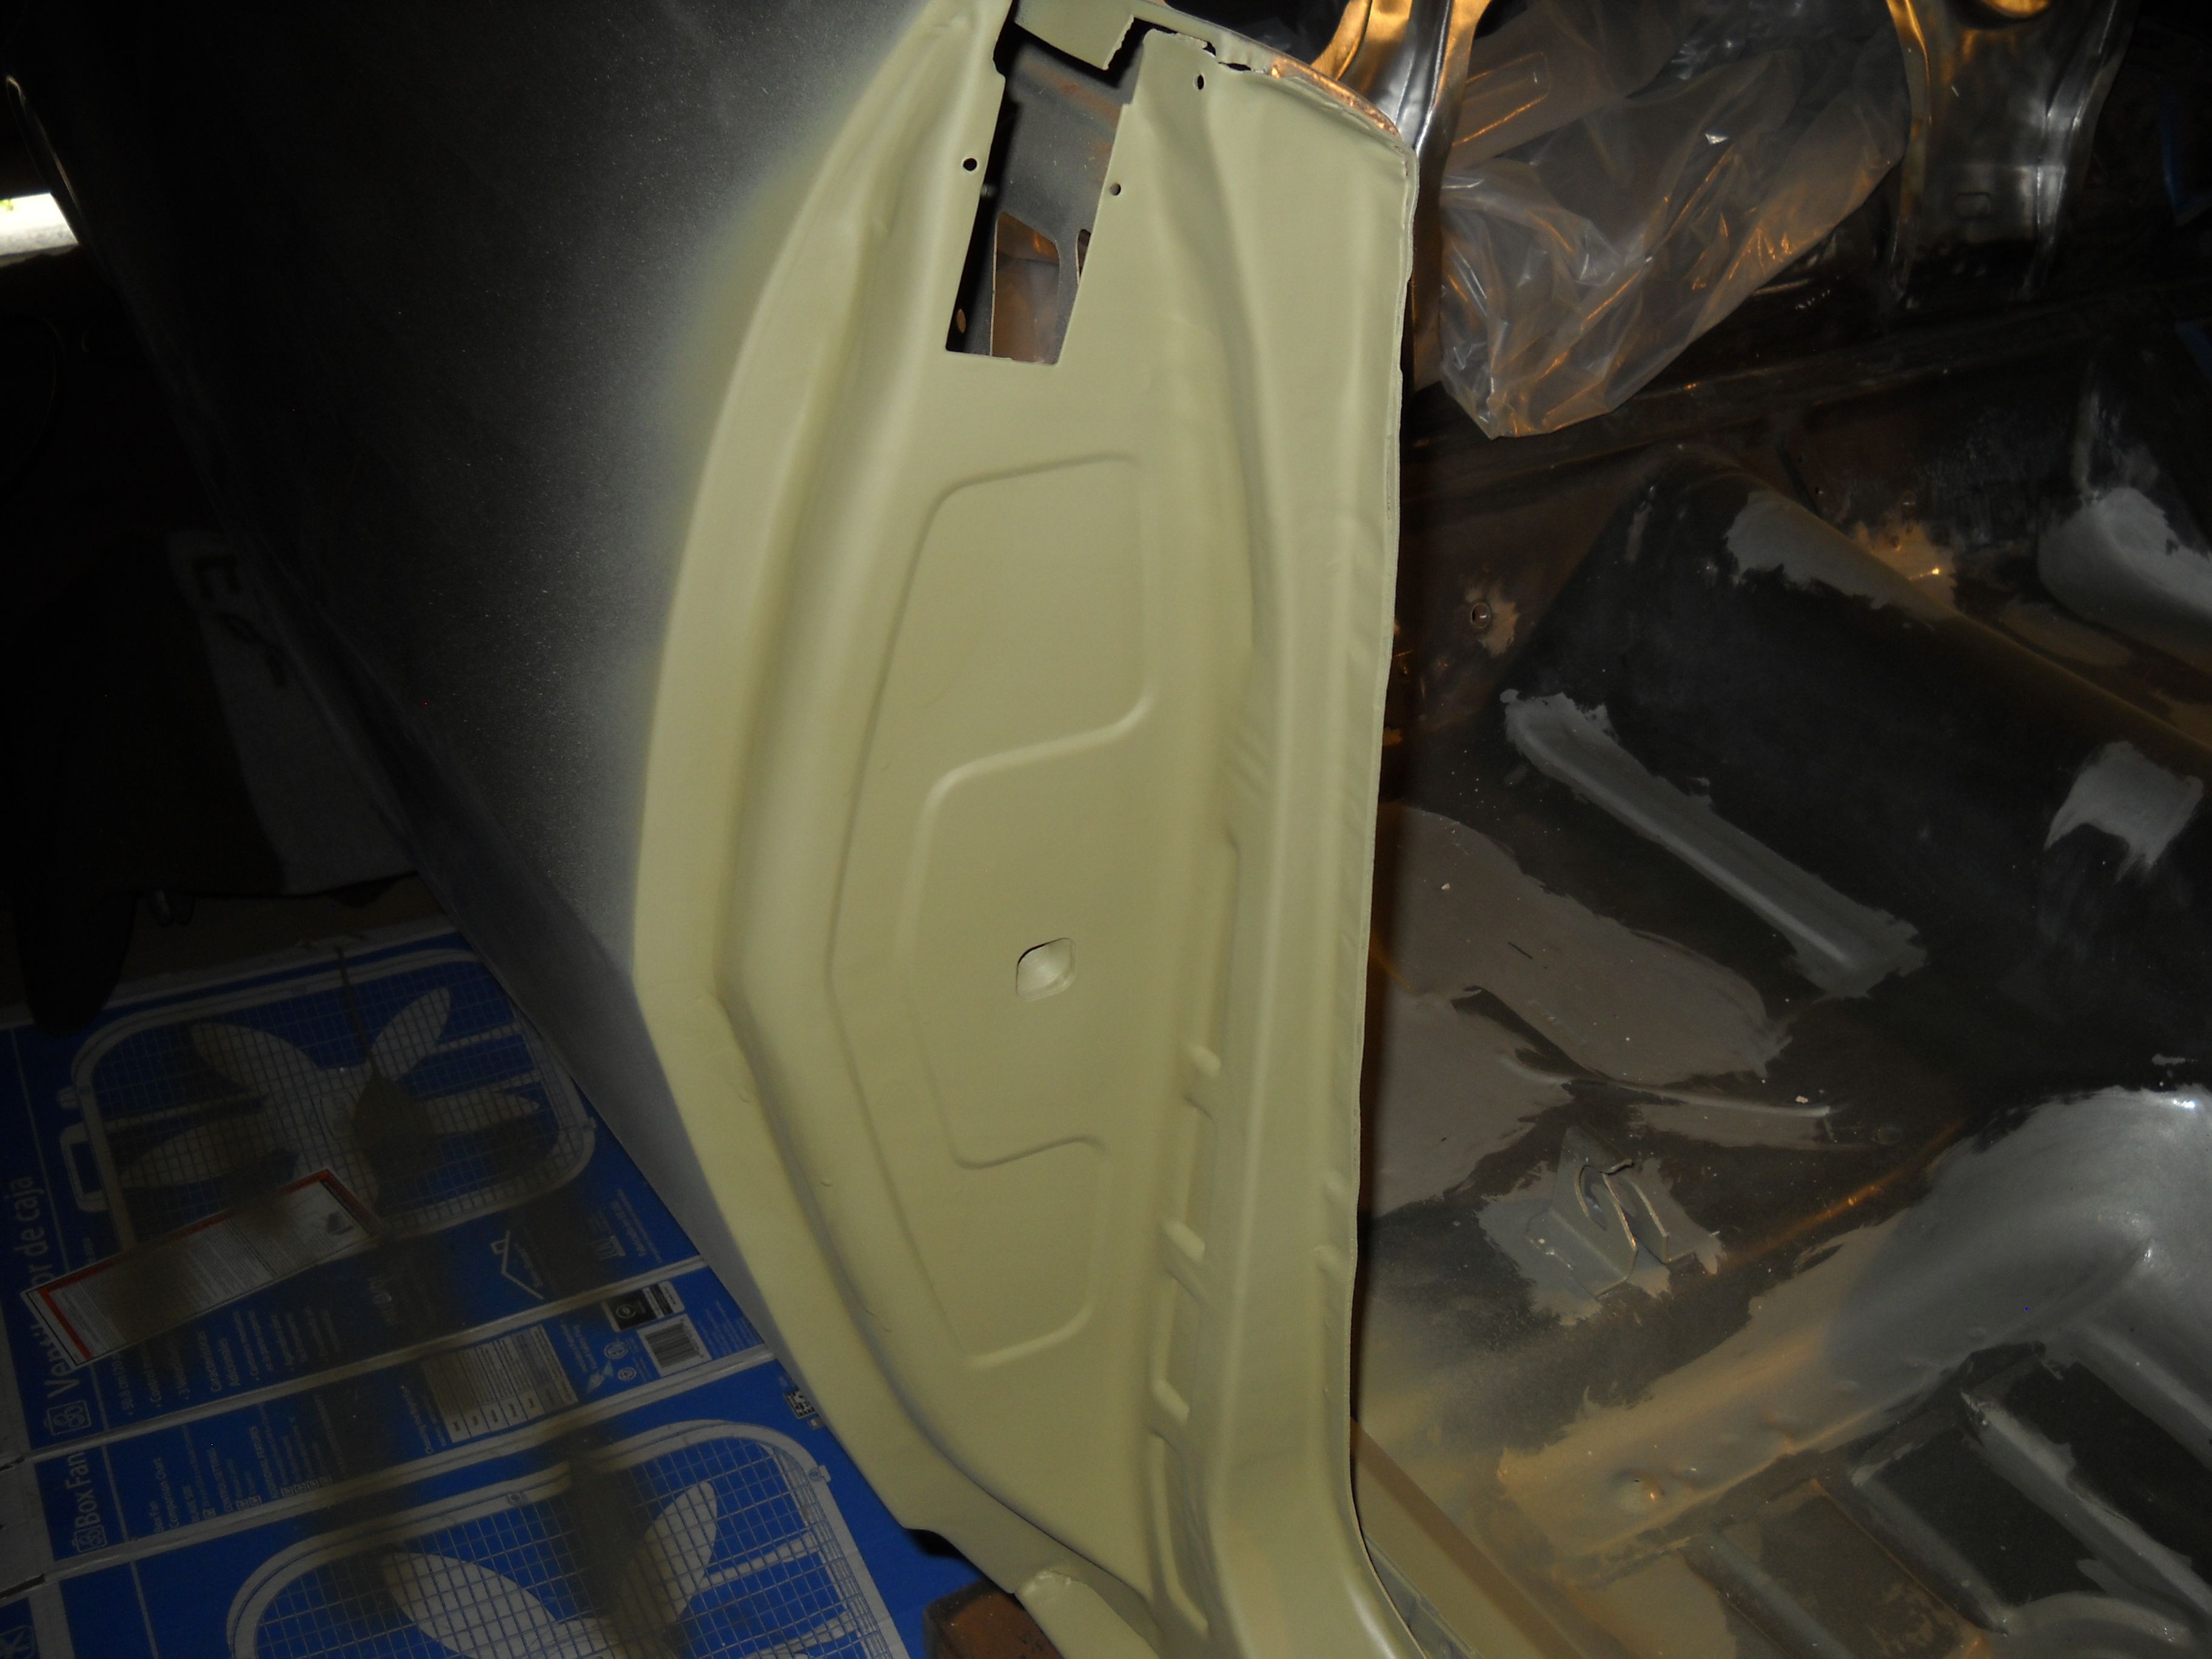
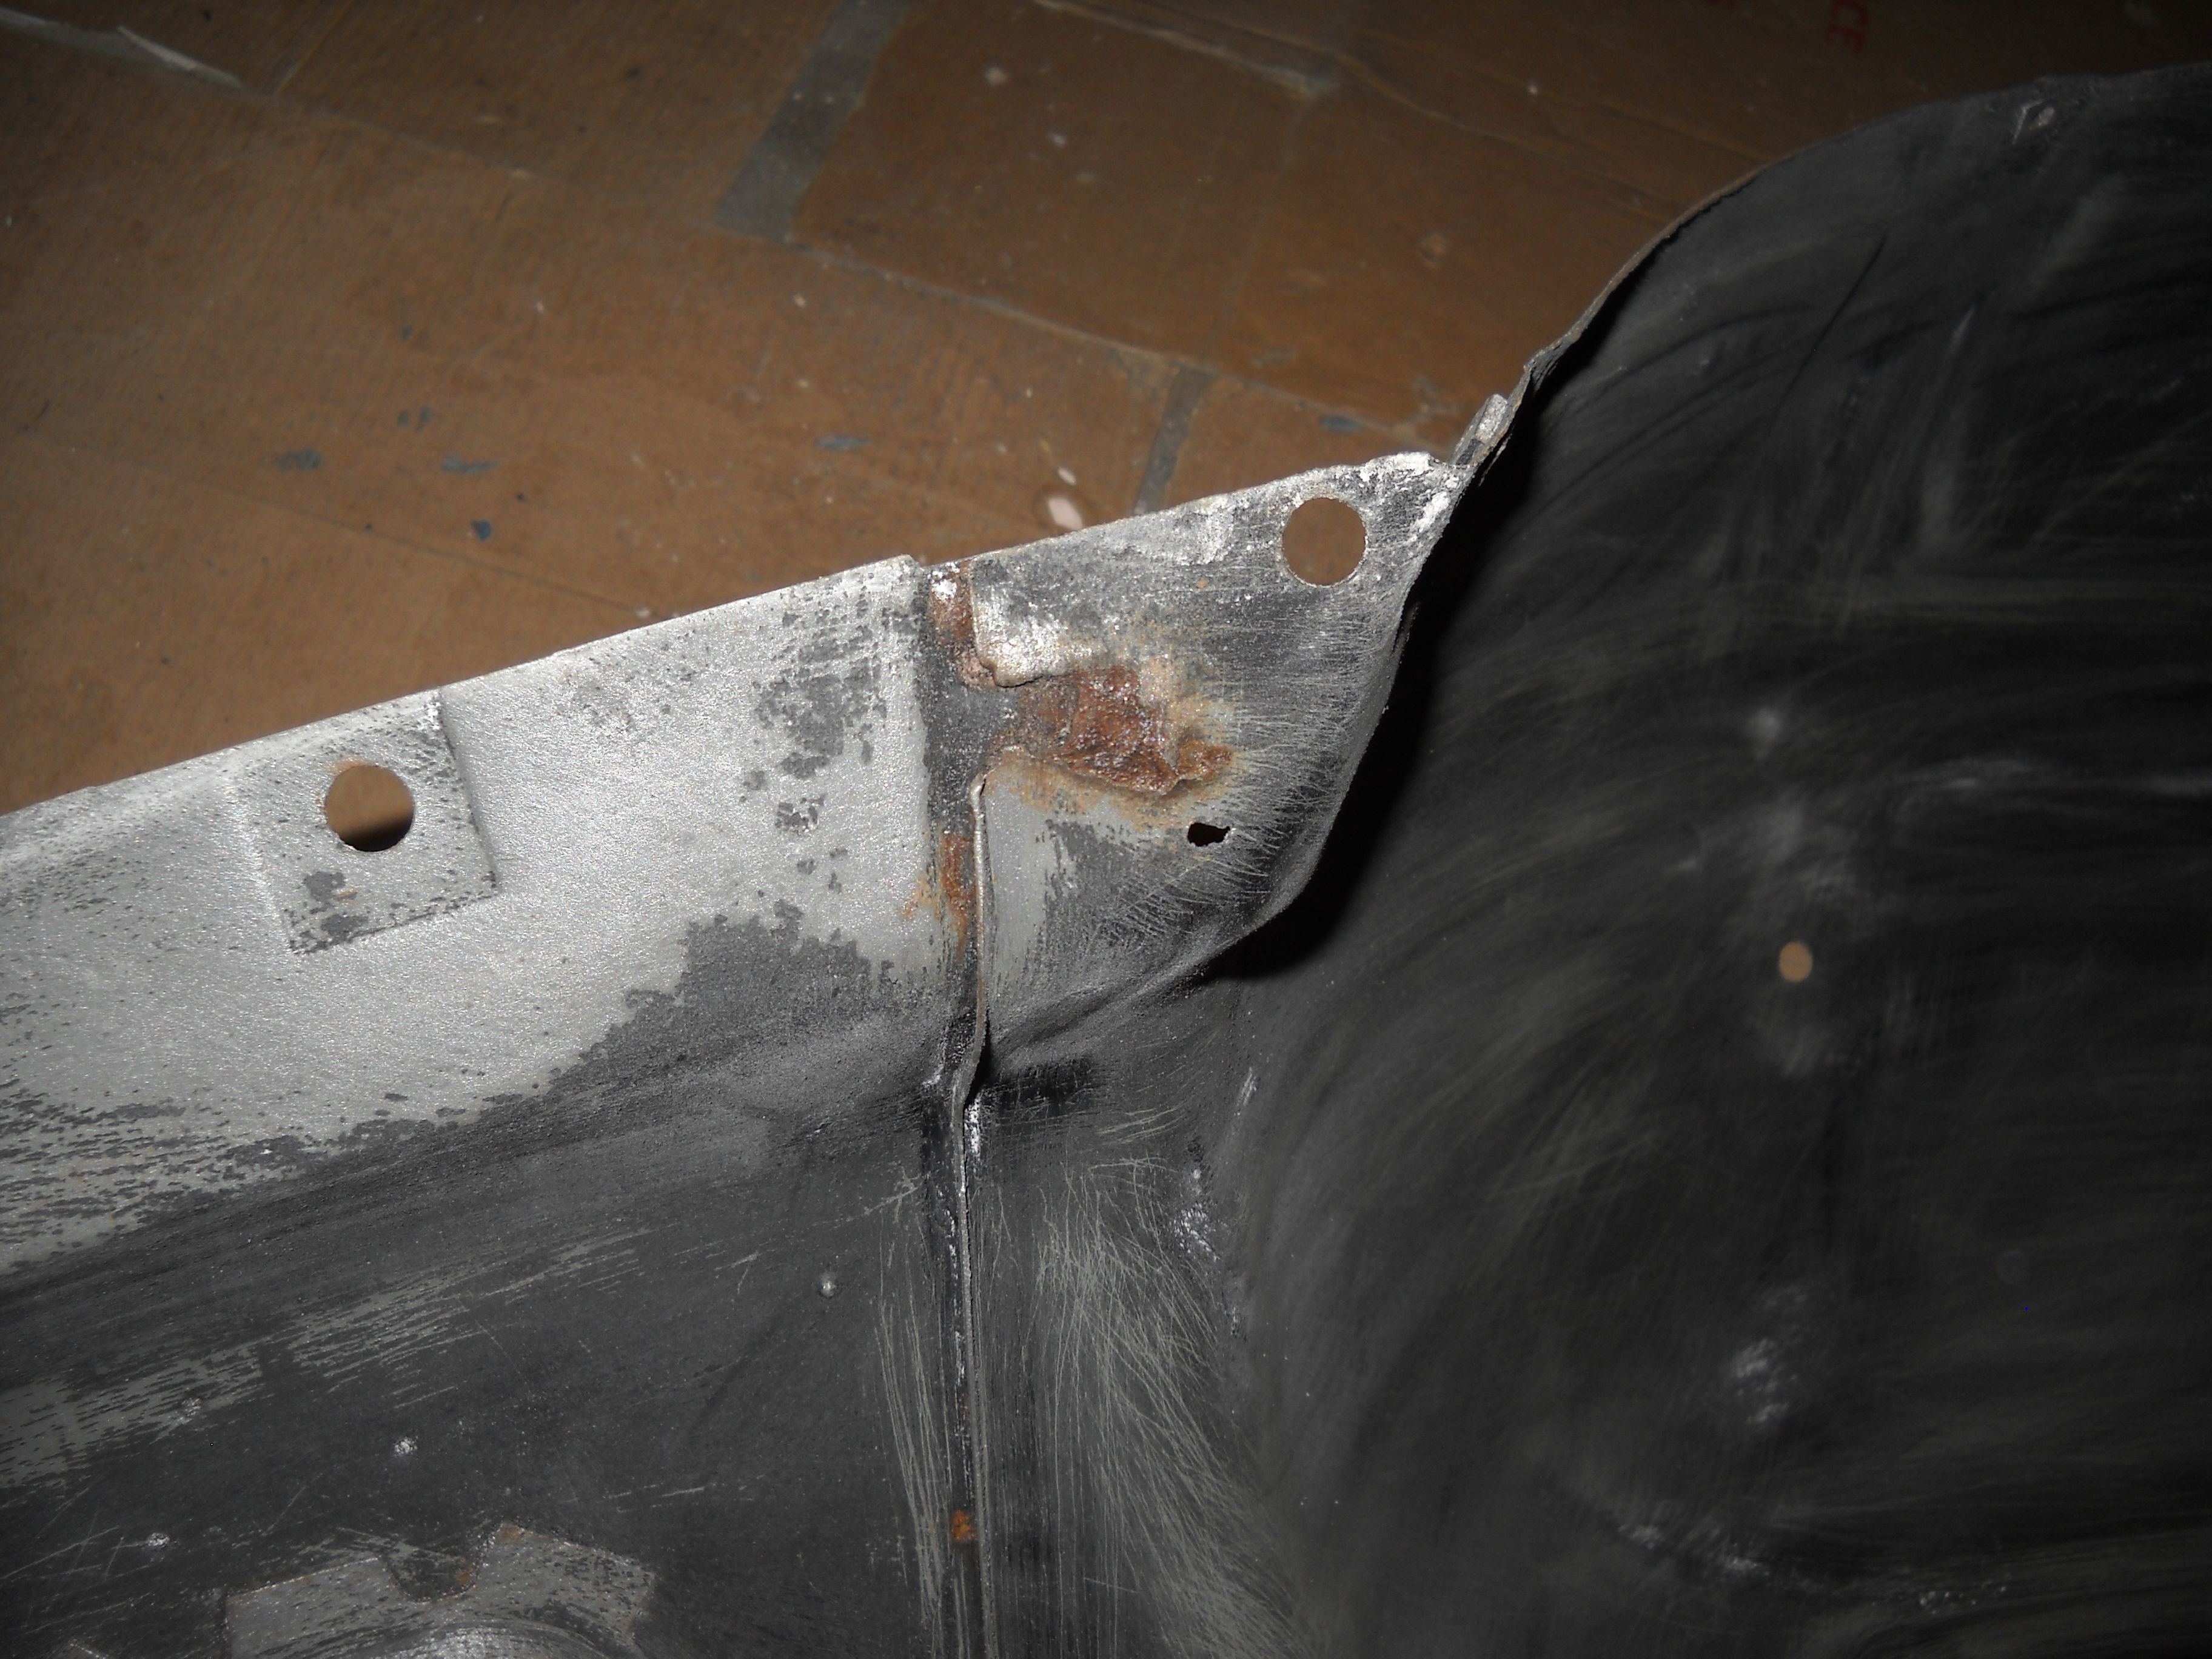
Driver's side cowl fitment ... it's better than the other ones.


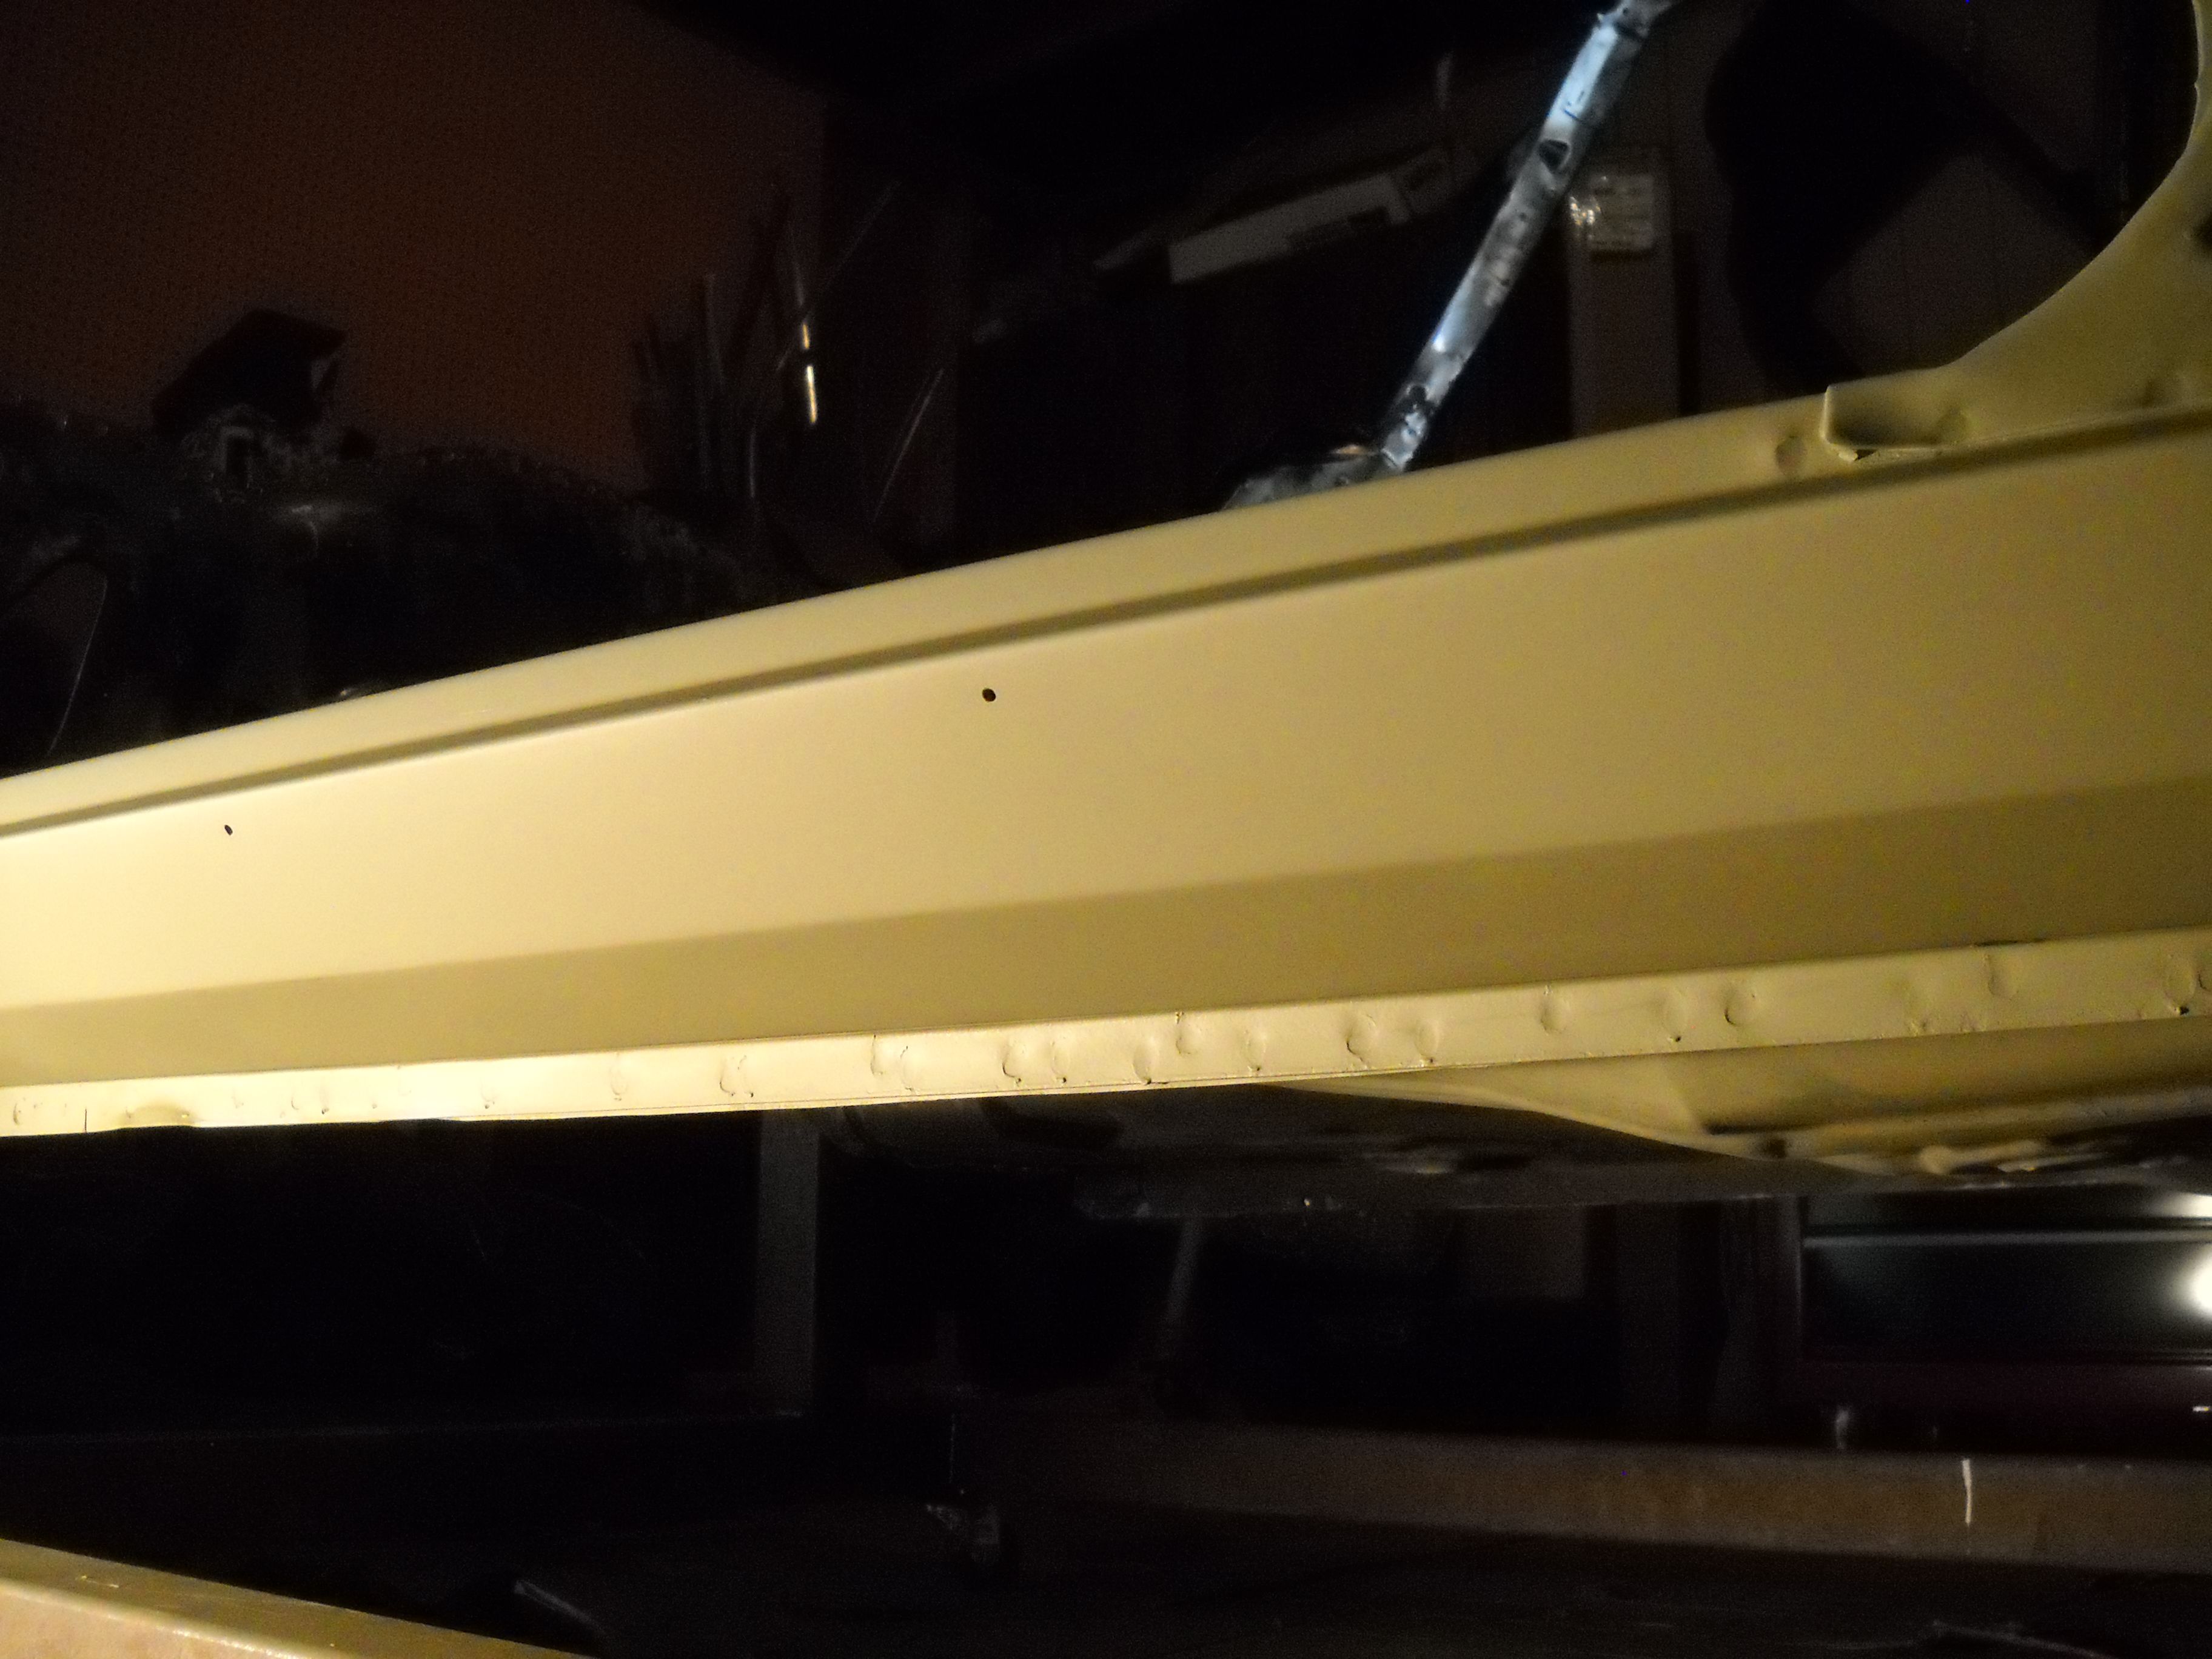
Passenger side fit was almost perfect

I'll get going before the sun heats up the garage and I have to come inside and take a nap

Thanks for looking ....
__________________
JUST PICTUREShttps://imageshack.com/user/mcavery


Let the house go .... NEVER give up your car!!!!

Last edited by Sonar Chief; 07-22-2012 at 06:37 AM.
Reply With Quote
  #317  
Old 07-21-2012, 11:09 PM
waynieZ's Avatar
waynieZ waynieZ is offline
Lateral-g Supporting Member
 
Join Date: Oct 2006
Location: Ma
Posts: 8,491
Thanks: 939
Thanked 342 Times in 231 Posts
Default

Its looking good!
__________________
_Wayne________

___________________________________
https://lateral-g.net/forums/show...ghlight=FNQUIK
Reply With Quote
  #318  
Old 07-22-2012, 12:51 PM
Sonar Chief's Avatar
Sonar Chief Sonar Chief is offline
Senior Member
 
Join Date: Dec 2011
Location: Greater Denver area
Posts: 1,366
Thanks: 245
Thanked 163 Times in 72 Posts
Thumbs up Sunday 7/22

Got some time in the garage before it got really hot. Since I have the side cowls now I patched the OEM blower hole and worked on the inner fenders.

Found some rust between the panel on the inners .... guess I'll have to do surgery and fix that before I epoxy.


Patching the blower hole


Quick test fit.


GRRRRRRRRR rust between the metal.


I'll have to fix this pretty soon!

I really would like to get ANVIL inner fenders but ... that's alot of coin, so I'll fix what I have and keep plugging away.

Maybe I'll get back out in the garage after it cools off ... now it's NAP TIME
__________________
JUST PICTUREShttps://imageshack.com/user/mcavery


Let the house go .... NEVER give up your car!!!!
Reply With Quote
  #319  
Old 07-22-2012, 12:53 PM
Sonar Chief's Avatar
Sonar Chief Sonar Chief is offline
Senior Member
 
Join Date: Dec 2011
Location: Greater Denver area
Posts: 1,366
Thanks: 245
Thanked 163 Times in 72 Posts
Thumbs up

Quote:
Originally Posted by waynieZ View Post
Its looking good!
Thanks .... it's getting there
__________________
JUST PICTUREShttps://imageshack.com/user/mcavery


Let the house go .... NEVER give up your car!!!!
Reply With Quote
  #320  
Old 07-22-2012, 07:13 PM
Sonar Chief's Avatar
Sonar Chief Sonar Chief is offline
Senior Member
 
Join Date: Dec 2011
Location: Greater Denver area
Posts: 1,366
Thanks: 245
Thanked 163 Times in 72 Posts
Thumbs up This is why

sandblasting doesn't get ALL the rust! This is my inner fender that was sandblasted in 2002 and painted with epoxy primer and replaced on the car.

As you can see the areas that were sandblasted and epoxied are fine but .... the rust continued from between the panels

So I drilled out the spot welds and cleaned everything and I will put some POR15 on the areas tomorrow when I can get the time for two coats and the final black. Then I'll weld her up and all is good with this one, the other one needs a patch fabricated and the same steps to stop the rust.


Lesson learned ... do it right the first time.
__________________
JUST PICTUREShttps://imageshack.com/user/mcavery


Let the house go .... NEVER give up your car!!!!
Reply With Quote
Reply


Posting Rules
You may not post new threads
You may not post replies
You may not post attachments
You may not edit your posts

BB code is On
Smilies are On
[IMG] code is On
HTML code is Off

Forum Jump


All times are GMT -7. The time now is 10:45 AM.


Powered by vBulletin® Version 3.8.11
Copyright ©2000 - 2026, vBulletin Solutions Inc.
Copyright Lateral-g.net