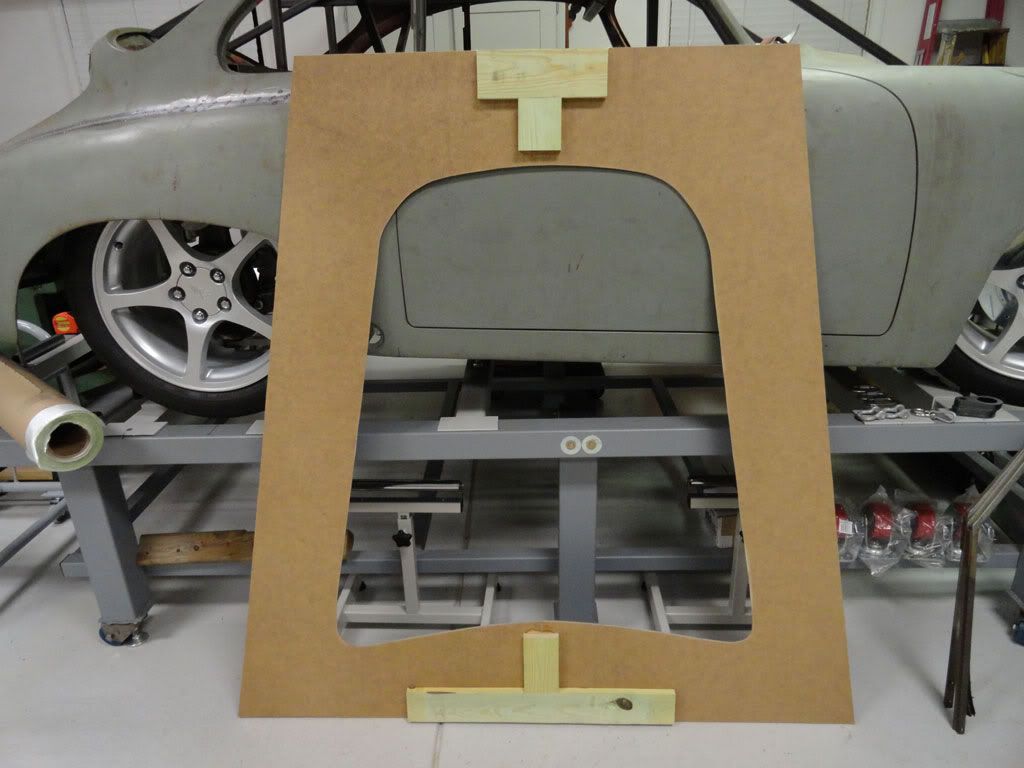
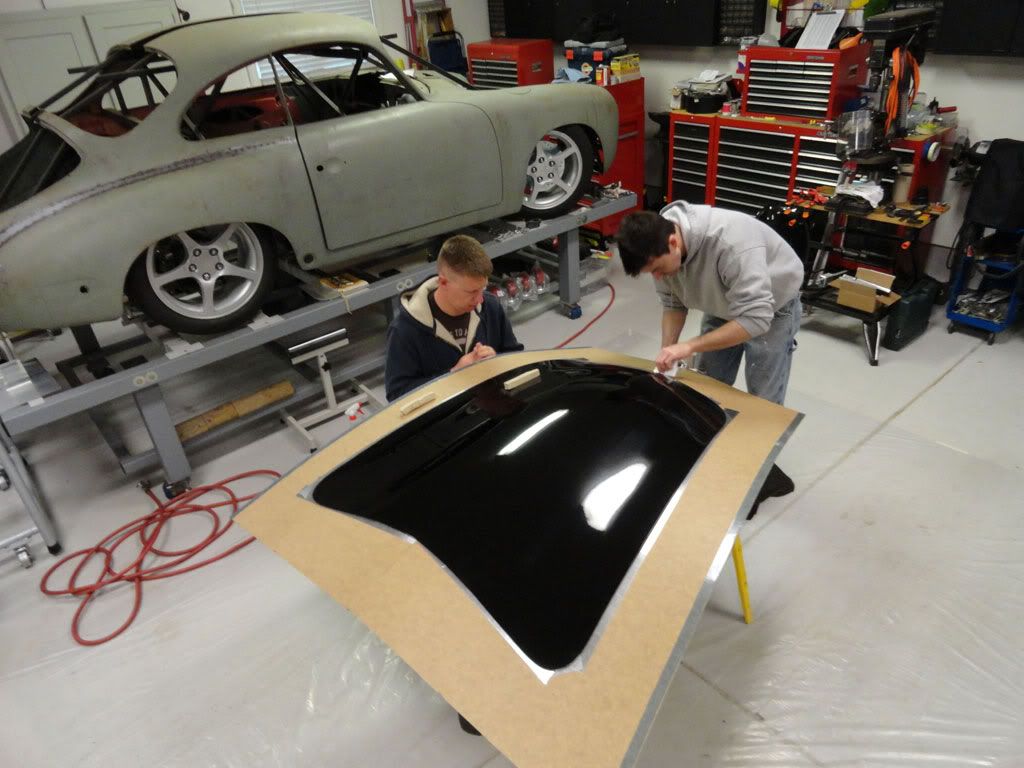
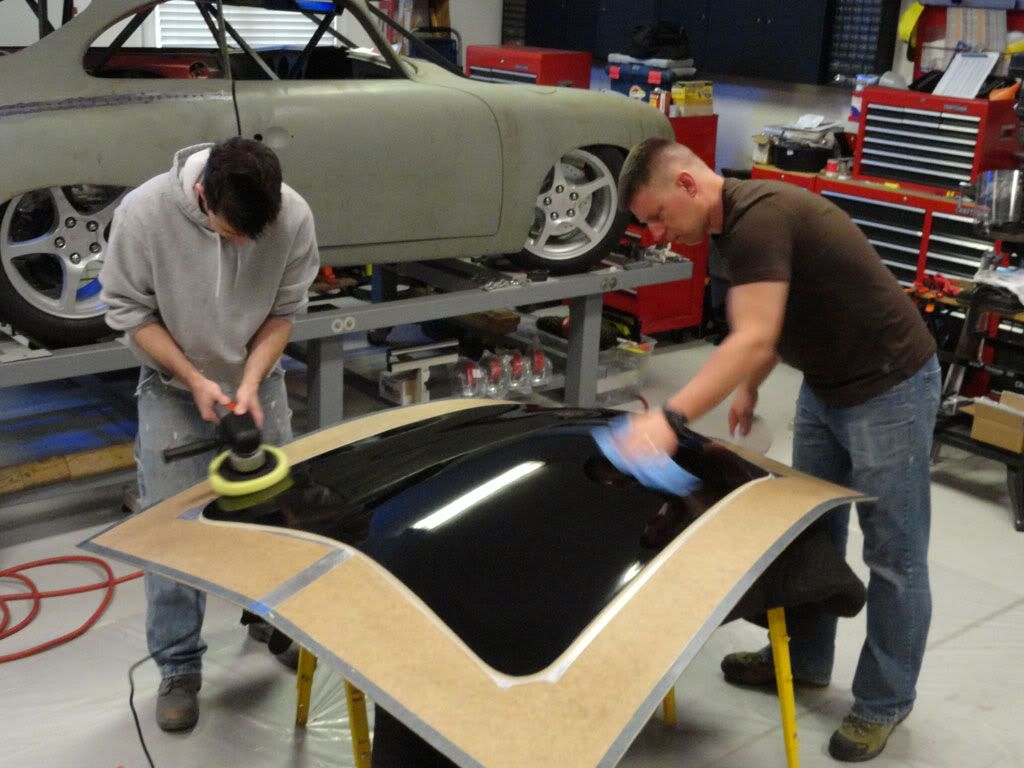
Had a chance to build the hood mold this weekend. 2 of my friends stopped by to add some help on this project. Tom (grey shirt) runs the paint shop at Dreyer Reinbold Racing and Matt (brown shirt) runs the fabrication/tooling shop where I work. These guys are always willing to jump in and its GREAT to have friends who enjoy cars ! Thx Guys !
We finished the flange by cutting thin kerfs into the material at places where we needed it to bend then we sprayed some water on it to relieve the fiber tension. Then we put bagging tape on the underside of the hood in the weather strip channel and attached the wooden flange to that and taped it shut so air wouldn't leak thru.
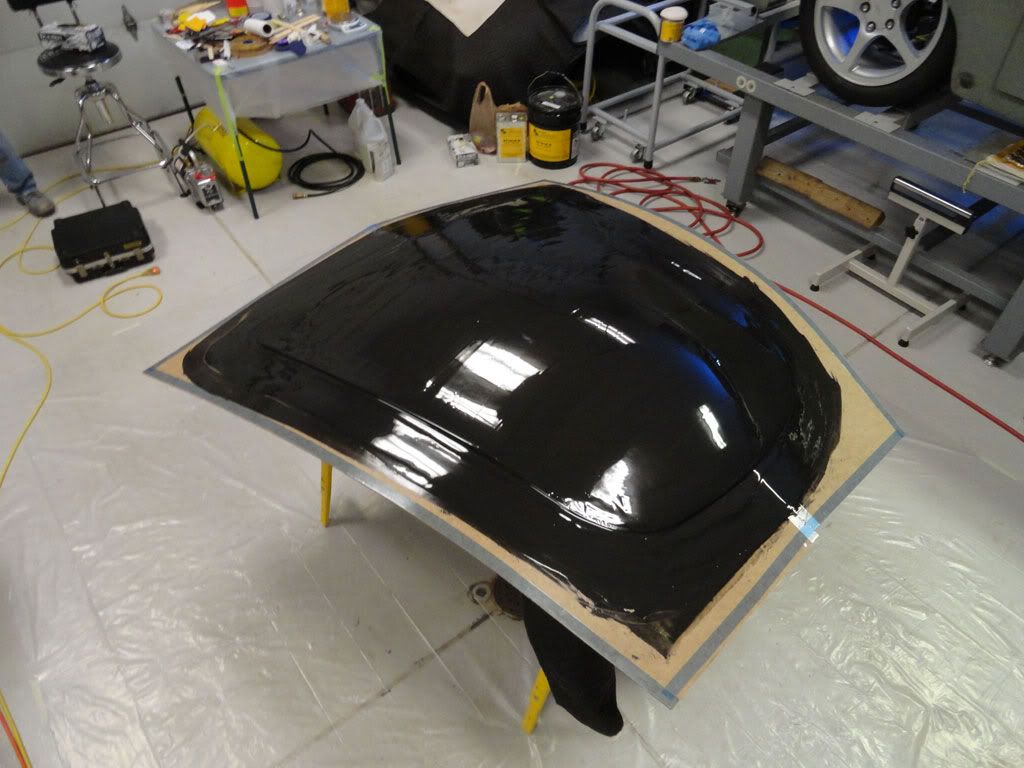
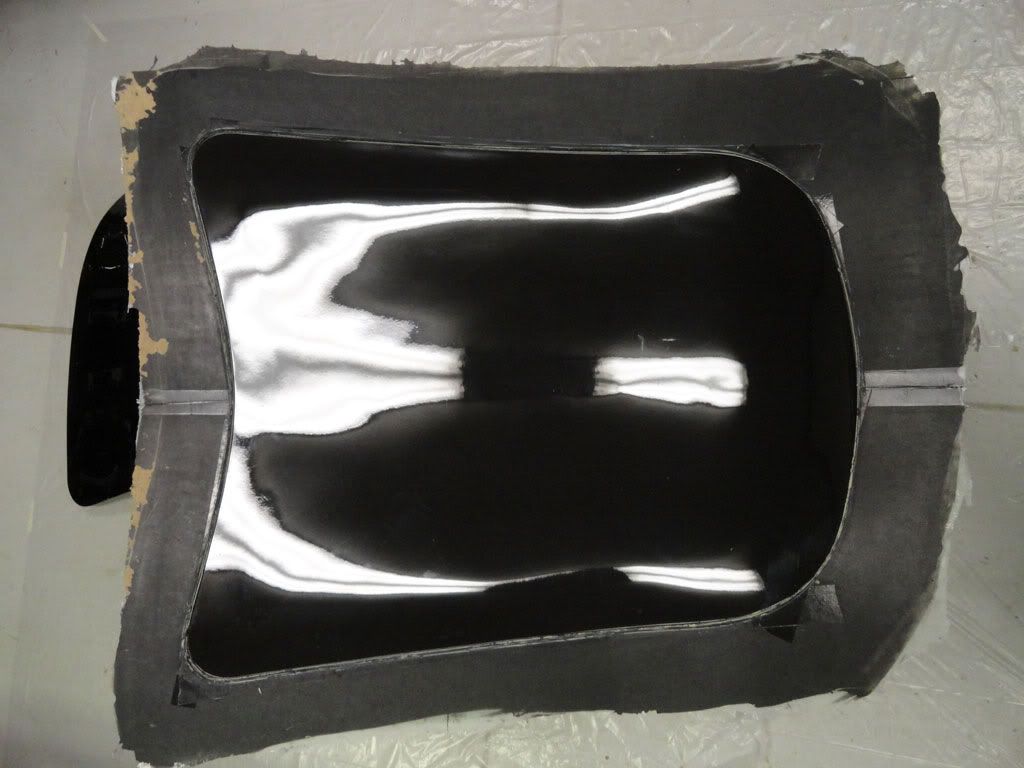
We flipped the hood back to the top side and added clay around the perimeter of the hood to the masonite flange to get rid of any openings that the resin might seep under. Then we sealed the wood flange, clay and hood a couple more times.
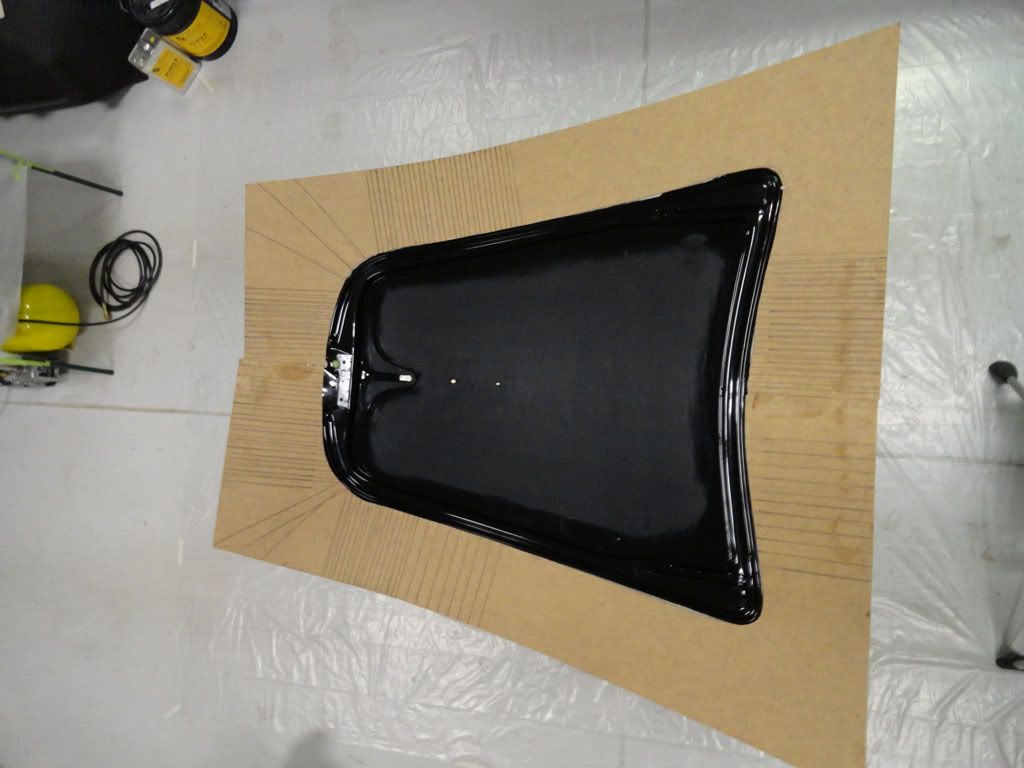
We used a really hard graphite surface coat on the hood first to give the mold surface a tough finish so I can pull multiple stock sized parts from it later if needed. We poured that onto the hood/flange and spread it about 1/8 to ¼ inch thick and then let it cure until you could touch it and just leave a print. Then another coating of the graphite surface coat followed up with the fiberglass and epoxy resin. We did 4 layers on this limited production mold and we balanced it by ensuring there was the same amount of fiber in all directions (0, 90, +45, -45) so it won't warp. On a production mold youd want to do 12 balanced layers to give the mold some bulk so it never flexes.
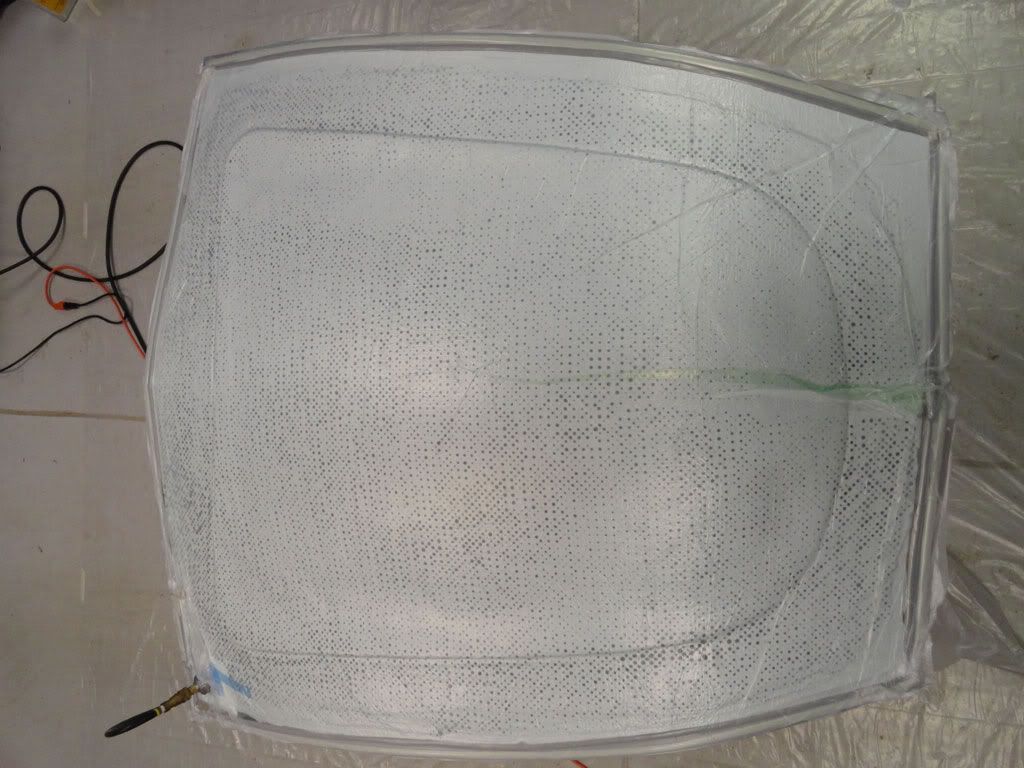
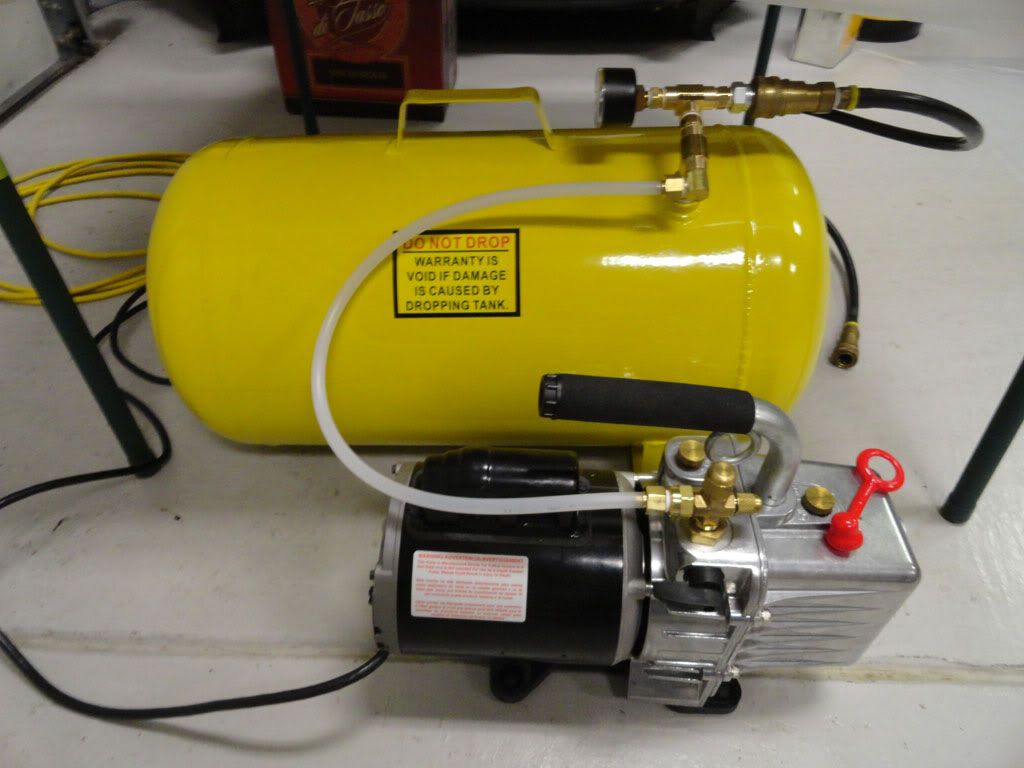
Added a perforated release film on the very last layer. Perforated to let the excess resin bleed thru an Teflon released so the last layer of glass/resin doesnt stick to the white bleeder/breather cloth I added last. The bleeder function of the cloth acts like a sponge to soak up the excess resin and the breather function of the cloth allows me to put a bag over the entire part and pull vacuum over the entire surface while pushing the glass/resin tight down onto the mold like a vise. We pulled about 30 inches of vacuum on the part using a vacuum pump for air-conditioning service hooked to a 10 gallon tank from harbor freight.
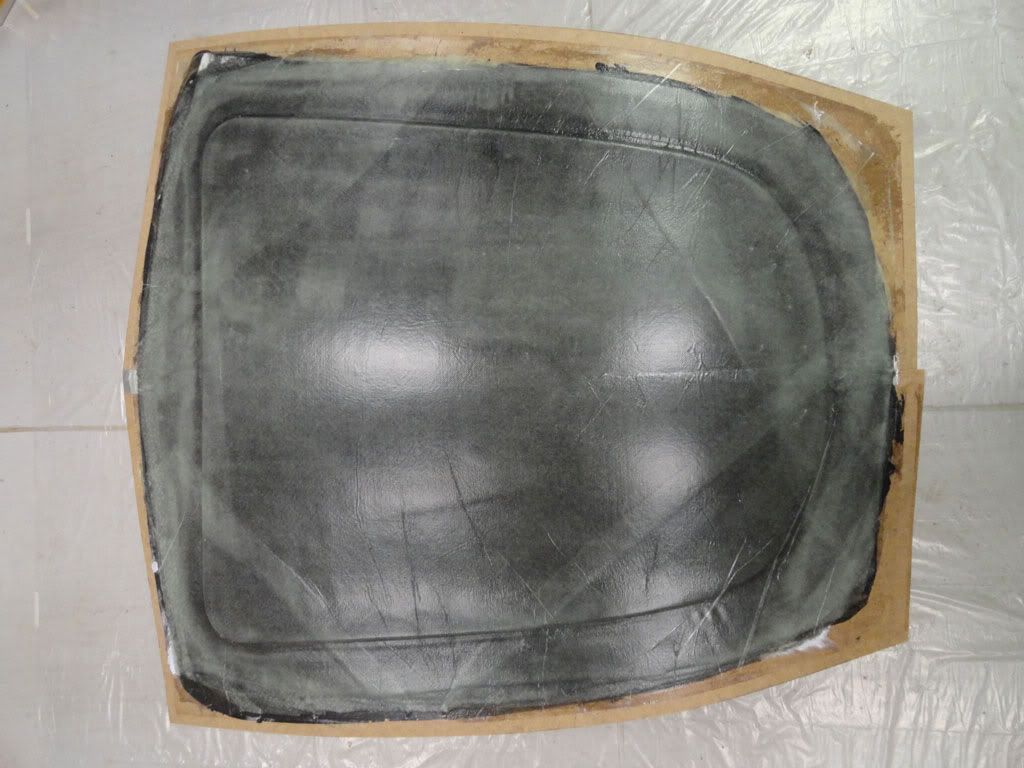
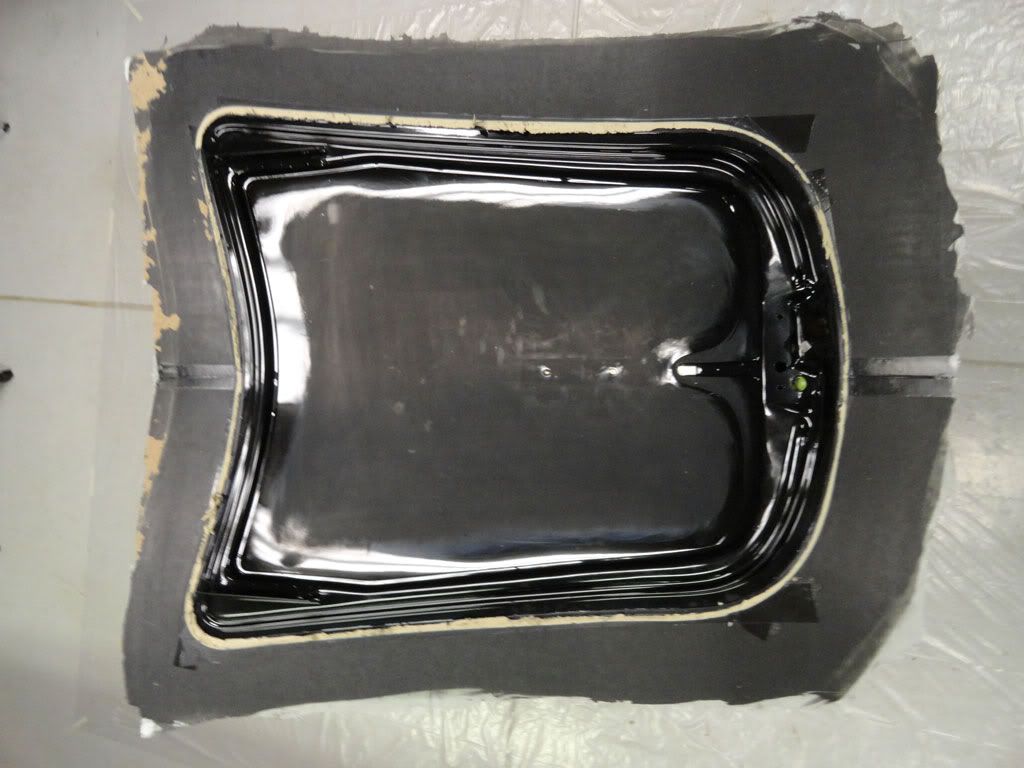
24 hours later, remove all the bagging, flange, clay and pop the hood outta the new mold. 1 each hard graphite mold ready for sealing, release, and building part. Here's the pics for ya. We do the same for the seat mold
THANKS TO: A&M Machine and Fabrication, CCTek (http://www.candctek.com), Hermance Design(www.hermancedesign.com), Paradise Road Rod & Custom, Harry Opfer Welding, Wegner Automotive Research, Clayton Machine Works
Not much of an update for ya Picked up some more parts for the car.
LED digital inserts (brake and turn light) for my NOS tail light module. These set directly into the reflector well under the lens covers. You can use either the provided connector posts and they plug in the socket just like the light bulb or you can remove the socket posts and connect a hardwired pigtail with a standard disconnect. The slot in the middle of the card slips over the reflector divider between the brake and turn light sections. Also received the LED flasher unit and excellent installation instructions for the kit.
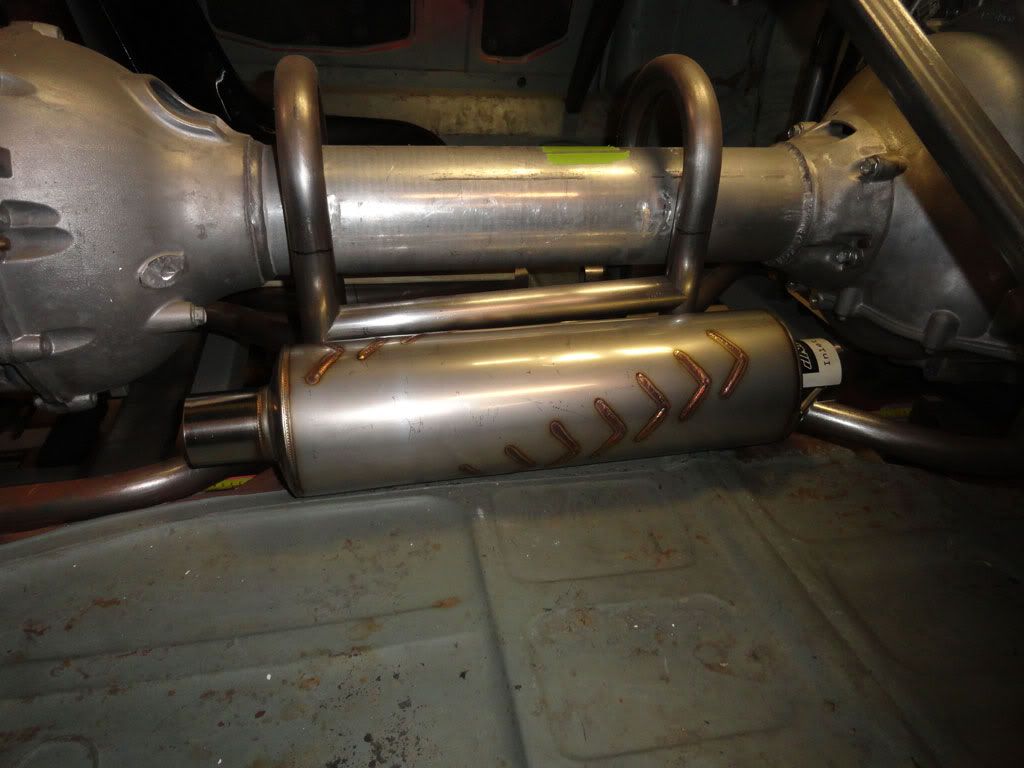
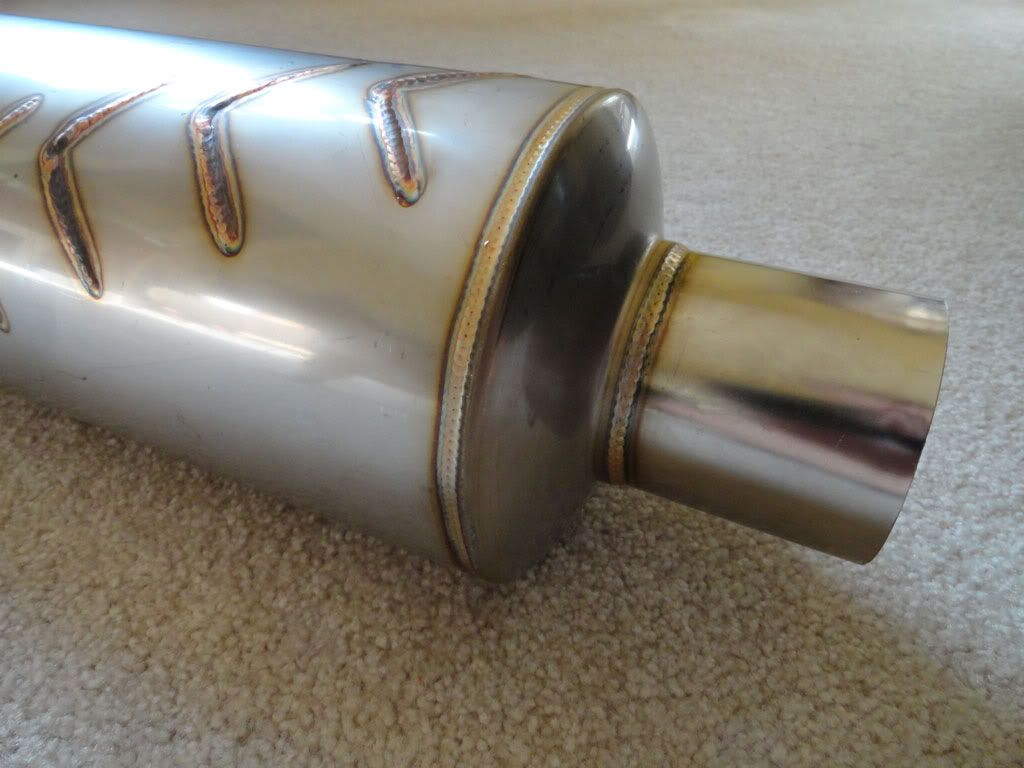
Received my DNA Muffler. Stainless materials with little to no back pressure with their flow-thru design and I hope it has the kinda sound Im looking for. Ill use one in the middle of the car under the torque tube. Idea came from Johns Ironworks Nova build. Ill clip the ends off to a 3 inch opening and install a Q/D band clamp that you all use.
And finally new door mirrors. My car came with a different (more modern) style that I didnt like so I picked an earlier Porsche set that has more aero style IMO. Well see


 Brian Hobaugh SCCA National Tour June 2014
 First Hemi 'Cuda Convertible Ever Built
 Short clips: Goodguys Pleasanton autocross and pit videos


 That looks fantastic man. Can't wait to see more progress!


 Linear Mode

