Quote:
Originally Posted by 68400BIRD

I'm not a fan of the yellow wires either. But, it was part of a package deal. I bought a set of heads,cam,lifters,and the wires from a member on this board. I figured since they were 8.8's I would keep them for a while. When I get some extra money  I will get a set of black Taylor wires. |
Hey, you can't have bigs n littles without some yellow Accel wires!

J/K, I sold them to him, so gotta convince him it was still a great deal LOL! BTW, lemme know if you want to sell me my heads back, I'm ready to switch back to gas, this E85 stuff is getting annoying. Want some milled 670's?

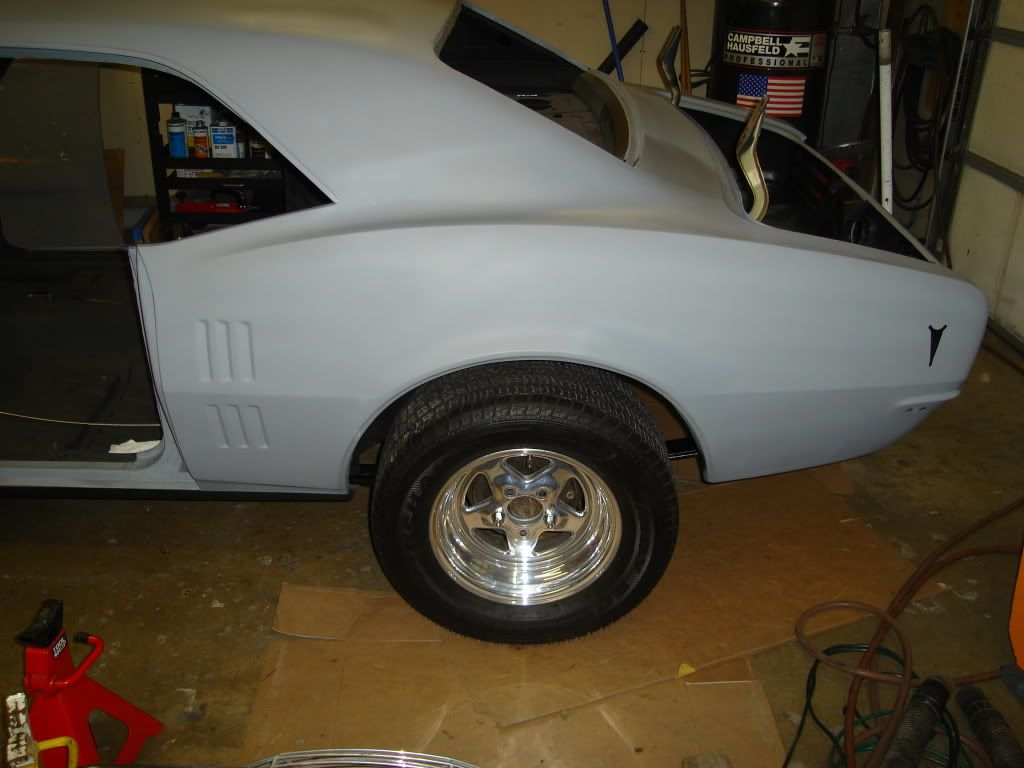
I like the look of the Weld's on there, they don't stick out too far, considering that is the look most guys went for with that set-up. I'd pull out your Rally's and order up the stencil kit, repaint them, polish the trim rings and see what you like better. I still think that my car looked just as good the day I rolled it home from the paint booth on the 14" rallye's as it does with the 18's on it.
Oh yeah, great work BTW, I know what it's like to deal with engines by yourself in two car garages in the middle of winter!


 Brian Hobaugh SCCA National Tour June 2014
 First Hemi 'Cuda Convertible Ever Built
 Short clips: Goodguys Pleasanton autocross and pit videos


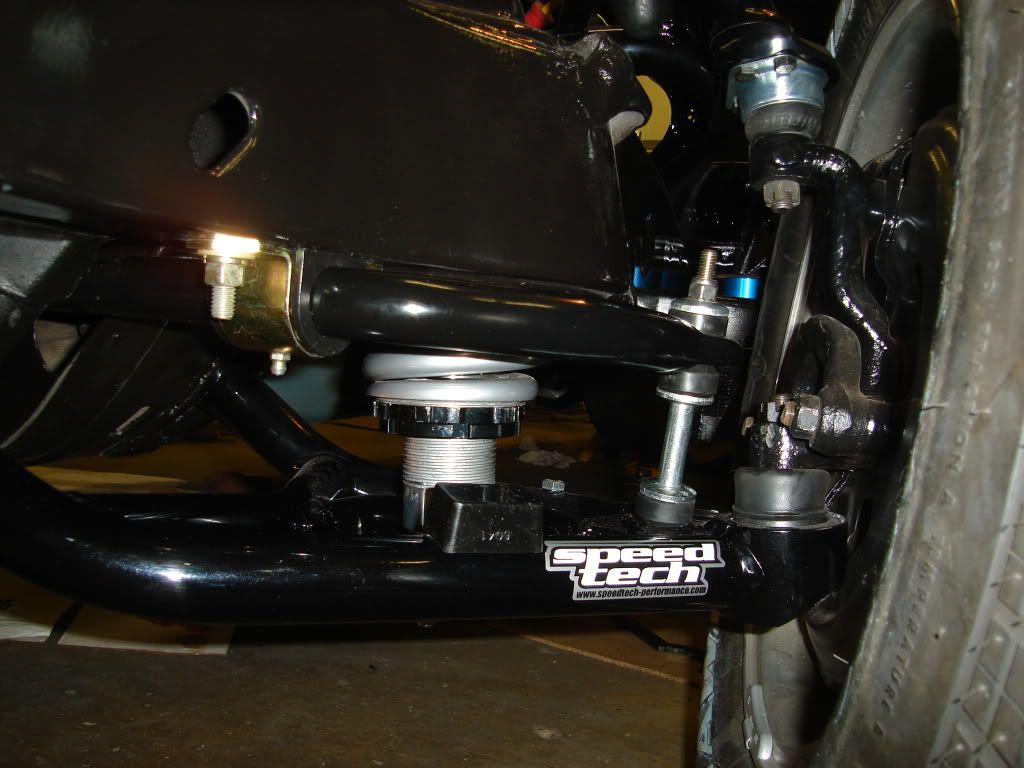
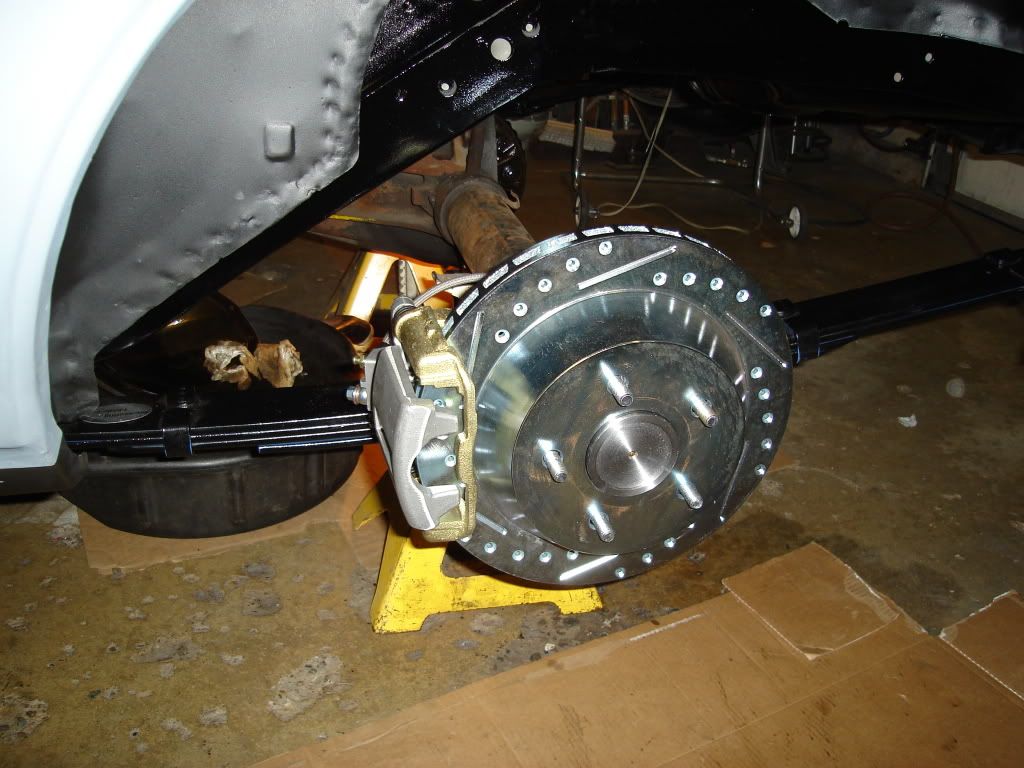
 Just checking pinion angle and to see if the wheels will work from my last car.
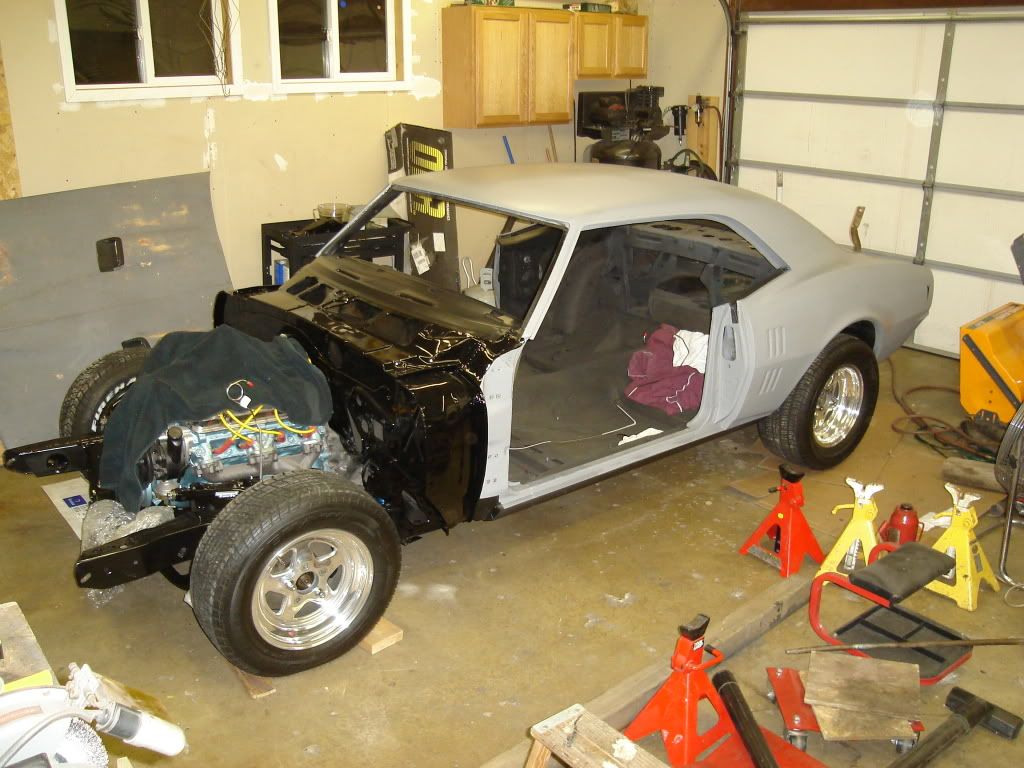

 I will probably go with a little less width on the next set of tires if I keep these on the car. I also have a set of RallyII's in 15". New rims and tires are not in the budget right now so I have to work with what I have.


 . I might still check out my rally rims but I will still have a good size tire on a 15" rim.


 Linear Mode

