...

Go Back   Lateral-g Forums > Lateral-G Open Discussions > Project Updates
User Name
Password


Reply
 
Thread Tools Display Modes
  #51  
Old 06-15-2010, 09:26 PM
takid455 takid455 is offline
Senior Member
 
Join Date: Feb 2007
Posts: 252
Thanks: 0
Thanked 5 Times in 5 Posts
Default

After much crimping, splicing and cutting;, I can say I am happy with the wiring and can scratch it off the list. Tried hiding the wires that best I could while keeping it functional. The whole engine harness can be easily removed from the car if needed. T56 and Cable X wiring harness is done san obtaining a 12 to 5 V voltage reducer to run the Viper VSS. Looking at the left-overs, I have good amount of spares. Being terminals and connectors are relatively inexpensive, I would rather order extra than need 1 or 2 at the end of the project. I left the wiper and cruise control wiring in stock state as I am not sure if I will use the cruise and/ or install a newer wiper motor.

Next on the list is finish wet sanding at 400 and 600 grit and off to the body shop for paint. Have a few other little tid bits I’ll complete as well.

Pictures of Finished Wiring before and after looming (is that a word??)
Note: Hoses and alt are mock ups.


Reply With Quote
  #52  
Old 07-03-2010, 10:51 AM
takid455 takid455 is offline
Senior Member
 
Join Date: Feb 2007
Posts: 252
Thanks: 0
Thanked 5 Times in 5 Posts
Default

7/1/2010

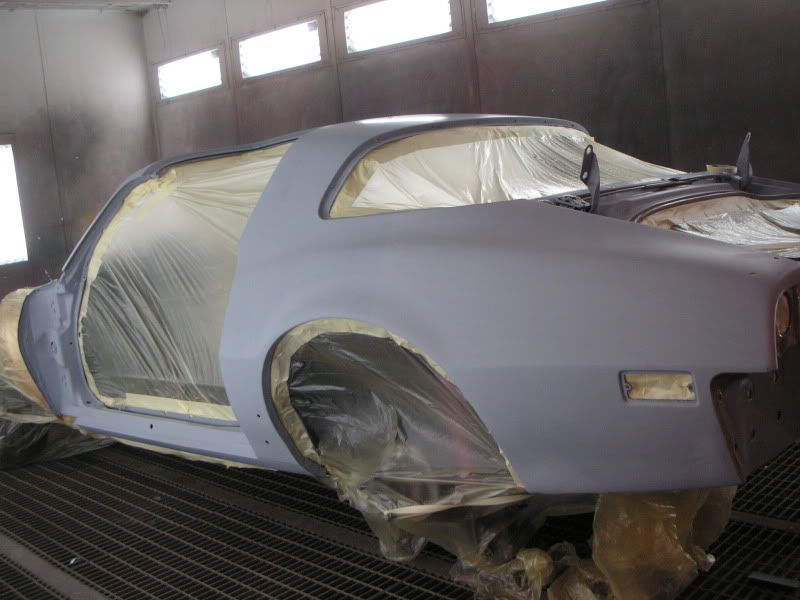
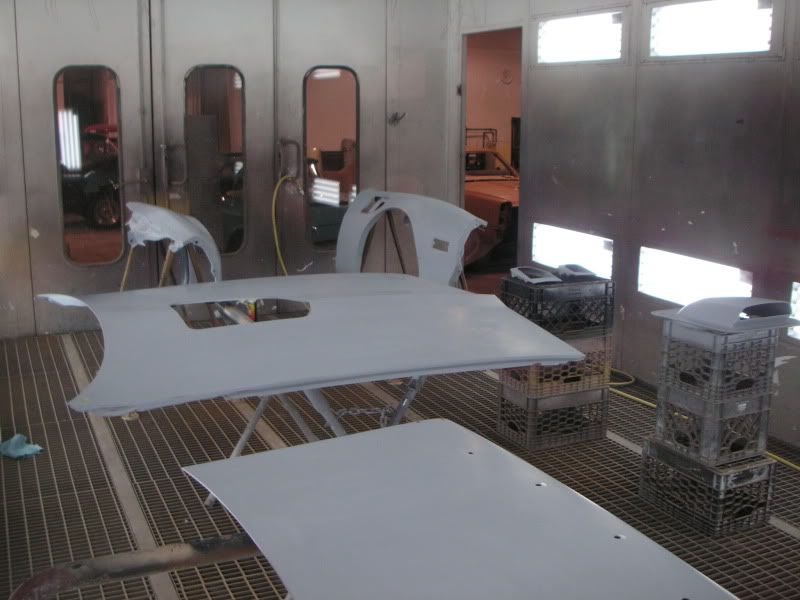
Finished wet sanding the entire body and all the flexible parts. Did 3 sandings at 320, 400 and 600 (body only) checking for lows and highs in each step. The parts really look very smooth. I did the body up to 600 when we were planning on using one brand of sealer (next step), but we found a different brand that flows so nice, you only need to go to 400 grit. the sealer will be applied next and that is wet sanded to 600. The body shop is applying the sealer and taking it home from here. They will apply the color along with the clear and perform all necessary sanding and buffing task.

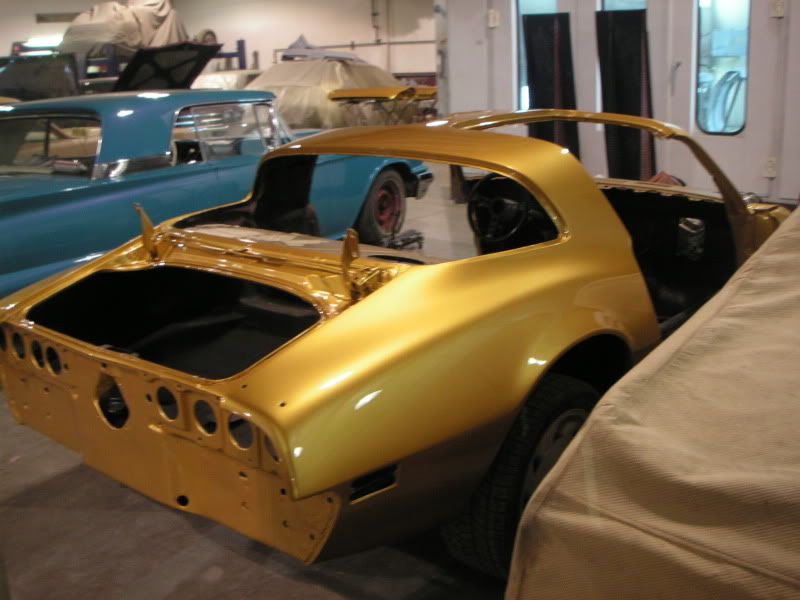
Been a long time coming, but I am excited to get this in color. I need to install the interior as the box that hold the interior parts is falling apart. While the bolt on parts are at the shop now, the car or body will go over next week as I have a couple of quick things wrap up. The parts will be shot tomorrow and allowed to bake and dry over the holiday weekend.

Waiting to be sanded w/ 320


Blocked w/ 320 and guided coated for 400 grit


Finished 400 grit sanding. Seeing all the minute highs and lows always amazes me when doing the fine sandings


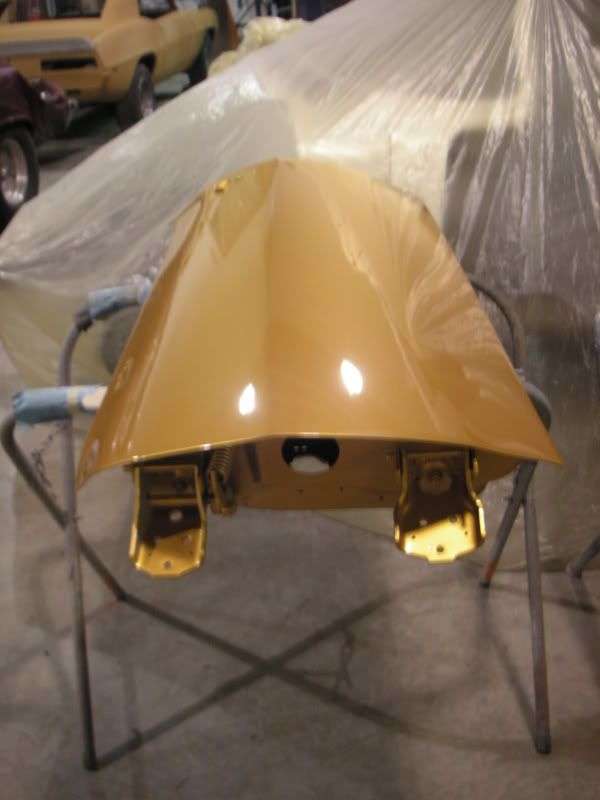
Even factory fiberglass/ ABS parts have their issues.


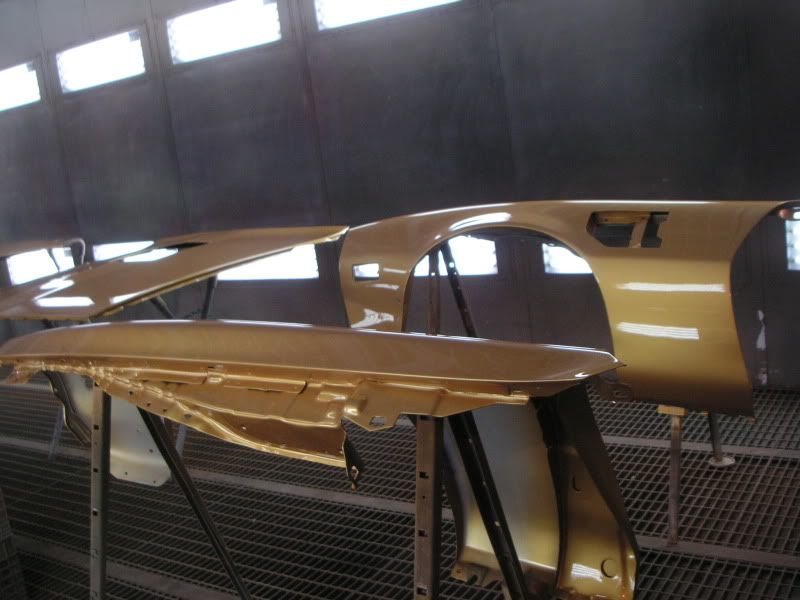
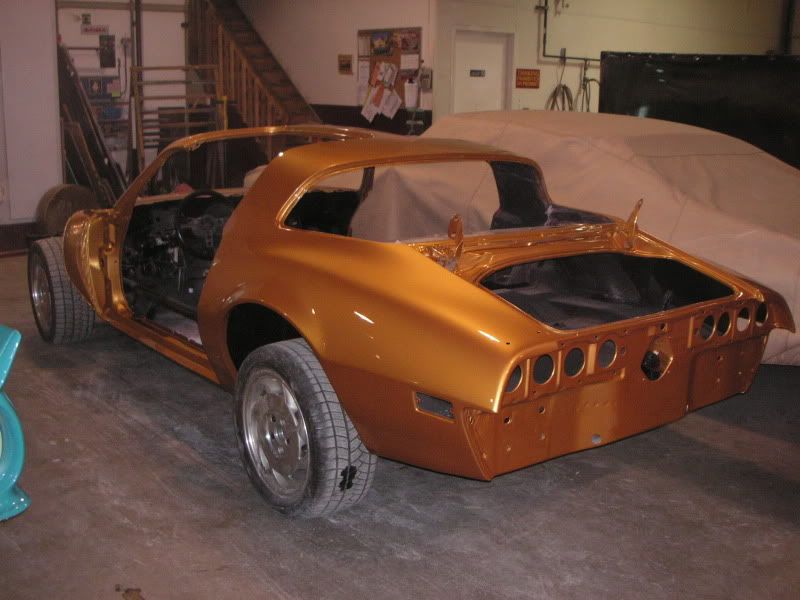
Parts in sealer waiting to be wet sanded with 600 at body shop. They look pretty straight, but I’m sure there are some minor highs and lows hiding. In most cases, it is hard to tell just by rubbing your hand over the area. The high and lows can be seen by wetting the surface w/ prep solvent and watching the reflection of a florescent light at see if it bends or distorts.


Reply With Quote
  #53  
Old 07-03-2010, 12:47 PM
70TWO NOVA's Avatar
70TWO NOVA 70TWO NOVA is offline
Senior Member
 
Join Date: Dec 2006
Location: Peoria, AZ
Posts: 1,083
Thanks: 0
Thanked 0 Times in 0 Posts
Default

lookin sweet, cant wait to see the paint
__________________
Brian Miller
-1972 Nova
-1968 Camaro
-1967 C-10 step side 4x4
-2000 Dodge Dakota

it'll buff out........
Reply With Quote
  #54  
Old 07-03-2010, 06:21 PM
ja.stoner63's Avatar
ja.stoner63 ja.stoner63 is offline
Senior Member
 
Join Date: Jan 2009
Location: Arizona
Posts: 261
Thanks: 0
Thanked 0 Times in 0 Posts
Default

Great pictures. The color of the engine is hot.
__________________
JA

Ring Brothers 2010 Mothers Shine Award.
Golden Builder Award at the 2011 HRR Trade Show.
April 2011 Mustang Monthly Cover.
May 2011 Hotrod & Restoration Cover.
Winner-Pro Builder Shoot Out Presented By Pioneer at the CAR CRAFT Summer Nationals
July 2011 on the Power Block TV with the Ring Brothers.
Nov. 2011 Popular Hot Rodding center fold.
Reply With Quote
  #55  
Old 07-06-2010, 11:33 PM
takid455 takid455 is offline
Senior Member
 
Join Date: Feb 2007
Posts: 252
Thanks: 0
Thanked 5 Times in 5 Posts
Default

Thanks guys. I'm stoked to see it ion color finally. Been a long time coming. Then its just clean work and installing all the parts that were built, restored or new and have it come together.

Took me much time looking through pages of color chips to find that color. Believe it or not it is a 1971 AMC color.


I did funny and forgot the most important parts of the body...the shaker. Have a few in storage, but never took one out and prepped it. that will be done ASAP.
Wet sanded bolt ons. factory parts are crap as far as evenness is concerned. Then again, it was the 70's.


Some more pictures of parts in sealer. Freshly baked.


Junk wheels are back on the car and I will be going over t eh body once more quickly to freshen up the surfaces. Been 1.5yrs since I sanded it to 600 grit. All interior wiring and A/C boxes have been removed.
Reply With Quote
  #56  
Old 07-17-2010, 12:20 AM
takid455 takid455 is offline
Senior Member
 
Join Date: Feb 2007
Posts: 252
Thanks: 0
Thanked 5 Times in 5 Posts
Default

Time has come for this fella to do some time in the paint jail. The painter and I went over the car and discussed the following steps and some little things to address. Like the parts, the car will be scuffed with 400 grit then sprayed with Dupont 7740S sealer. The sealer will be wet sanded with 400 grit to smooth any imperfections if any and then its color time. When I started this project, we were going to sand with 600 grit, consequently with chemical engineering improvements, this sealer has a ‘healing’ property that actually fills in sanding marks as it cures. Thus saving lots of time and money. So far, all the parts that I sanded and they sealed have needed only a quick blocking. I guess I am getting better at this body work art. I still prefer to fabricate or mechanically build something than wet sand. Paint should be on the car within the next 2 weeks and I should have it back mid august. No rush on my end as it wont be done for any shows or events this year. Allows time for sorting all the bugs out. I have a list of things that I can do while the car is in paint jail.

After power washing the body to clean off sanding residue


Surrounded 1970 german things (Bug and 911).


Leaving for Paint Jail


At Paint Jail (literally around the block from the shop)


Sealed parts wet sanded w/ 400 grit and awaiting color. They look very straight and feel smoother than a baby’s derriere. Hard to tell in the pictures. I am pleased so far.


Reply With Quote
  #57  
Old 07-17-2010, 09:42 AM
awr68's Avatar
awr68 awr68 is offline
Senior Member
 
Join Date: Dec 2004
Location: Oregon
Posts: 6,478
Thanks: 0
Thanked 3 Times in 3 Posts
Default

Looking good!! Did you pick a final paint color?
__________________
Tony
'68 Camaro
Reply With Quote
  #58  
Old 07-17-2010, 07:40 PM
takid455 takid455 is offline
Senior Member
 
Join Date: Feb 2007
Posts: 252
Thanks: 0
Thanked 5 Times in 5 Posts
Default

I am going with HOK goldmine pearl with airbrushed bird and lettering.
Reply With Quote
  #59  
Old 07-22-2010, 11:33 PM
takid455 takid455 is offline
Senior Member
 
Join Date: Feb 2007
Posts: 252
Thanks: 0
Thanked 5 Times in 5 Posts
Default

With the body in sealer and a few small things resolved, its time for a quick blocking and off to paint. I am not sure how I like the bedliner in the trunk yet. I doesn’t look to bad and will dampen the amount of sound that coming into the car. I have a full carpet for the trunk anyhow, so this will be covered. No need to worry about spills or anything damaging the trunk floor with this stuff.

I have designed a fan shroud to hold the radiator and the twin fans. Once I am done with the drafting, it will be sent to get CNC cut and bent to shape.


Smooth and straight


Reply With Quote
  #60  
Old 09-30-2010, 09:14 PM
takid455 takid455 is offline
Senior Member
 
Join Date: Feb 2007
Posts: 252
Thanks: 0
Thanked 5 Times in 5 Posts
Default

All parts , and 2nd gens have alot of them, have been sealed and wet sanded to 400 grit. This sealer is said to be self healing, meaning it flows as you sand it. Interesting stuff. Def a time saver. Paint booth has fresh filters for this guy. Last few jobs had been heavy primer so it was time for a change anyway. After a few hours of masking, I is time for paint. This color is more of an outside color as it benefits from the reflection of the sun. Metal Halide and Sodium bulbs don’t do much for it. Gold laid down very flat. Needed 4 coats to obtain sufficient coverage. 3 coats of clear followed. Reflects and shines nice now. Next step will be to assemble the car and wet sand the clear with 1000, 1500 and then buff. May do a 2000 grit sanding if needed. Will let it sit for a few weeks before I begin sanding. I will have the air brush artist come and do the bird and lettering. In the mean time. The art work will then be covered with clear.

Car should look nice with the satin black trim installed and gun metal rims.

My old camera doesn’t care to take good photos anymore. Colors don’t come out too well. These will have to do for now.


Reply With Quote
Reply


Posting Rules
You may not post new threads
You may not post replies
You may not post attachments
You may not edit your posts

BB code is On
Smilies are On
[IMG] code is On
HTML code is Off

Forum Jump


All times are GMT -7. The time now is 02:06 PM.


Powered by vBulletin® Version 3.8.11
Copyright ©2000 - 2026, vBulletin Solutions Inc.
Copyright Lateral-g.net