Time for some more updates, I've been cranking it out in the last couple weeks.
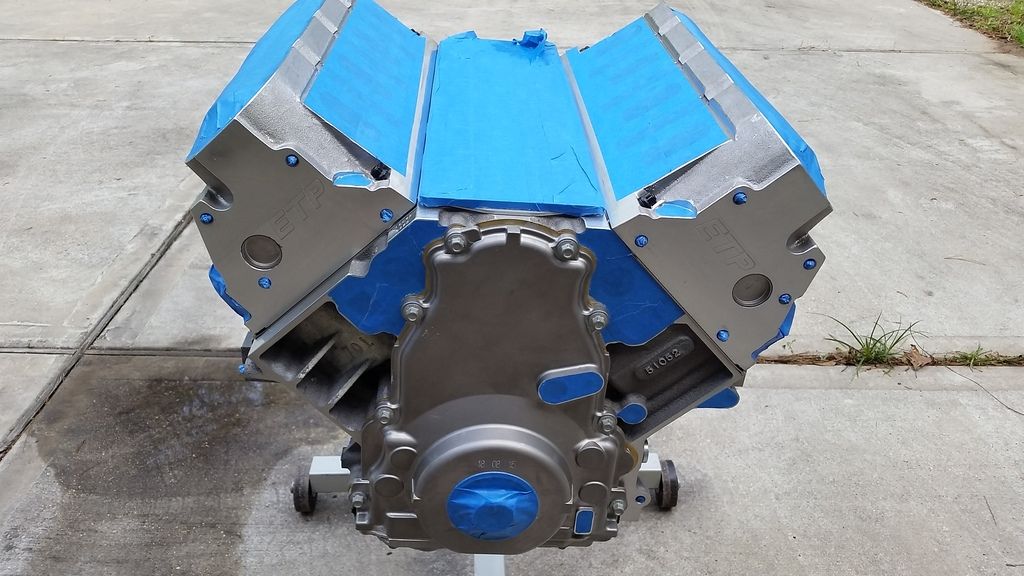
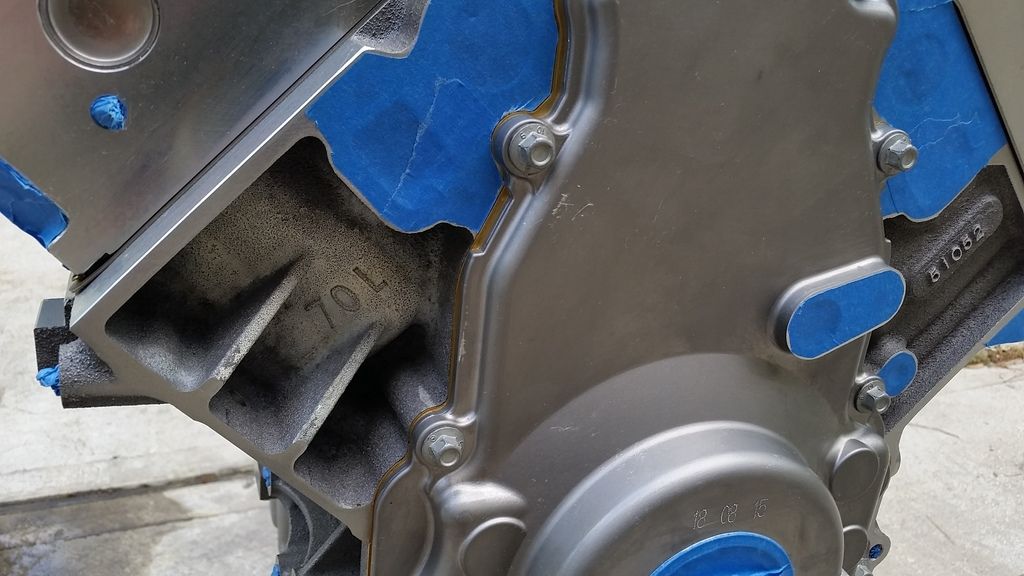
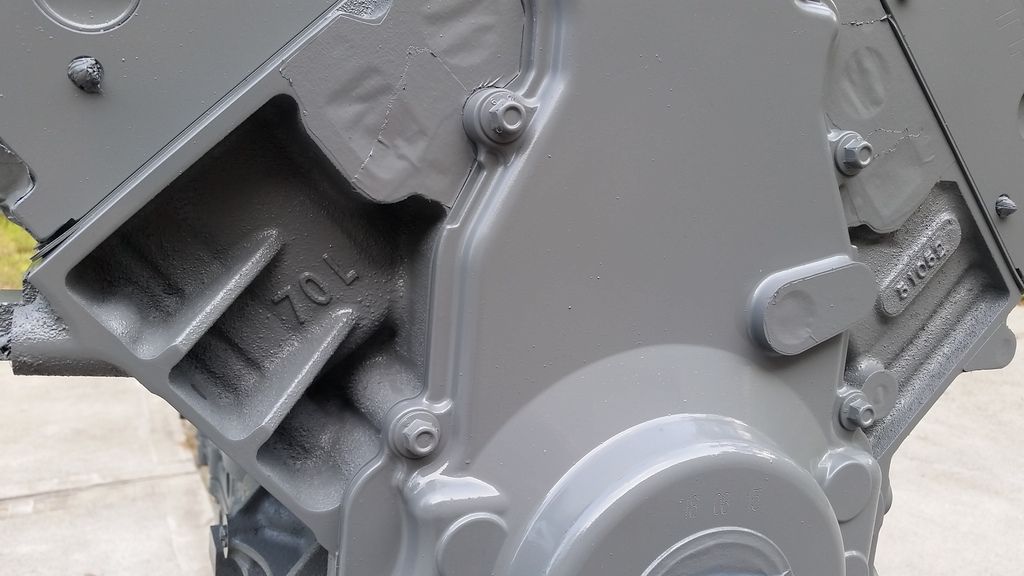
Having owned more than my fair share of LSX vehicles, I never liked how the bare aluminum blocks tend to oxidize and turn chalky/hazy over time. That, and the LS7 casting is blotchy with dark and light areas on the surface. So, I decided this would be my first painted LSX engine. I'm going for an industrial all-business theme under the hood, so decided to use a simple non-metallic gray color. I masked off all the machined areas and plugged all the threaded holes, then scrubbed the entire block and heads with acetone. I used VHT spray paints, first 2 coats of VHT gray engine primer, followed by 3 coats of VHT "Ford Gray" paint. Good quality paint, it laid down very well and had excellent coverage.

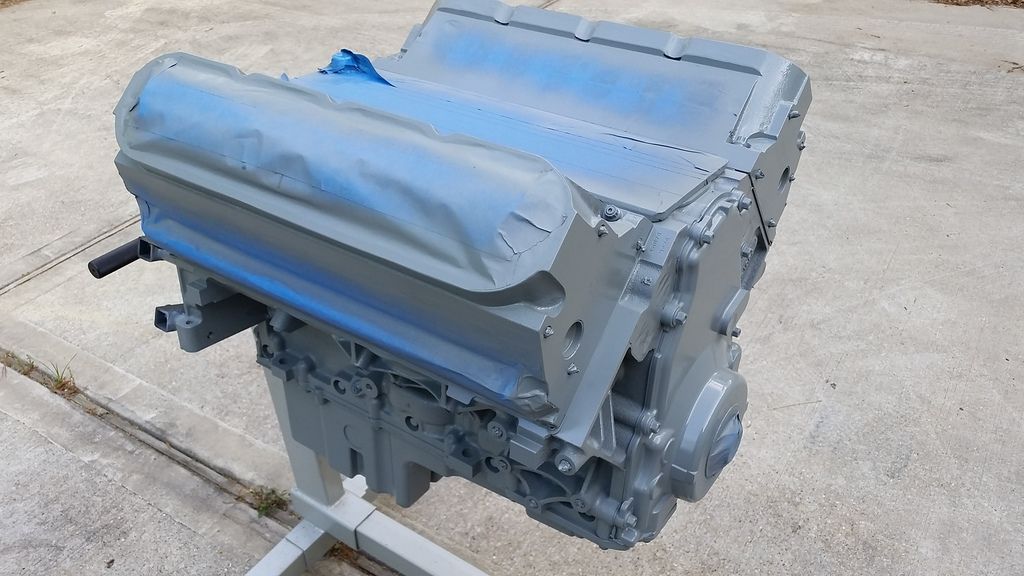
Primer applied:


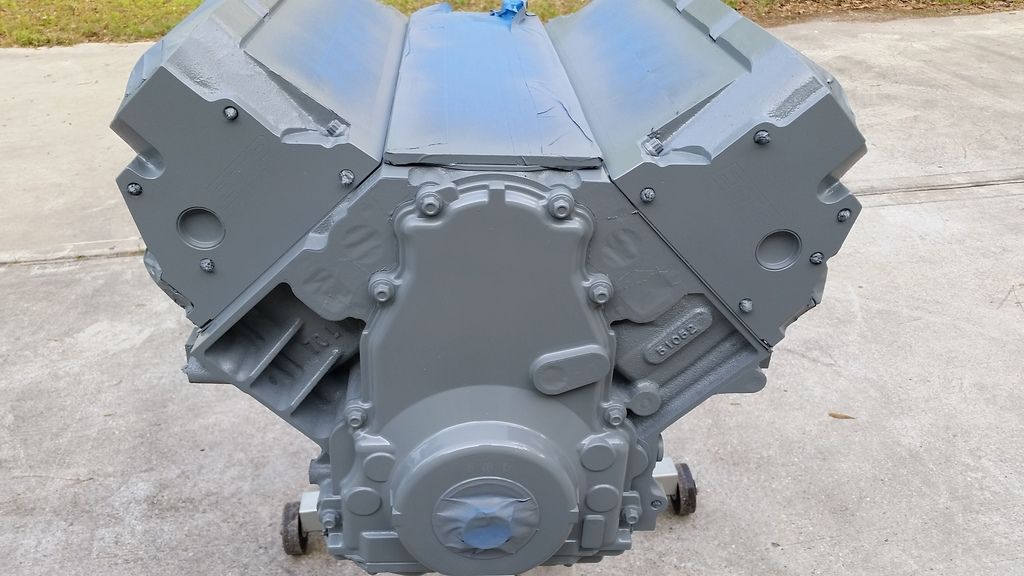
Gray paint applied:
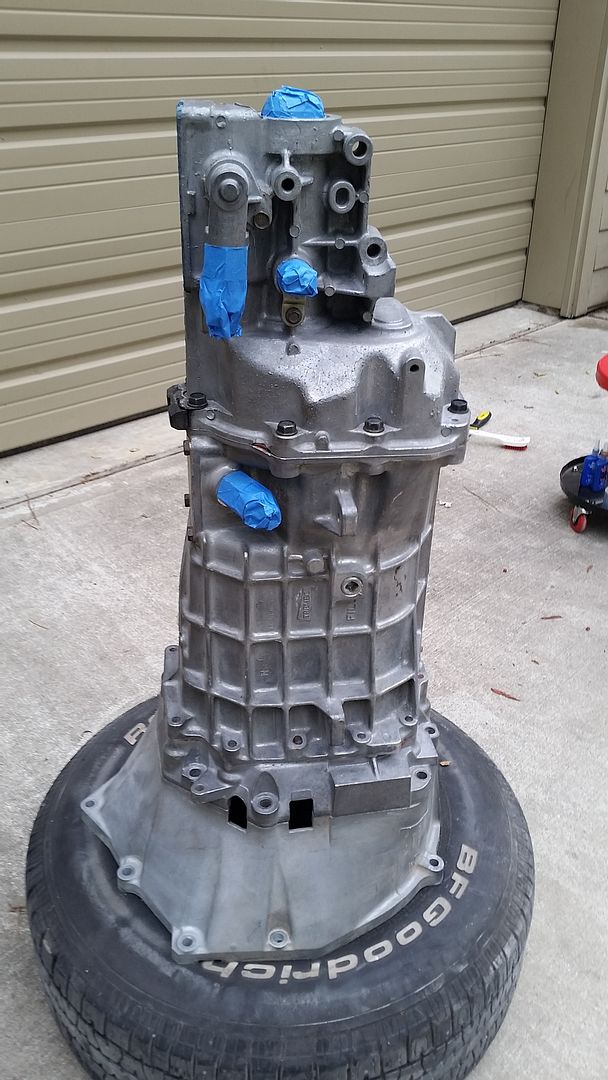
The same aluminum issues occur with the T56 casing, so I painted the T56 as well. This one was rebuilt about 7 years ago, and just sat on my shelf in the shop. It looked pretty awful at first:

After 3 hours of scrubbing with a wire brush, brillo pad, and acetone. Damn that waffle looking casing, so many corners! :

Found a new use for an old 15" wheel and tire. LOL
Primer coats:

Gray paint coats:


This is a good example of how some things don't have to cost a lot of money, to make an impact. Just some elbow grease and patience is really all that was required. It is much easier to do this stuff now, then it is to regret not doing it later once it is in the car. I'm sure people will notice the attention to detail, on the finished project.
Tony


 Brian Hobaugh SCCA National Tour June 2014
 First Hemi 'Cuda Convertible Ever Built
 Short clips: Goodguys Pleasanton autocross and pit videos


 Mario
Mario Linear Mode

